When you click on links to various merchants on this site and make a purchase, this can result in this site earning a commission. Affiliate programs and affiliations include, but are not limited to, the eBay Partner Network.
Well, I reconnected the inertia switch to the original harness today - see below. And, when I pulled the switched power they were using to feed the pump I discovered that it also fed the voltmeter and the Autometer tach. While I wasn't quite ready to take the tach out, it was obviously time. And, w/o the pump on that feed the voltmeter registers correctly - right in step with my DVM connected to the battery.
However, while removing the tach I discovered that the yellow wire that I assumed was feeding switched 12v to the coil was actually the tach signal to the Autometer. In other words, the coil is getting power through the ballast resistor as it should. On the other hand, the choke is powered off that as well.
Anyway, the truck starts and runs on the fuel pump relay, so now I need to replace the harness to the tanks to fix the butchered wiring. And then, when the new wire comes in I'll be ready to run the leg to the oil pressure switch. But, oddly enough, after playing with the connector on the tank yesterday, the fuel gauge now appears to be working.
And, Bill, I played with the fuel pressure regulator today. Should have tried it with the full 12 volts on it, and I can do if you'd like me to, but with the 1 ohm resistor in the circuit all I can get is 5 1/2 psi. However, remember that the vapor separator is ahead of the regulator, so it is returning a fair amount of fuel and the pressure would surely be higher if there was no return. Having said that, was the 4.3 psi deadheaded?
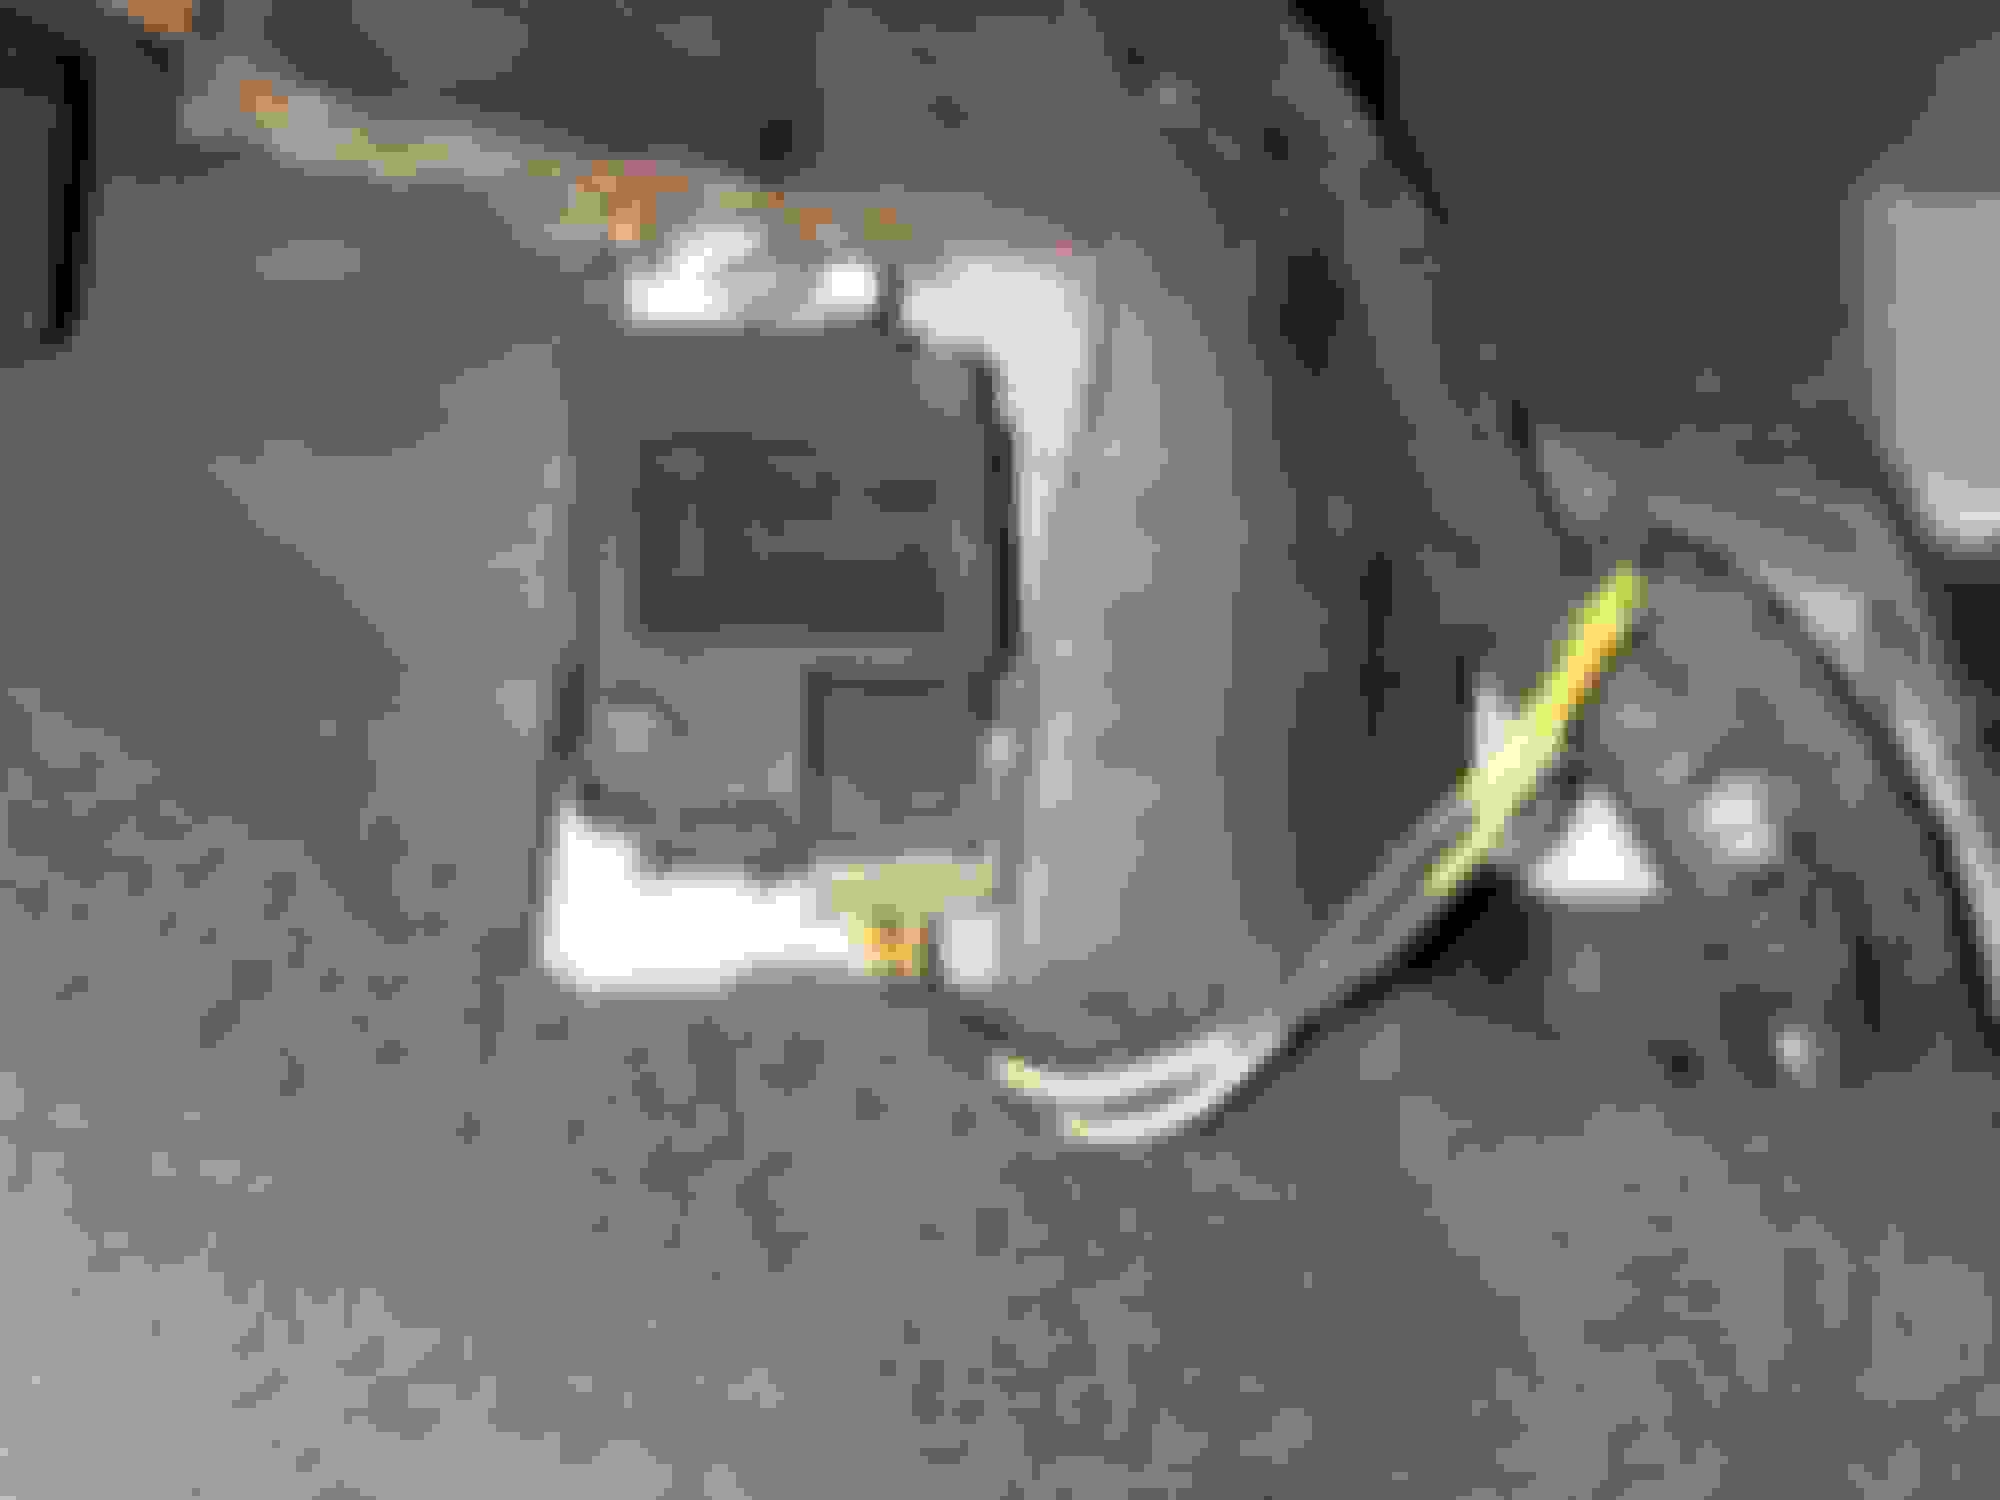
Here's the inertia switch wiring harness put back together. Things were too short to allow me to make the connections, so I had to add a bit of wire as well as some heat, solder, and shrink tubing.
And, here's the inertia switch wiring with a bit of protection. But, note that the electrical tape is already coming off. That's what I get for buying Northern Tool's tape instead of 3M Scotch Super 33+. Four rolls of that are now winging their way to me via
Friction tape!? Haven't thought about that stuff in decades. Hmmm.... But, Super 33+ is my go-to tape. It sticks, but isn't gooey.
My problem with baby zip ties is that I have a bunch of them - in blue and green. Can't figure out what ever possessed me to buy colored zip ties. Sure don't want them calling attention to themselves, so only use them in temporary situations - or maybe the odd trailer I'm rewiring?
Anyway, I felt good about today. Didn't have much time, but got some things done. Hopefully tomorrow I can get Bill's harness installed and tidy up the wiring under the hood. I ordered in 50' rolls of convolute in 1/4, 3/8, 1/2, and 5/8", so am ready for this job on Big Blue as well as the rewire on Dad's truck.
Gary, I assume it would be deadhead pressure, that is how it was specified in the test procedure. FWIW, the mechanical pump like Jim's truck uses has a 6-8 psi spec. On the tank connectors, if the lock tabs are broken, Dorman sells a replacement that fits perfectly. I replaced the ones on the harness I installed on Darth,
Good luck on the rear portion, it runs past the rear tank above the flange. You may be able to pull the old one out with a small line attached the the back to provide a way to fish the "new" one back through. I think if you drop the front of the rear tank down a bit, maybe even temporarily use longer bolts, you can reach the connector to unplug one and plug in the other.
Today was an "interesting" day. I started by looking at the mess of insulation-displacement connectors at the back of the truck. There are many of the connectors and they are in difficult to reach locations, so I pulled the trailer hitch. That got me close, but if I was going to replace the harness with the one Bill sent I'd need to pull the rear tank, so out it came.
That got me to the trailer harness, and I discovered that it is a factory unit with no hacks in it. But, it is different than the one Jim sent in two ways: first, it has three connectors instead of two; second, it has two "arms" with a lot more connections:
Left Arm, which originally went to a round 6-pin connector on the left:
Yellow: Trailer power
White: Ground
Black/Pink: Backup lights
Light Green/Orange: Left stop/turn
Orange/Light blue: Right stop/turn
Red/Green: Trailer brake lamps
Black: Trailer marker/tail lights
Right Arm, which originally went to a round 6-pin connector on the right of the bumper:
Red: ?
White: Ground
Green: ?
Black: ?
Black/Gray: Trailer brakes
I'm surprised that there are two arms, with the left one being just right for a trailer except that it has the trailer brake lamps circuit instead of the trailer brake circuit. But, the good news is that it isn't hacked at all. In fact, with the only hack on the main harness being at the front tank, which is pretty easily accessible, I'm thinking the easiest way to fix things is to repair that harness. However, the LR tail/brake light wiring is hacked, but I can fairly easily repair that as well.
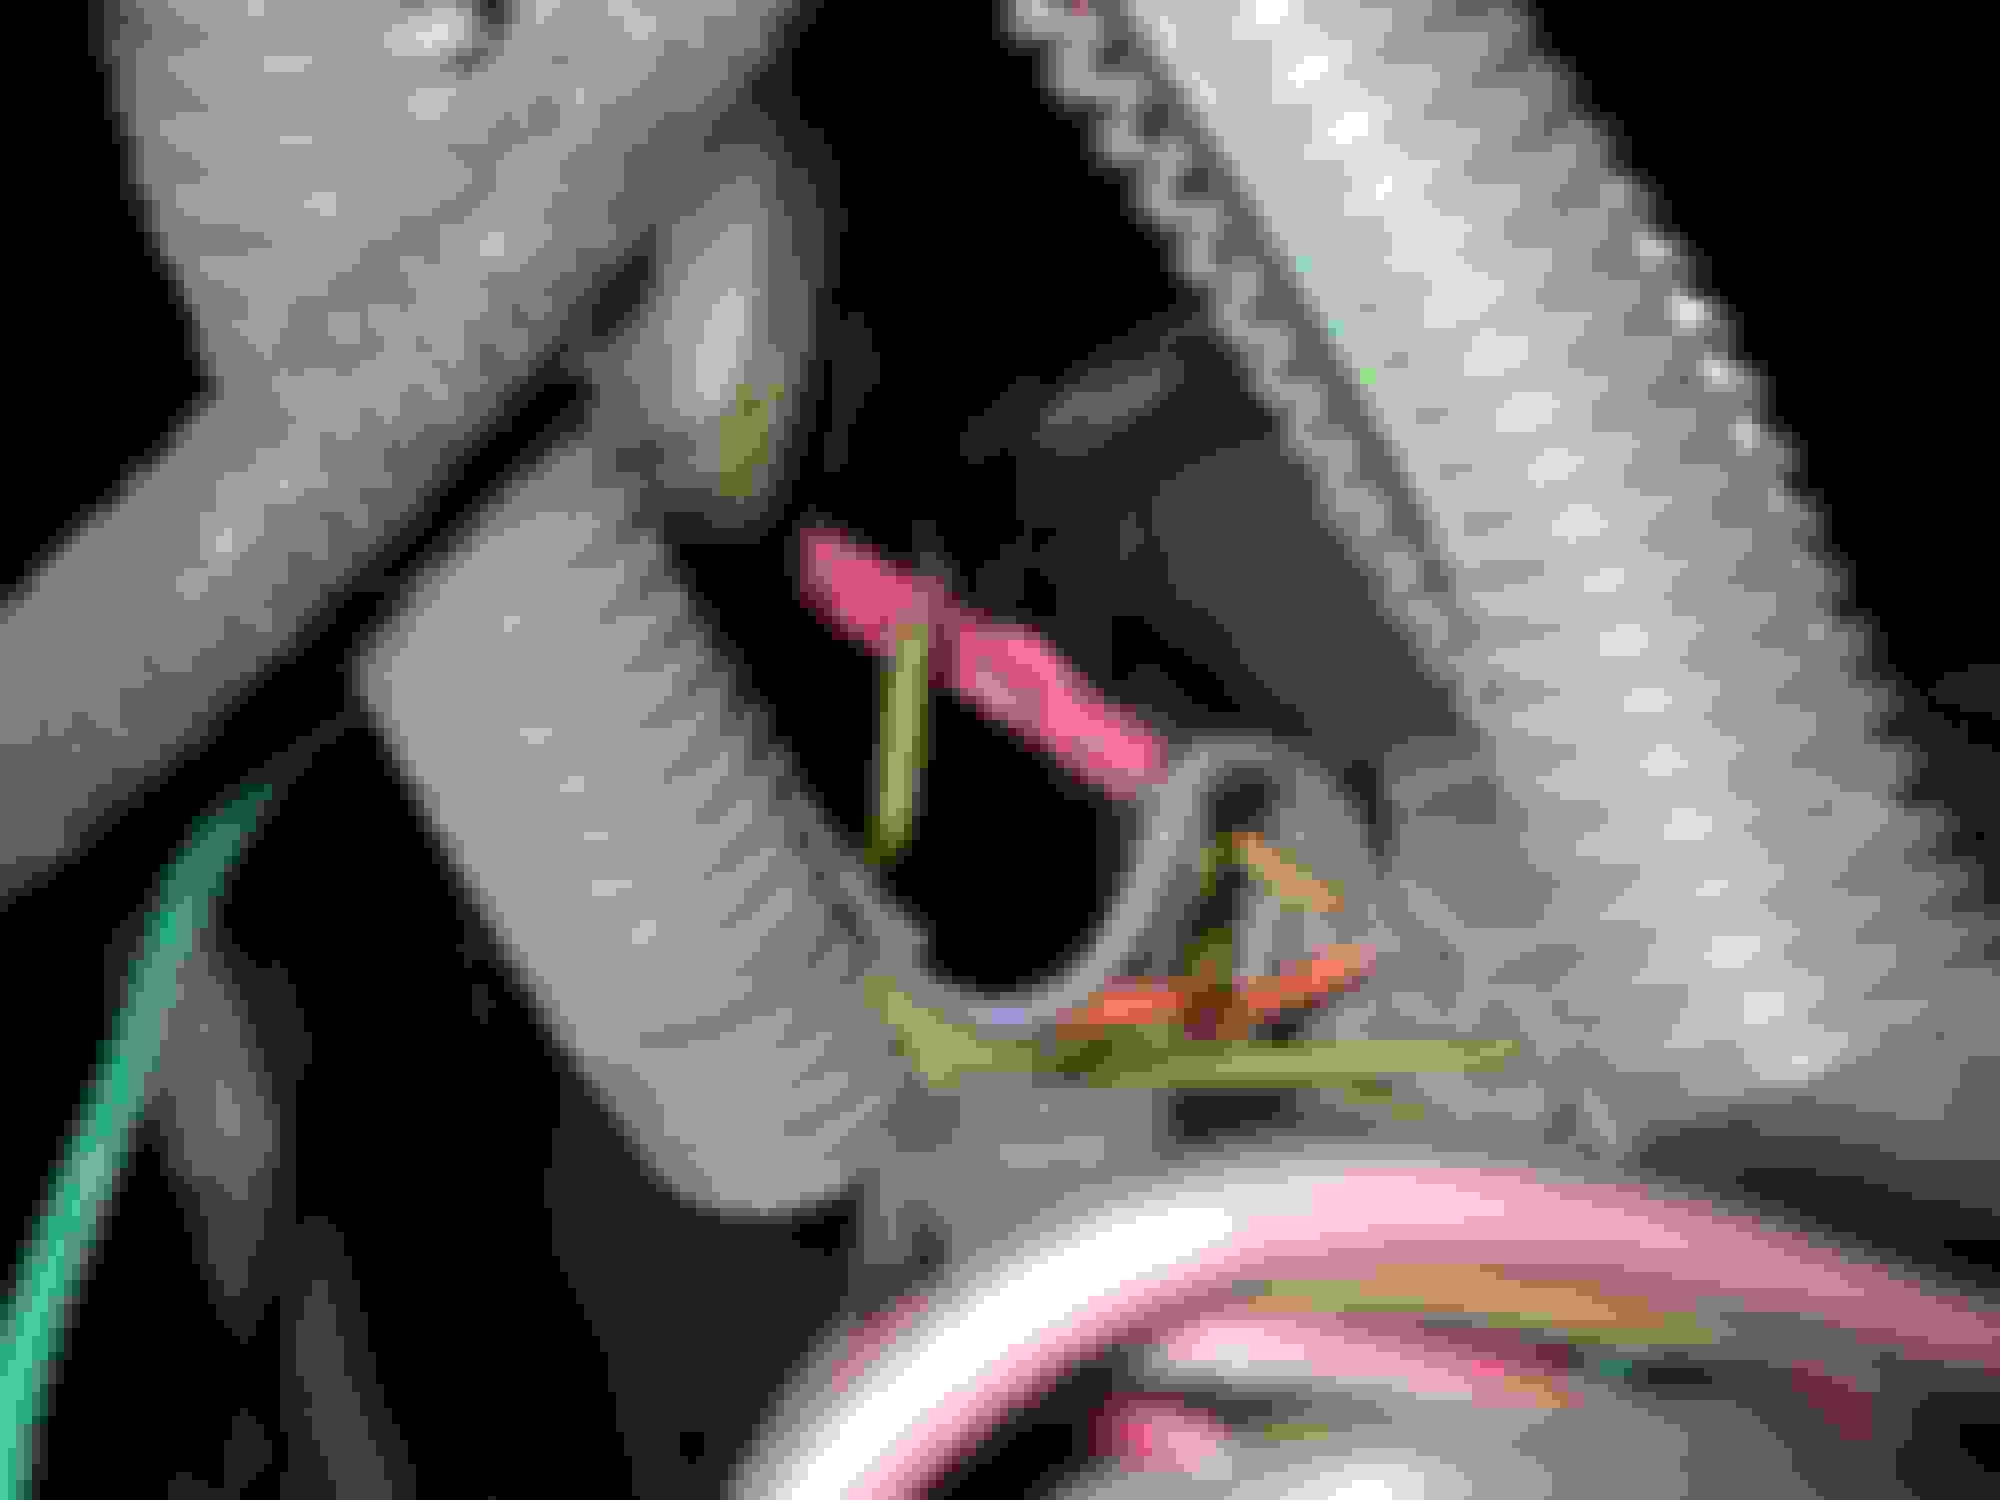
However, I did find a hack that I need to research. As shown below, there's a green wire that takes the place of the LG/O left stop/turn wire at the light. It is running from somewhere in the instrument panel, through the firewall, down the frame, and to the LR tail light. So, I guess I need to get into the instrument panel tomorrow and see where it goes, and I need to figure out why the original wire isn't working.
Gary, the harness I gave you has the rear light wiring in it. Common issue is the actual plug together portions, Ford did not start making them weatherproof until sometime after 1987. Both corroded pin/socket problems and as Jim found on his, the insulation on the wires can degrade and crumble. If you need replacement pins, Dorman PN is: 85345 and the socket is: 85346. The shells, I have a good stock of both halves.
Bill, somehow I missed that it has the rear light wiring in it. I'll rethink things when I get out there this morning. Thanks.
I need to check out the trailer relay as well as the trailer wiring. Did a bit of testing last evening, when I was tired and out of time, and found that the backup light wire pulses with the emergency flashers, but the left turn wire doesn't. So, something with the left turn, and that additional green wire, and the backup wiring is wonky.
Didn't get too far today, but progress nonetheless. I realized since the green wire that was bypassing the LG/O wire for the left brake light was going through the firewall and into the back of the dash area that I needed to get into there. And, besides, the right turn indicator bulb was burned out so needed replacing. Further, I'd like to put LED's in, so ordered
But, taking the instrument bezel off turned out to be a bit of a challenge as the aftermarket gauges are mechanical so have tubing to them. And, their bracket was screwed to the instrument bezel before the gauges were put in and the tubing run through the firewall. But, in the end I was able to pull the bezel off and rotate it clockwise such that it rested on the transmission and transfer case shift levers.
Then I pulled the steering wheel to see what the turn signal switch looks like - it is fine. And then dropped the steering column, which let me get to the wiring, and I quickly discovered the problem. Someone had crimped the green wire to the LG/O wire at the curved connector, and left the harness side wire hanging in the breeze. Which means that even though the LR light on the truck might work, the one on a trailer wouldn't if I used the trailer harness.
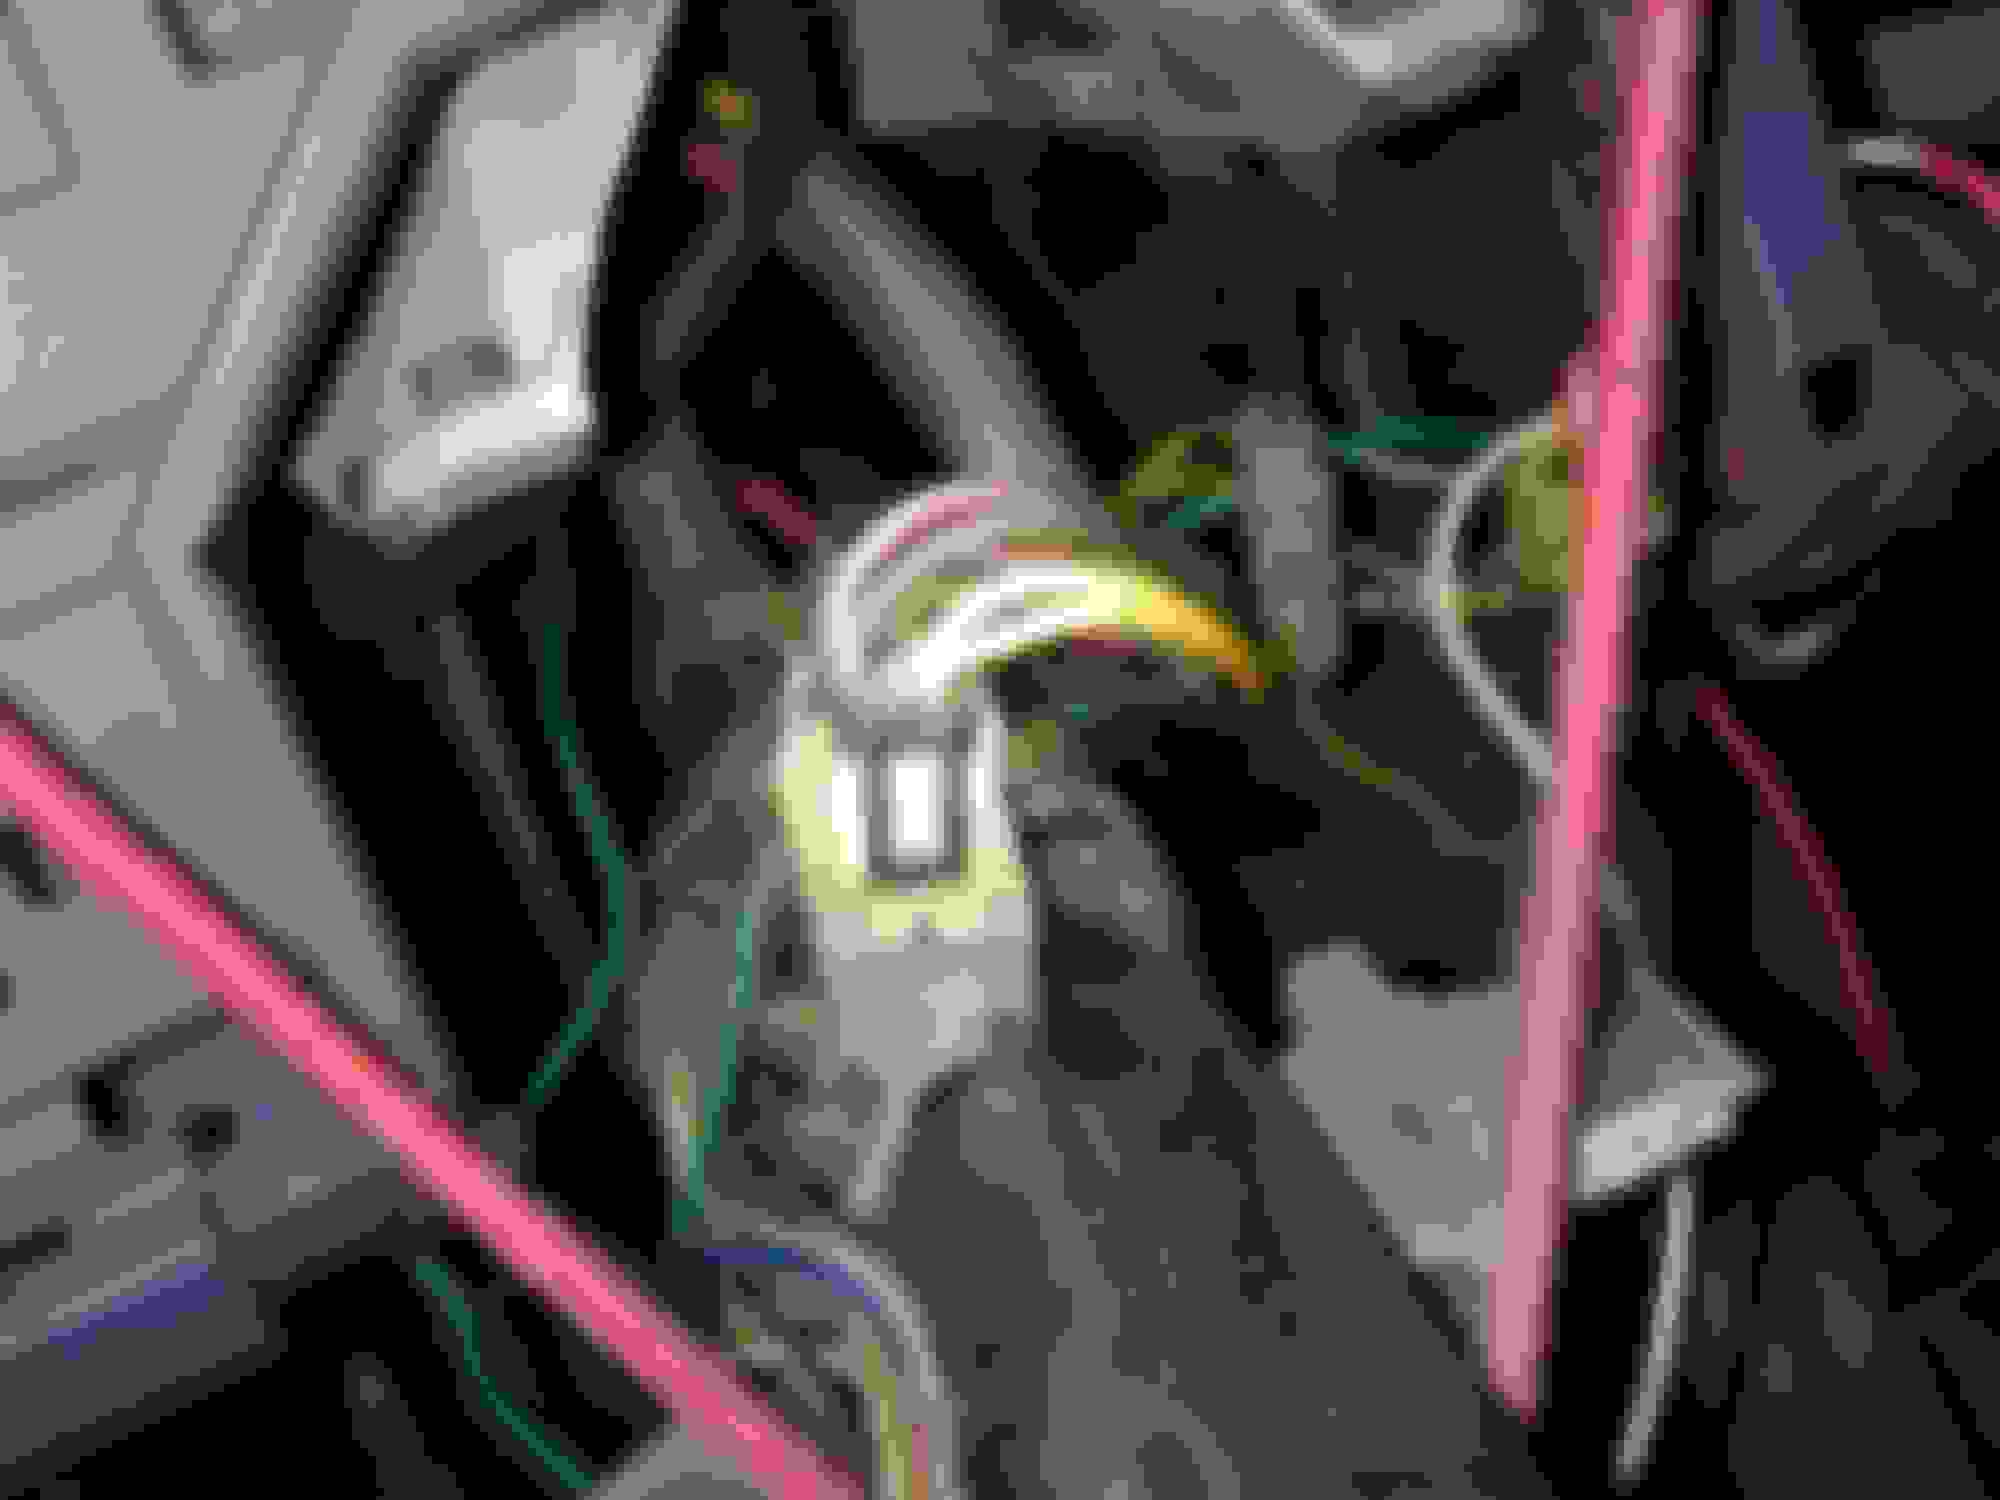
So, I started to fish the harness out of that recess, and discovered this - the wiring has slipped out of the tubing and is rubbing on the bolts.
After I got the harness fished out I repaired the LG/O wire and put convolute and tape, held on with zip ties, on everything. That made it a bit harder to fish back in, but now is well protected. And, along the way I took the opportunity to clean, lube, and adjust the ignition switch and its linkage and tumbler. (The pic was taken before I repaired the LG/O wire and you can see the butt connector in the background above the ignition switch.) Note the needle inserted in the ignition switch. I found this nice web site that explains how to adjust the ignition switch, but the drill bit it suggests was a fairly loose fit so I raided my wife's sewing room. Turns out that a .053" needle is a perfect fit as it is a tighter than the drill bit and does a good job of holding the switch in exactly the Lock position.
Then I repaired the LG/O wire at the LR light, and now we are back to using the factory wiring for all the lights. And, the trailer harness has the correct signals on it as well. And, along the way I took the time to align the steering wheel, which was "upside down". By pulling the steering shaft at the sector box, which was easy with the column dropped down, I was able to set it up where it should be, and that may allow me to see the aftermarket gauges better. Speaking of which, one of the things I'll do while I have the instrument panel out is to wire up the lights for the aftermarket gauges.
Did you check the lt grn/or wire for continuity and short to ground?
Why else would someone go all the way up behind the cluster to hack it out of the harness and bypass it?
Gary,
I'm quite aware of how Vern researched and documented all of the quality components that went into Big Blue.
I don't think he cut any corners or spared any expense trying to get the very best F250 he could.
I'm also sure he didn't intentionally hire some methhead cracker to do the work.
But it seems the proof is in the pudding.
I feel bad for him not having the truck of his dreams to enjoy.
I'm with you there. But, I don't know that Vernon owned the truck what this hack was done. This ones really bizarre.
As for the needle, it beats a drill bit hands down. And, by the way, it is written up on my web page.
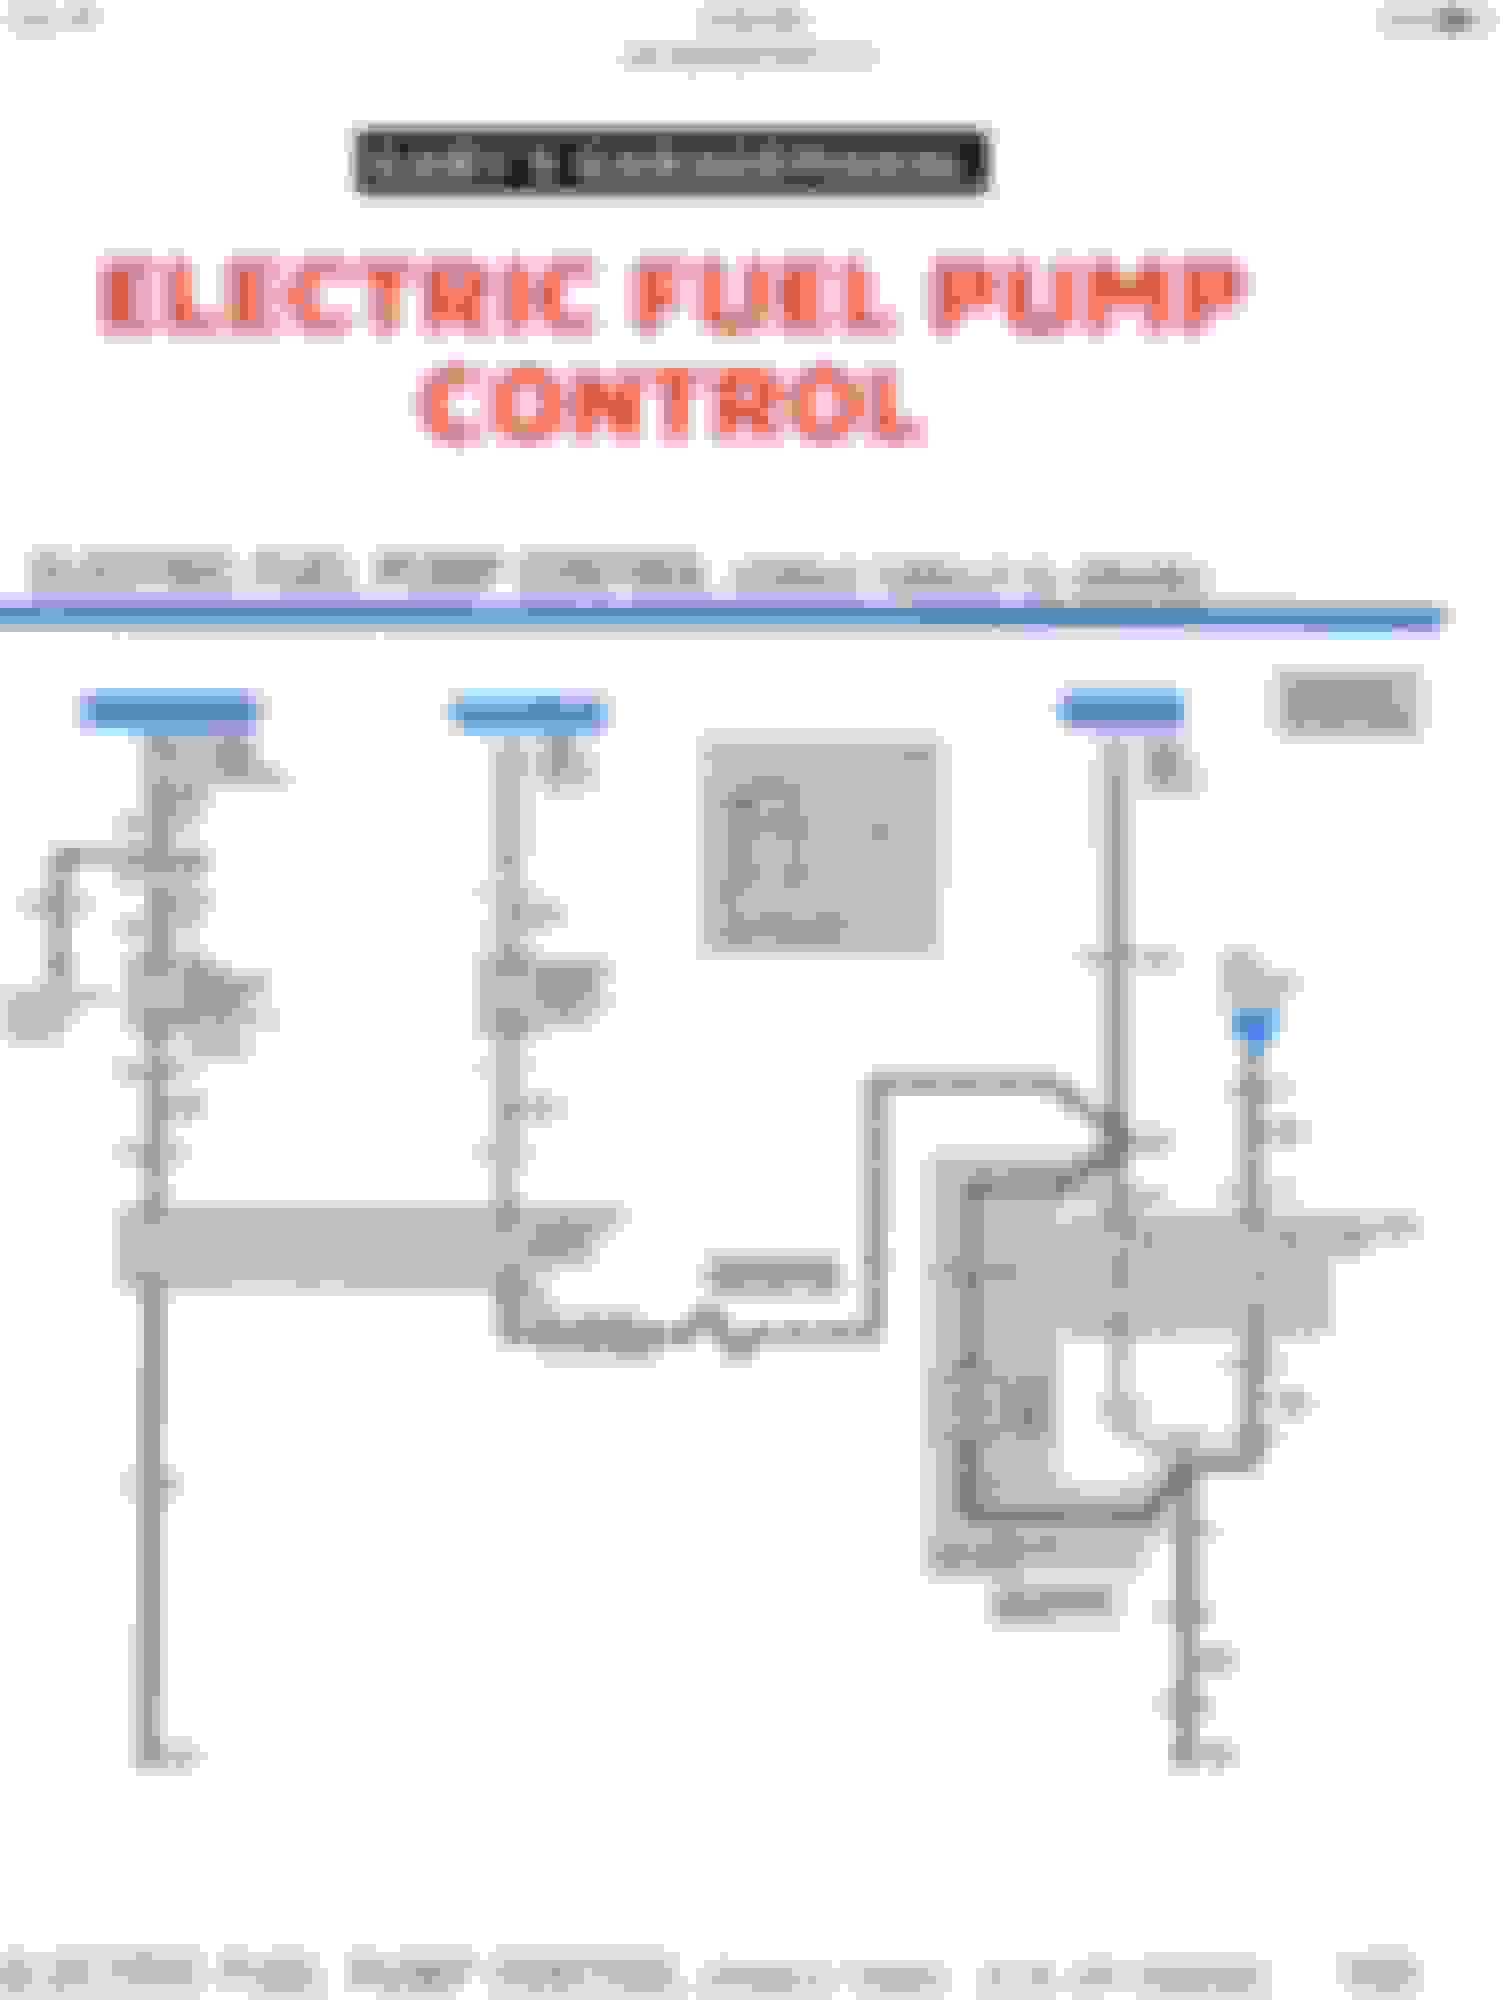
Just thinking about what work to do while I have BB apart. Got the red/yellow wire in today so can run the loop in the fuel pressure relay's coil circuit to the oil pressure switch. And, while I'm wiring that I'm going to come off the switched side of that loop to power the choke heater. After all, Ford used it to power "carburetor circuits", as shown below. Plus, while I'm in that area, I'm going to move the voltmeter's ground from the battery to the firewall. That single, unprotected red wire looks ... wrong.
And, I ordered HiPo's orange and red needle paint as well as Testor's Fluorescent Orange tonight, and will use HiPo's orange on Big Blue's gauges. Then I'll use it and the other two as part of the which-paint-is-closest-to-NOS test.
Also, I discovered "junk" in the A/C vents on the driver's side, so need to clean them out. And, while I have the wiring under the dash exposed I might as well solder and heat-shrink the voltmeter feed and connect the lighting for the aftermarket gauges to the dash lighting circuit. Plus, this is a good time to figure out why the Sony radio doesn't make a peep. And, maybe see if I can clean the clock's setting buttons, or change it out for one that I can set as having the wrong time is worse than having no time shown.
And, I have to buy and wire up the trailer connector. Plus, I need to check out the trailer lighting relay as I'm not sure it is working.
Man, this fuel pressure relay thing kinda got out of hand.
The fuel pump wiring is done and tested and the choke gets full battery voltage. That means that the oil pressure switch has been wired in and the fuel tank connector's wires repaired. I still need to put convolute and tape on the wiring under the hood, but won't do that I get the trailer wiring done as the trailer relay may need to be checked out, and it's wiring is mixed in with the fuel system's wiring.
And, speaking of relays, I was wrong when I said Big Blue doesn't have a fuel tank selector relay. It is the front of the two in the holder on the firewall. I think my confusion stemmed from looking at the 1986 EVTM for 460's, and Big Blue isn't wired that way. But, I've learned that it is wired as shown in the 1985 EVTM, and that includes the fuel tank tank selector relay. So, it looks like I'll need to scan the '85 copy and put it on the web site. And, I'd better do that soon as I'm using it daily and it may get dirty!
This Hennessey Takes the Expedition Tremor's Off-Roading Capability to the Next Level
Slideshow: The VelociRaptor Expedition gains a lift, upgraded suspension, Brembo brakes, and trail-ready equipment while retaining the stock 440-horsepower EcoBoost V6.
Rezvani's Latest Post-Apocalyptic Monster Is a Ford F-150 Raptor Underneath
Slideshow: Called the Fortress, the 850-horsepower pickup combines Raptor underpinnings with military-inspired features, survival equipment, and a starting price of $285,000.


 On the other hand, the choke is powered off that as well.

 That's what I get for buying Northern Tool's tape instead of 3M Scotch Super 33+. Four rolls of that are now winging their way to me via
.
That's what I get for buying Northern Tool's tape instead of 3M Scotch Super 33+. Four rolls of that are now winging their way to me via
. 


 Sure don't want them calling attention to themselves, so only use them in temporary situations - or maybe the odd trailer I'm rewiring?


 is as close to a wtf smilie as I can find