Hackster's Build #3 Roush Racing Coyote, Ridetech, 4 link, Tremec goodness
#46
 03-13-2017, 03:46 AM


wondering what your welder is, a bit difficult to tell from the photos, but looking a bit like a millermatic 125. amazing work if so. i am thinking of getting a millermatic 251 because i have some heavy stuff (non automotive), though i am concerned it might be a bit too much for doing sheet metal stuff. i lent my 125 to a relative and it has not returned yet (which is ok with me, as long as it is getting some use with him).
edit:
oh forgot. fantastic and builds threads, just discovered them a couple of days ago. a great inspiration for a beginner like me. :-)
steve
1968 f250 highboy modified
1968 early bronco wagon modified
1966 early bronco roadster stock restoration
y2k explorer ltd (totalled 2007, RIP)
edit:
oh forgot. fantastic and builds threads, just discovered them a couple of days ago. a great inspiration for a beginner like me. :-)
steve
1968 f250 highboy modified
1968 early bronco wagon modified
1966 early bronco roadster stock restoration
y2k explorer ltd (totalled 2007, RIP)
#47
03-13-2017, 10:29 AM

#50
03-28-2017, 05:39 PM

wondering what your welder is, a bit difficult to tell from the photos, but looking a bit like a millermatic 125. amazing work if so. i am thinking of getting a millermatic 251 because i have some heavy stuff (non automotive), though i am concerned it might be a bit too much for doing sheet metal stuff. i lent my 125 to a relative and it has not returned yet (which is ok with me, as long as it is getting some use with him).
edit:
oh forgot. fantastic and builds threads, just discovered them a couple of days ago. a great inspiration for a beginner like me. :-)
steve
1968 f250 highboy modified
1968 early bronco wagon modified
1966 early bronco roadster stock restoration
y2k explorer ltd (totalled 2007, RIP)
edit:
oh forgot. fantastic and builds threads, just discovered them a couple of days ago. a great inspiration for a beginner like me. :-)
steve
1968 f250 highboy modified
1968 early bronco wagon modified
1966 early bronco roadster stock restoration
y2k explorer ltd (totalled 2007, RIP)
Manual Brakes are just fine, I have no issues with them at all and find when I get into other cars there is a lot less feel and feedback from the pedal. The truck is very, very easy to stop. When you need a handful of brakes, they are always there.
Thanks a bunch.
Thanks for the props. Like I mentioned above, the brakes are great. Simple, not much to fail or replace and great pedal feel. It will outstop most modern cars, especially non super cars. I can adjust brake bias as needed, and really dial in the braking. It will put you through the windshield if you hammer on the brakes.
I took my dad for a spin a while back and he was amazed at just how hard the truck accelerated and stopped. It put a smile on my face =)
Sean
#51
03-28-2017, 06:08 PM
Hotshot


#52
04-02-2017, 11:48 PM

#53
04-10-2017, 02:35 PM

Motor mounts
Thanks man. More pics coming, quite a bit farther along, just not caught up on the build at all. Not sure about inner fenders, I like them on my truck, but they are pretty labor intensive. I am about that point now so Ill need to run it past him in the next few days. Do you think I could bond those panels together pretty easily like you have done?
Xchamp, yes, non EFI tank for now, it will be though and a pretty kickass fuel system. Frame is a pretty metallic grey but not charcoal. Ill see if I can find out what color it is.
So as I have some time the next few days Ill try and get this puppy up to speed.
A few pallets have been sitting at my real work, I finally got a chance to get out there and pick them up a little over a week ago.
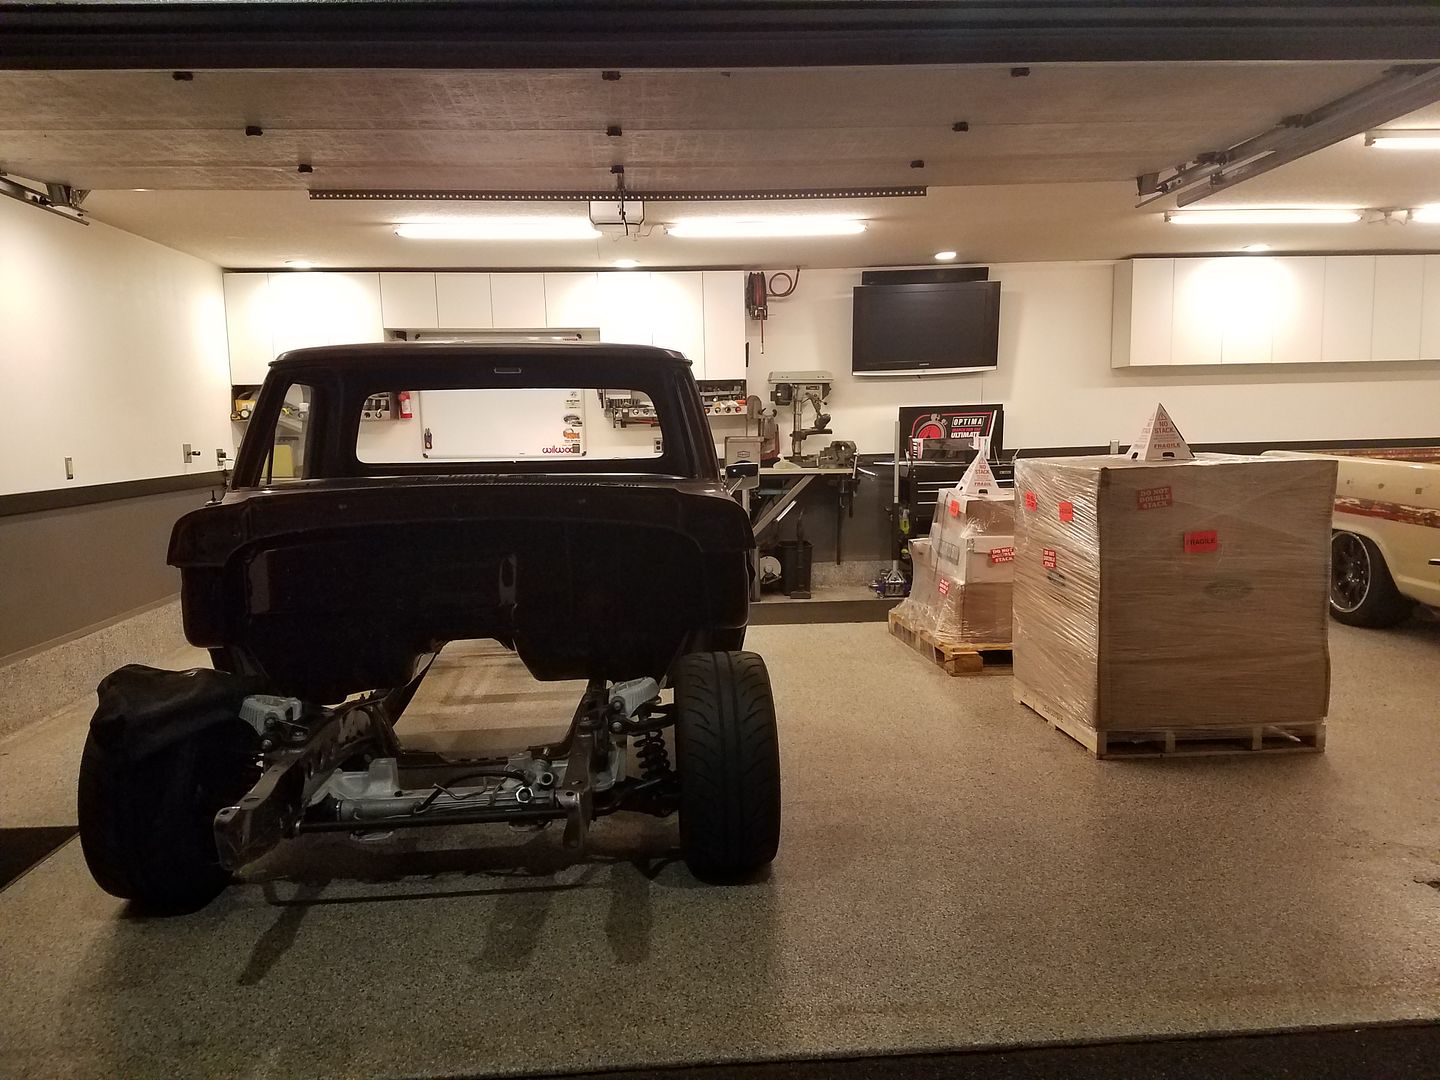
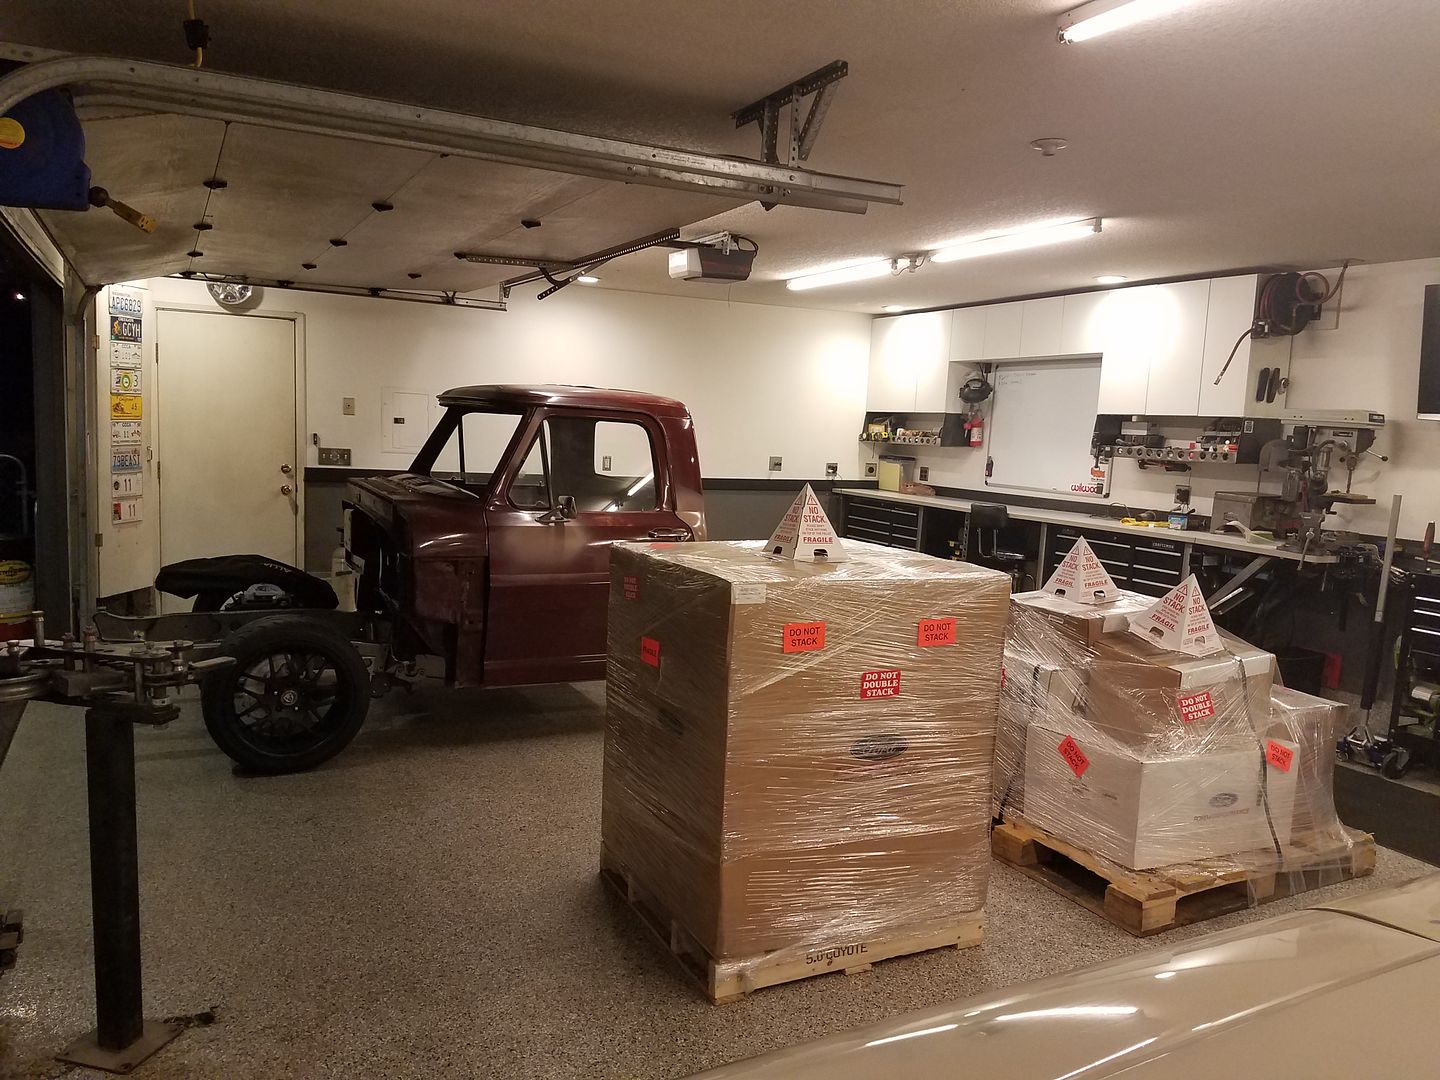
It was a pretty cool couple pallets though
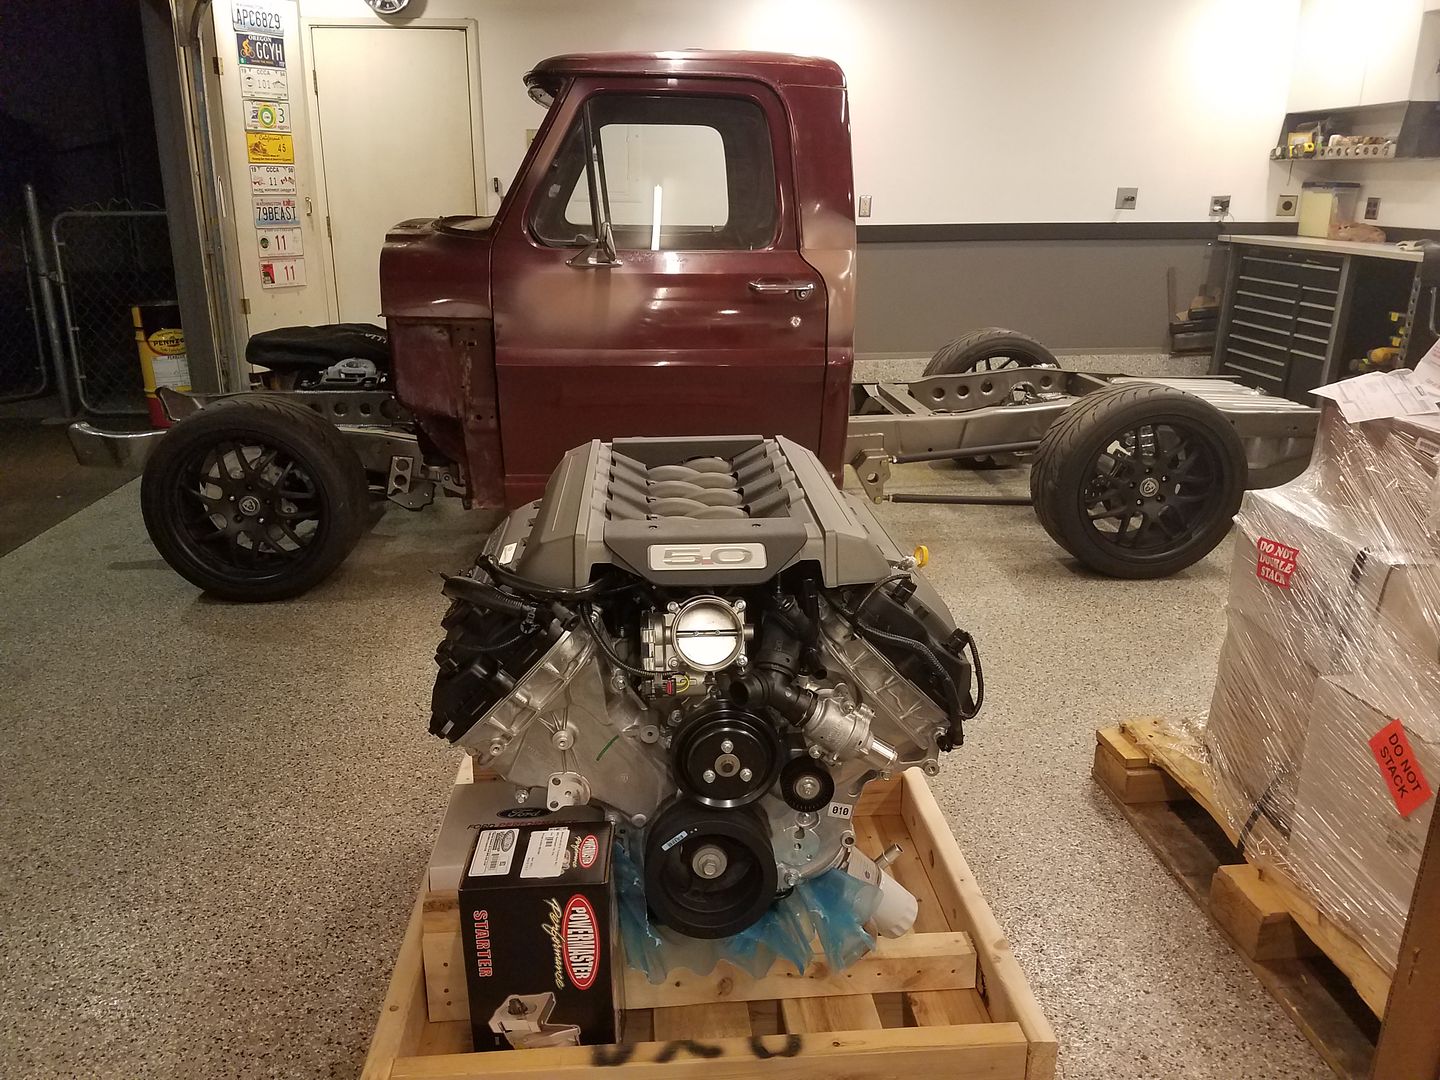
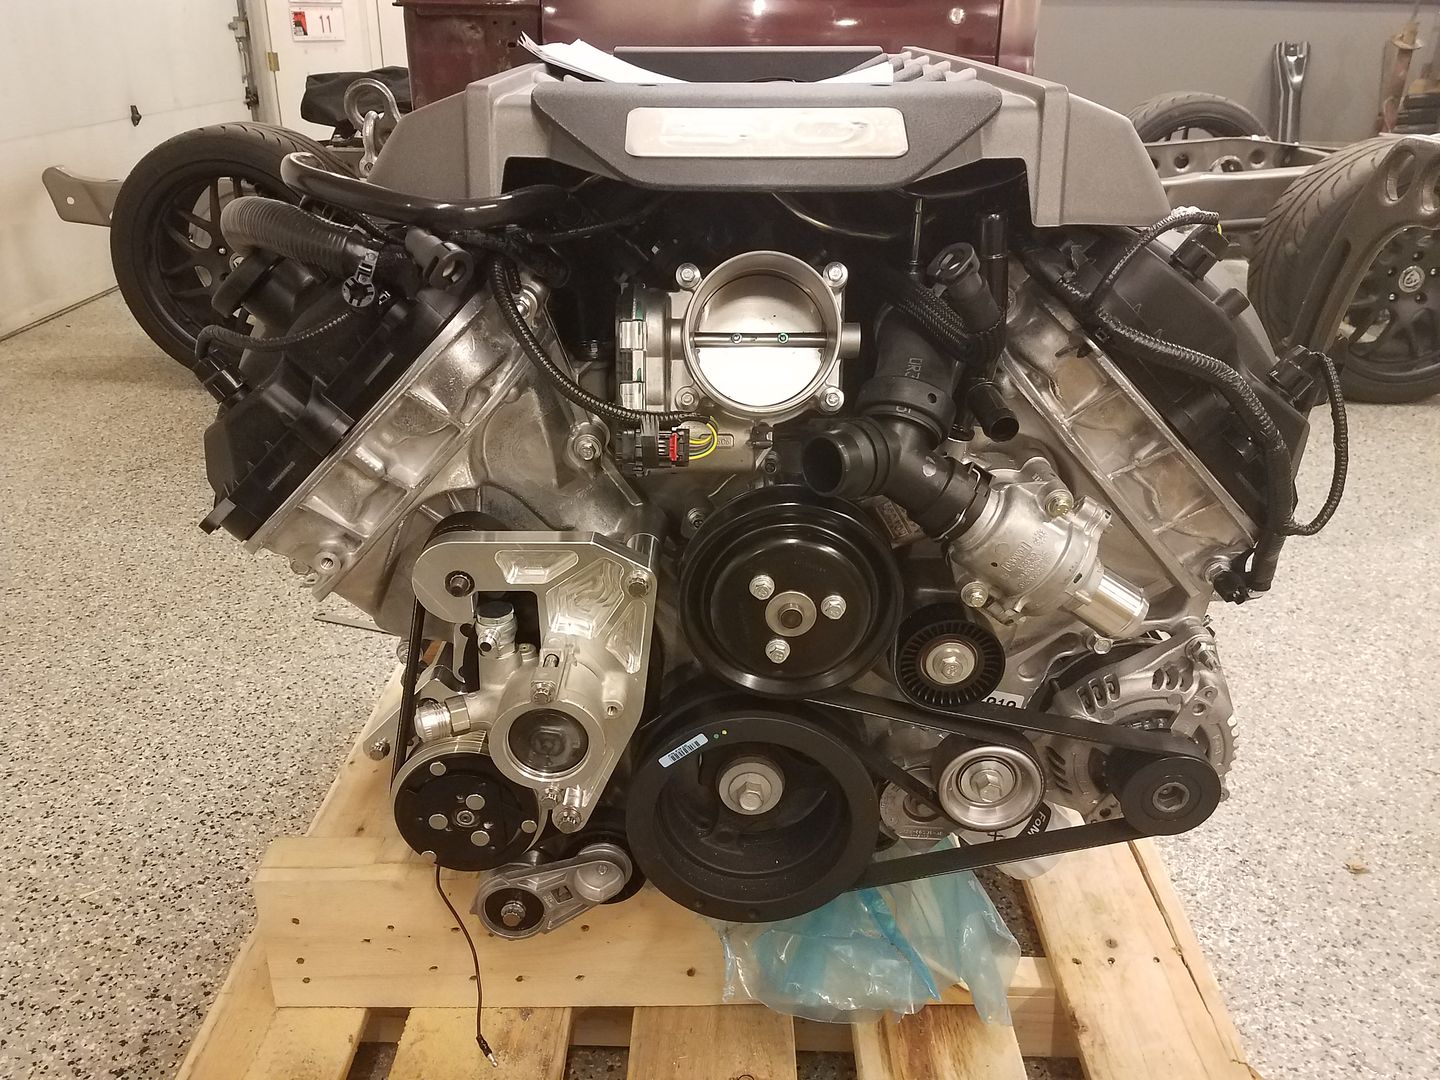
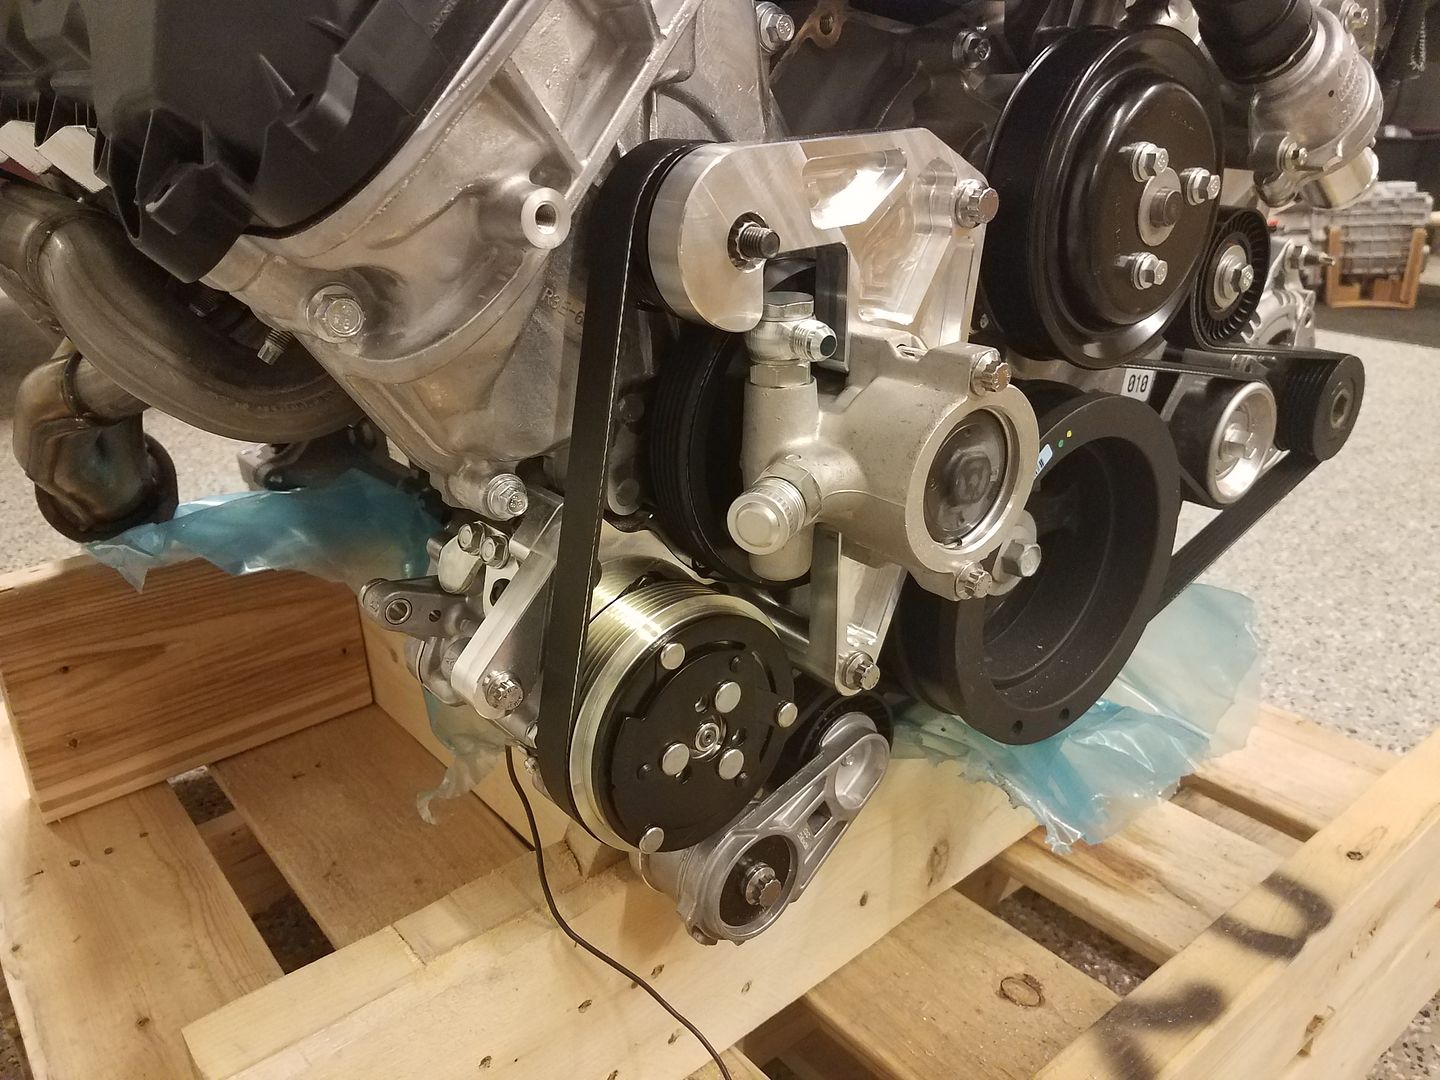
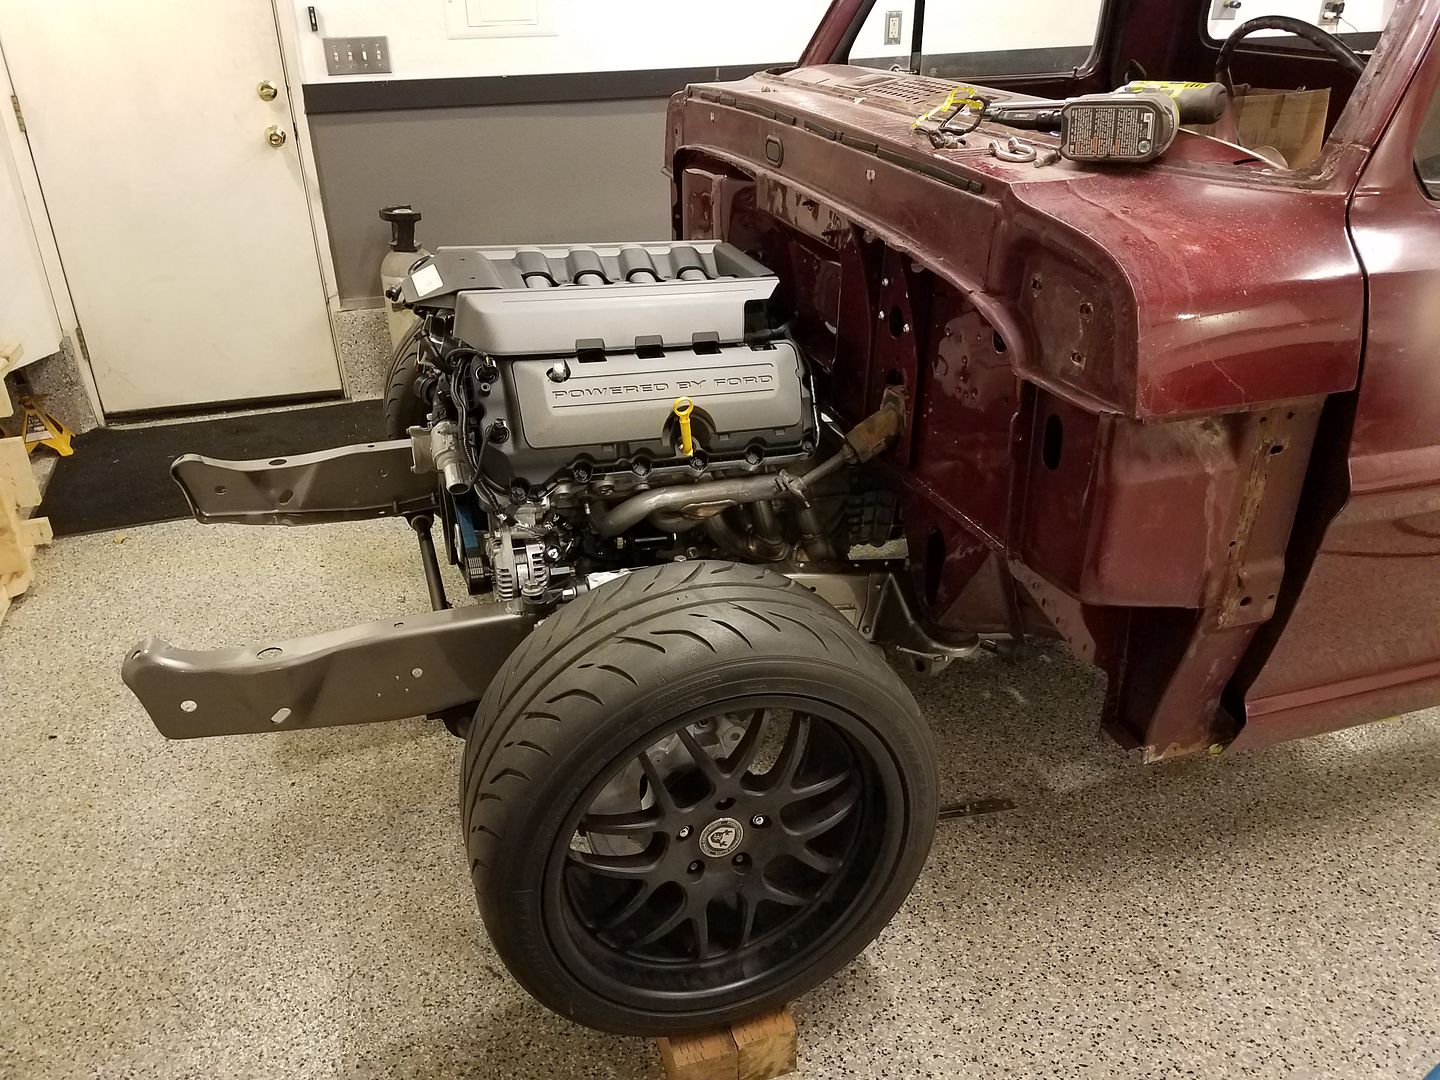
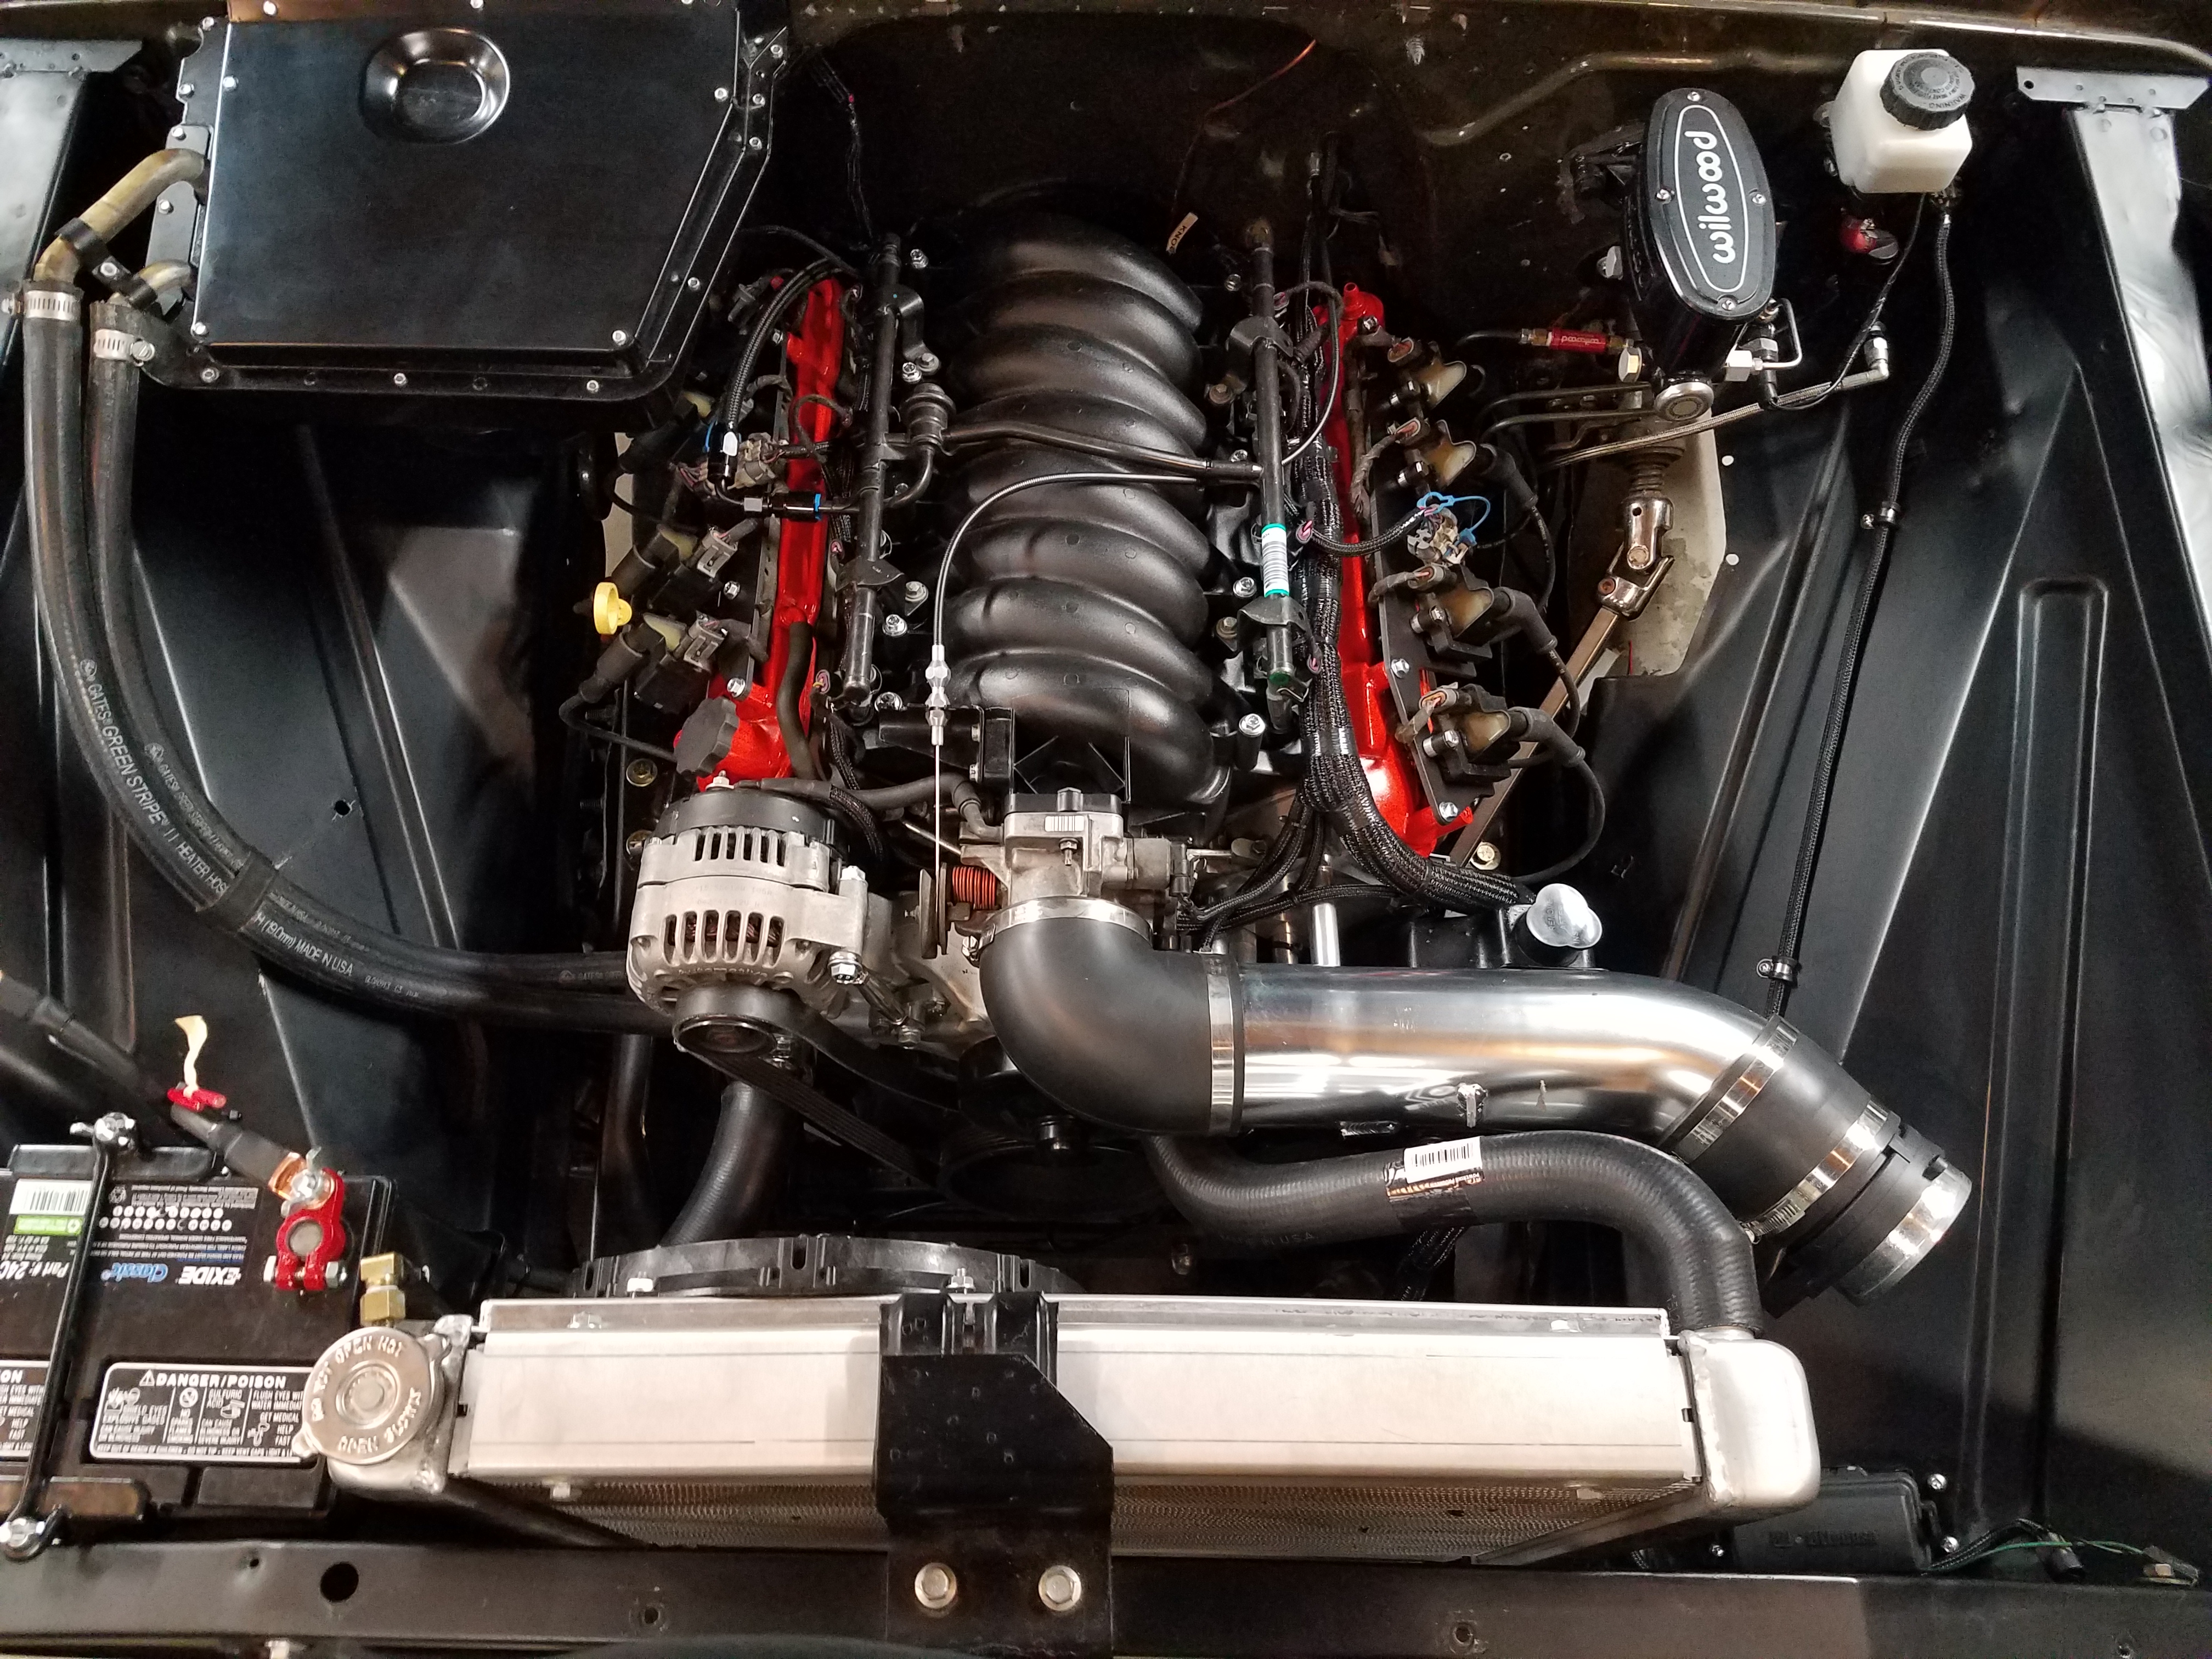
This is getting A/C so he ordered the engine with the Vintage Air front runner setup with power steering pump. It was quite possibly the second worst piece of aftermarket stuff I had to assemble. The instructions were super vague, included cutting off a boss from the side of the timing chain cover then grinding some of the gussets off the bosses on the timing chain cover, then drilling and tapping those two bosses to a larger size, no drill bits were included, no measurements of how much to grind from the gussets, no sizes of drill bits were included.
But the best part is that this has to be dissasembled to change or install a new belt. But its a nice piece, and its on the engine. I spent almost an entire day getting the engine off the pallet and getting the front runner setup installed.
Next up was the back end. I pulled off the flywheel to install the engine plate, cleaned everything up and reinstalled the flywheel to the specs. 177 inch lbs and 60 degrees of angle on the bolts. Centerforce dual friction clutch then.
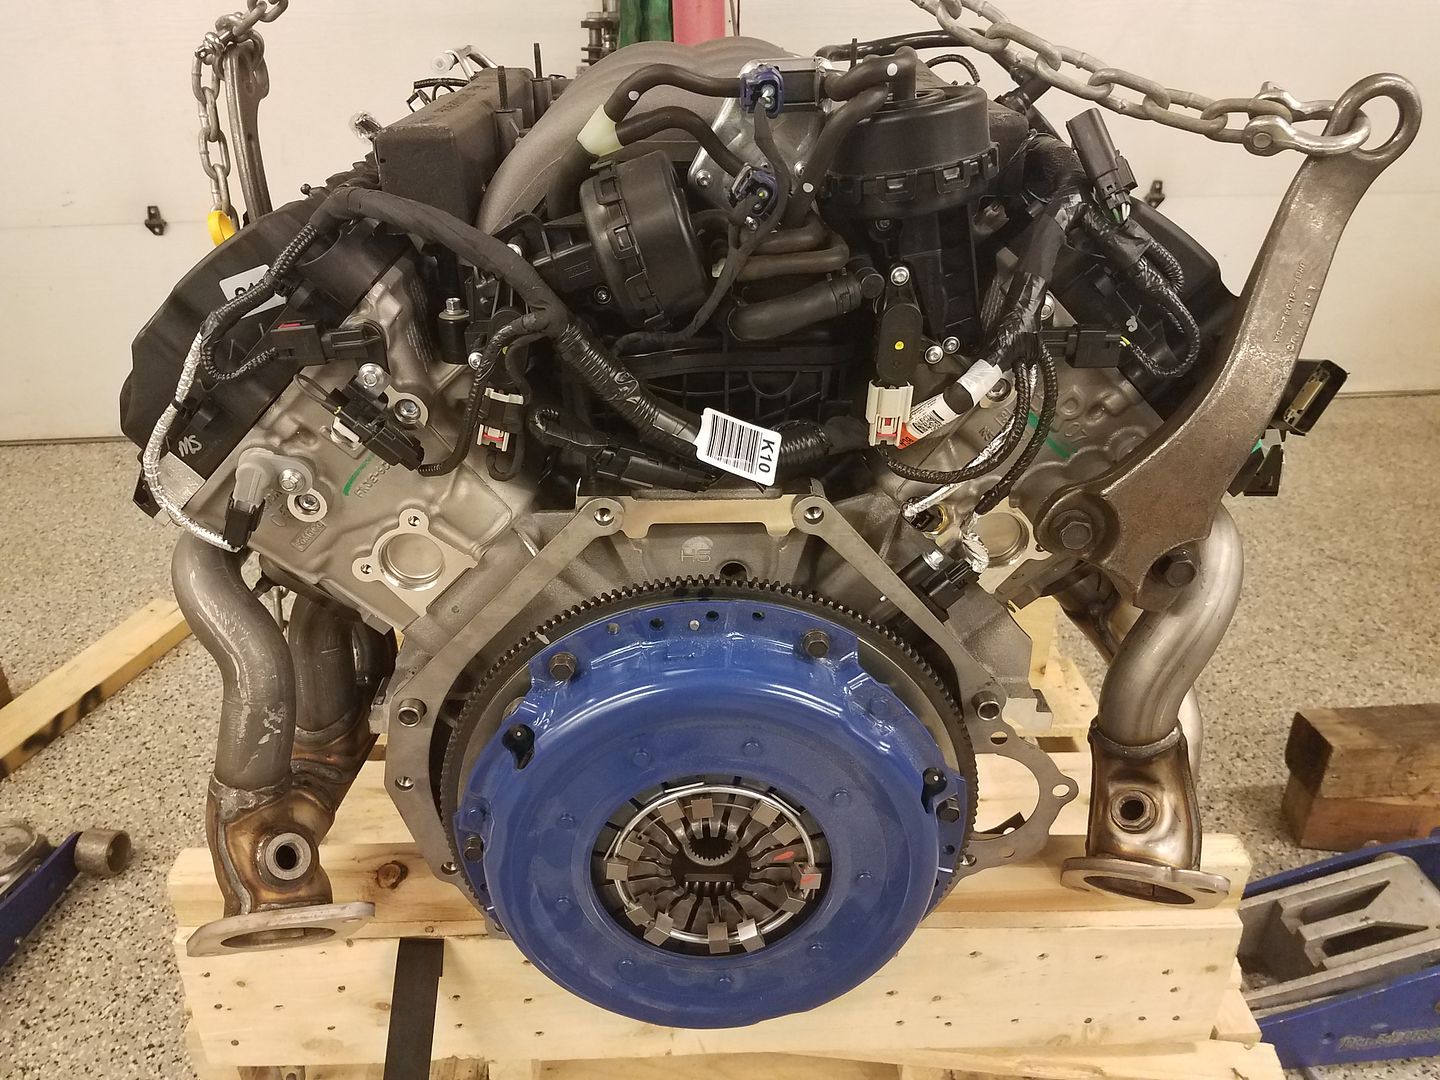
Then bellhousing and Tranny next. Had a little drama with the clutch fork but got it ironed out. Sure is a nice looking setup.
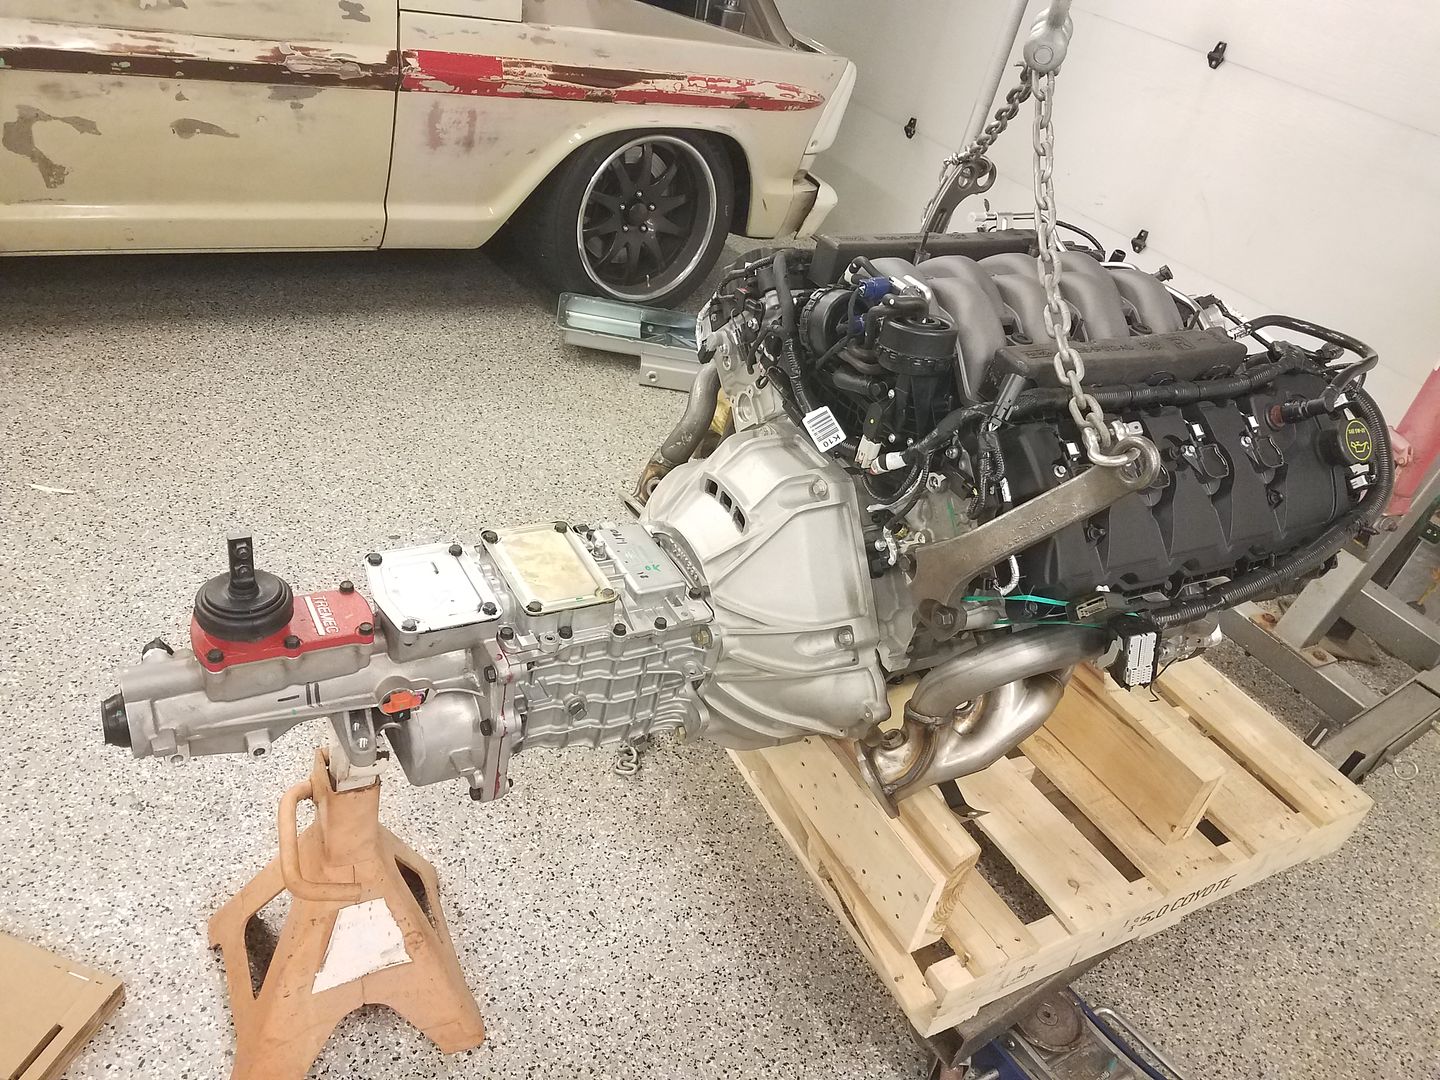
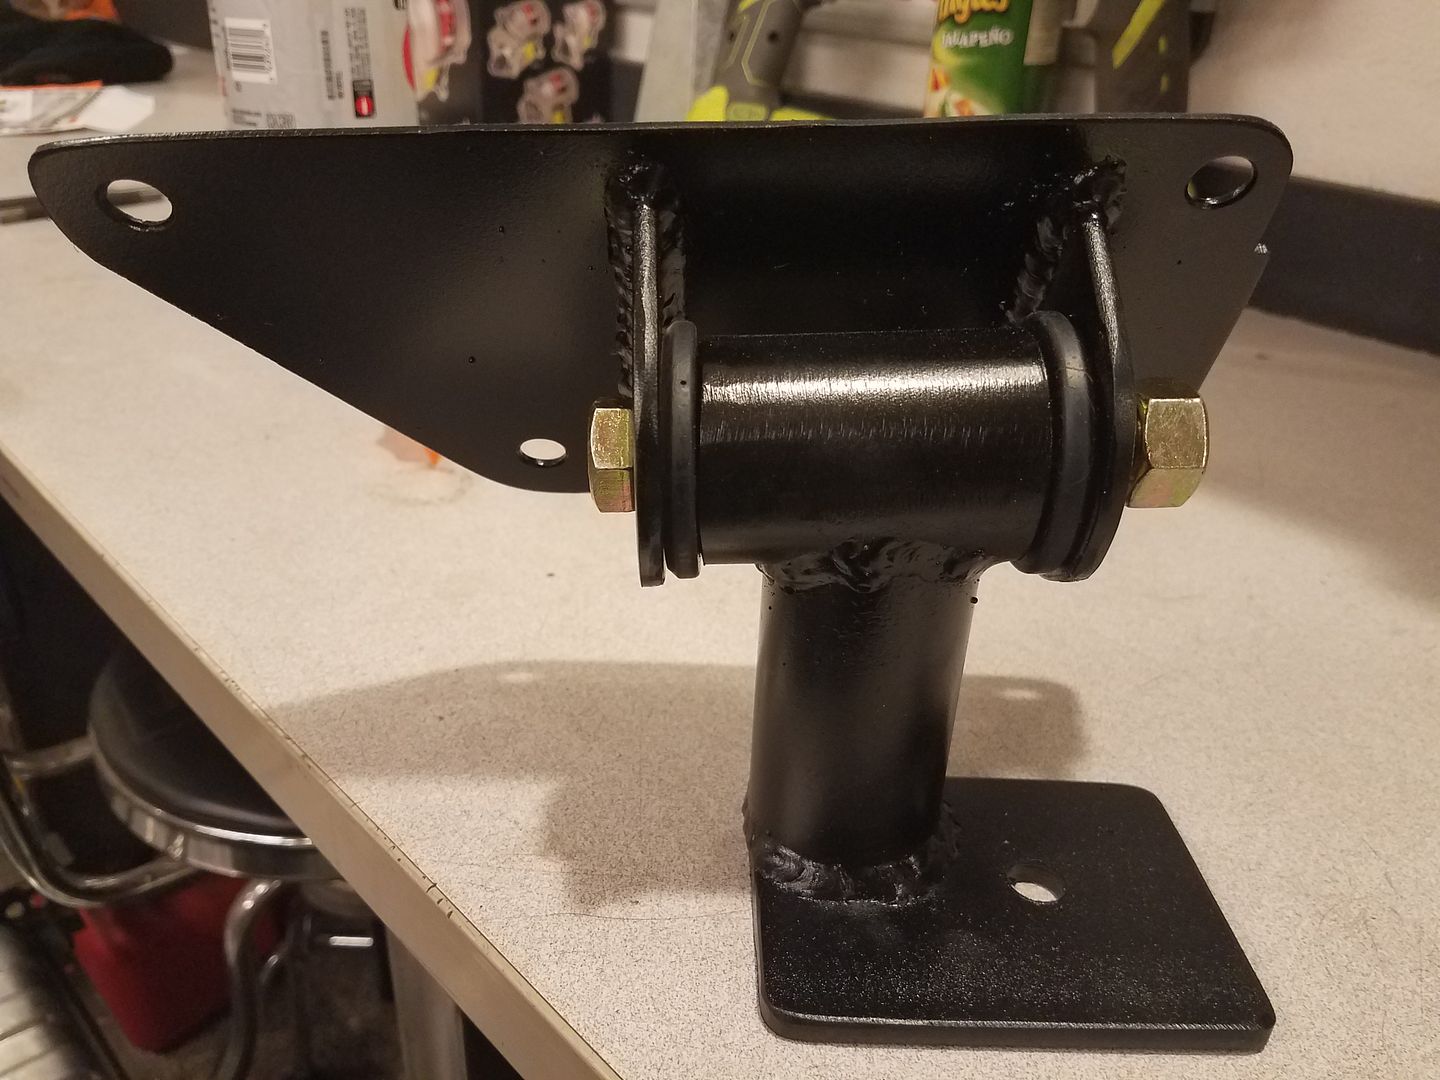
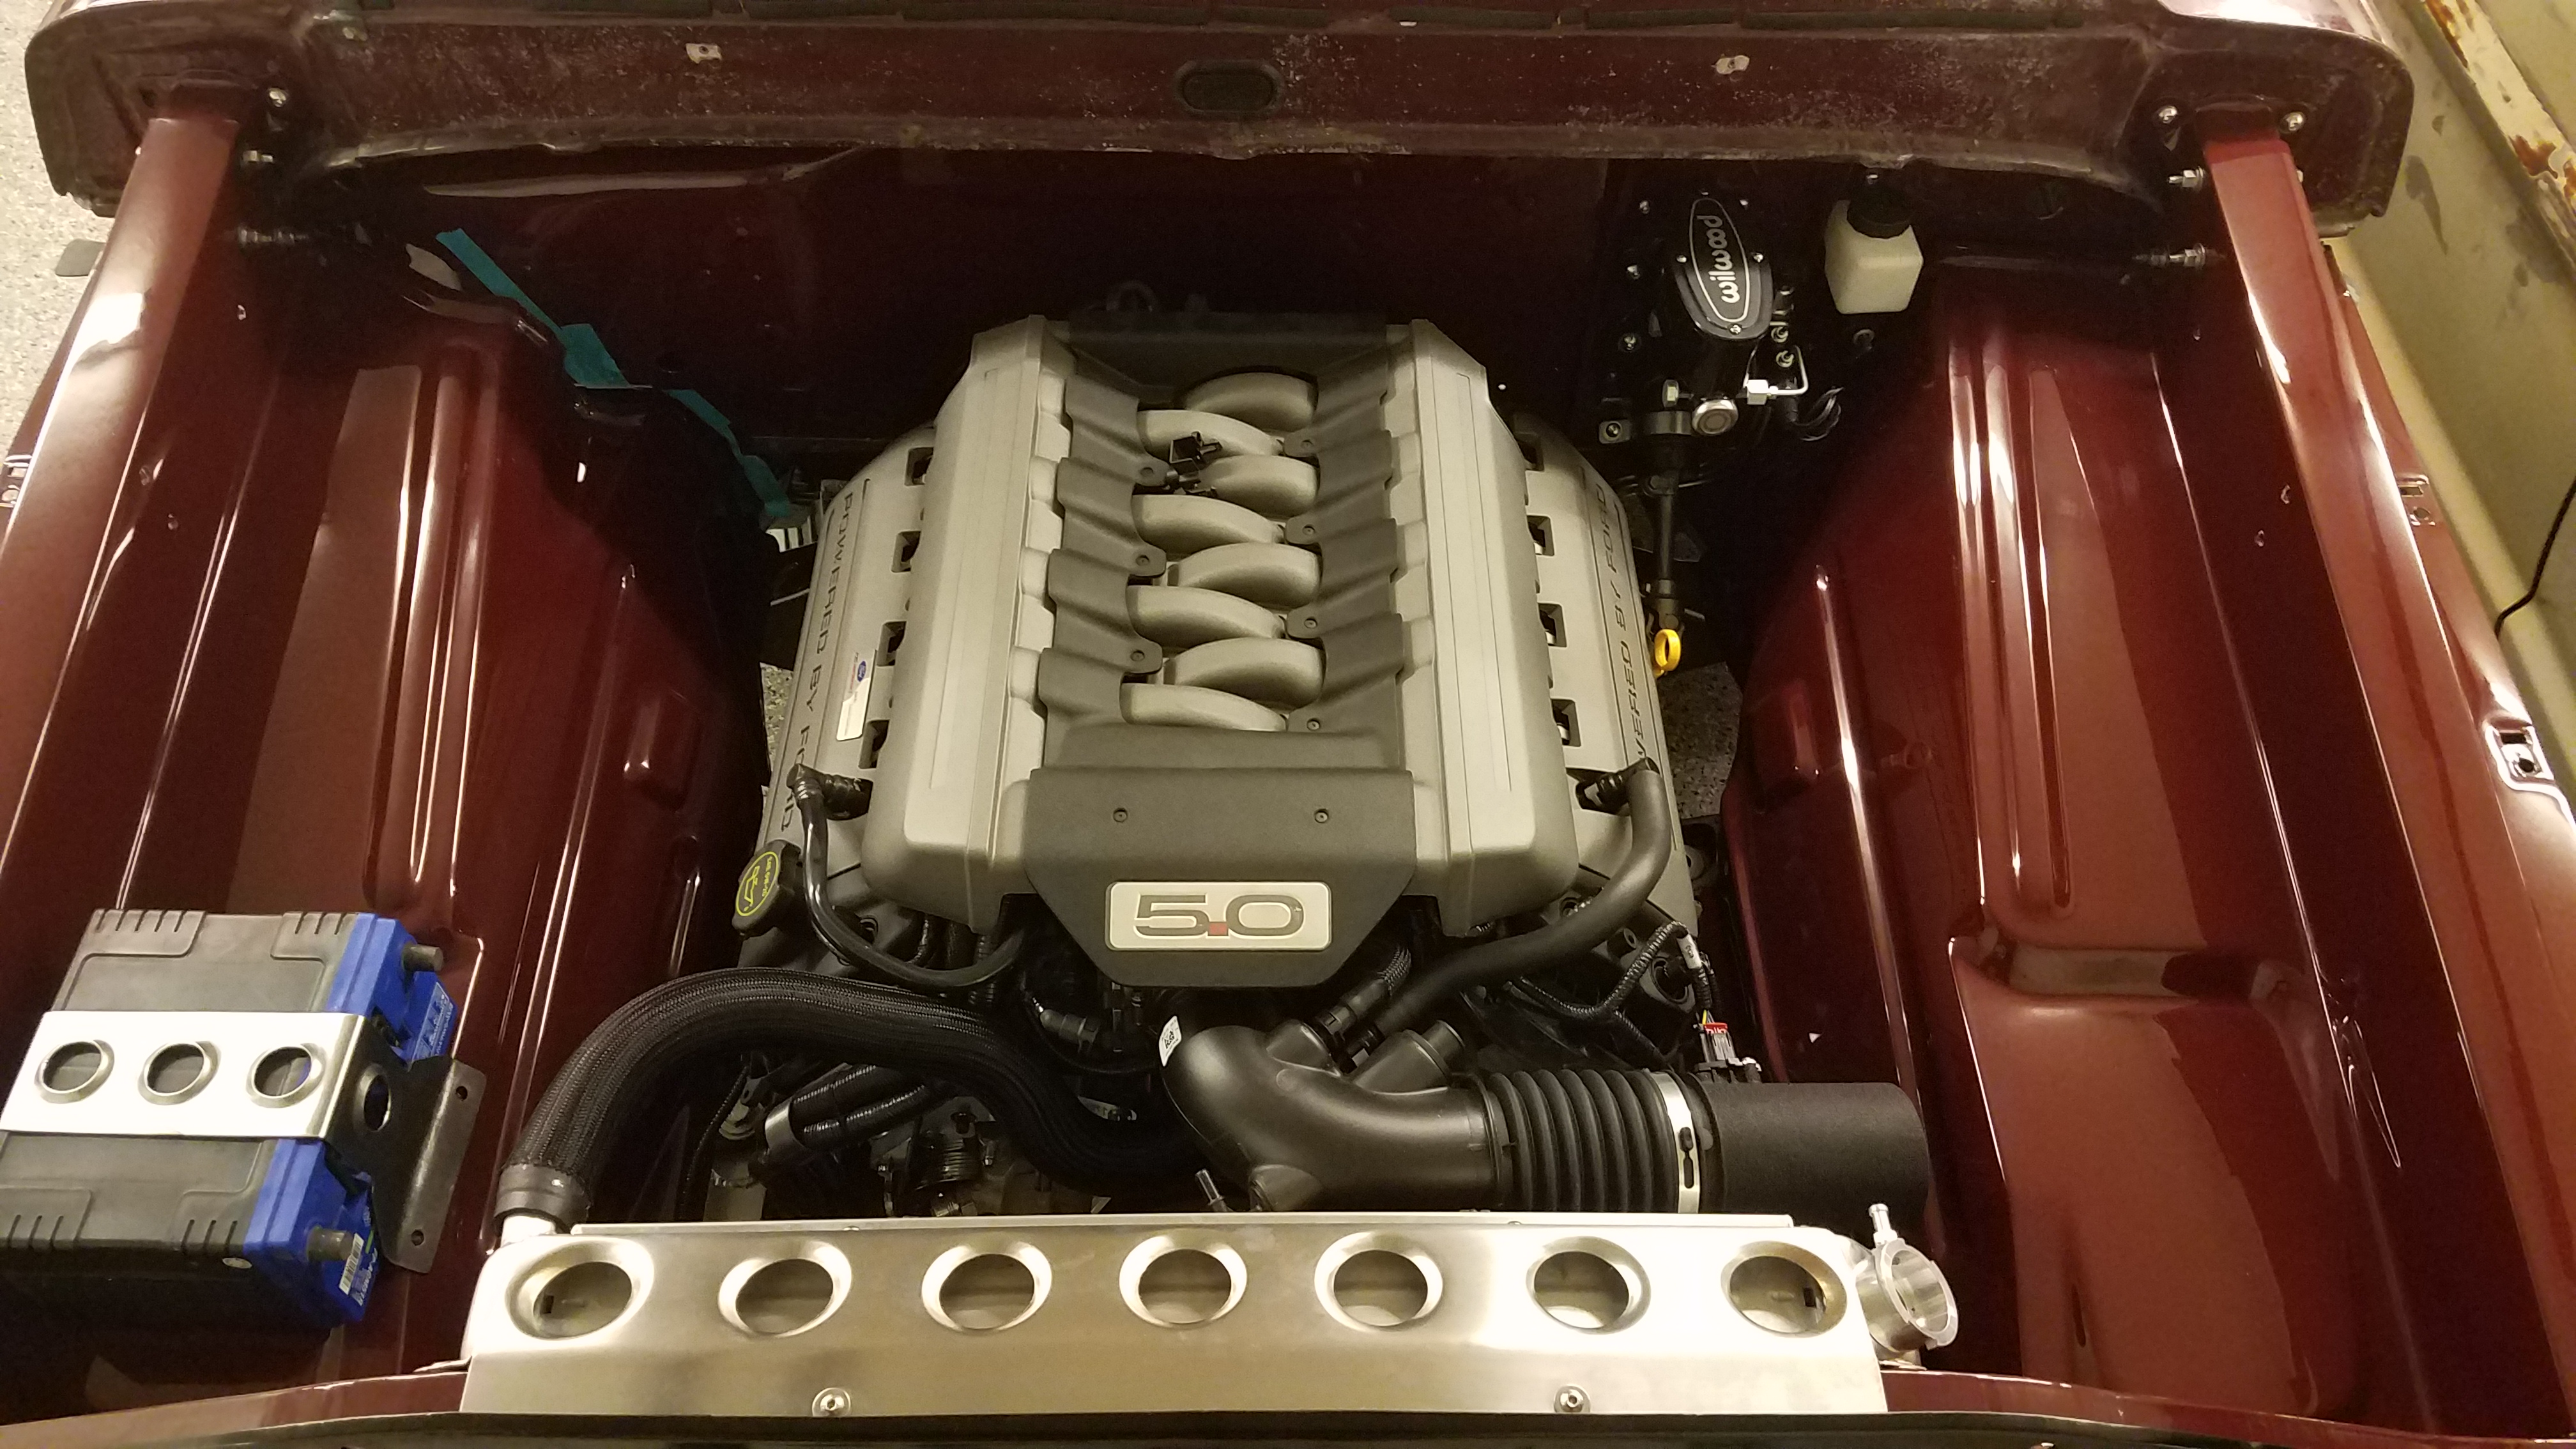
A couple people have inquired about motor mounts for the coyote. I hate the ones on my truck, so I knew that these were going to be built from scratch, a little plate, some bushings and tube and BAAM....nice set of motor mounts to hold that baby in place.
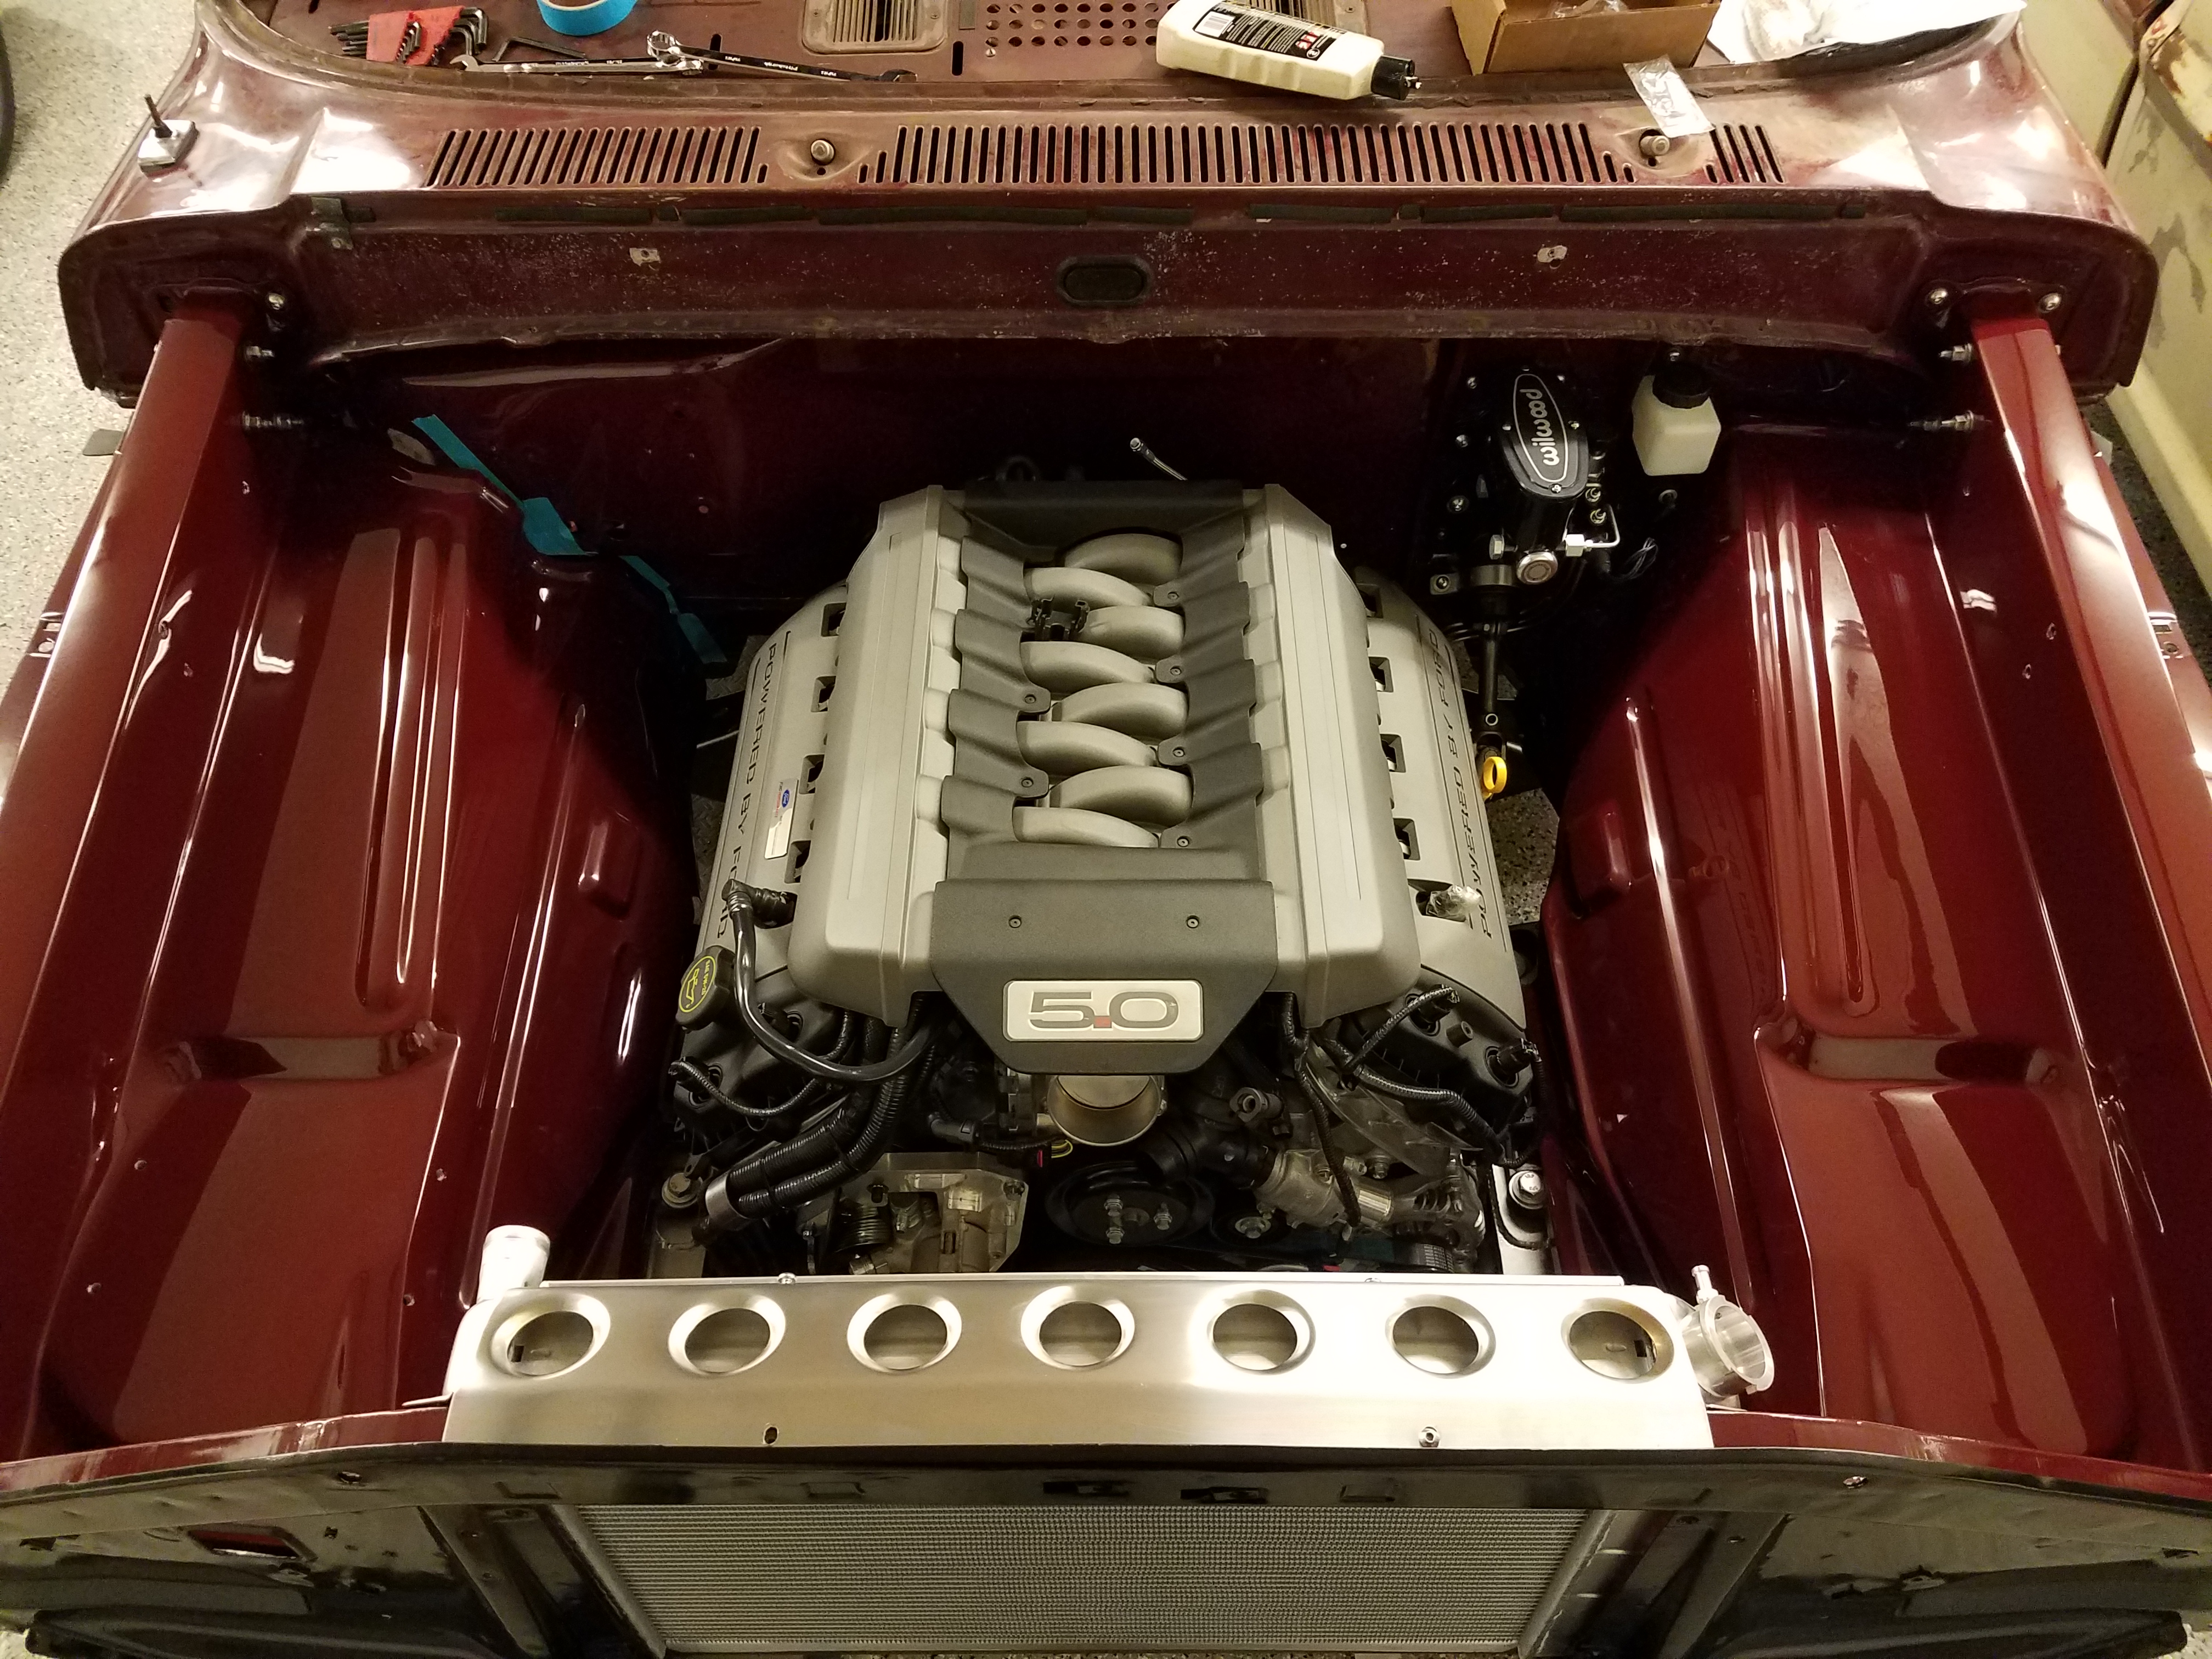
I moved the engine back another inch from the tan truck, should give me a little more room for the condenser up front and push the shifter back a bit.
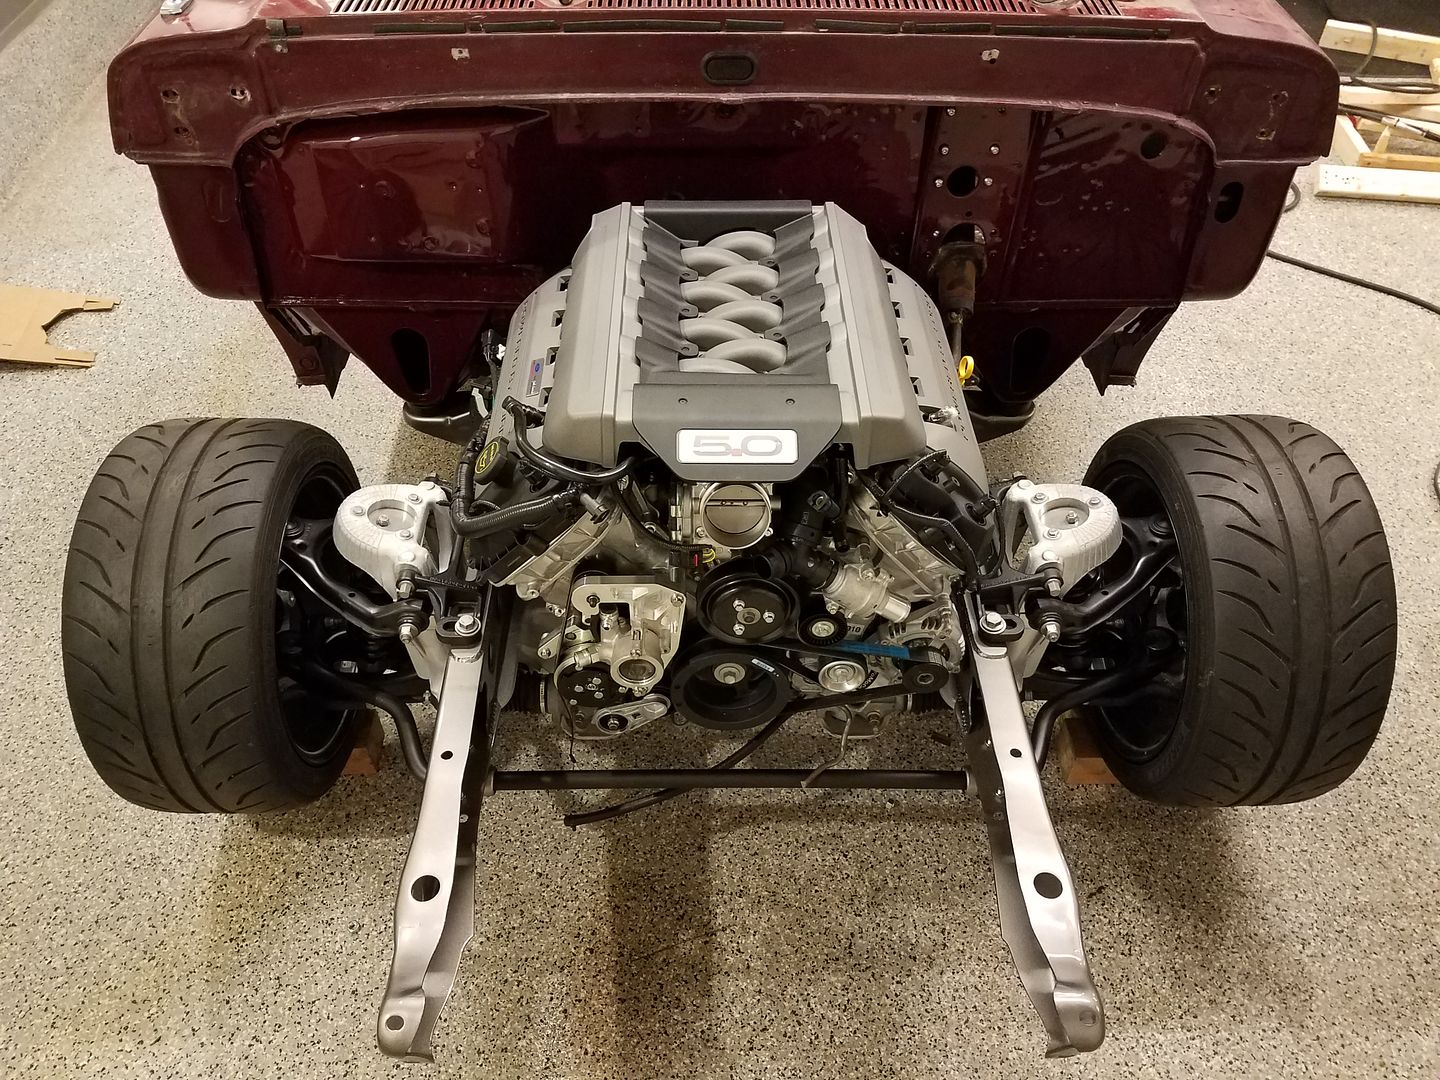
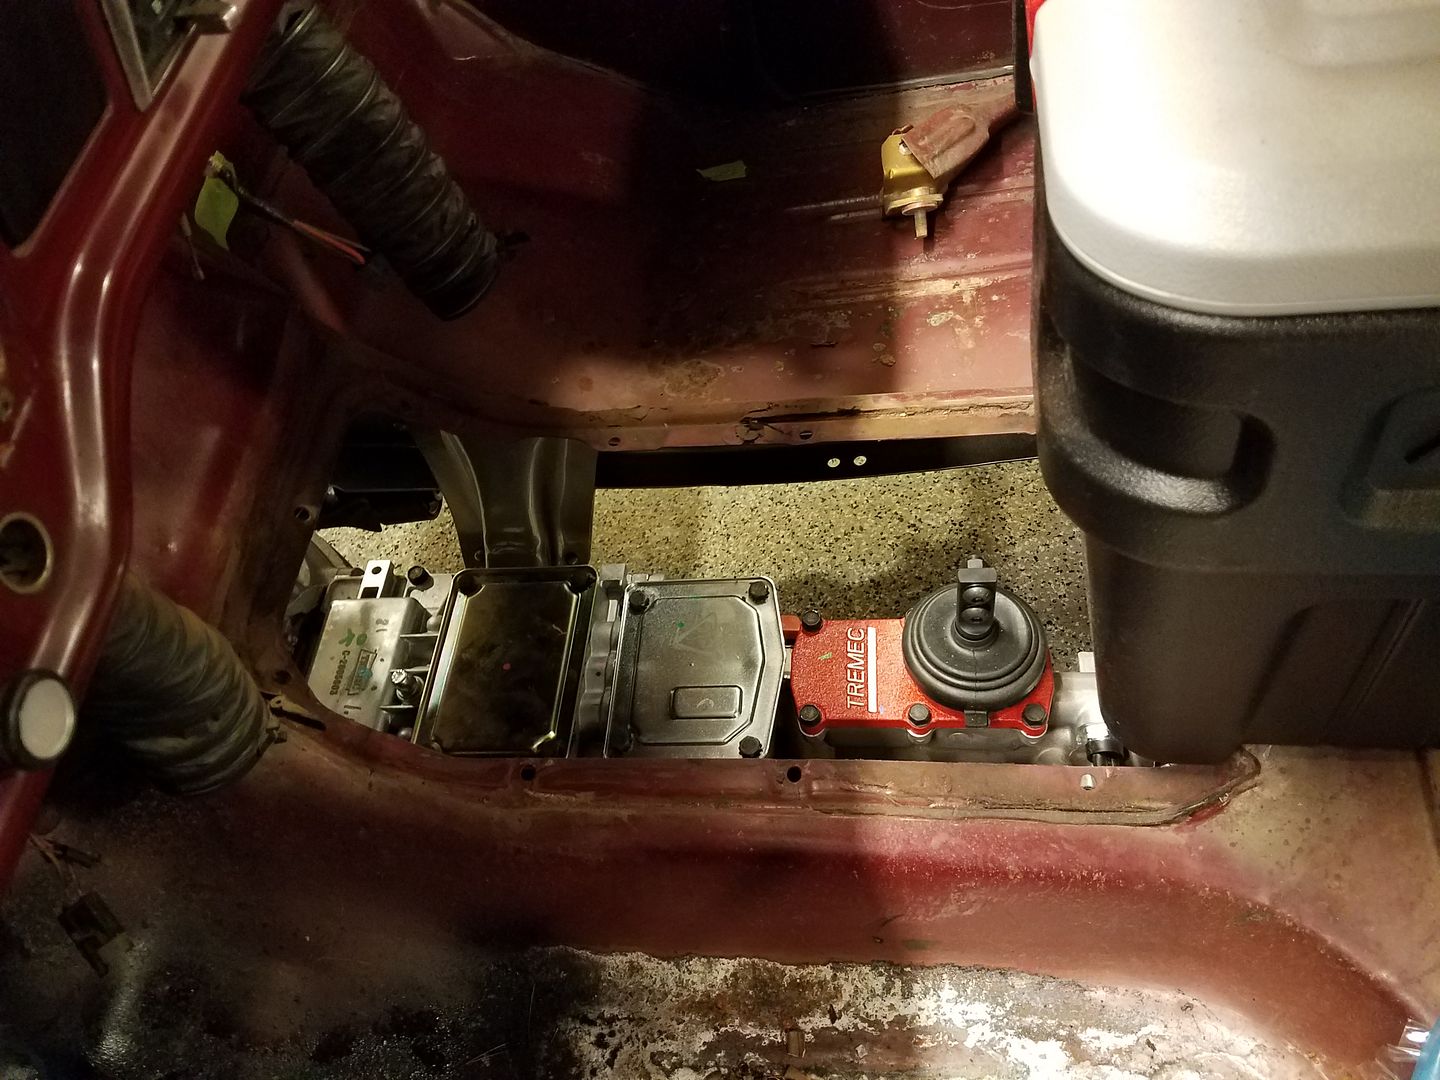
You can see how far back it is. Happy with where it sits in there.
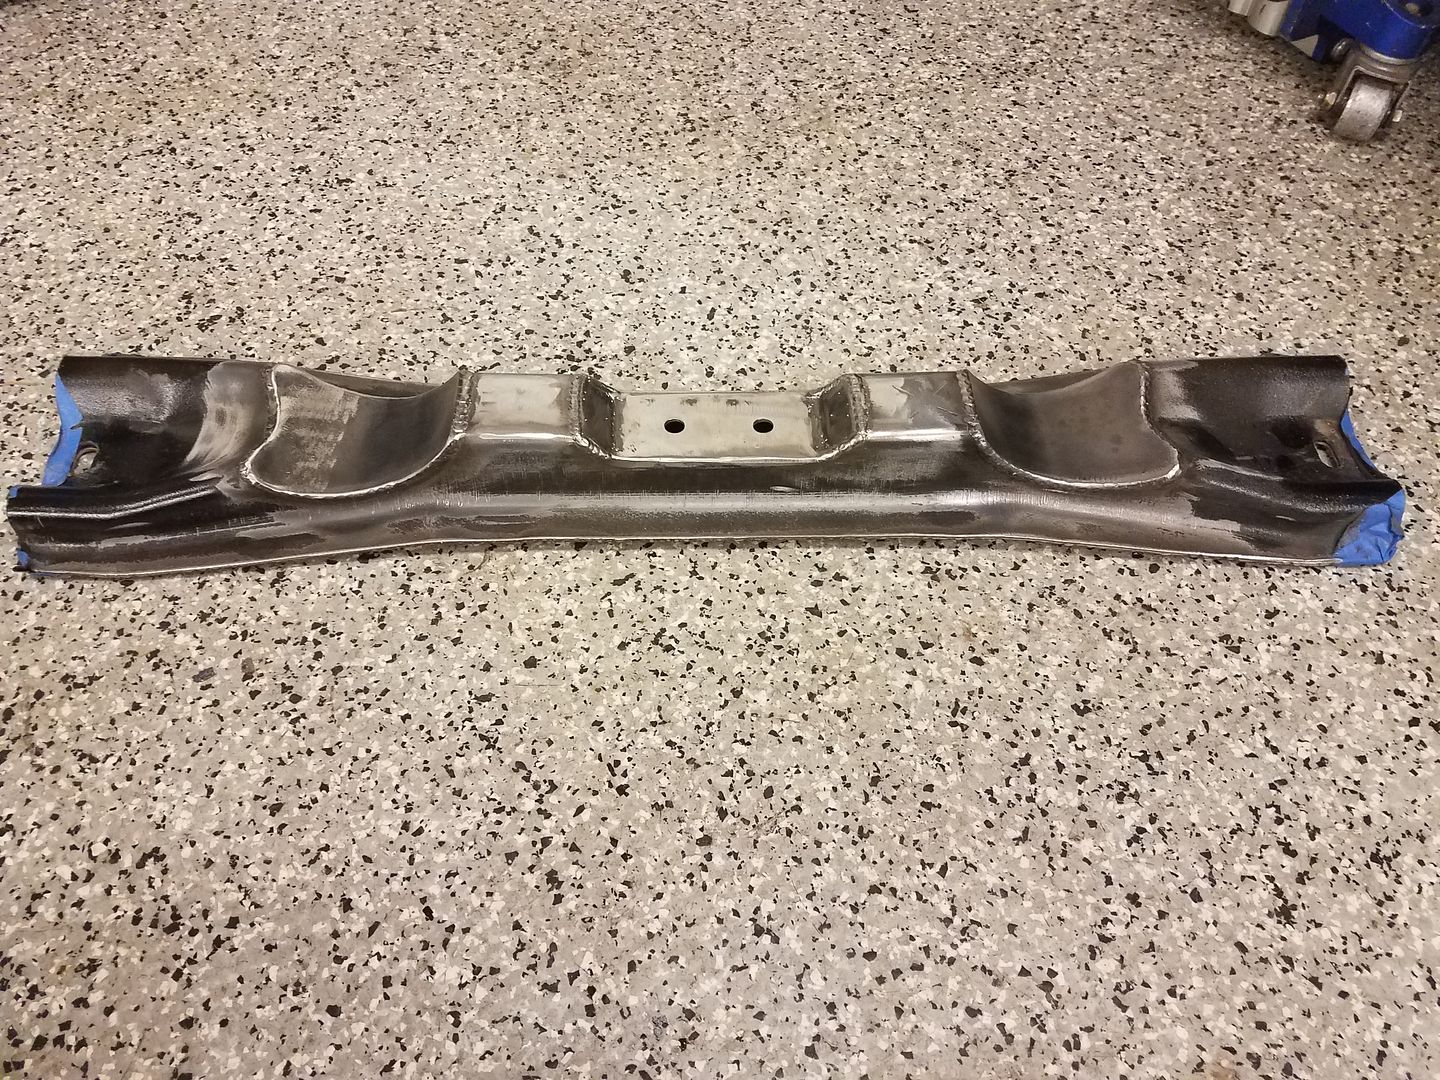
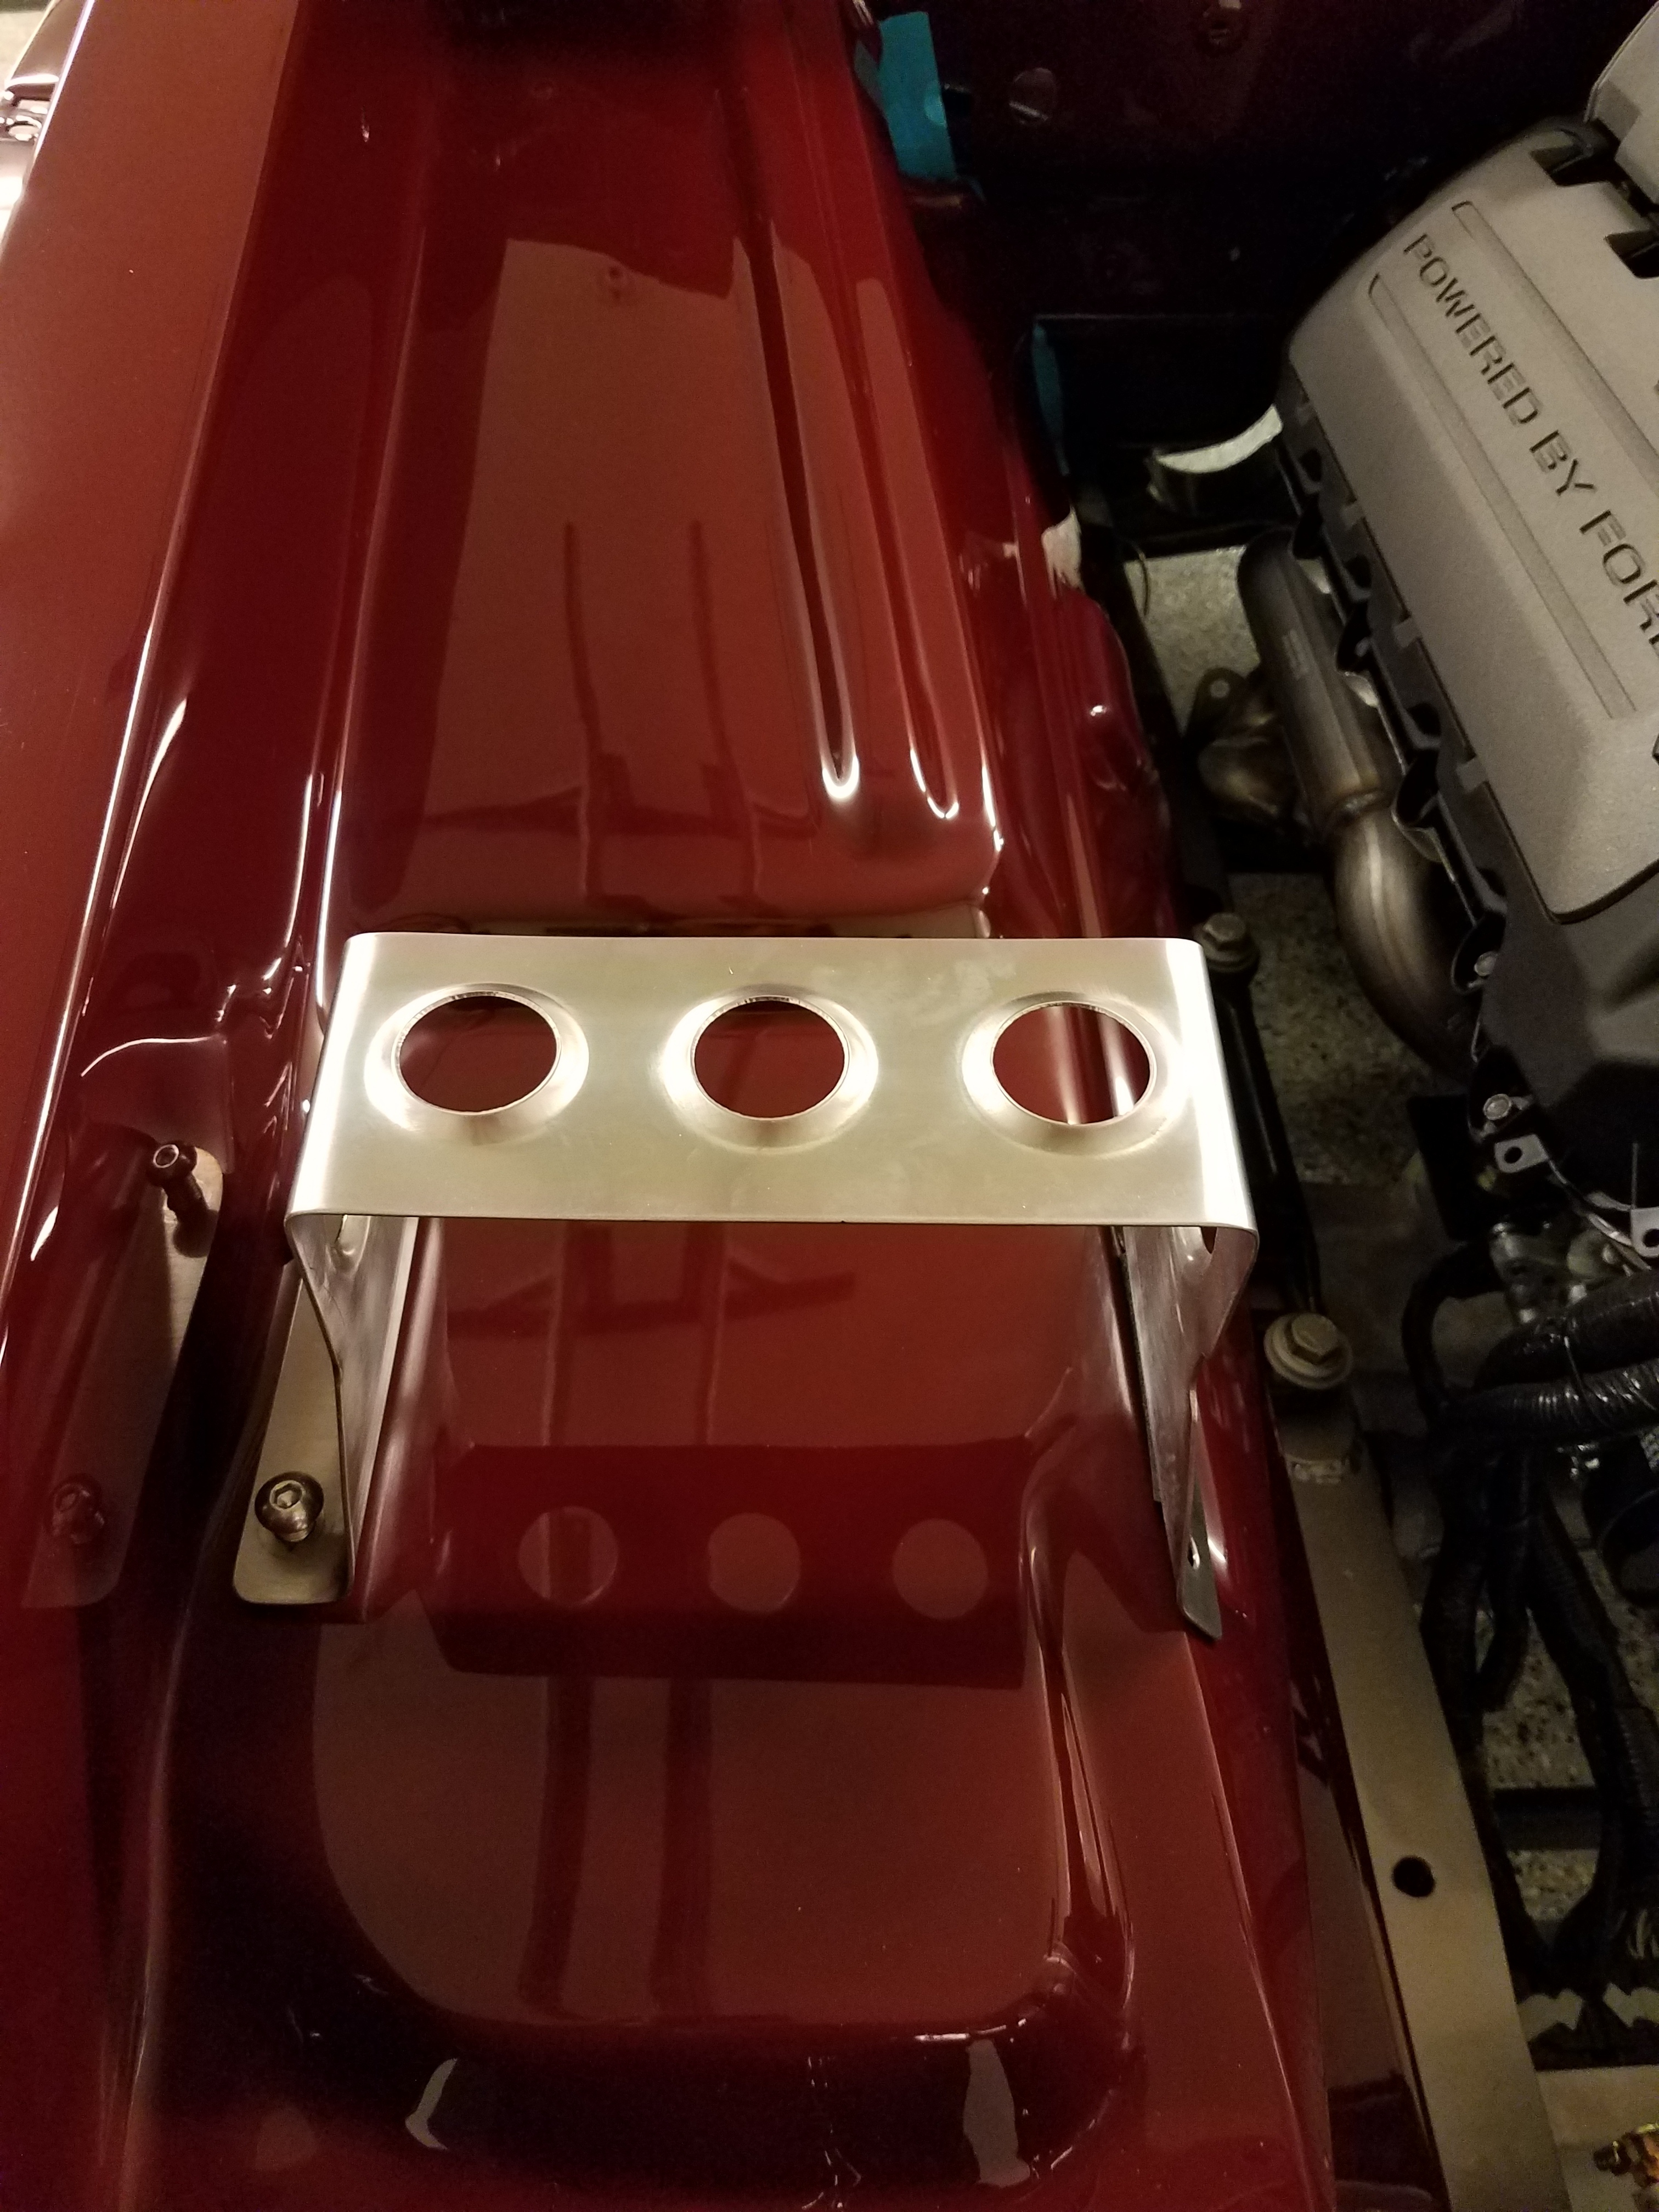
Got to work on the transmission crossmember, modifying the stocker on this one, I think its a nice piece and should look good when its done.
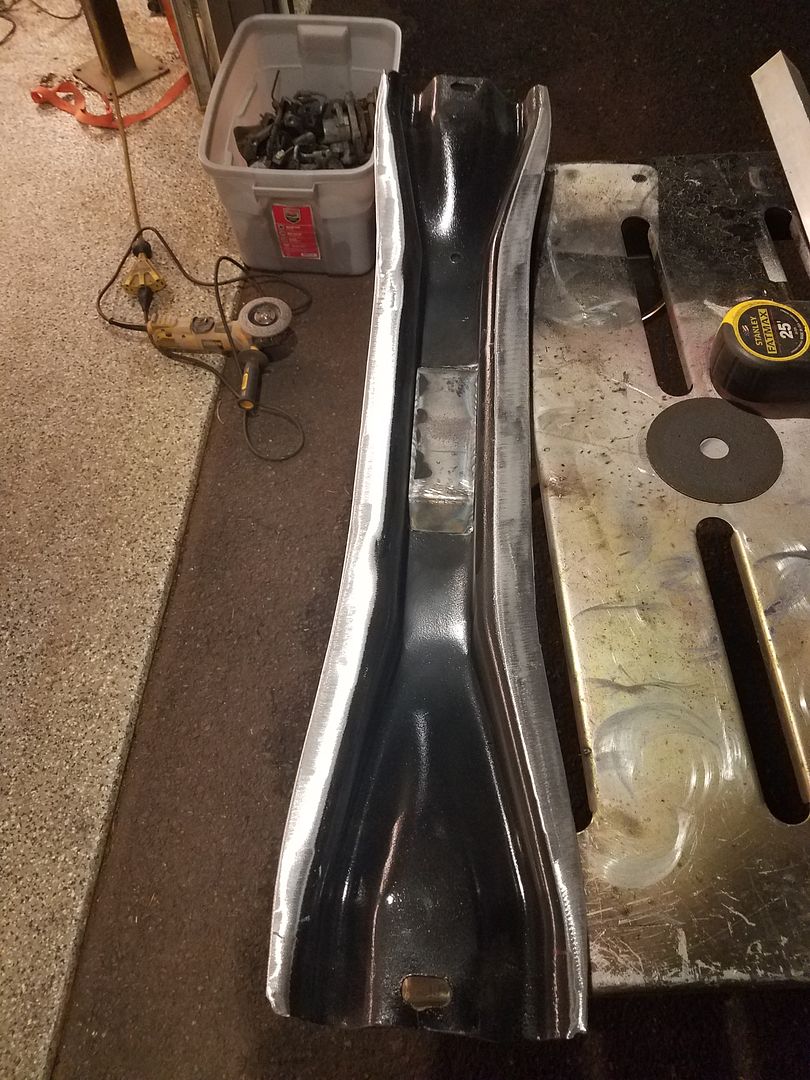
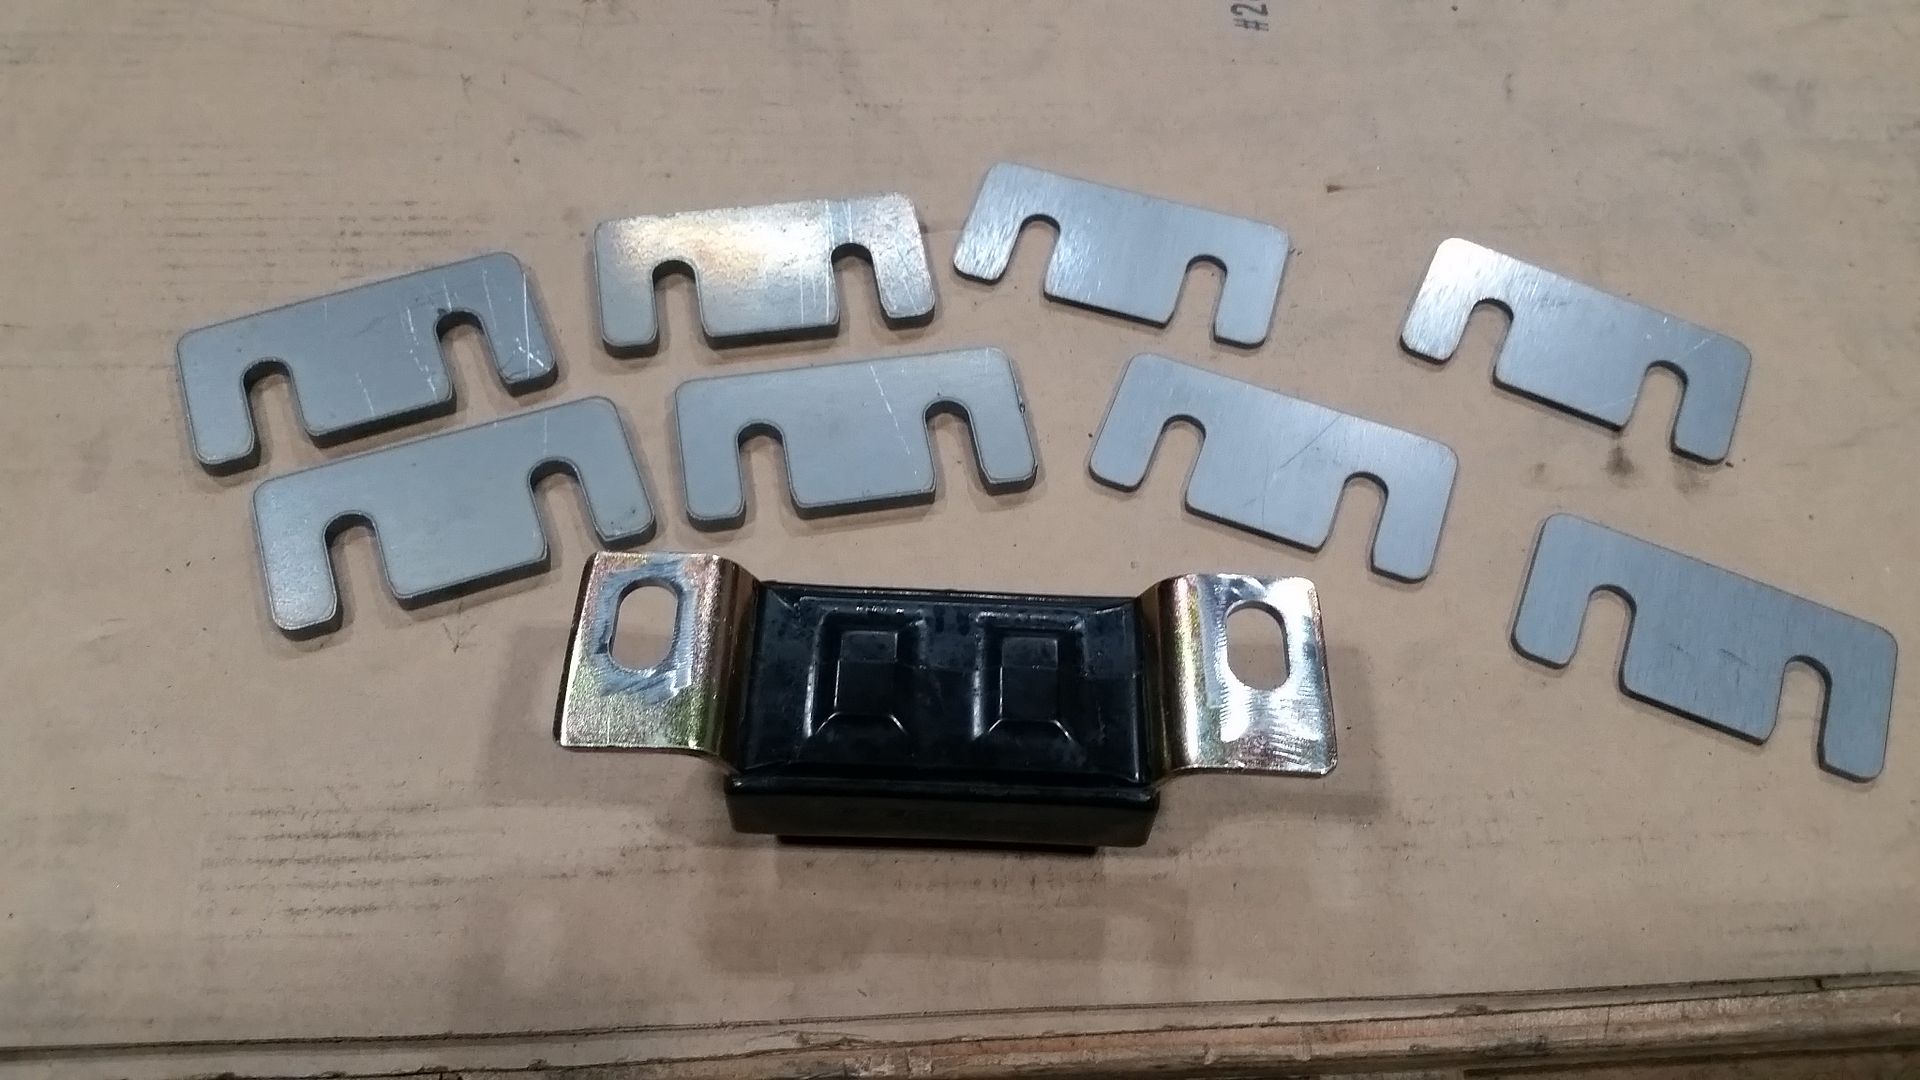
I wanted adjust ability in the height of the transmission mount so I can dial in the engine angle, so I recessed the mount in the crossmember 1" and had a friend of mine lazer some shims for me and mill some slots in the transmission mount.
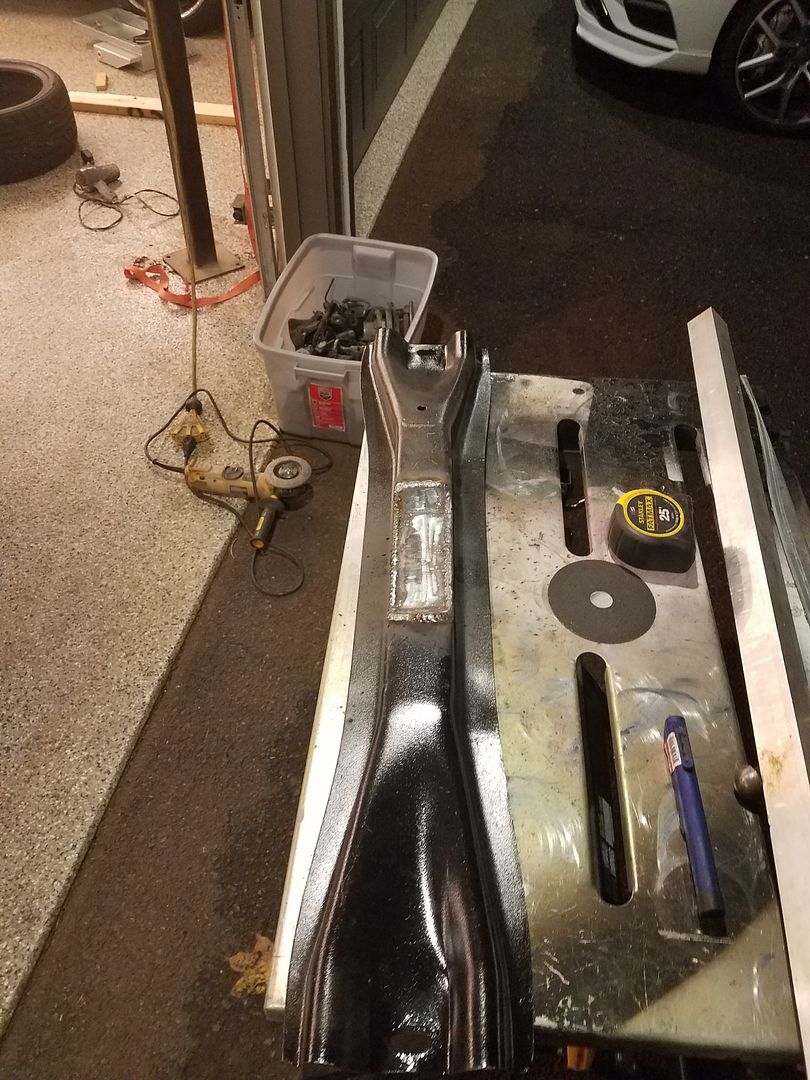
Its been too long since some dimple dies......the center two holes line up with the trans mount.
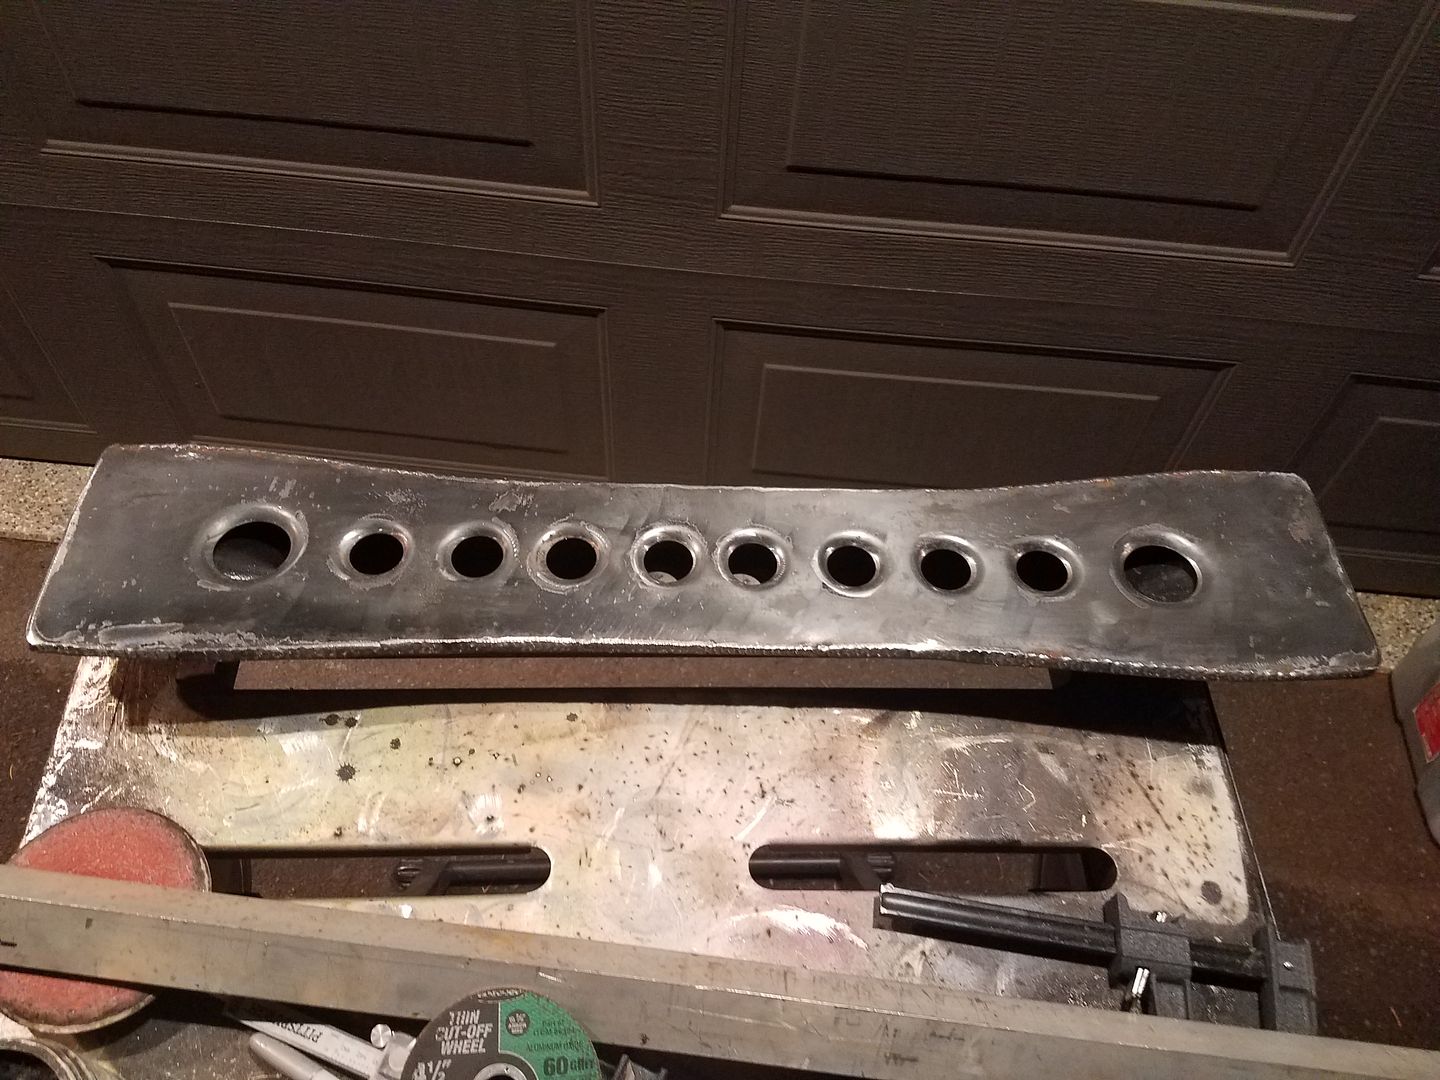
I also needed to get some additional clearance for the exhaust to go over this crossmember so I cut and plated some 6" .120 openings in the crossmember, turned out good for a modified factory crossmember.
Sean
Xchamp, yes, non EFI tank for now, it will be though and a pretty kickass fuel system. Frame is a pretty metallic grey but not charcoal. Ill see if I can find out what color it is.
So as I have some time the next few days Ill try and get this puppy up to speed.
A few pallets have been sitting at my real work, I finally got a chance to get out there and pick them up a little over a week ago.


It was a pretty cool couple pallets though

This is getting A/C so he ordered the engine with the Vintage Air front runner setup with power steering pump. It was quite possibly the second worst piece of aftermarket stuff I had to assemble. The instructions were super vague, included cutting off a boss from the side of the timing chain cover then grinding some of the gussets off the bosses on the timing chain cover, then drilling and tapping those two bosses to a larger size, no drill bits were included, no measurements of how much to grind from the gussets, no sizes of drill bits were included.
But the best part is that this has to be dissasembled to change or install a new belt. But its a nice piece, and its on the engine. I spent almost an entire day getting the engine off the pallet and getting the front runner setup installed.


Next up was the back end. I pulled off the flywheel to install the engine plate, cleaned everything up and reinstalled the flywheel to the specs. 177 inch lbs and 60 degrees of angle on the bolts. Centerforce dual friction clutch then.

Then bellhousing and Tranny next. Had a little drama with the clutch fork but got it ironed out. Sure is a nice looking setup.

A couple people have inquired about motor mounts for the coyote. I hate the ones on my truck, so I knew that these were going to be built from scratch, a little plate, some bushings and tube and BAAM....nice set of motor mounts to hold that baby in place.

I moved the engine back another inch from the tan truck, should give me a little more room for the condenser up front and push the shifter back a bit.


You can see how far back it is. Happy with where it sits in there.

Got to work on the transmission crossmember, modifying the stocker on this one, I think its a nice piece and should look good when its done.

I wanted adjust ability in the height of the transmission mount so I can dial in the engine angle, so I recessed the mount in the crossmember 1" and had a friend of mine lazer some shims for me and mill some slots in the transmission mount.

Its been too long since some dimple dies......the center two holes line up with the trans mount.


I also needed to get some additional clearance for the exhaust to go over this crossmember so I cut and plated some 6" .120 openings in the crossmember, turned out good for a modified factory crossmember.


Sean
Thanks
#54
04-24-2017, 11:56 AM
Lucky Ones, I am not really in the market to build those parts and sell them, it doesnt really do me or you any favors as I cannot account for anything different in the vehicles or builds or other accessories, oil pans, steering rack configuations you get the idea. Not trying to be a pain but I feel like custom parts are way better built for the application rather than trying to take what works for someone else and bolt it right on.
So back at this thing for the last week or so and have made good progress.
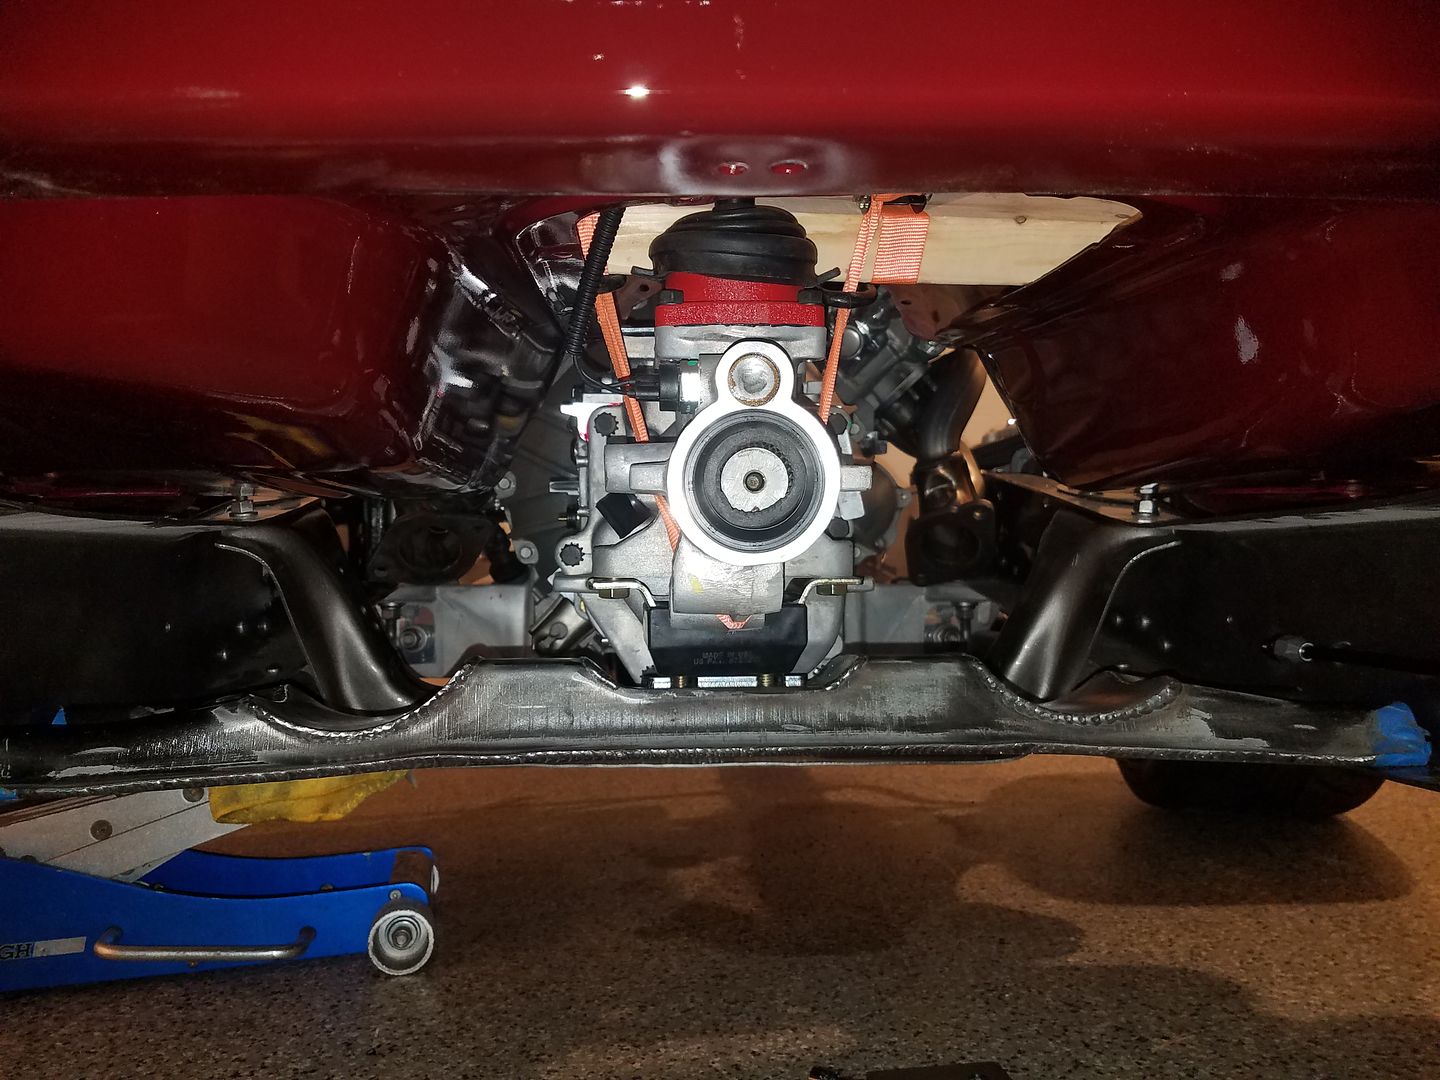
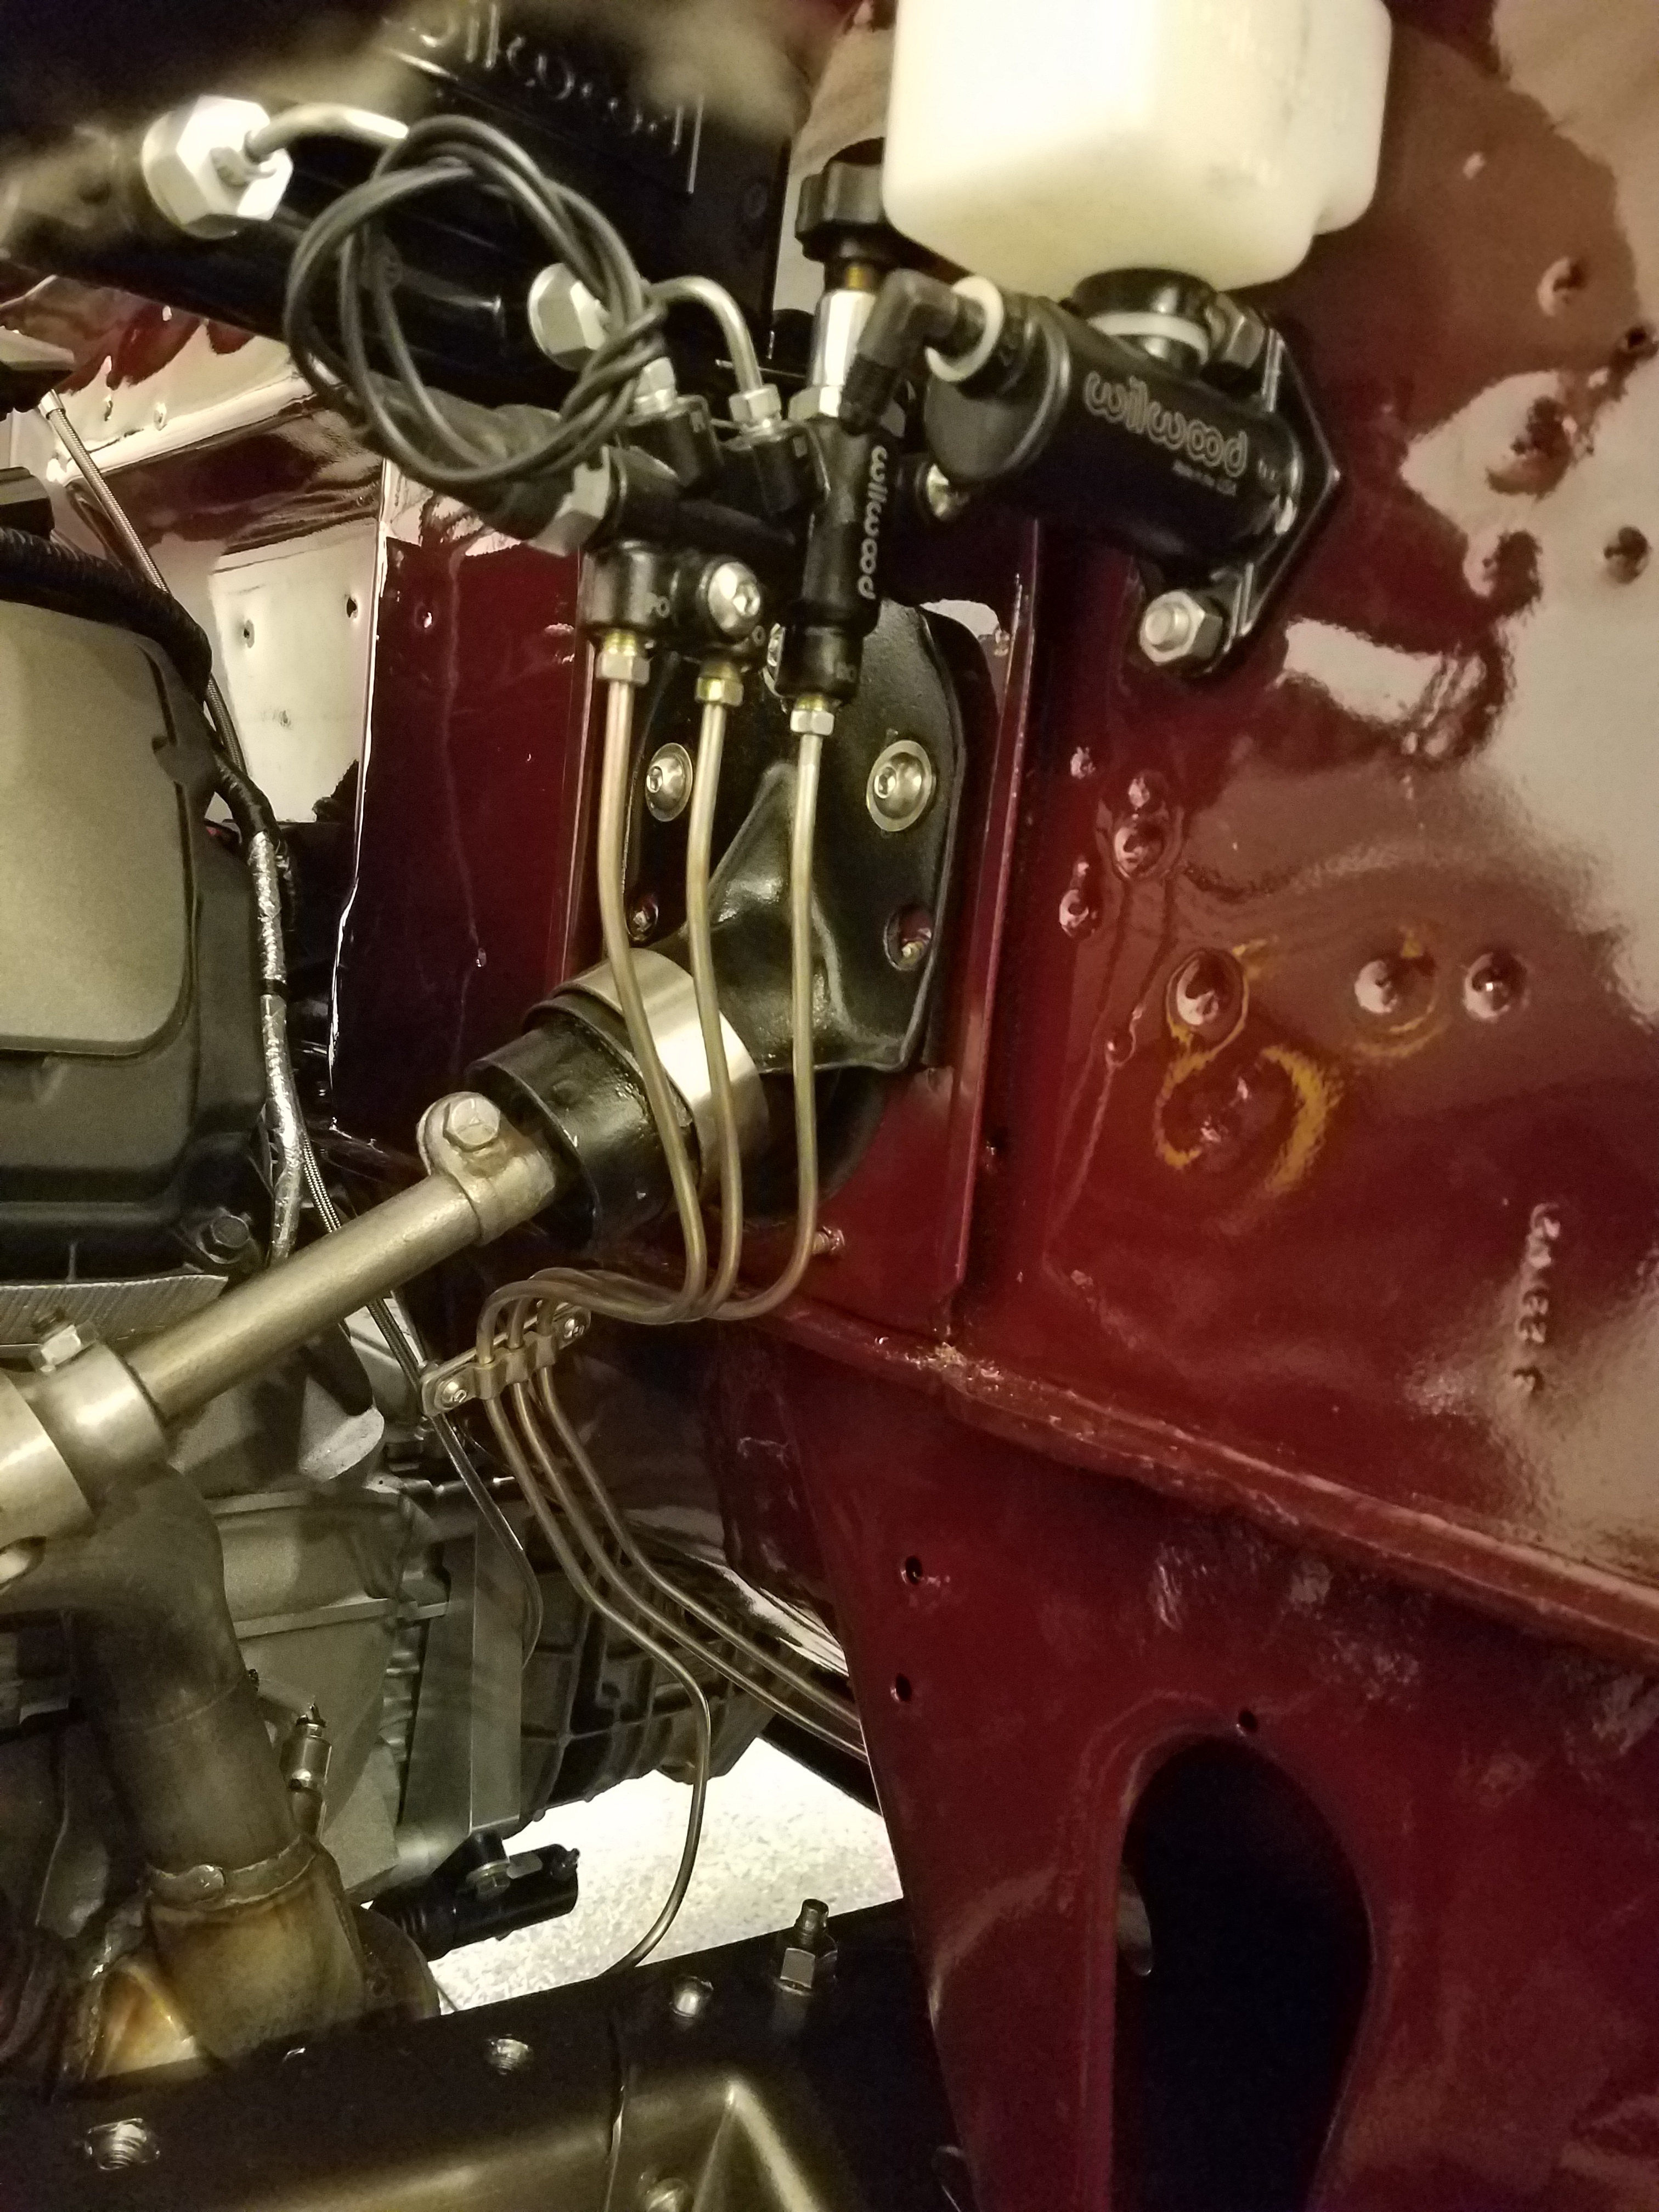
I was finally able to finish up all of the plumbing for the brake system, again all nicopp lines and stainless hardware, I like how this system turned out a little bit cleaner than the Tan truck.
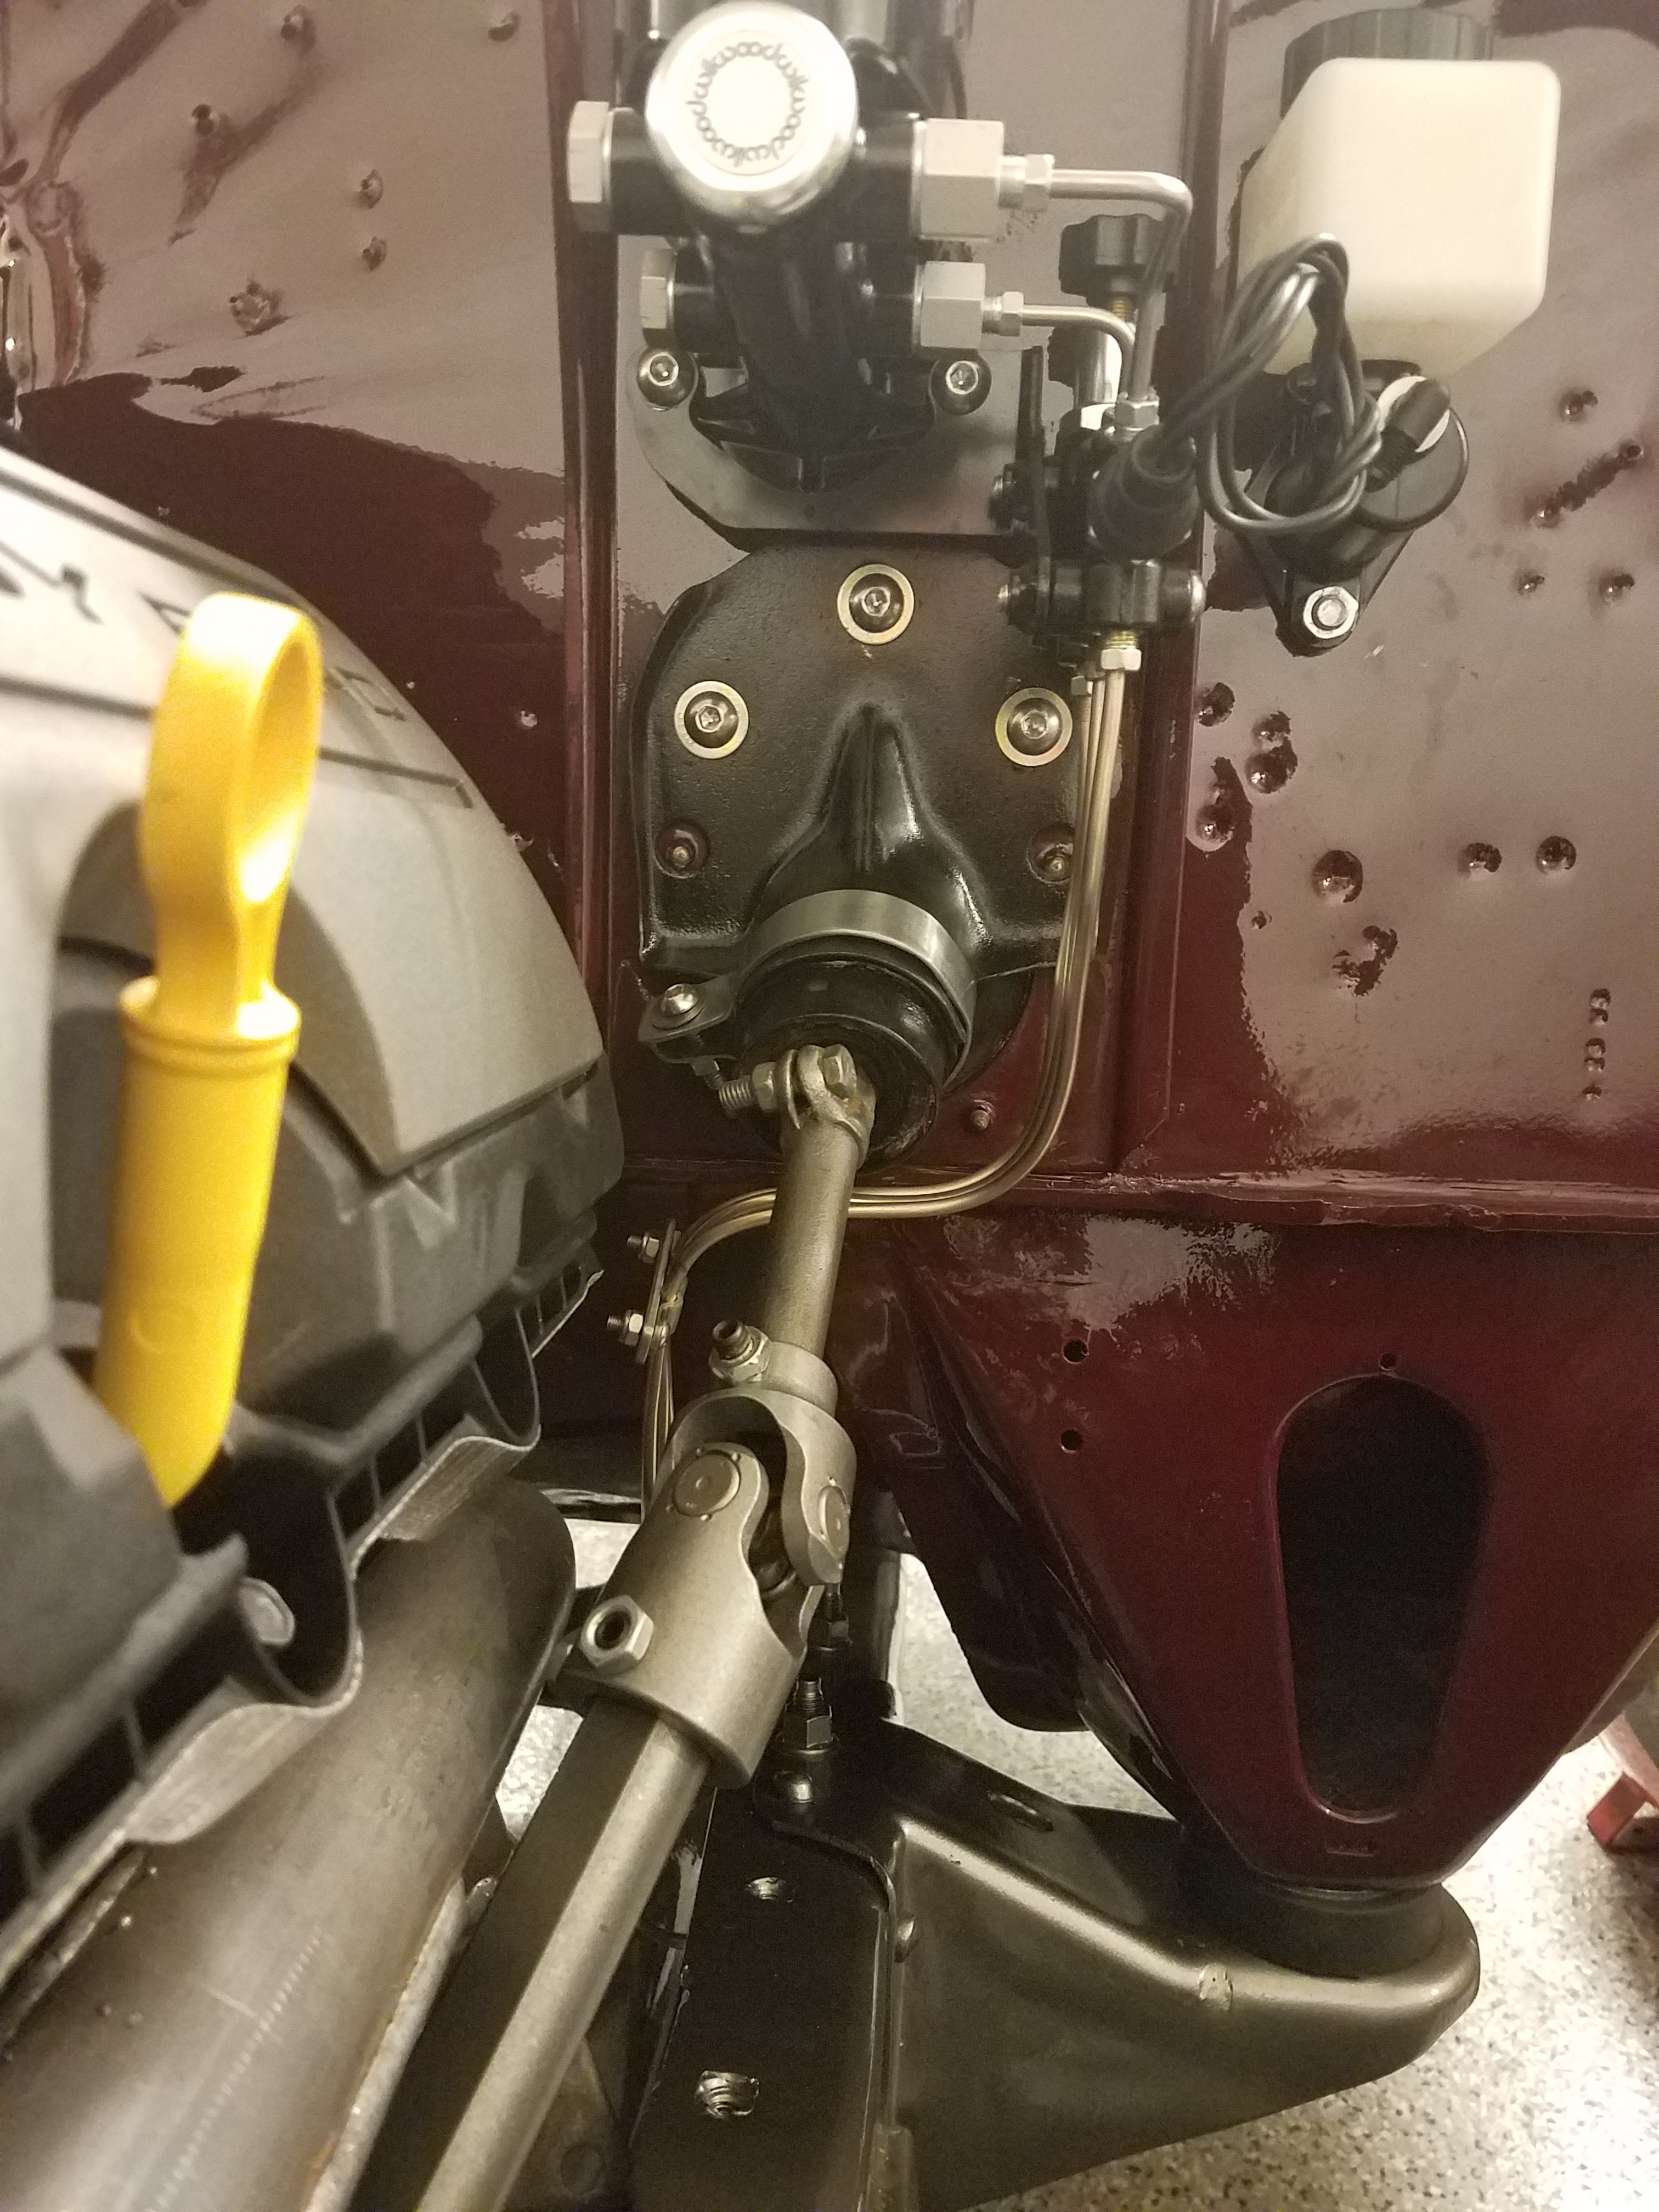
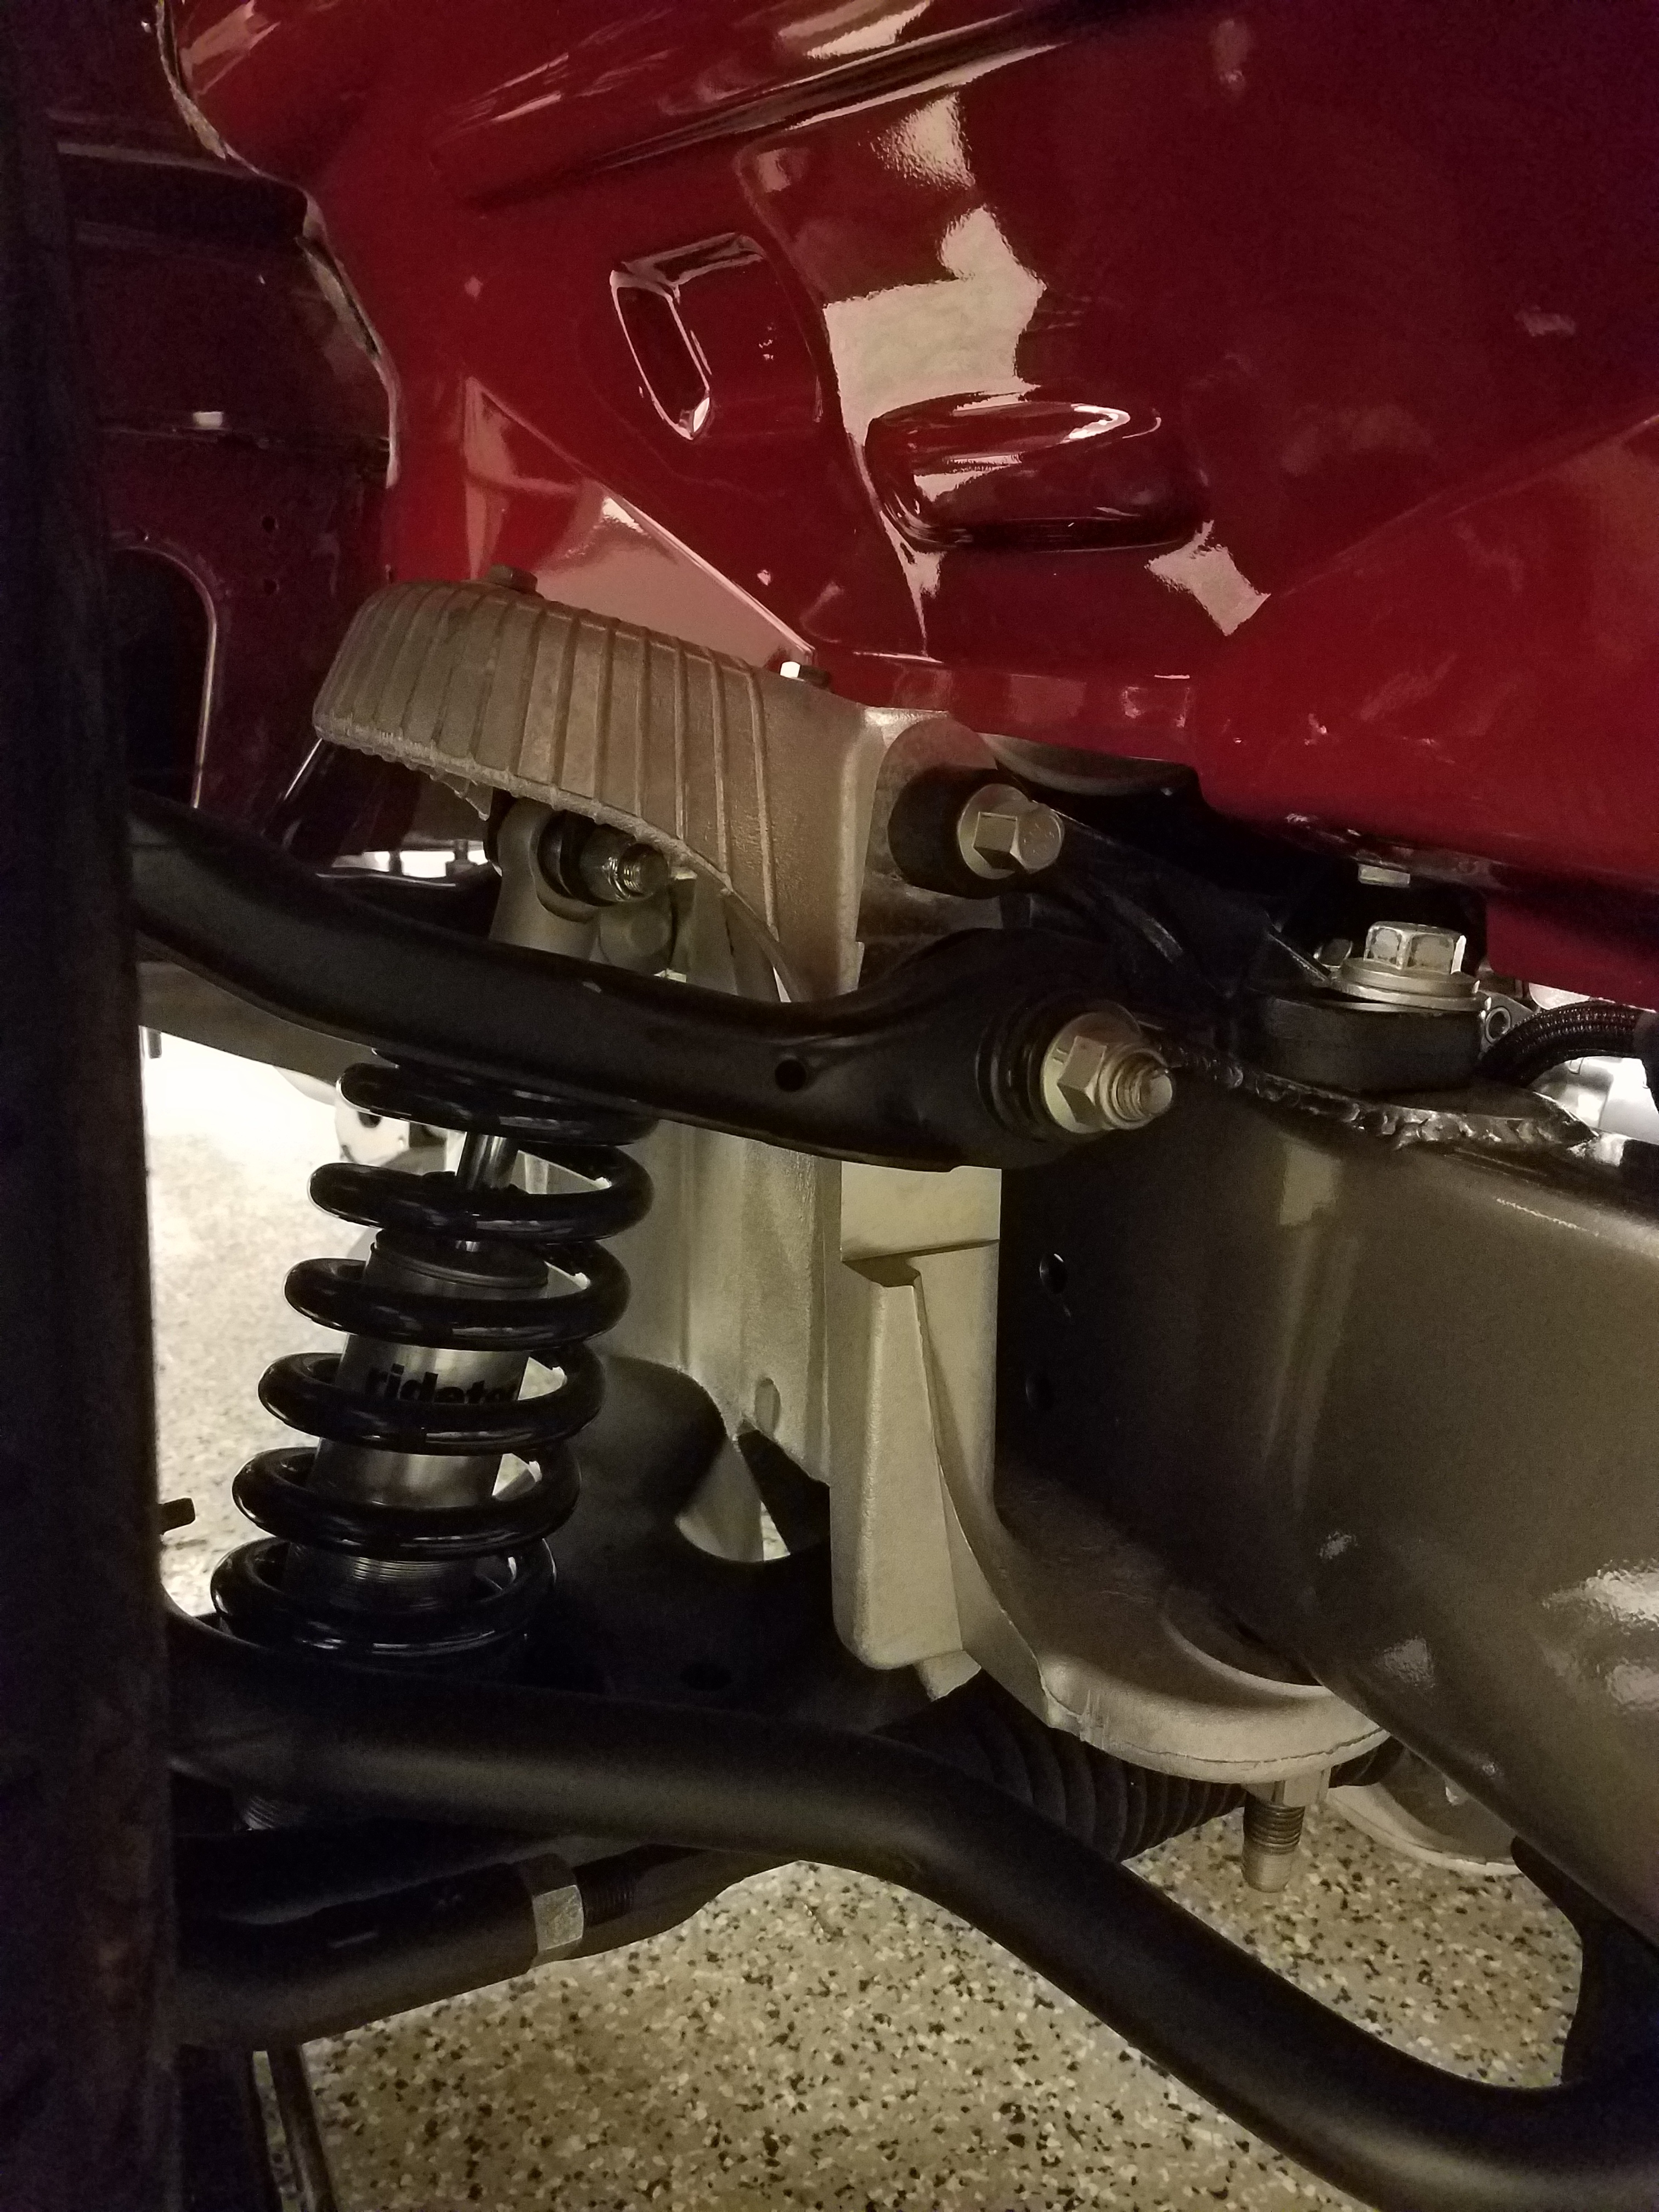
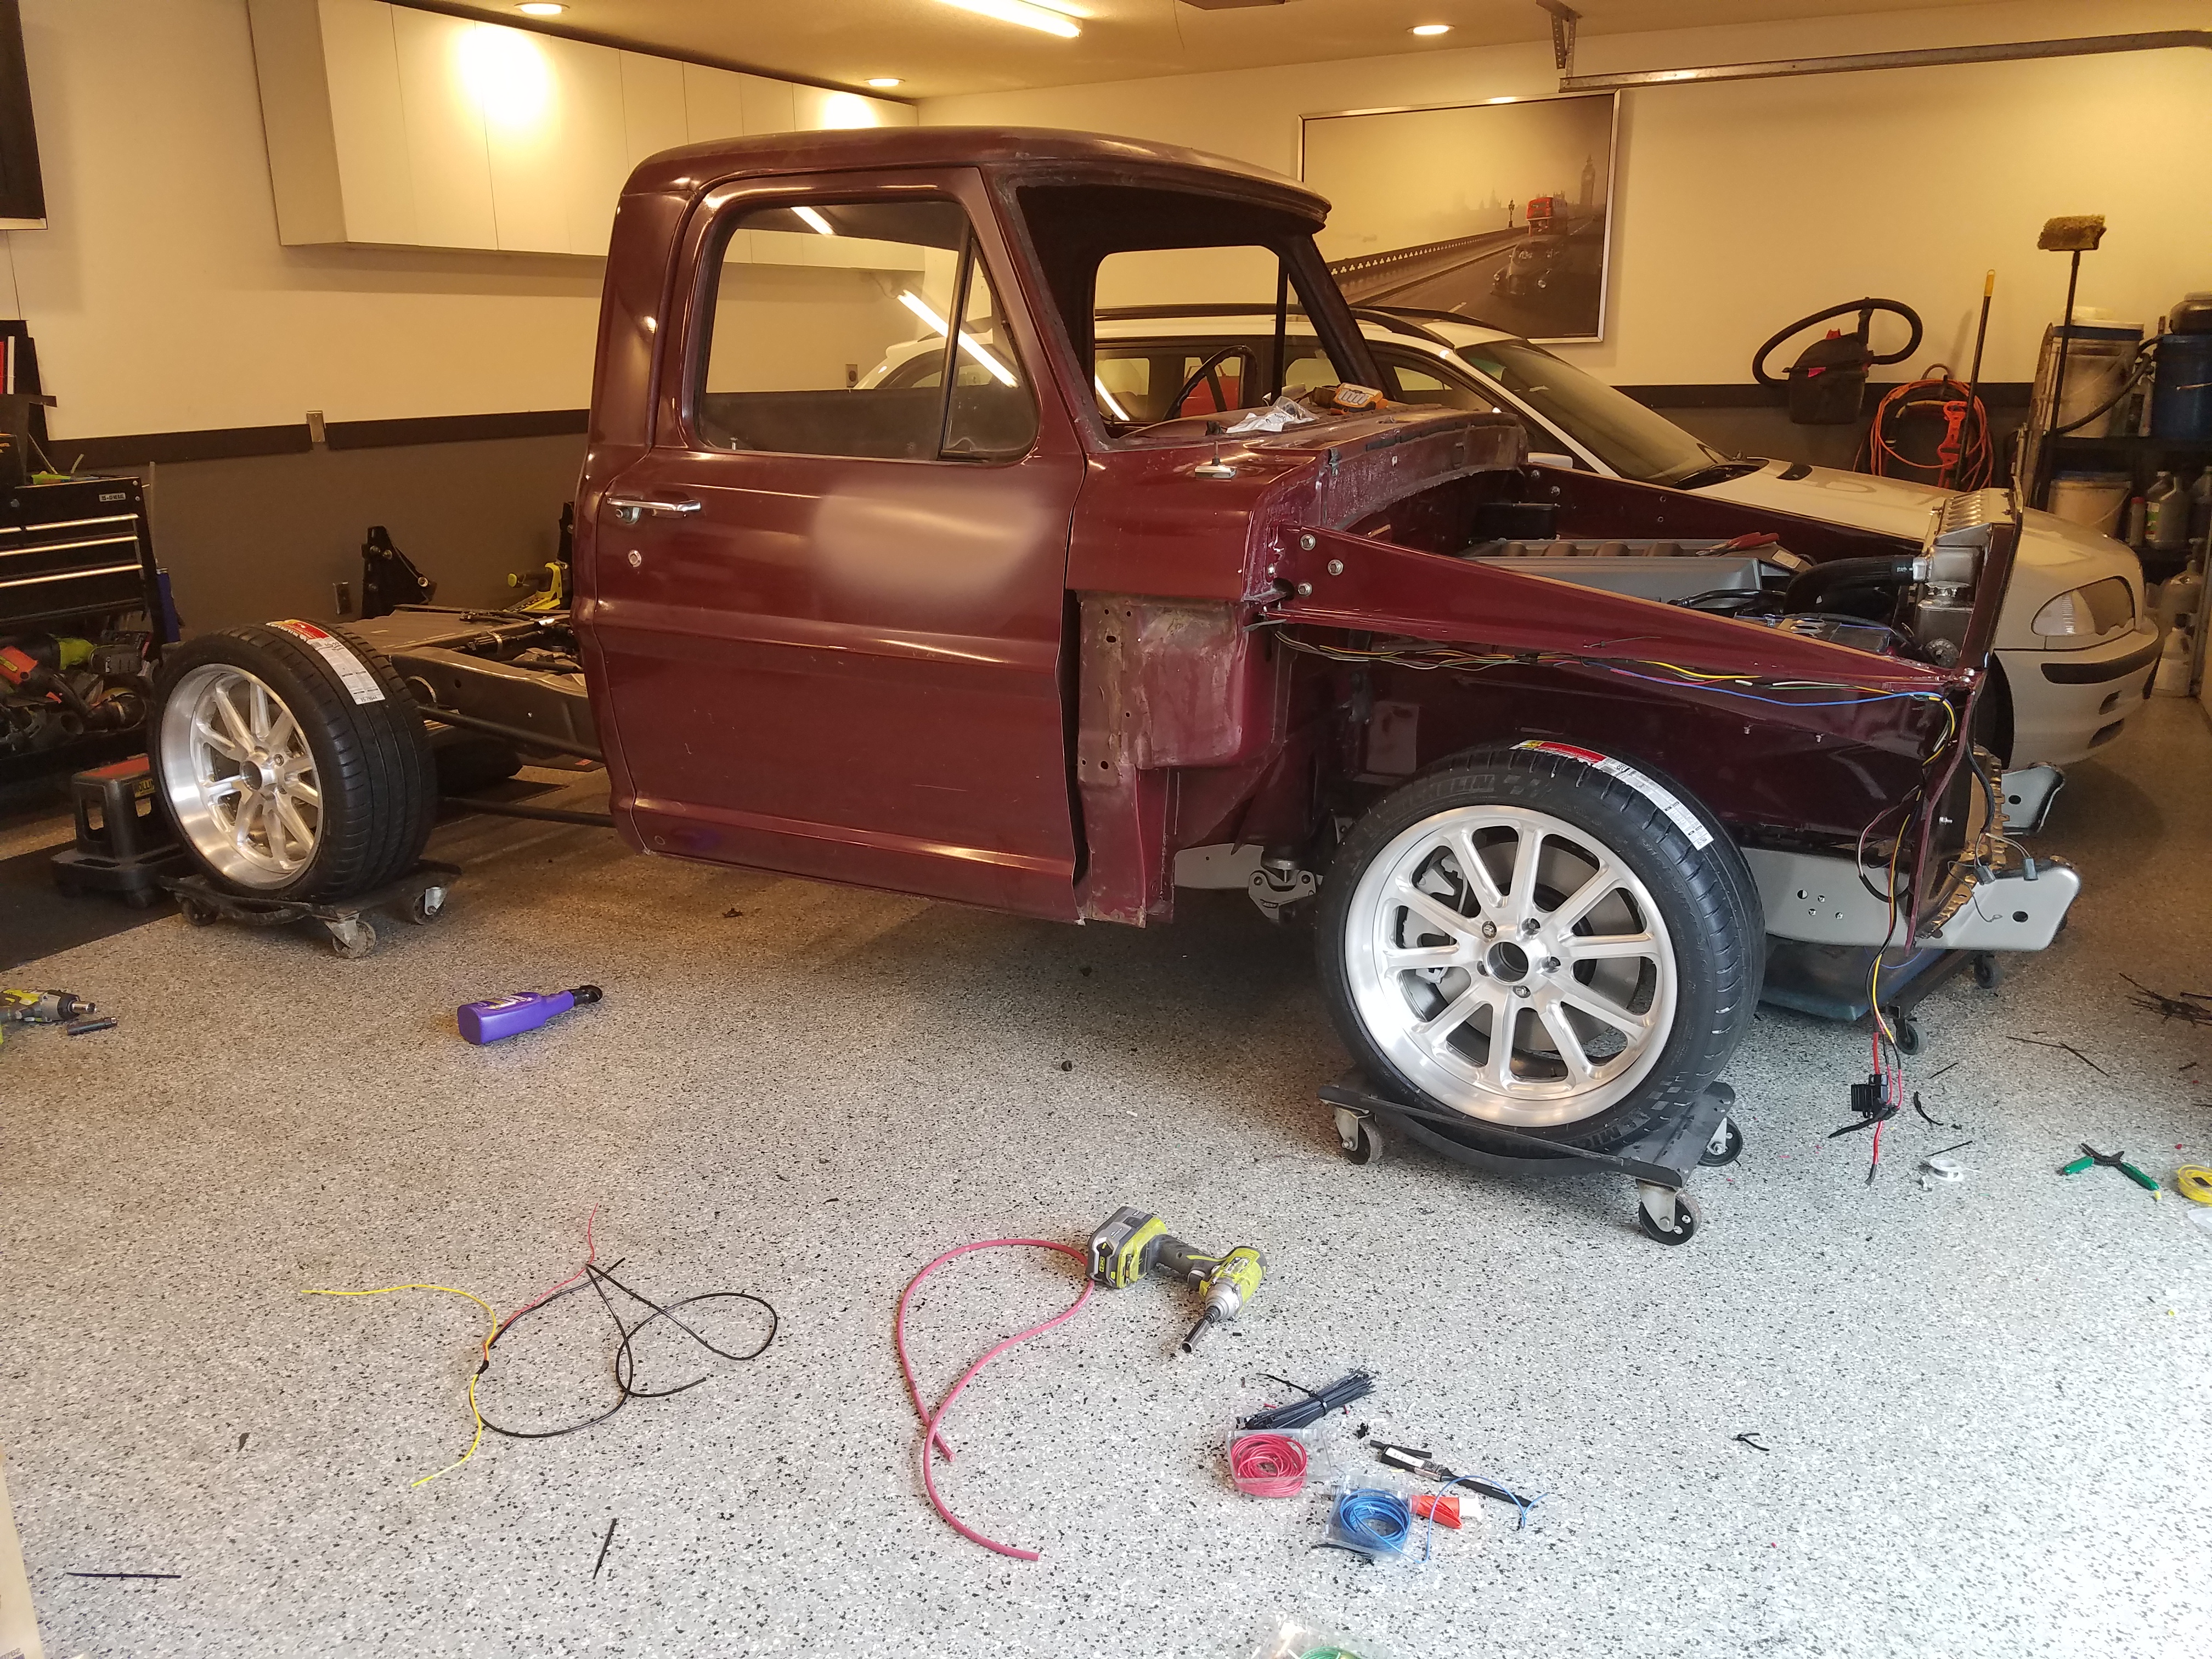
The front sheetmetal came back from the painter so I got that all installed as well....talk about nerve racking with all of that fresh paint and stuff..
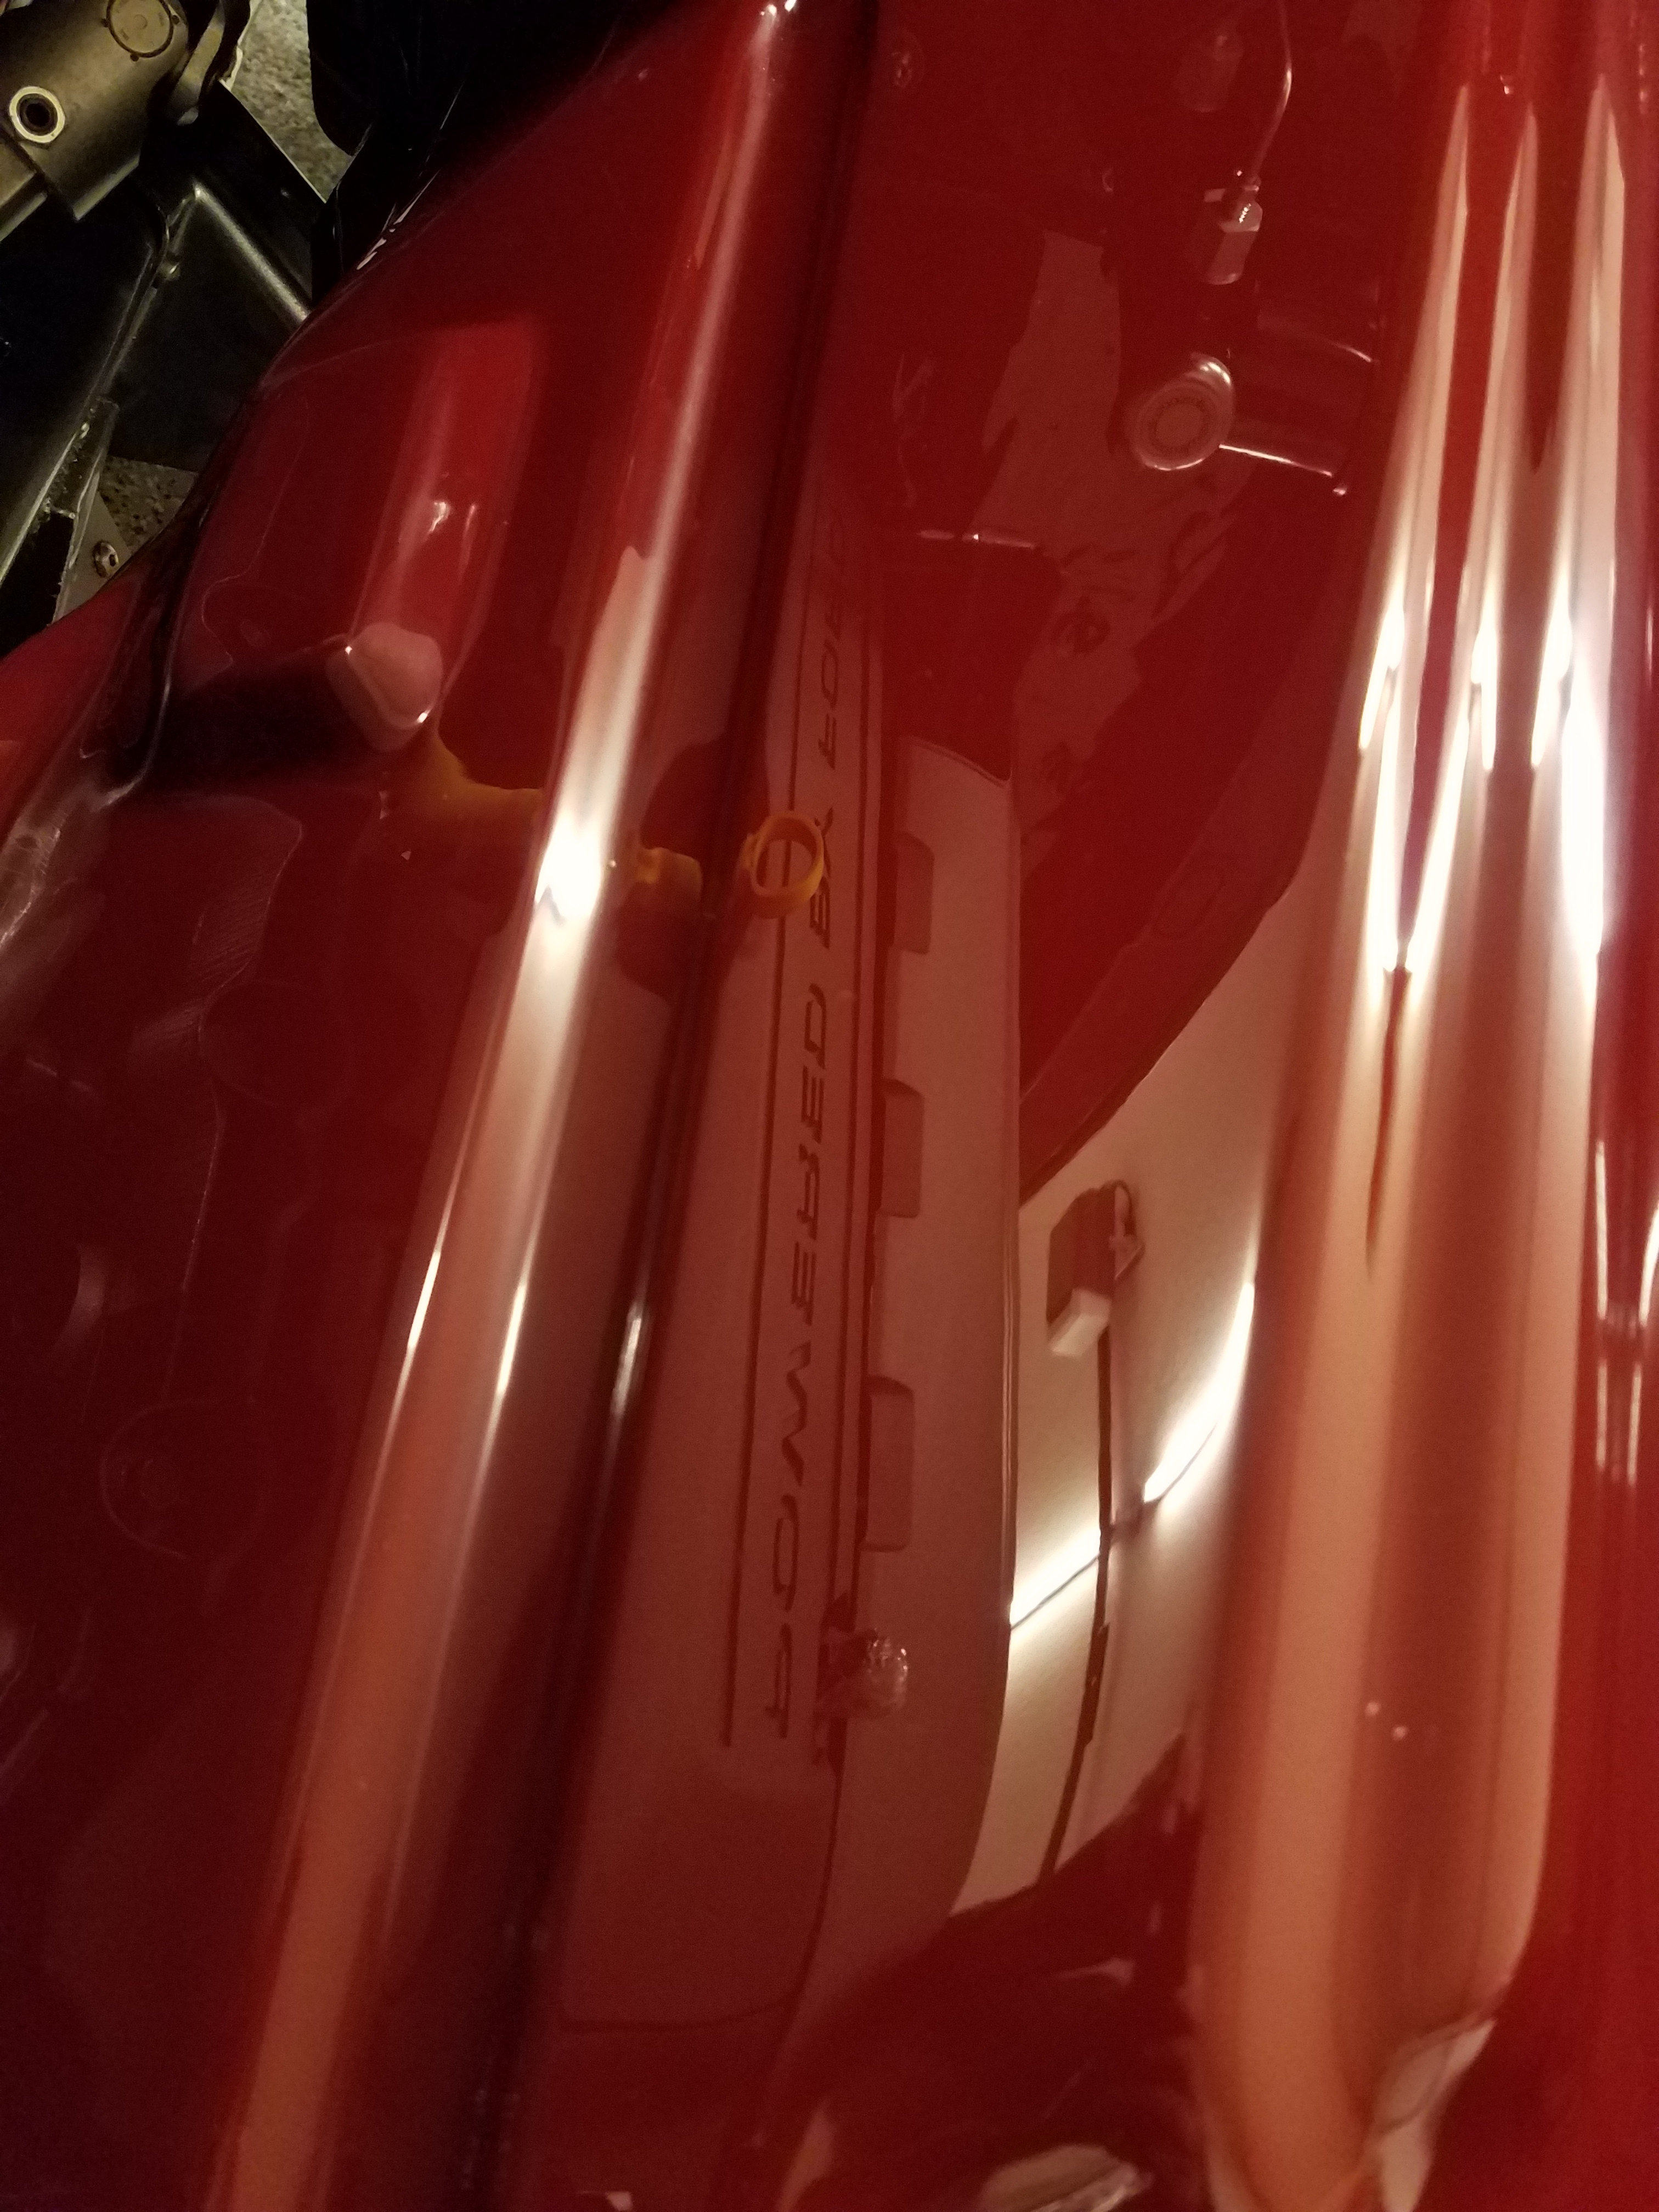
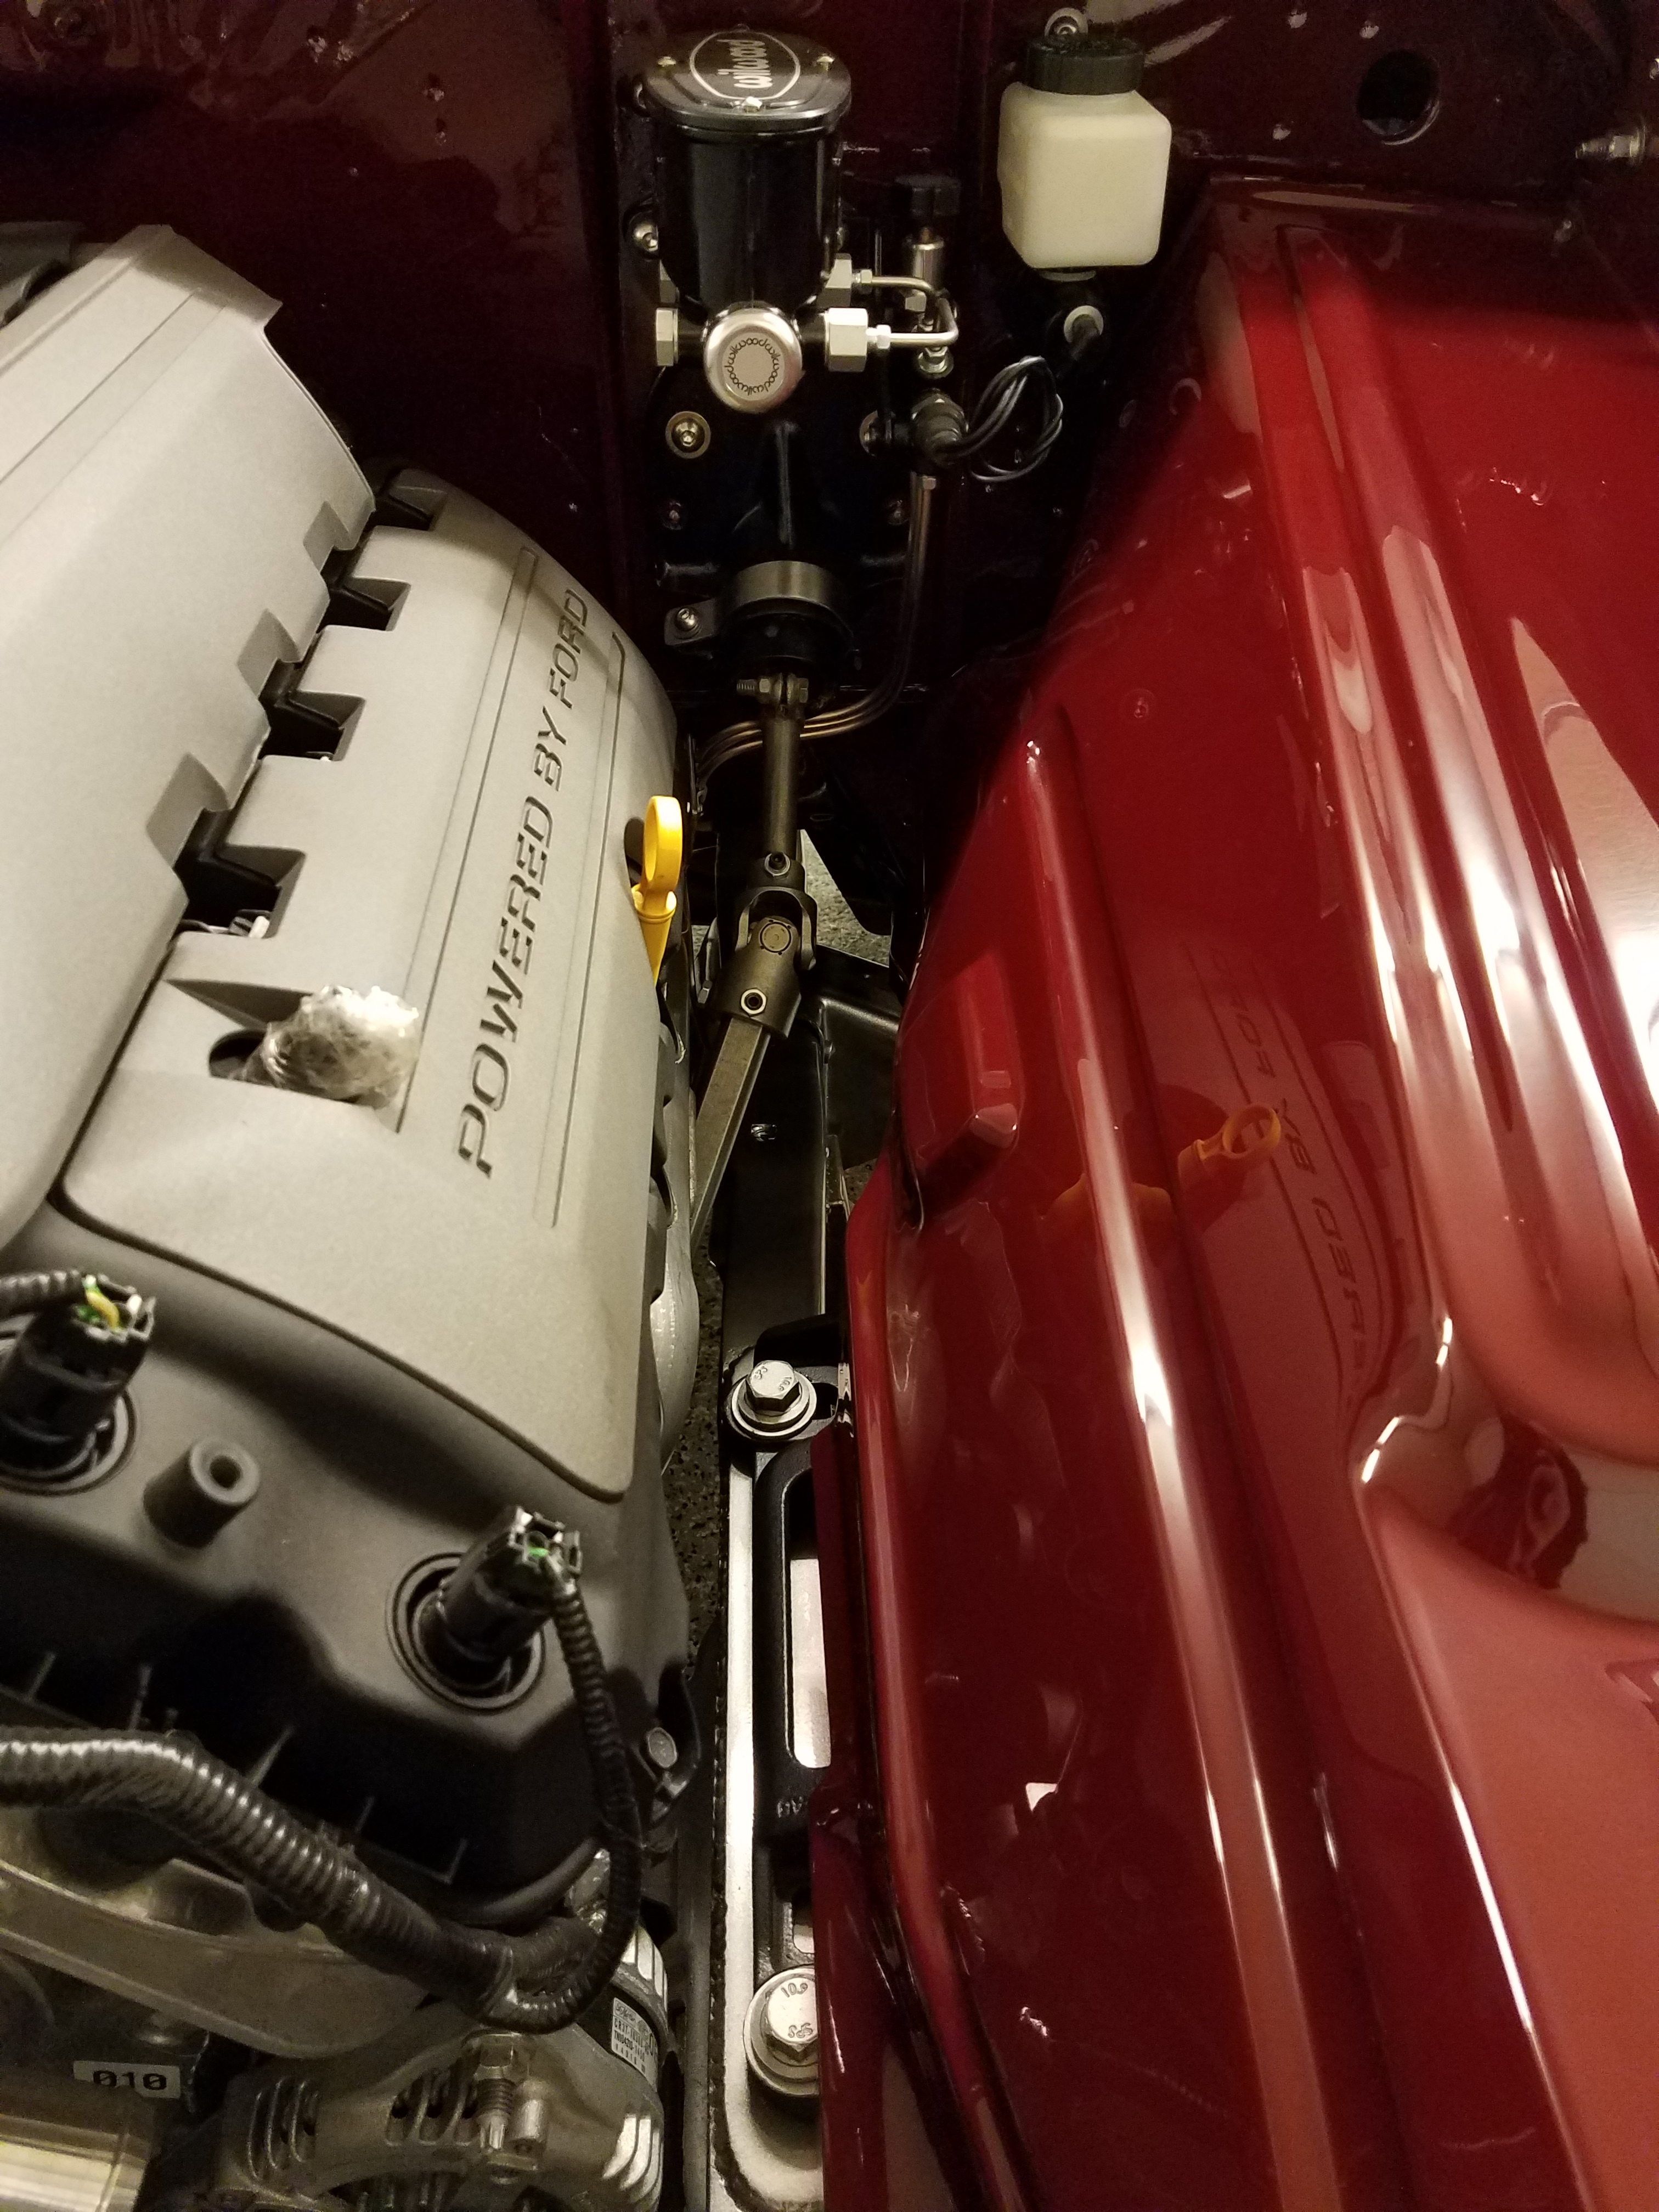
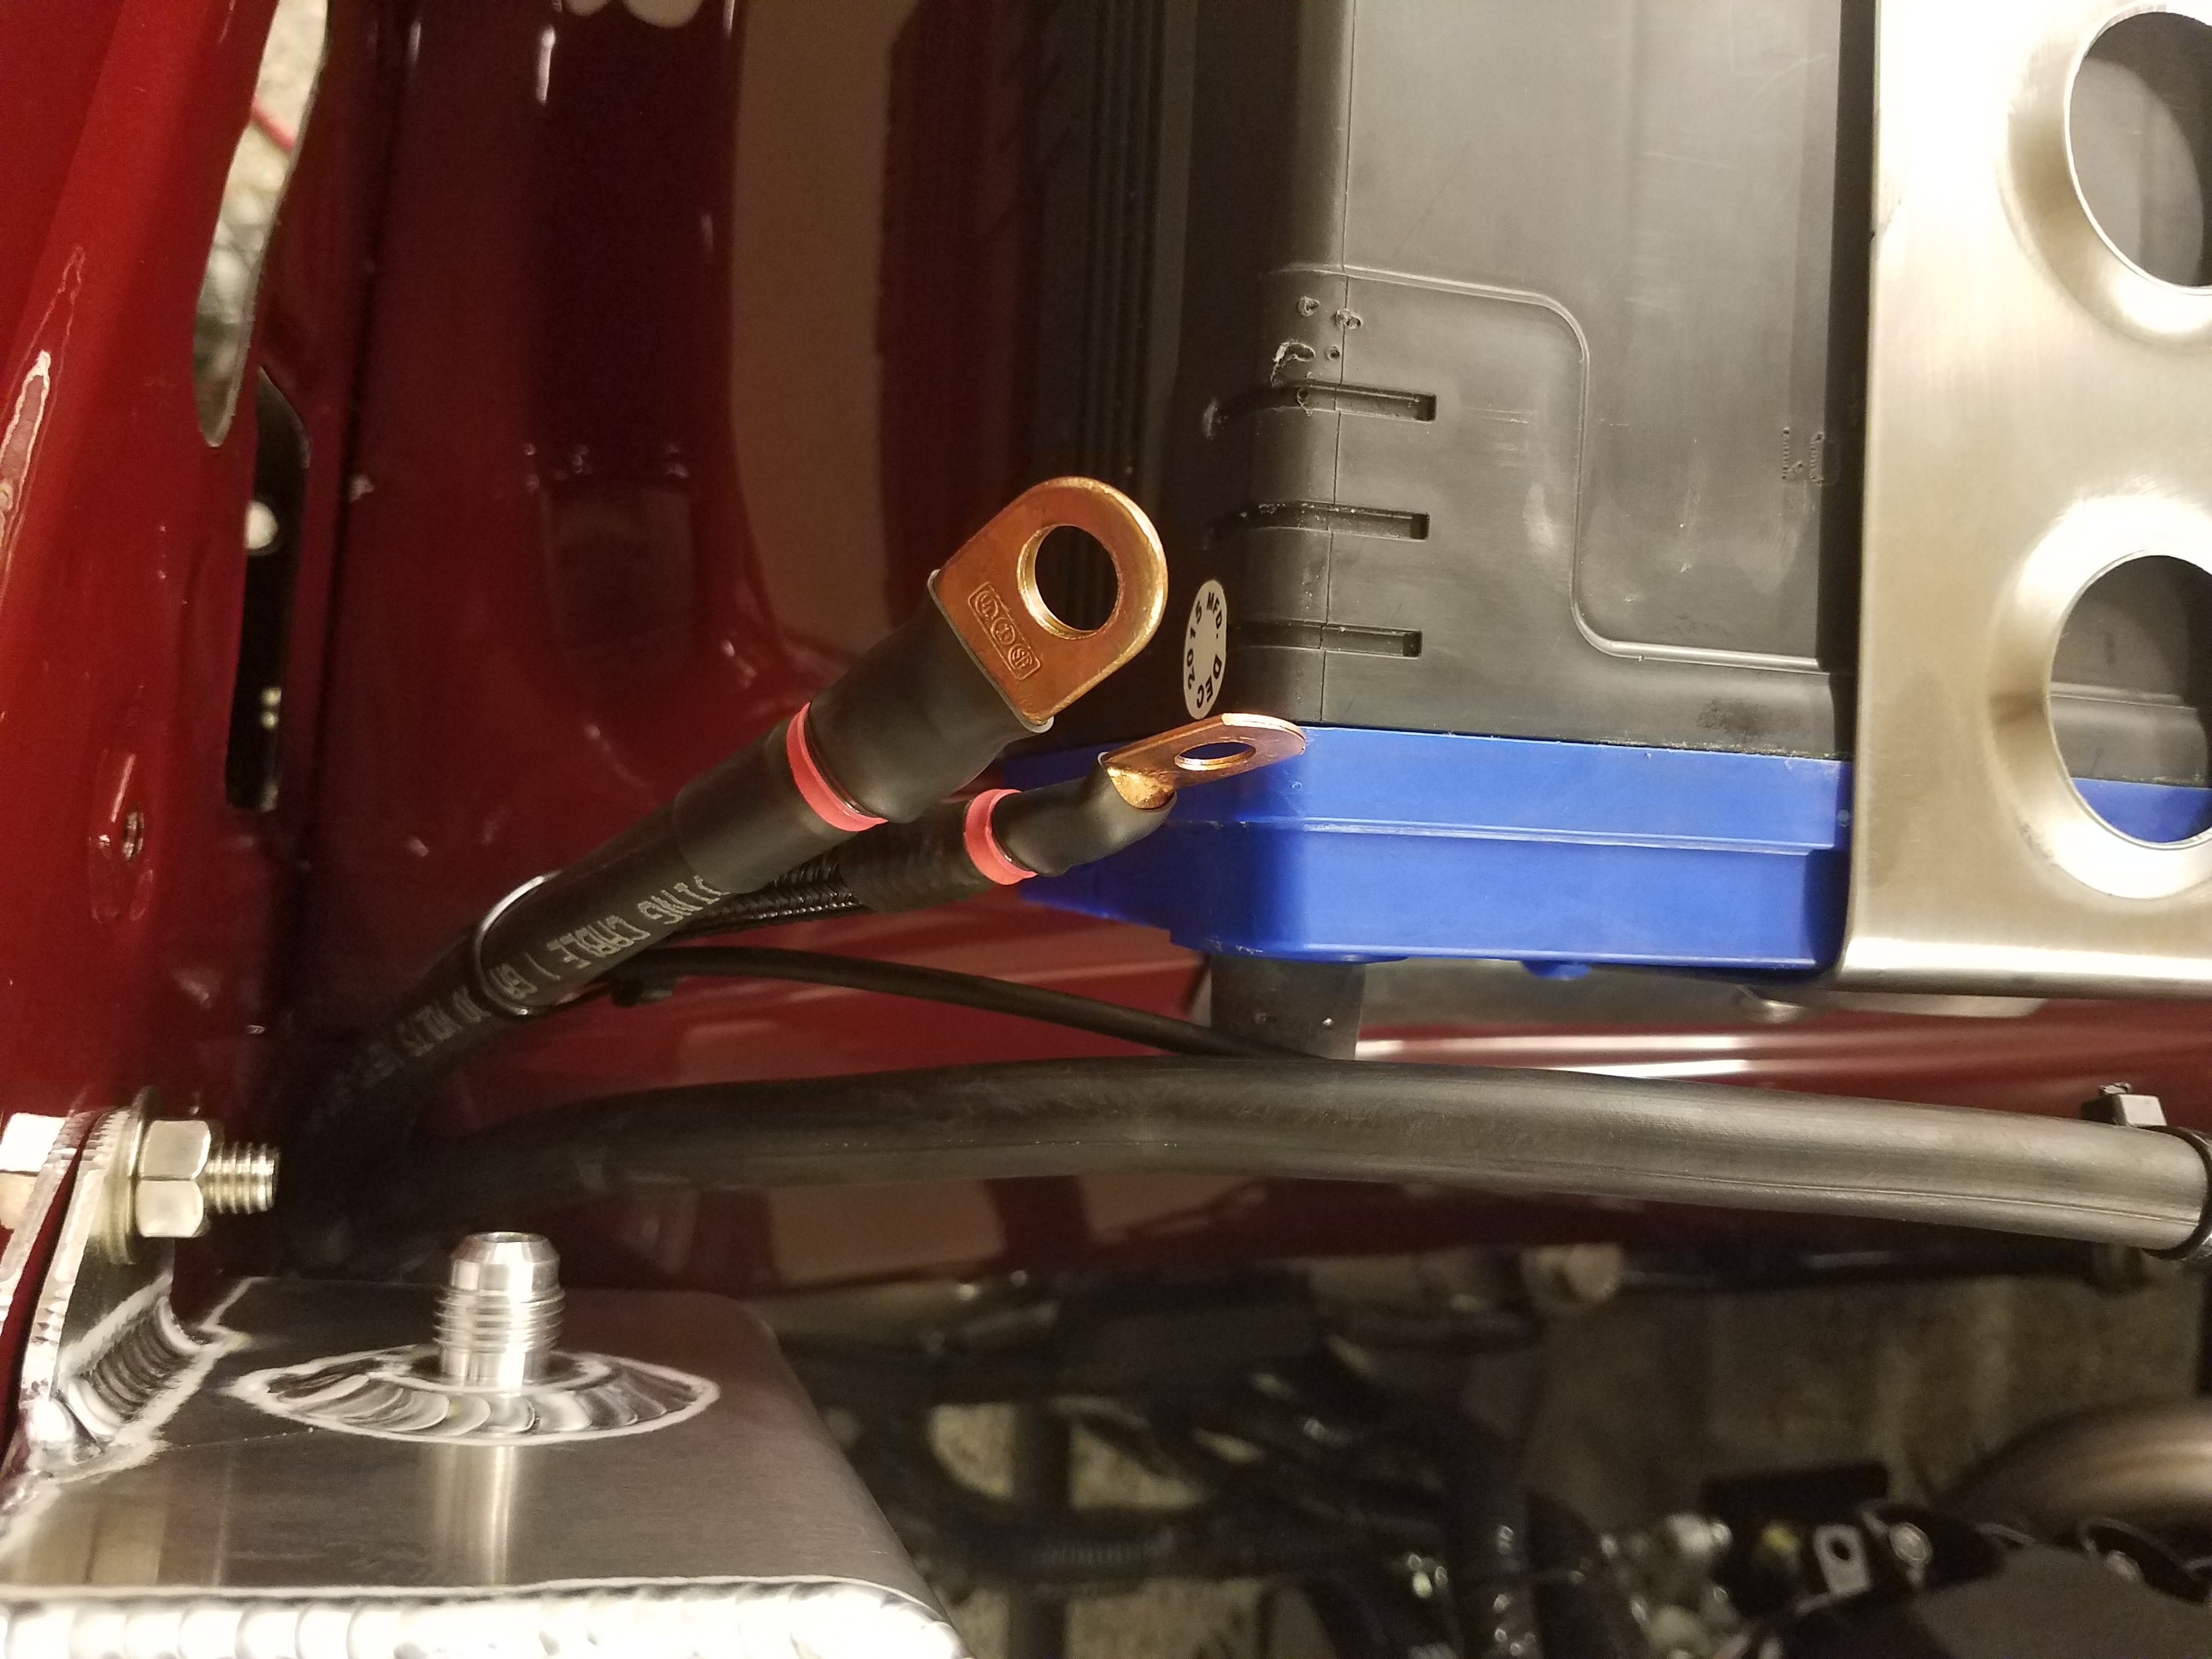
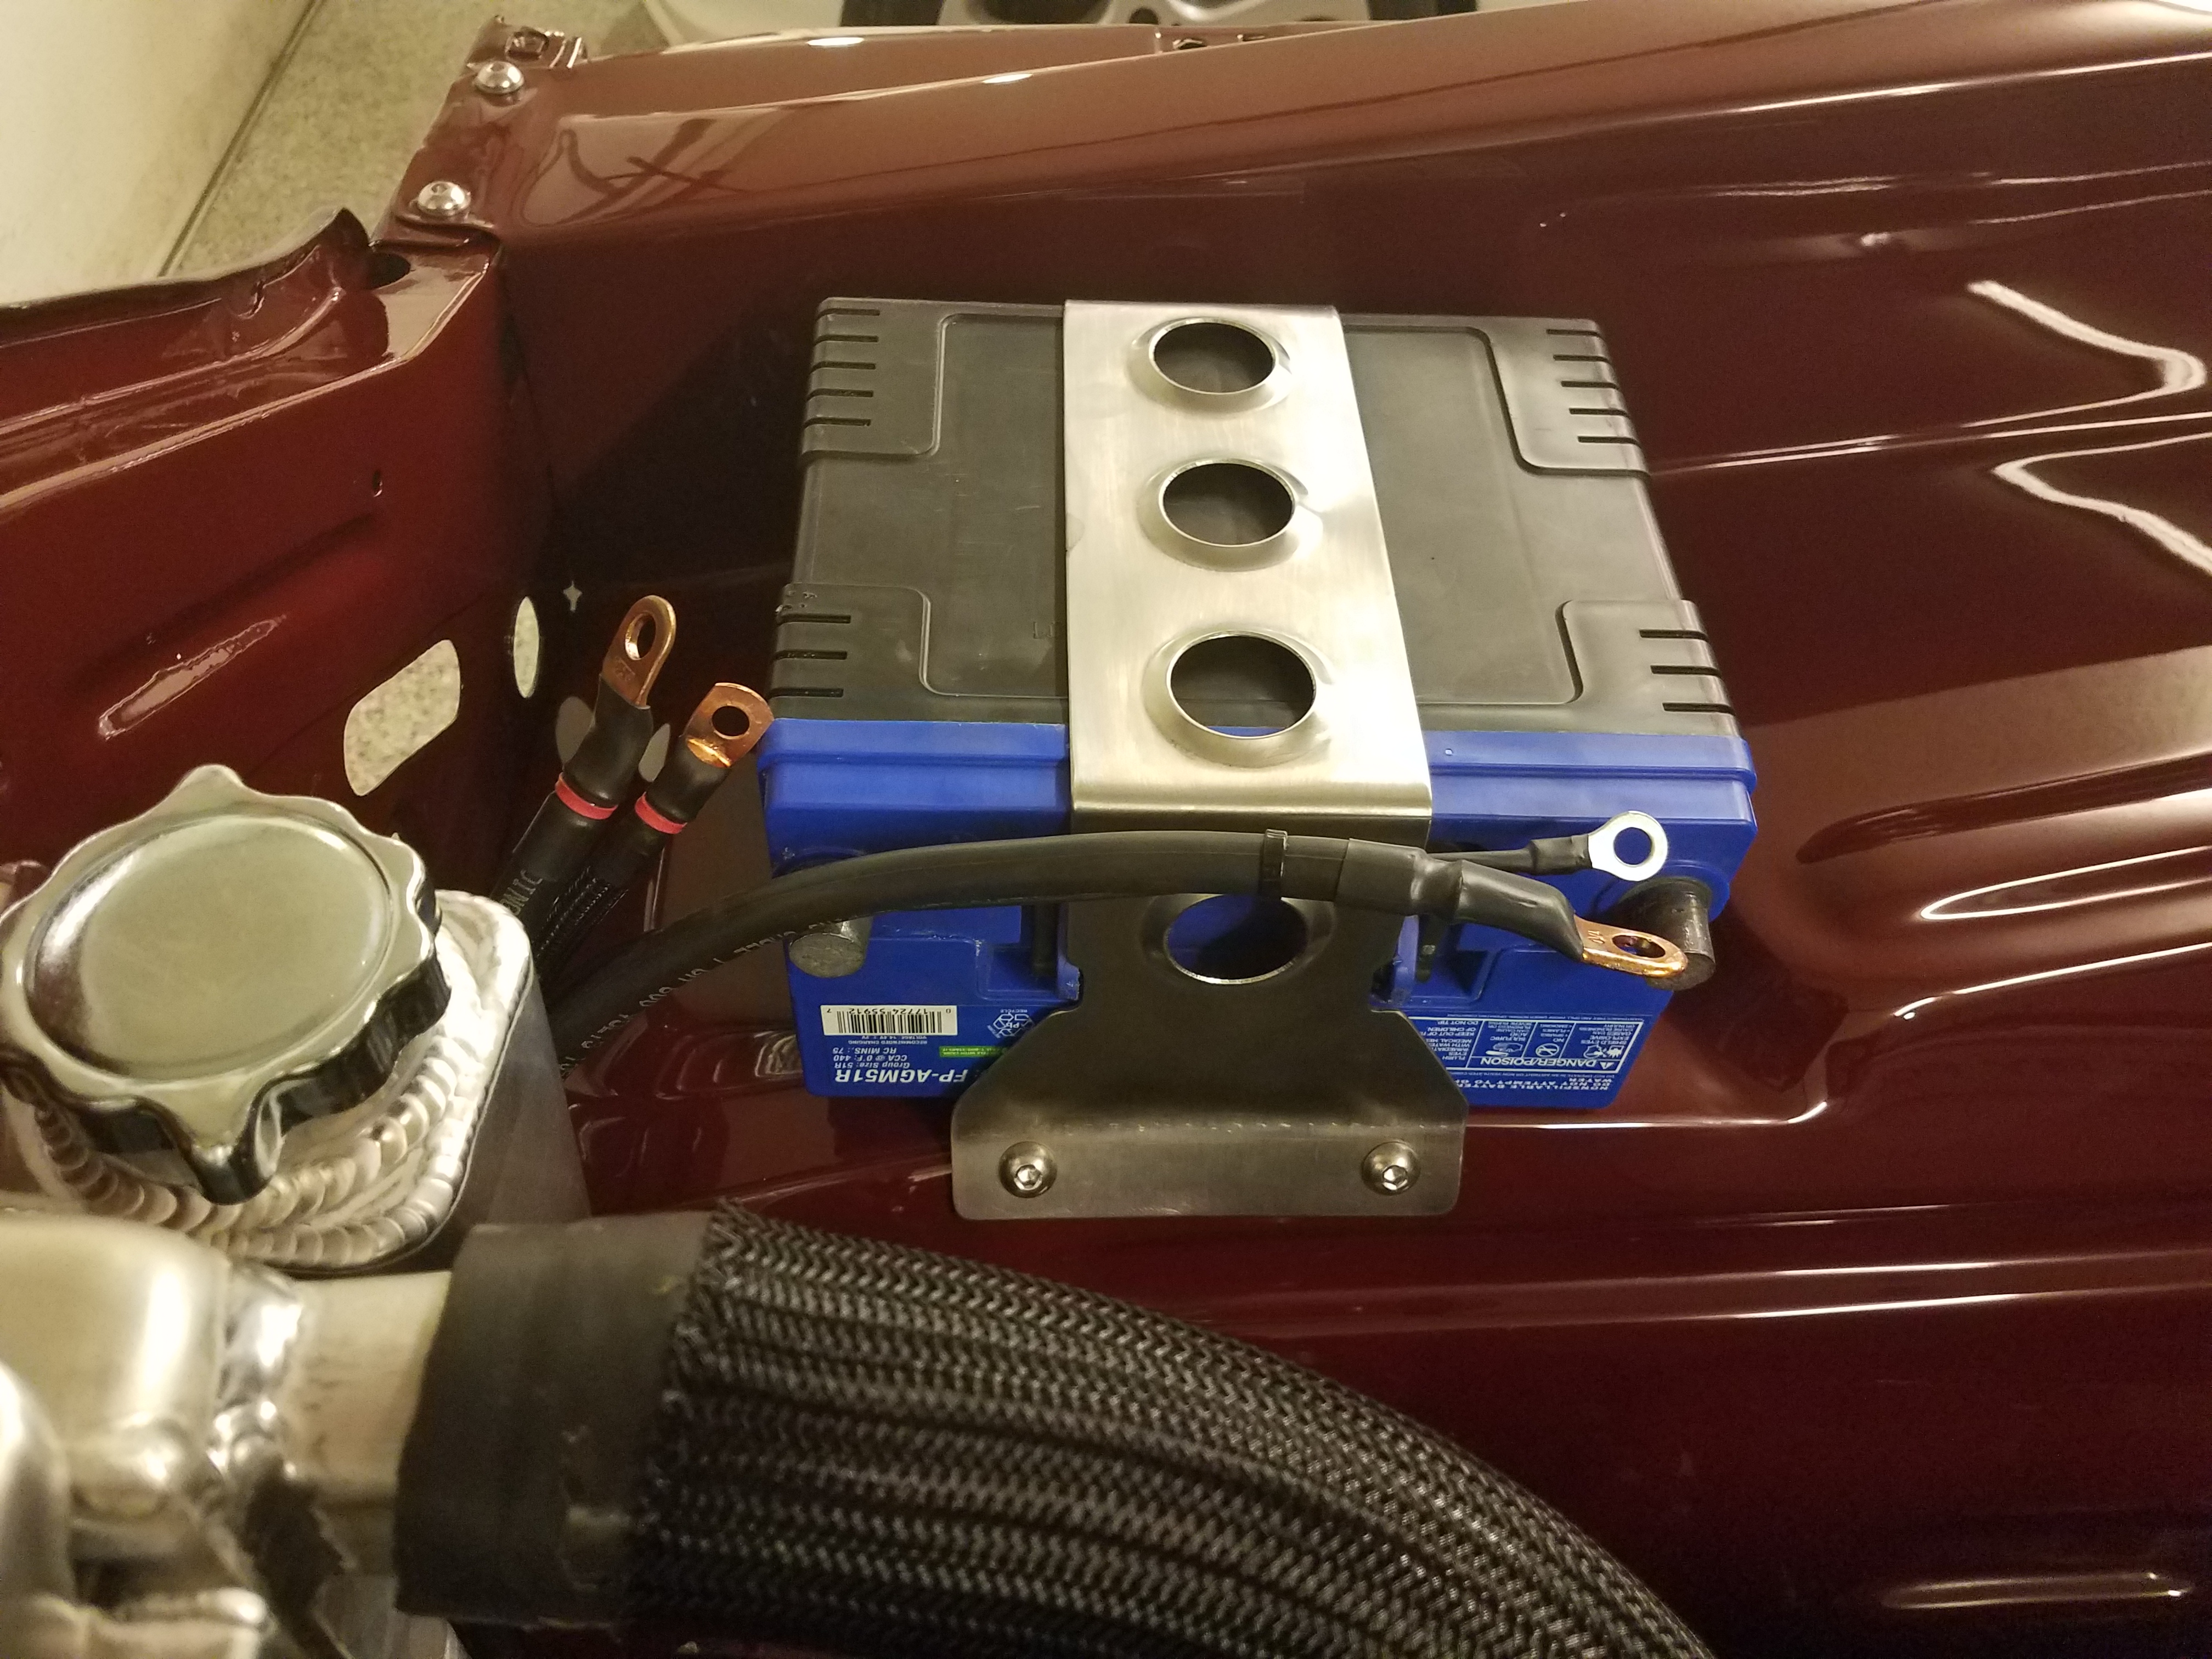
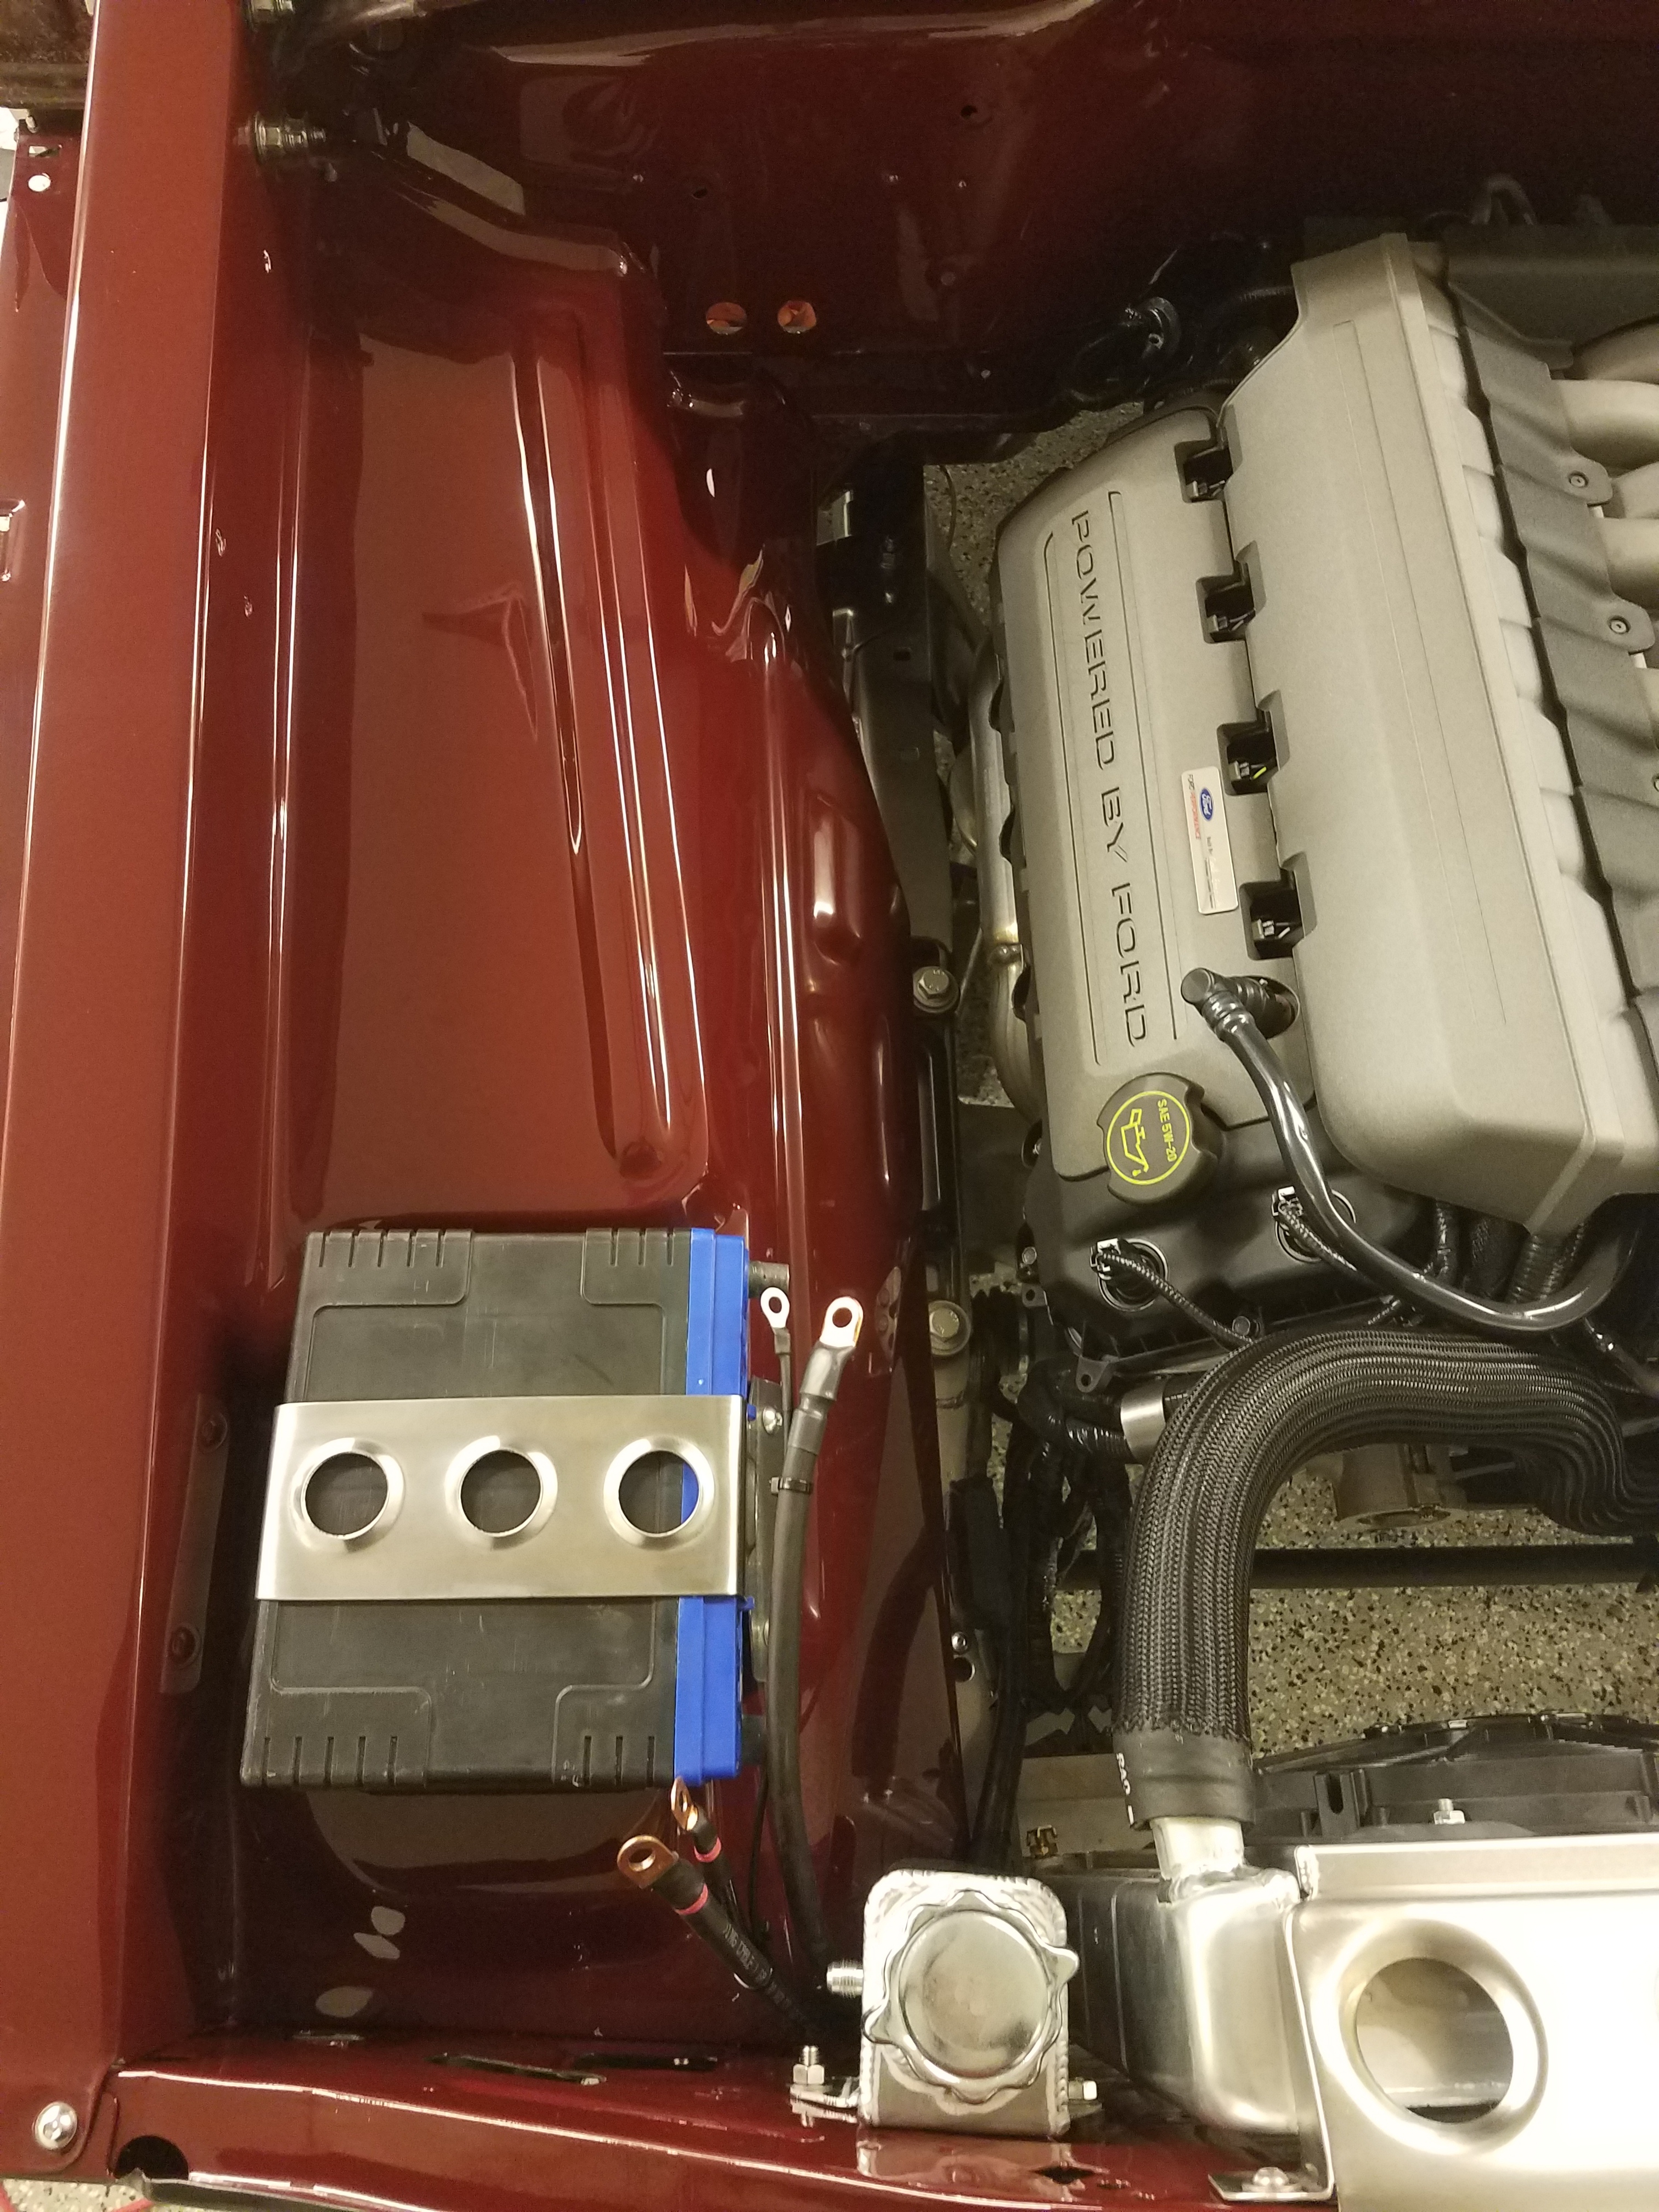
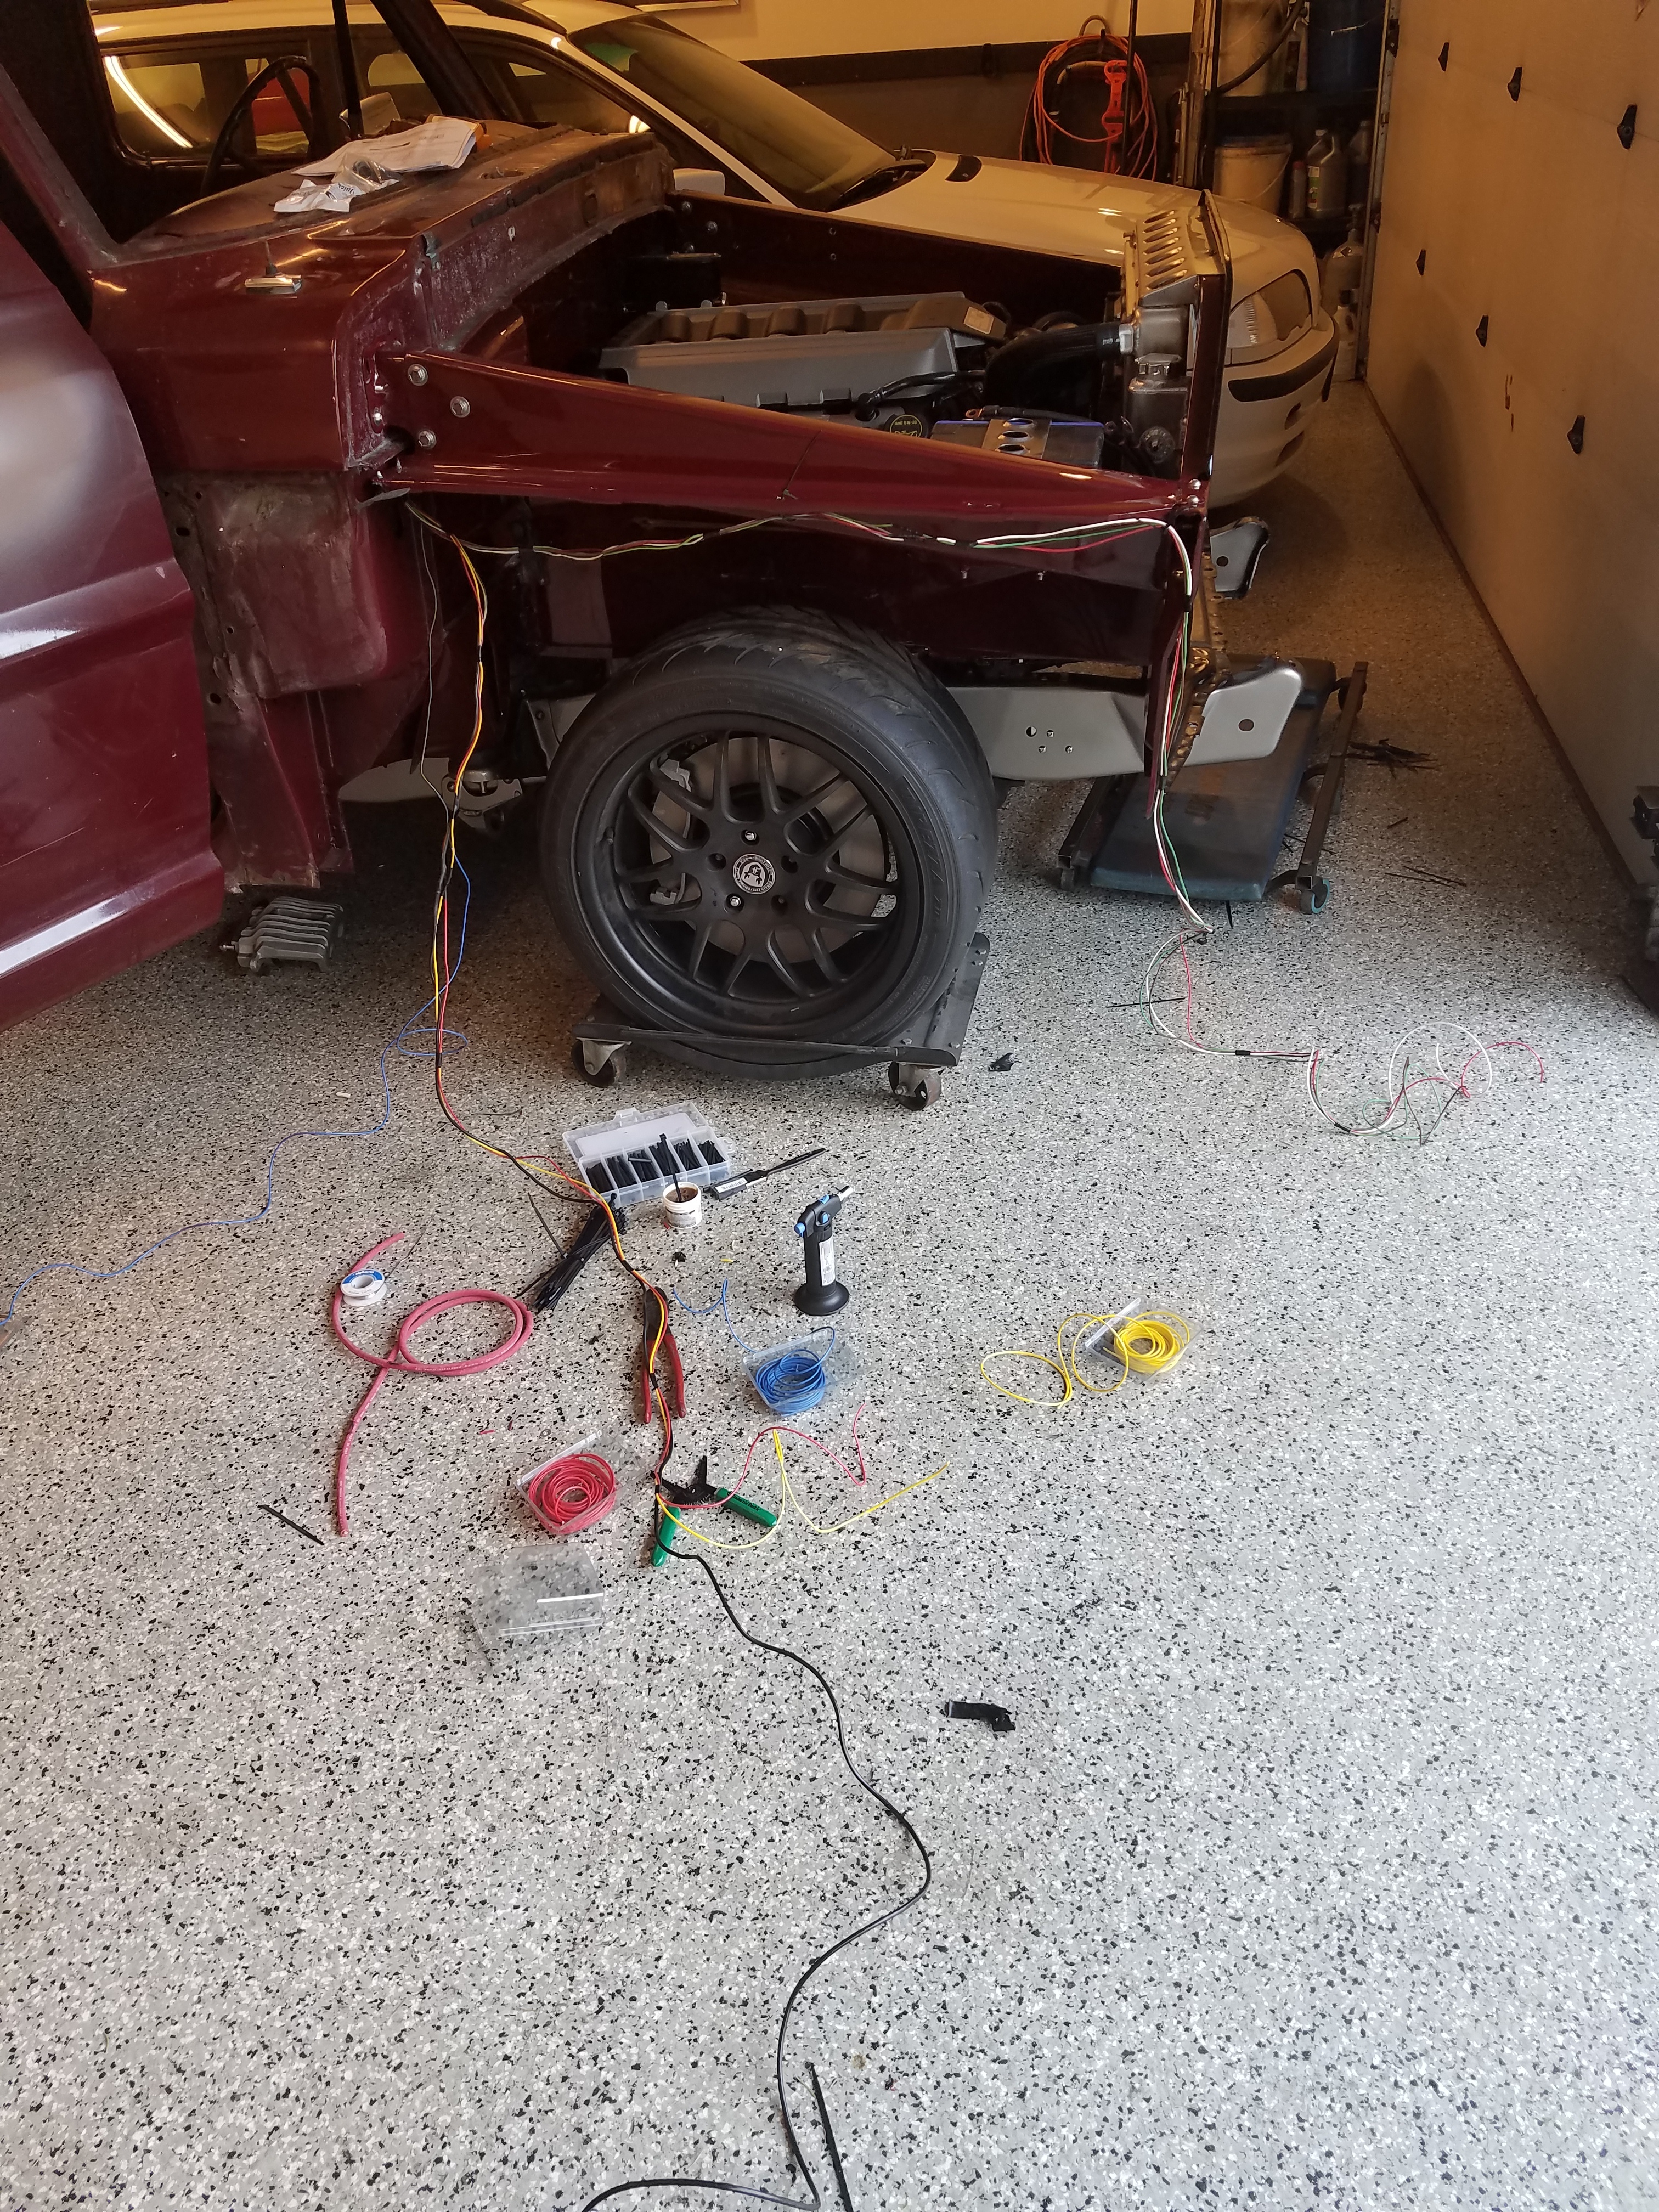
Got the frontend all situated where it needs to be, the power steering reservoir mounted up batter and battery mount all bolted on as well and started building my wires, alternator power to starter, ground cables are all custom cut to length and trying to keep them as clean as possible.
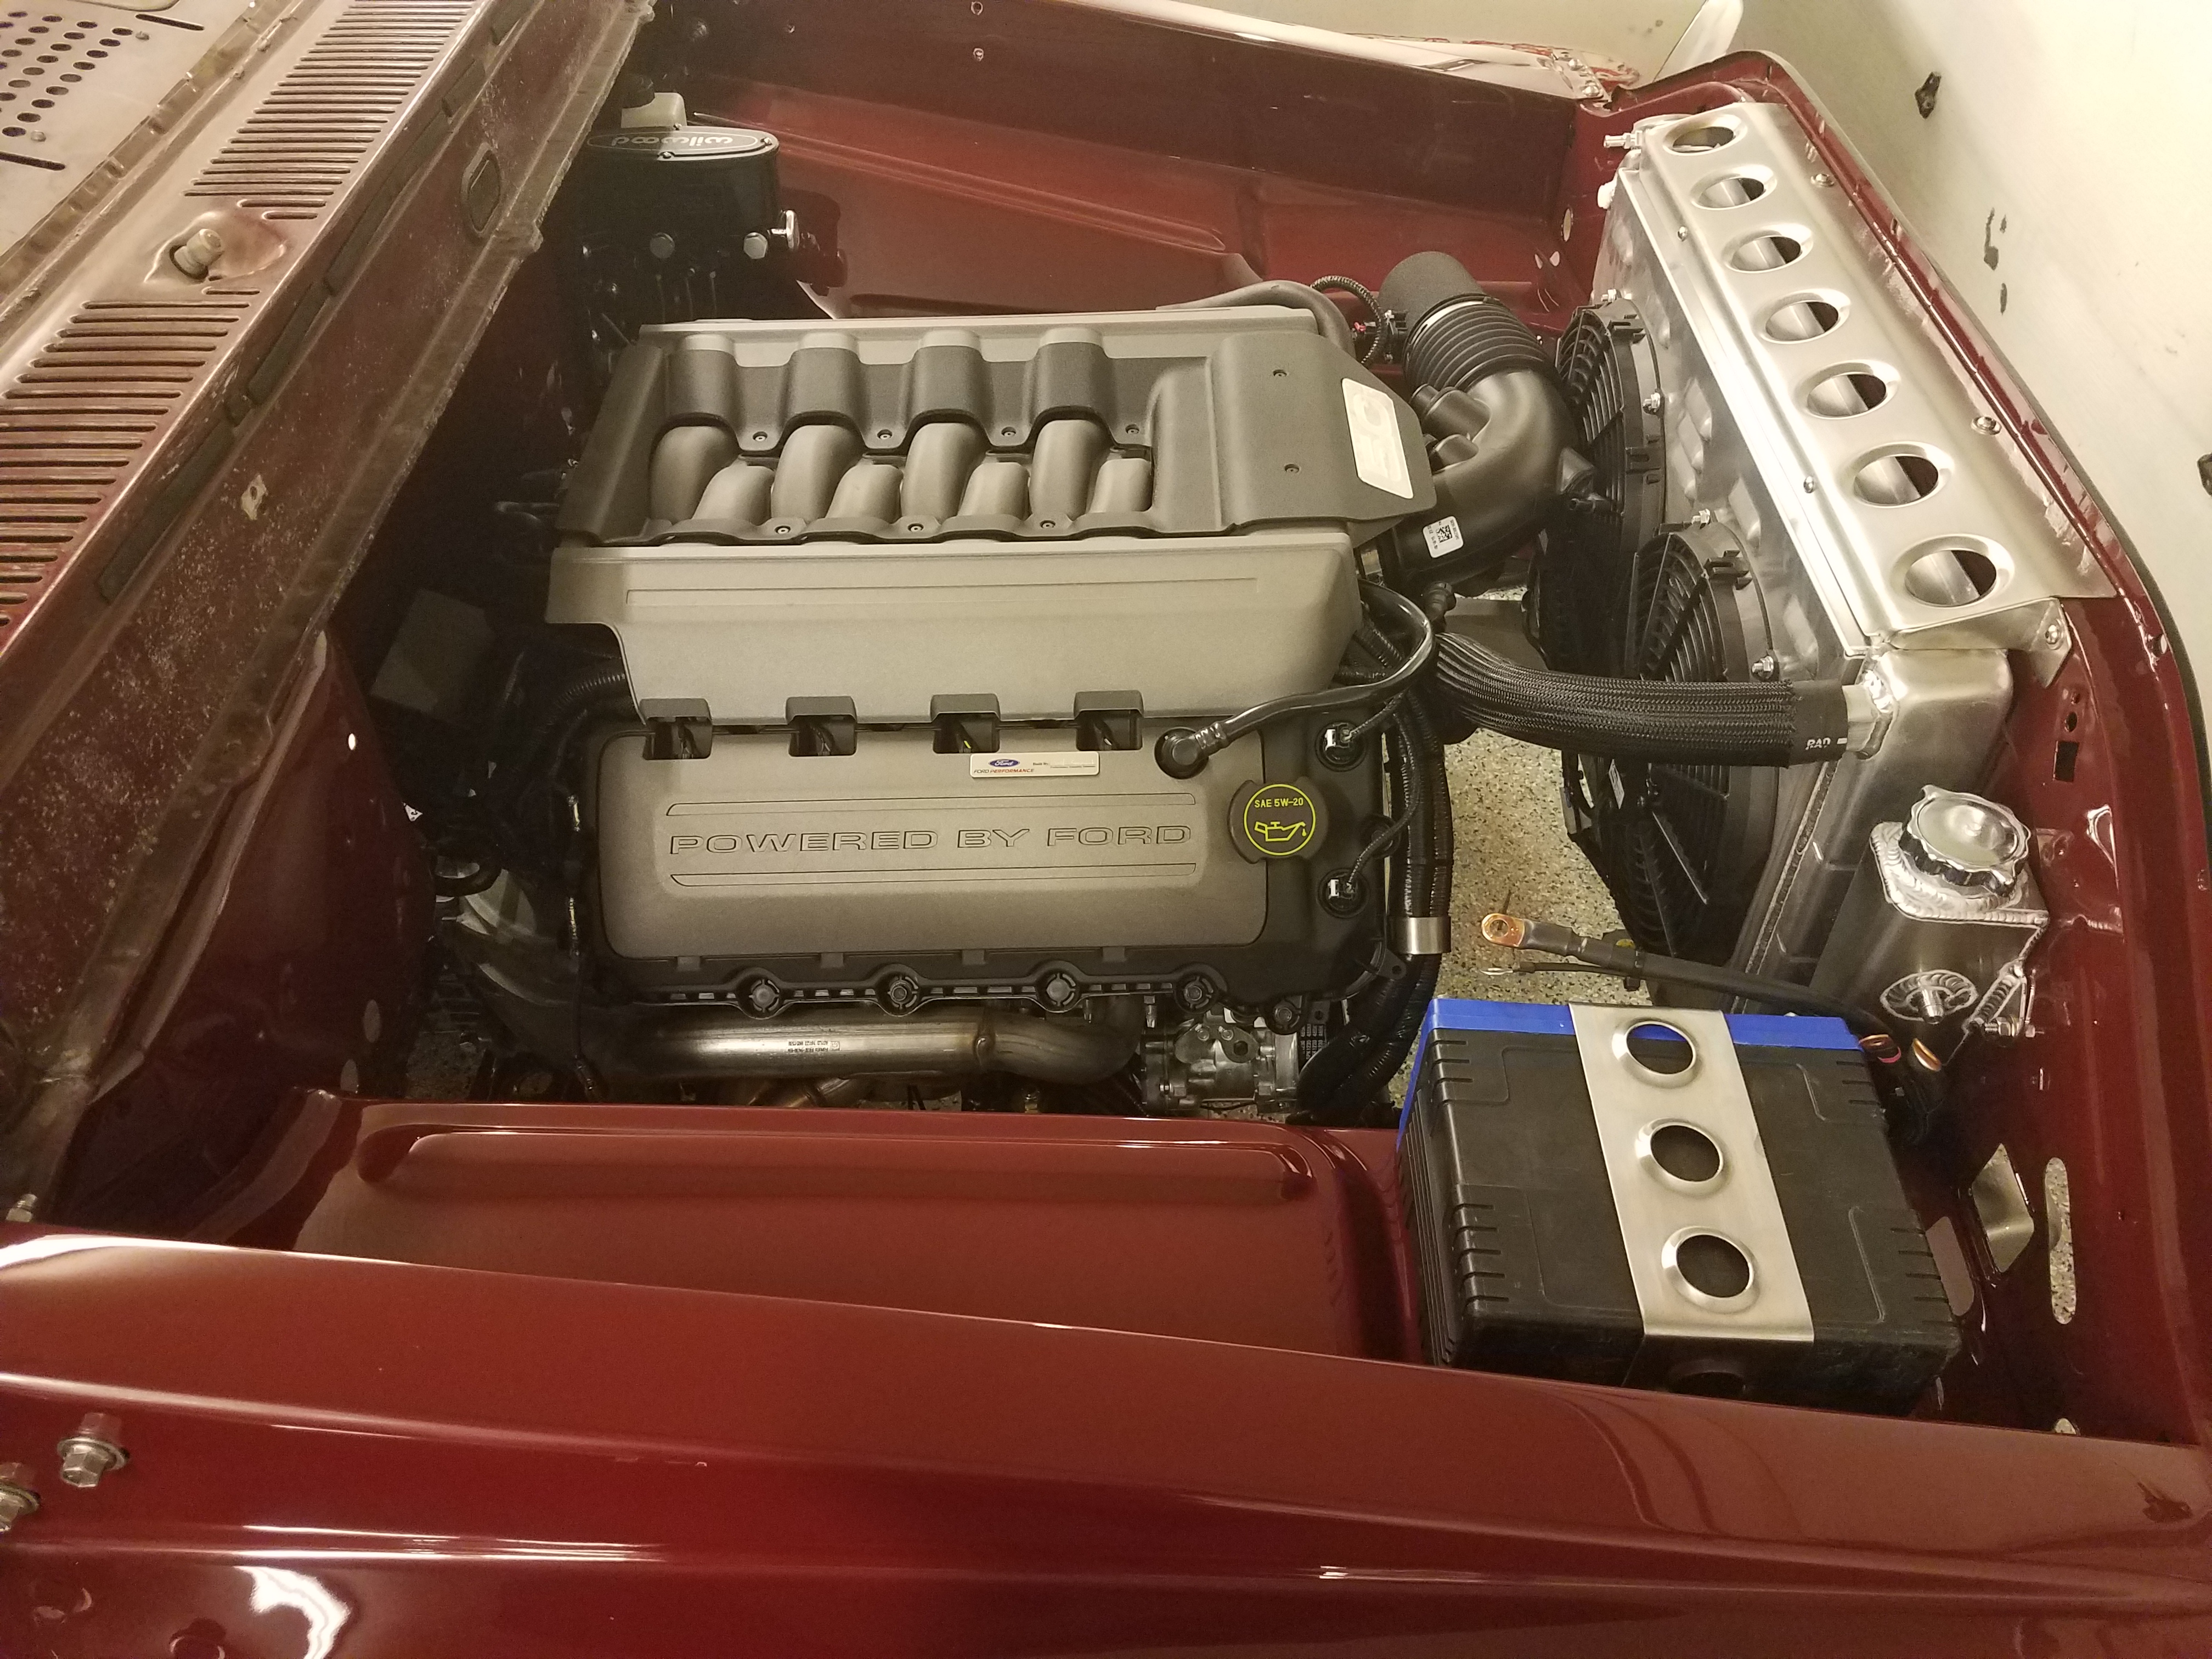
Keeping them blending in with the black but making sure the customer knows that these are the positive terminals even when not connected to the terminals.
You can see all of the wiring tucked down on the framerail. This is where I mounted the fuse holder for the FRPP controls pack most all of the wires in the engine bay are ran at this time.
So then I began on working on the main truck wiring, switched signal, ignition, what needed to be out to the engine bay and all that stuff. Here is what my madness looks like in action.
And here is the finished product, super clean even on the inner fender wells,
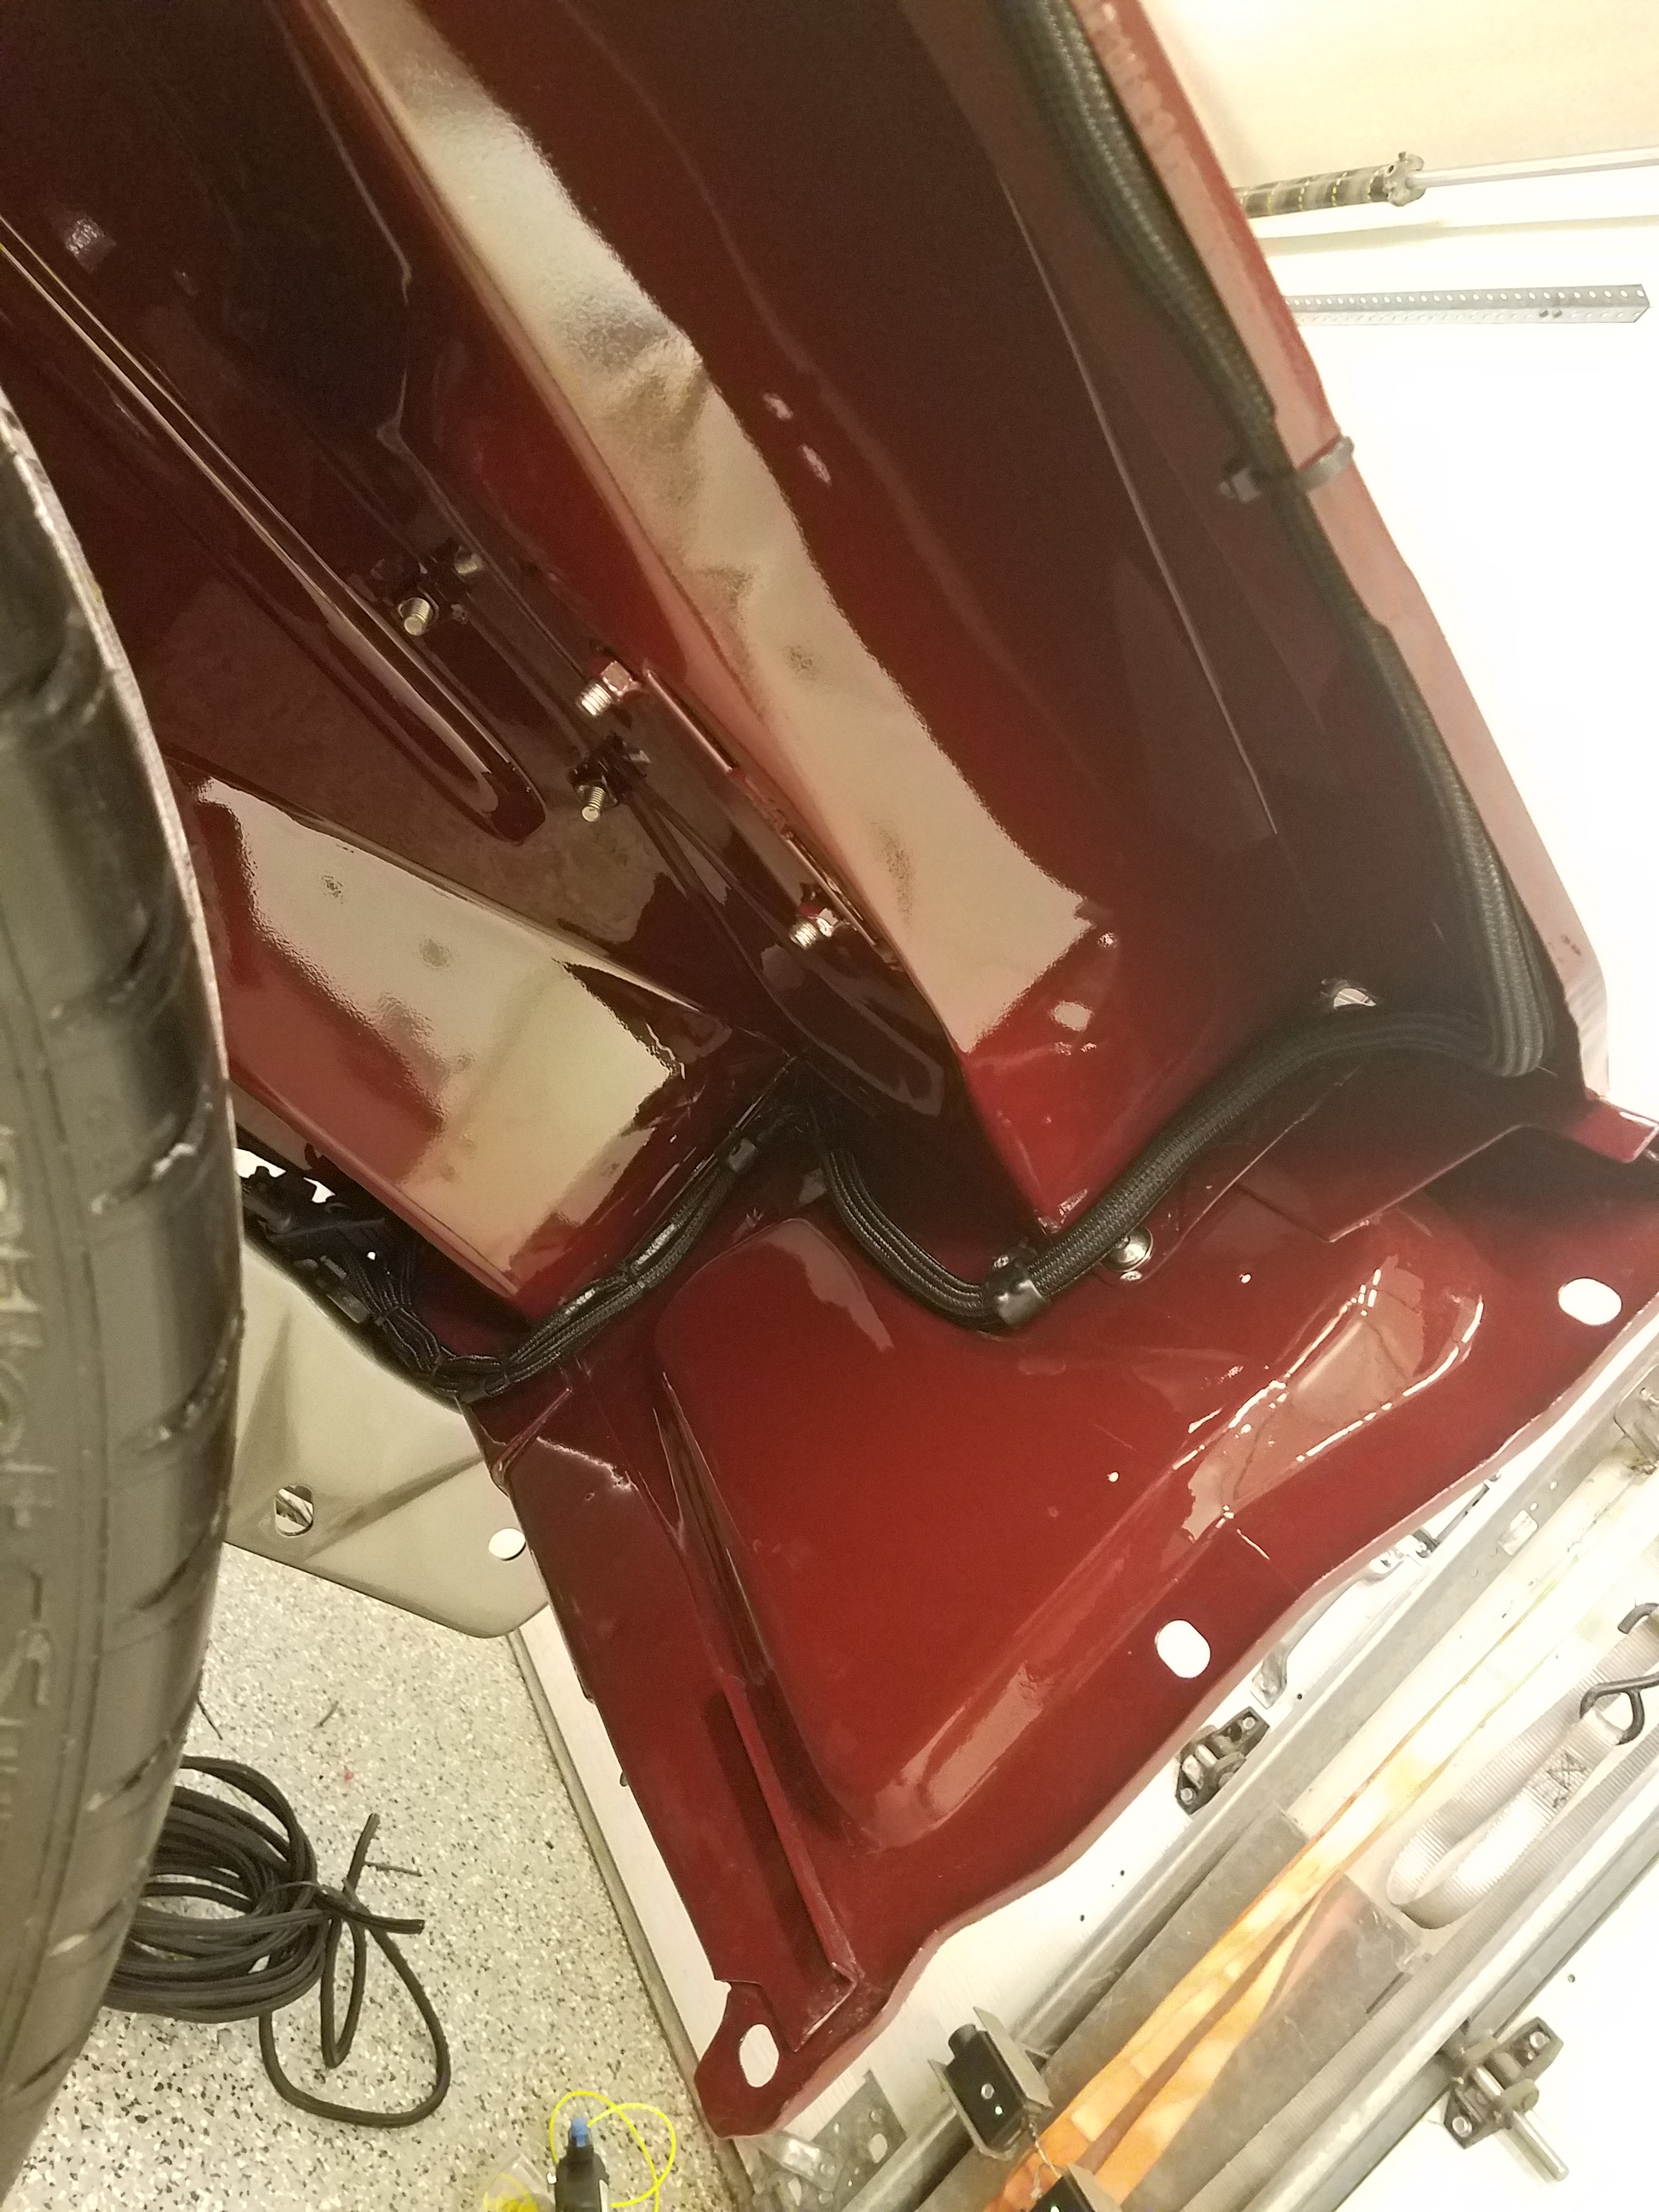
Just incase I dont remember to post up later, these colors look so awesome together and the finish level on this thing it top notch.
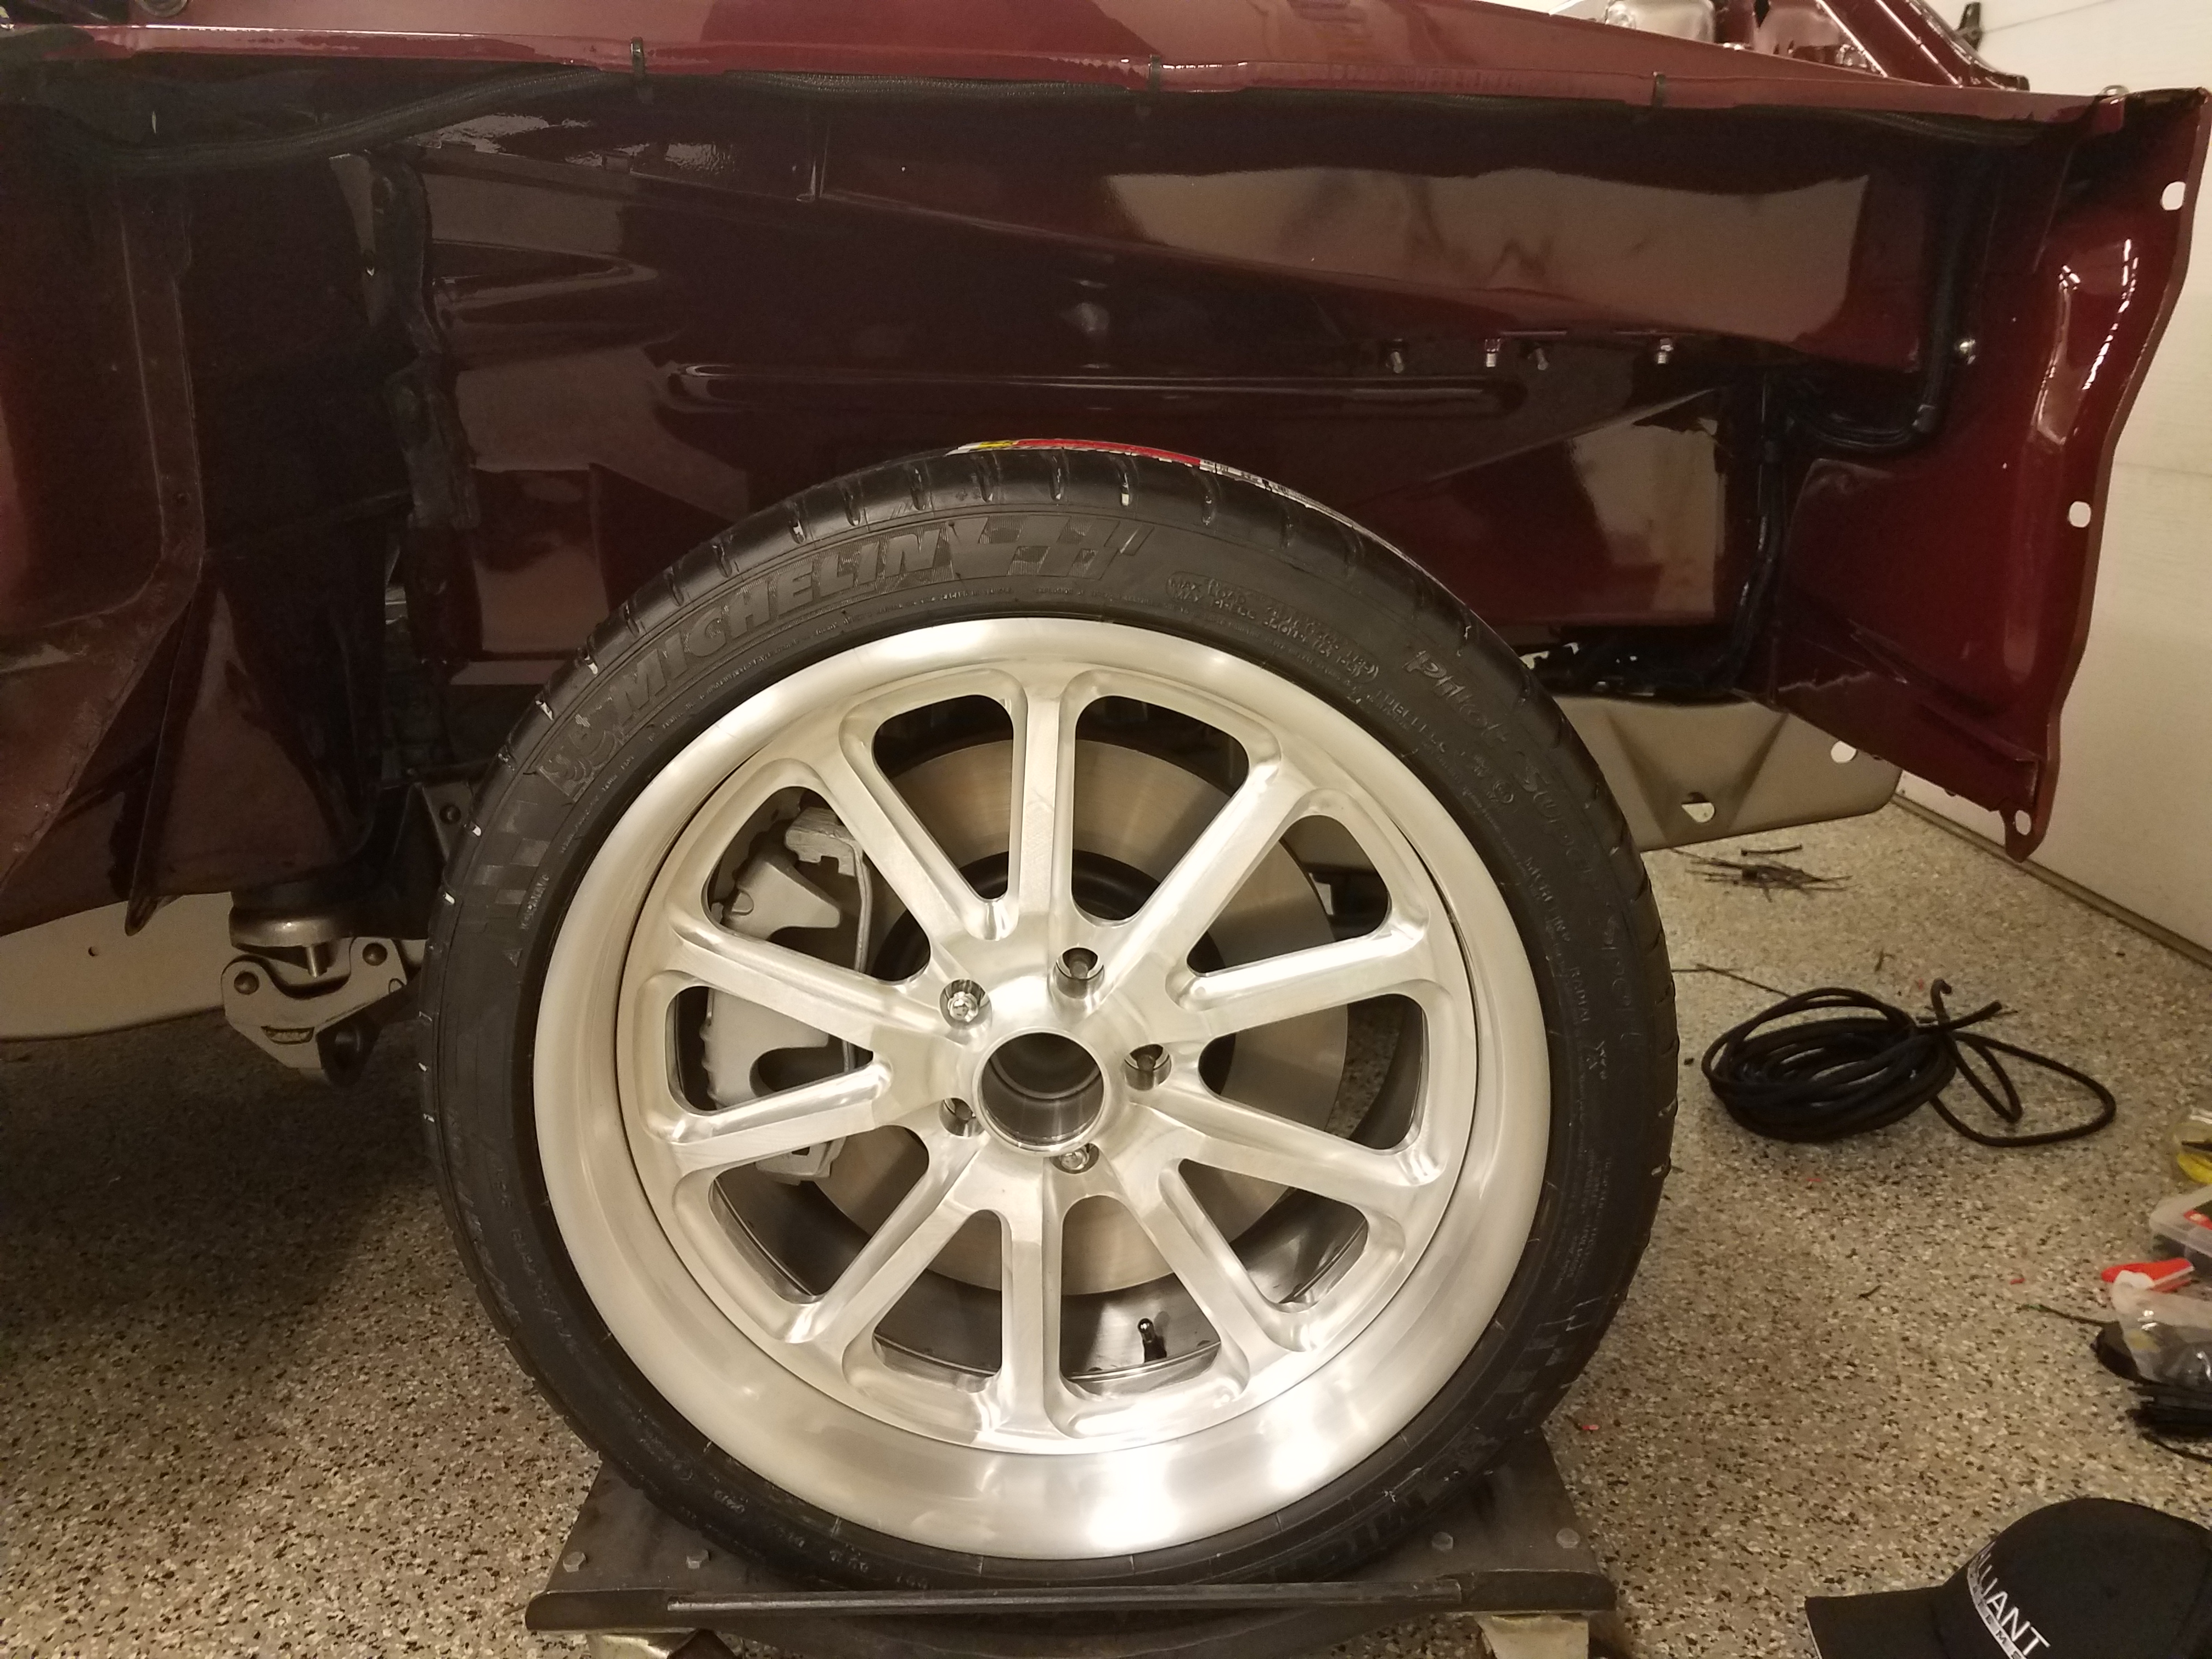
Also managed to finally get the wheels in house and mounted up with proper fitting valve stems. The centers will be painted to match the interior color of the truck. Wheels are super nice in a 19x10 with a 275 on all 4 corners. 3 piece wheels and very cool. You can see the rest of the wiring getting buttoned up.
I also managed to get the drivers side mostly run, fuel pump wiring run, taillights mostly run and the wiring out through the cowl for that side. I have the parts for plumbing the power steering lines, just need the actual lines themselves and Ill be good to go.
I am shooting on having the truck ready to go back to the painter for them to do the sheetmetal work, put the bed on, do the glass fuel filler in the bed floor, AC and get the exhaust sorted out. It will come back to me for final assembly and other bits and startup and all that stuff as well.
Hope you guys enjoy and Happy Monday!!!
On, in my spare time have been working on this little project with my buddy Scoot.
Its just about ready to fire up. 66 C10 pickup. We drove it in the shop in February and it should be running by the weekend =)
Sean
So back at this thing for the last week or so and have made good progress.
I was finally able to finish up all of the plumbing for the brake system, again all nicopp lines and stainless hardware, I like how this system turned out a little bit cleaner than the Tan truck.


The front sheetmetal came back from the painter so I got that all installed as well....talk about nerve racking with all of that fresh paint and stuff..


Got the frontend all situated where it needs to be, the power steering reservoir mounted up batter and battery mount all bolted on as well and started building my wires, alternator power to starter, ground cables are all custom cut to length and trying to keep them as clean as possible.

Keeping them blending in with the black but making sure the customer knows that these are the positive terminals even when not connected to the terminals.


You can see all of the wiring tucked down on the framerail. This is where I mounted the fuse holder for the FRPP controls pack most all of the wires in the engine bay are ran at this time.

So then I began on working on the main truck wiring, switched signal, ignition, what needed to be out to the engine bay and all that stuff. Here is what my madness looks like in action.

And here is the finished product, super clean even on the inner fender wells,

Just incase I dont remember to post up later, these colors look so awesome together and the finish level on this thing it top notch.

Also managed to finally get the wheels in house and mounted up with proper fitting valve stems. The centers will be painted to match the interior color of the truck. Wheels are super nice in a 19x10 with a 275 on all 4 corners. 3 piece wheels and very cool. You can see the rest of the wiring getting buttoned up.


I also managed to get the drivers side mostly run, fuel pump wiring run, taillights mostly run and the wiring out through the cowl for that side. I have the parts for plumbing the power steering lines, just need the actual lines themselves and Ill be good to go.
I am shooting on having the truck ready to go back to the painter for them to do the sheetmetal work, put the bed on, do the glass fuel filler in the bed floor, AC and get the exhaust sorted out. It will come back to me for final assembly and other bits and startup and all that stuff as well.
Hope you guys enjoy and Happy Monday!!!
On, in my spare time have been working on this little project with my buddy Scoot.

Its just about ready to fire up. 66 C10 pickup. We drove it in the shop in February and it should be running by the weekend =)
Sean
#55
04-24-2017, 02:54 PM
#56
04-24-2017, 03:16 PM
Dang, the truck is looking great. Making me want to re-work my whole brake system. Nice work as always!
I really appreciate that you take so much time to post this stuff, it really helps guys like me that are trying to do things better and cleaner on our projects but don't have the eye that you do.
-Forrest
I really appreciate that you take so much time to post this stuff, it really helps guys like me that are trying to do things better and cleaner on our projects but don't have the eye that you do.
-Forrest
#58
04-25-2017, 09:52 AM
Dang, the truck is looking great. Making me want to re-work my whole brake system. Nice work as always!
I really appreciate that you take so much time to post this stuff, it really helps guys like me that are trying to do things better and cleaner on our projects but don't have the eye that you do.
-Forrest
I really appreciate that you take so much time to post this stuff, it really helps guys like me that are trying to do things better and cleaner on our projects but don't have the eye that you do.
-Forrest
Hope all the FTE Peeps are having a good week.
Sean
#60
04-25-2017, 04:15 PM

Laughing Gas