When you click on links to various merchants on this site and make a purchase, this can result in this site earning a commission. Affiliate programs and affiliations include, but are not limited to, the eBay Partner Network.
Spent a lot of time today going through the remaining bolt baggies determining what exterior fasteners (and wasted interior fasteners) should be replaced due to being very visible or in poor existing pitted condition because of exposure to the elements. Worked up a large order from AMK products finding almost every item needed - it is fun finally tracking down that exact right bolt or screw. They also sell the OE style radiator and heater hose clamps along with wire retaining hooks and straps.
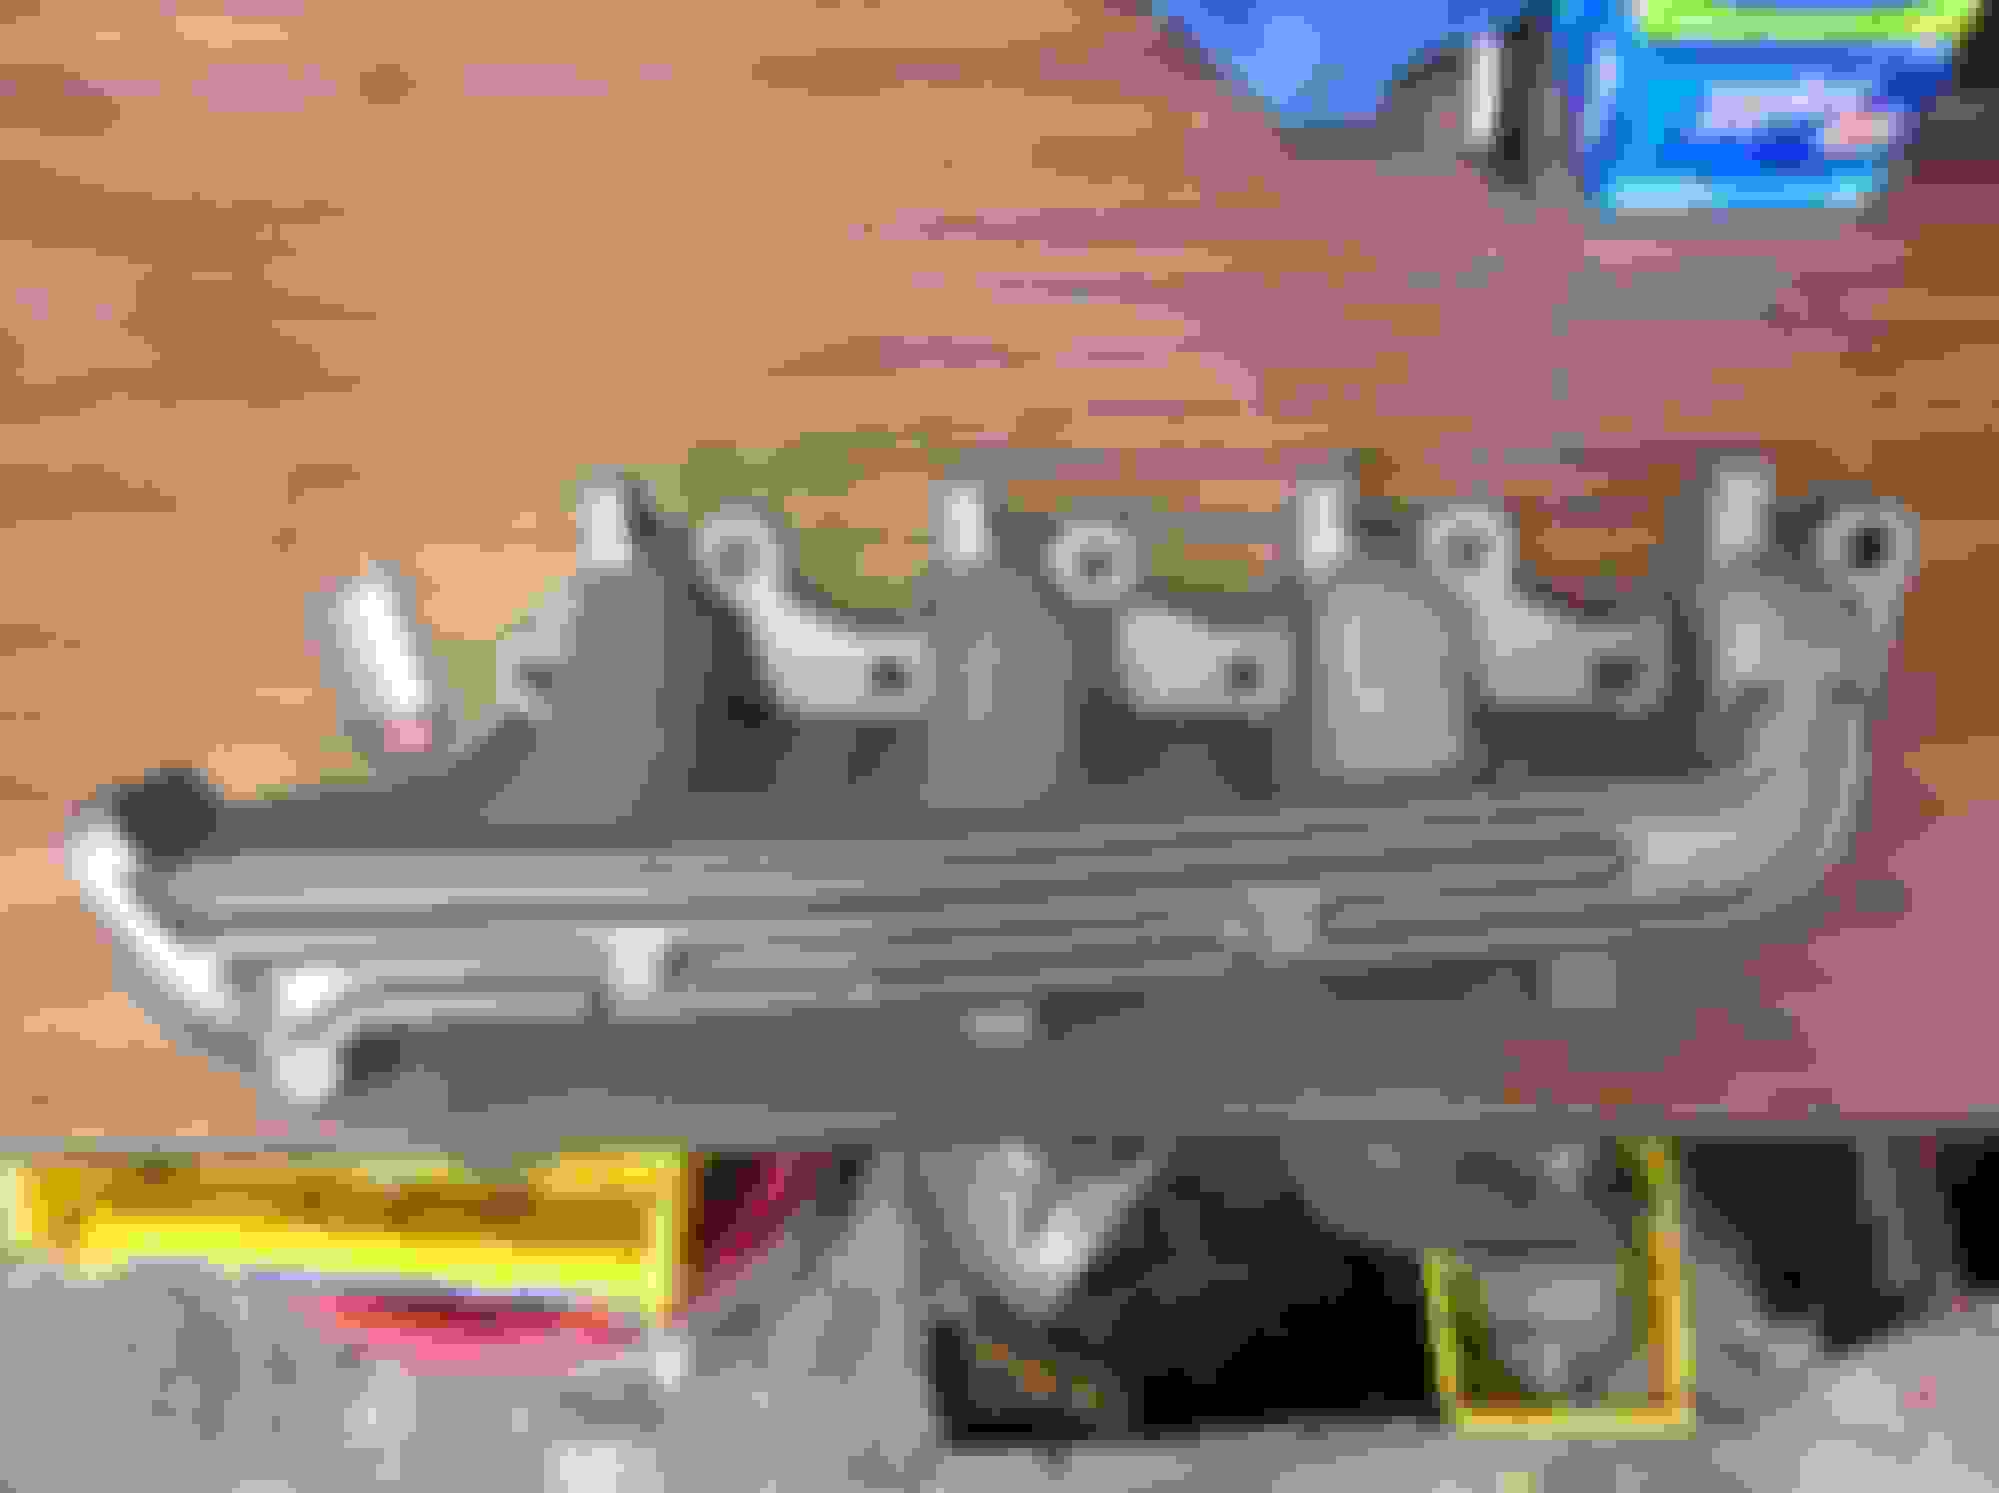
Took a look at the air cleaner housing. This is going to need A LOT of work.
Found this marking on the inlet snout. Don't think I can save it, and need to find out what the finish should be on this surface
Did another 15 or do fastener baggies. The end is in sight for this part of the resto!
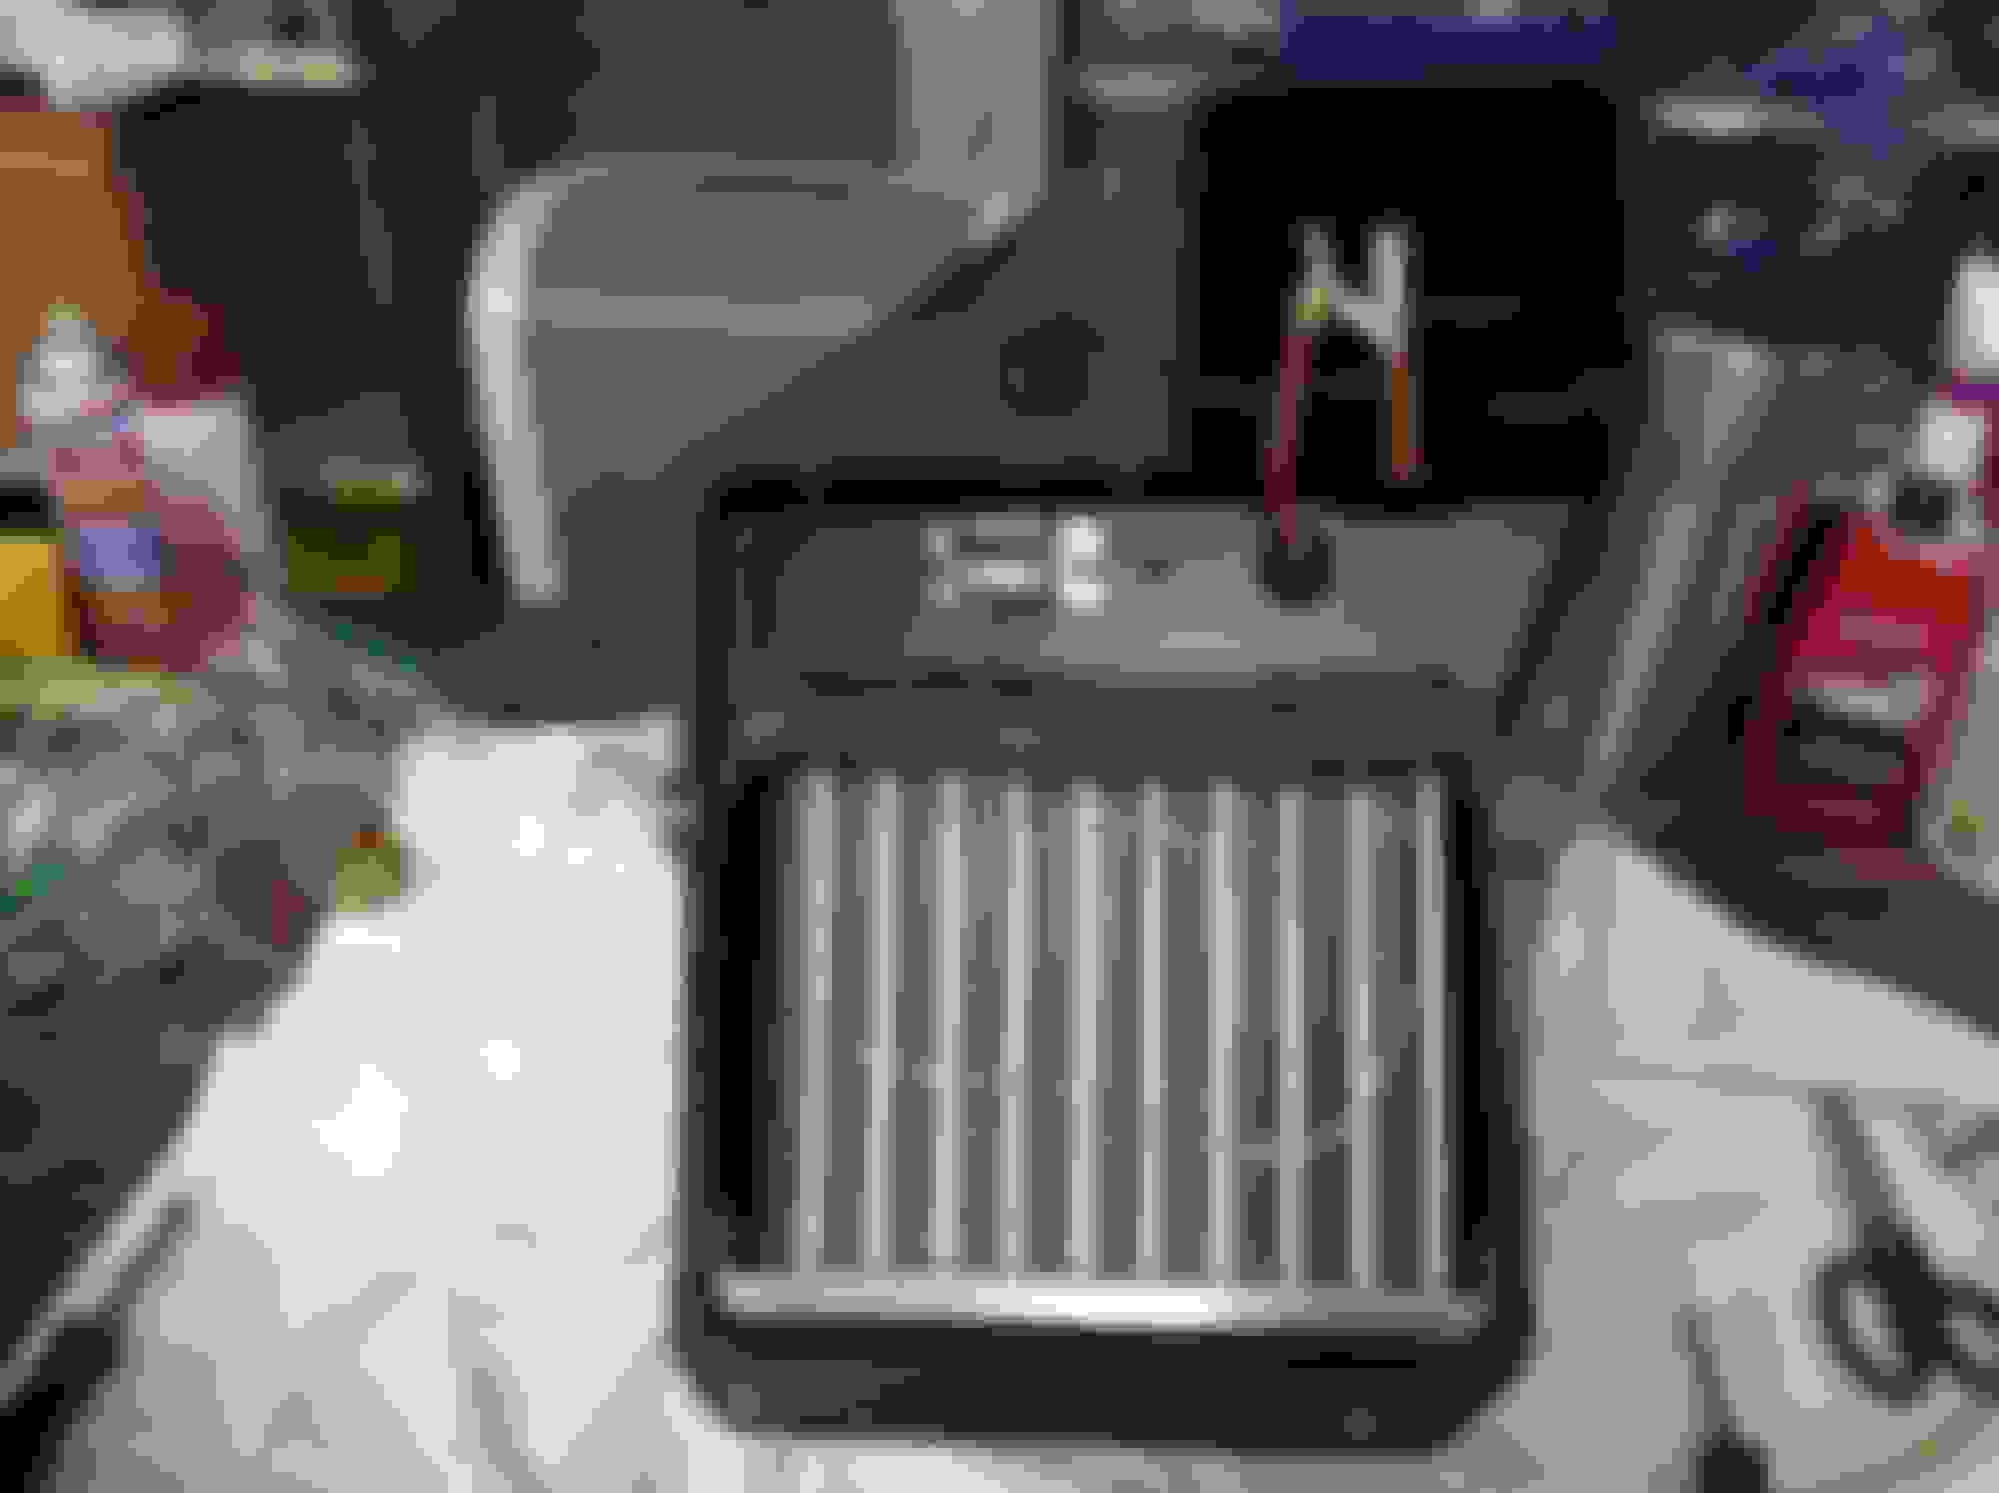
1) Painted the ends of the core lines with silver paint to mimic the look of the original aluminum lines. The replacement core - made by Old Air Products - are made from with copper tubing.
2) Had to drill two new mounting holes in the new core mount tabs because the repro is slightly off dimensionally from the OE unit.
3) The temp freeze cycling switch from Four Seasons is oriented 90 degrees off from the OE unit, however it will work and the wires reach it OK. The capillary tube is about 8 inches longer so it will fit a bunch more applications, so I had to loop it but again it should work OK.
4) Detaiiled the housing cover rivets with the Zinc Phosphate paint and applied the repro sticker.
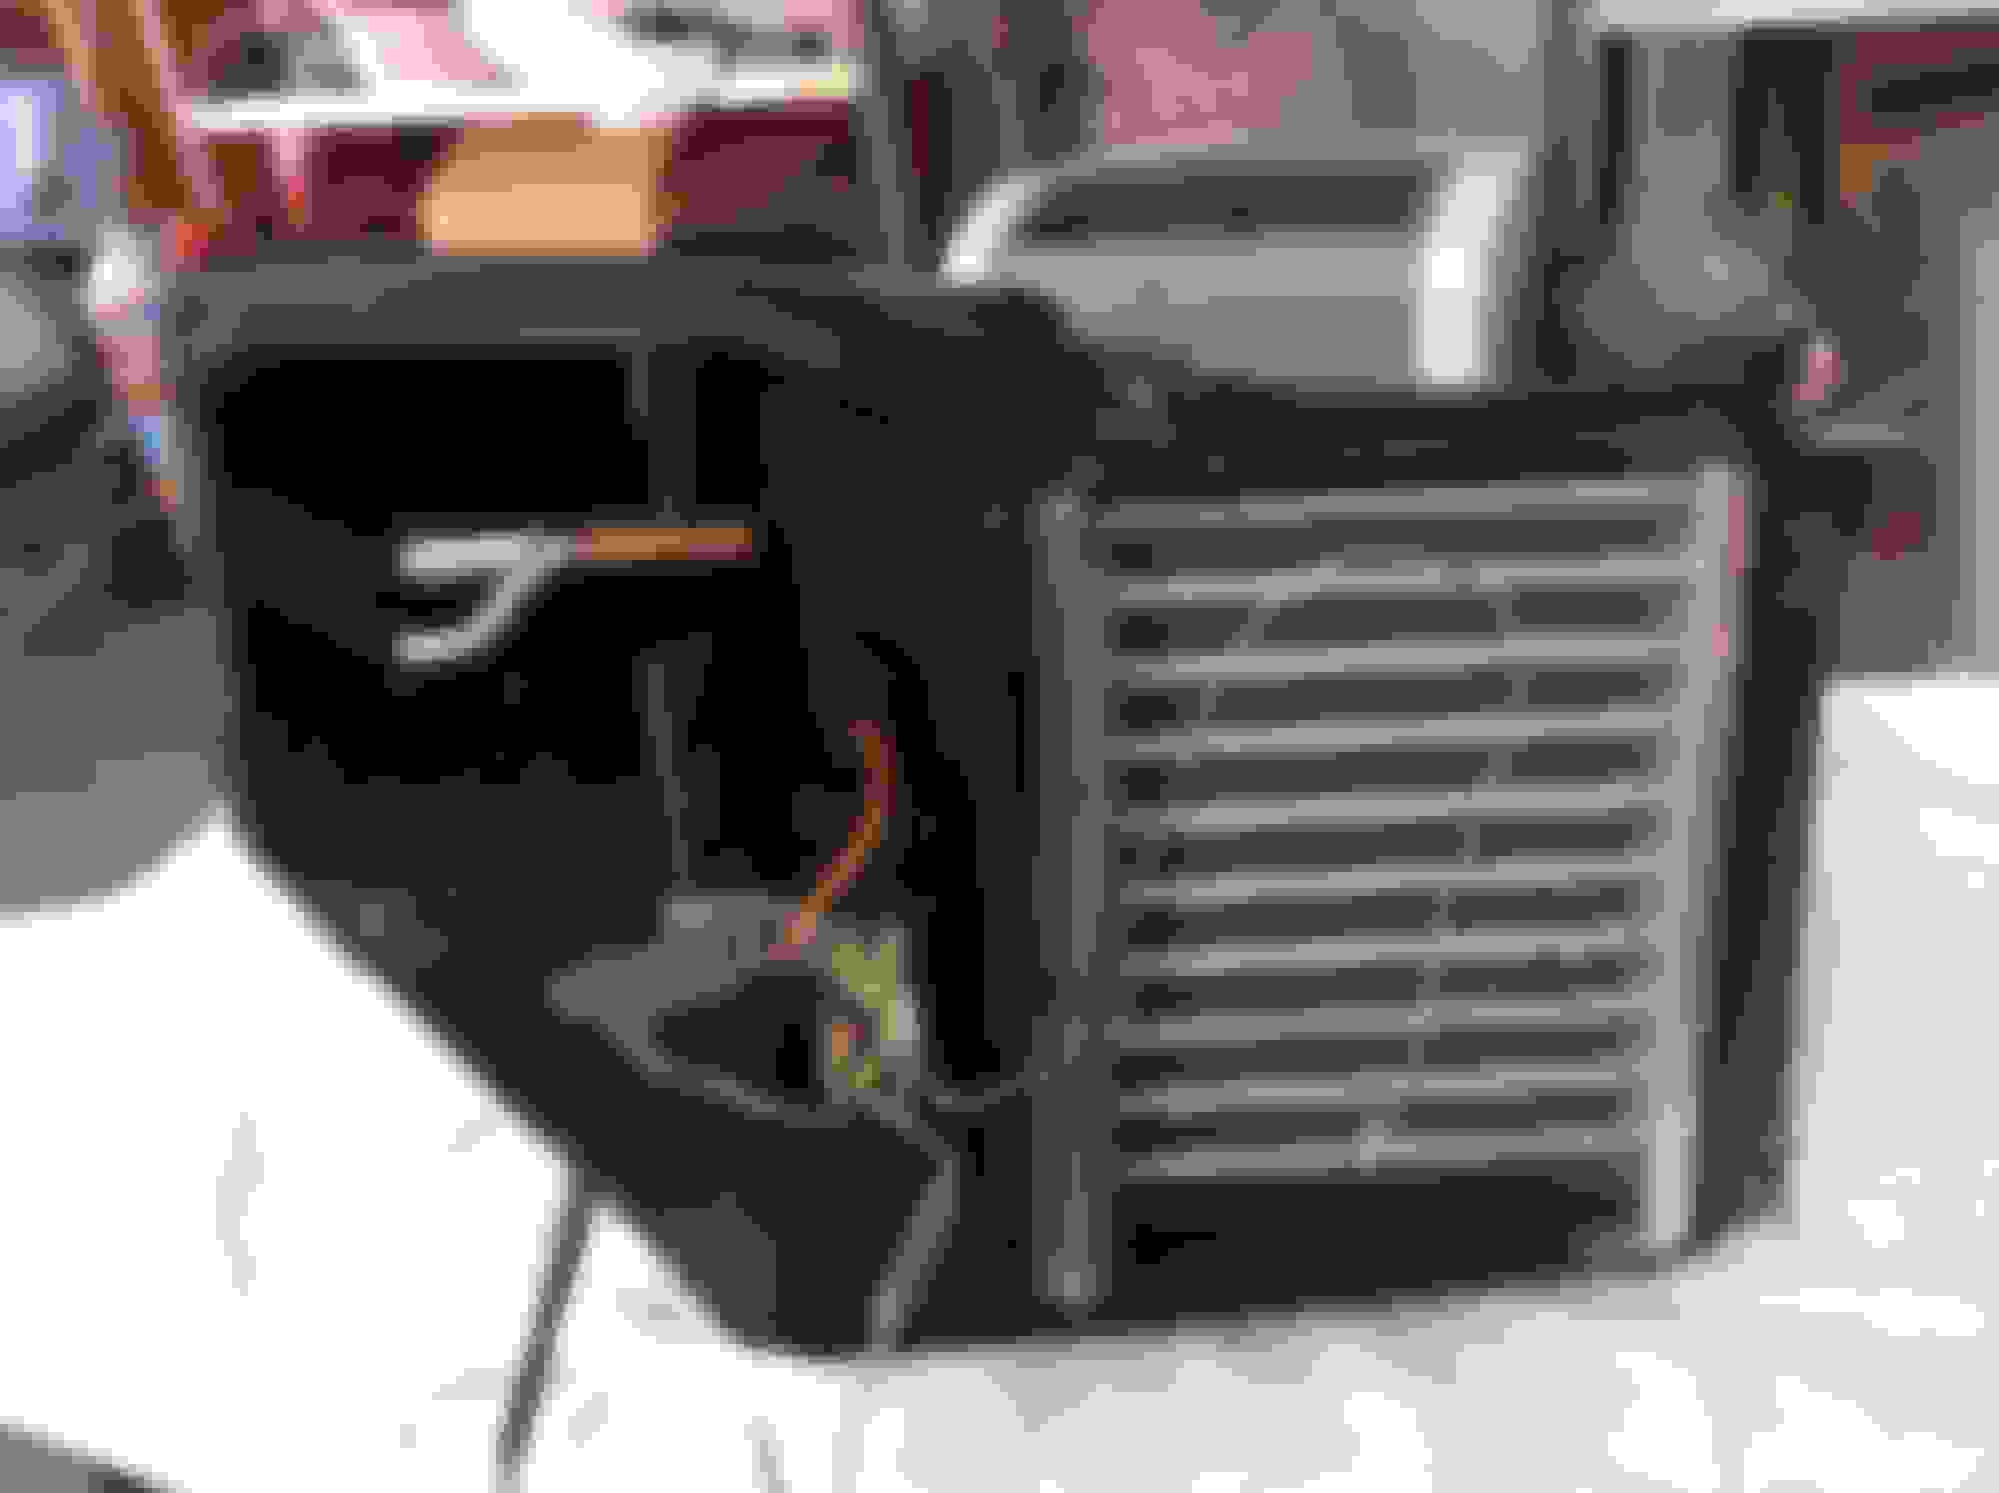
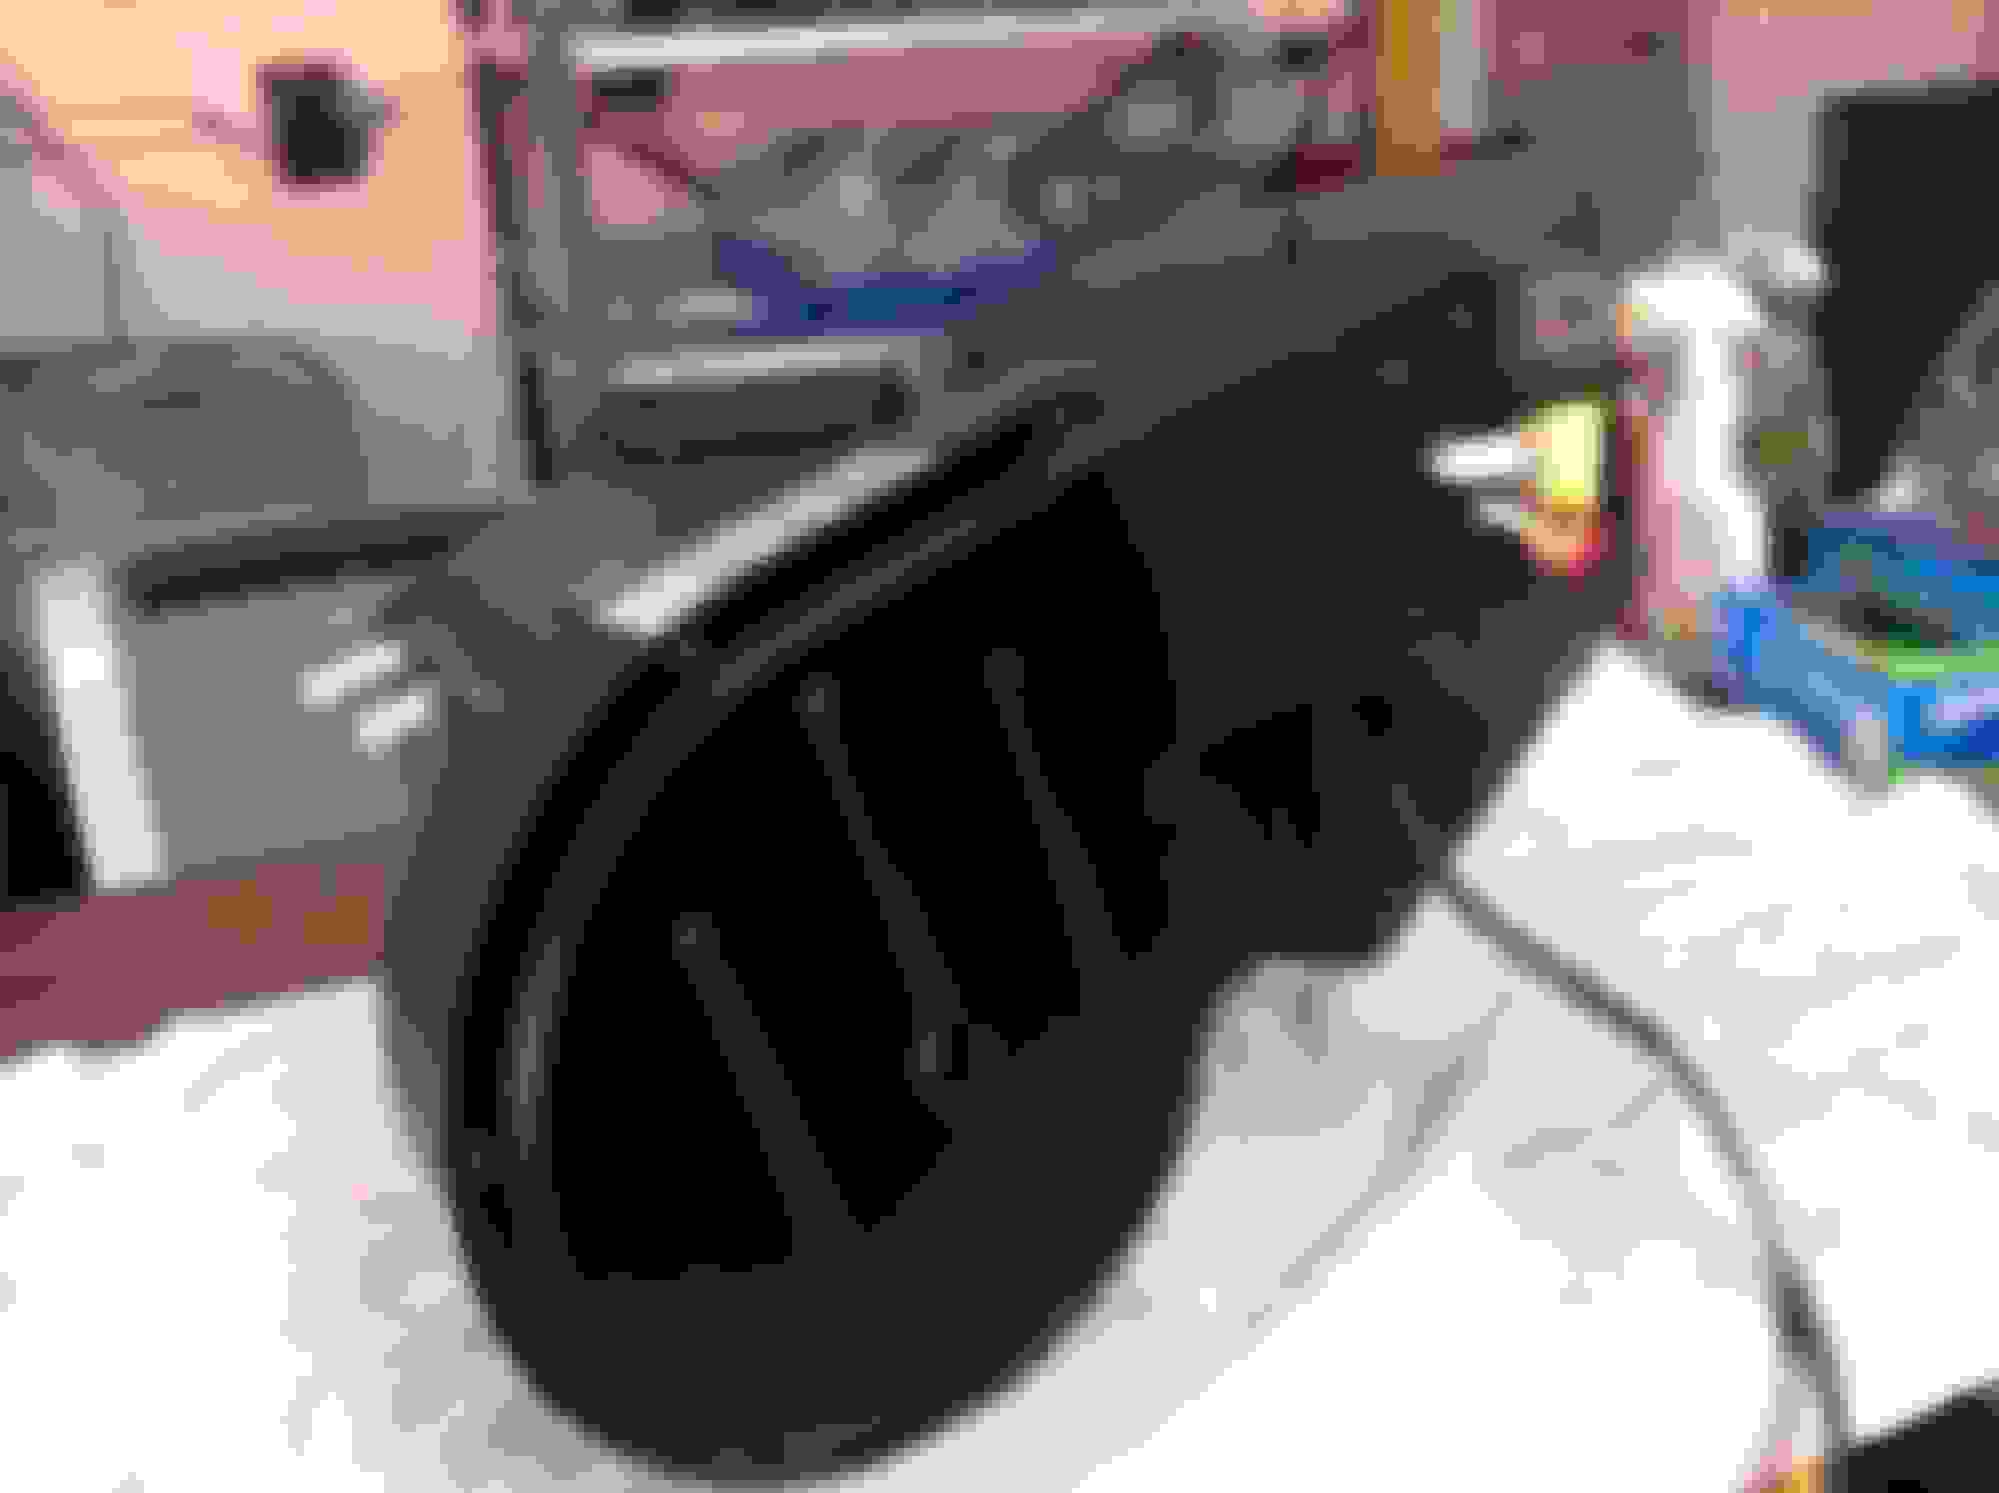
Finished pics:
Before and after of the three main air flow components:
Also another round of bolts. Will have to redo the small center intake and choke stove bolts. They are the most corroded fasteners I've dealt with so far:
I gotta say, following your restore process is about better than any book or movie I've ever seen. Your methodical documentation of each process for every piece of the truck you touch is 2nd to none, that I've ever seen!
Thank you for documenting it all. I'm looking forward to watching the rest of your project unfold, and learning from an artist
Thank you for your kind words. I wish I could say this was all planned, but I do them like this because it's the only way I can be sure I"ll know how to put it all back together again.
Did another round of fasteners. When the carb springs came out of the EvapoRust, they were revealed to have been originally painted - the small one red, and the larger one bluish gray. The Evaporust loosens the paint from them metal, so I repainted both with the closest shades I had available - the small one with 68-69 Olds 455 engine paint, and the larger one with Dove Gray paint.
These last bags of fasteners are going slower - maybe because I've been doing the easier ones till now (?) The worst today were the trans cover to cab floor hardware. There was a lot of tarry old seam sealer crammed into every nook and cranny of the j nuts - took me 30 minutes just to do these.
I'm missing one of these. I'll have to put up a Parts Wanted posting.
Tried setting up a shallow dunking tank for the bigger items that might clean up with EvapoRust. I used my old 5 gallon bucket of EV, but it doesn't fill the tank neatly enough to completely submerge everything - even adding other items to displace the level upwards. I'll check in the morning how the stuff is cooking
Love the detail going into this, great job!
Can you go into more detail on the gold/silver finish on the vacuum actuators?
Thanks - the details is what keeps me going.
On those vac. motors, I wirewheeled the main body of the '"can" and then hand sanded the action face the the vac. I taped off the rod and the exposed part of the diaphragm (along with the stud ends), and the shot a coat of Duplicolor "Chrome" paint on everything left exposed. As soon at it dried, I next sprayed a VERY faint dusting of a flat drab green from at least 3 feet away. If you actually see the color change , you sprayed this paint on too thickly. Finally, a dusting - again sprayed from at least 30 inches away of gold metallic paint. Don't make it too even in coverage. This method Is not as nice as real plating, but seems to work OK in mimicking Zinc Dichromate
5 Hour Friday (5 hours 3 this morning, 2 this evening)
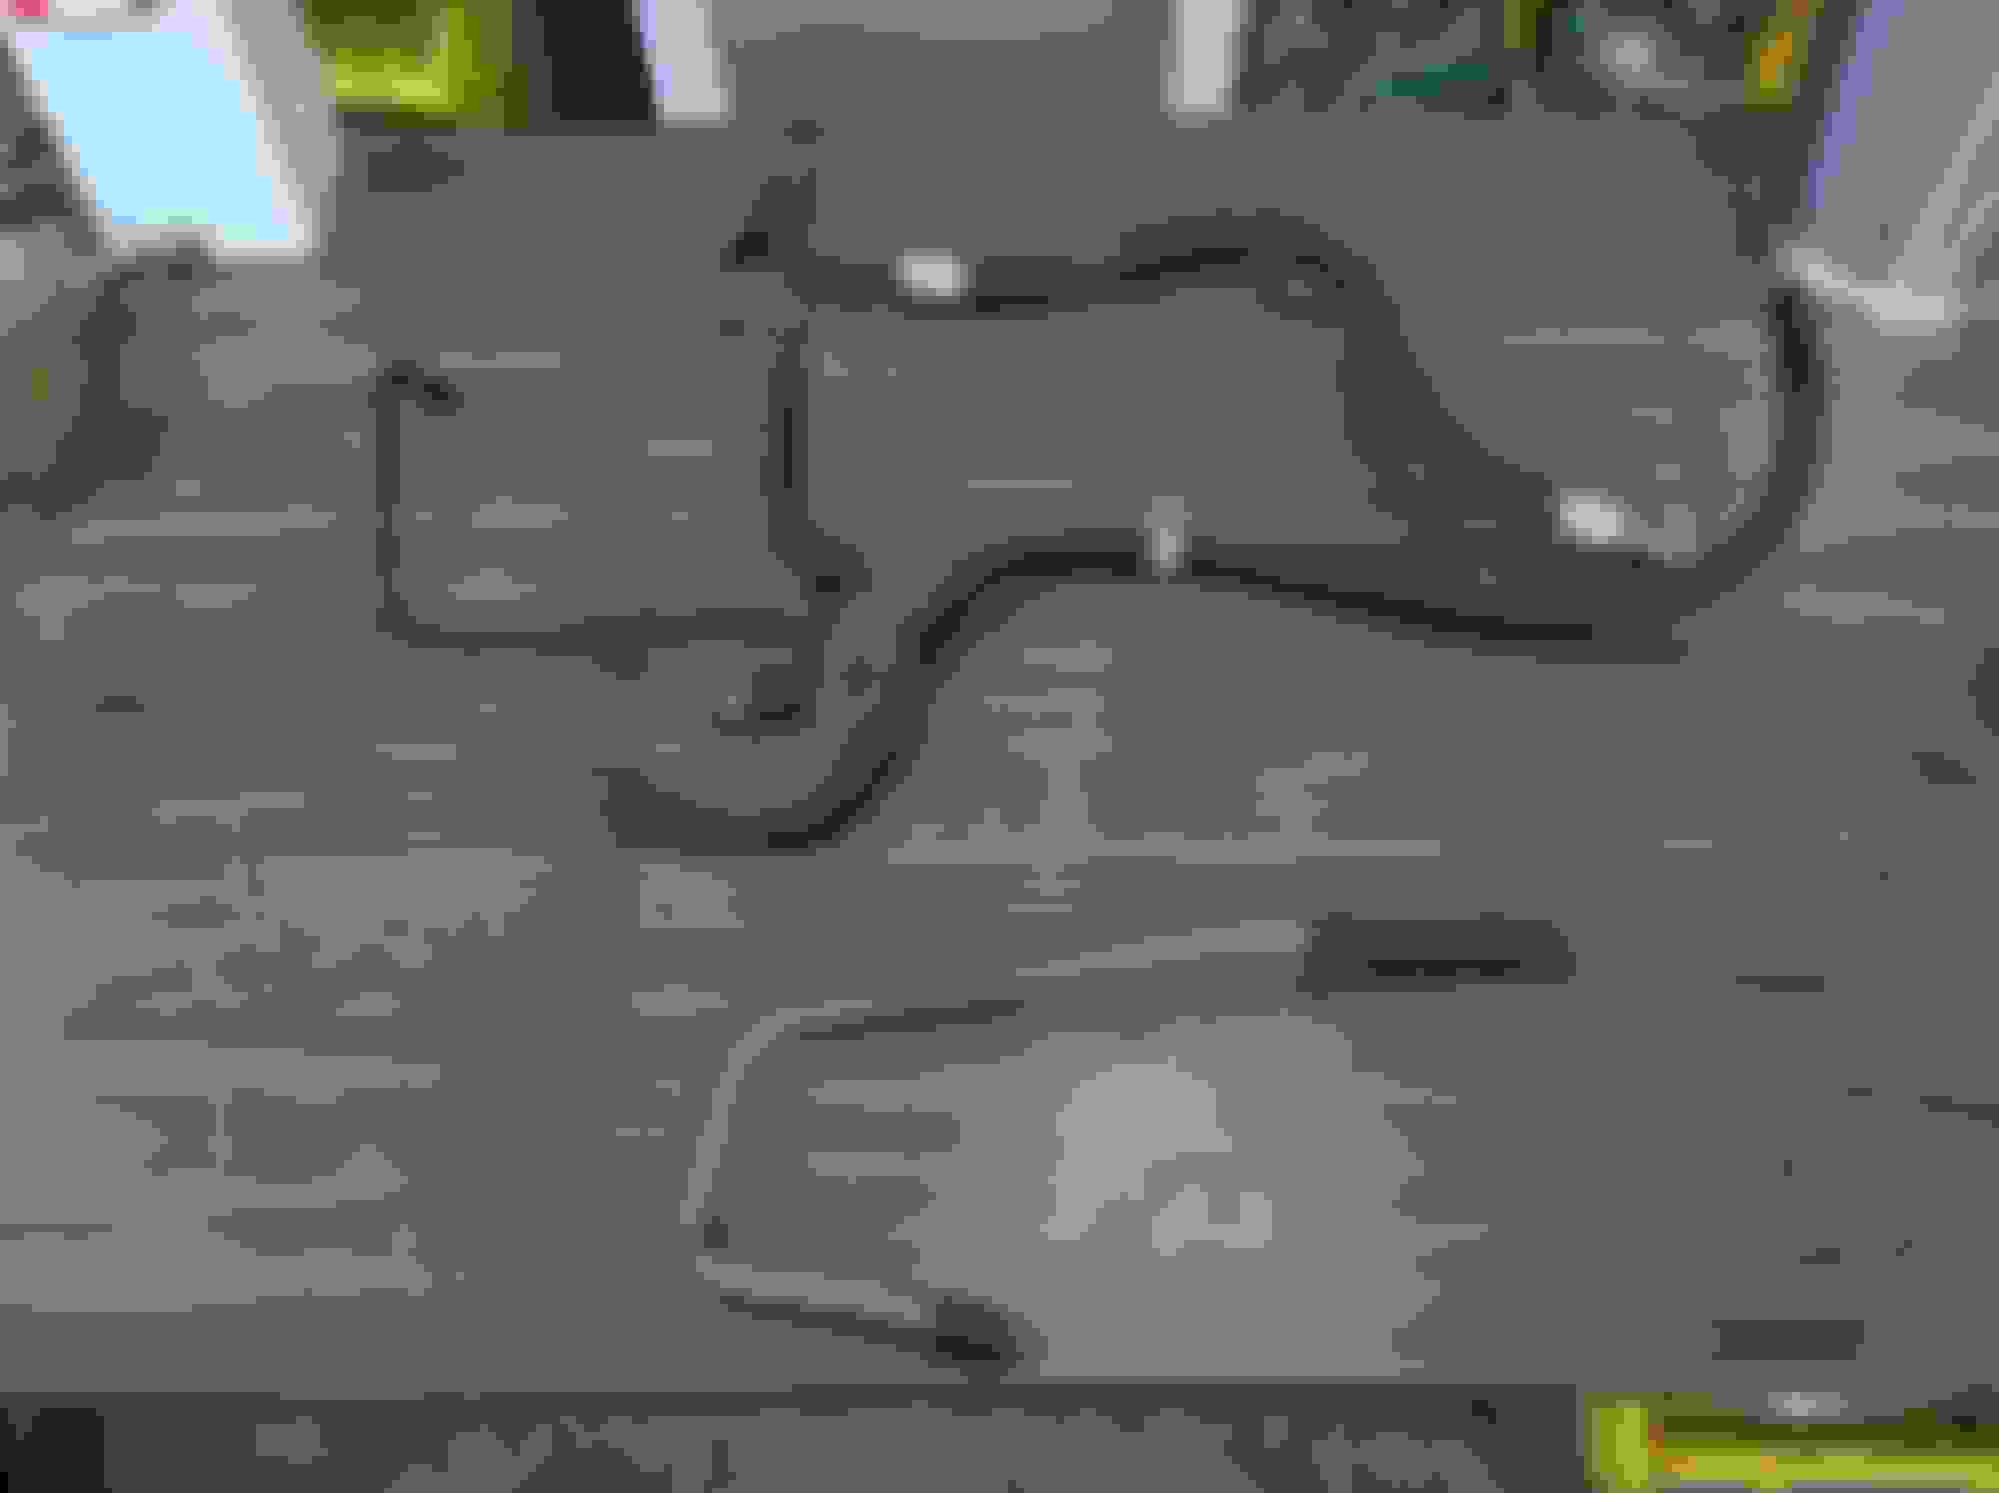
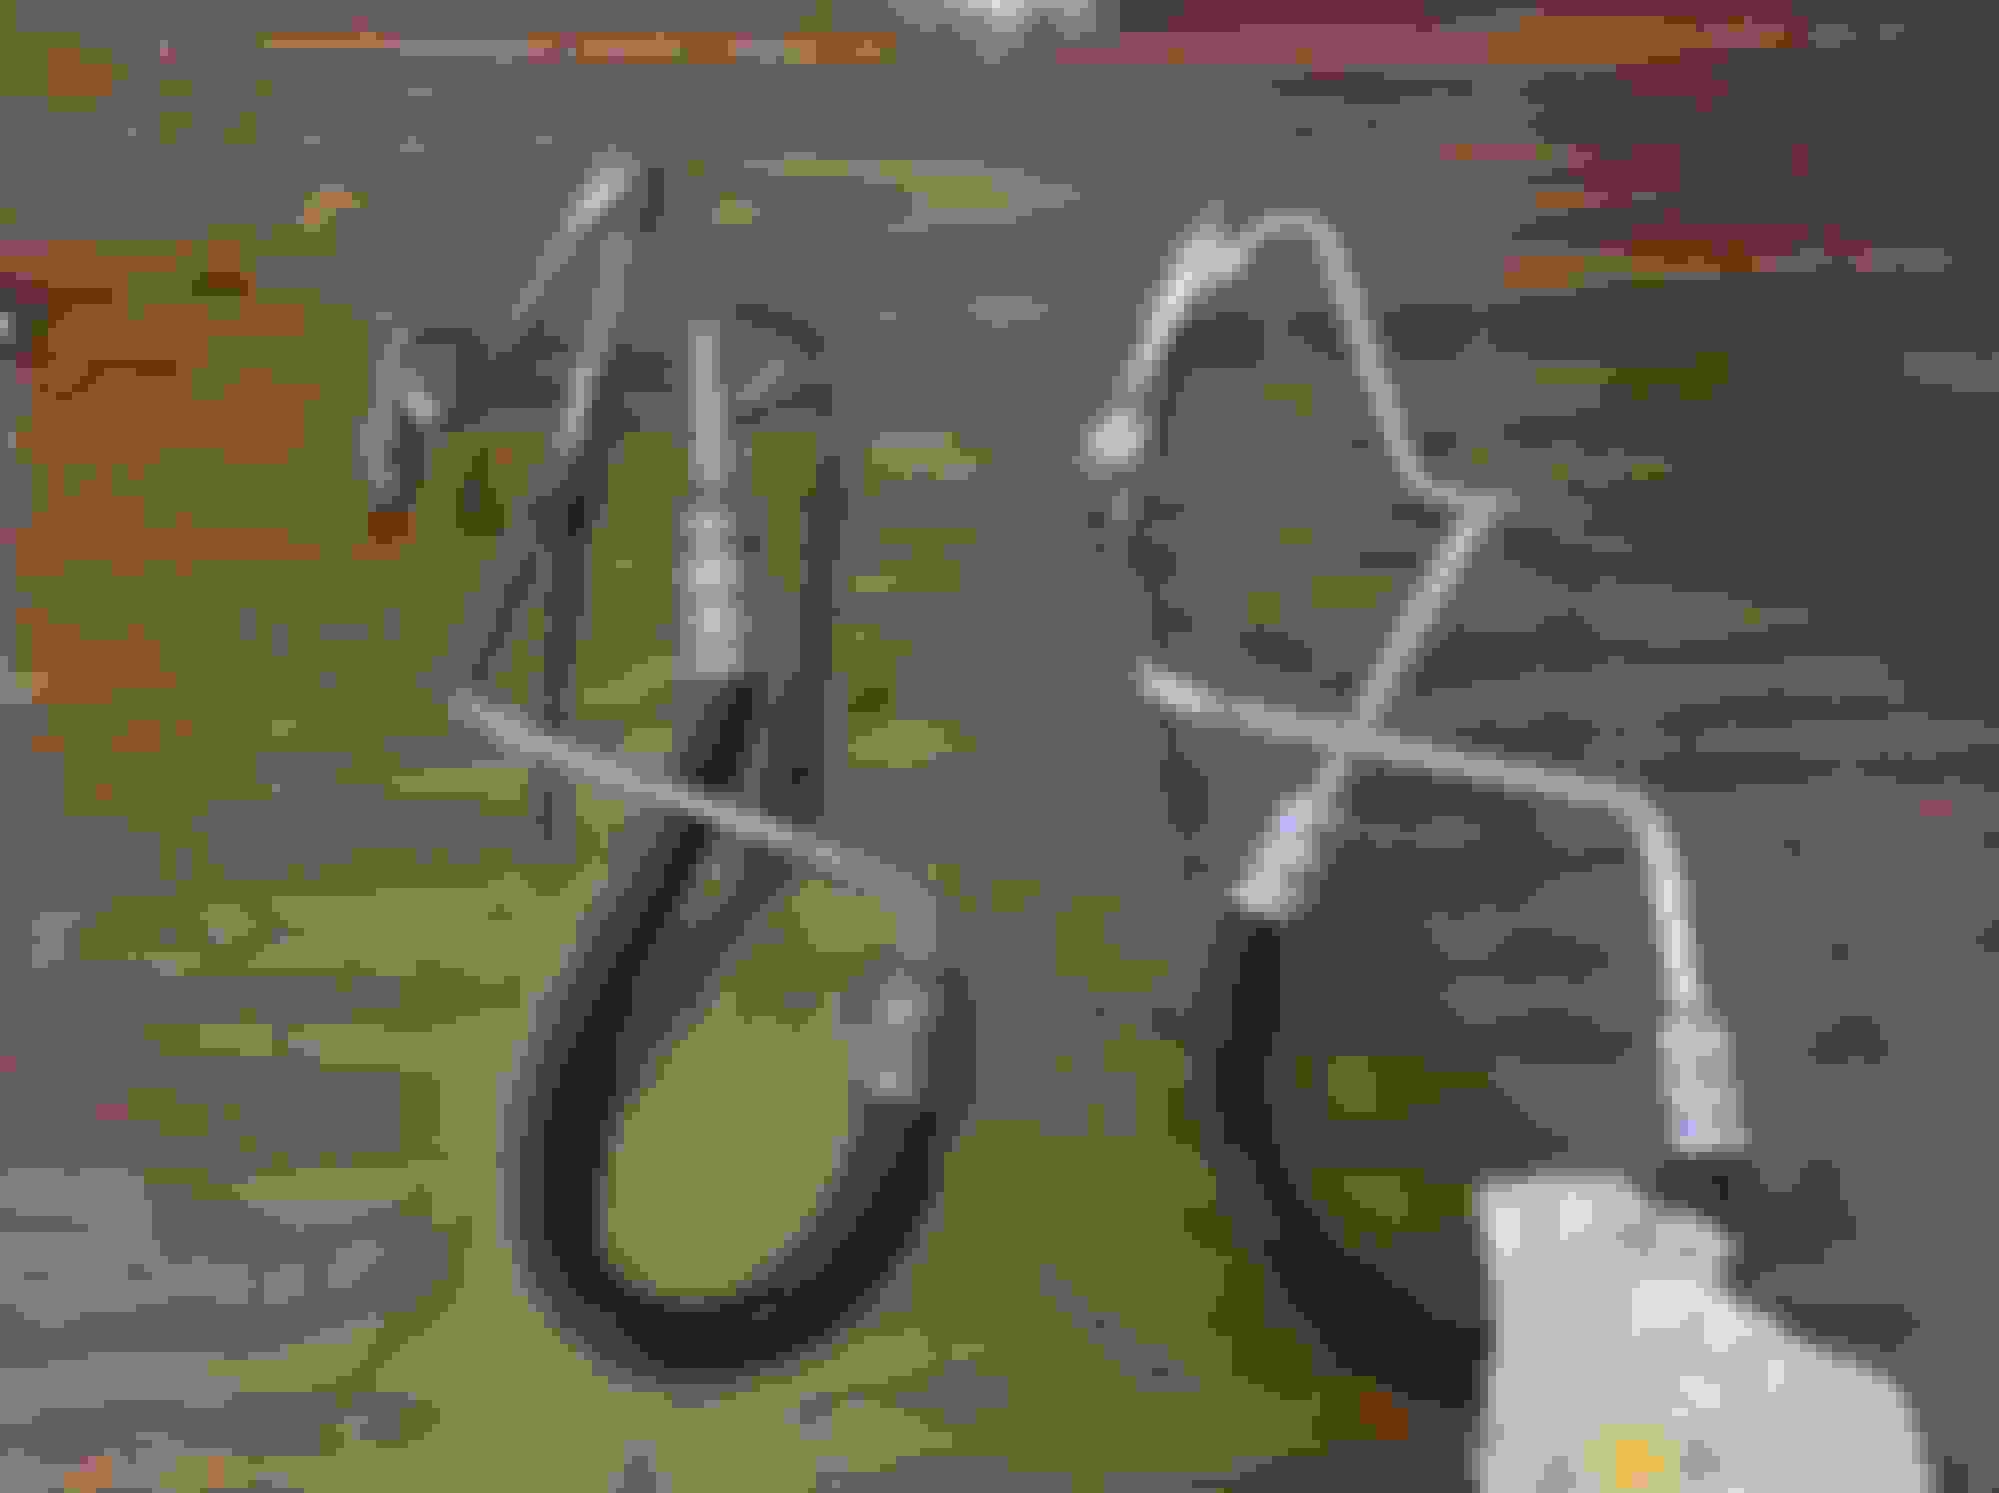
Got the various lines and hoses out of the EvapoRust to see what I'm going to be working with. Following are pics of various items done today, parts received and problems to be dealt with
1) A/C compressor to dryer line - this piece cleaned up very well including being able to preserve the hose markings. Had to paint the hose blackout end due to scratches. See the well preserved Ford P/N
PCV line and hose connectors, tallgate latch rods, power brake booster hose and clamp, and dipstick also cleaned up nicely. The short connector pipe from dryer to condenser was painted by Ford with a thick, gummy paint. I tried simulating it with spray on black PlastiDip, but it is too flat. Will overspray tomorrow with a semi gloss and see how it looks.
The front brake lines still need some more time in the Evapo, but should come out OK. Also did the next to last round of bolts. All the fasteners used to attach interior parts to the doors are a mish mash of junk - will need to work this more.
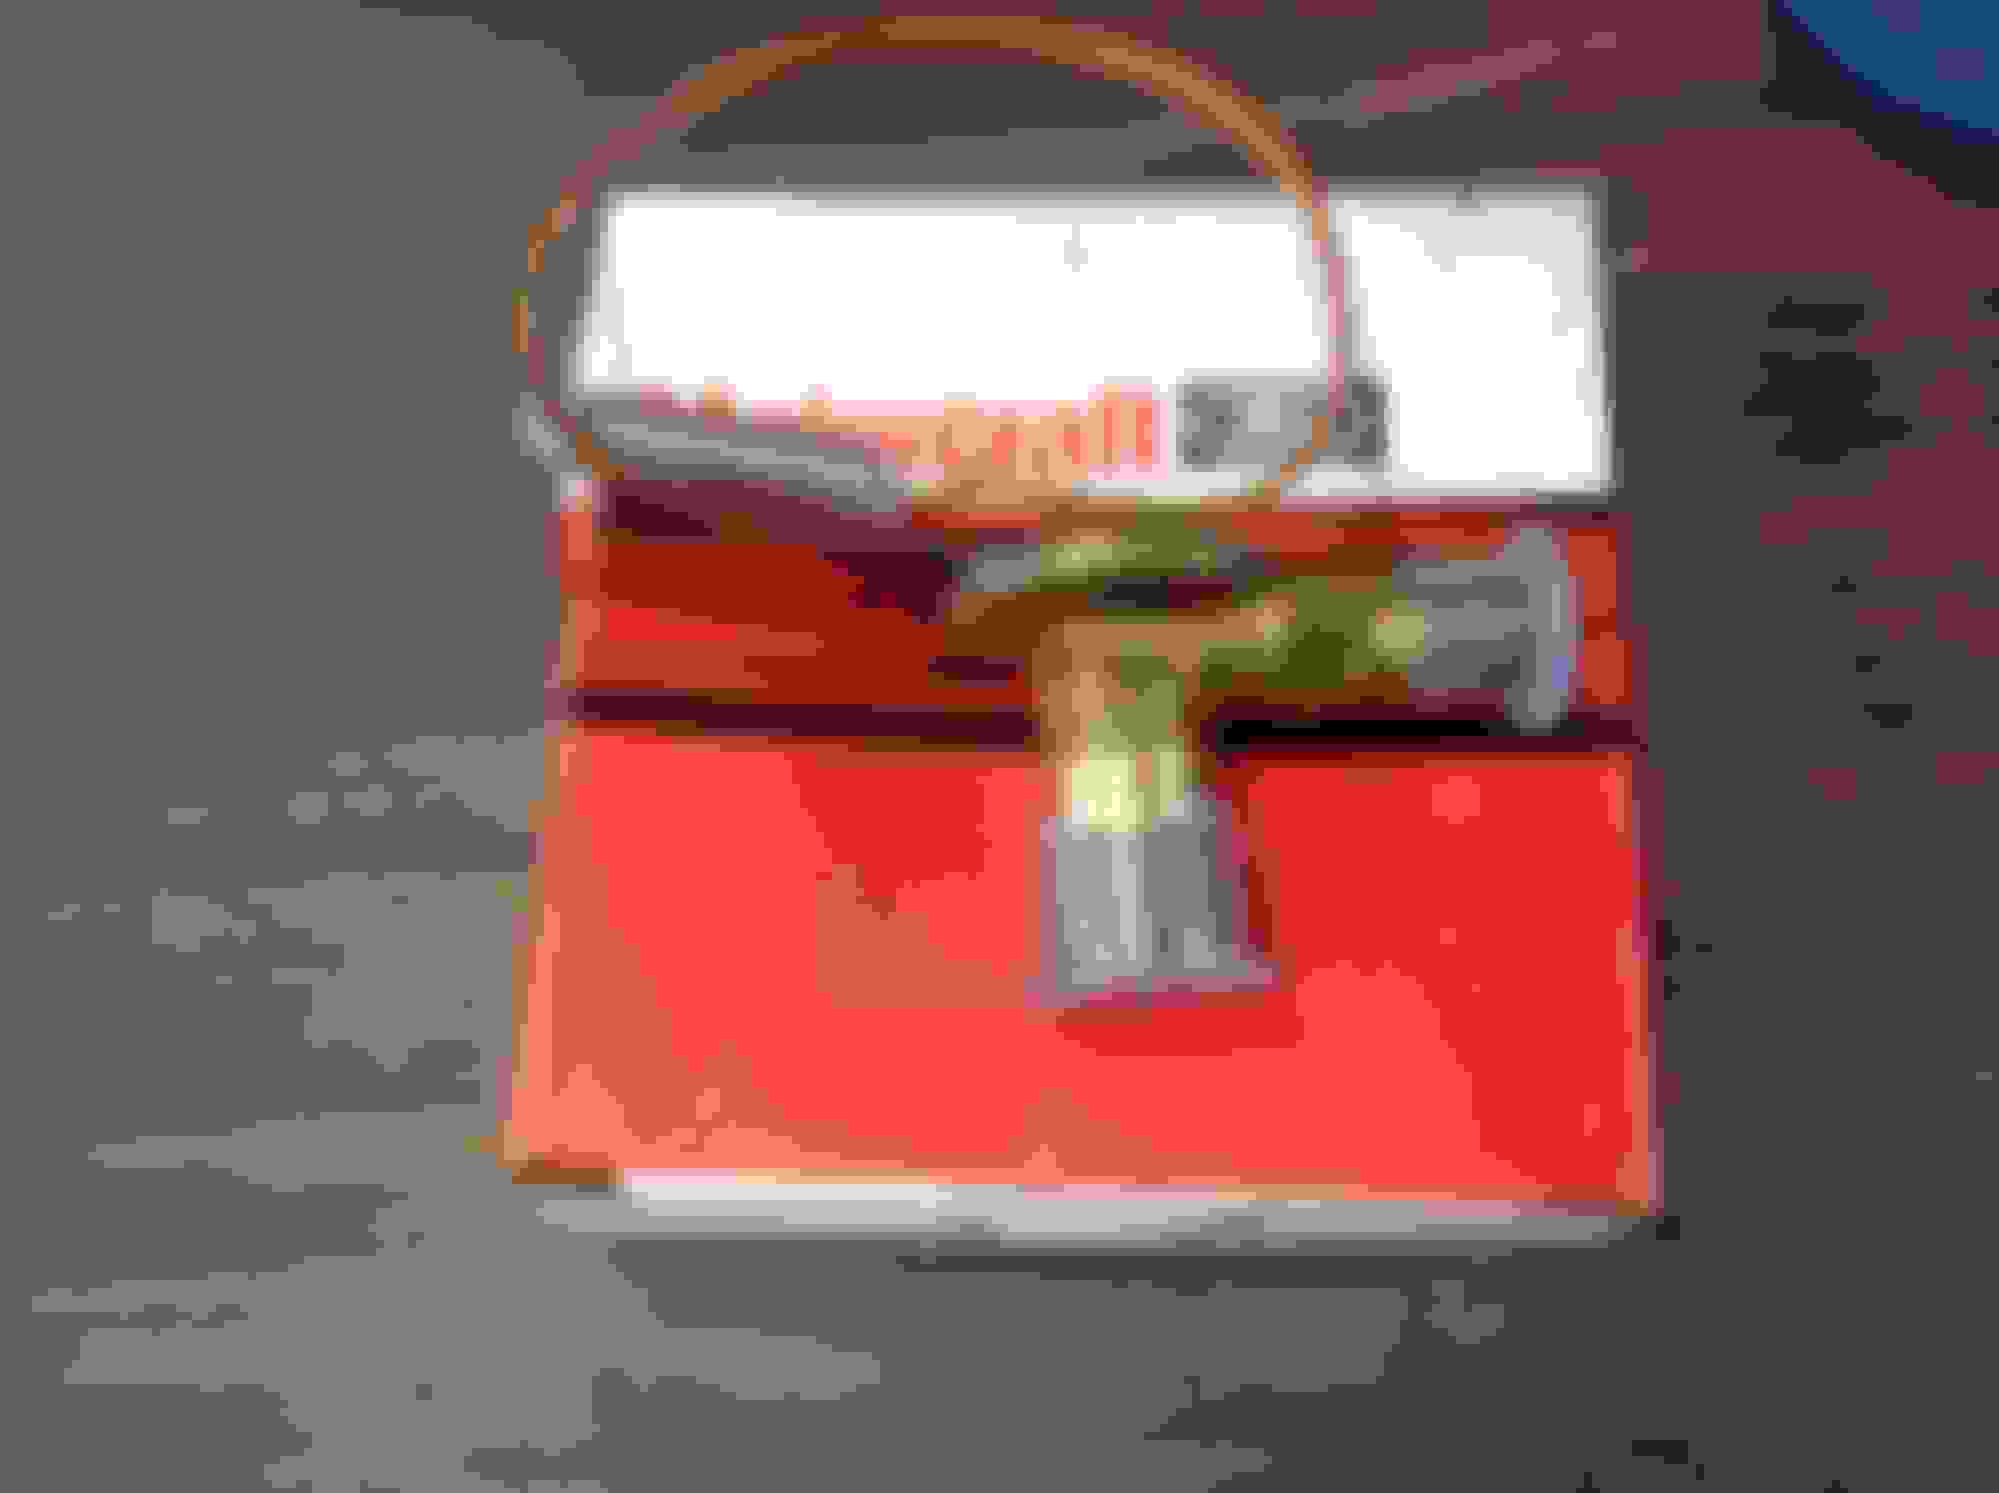
I removed the original Ford sticker from the EGR valve. I have no idea how it survived this far. The real trick will be figuring out what adhesive to use to make the sticker adhere to the new valve
Got these parts in today. My RH exhaust manifold had giant cracks, so I found this used piece on eBay.
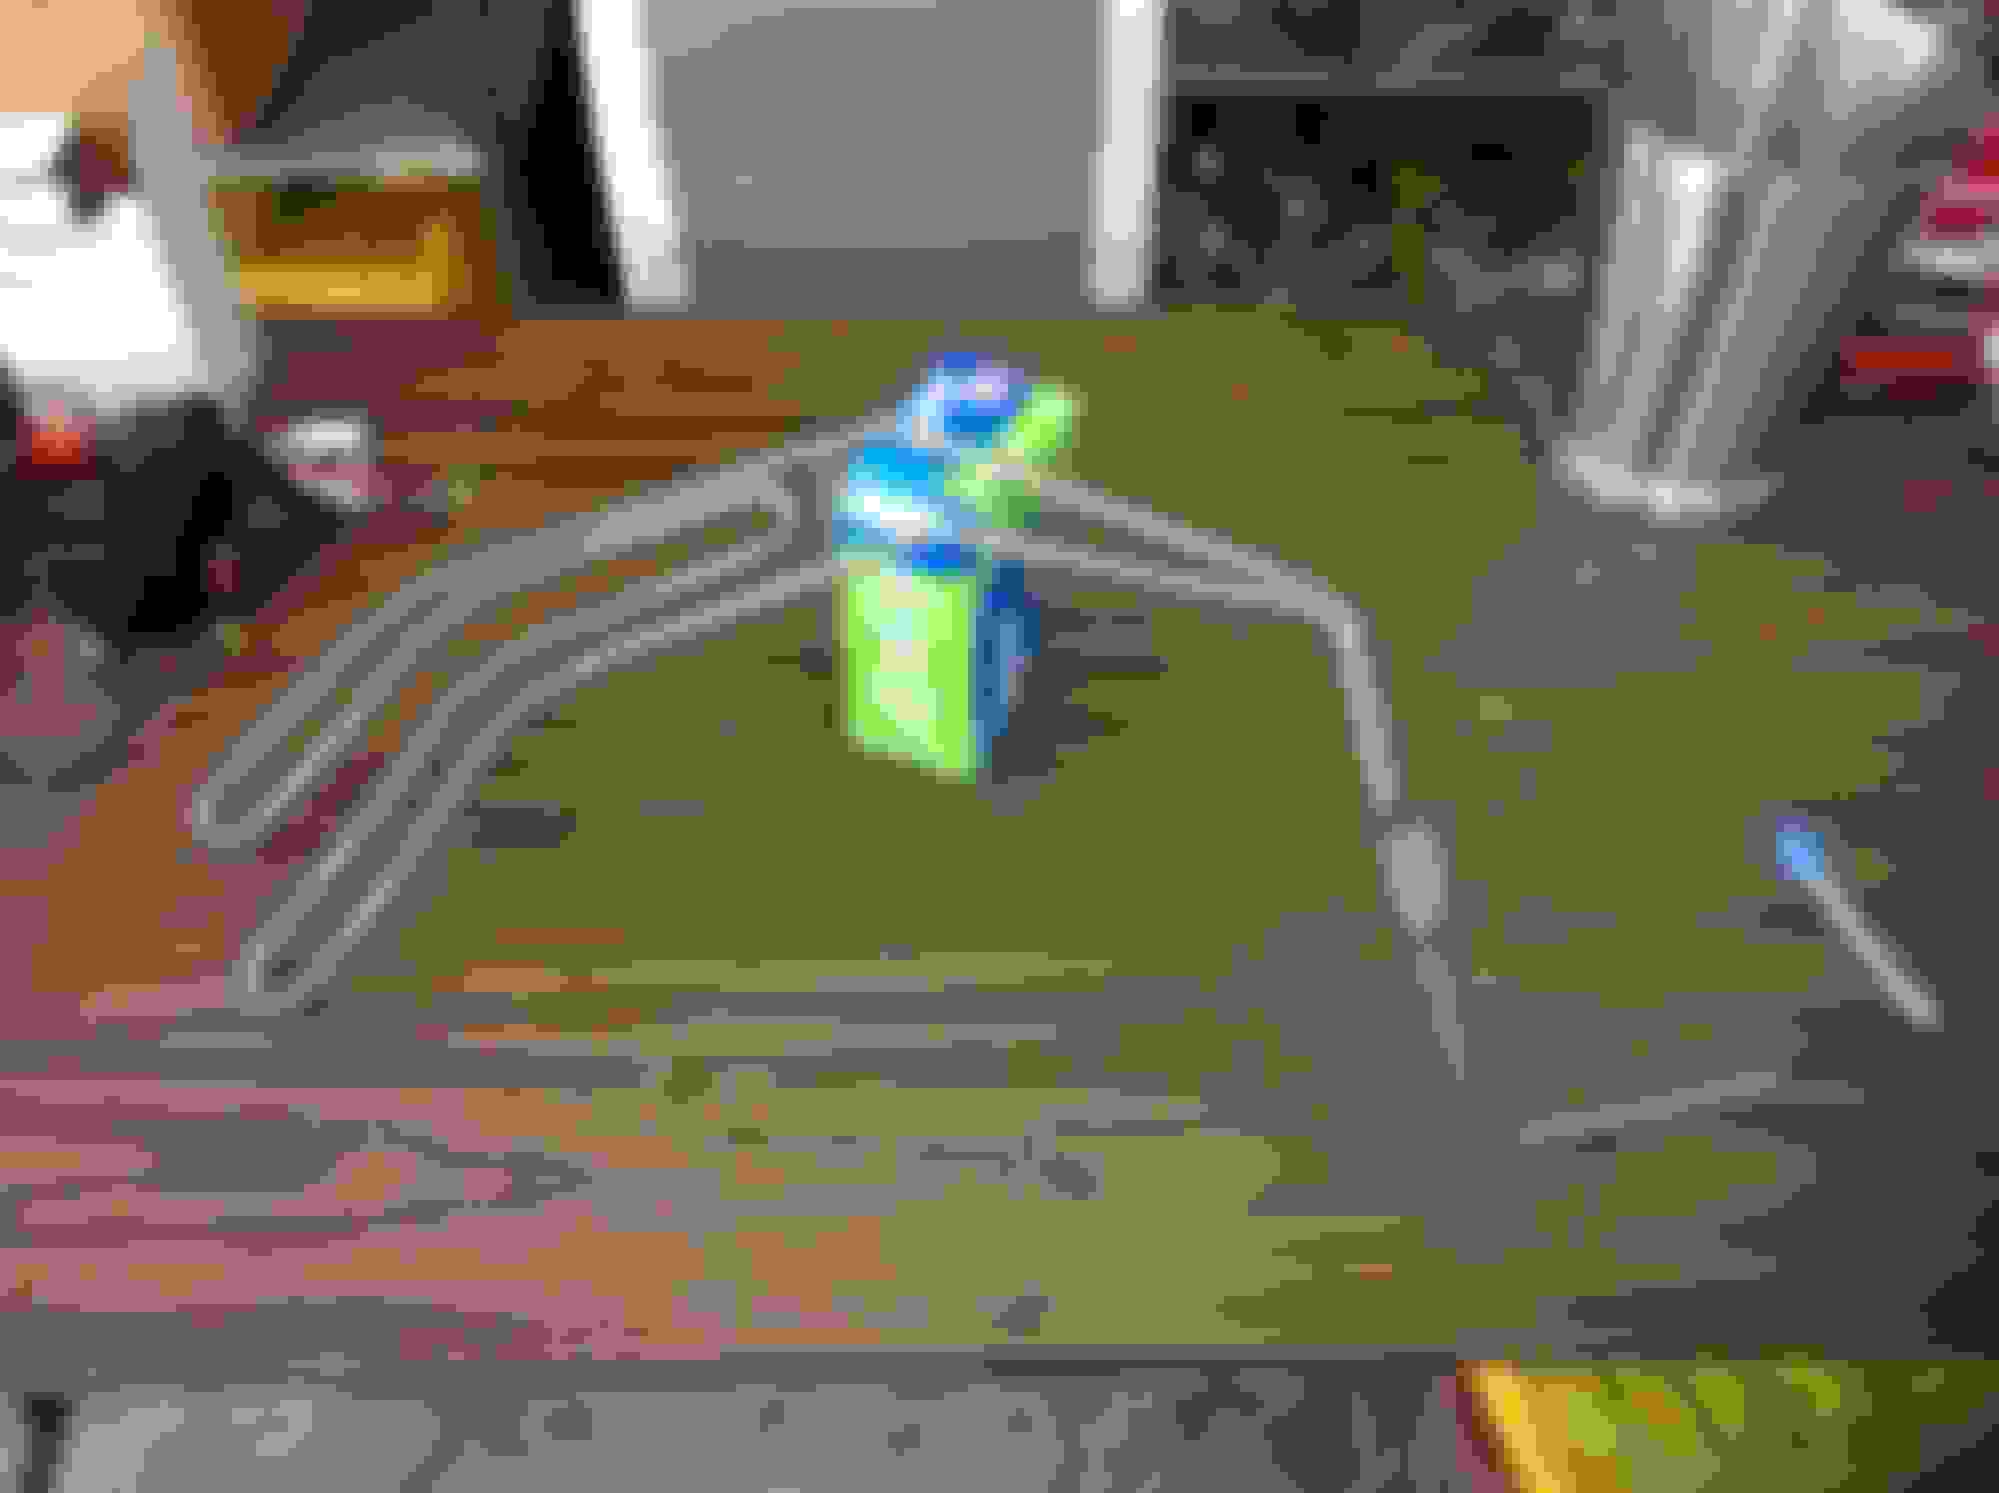
Also found this NOS Motorcraft expansion valve on eBay for 20.00. This piece has the right length capillary line rather than the typical aftermarket unit that needs a adaptor and the line is 2 feet too long
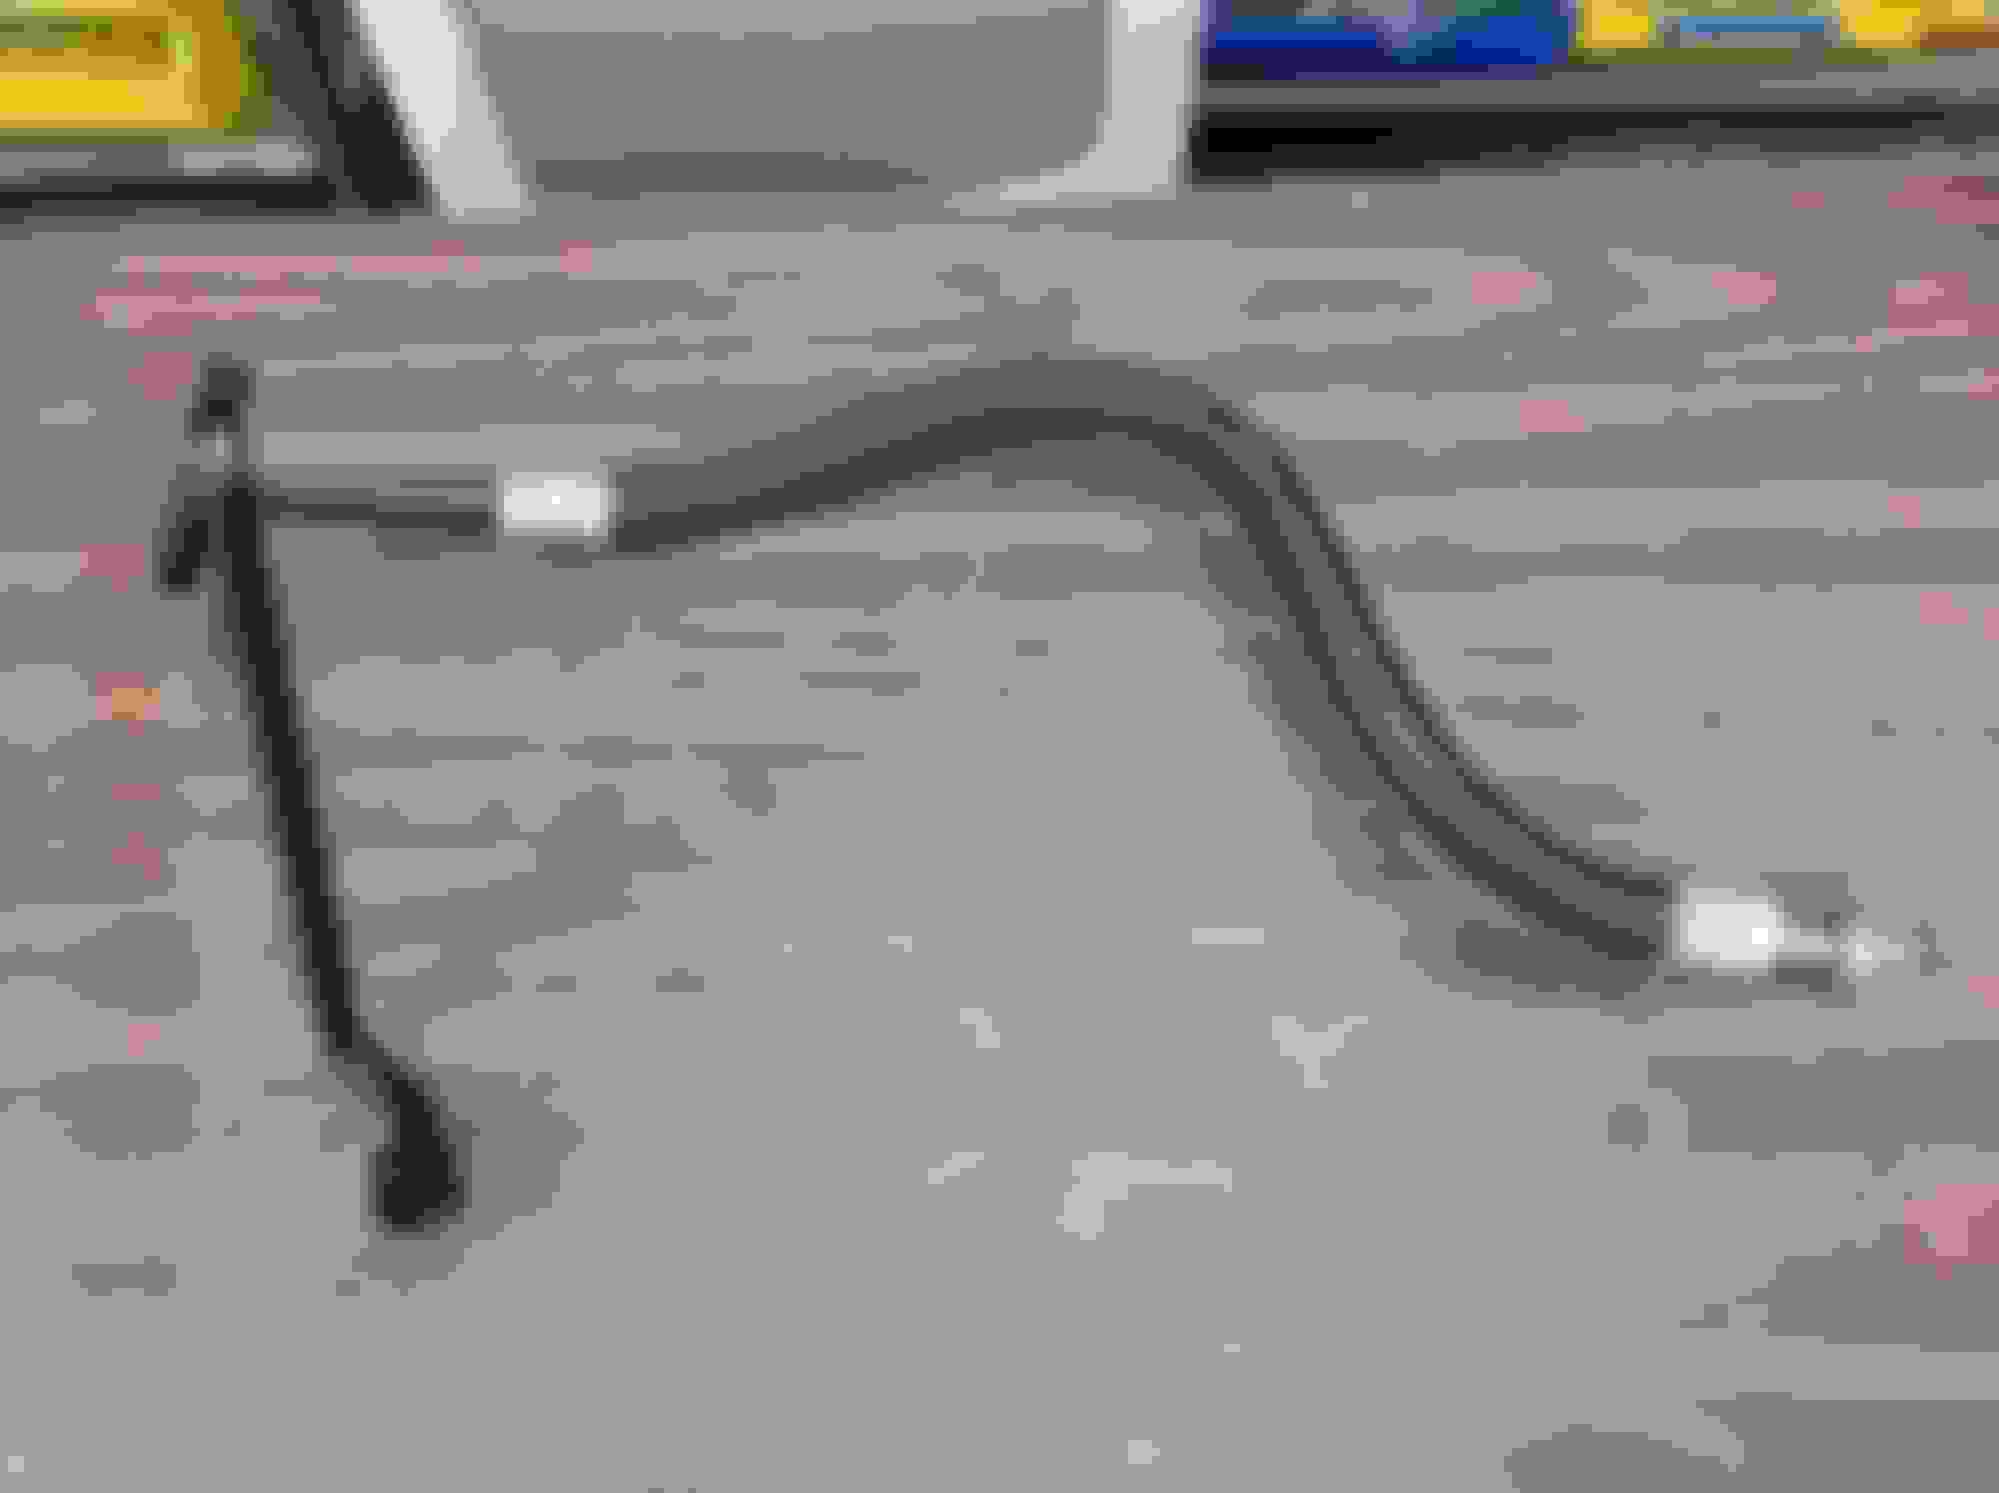
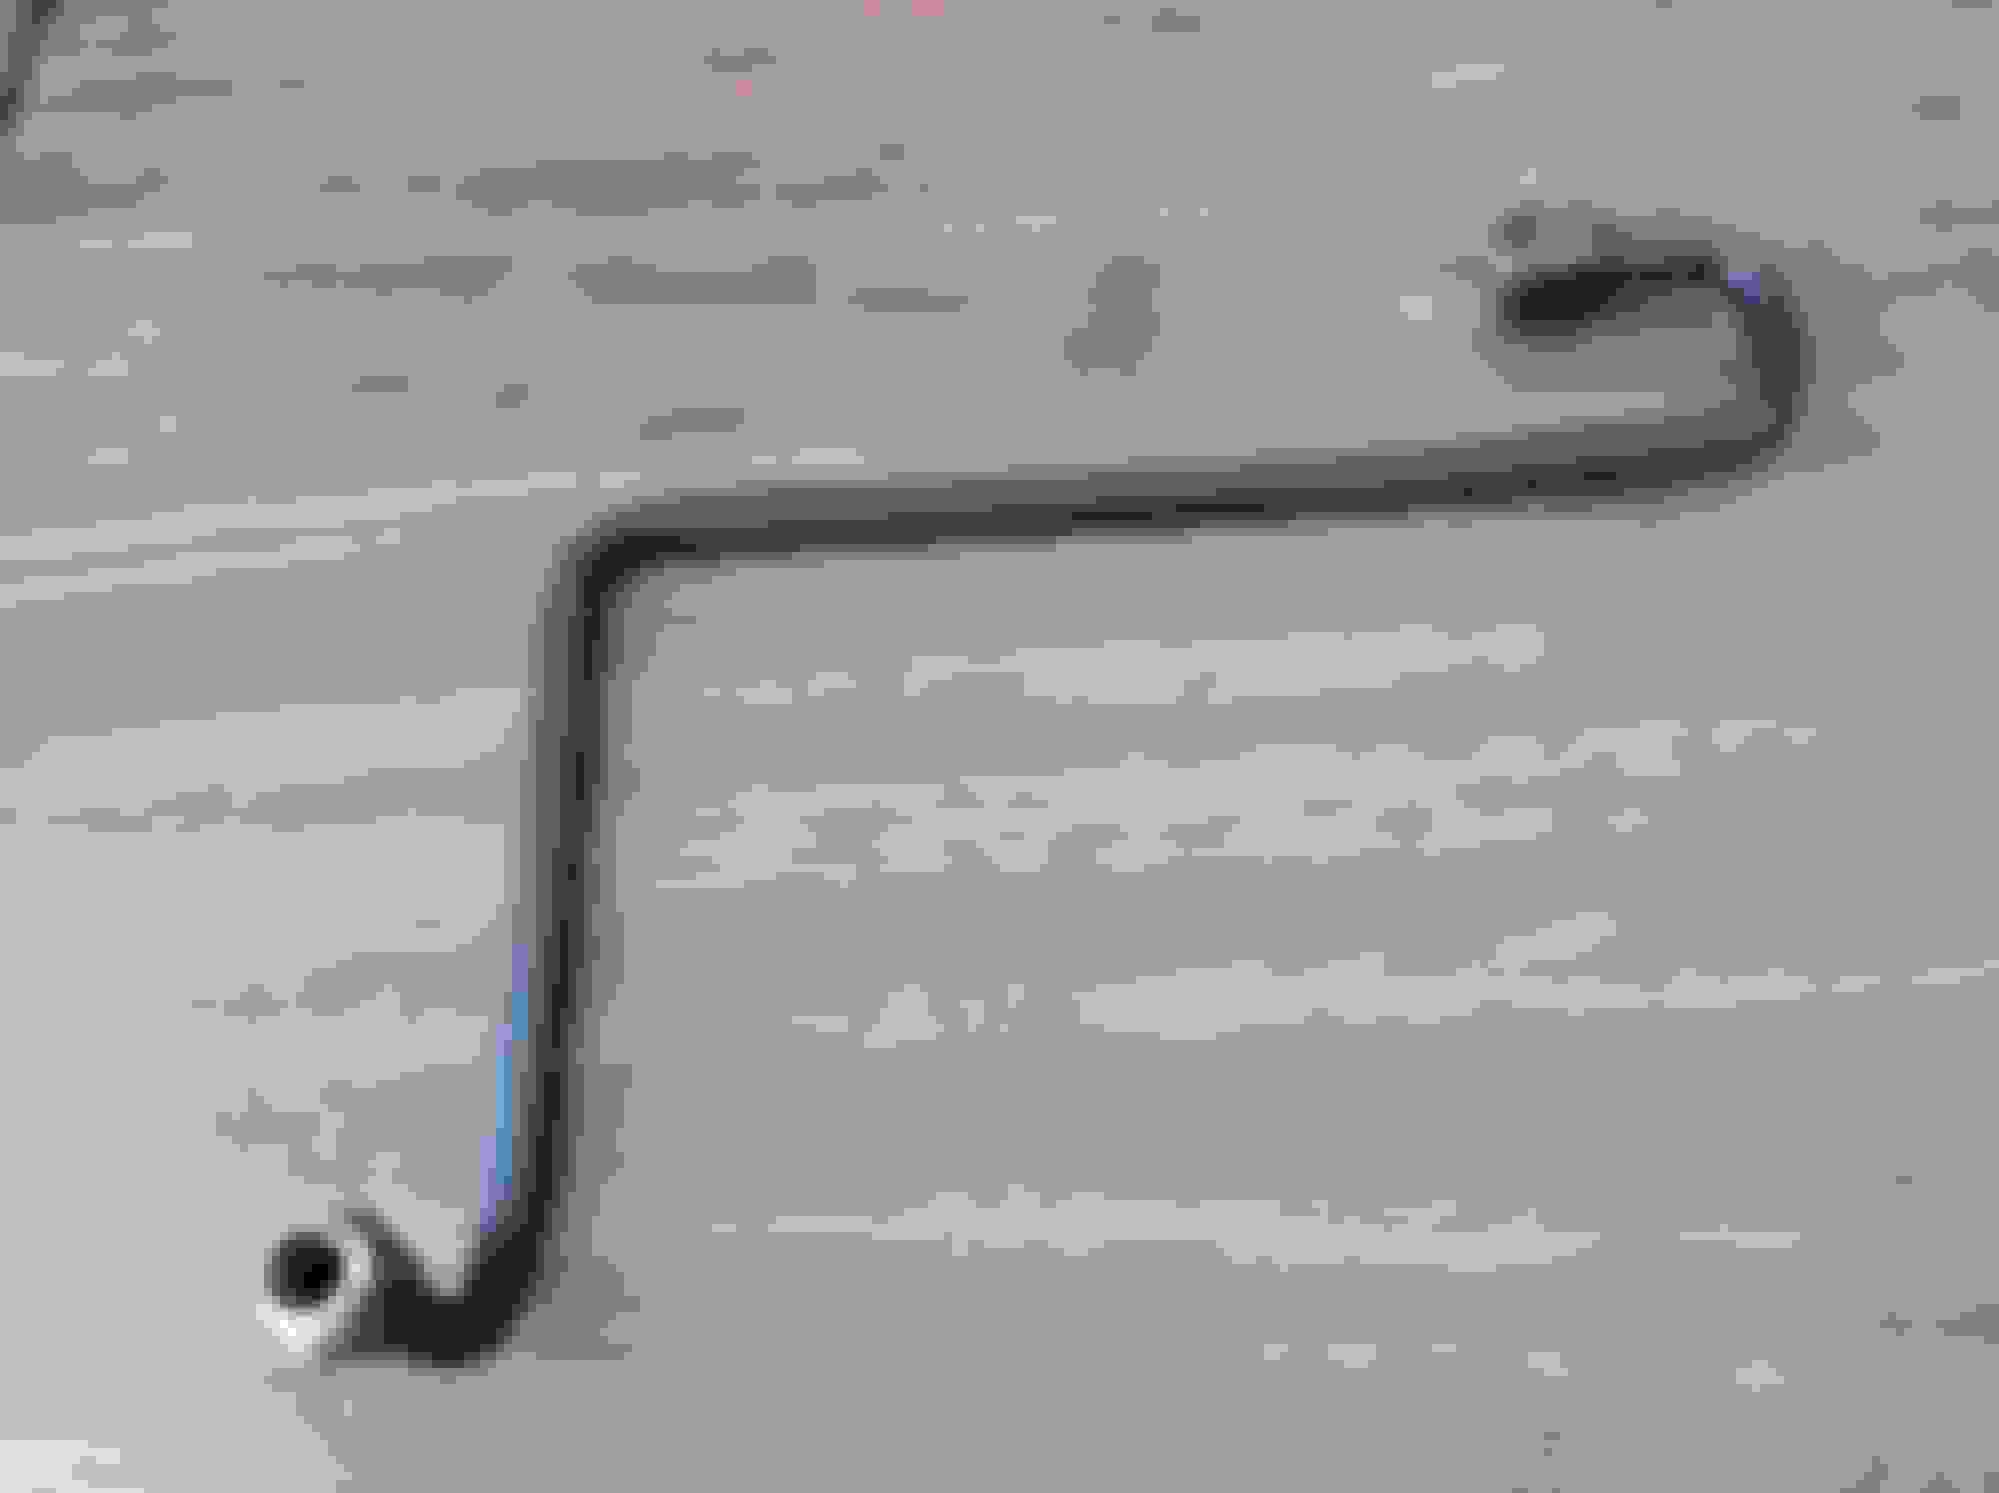
And a couple of items that are a "challenge". The original P/S pressure hose is too far gone to save. The repkacement unit is going to need a little adjusting to make it work
And the replacement fuel pump to carb line is not close that I got from Dennis Carpenter. My suspicion is that the part is for 2WD since I've read the 2WD uses a different pump
Today removed more parts from the EvapoRust dunking, and inserted the window regulators and shifter handle along with an end of the long front brake line (from distribution block to RF wheel)
Finished up the three other front brake lines. Went over the tubing very lightly with a green scotchbrite and wirewheeled the ends
The power steering cooler assembly did not look acceptable fron the evaporusting. I had to go over it with a single O grade steel wool along with wirewheeling the fittings, and painting the clip in Zinc Phosphate
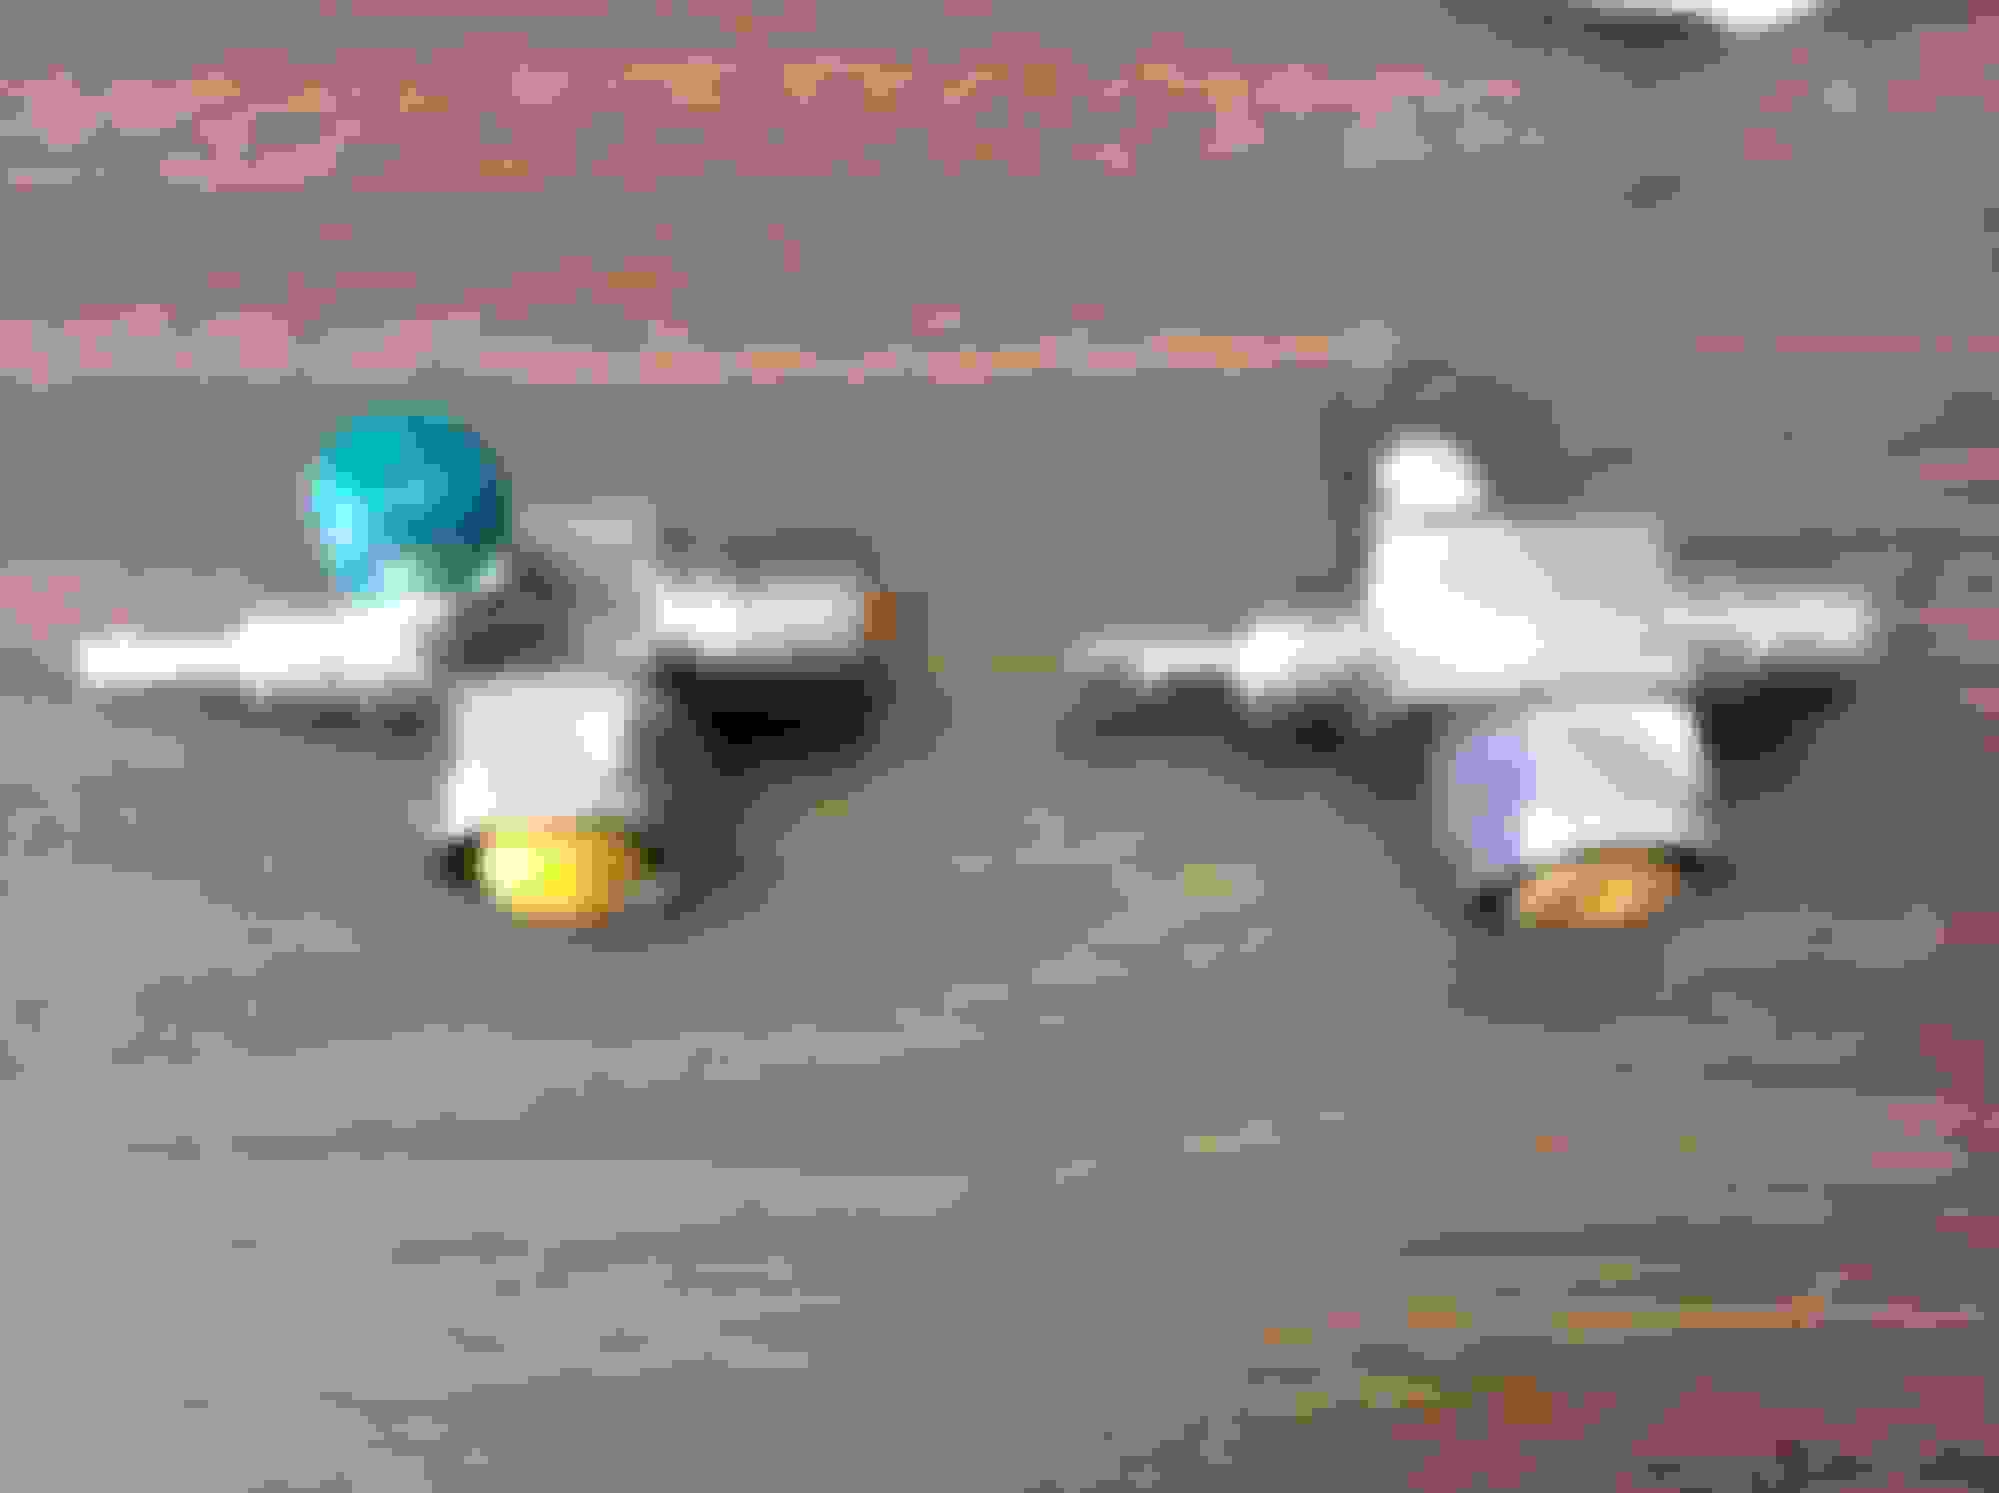
Wirewheeled the A/C compressor connectors. Had to do some additional detailling where the wheel would not reach. Don't know what I'm going to do about protecting these from rusting.
Finished up the jump seat retaining clips. Painted the exposed metal with clear Zinc, then shot the rubberized plastic part with aerosol black plastidip to freshen.
Lastly, repainted the AC line with semi flat bumper paint that I had painted with plastidip. Looks a little better.


 04-03-2017, 09:00 PM