When you click on links to various merchants on this site and make a purchase, this can result in this site earning a commission. Affiliate programs and affiliations include, but are not limited to, the eBay Partner Network.
I'm loving this thread! Impressed how organized and methodical you are in your approach to this restoration. Great job!
I'm with you on how great EvapoRust is!
I'm loving this thread! Impressed how organized and methodical you are in your approach to this restoration. Great job!
I'm with you on how great EvapoRust is!
David
Thanks David. See you're in the DFW area - hope you show the truck someday when done.
Just barely moving the meter, but daughter is home for last spring break (1/2 hour)
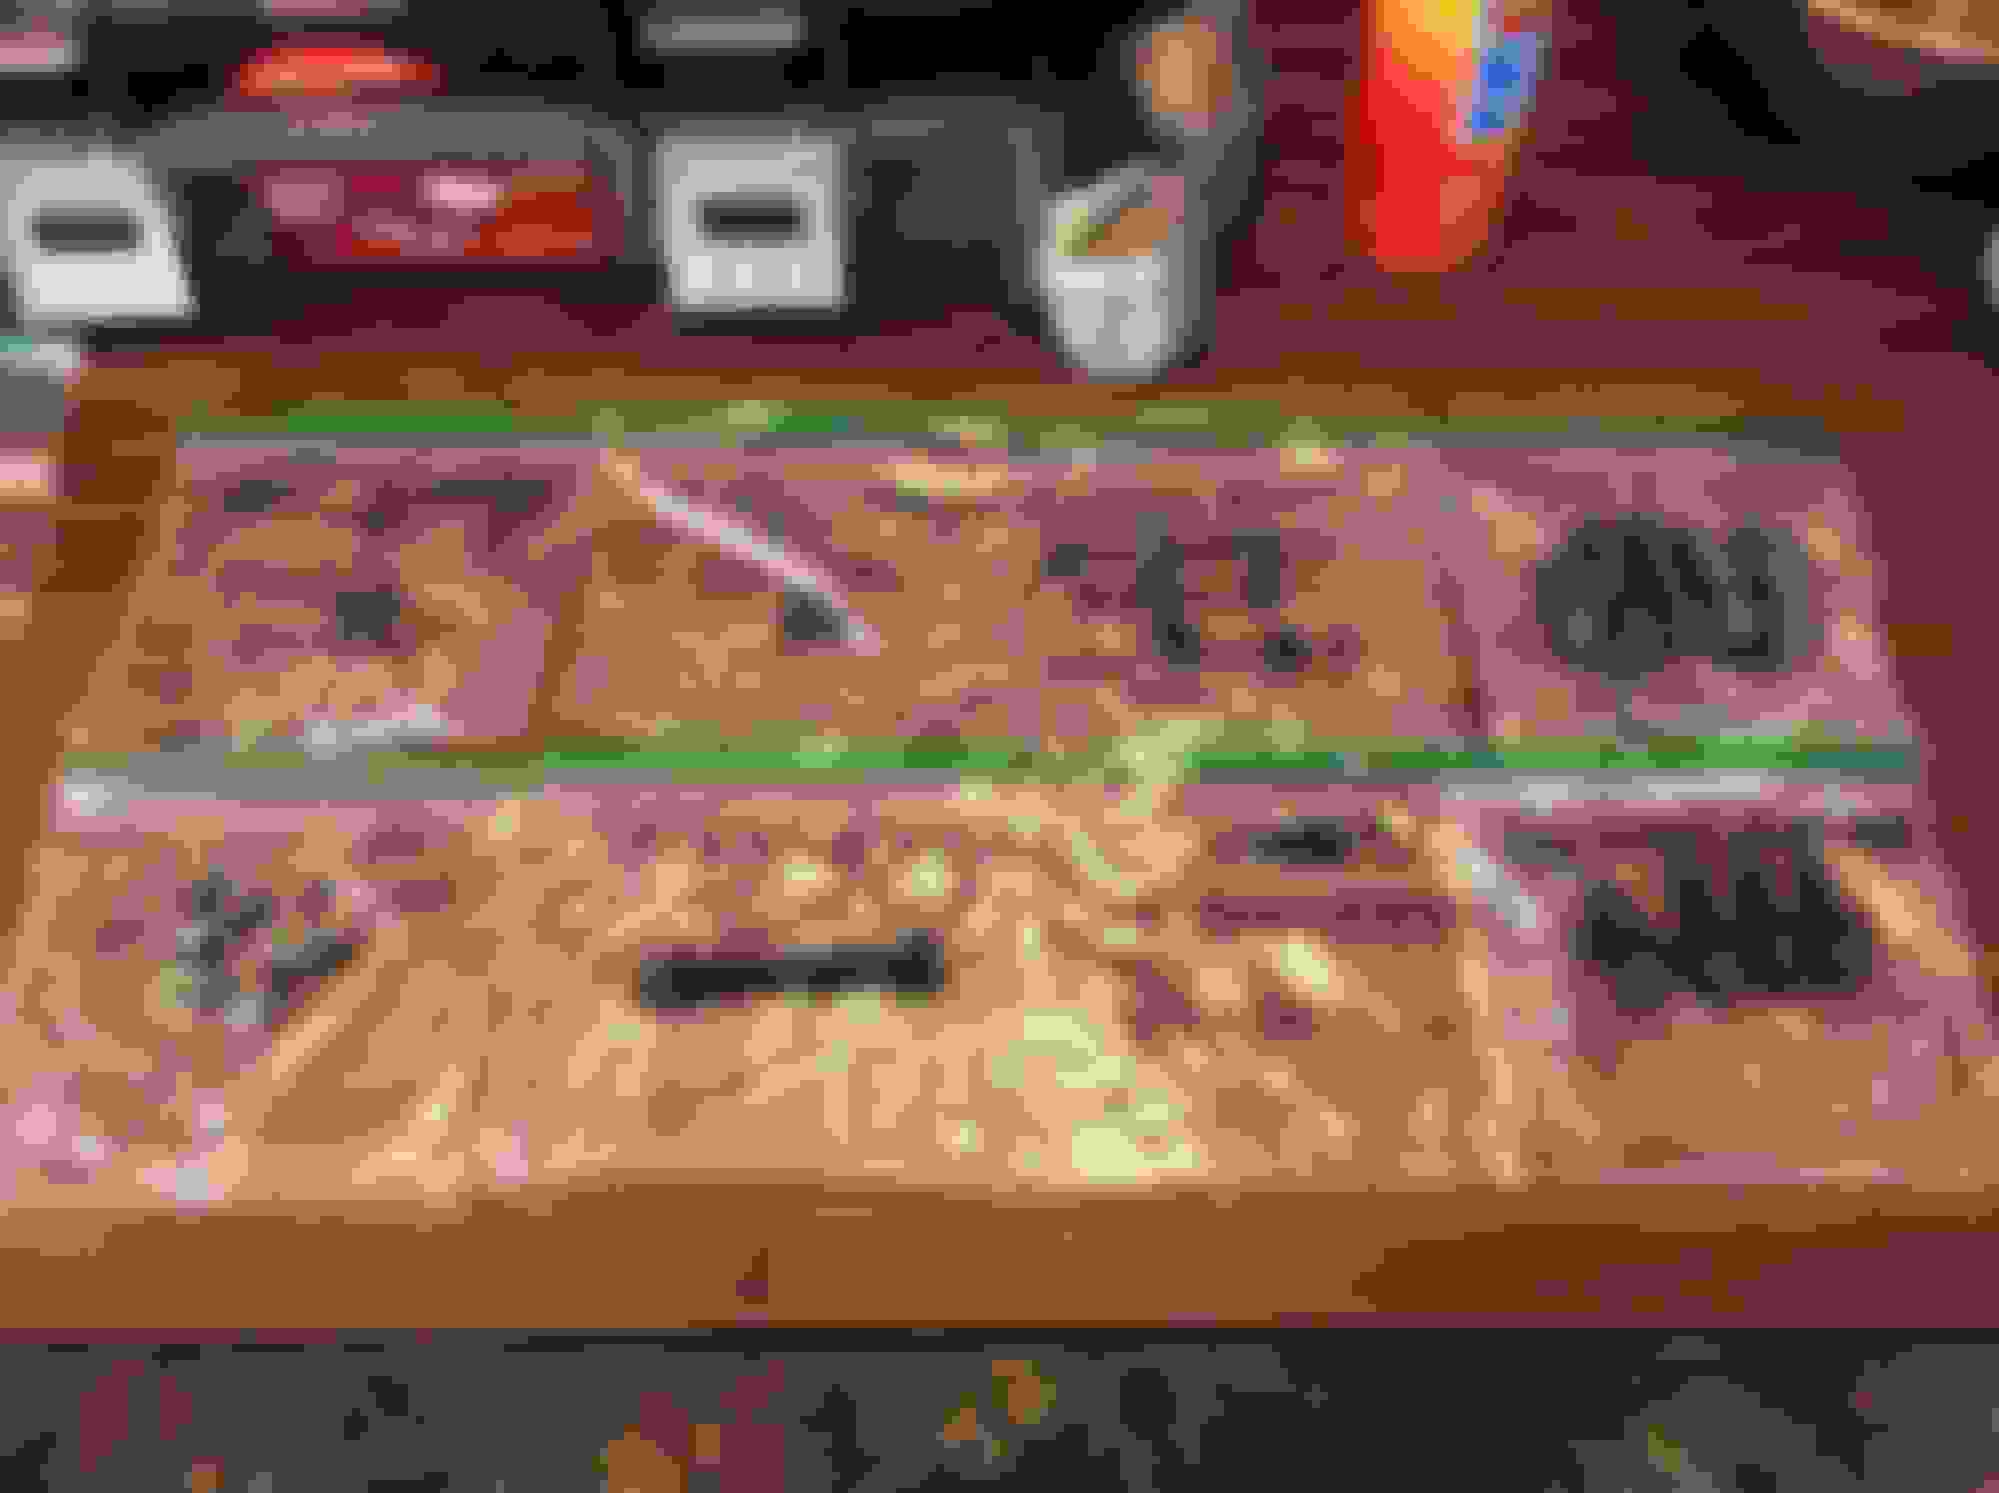
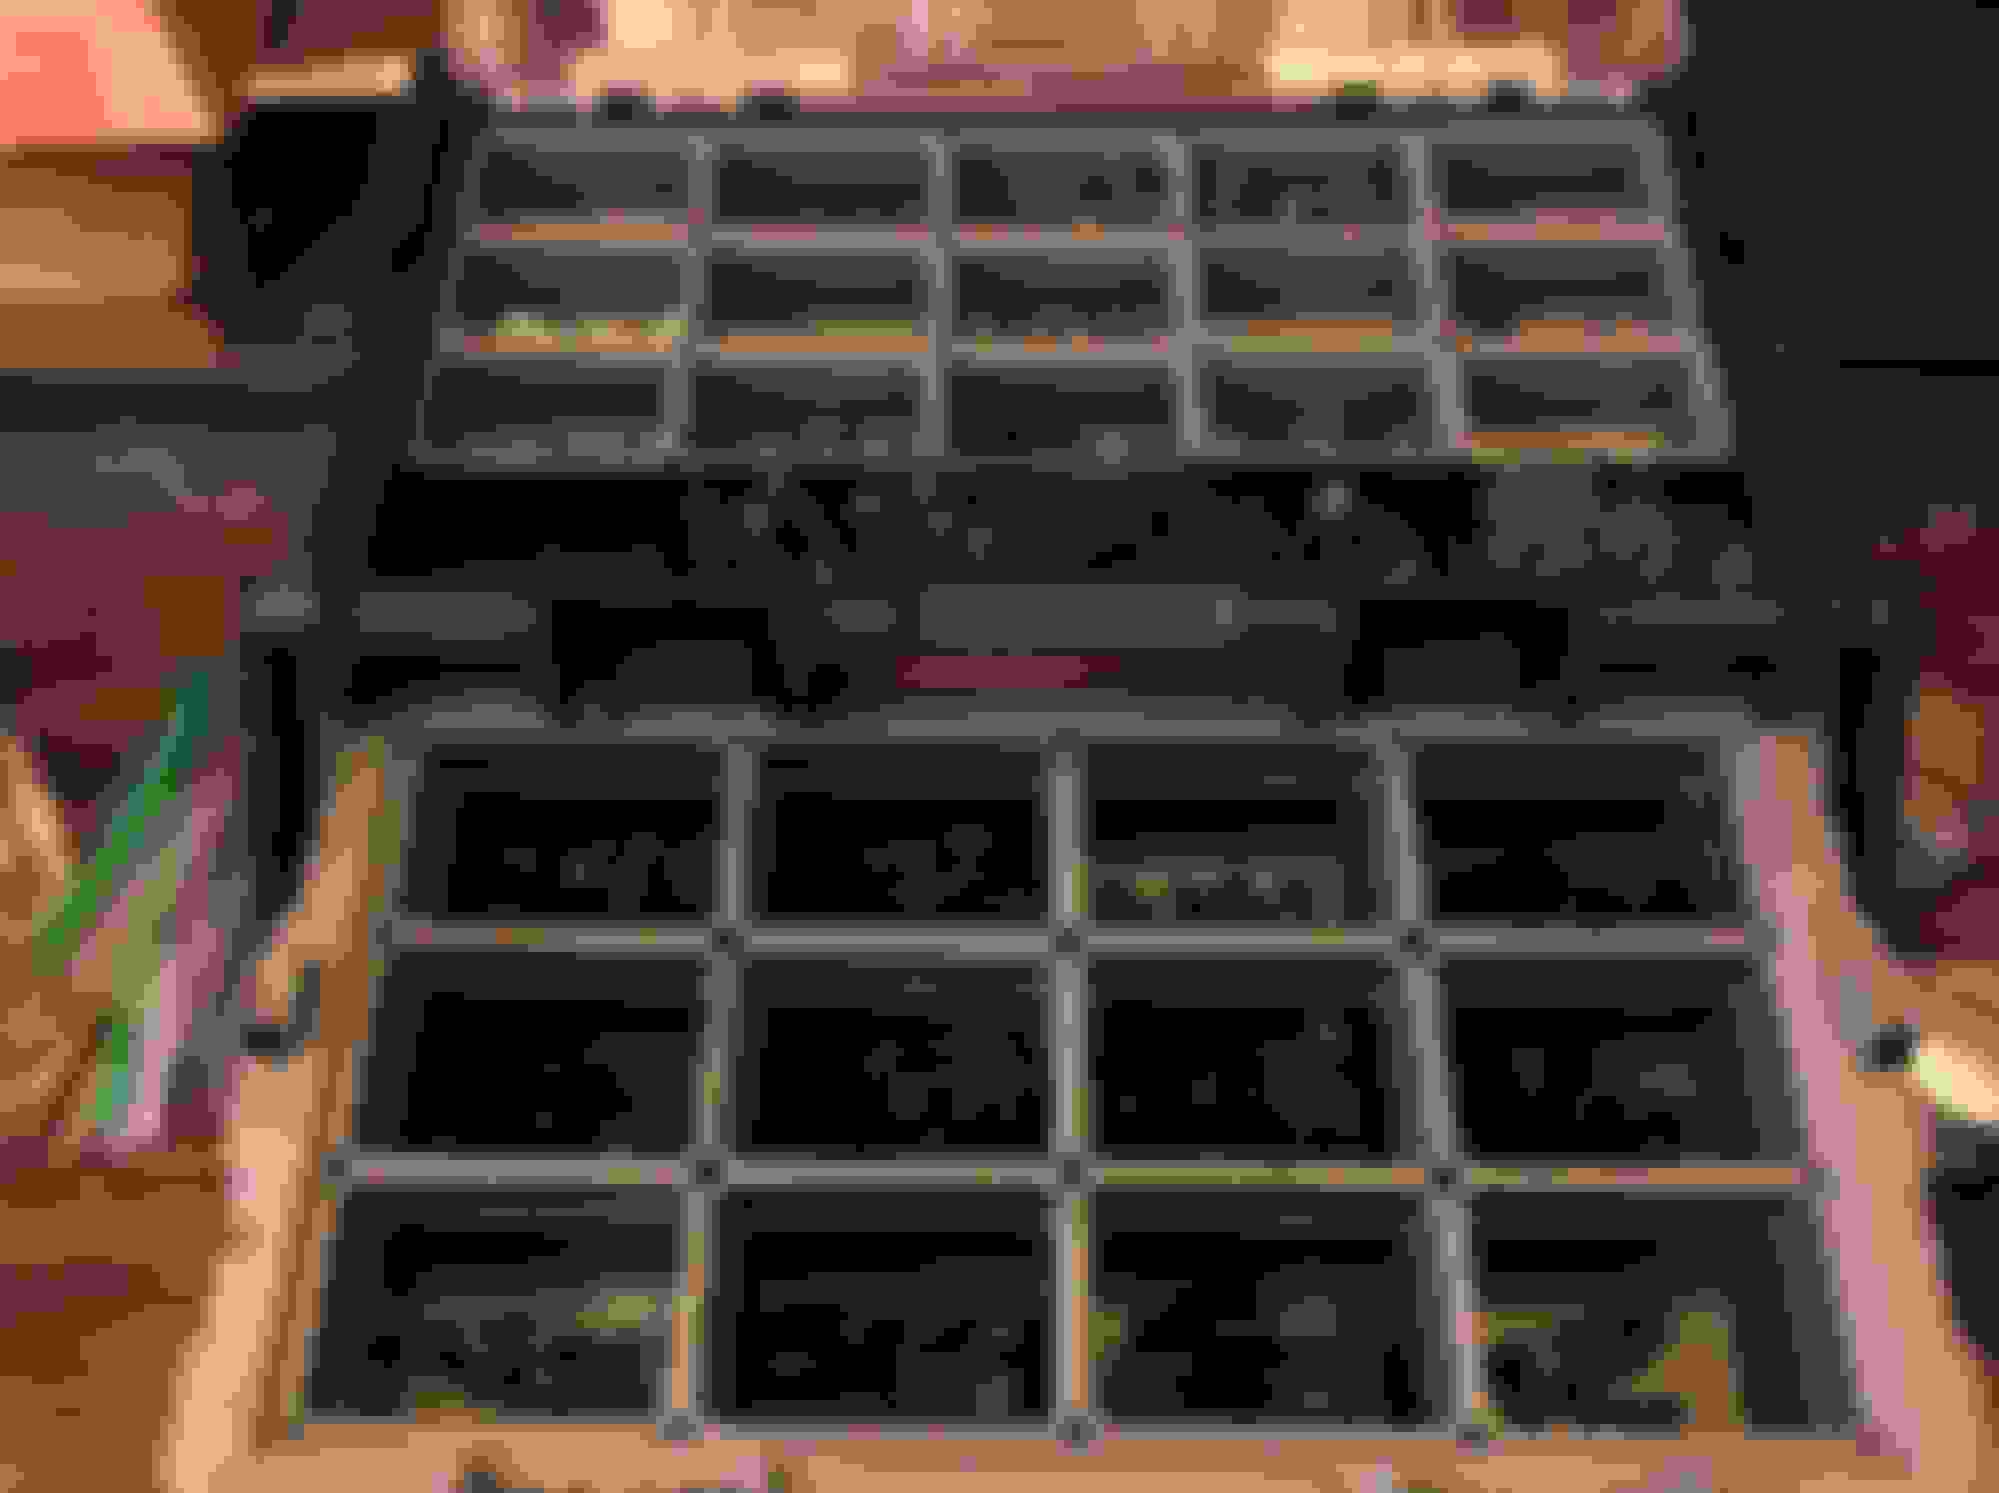
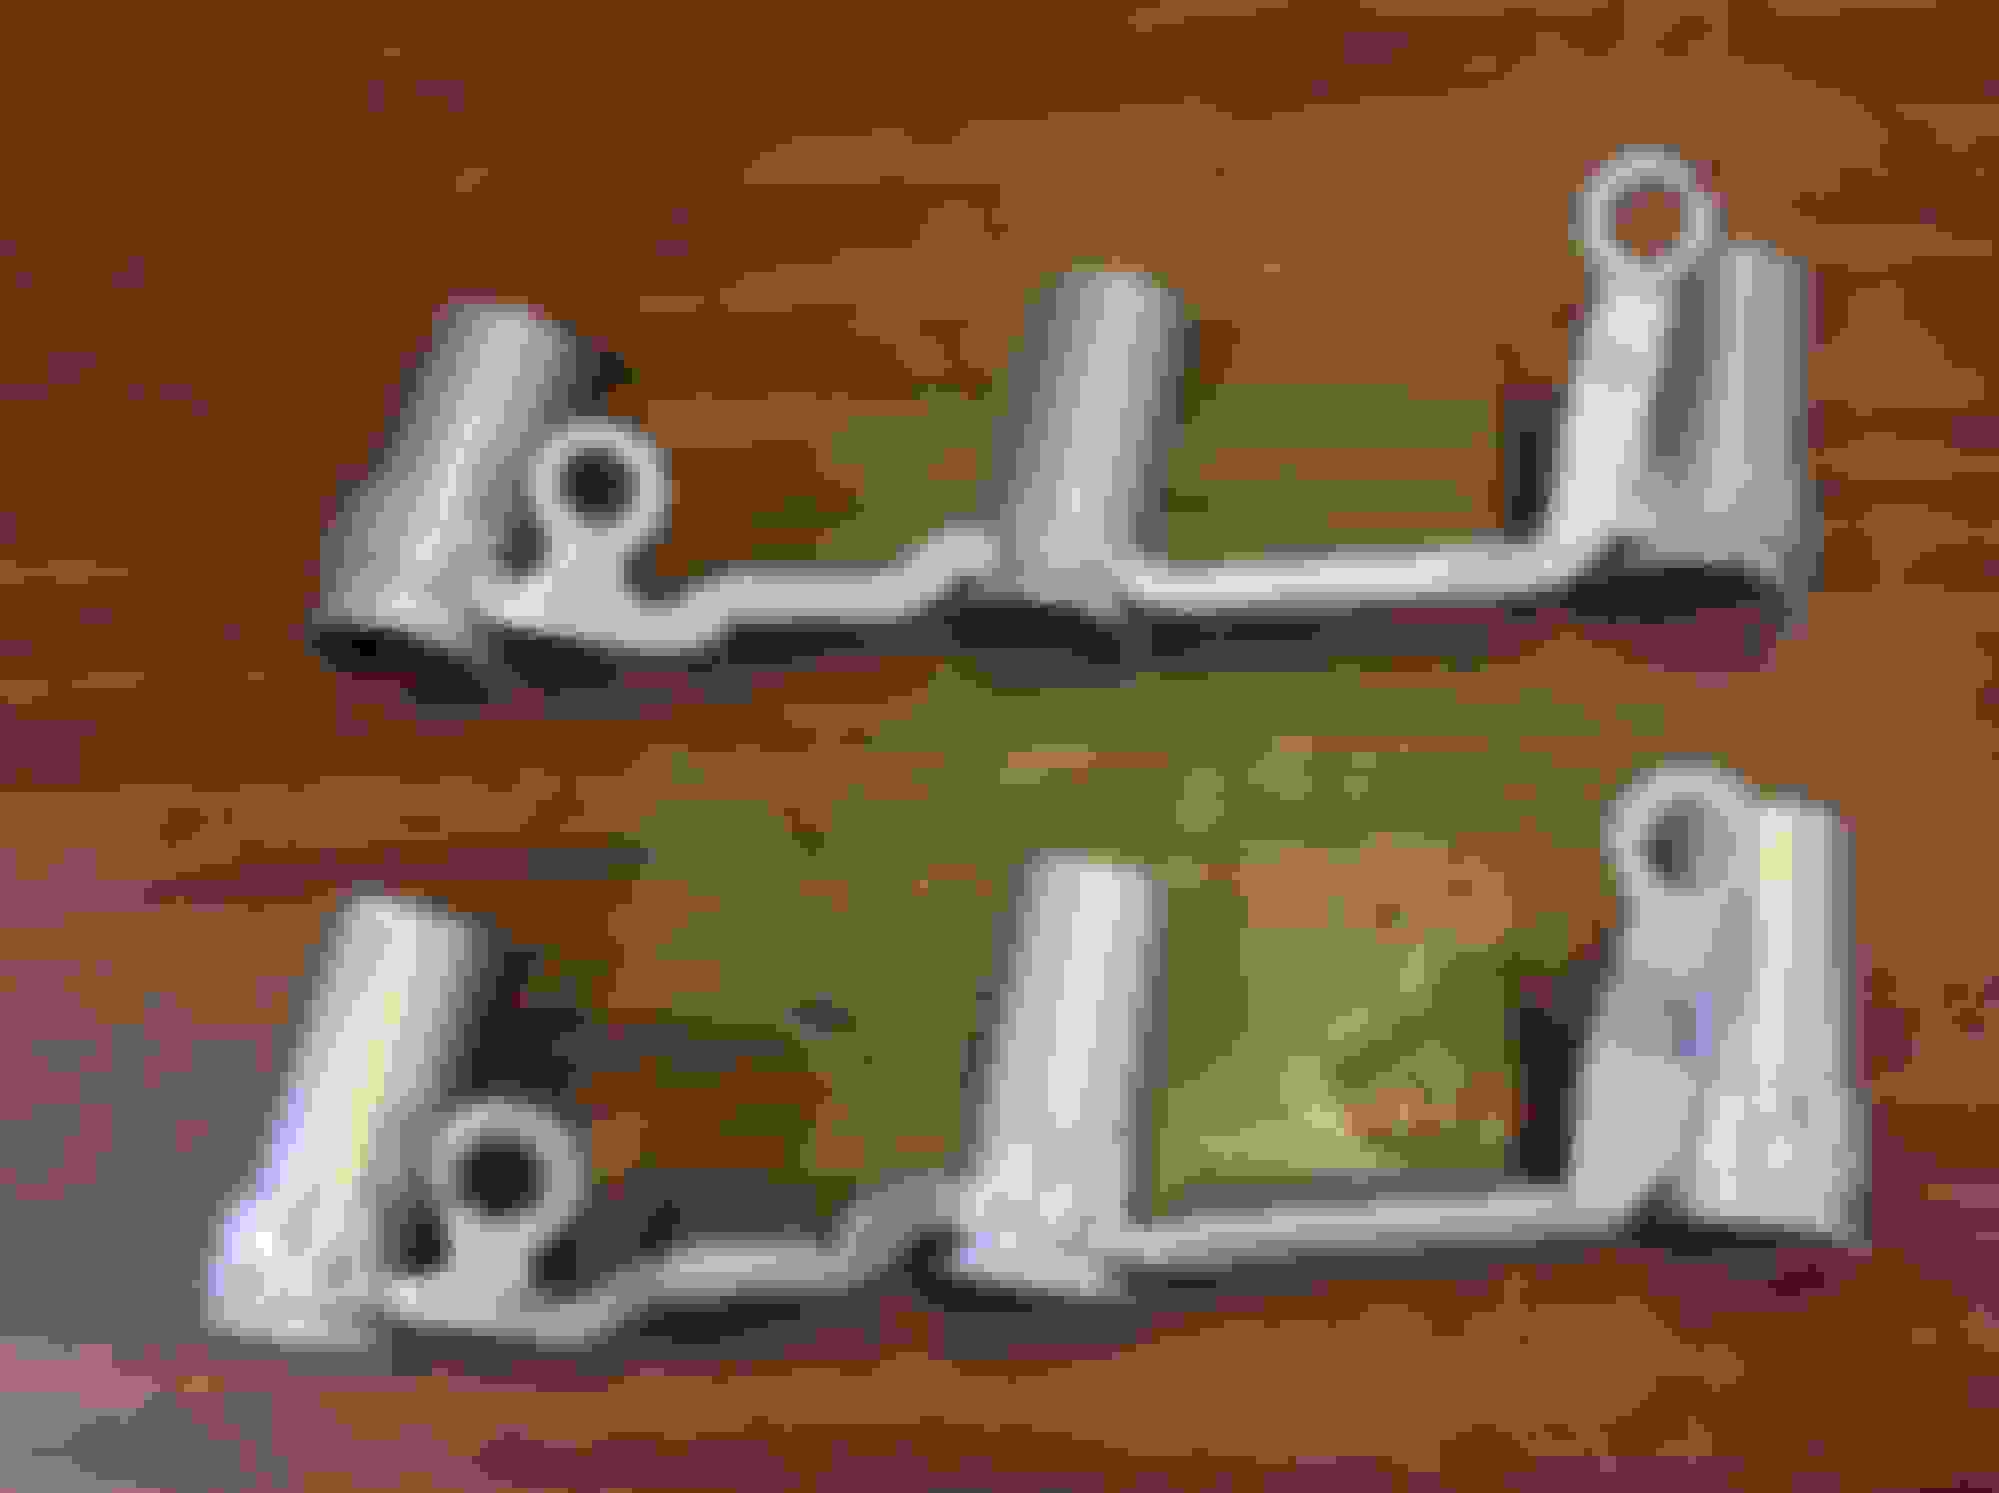
Threw some more small stuff in EvapoRust tank. I cut up some aluminum cans to separate all the individual parts and then loaded the cups in the basket and dropped it in the tank. For example, this batch included the following parts which I think will be OK with just the Evaporust treatment:
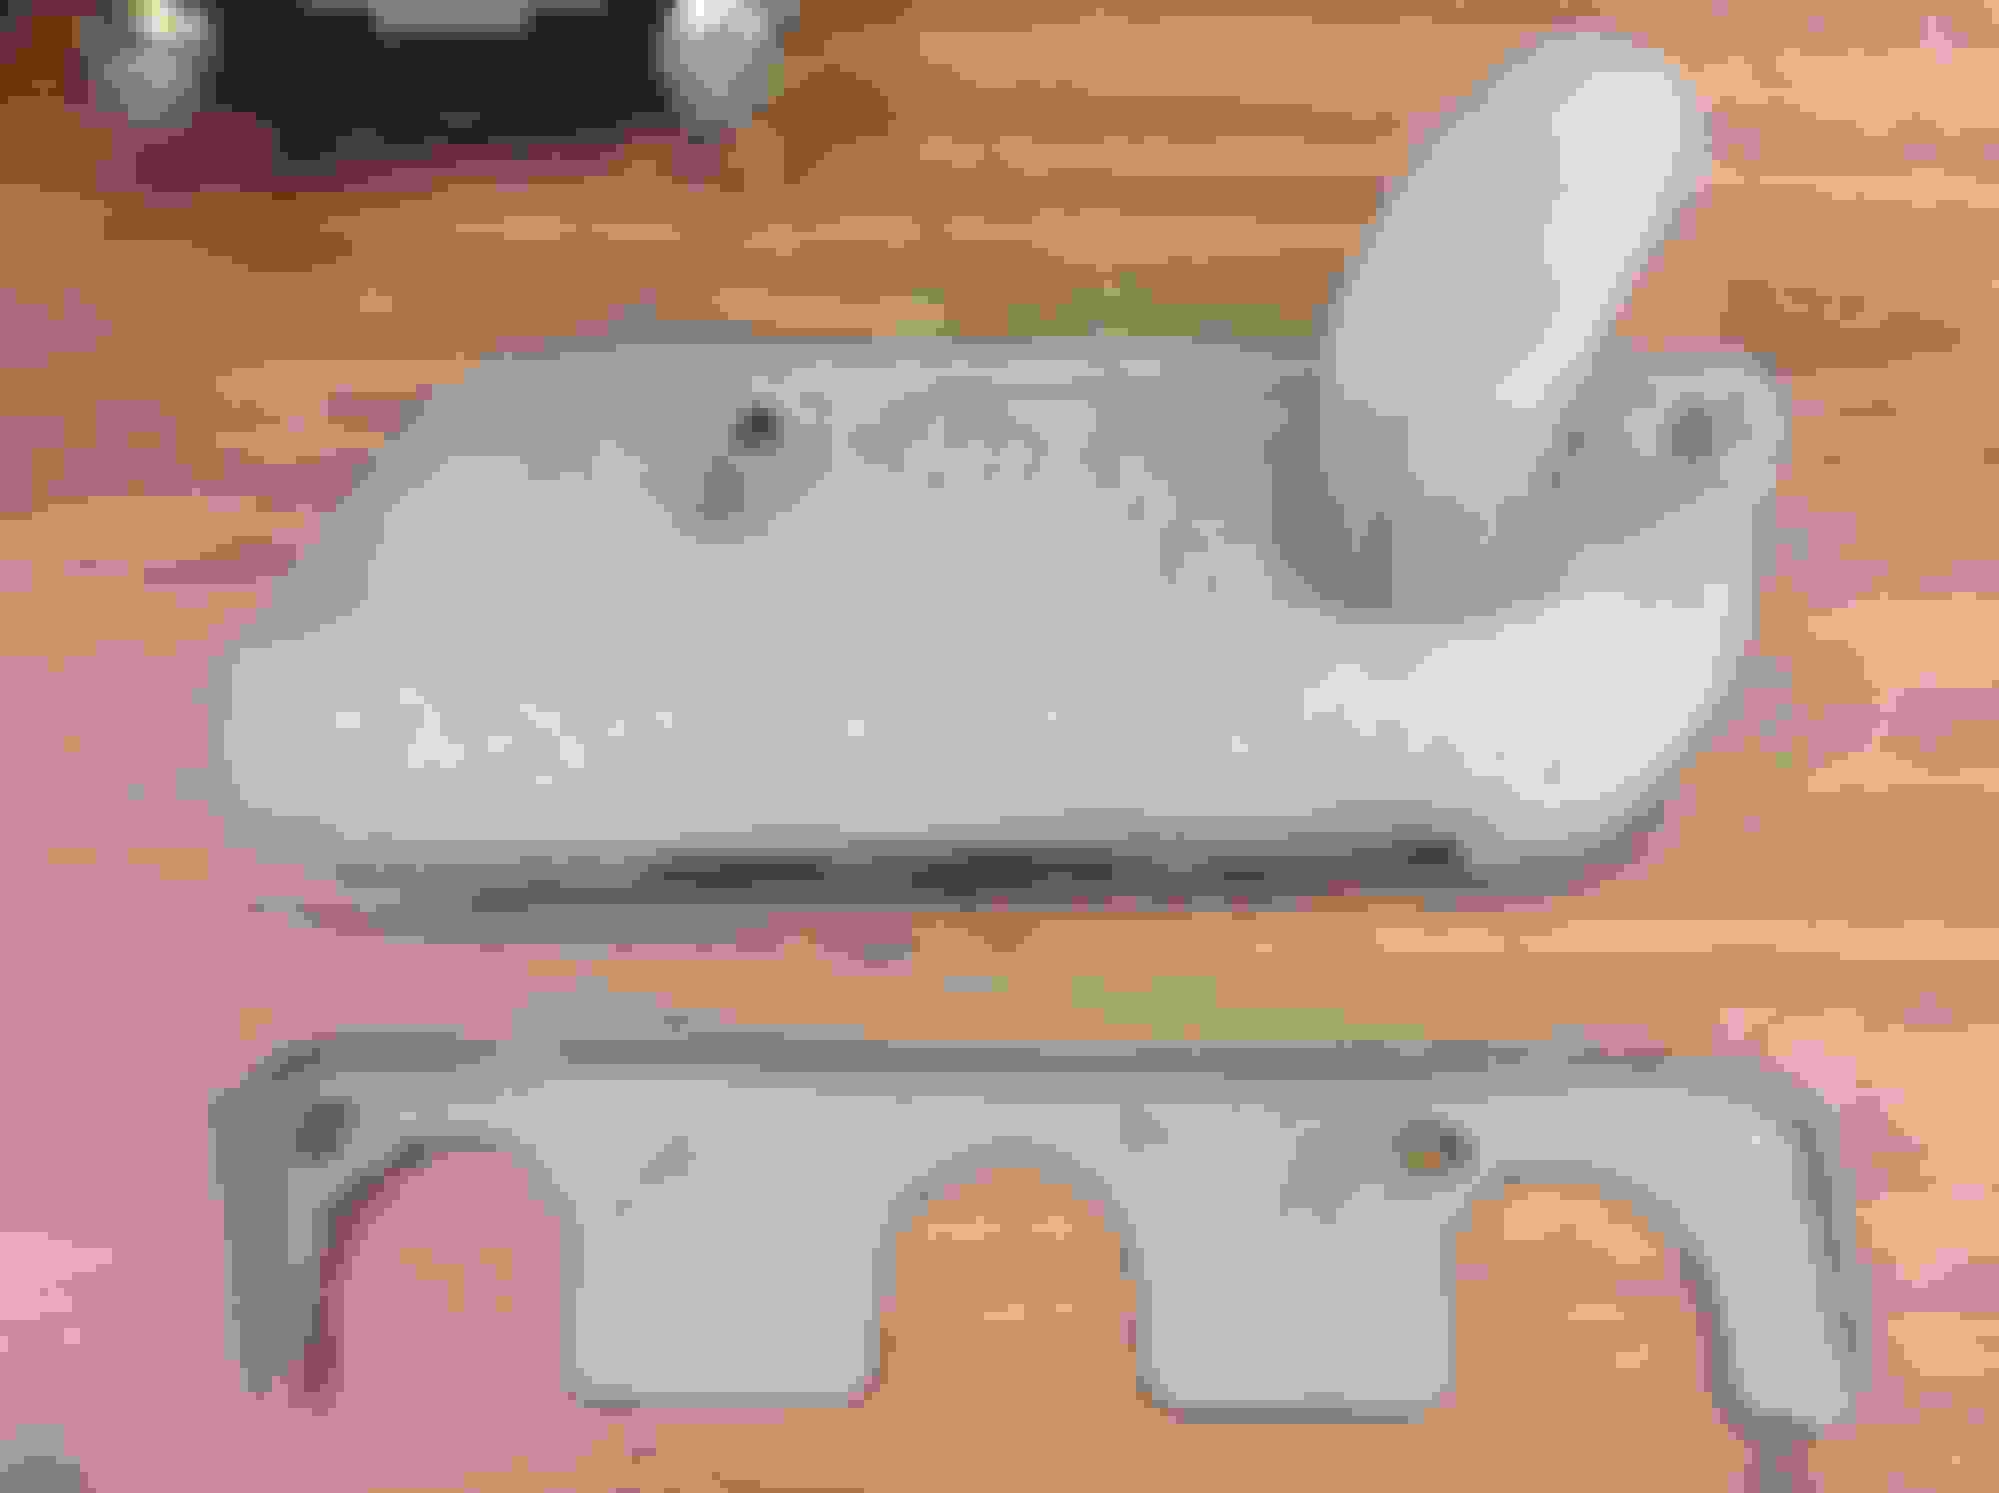
Exhaust Maniifold Bolts
Master Cyl. Brake Line To Hold Down Bracket
Clutch Pedal To Rod Hardware
Heater/Evaporator Box Fasteners
Lower Grille To Core Suport
P/S Cooler To Frame Brackets & Fasteners
Motor Mount To Bracket Hardware
Dist. Hold Down
Radiator To Core Support Hardware
Exh. Manifold Shield Retaining Nuts
Also removed the exhaust manifold stove from the tank. Got all the rust off, but it has some wastage along the bottom edge. I think it will still be OK.
Removed the sun visor mounting brackets from the sun visors. Was going to try to save the visors themselves, but the were way too crispy - they cracked in my hands while removing the bracket assemblies.
Began today by taking some fastener/small part baggies out of EvapoRust soaking and finishing them. Some just required a wipe down, some required painting like the j nuts with VHT Epoxy paint, some parts replaced on the clutch rod to pedal hardware. The most interesting was the plastic coated big washer used to hold the master cylinder brake lines to the frame bracket. One side of the plastic had been ruined, so I scraped it all off, sanded down the remaining corrosion and sprayed the plastic dip aerosol coating on both sides to make it look even.
Next was the breather cap. This was full of sludge and grime. First soaked in Berryman's ChemDip, then sprayed down with carb cleaner to remove additional filth and the badly scratched paint. The original PCV grommet survived all this well, but I didn't know if it would crack or break trying to get it out of the cap so I masked it off and shot it with the black epoxy paint.
Moved onto the air cleaner housing duct hose. Let it soak for a couple of hours in soapy water, but even with using the stiffest brush I dared to use as to not ruin the material it still looked like it had ground in caliche dirt in the bellows part. I wire wheeled the end metal clasps, masked off around them and then painted the clasps with the Eastwood Phosphate paint. Then I soaked the whole thing with 303 protectant let it soak in and toweled the excess off. Looks correct to me
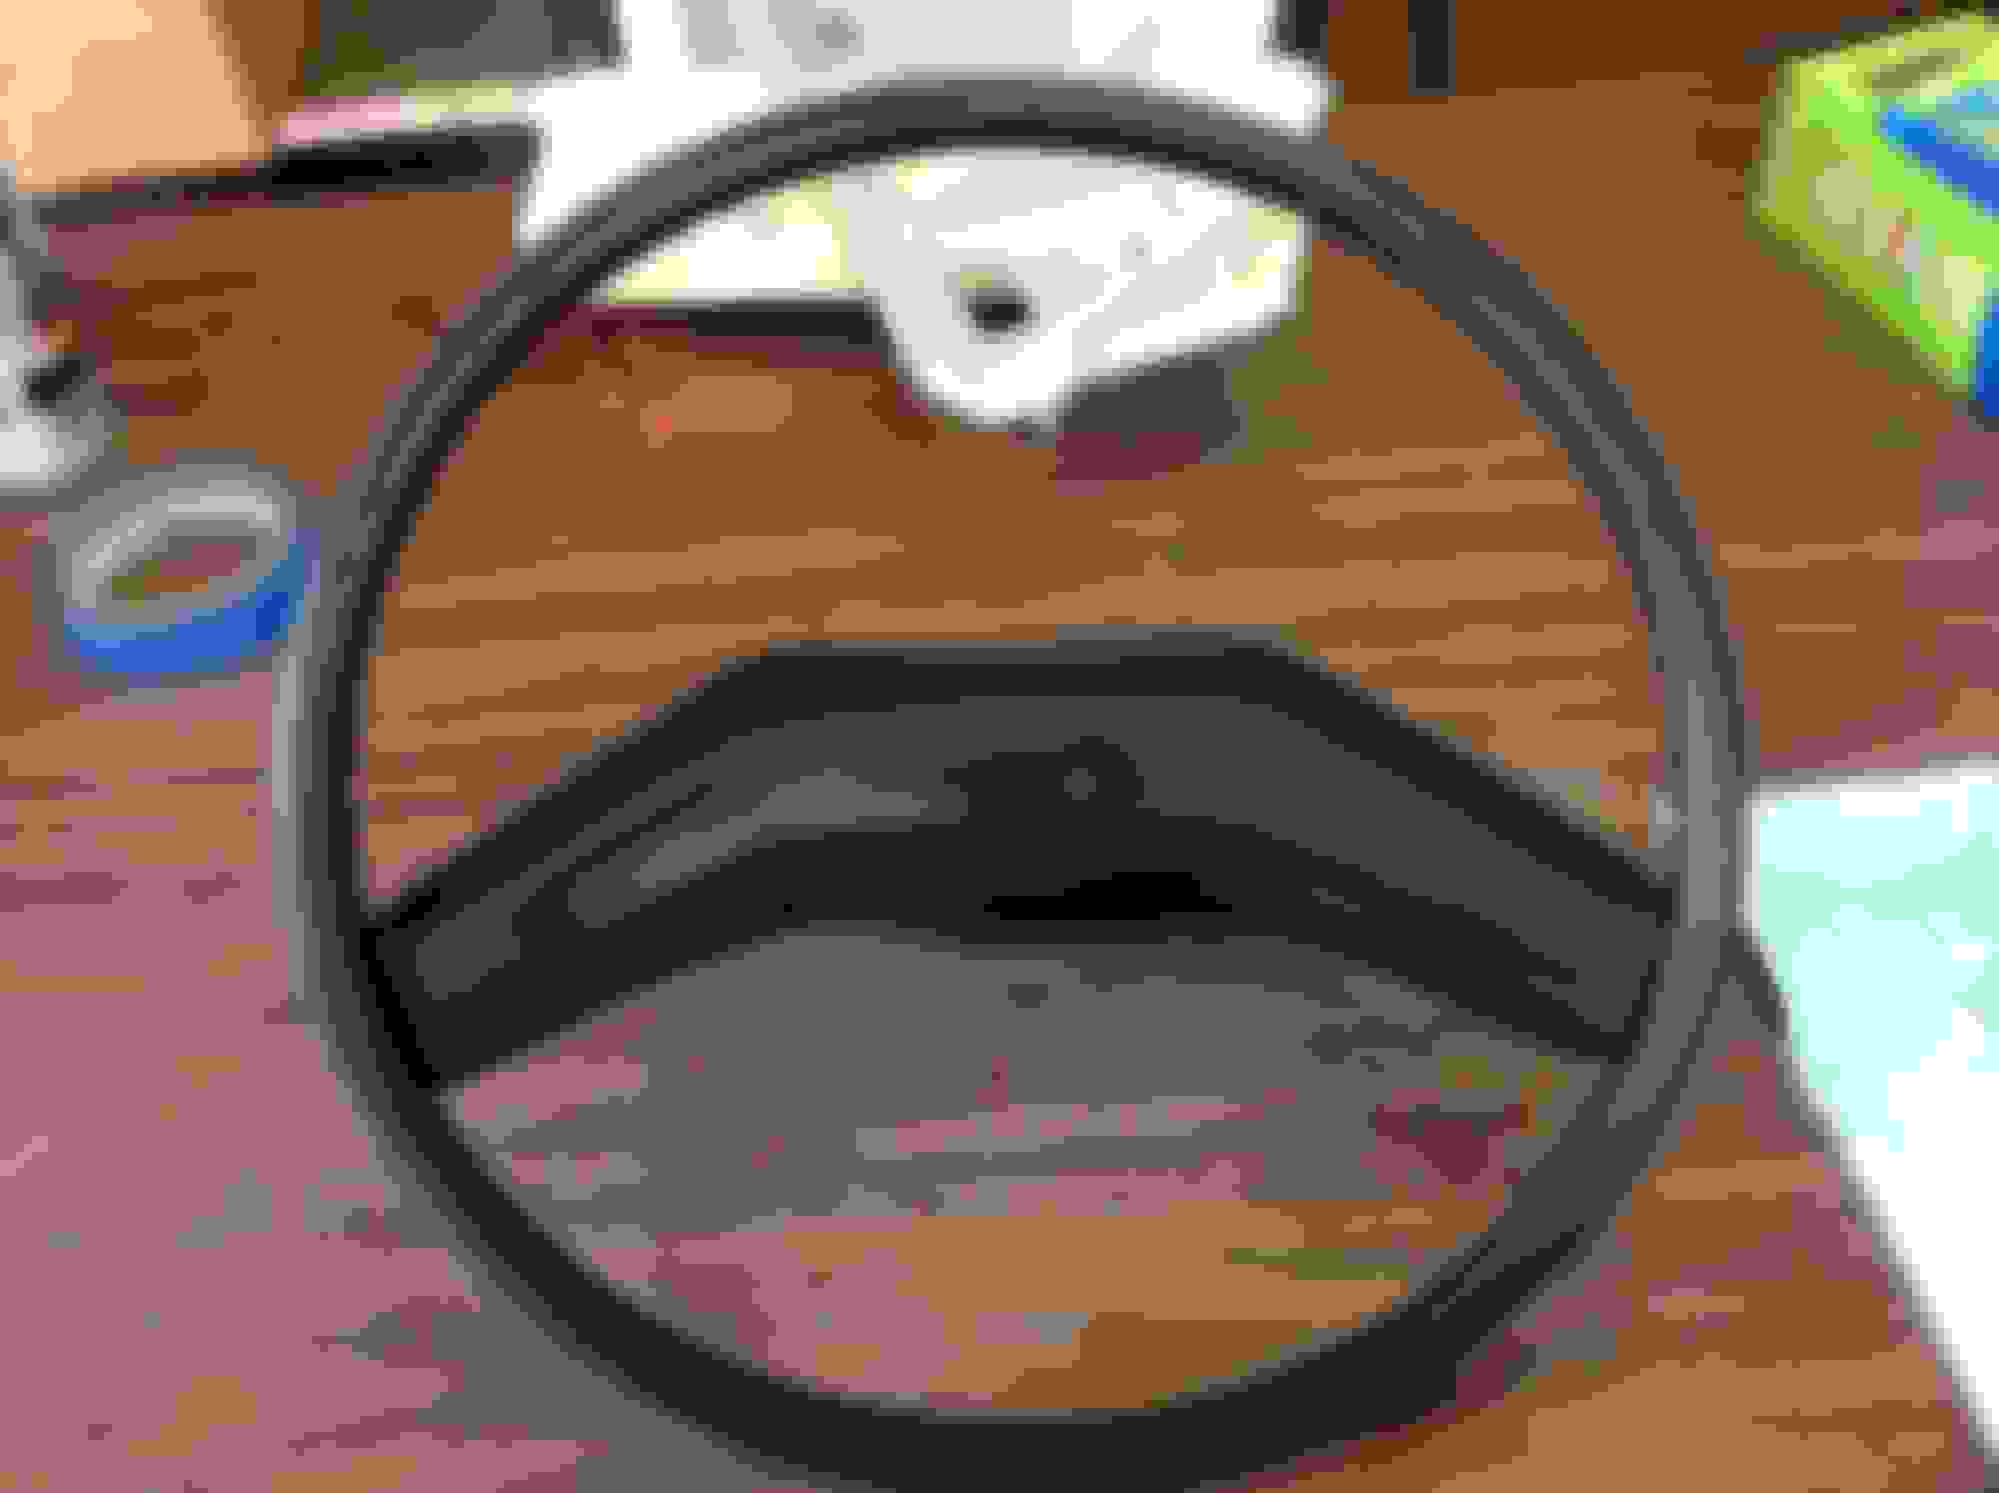
Cleaned up the steering wheel I got on eBay. First used some wooden skewers to remove all the crap lodged in those two grooves on the outer rim. I then lightly scrubbed the whole thing with simple green and a toothbrush. Looks just OK - maybe when I figure out a way of putting the white raised edges on the Ford logo it will look better.
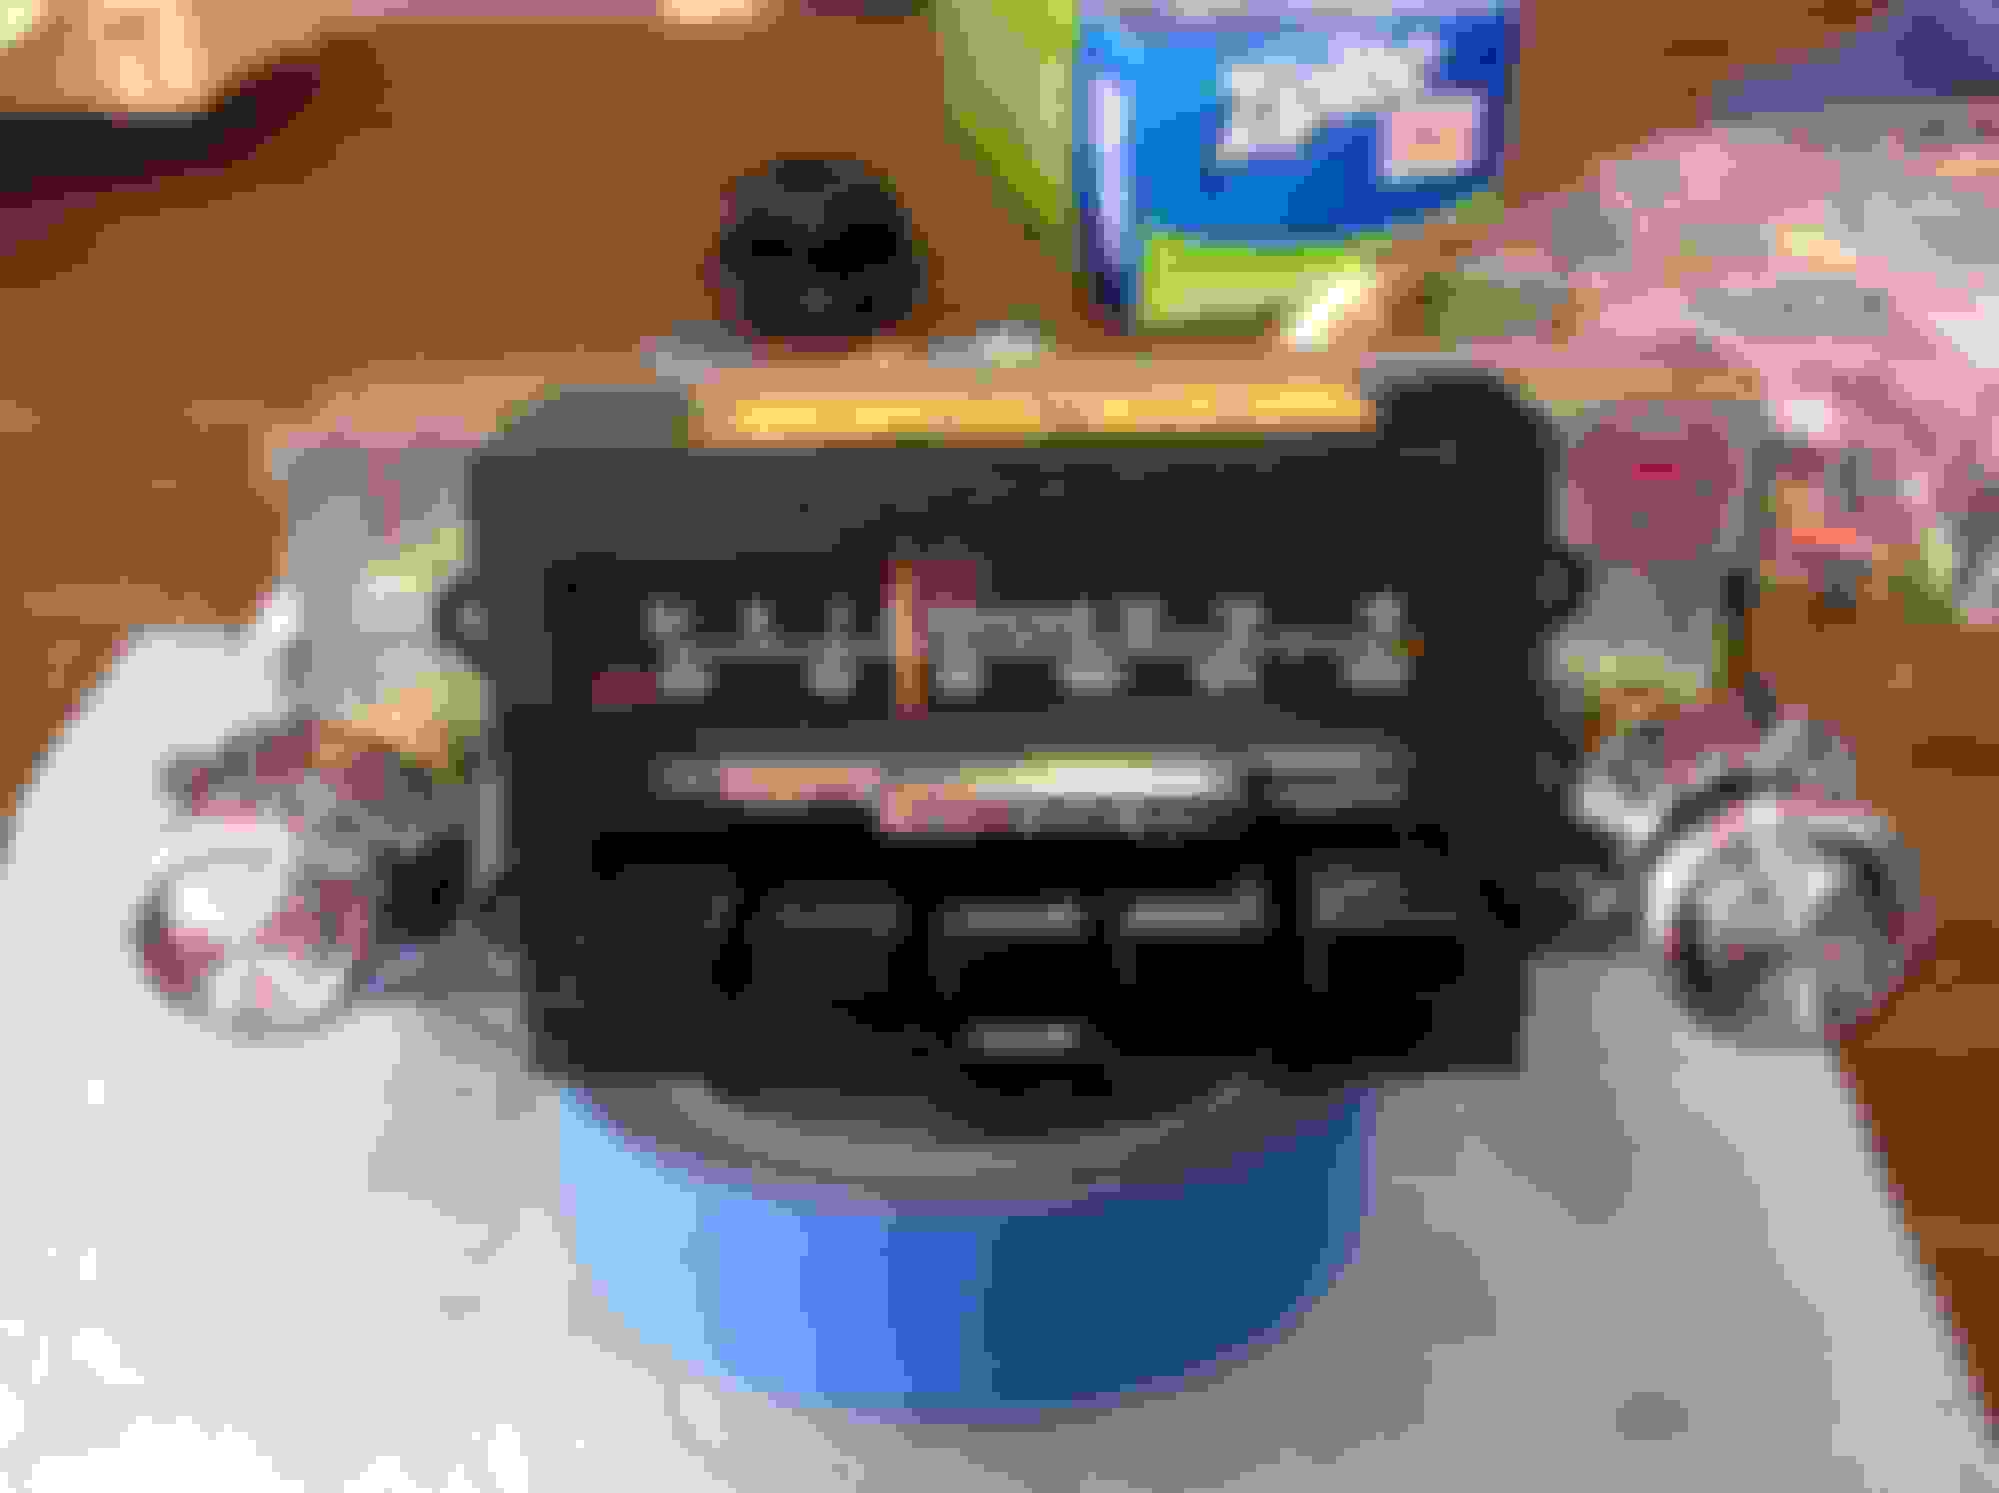
Next onto the radio I got on eBay. Removed the ***** thinking that they were junk, but after looking at them closely thought they might be salvagable. Of course they were after yesterday ordering new outer ***** from Dennis Carpenter. Again used nothing but window cleaher and a toothbrush to clean all the tiny ridges and corners. Carefully cleaned the faceplate AM/Fm selector bar and fader slider (yay no pitting) as well as the push buttons. Lastly I changed out the 1893 bulb that lights the unit up. I hope the thing works as the seller said it would
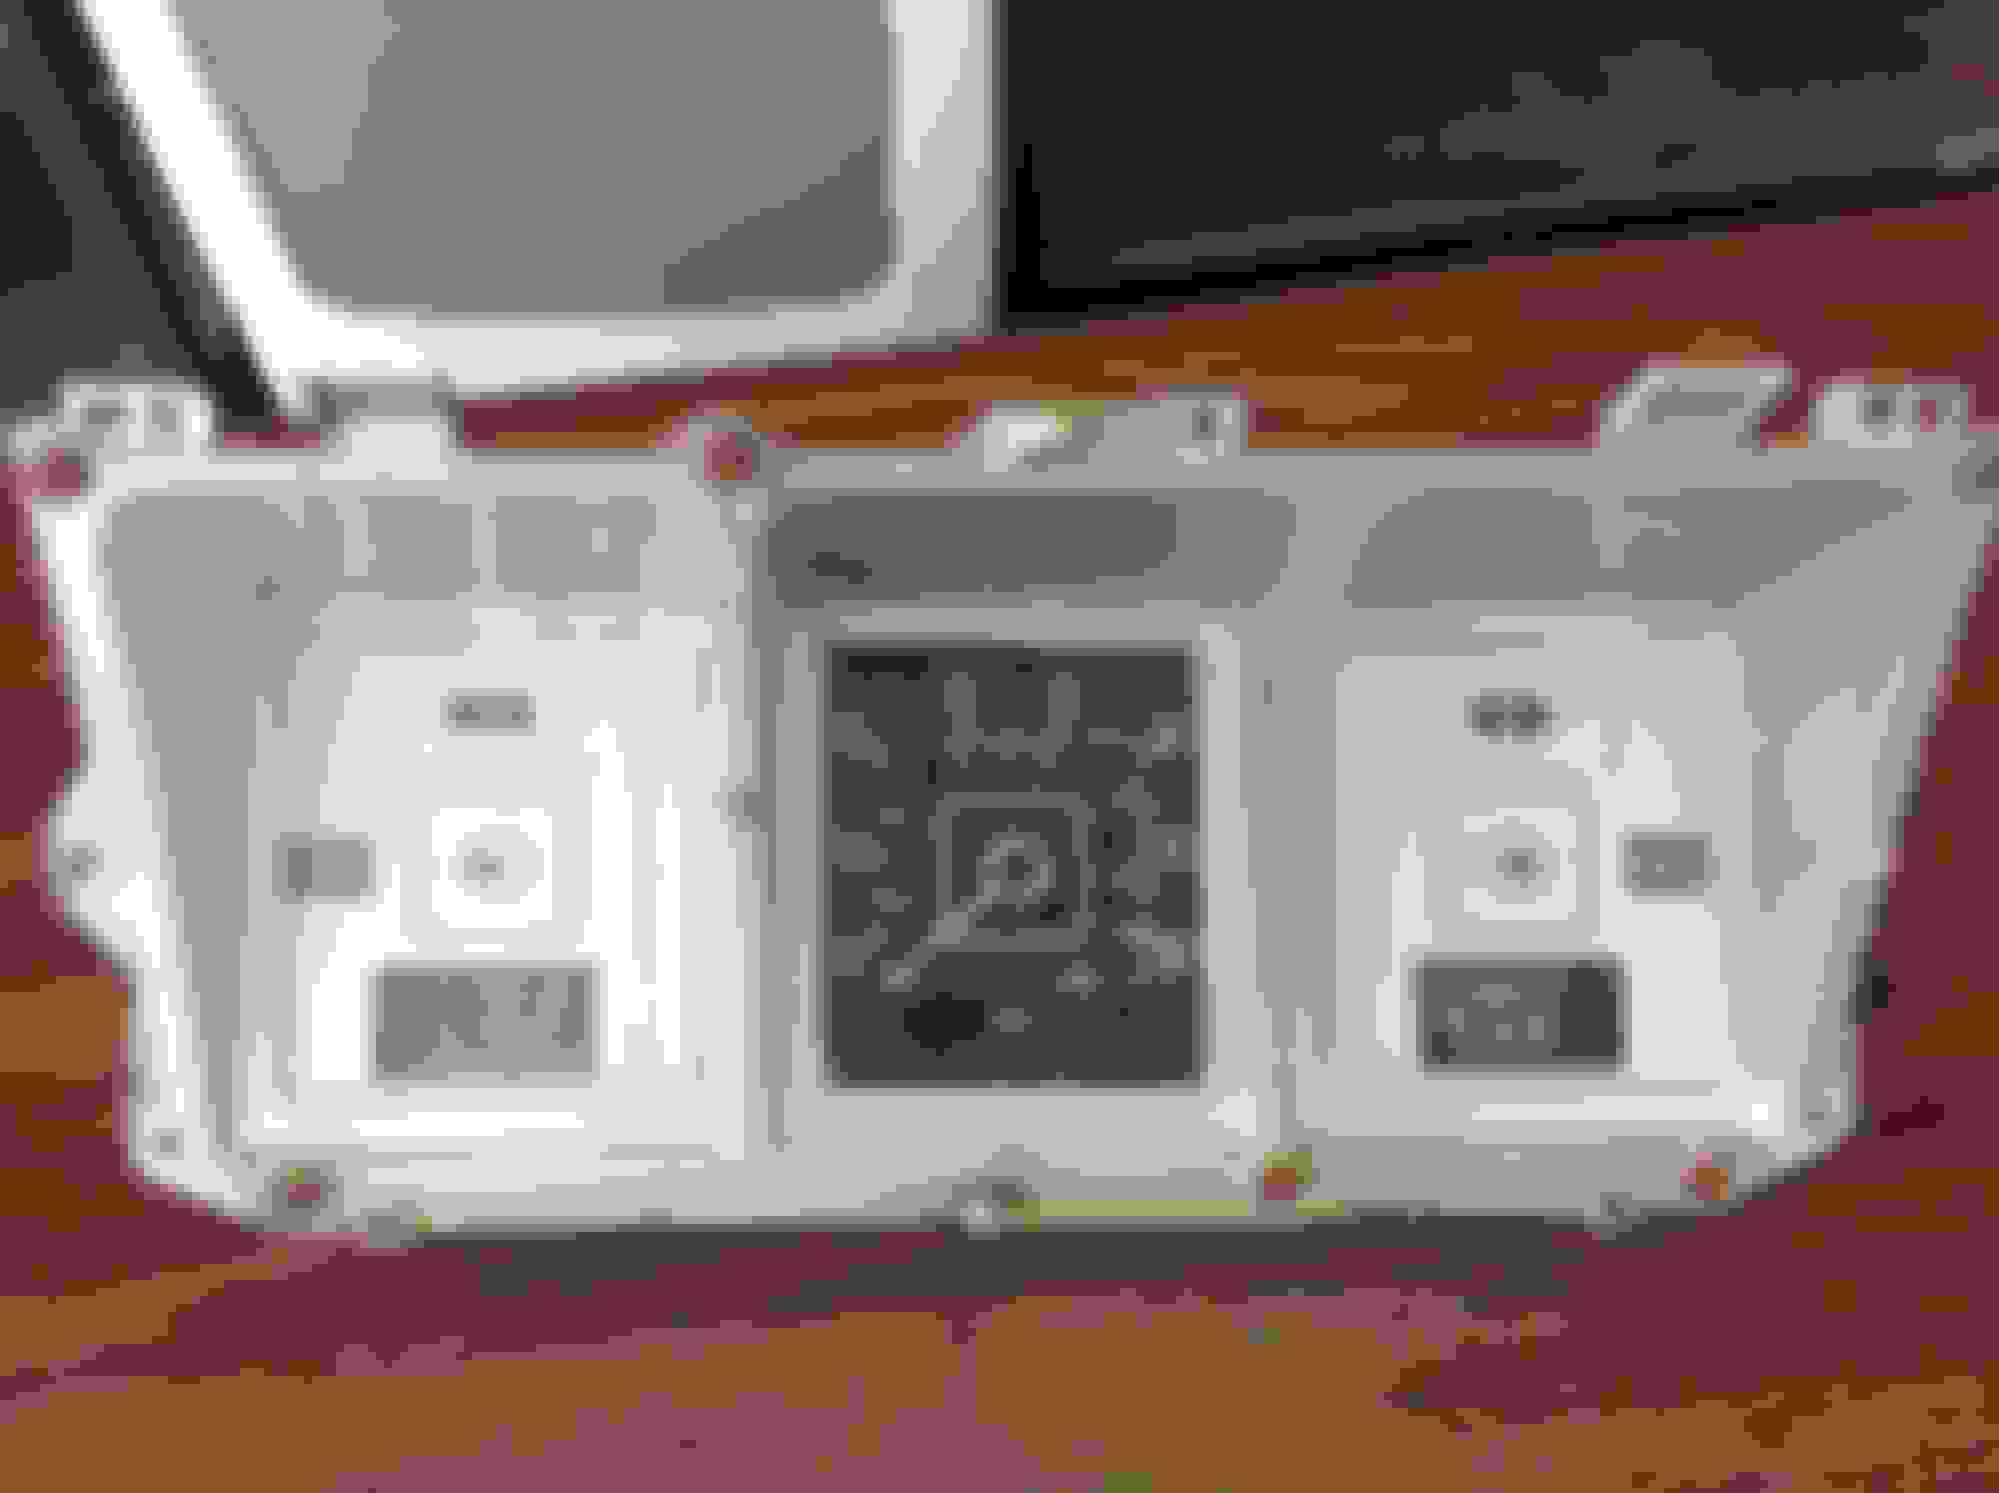
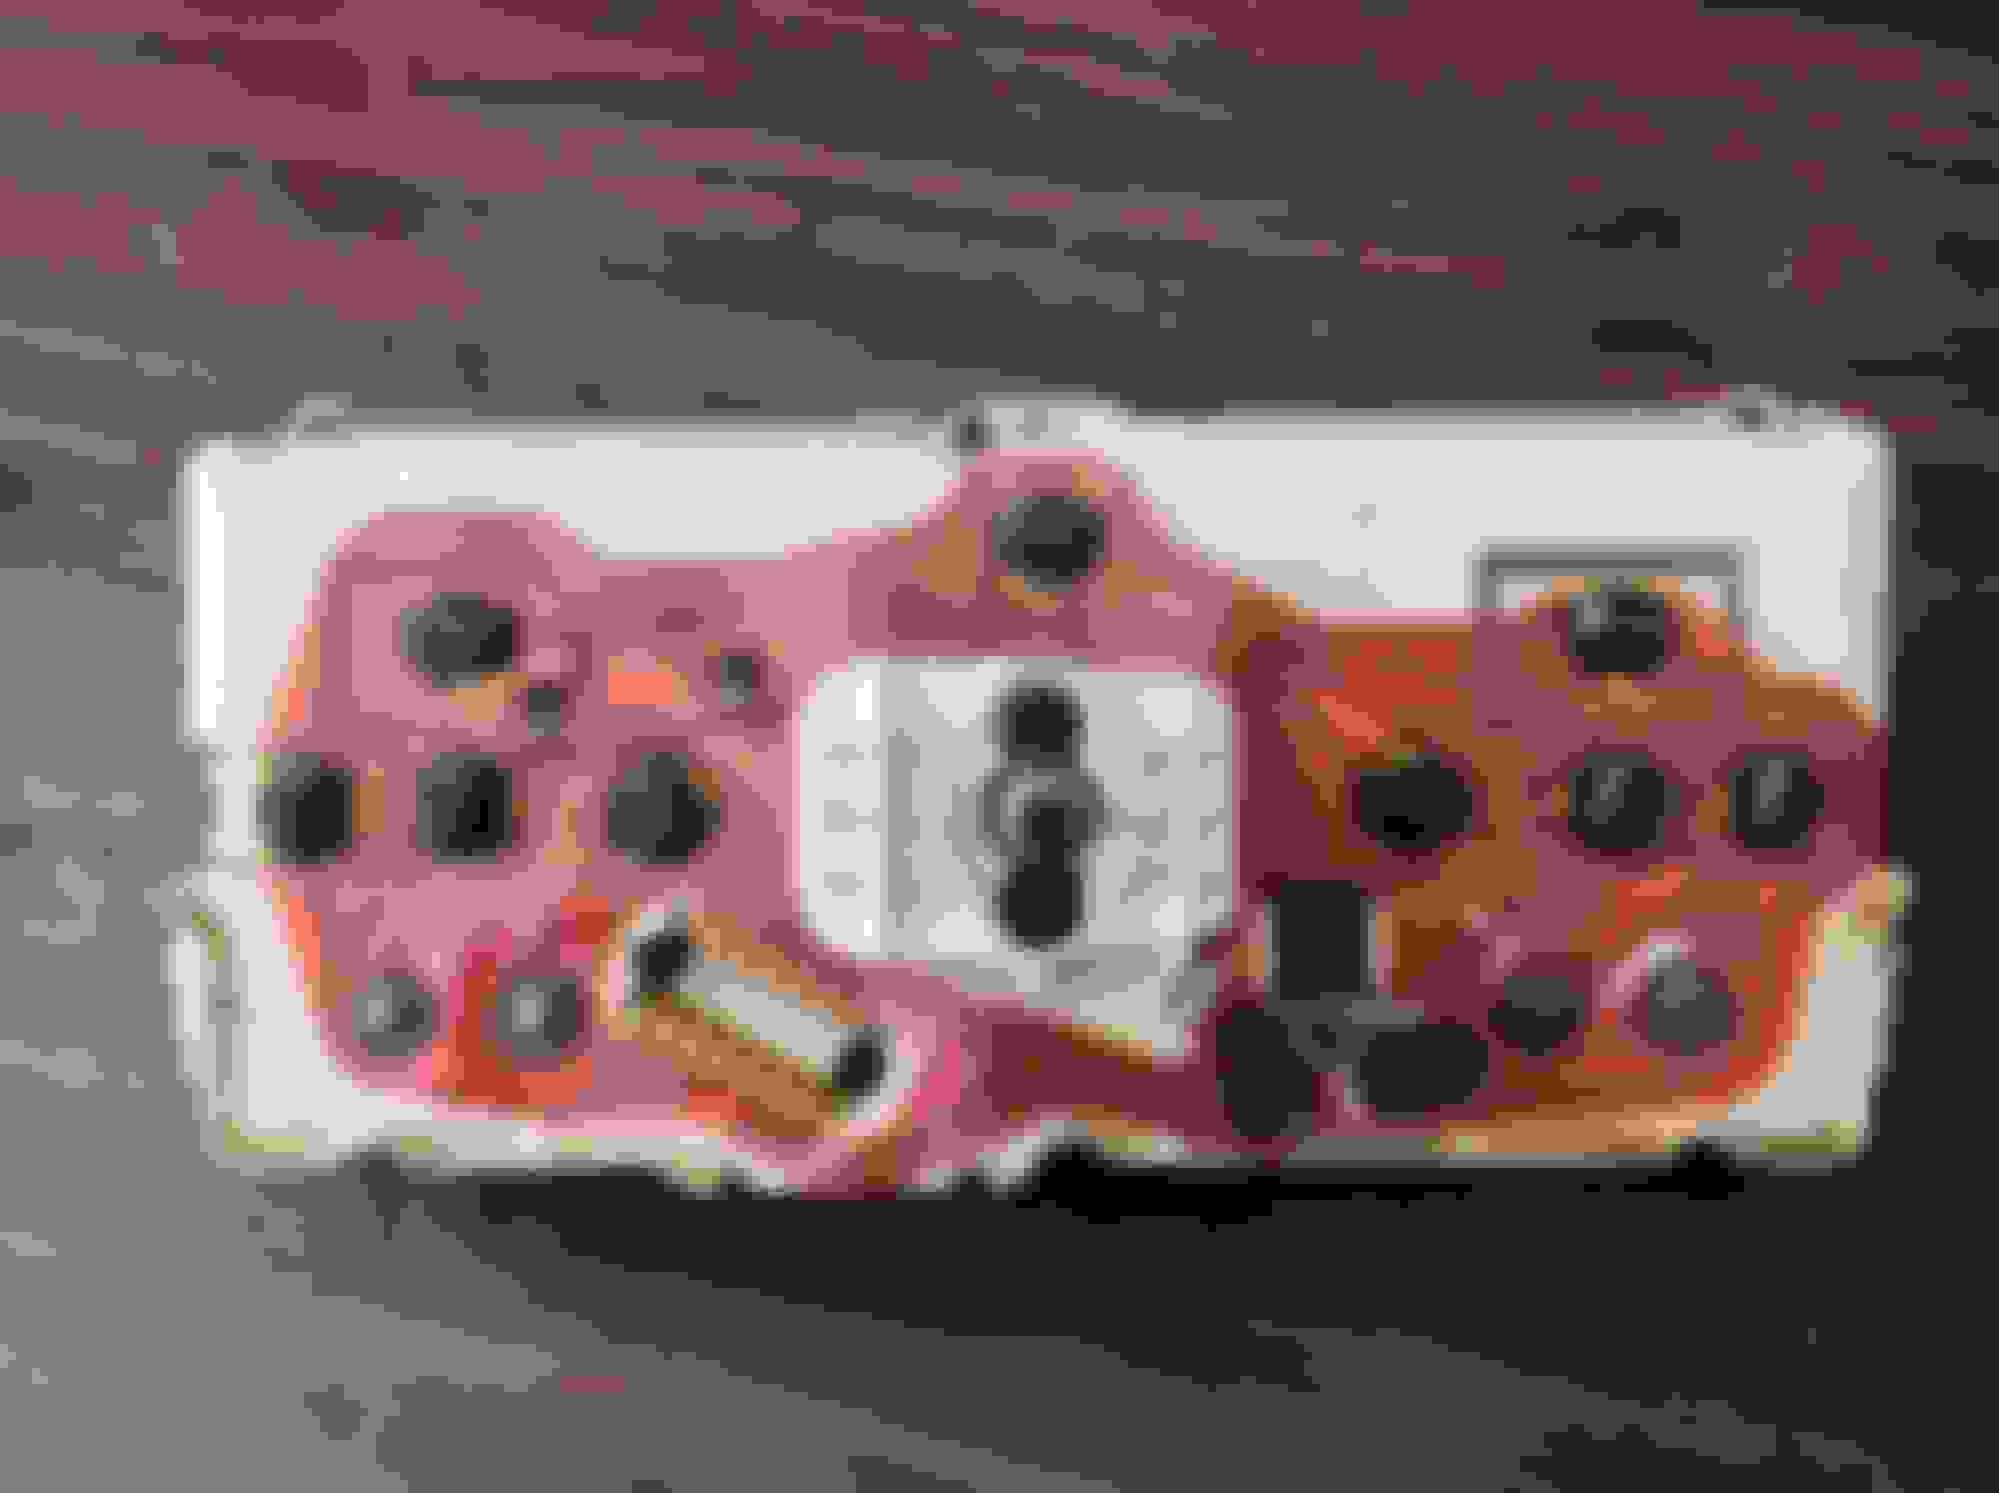
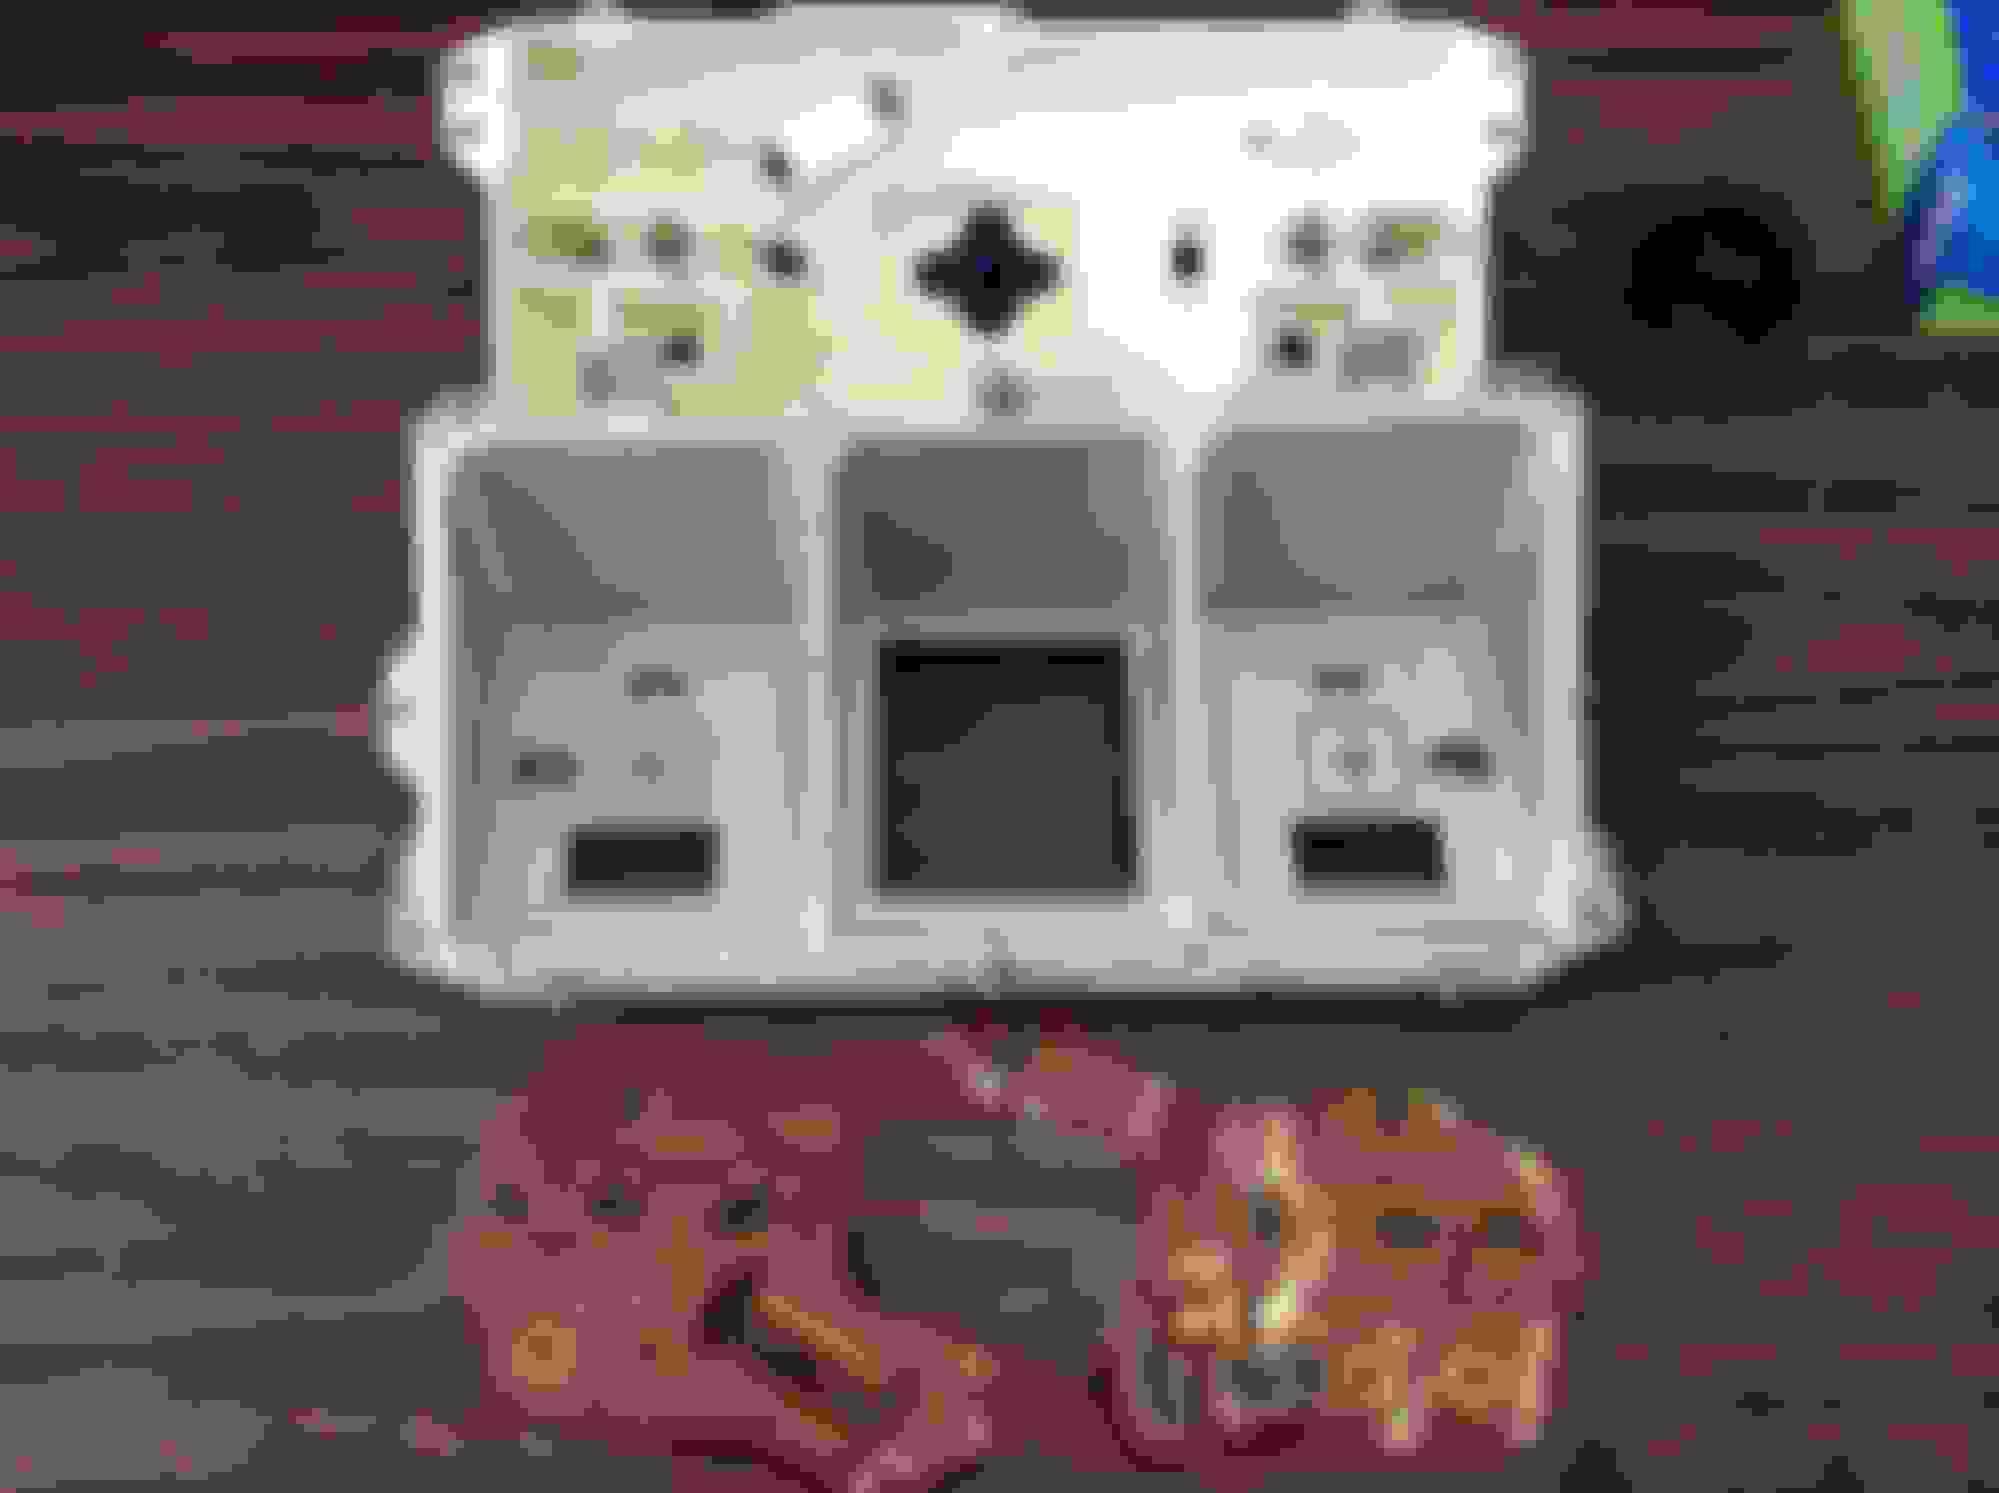
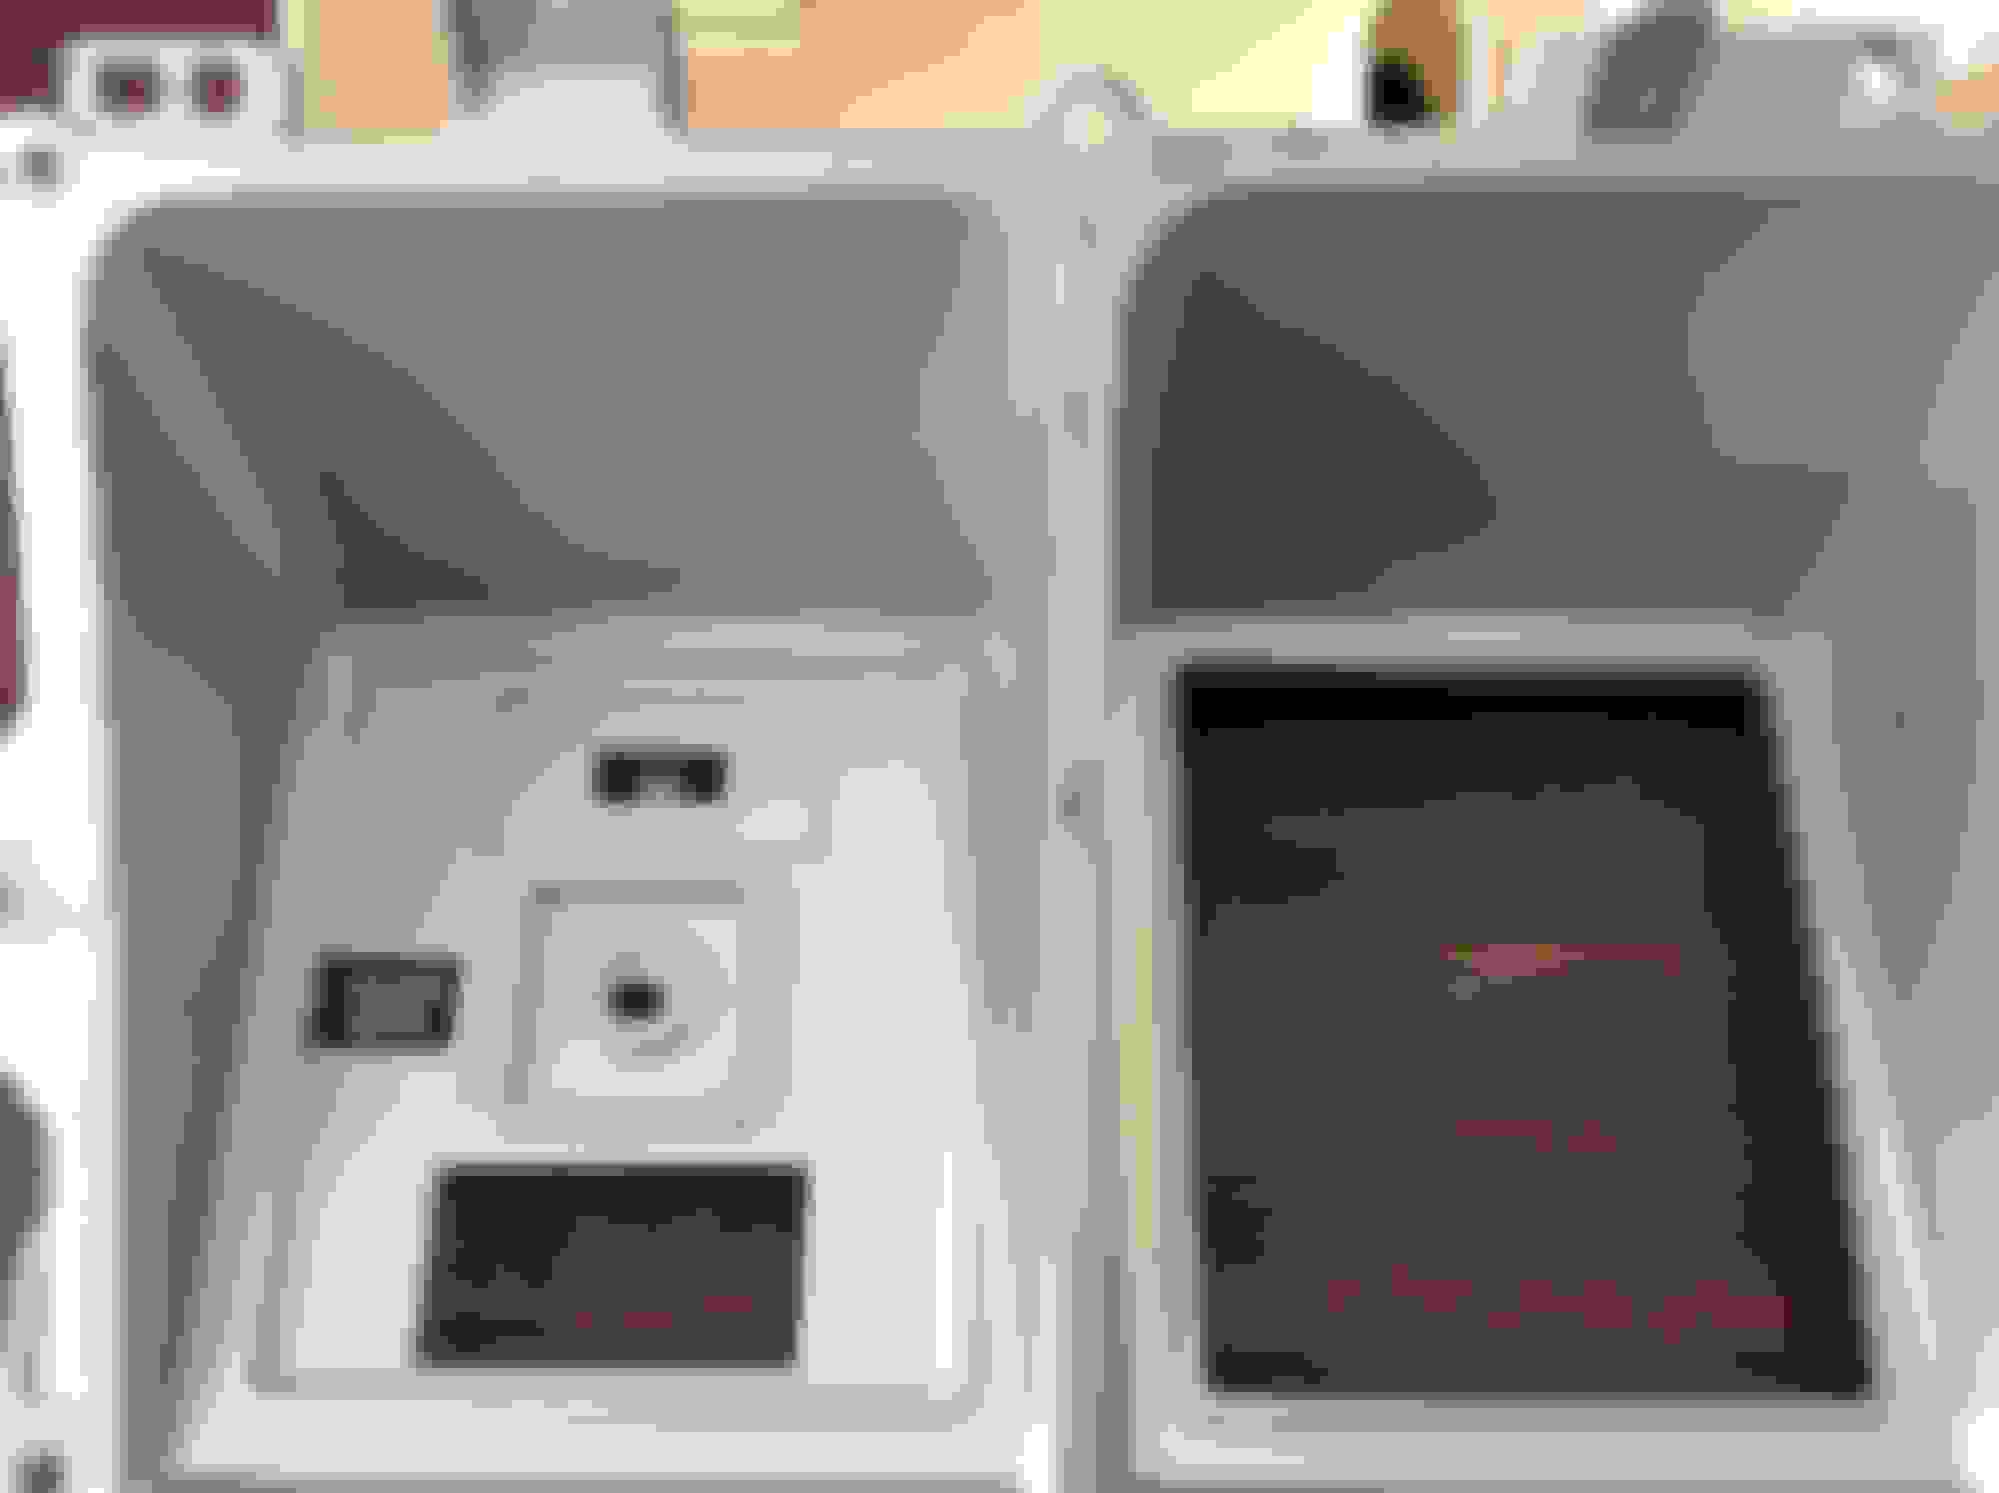
Lastly pulled apart the gauge binnacle. Lens is junk, P/C sheet on the back is badly oxidized in places, fuel gauge mounting screws are loose in the body of the gauge, and the outer gauge frame is perfect but for some paint worn away along a raised gauge pod divider. I'm on the fence about ordering a new one or repainting the original. Lastly, the gauge needles need the usual orange repaint.
Joe, hate to break it to you, but your PHILCO radio lens is not correct for a '79. FoMoCo sold Philco in 1974 and by '75/'76, had reverted back to the Aeronutronic Ford logo and then to just Ford.
I believe your radio should just have the single Ford logo lens. Everything else about your stereo is correct for all years. I would gladly swap the Ford lens out of my stereo with yours if you like.
(I'd swap out my entire stereo with you but the chrome on my balance bar came off when I was installing it. Plus, my stations have a tendency to drift.)
David :)
David, thanks for the info and correction. Let me know how we can arrange the swap of the station indicator lens. Will be more than glad to kick in some dough to make it happen. I'm hoping more people chime in when they see something wrong or incorrect!
Miscellaneous things that add up to real time (3 hours)
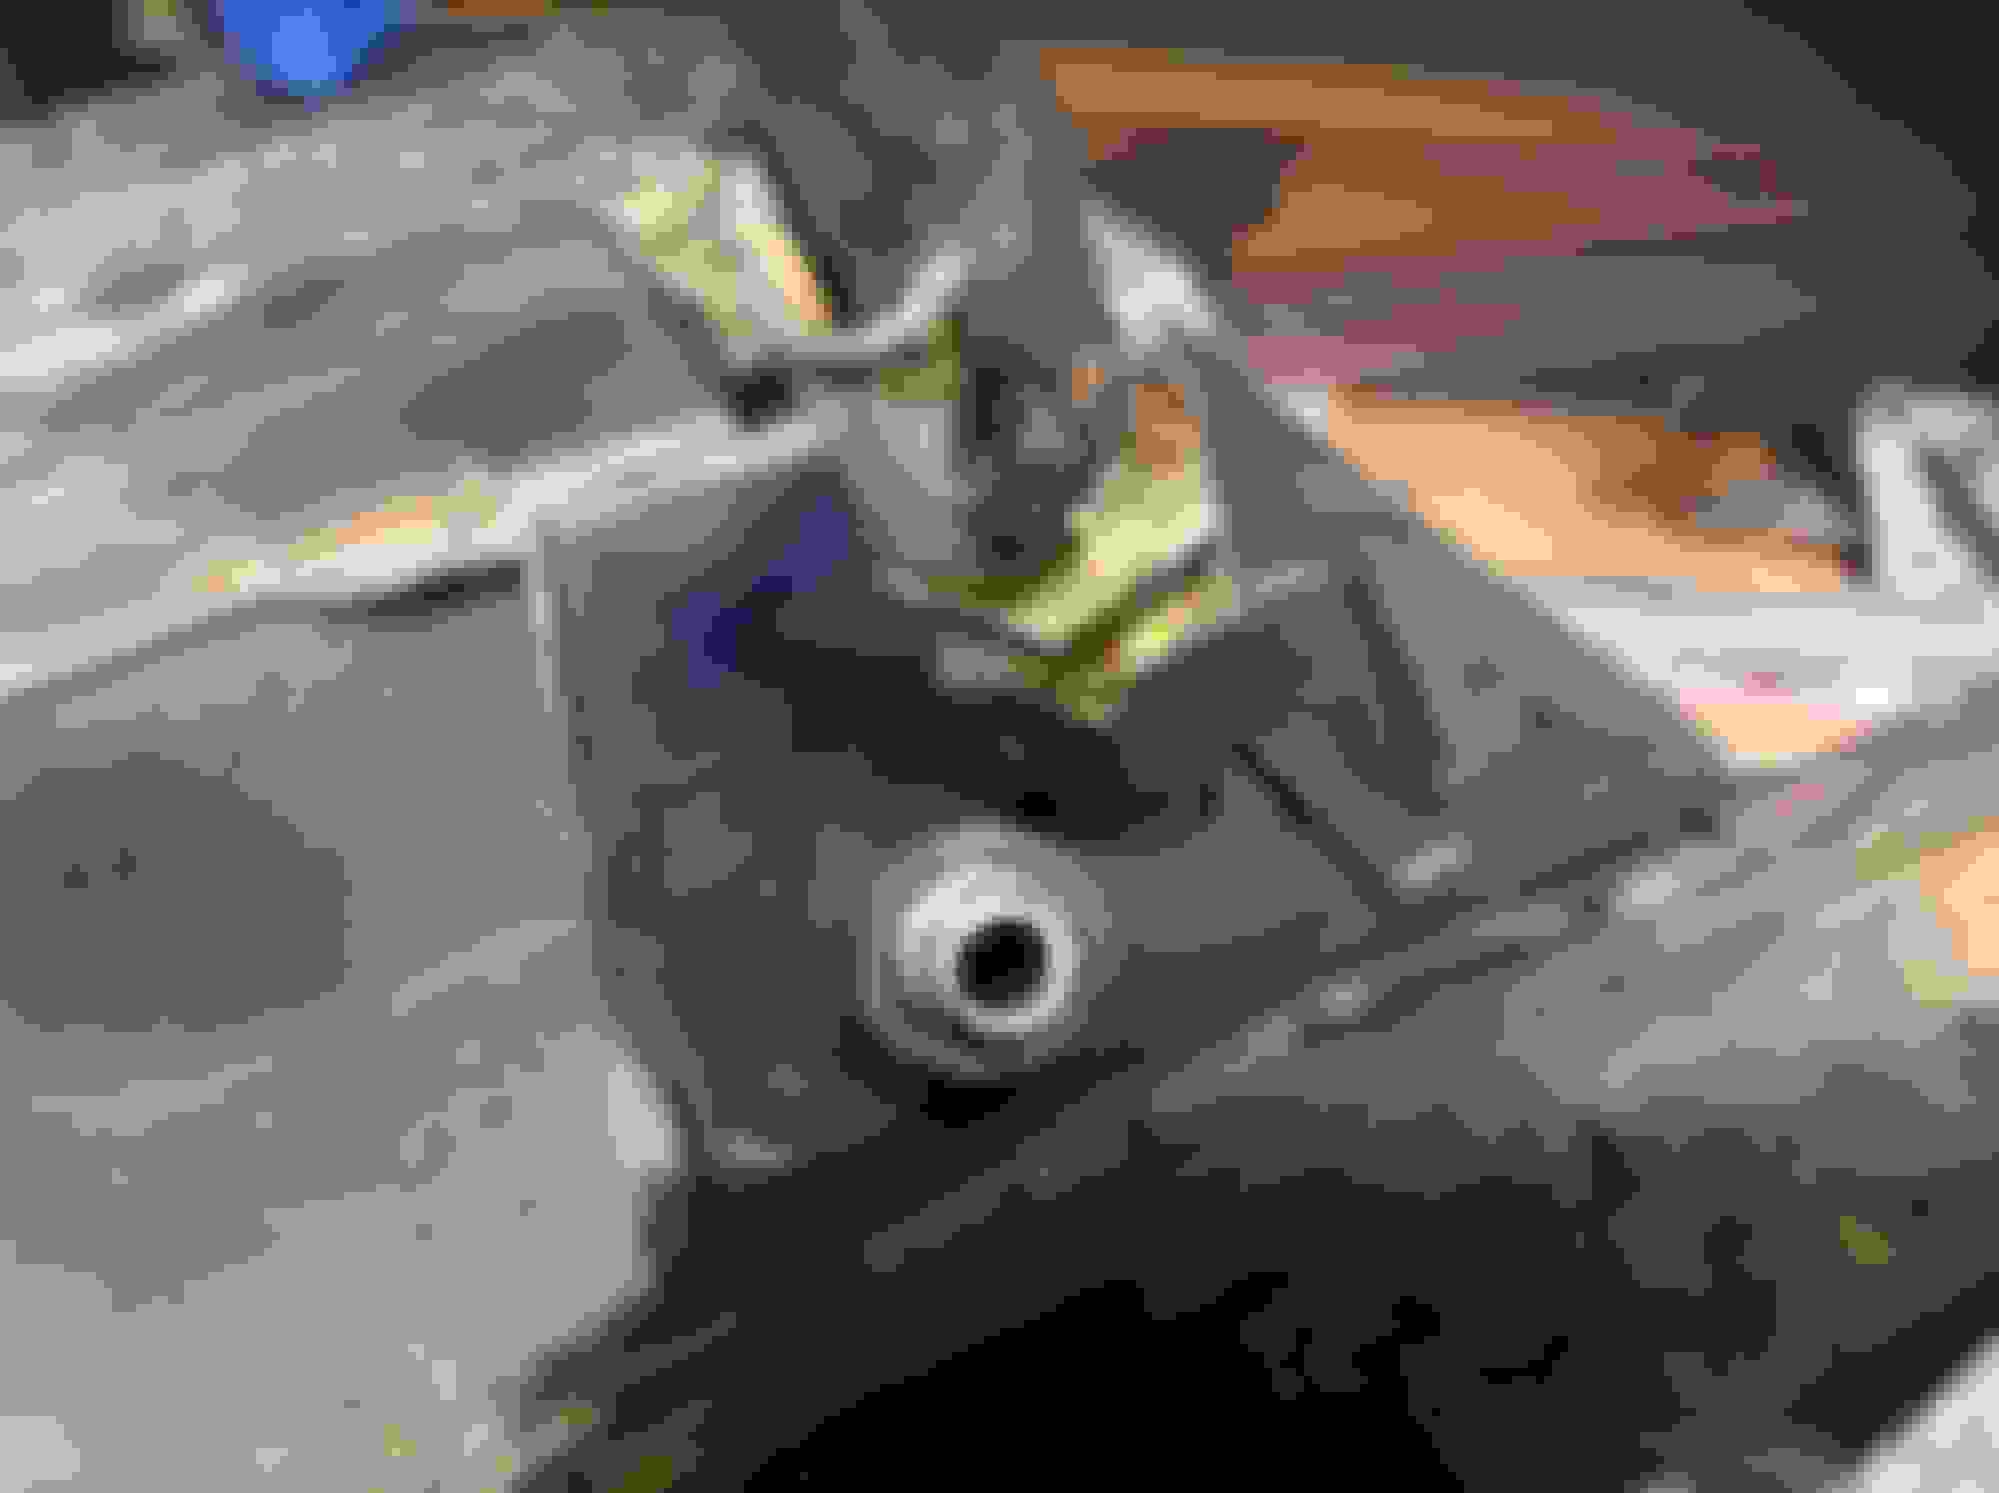
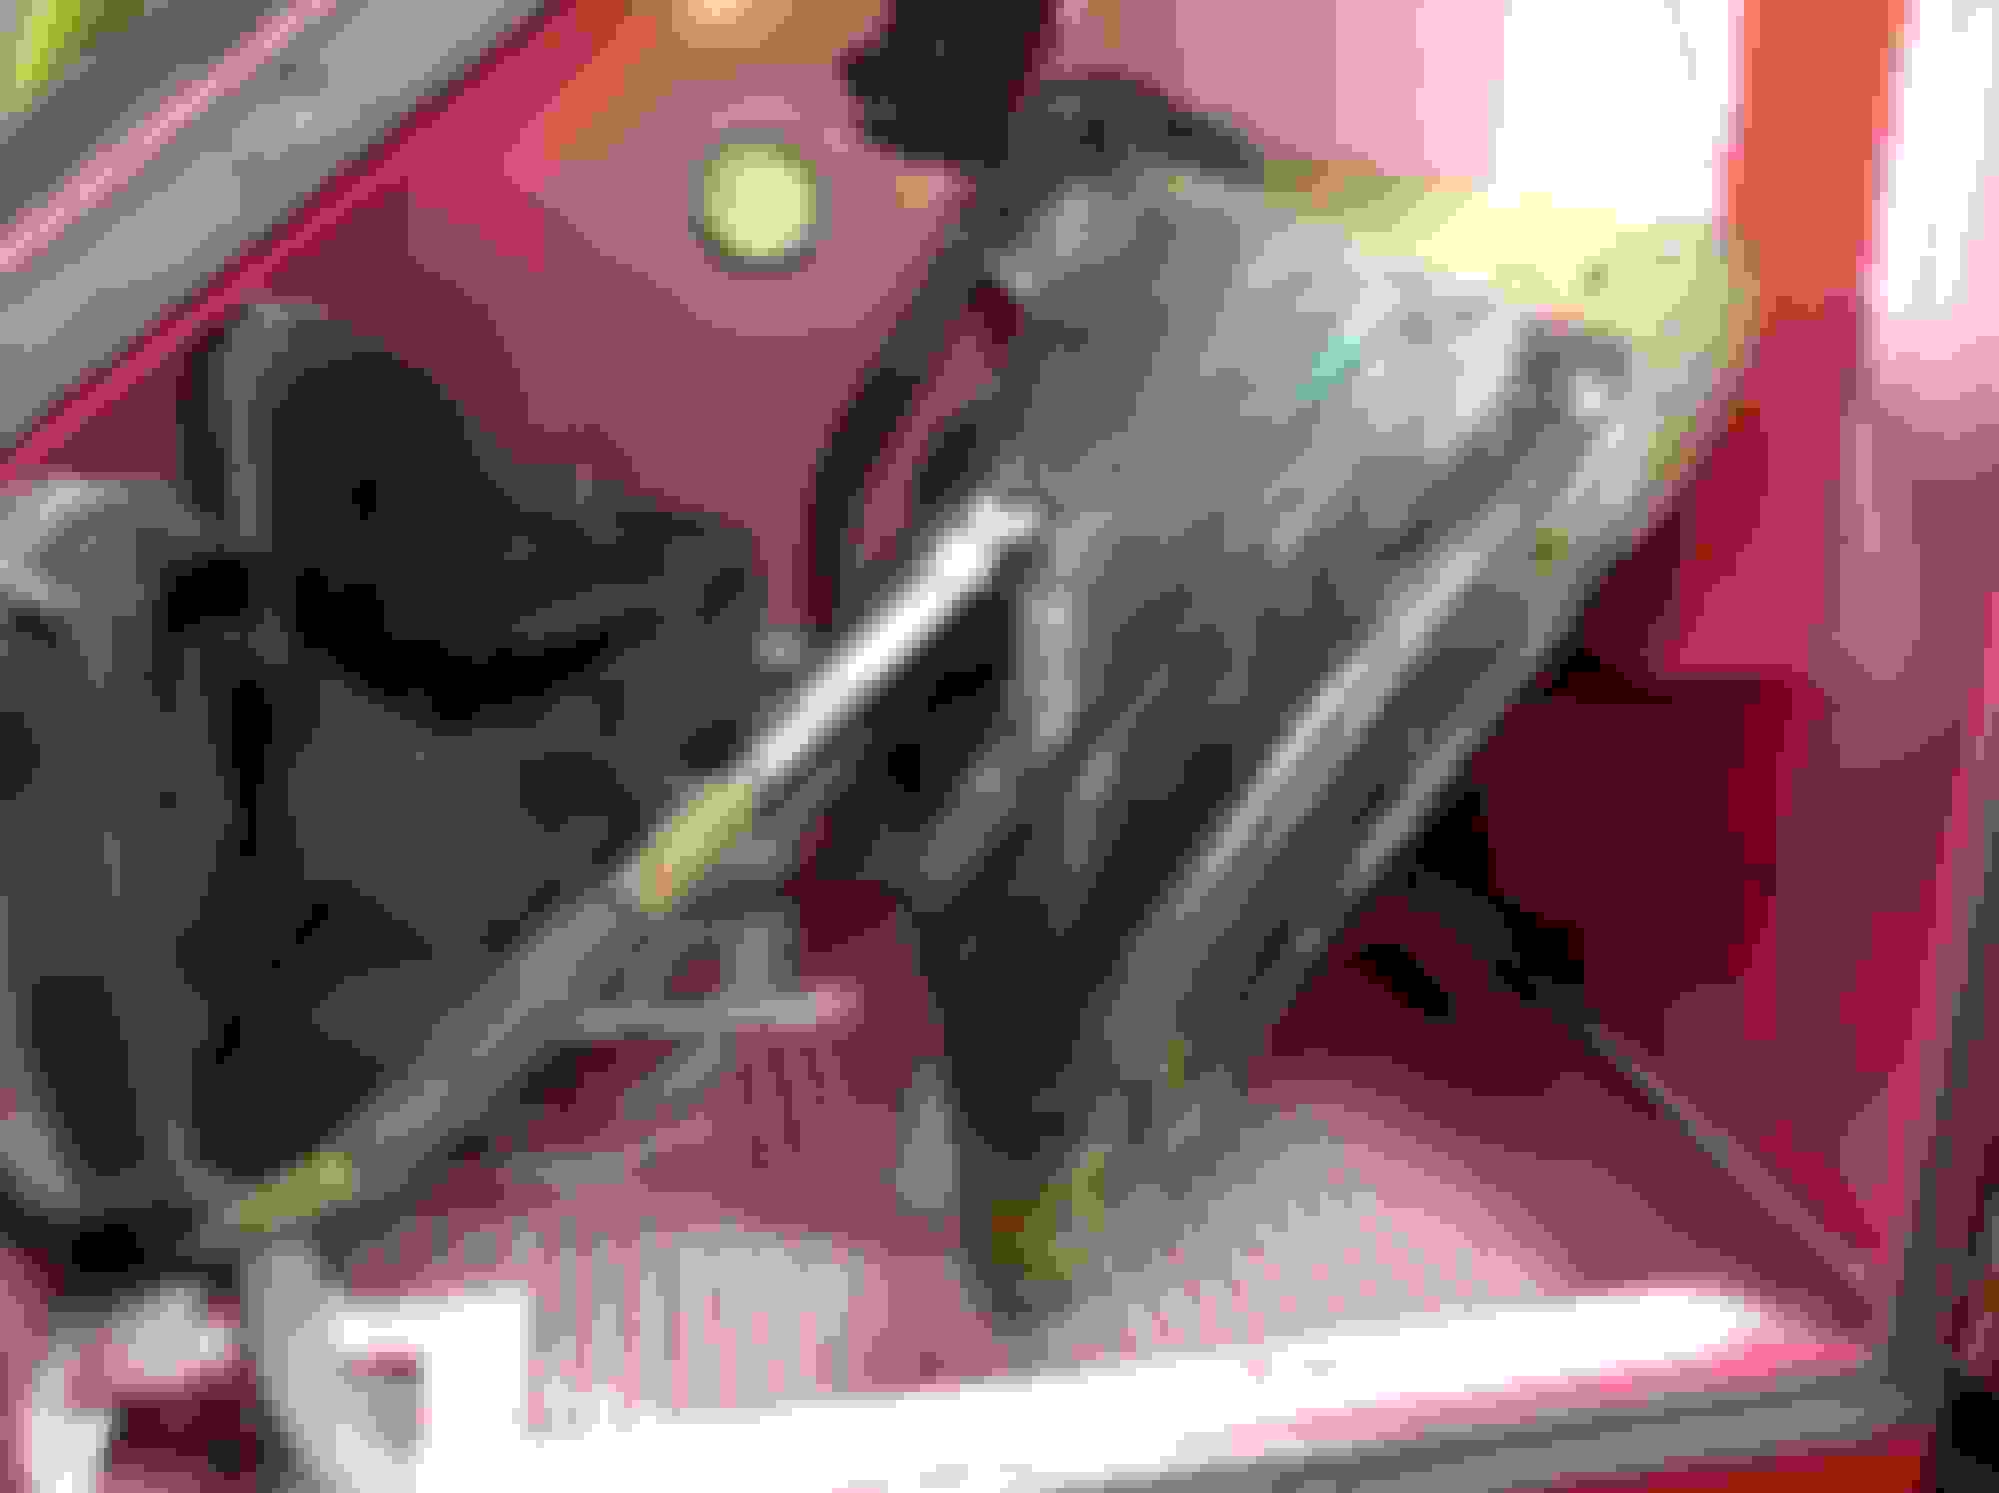
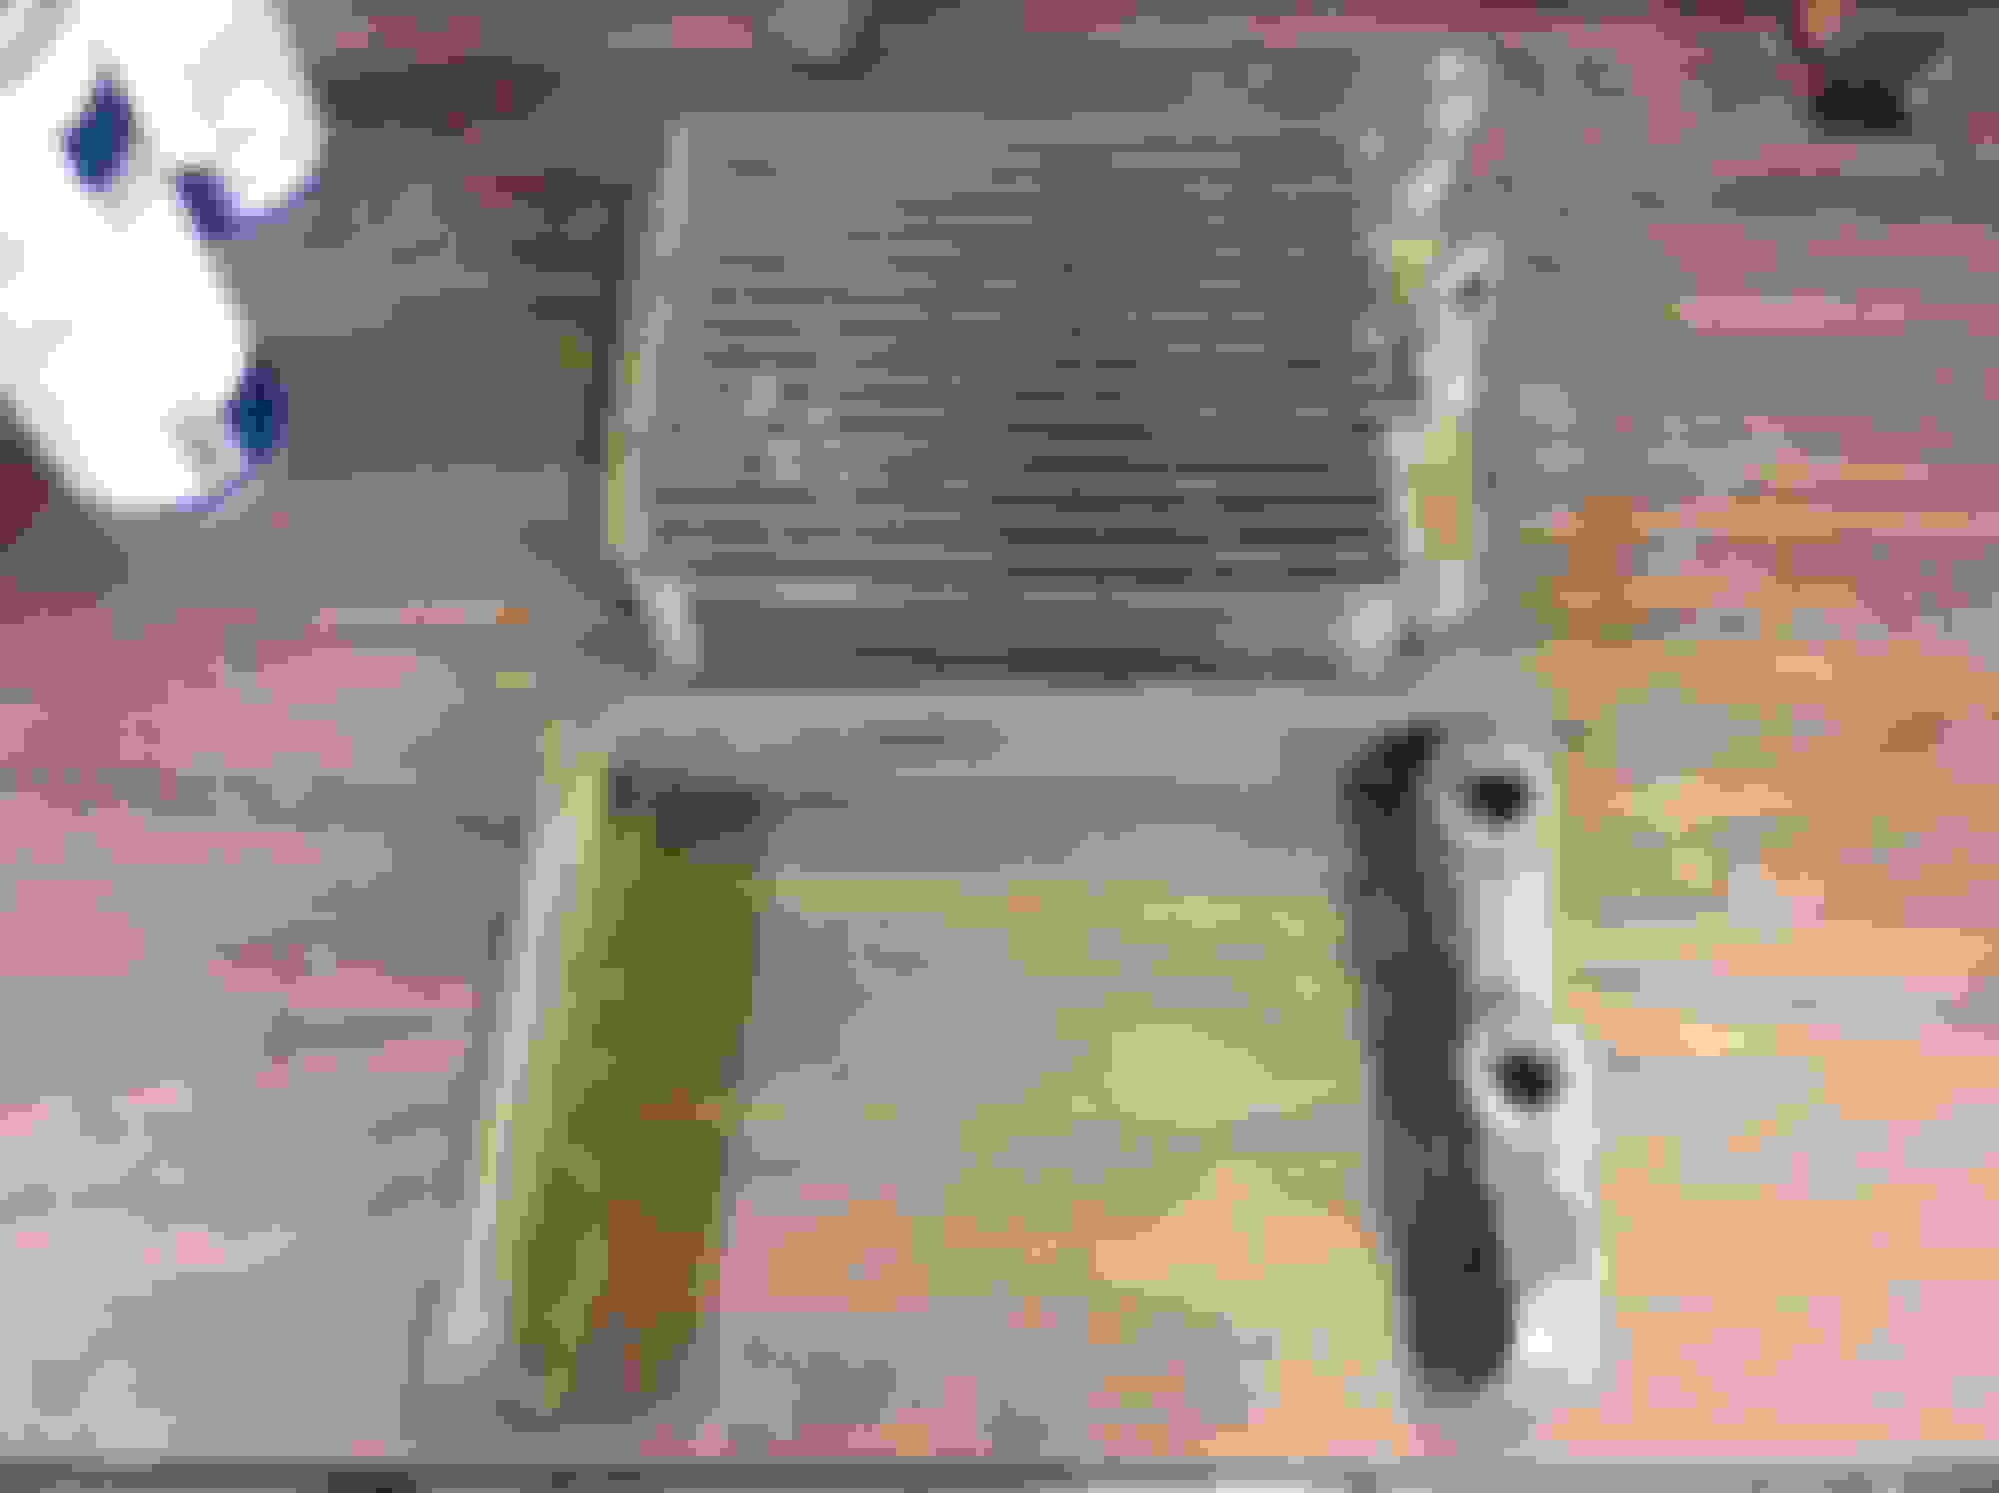
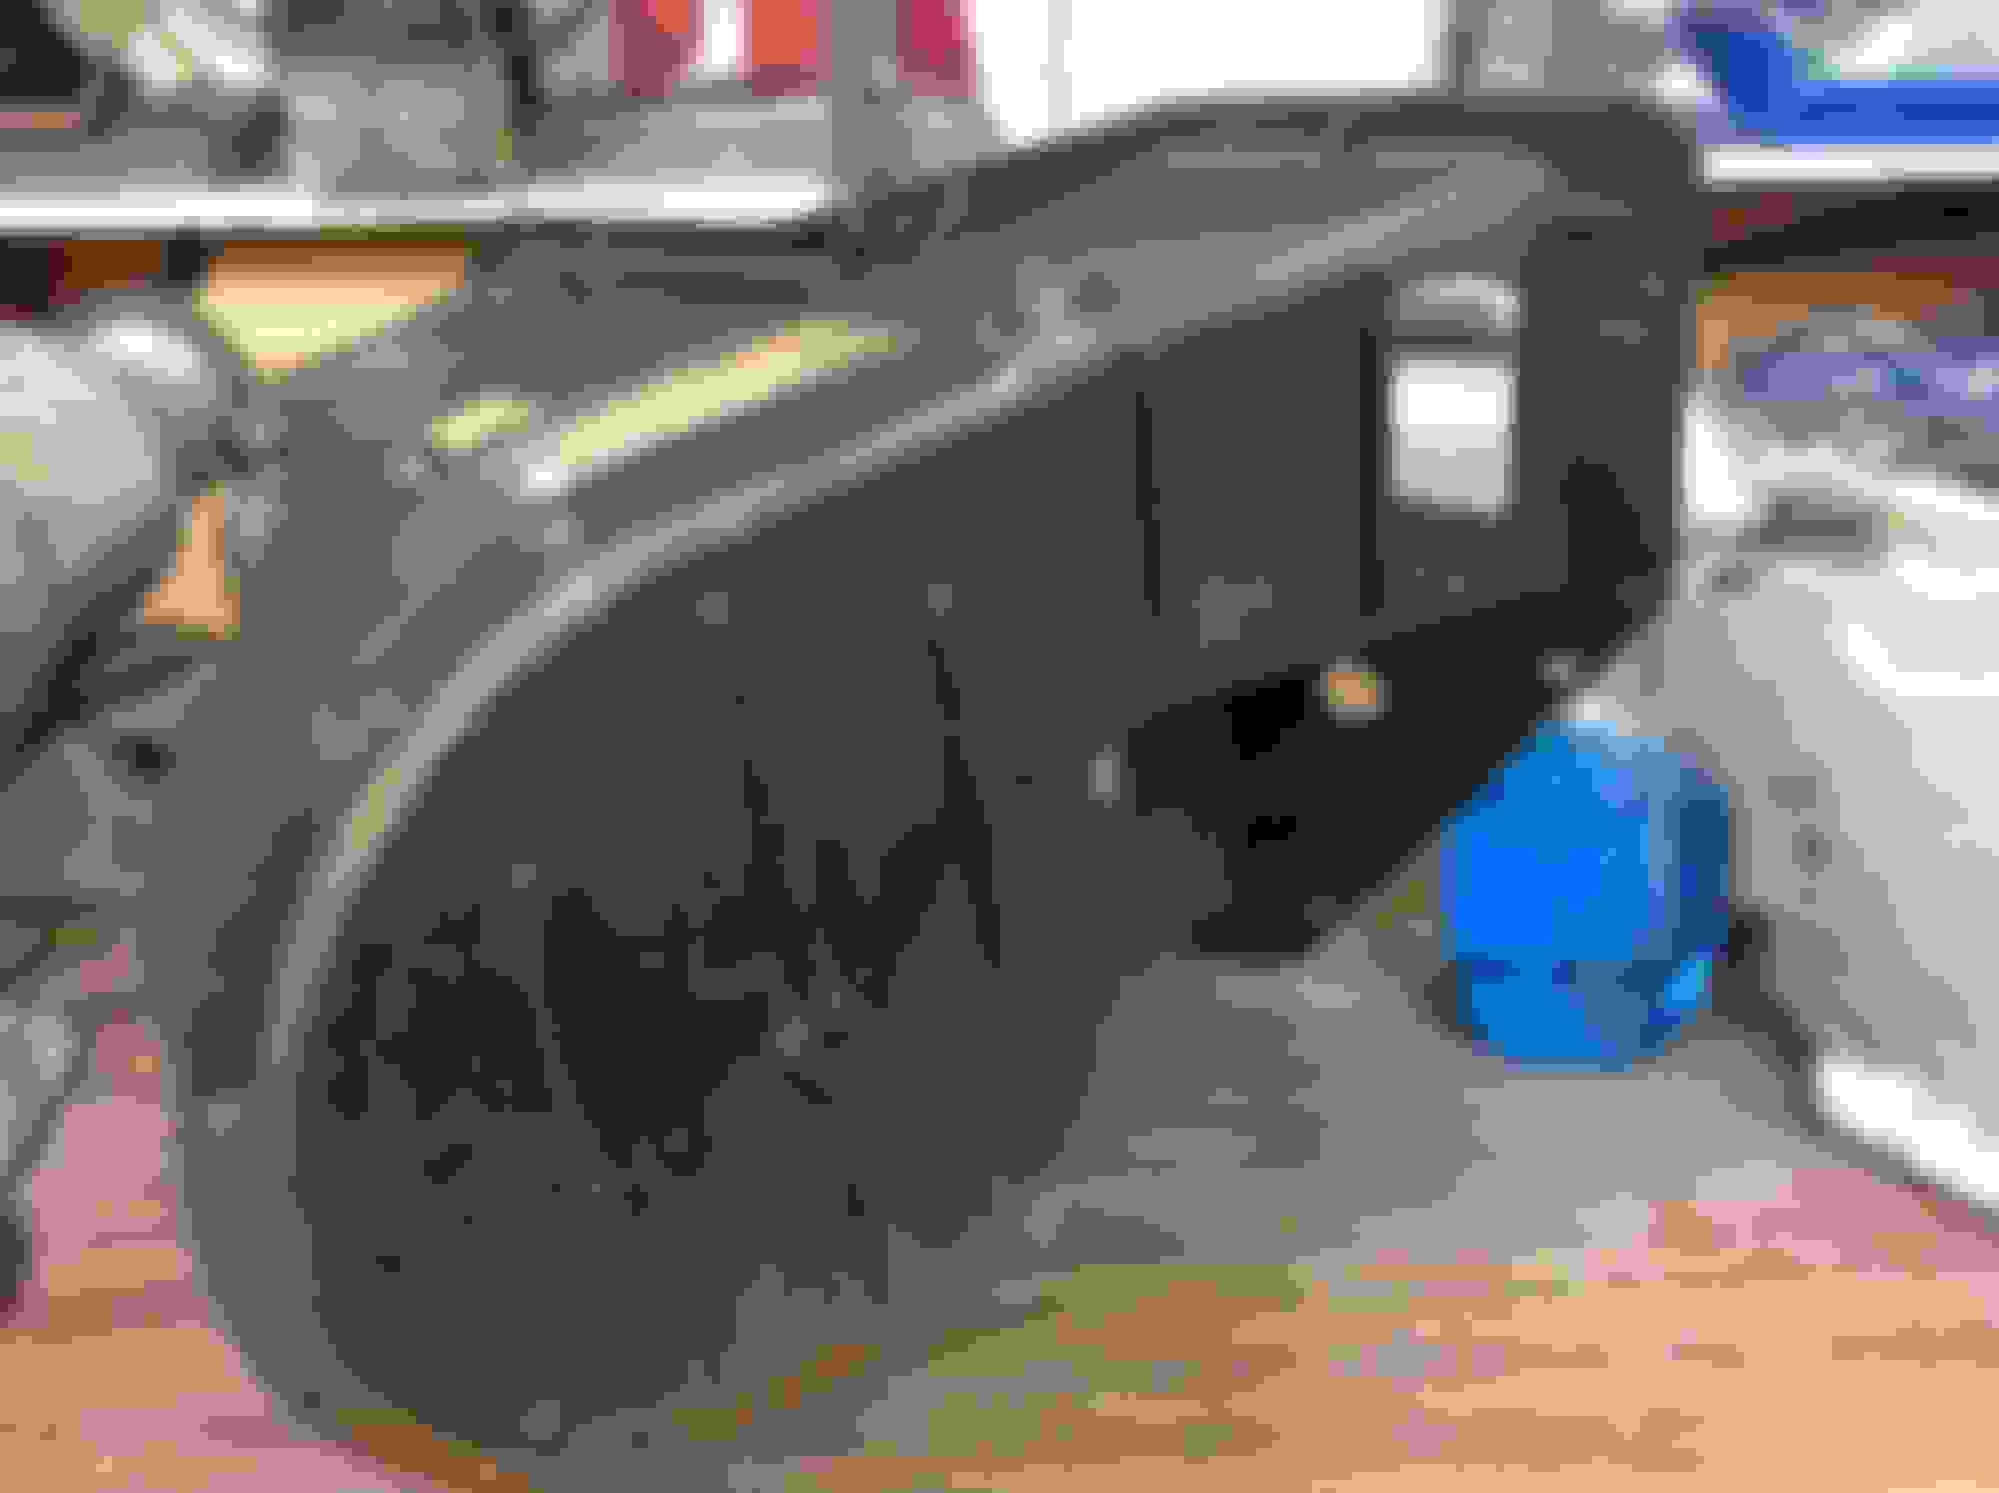
Started by trying to disassemble the HVAC engine bay box. This thing is way more complicated than the GM evaporator box assemblies I'm used to working on. Figured out I will have to remove both lines from the evaporator core before it can be removed from the case. Got the liquid line off, but no go on the suction line. I'm trying to not damage the core since it seems to be unobtanium. I'm soaking the connection with PB Blaster and letting it sit overnight. Will try again tomorrow.
Next pulled and wiped down the fastener baggies I had put in EvapoRust yesterday. Three of the original exhaust manifold bolts broke during removal, so I replaced them with some black oxide bolts close to the originals. (The captured washer is replaced by a shoulder on the bolt head). I'll place these somewhere where they won't be seen after the engine is installed
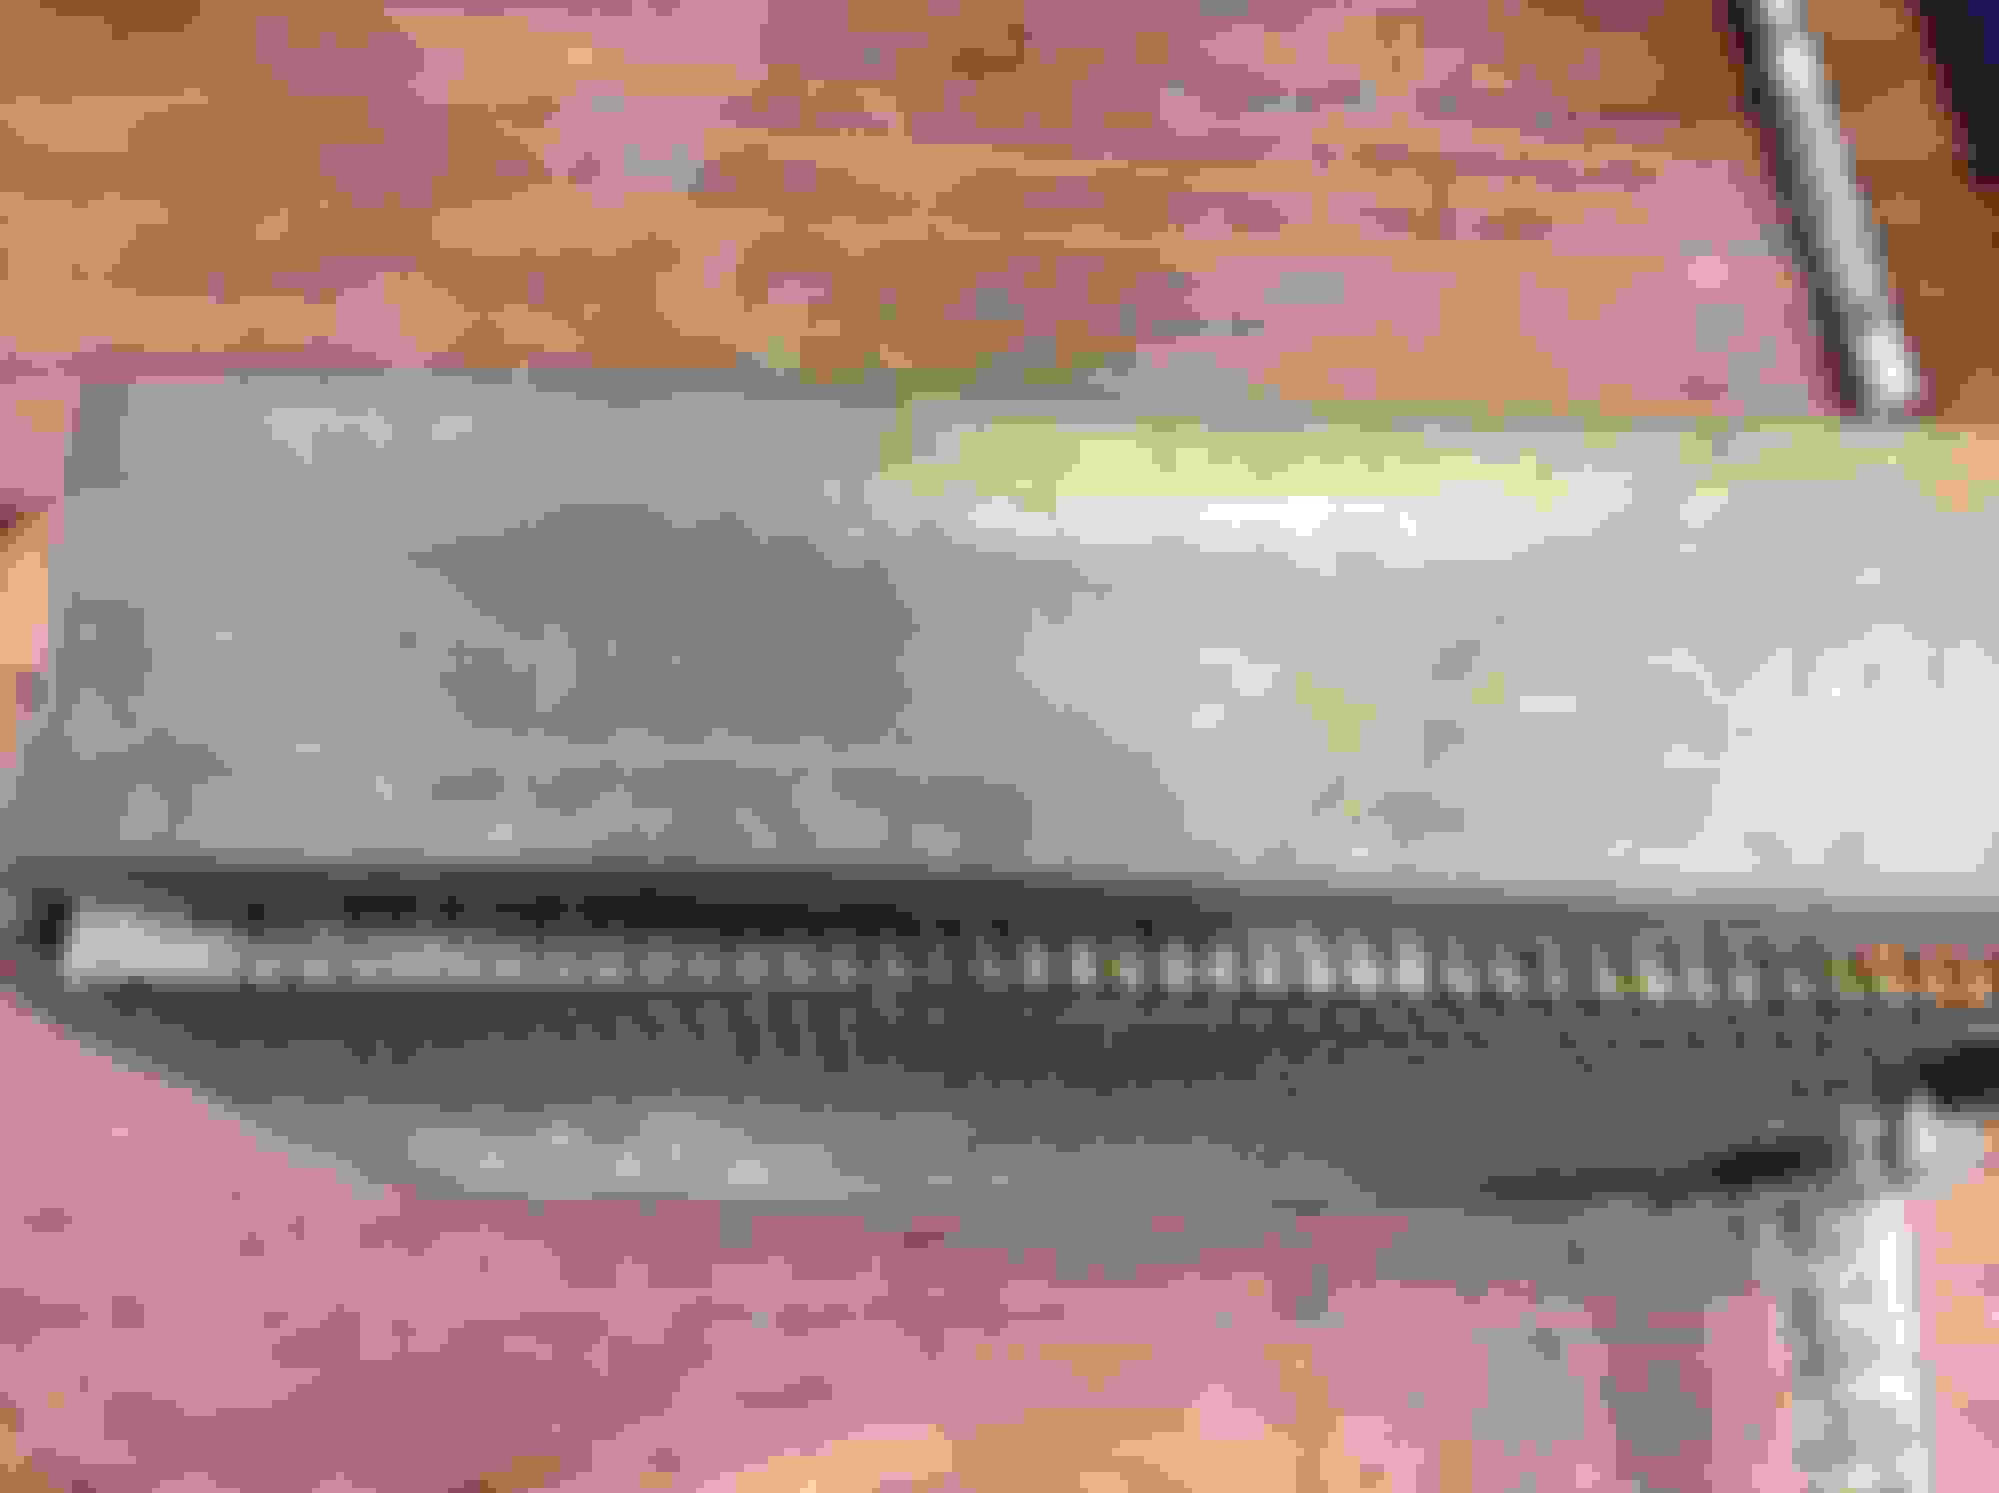
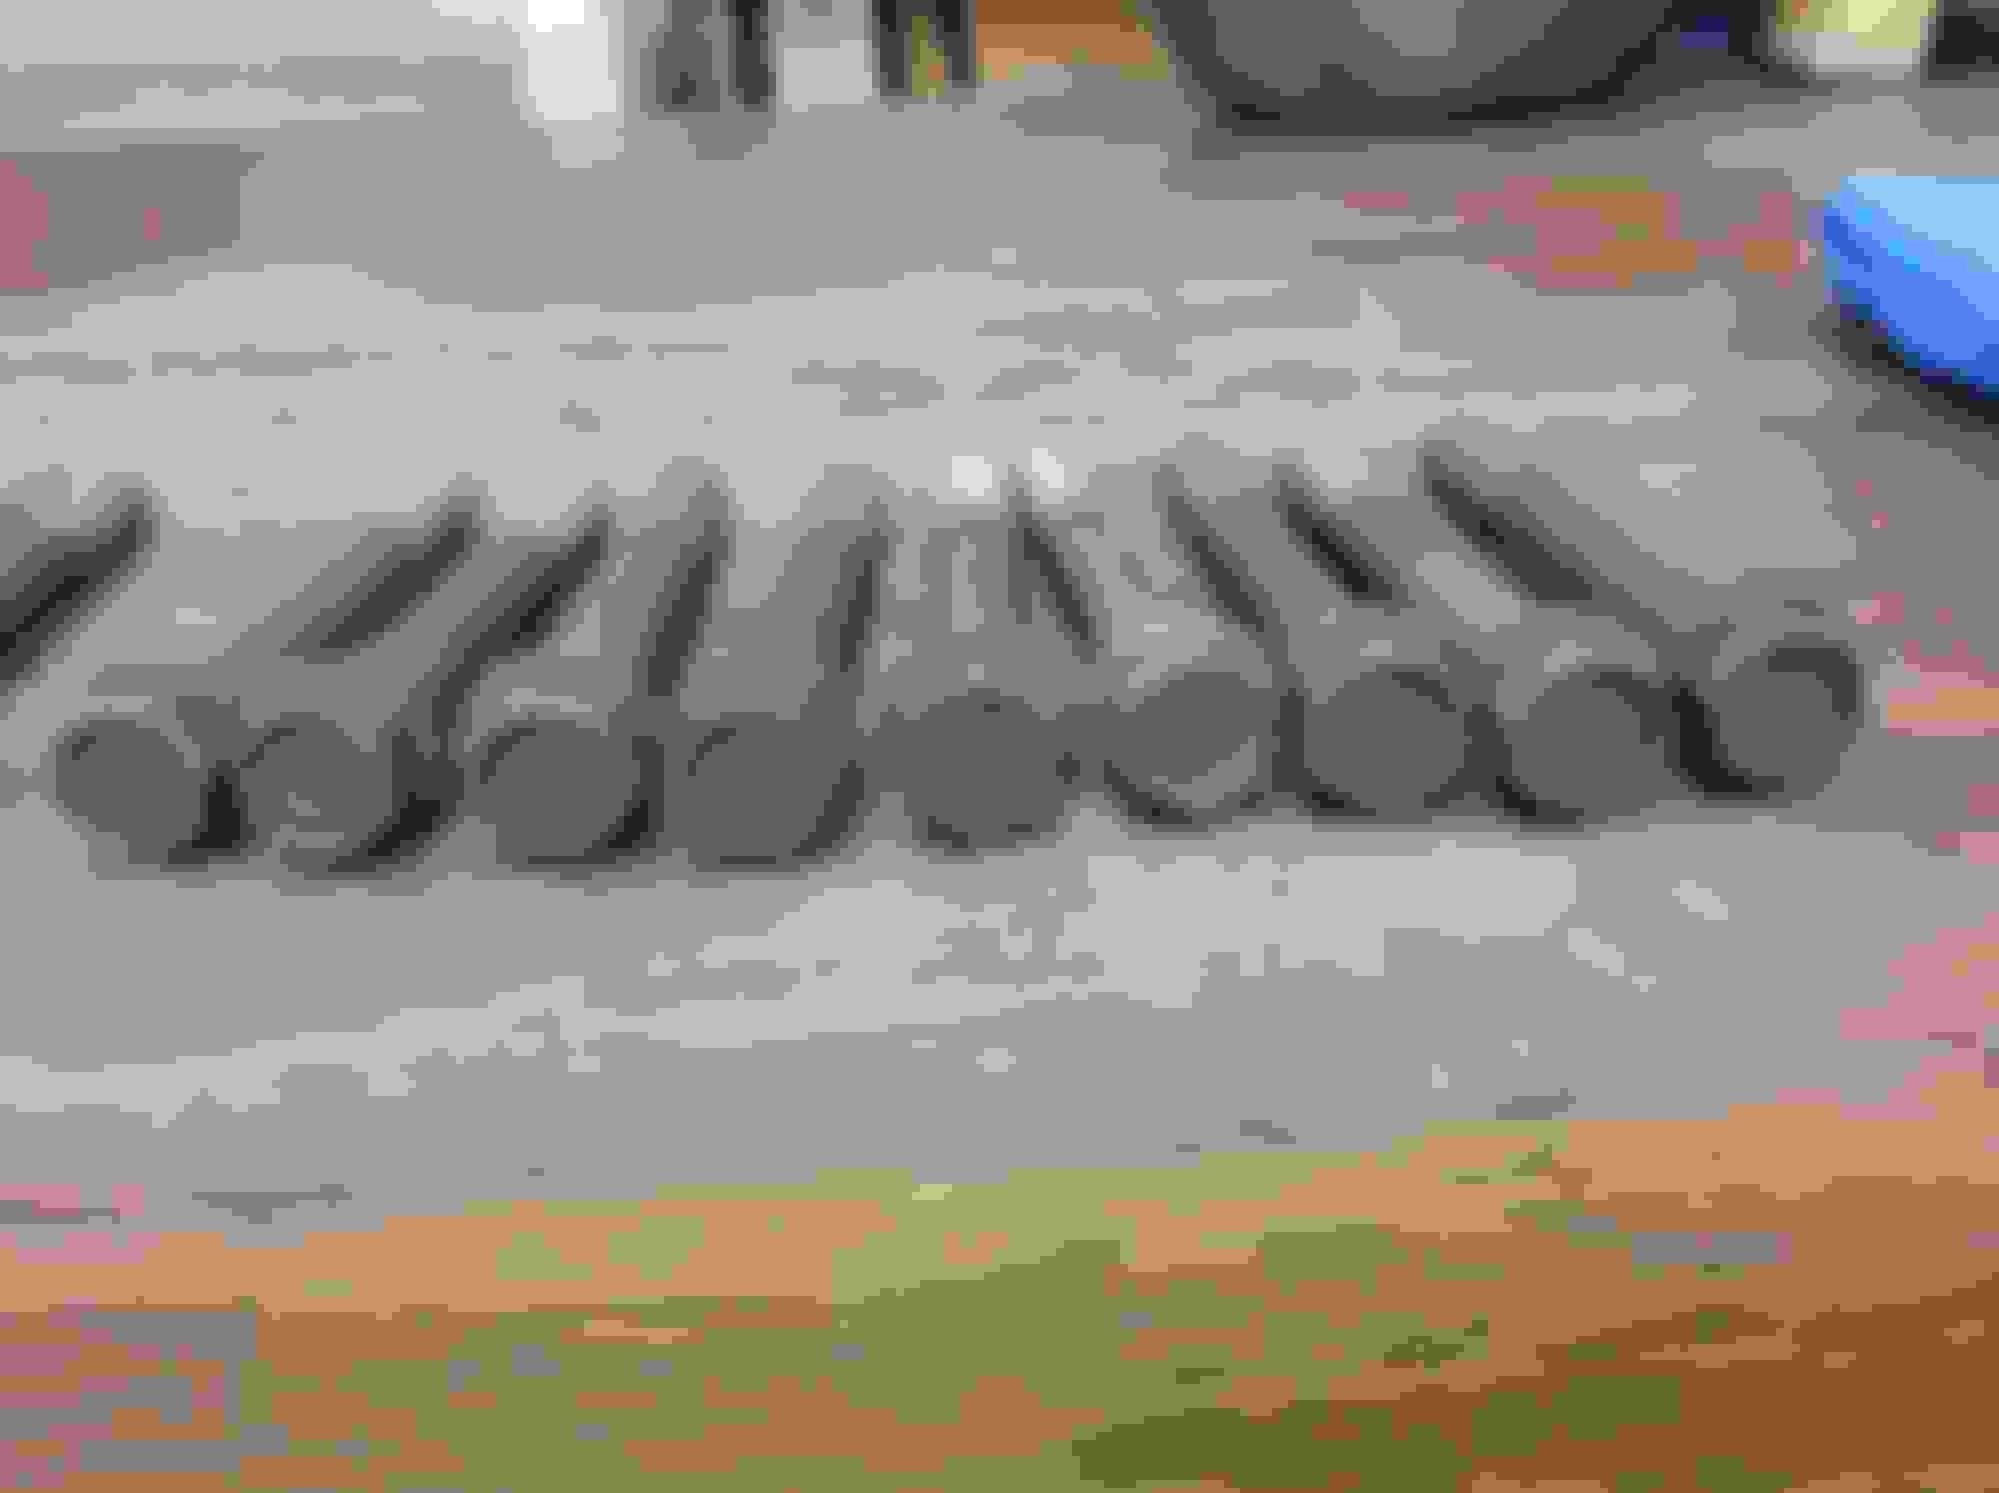
Lastly, pulled the oily, greasy engine bolts out of the Chem Dip and wiped them down. Oil pan and valve cover bolts will be evaporusted as well, rocker arm bolts will be OK as is. Will see about finding some good OE head bolts from under the valve cover - mine not covered are pitted/corroded - see pic for the difference between the two.
Forgot to mention I took advantage of Dennis Carpenter's St. Pat's day sale and ordered up things that I have read here are worth getting from D.C. as opposed to other suppliers. Got the grille shell, all the exterior lamp assemblies, all the weatherstripping, exterior handles, dash bezel, etc.. Interestingly, I found a set of NOS Custom bed emblems on eBay for less than the reproductions.
Fantastic documentation and organization! Appreciate letting us follow along. I myself am learning too! Never heard of Evaporated before, and my air ductwork needs some loving too, which didn't know was possible to make them look like new.
Fantastic documentation and organization! Appreciate letting us follow along. I myself am learning too! Never heard of Evaporated before, and my air ductwork needs some loving too, which didn't know was possible to make them look like new.
Thank you. A couple of things on EvapoRust
1) Get the large 5 gallon size. You can put some pretty large parts in it, and it comes with a basket inside for holding smaller parts.
2) It works much better if the temperature is over 70 degrees, below that still works but takes much longer
3) It does not remove paint, and degrease parts before using it - you don't want to dilute the solution with grease and dirt. The five gallon size costs right at 100.00 so be judicious in how you use it.
Good progress, but then one of Ford's Better Ideas slowed me down (4 hours)
Began with wiping down the latest items Evaporusted. The fasteners and resistor I removed from the gauge binnacle yesterday came out nice. I wound up replacing the P/B booster to bracket nuts and lock washers after seeing the originals were junk from my stash of ready to go fasteners from my Olds restoring other life. Some of these in that oversized tackle box are replated original pieces, and some are AMK bulk sourced items.
Painted the spark plug boot heat shields with high heat Aluminum paint. Hope it holds up
Scraped, brushed and washed my trans tunnel cover. It JUST barely fits in my bead blast cabinet. Now if I just had a compressor to keep up with it...
And then.
Began again on the evaporator case assembly. I wound up having to put the hose end in my vise and then beat the crap out of the nut on the core side with an adjustable wrench and BFH. It did come out without ruining the hose assembly, so I'm going to send the evap core over to my radiator shop and see if it still usable.
Got the core out, and took lots of pictures on how it all goes together. Looked inside and saw the heater core. More little screws in odd places to remove and it came out. It looks to be the original one, and has a kind of like a big insulating gasket that goes around it. I'm sure none of the aftermarket replacements come with this, so I very, very carefully removed it from the core. Will gently clean and install on the new one, but will also see if my original core can be rebuilt/saved at the radiator shop.
The blower motor was the most "fun" Took me a while to figure out that the riveted outer case plate does not have to come off, but am totally mystified why that plate is riveted on, and what is that fibrous stuff sandwiched between it another metal plate on the back of it. This piece will wind up taking much longer than I expected to get right, and am wondering who sells any of the insulating foam stuff that I found inside it. Removed all the rest of the hardware on it so as to dunk it in my water tank before beginning the cleaning process.
On a better note, my order from Green Sales and another NOS item I got off eBay came in. These are the ultimate Christmas gifts for me. Finding these items at a reasonable price is not something you see when restoring GM Abody cars. Everything is genuine Ford, but the thermostat was misboxed - it's a common 180 degree job that fits the 302/351W engines.
Did another round of fasteners. These are mostly from the evaporator box diassembly the night before last. A couple of screws were heavily corroded, and the lower heater core retaining bracket is a little thin after Evapo rusting, but it should still hold.
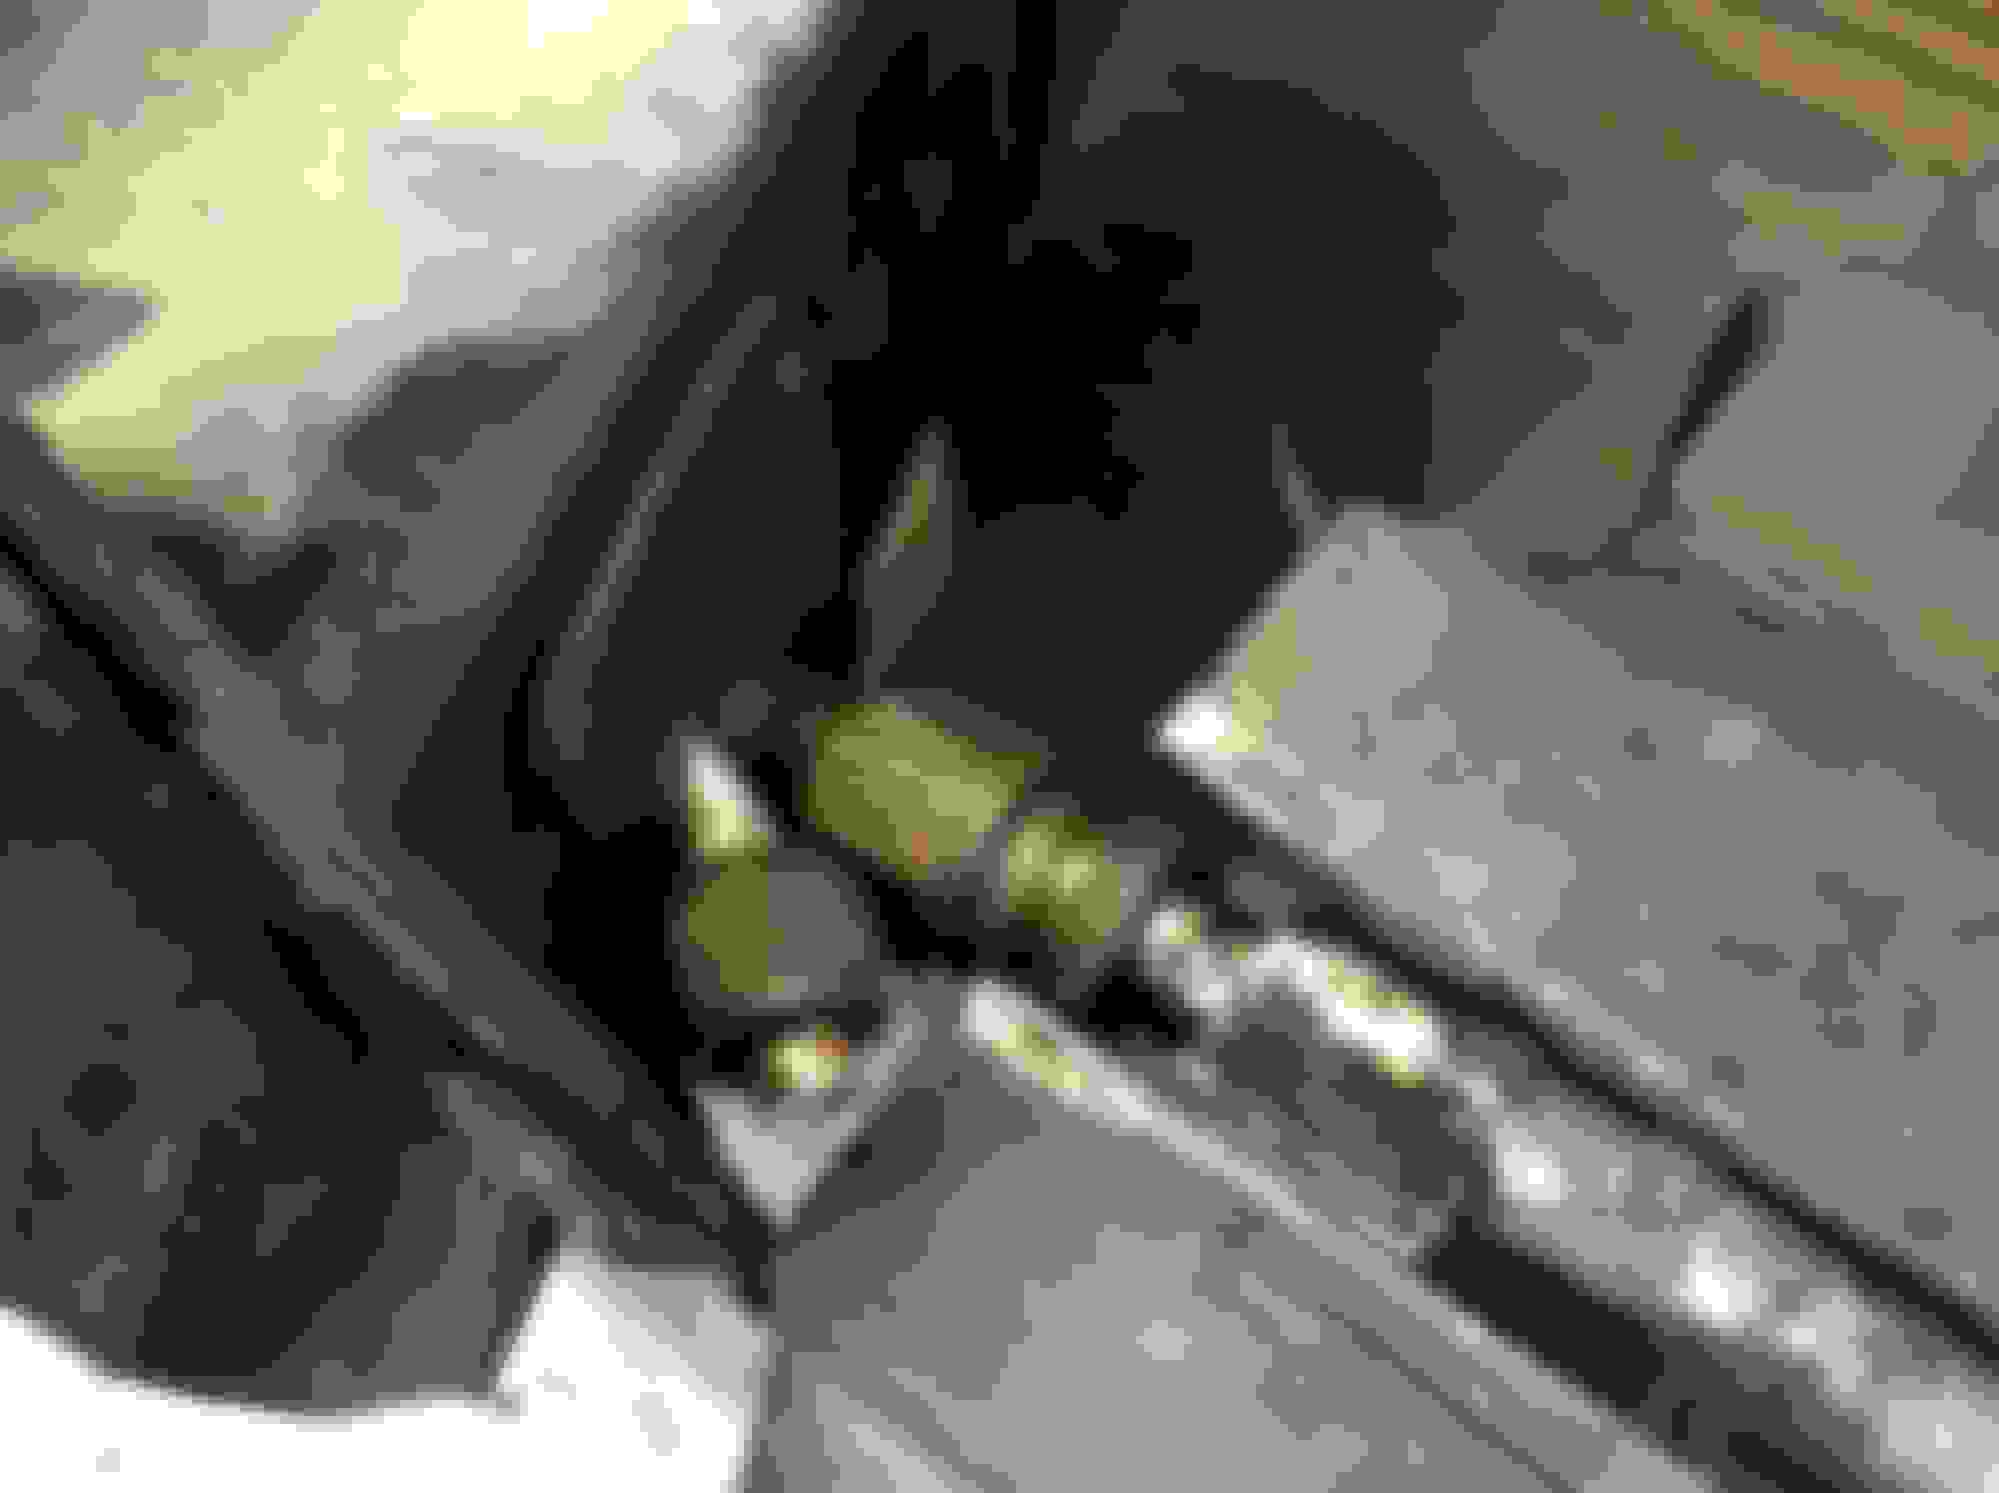
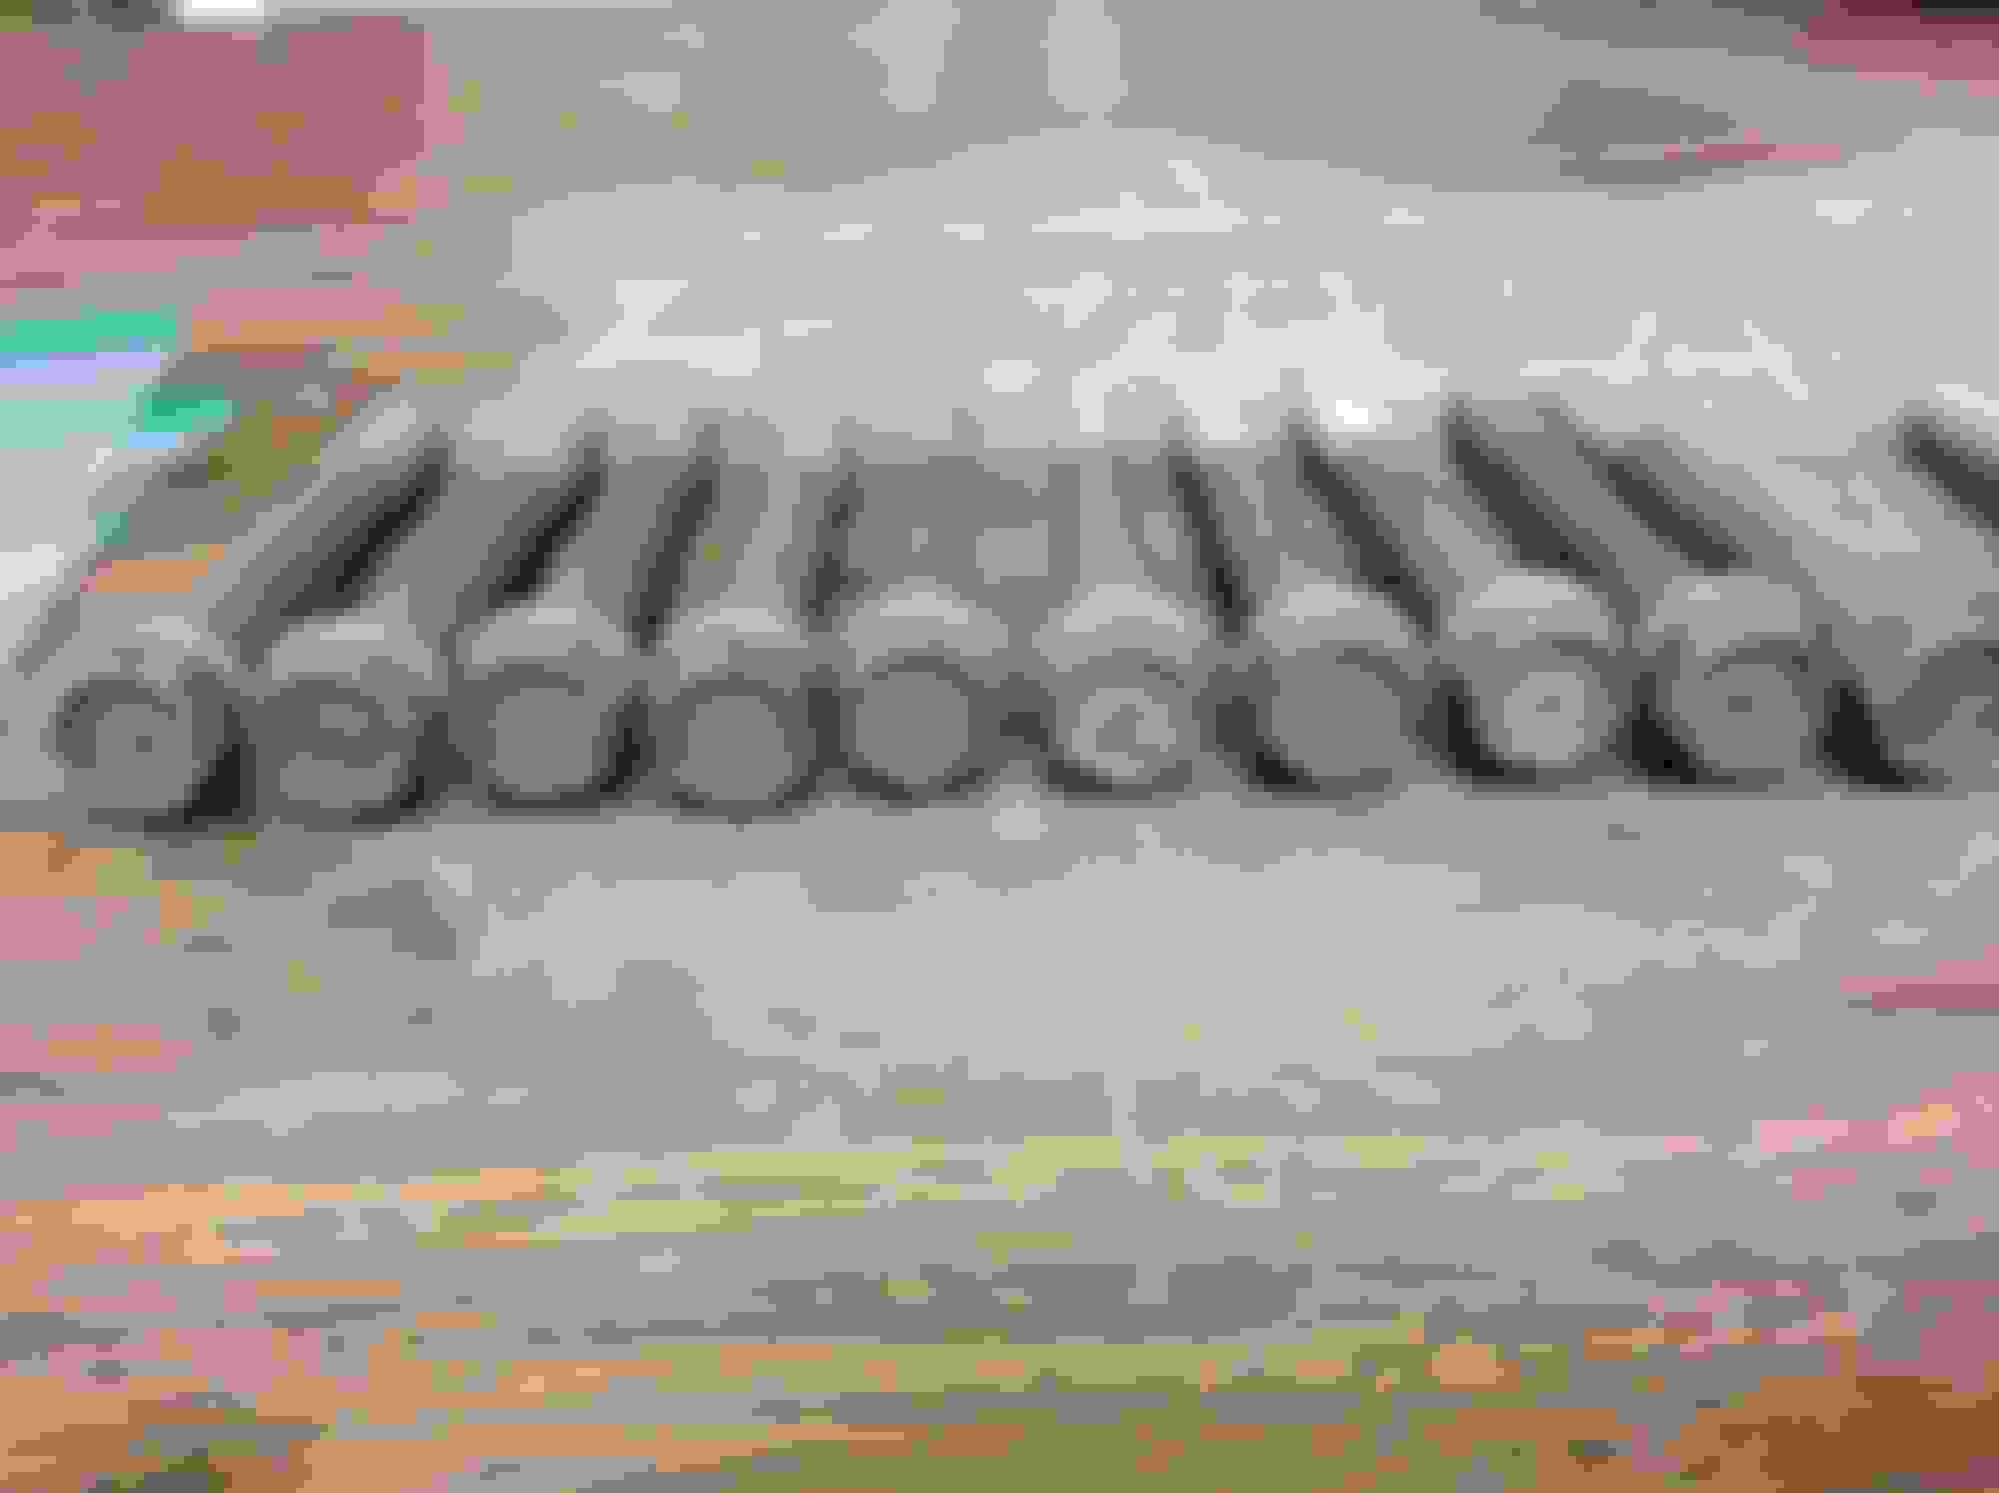
Finished the head bolts - these came out great. One bolt was damaged in removing it from the head which I will detail in another post. I got 10 good clean bolts to install in the positions that show after the valve covers are installed.
Good ones:
Pitted ones:
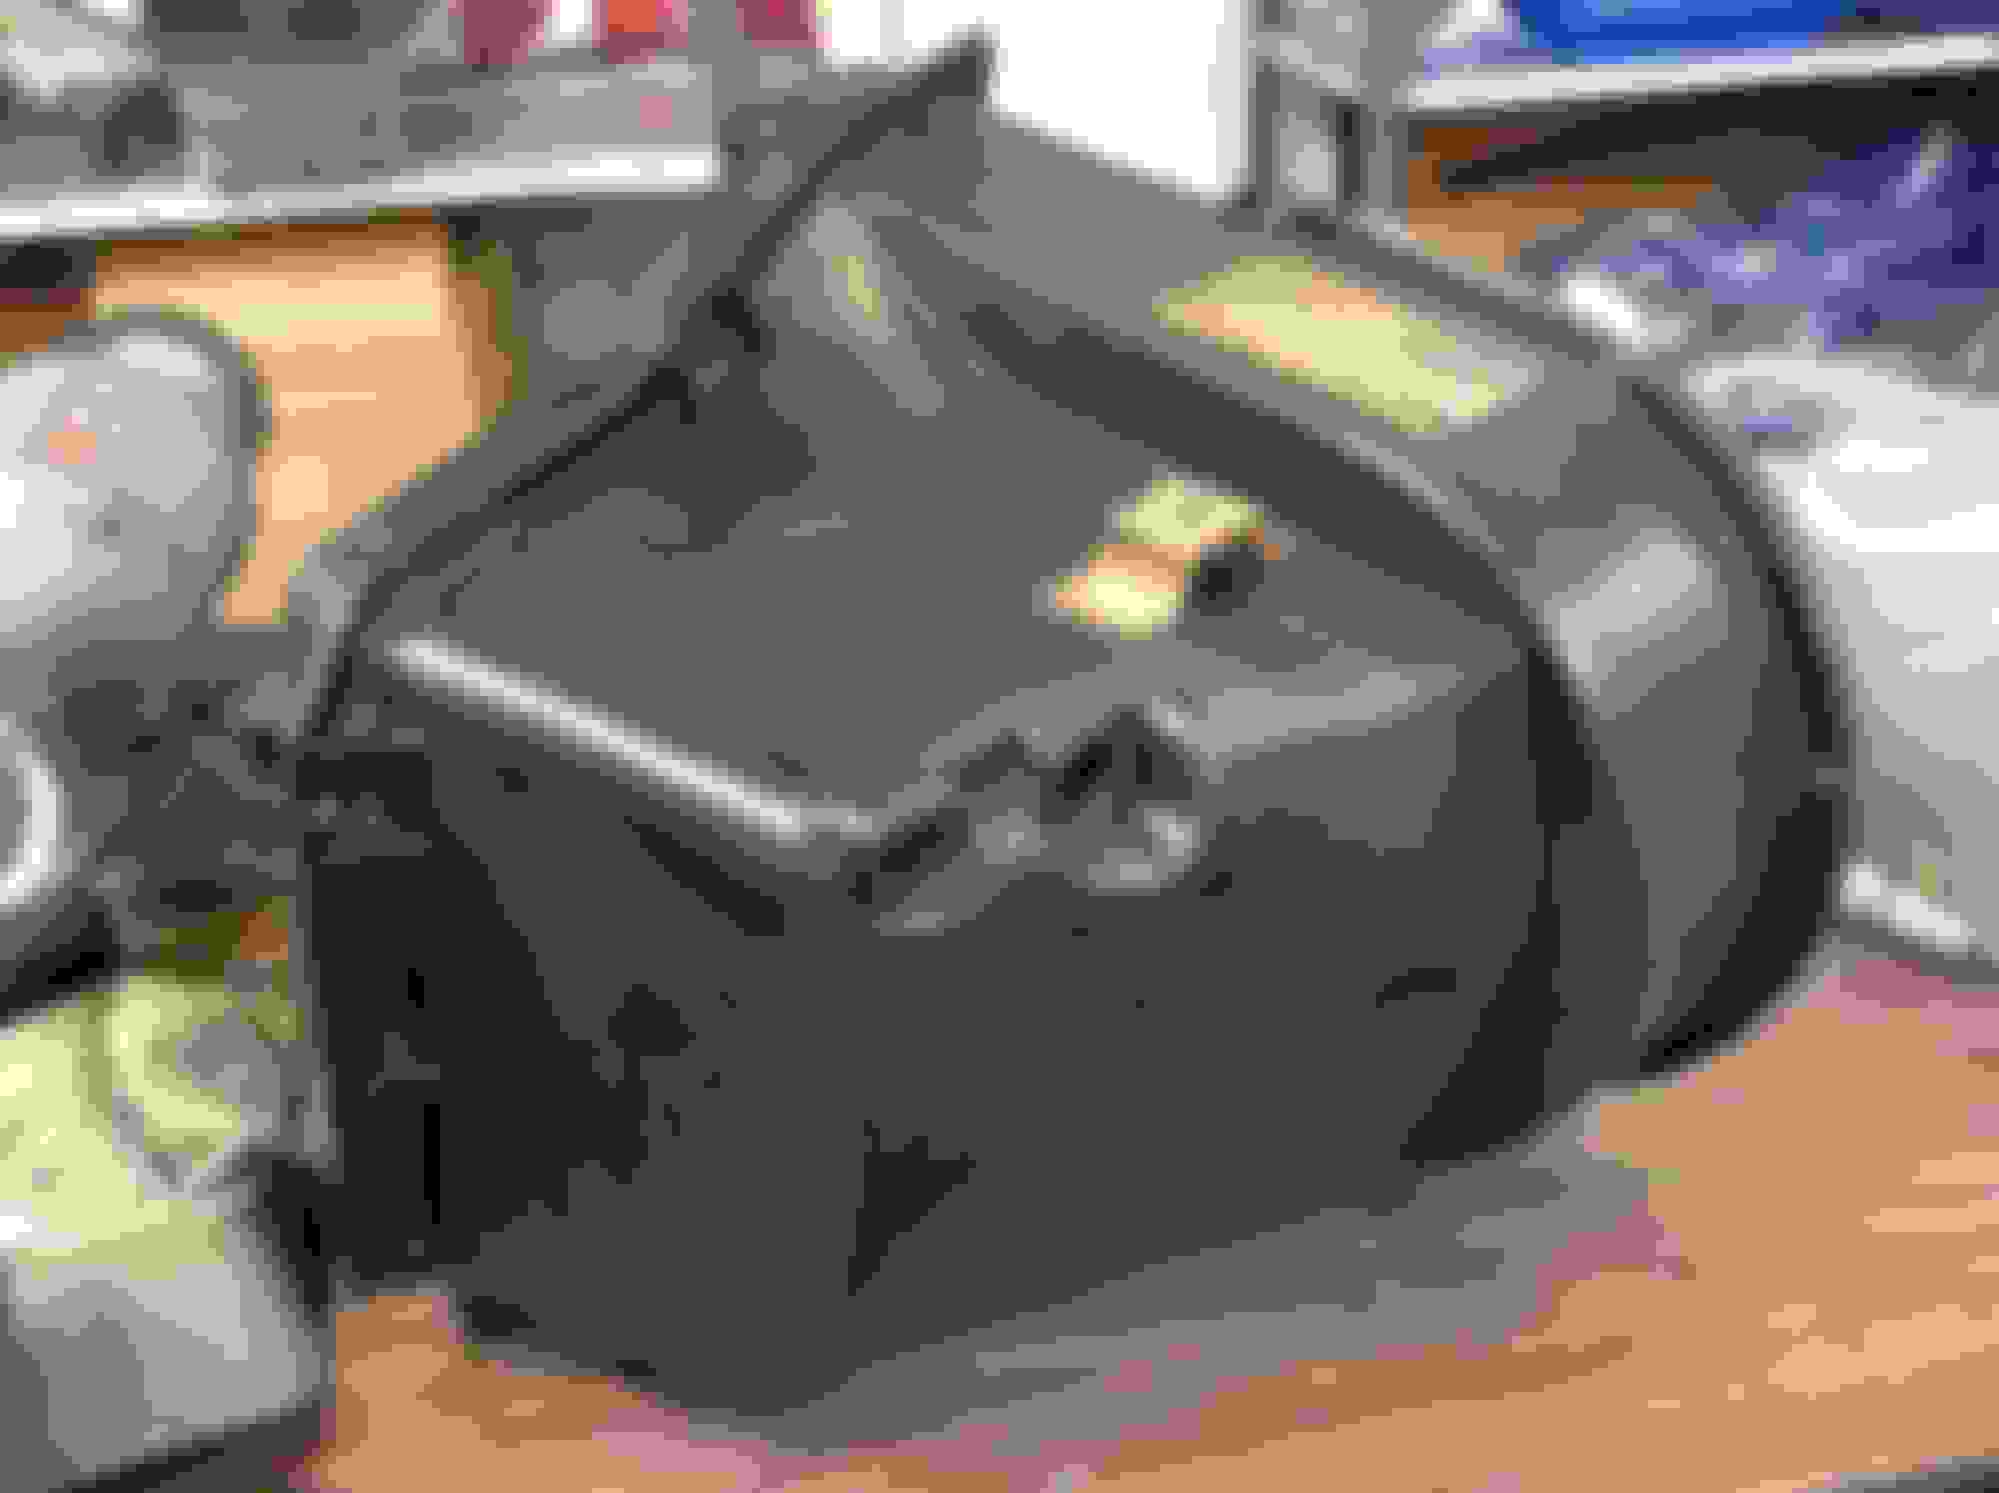
Moved on to cleaning the evaporator box. Soaked it overnight, and this morning used a very soft brush to clean off 38 years of nastiness. Used my wooden skewers to get in the corners free of dirt the brush could not get to. Next step will be to go over it with the white uber soft scotch brite pad, then sand/Dremel tool the cabin hold down bracket and paint with Detail Gray paint. Next sand and paint the metal cover and finally treat the case with the 303 protectant. I'm not going to be able to save the evap or heater cores, and with the massive pain removing this beast must be when the engine is in I'm going to go with new ones.
Got some more goodies in - a set of NOS " Custom" bed emblems. Bought off eBay cheaper than what the repos run.
Yesterday the engine got picked up from my place by Charles Faulkner of Tinker's Machine here in Dallas. It's getting harder to find guys who are familiar with the older iron and still have a passion for it.
Also sent along the oil pan, intake, valve covers and exhaust manifolds for tanking. Unfortunately, I found some pretty large cracks in the RH manifold. Hope someone here on CO might have a good one they'd want to sell.
Charles also figured out what had damaged that one head bolt when I was pulling it apart - the AC bracket stud that screws into the front of the head was in too far and was touching the head bolt inside the head bolt bore
Going stock rebuild all the way with the exception of pistons. Going to have my friends at Keith Black/Silvolite build a custom set with a little higher compression and thinner ring pack.

 03-15-2017, 07:30 PM