When you click on links to various merchants on this site and make a purchase, this can result in this site earning a commission. Affiliate programs and affiliations include, but are not limited to, the eBay Partner Network.
First work session in almost two weeks (5 1/2 hours)
After two weeks off due to a variety of other things I needed to get caught up on I'm back on it. Today, I began by removing the LH door panel and related parts. First surprise, the factory speaker is completely missing along with the harness. I can see that at one time it was equipped with the speaker since the white harness holder was still there along with the imprint of the harness in the insulation. The RH was missing but I wasn't worried about it since the door had been replaced, but this now means I'll have to find a AM/FM stereo radio, factory harness and both speakers.
Vent window and door glass are also salvageable (scratch free) - will have to decode the date coding to see if they are original to the truck. Also, this door panel came off intact (all mounting slots intact) so I might be able to save it. The arm rest pad is rip free, but it might be too faded to match the RH unit I will have to replace.
Next moved to the front of the truck. Removed the front bumper which I will see whether to rechrome or replace with a repro (all opinions welcome - hint hint). Unlike most of the other fasteners I've removed till now, the bumper bolts and hardware are a mismatched jumble. Next removed headlamp doors (LH junk), lamp retaining bezels, lamps, buckets and park lamp assemblies. All mounting hardware for these pieces look correct to me. One headlamp looks original to me, one obviously is a halogen replacement. I can't tell if the park lamp lenses are too faded to not be useable.
Next was the grille. It is really a nice piece - I will see if I can fix a few issues along the outer raised chrome edge and reuse. I can't believe how nice it is compared to the grille surround itself - absolutely unusable with what seems like a thousand bolts and j nuts holding it in. One nice thing about Fords though, the fasteners are all pretty consistant in size and bolt head markings. Removed the center latch support and latch itself. The latch had never been off so I have some nice paint to use for matching purposes. Last items removed were a couple of small grille surround mounting brackets and the headlamp bucket support brackets.
Next turned to the interior. Removed the bench seat - and found the ashtray assembly hidden underneath. The black plastic hinge covers, seat back release ***** and seat belt blue plastic grommets are in excellent condition and I believe can be reused. Next moved to remove the black AstroTurf filling in as the rear floor mat. Found out the seat belt mounting bolts way back in 79 used Torx bolts and I didn't have one at the shop, so I cut out along all the seat belt and jump seat mounting locations and removed the unholy mess. Surprise! Pinhole rust oerforations all over the place in the rear floor area, but I think they can be brazed. Must have swept at least 5 lbs. of dirt, rest, and God knows what out of the rear cab area. All the front seat belts are severely faded. The front bench belt webbing looks more light green than blue, but the jump seat belts are black webbing. Will do a separate post about what is correct for all this, but it looks like all of the belts are heading to Snake Oyl products for rework.
Lastly, last Sunday Numbers Dummy (Bill) spent almost two hours on the phone getting me fixed up with a bunch of OE part numbers and availability locations for parts I'd like to go NOS on. Thanks again Bill!!
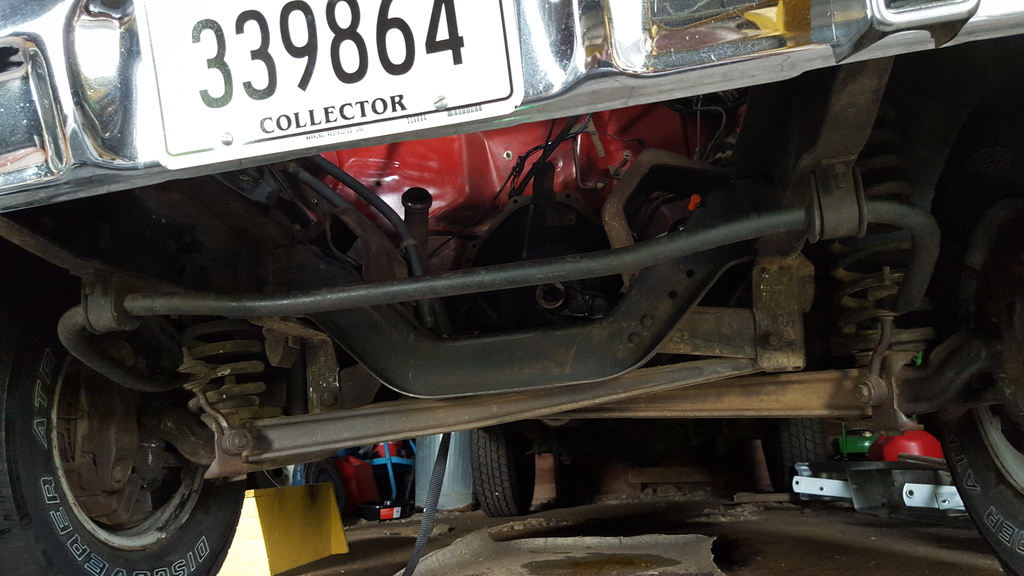
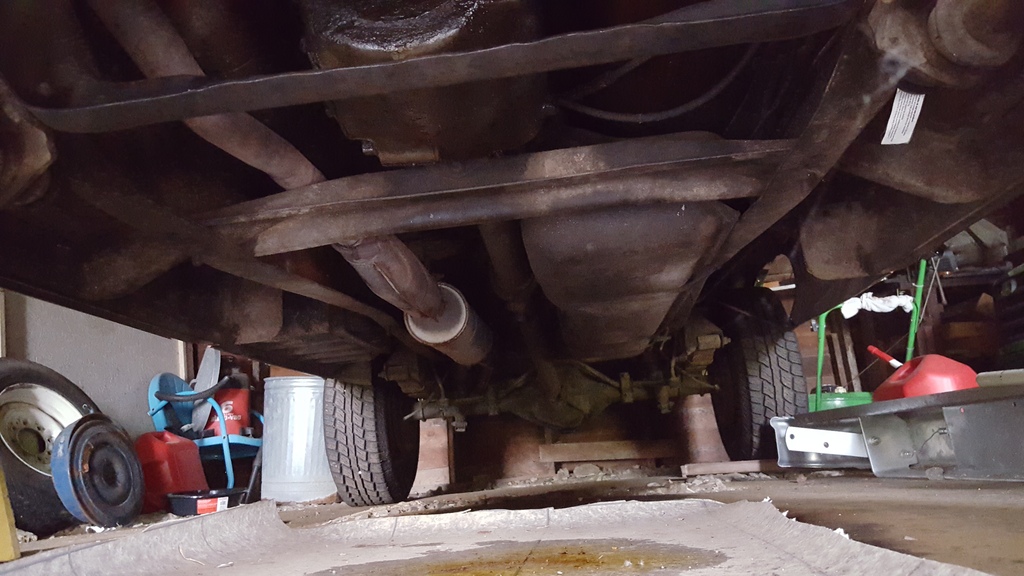
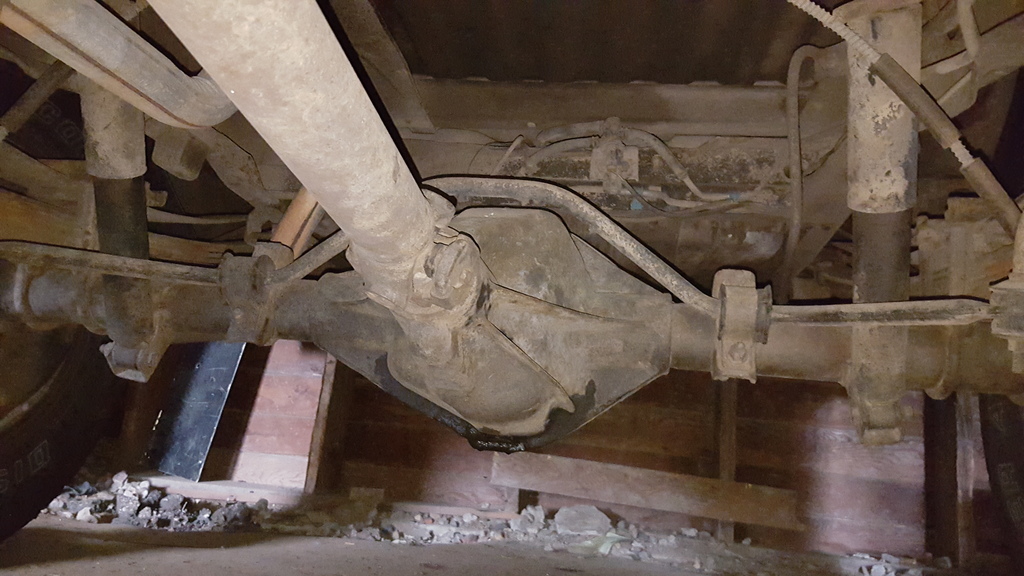
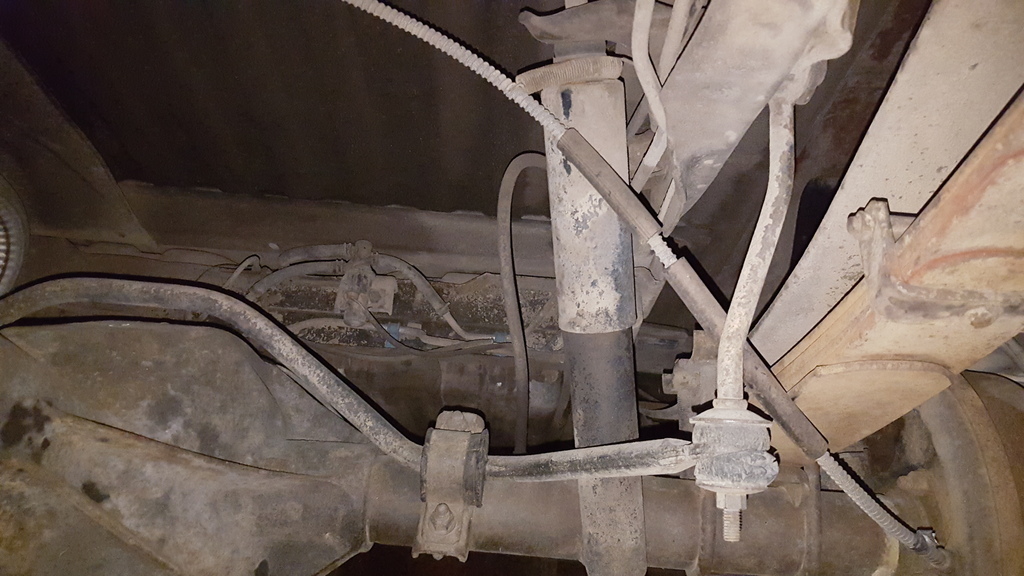
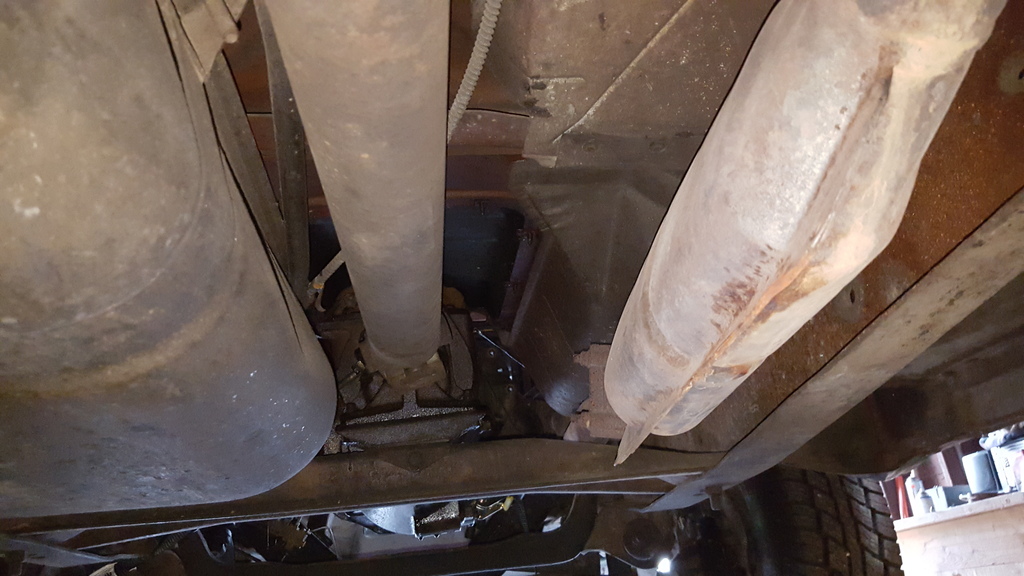
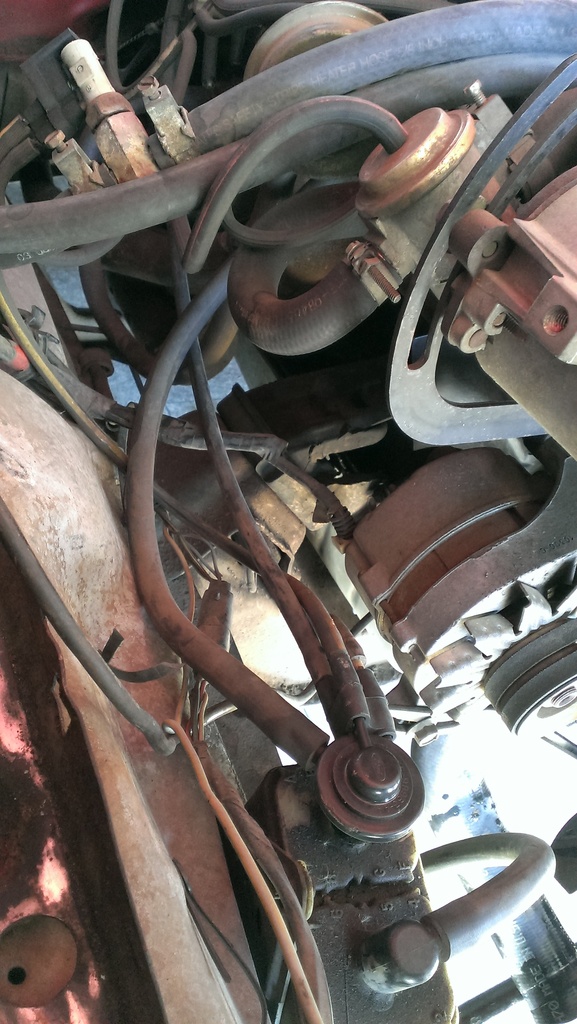
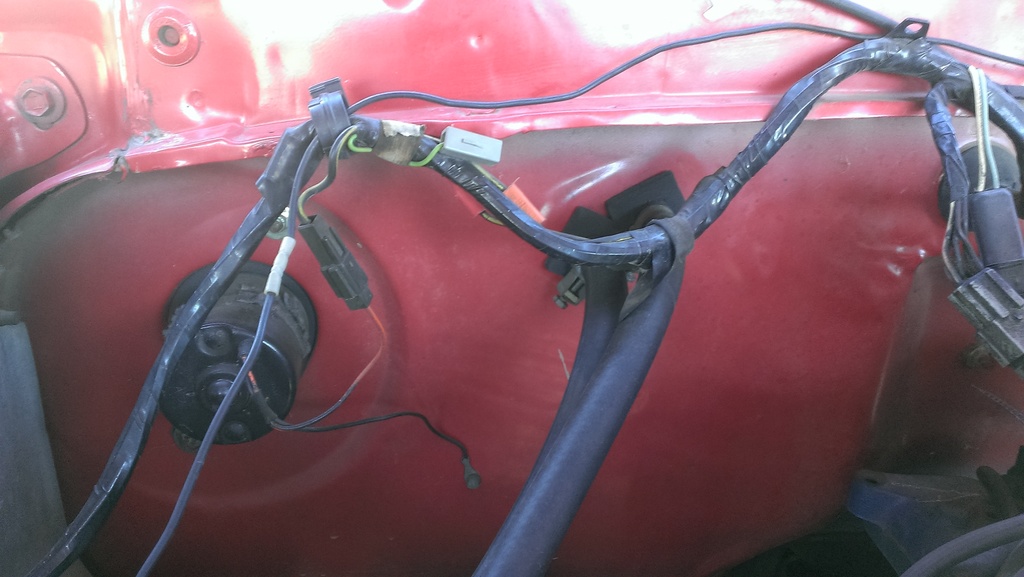
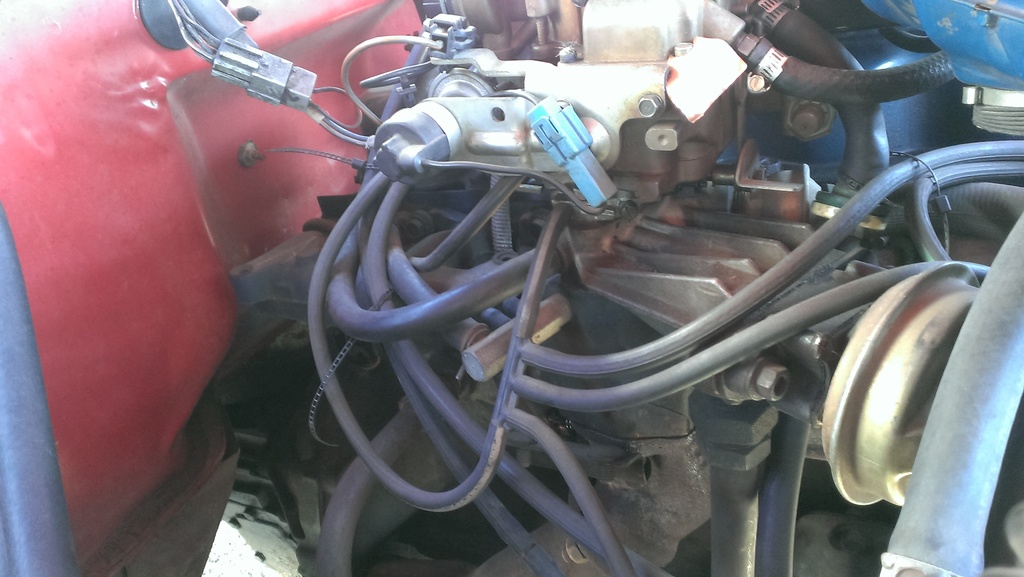
I had these photos on another camera and finally got them uploaded today. Obviously it is a 2 wheeler, but you can get the idea on some of the items. Same for under the hood. This was before I put the 4bbl intake on my 6 cylinder and repainted the engine.
I took a ton of pictures "just in case" I ever decided to go back to 100% stock (that won't ever happen, but I kept all the parts anyways). The plug wires are mismatched, but for the most part it was unmolested for all these years (until I got it...)
If there is anything you'd like to see specifically let me know. The undercarriage pictures are very dirty, but if I get under there with a rag I can clean a spot off to the factory finish.
Fred's a lucky man, and I think you'll blow him away when the truck is finished.
The Cutlass is stunning !
With regard to the bumper, if you can find a proven reputable shop that can rechrome it, do it (assuming you can't get one with OE thickness).
I replaced mine with one from LMC, and the first thing I noticed was that the bumper was not as thick as the OE one.
Seeing as you need to replace a headlight, if not both, may I suggest that you get a set of 'modern' ones with H4 bulbs.
I recently found, by pure chance, a set of Hella lights that look and fit exactly the same as the original ones.
I can now see at nighttime ! I.E. I have lights like a modern car.
I don't know if your truck came with a relay for the lights (mine didn't) but you'd have to fit one.
What I'm actually saying is that you can modernise the truck while still keeping it looking original.
Also, would you be willing to fit an alluminium radiator, same shape and size, instead of recoring the old one ? (You mentioned 2k. Does that mean $2,000 !!??)
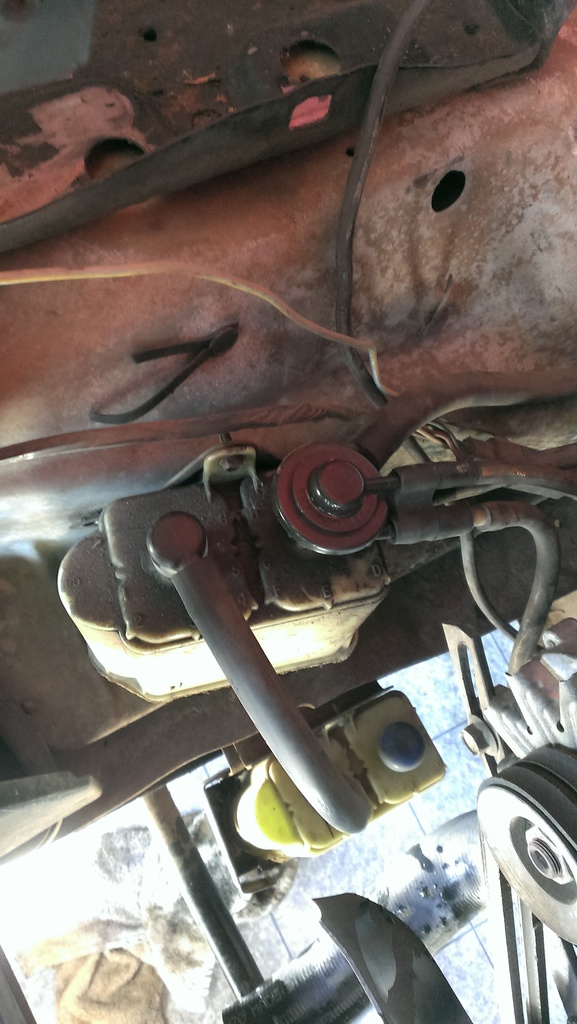
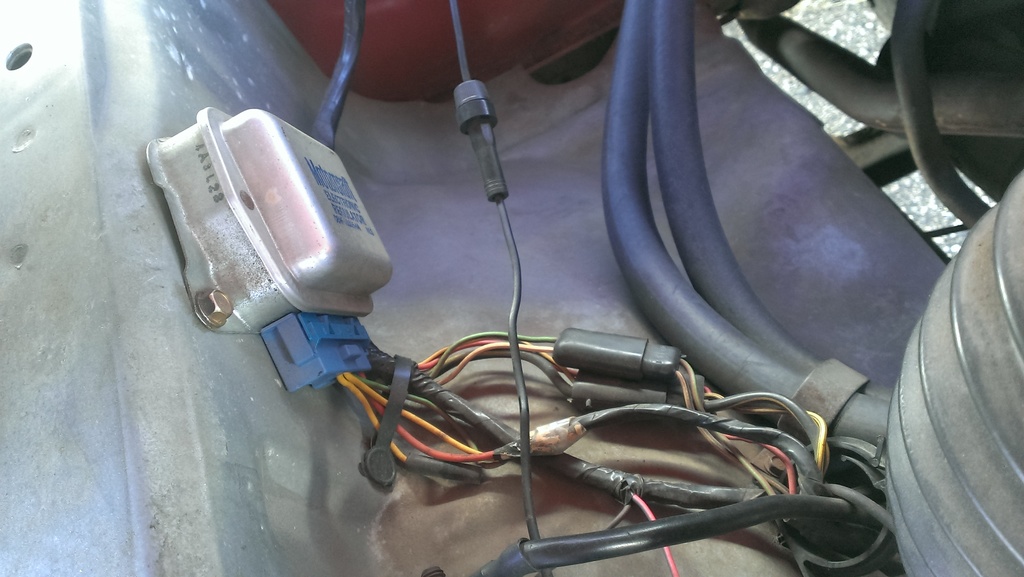
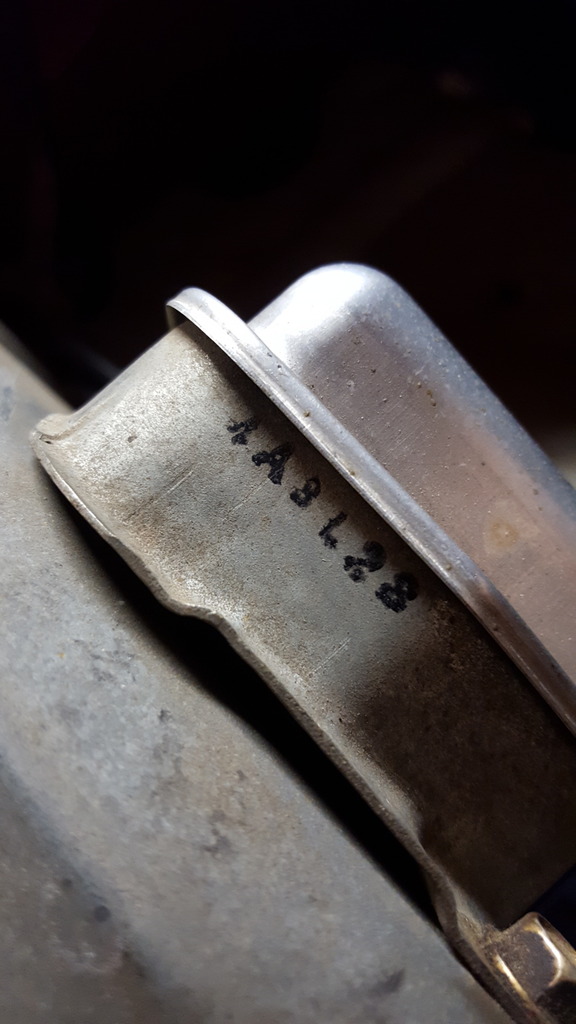
Jim, thanks for the pictures. Those Motorcraft belts are just too cool for words. Do you know if that is the original voltage regulator on your truck?
FMJ, thanks for the kind words on the '71. Sometime I'll post pics of my 70 W-30 442 that won BOC at the Nationals last year. I went all out on that car and is way nicer than the red one. The headlight idea sounds interesting - will investigate further.
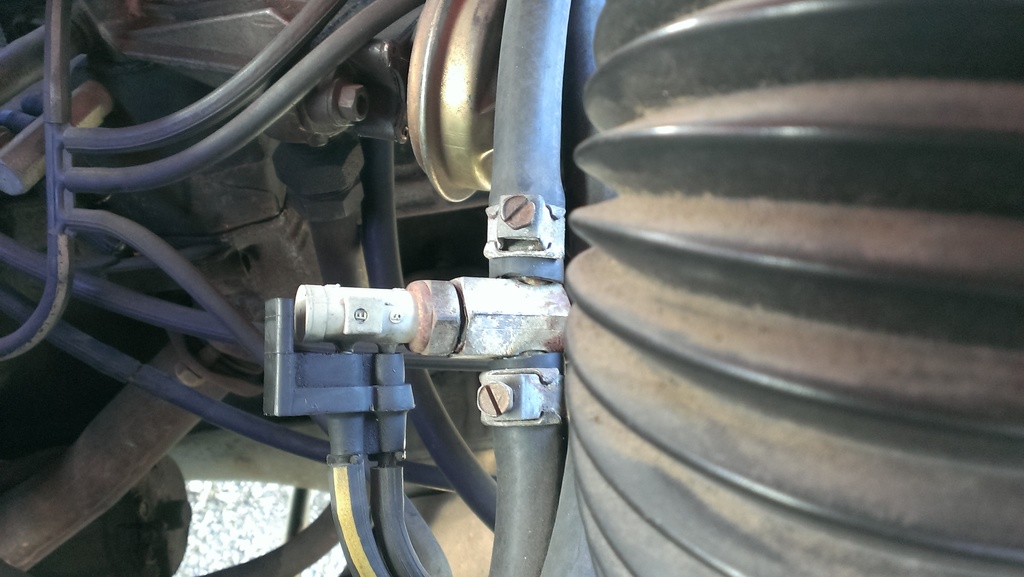
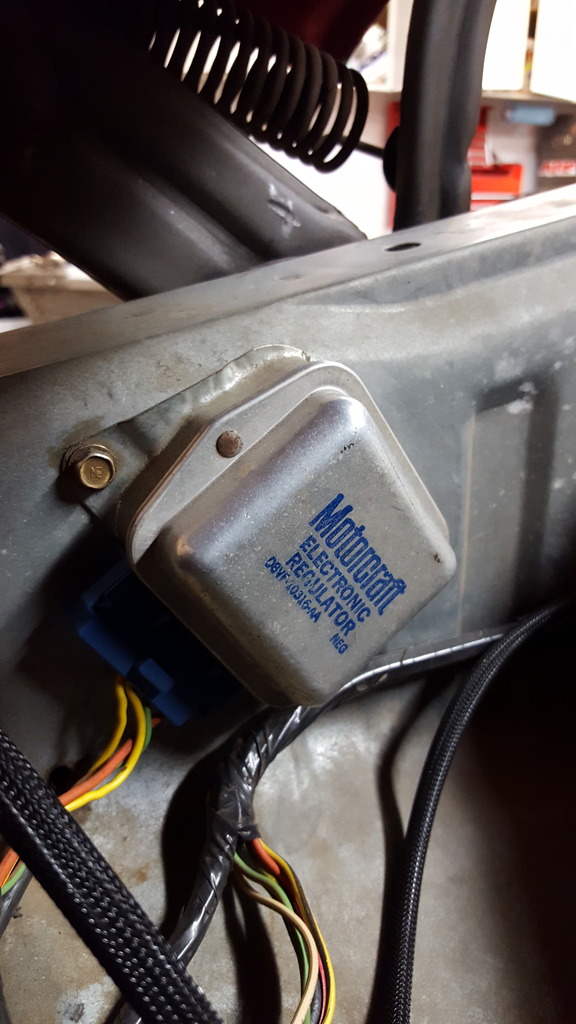
I just took another look at the voltage regulator and shot a couple better pictures for you. I can't confirm 100% because I've only owned the truck for the last 8 years, but I'd be pretty confident saying that it's original.
Here are some better shots:
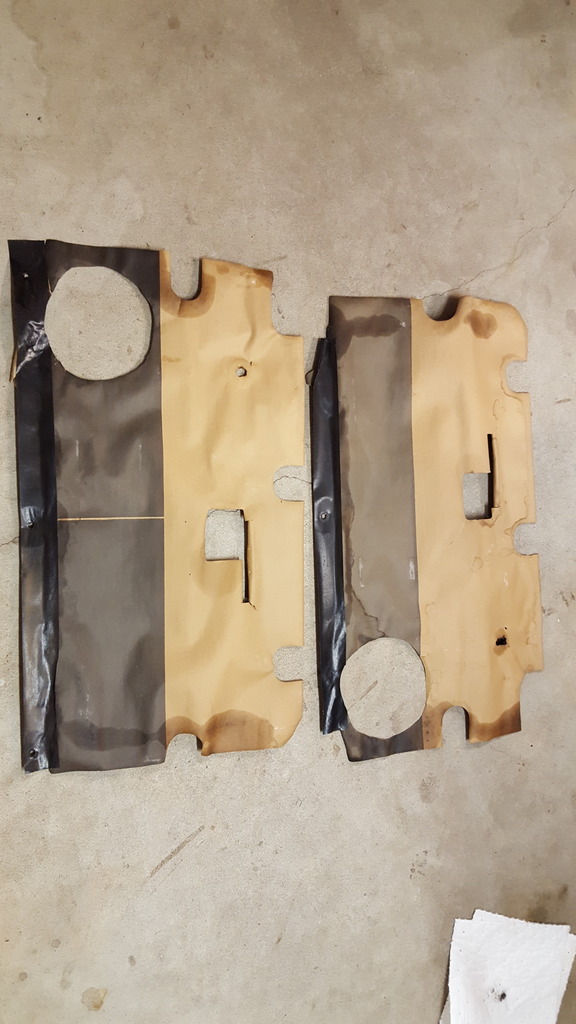
Also, I took the original paper backing off my doors when I put sound deadening in. Not sure how yours look, but if they are tattered like most are (or missing) I figured I'd show mine for reference:
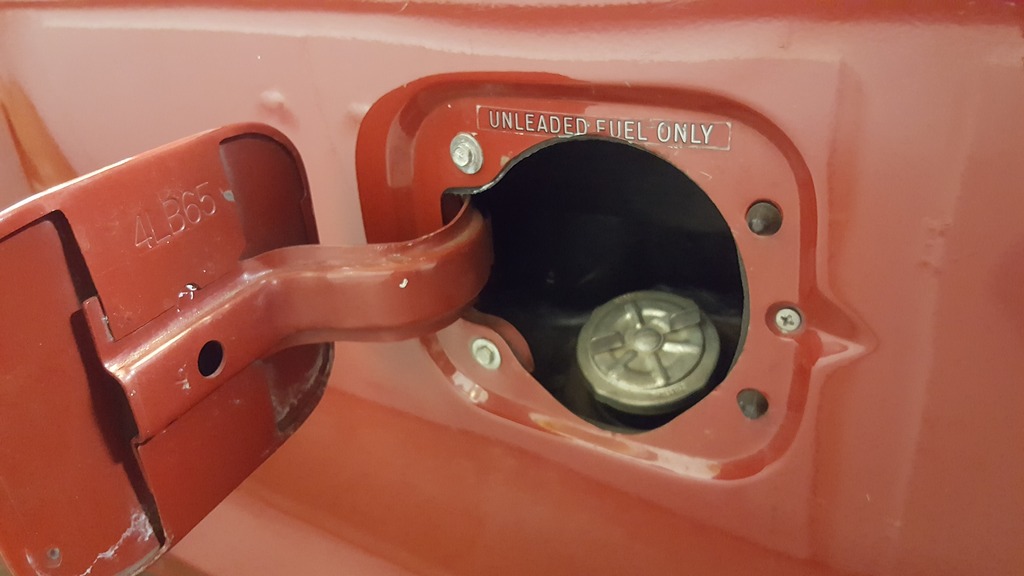
I realize you have the wrong bed on your truck right now, but found the "unleaded fuel only" stickers found behind each fuel door might be something that never gets put back on after most trucks are painted. Anyone else have an original paint truck that can confirm these stickers are factory original?
I can't wait to see what you come up with on this truck. I'd love to see your W-30 as well, those are sweet cars. While that level of restoration is never something I'd have the patience to achieve, I am in awe of the cars that are brought to that level.
Continued the interior diassembly. Removed all the seat belts and a reponse to my post last night was correct - all the belts are black, but some are ridiculously faded. (See pic) I'm not even going to mess with trying to refurb the belts/buckles myself - let's see what Snake Oyl can do on these.
Removed the jump seats and bumpers/restraining straps. One bumper has a split, but I think I can glue it together and the repair will be invisible. Straps will clean up nice, metal parts of the jump seats need to be painted, but the vinyl is perfect on both.
The 4 pc. belt molding was next. They had never been off and underneath the original paint was plainly visible. 3 of the 4 will be OK with redyeing, the 4th has some rust on the backside and light cracking of the vinyl. I have a friend in Austin Texas who is a master at matching paint and repairing soft trim parts. I'll send these to him and see what he can do.
Removed sun visors - total junk except for the brackets and center mount, rear view mirror (possibly salvageable - I think I can get away with simply replacing the glass), dome lamp and bezel (replace both) and then the first pain in the buttocks - the headliner...
I have not been able to find an NOS or repo headliner so I was hoping to be able to save the one in the truck. It ain't happening - it is just too delaminated. The border trim is held in by a hodgepodge of different bolts and screws. Worst of all, after removing it, the OE insulation was still glued to the roof. A mess of dust and fibers everywhere. Will have to scrape the remains off with a wire drill tomorrow - the spatula didn!t get it all.
Turn signal stalk is pitted, and the vacuum metalized chrome on the wiper **** is flaking off. Lastly, removed the dash bezel and the gauge cluster. I might be able to just change out the lens and PC board on the cluster. The bezel has inexplicable gouges - will get a repo.
Continued diassembling the dash. Removed the steering wheel and horn shroud. It is a real shame the foam backing on the wheel is so badly deteriorated where it meets the hoop, because the plastic part is crack free and in excellent shape. Removed the glove box door and liner which allowed access to remove the A/C ductwork. Then removed center and RH dash registers - should be able to reuse all of these with cleaning and detailling. Pulled the dome lamp switches from the jambs - one is junk.
Removed the crappy Kraco cassette radio and 5X8 speaker shoved up in the dash. The speaker was not attached to the dash - must have made a racket going down the road. Removed the HVAC control unit. Thus is one area GM products are simpler than Fords - what a mess of vacuum lines and switches. The faceplate printing might be salvageable with some careful cleaning and detailling.
Removed ignition, wiper, and headlamp switches. Bezel on stater switch is bunged up as well as the other hold in escutcheons, but I'm wondering if the ***** will cover this up.
Does anyone know how you remove the antenna from the cowl? I can't see how you get to it!
Removed the wiper motor and transmission arms. What a pain to change this with the dash halfway apart - let alone when fully assembled. Removed the defroster plenum which was full of junk - pens, bottle caps, bits of brick (?)
Decided to leave the main harness in after removing the ruins of the stereo harness. Also will leave in the heater/evap box in until I get the engine out. Lastly, removed the OE front floor mat. RH floorboard will have to be replaced, LH can be patched. I'm pretty sure now I can save the mat.
Also need to get a 1/4 drive 11/32 deep well socket to remove the dash pad without going crazy.
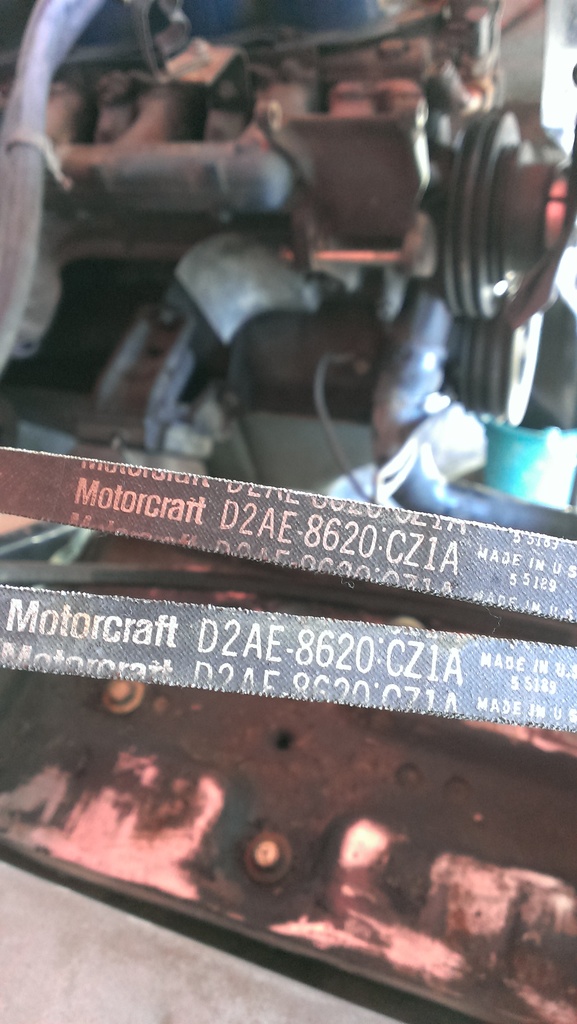
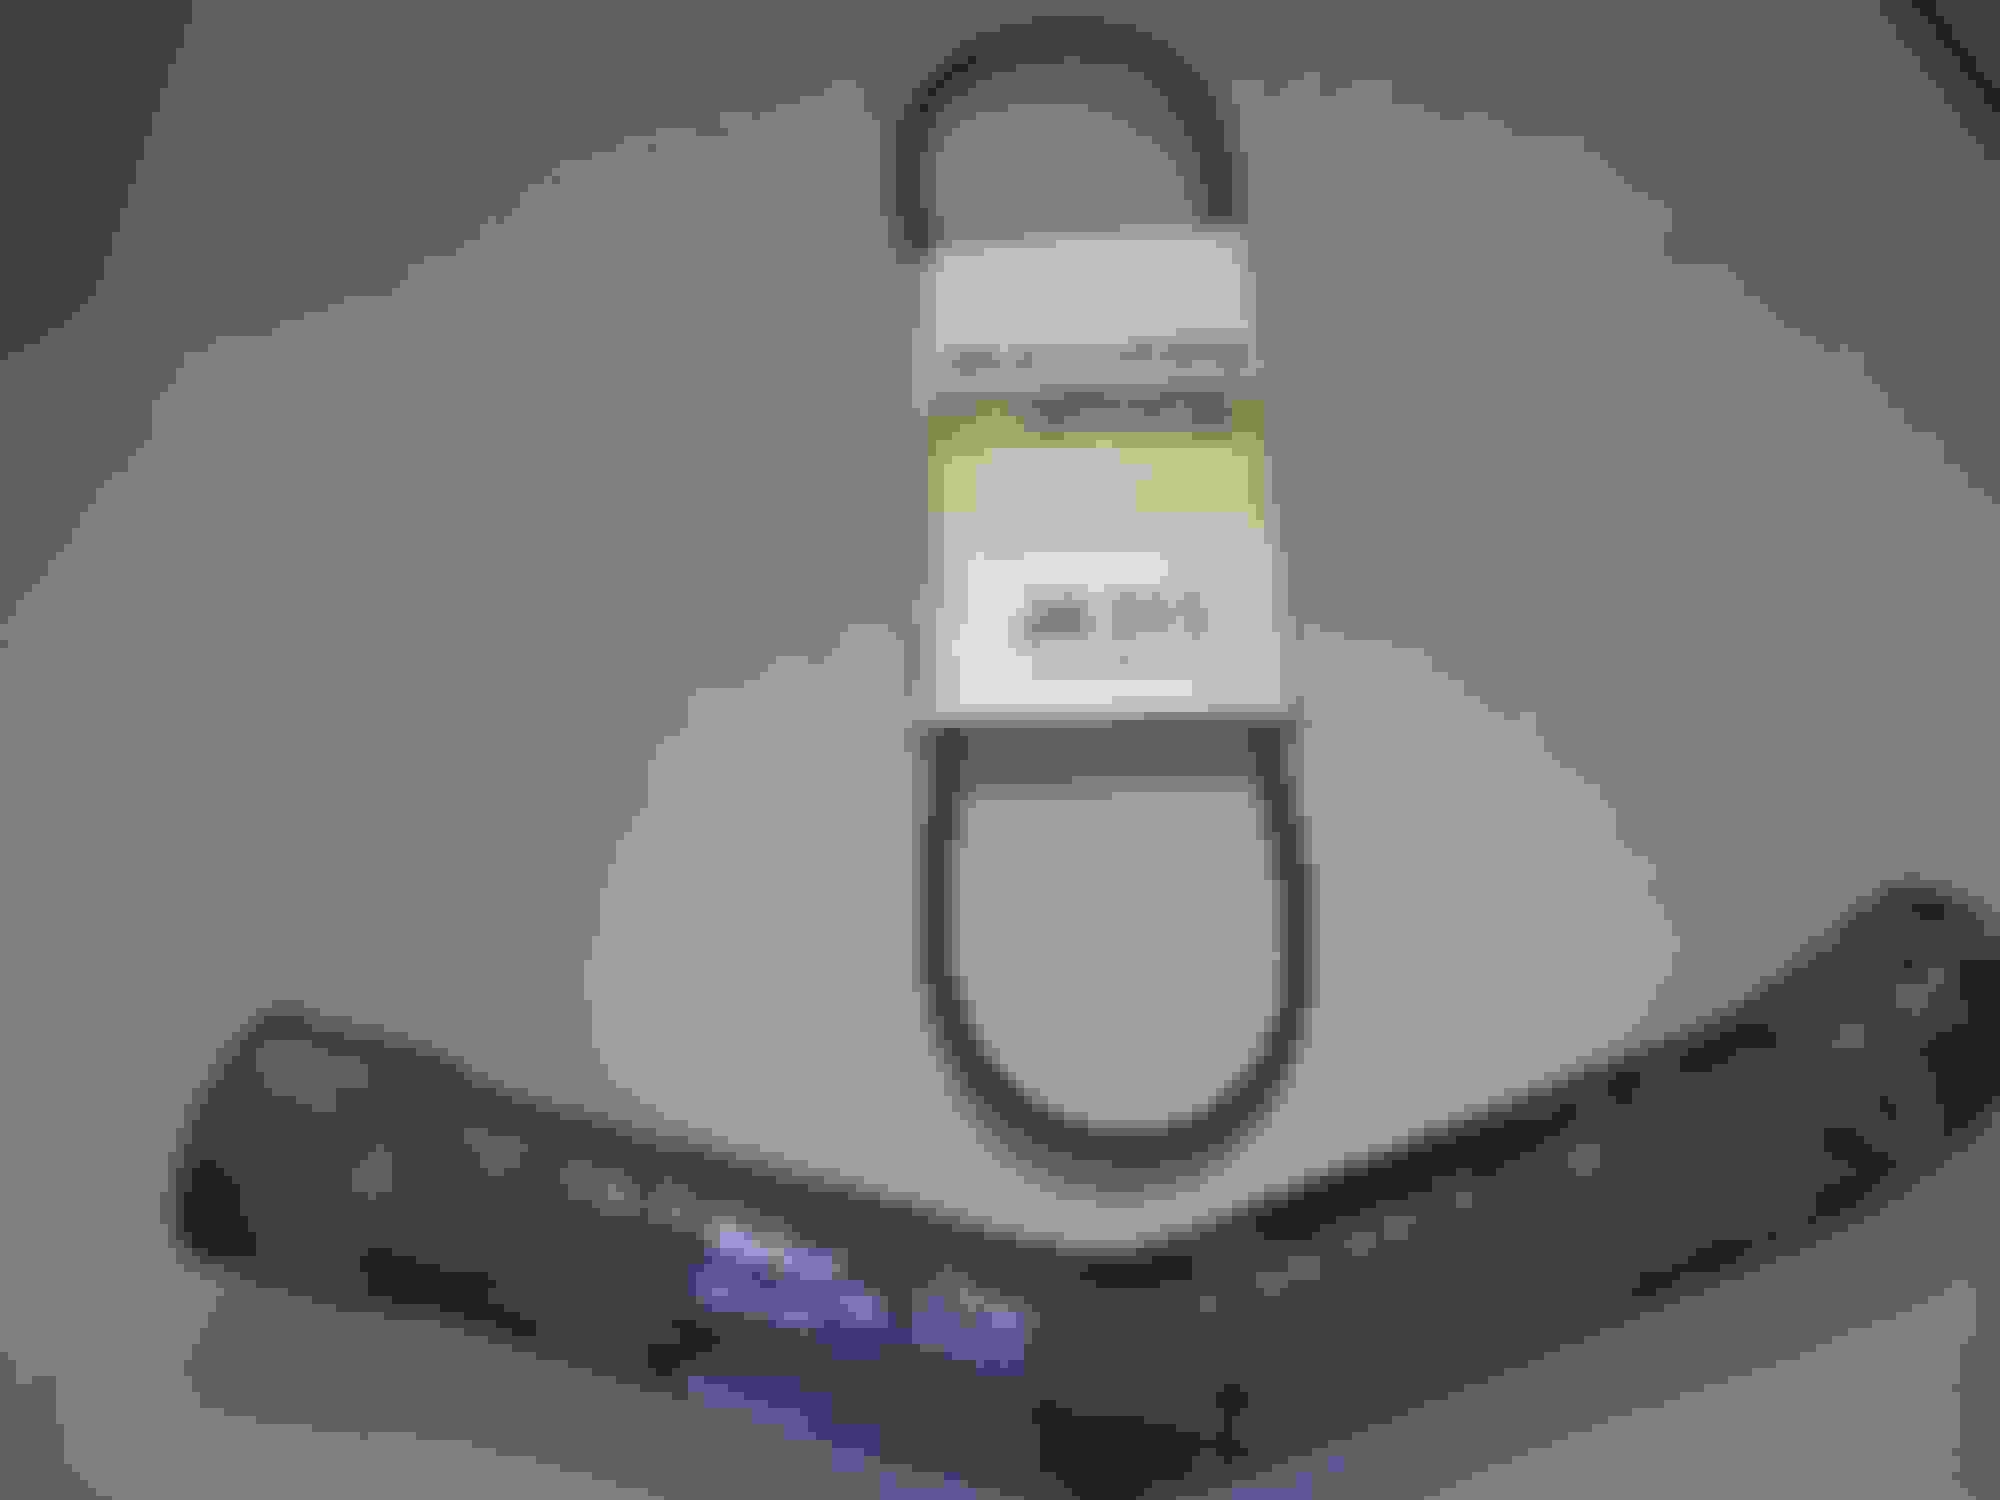
No actual work sincevlast Sunday, but have started receiving some NOS goodies from Ford dealers across the country. Here's a pic of two pieces - belt from Valu Ford in Morris Minnesota, and lower hose from Shawn Case Ford in Redfield South Dakota. In most cases the freight is more than the part. Thanks Number Dummy!
Thanks for the drawing. Turns out the antenna assembly was not the original type. There was a bottom bracket on the wrong antenna holding it in that fell into the bowels of the cowl area. Hope I can get it out with my telescoping magnet. The base of the antenna on the truck was hiding the 4 mounting screws that hold the OE assembly in place.
Began engine bay diassembly ( 3 hours yesterday, 5 1/2 hours today)
Taking my time removing the more delicate original parts. Managed to get all the vacuum hoses off without losing any, and also think I saved the air injection hoses and clamps. The solenoid to starter cable is also OEM and I think I can save it as well. A side note - who was the sadist at Ford that placed that lower LH radiator to core support bolt? It is almost impossible to get access to it with the P/S gearbox in the way.
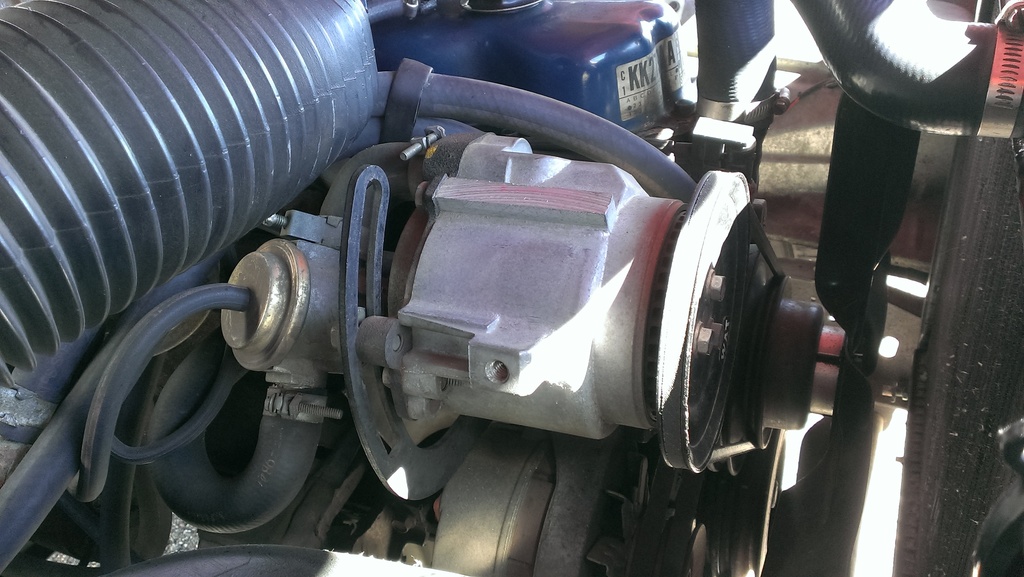
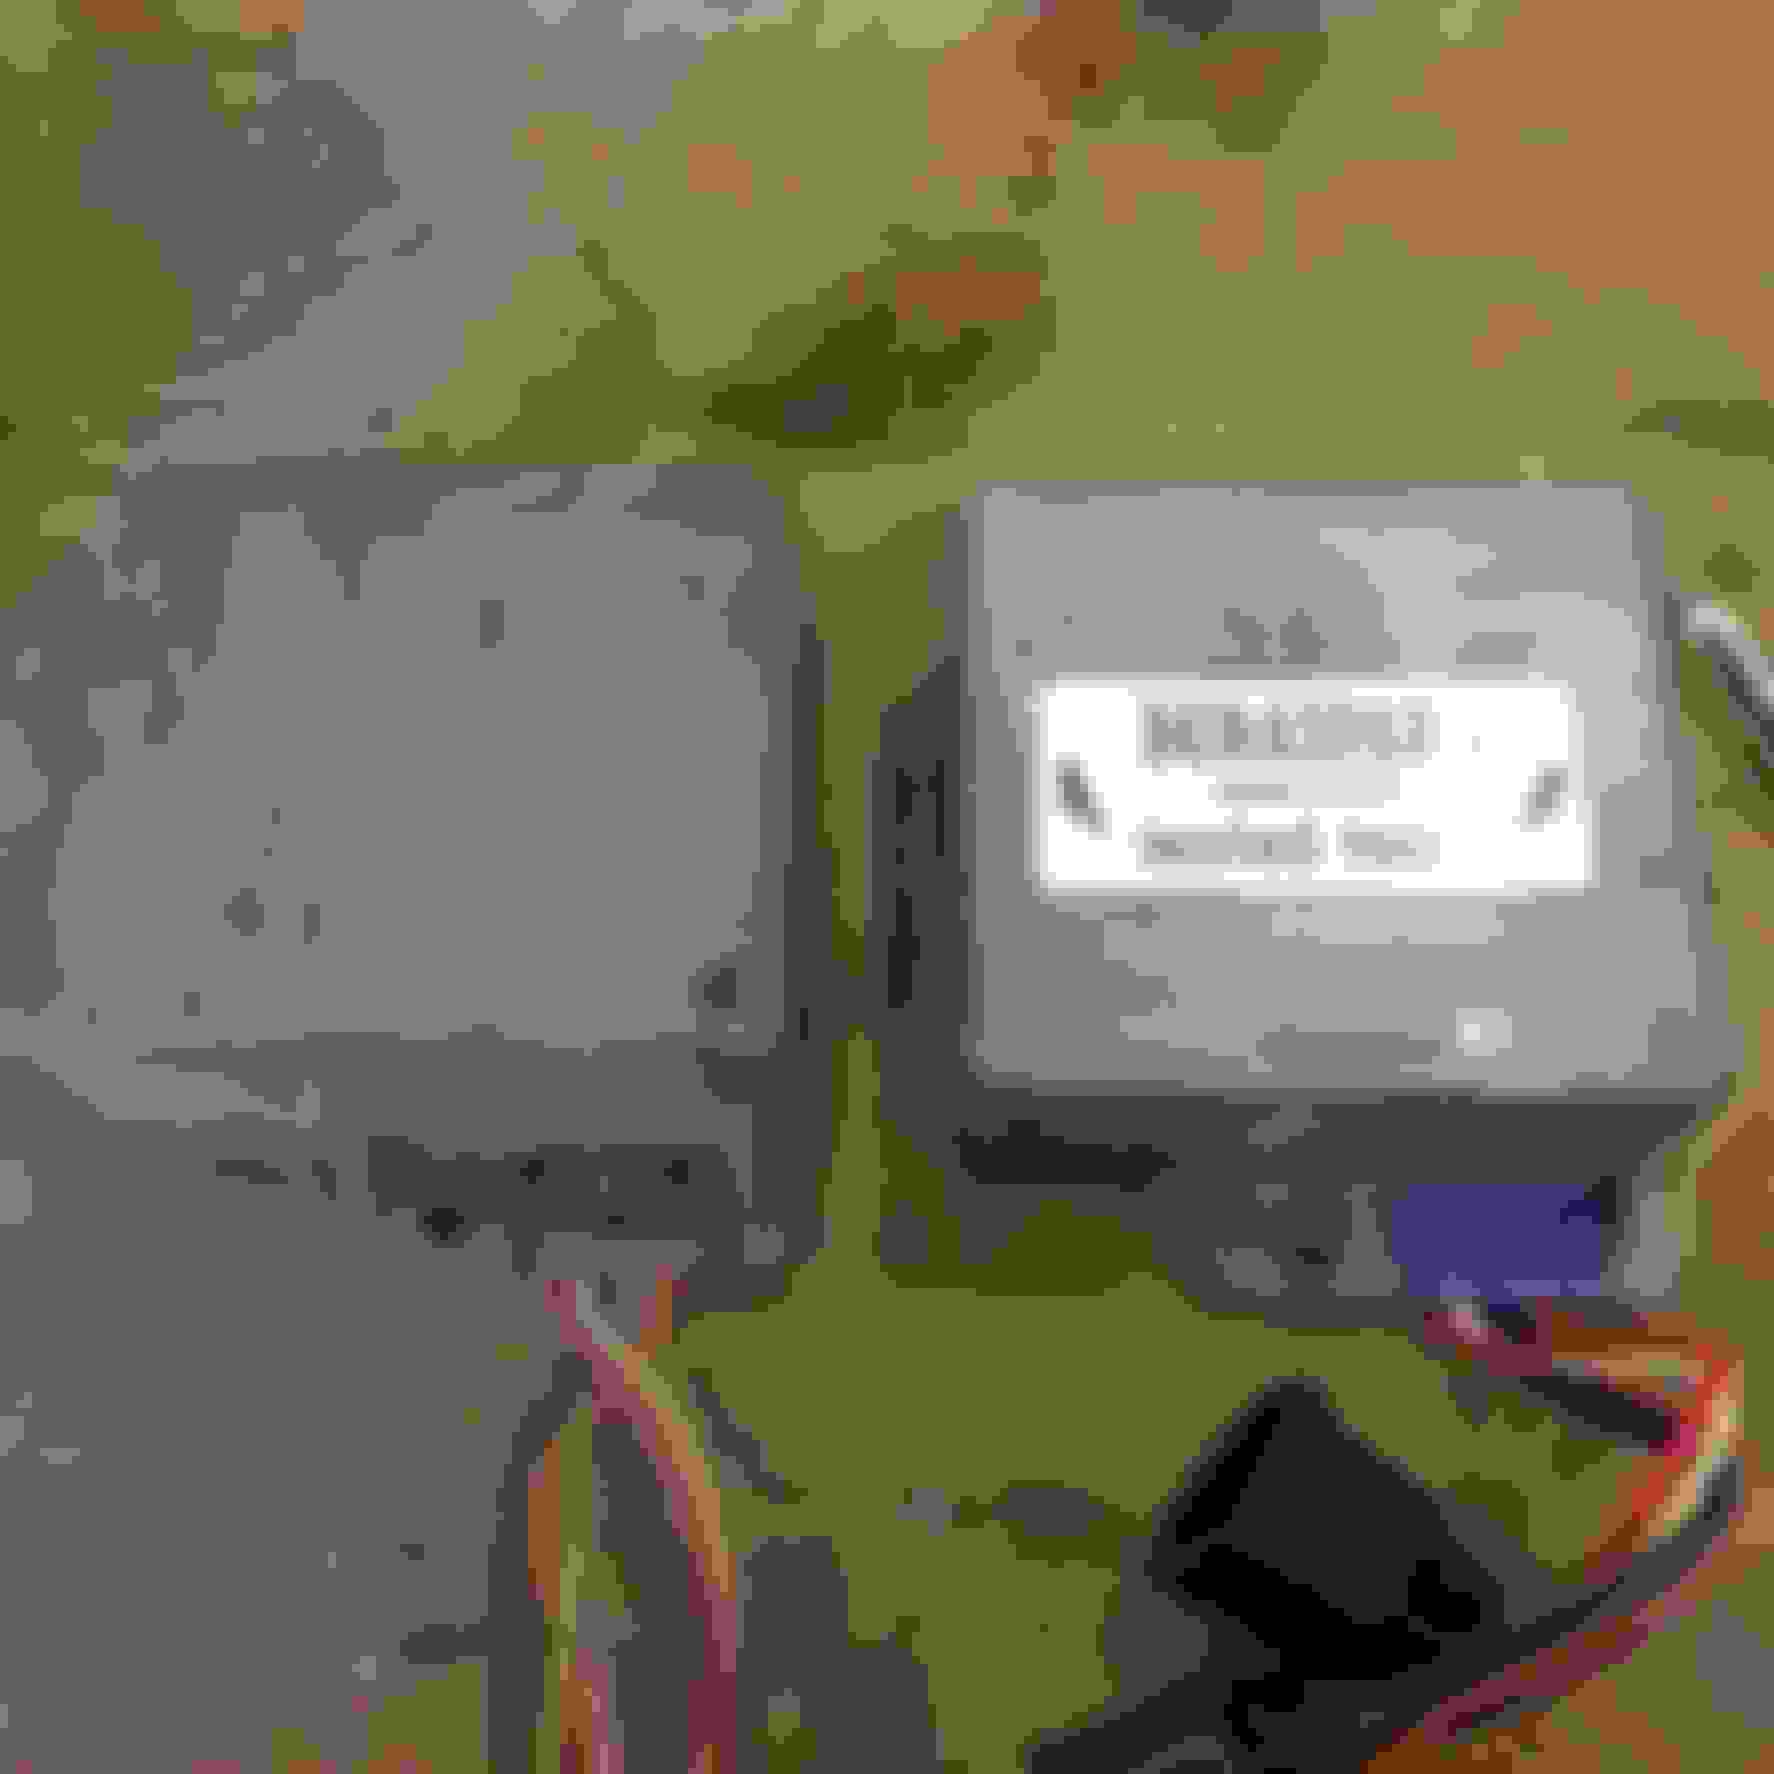
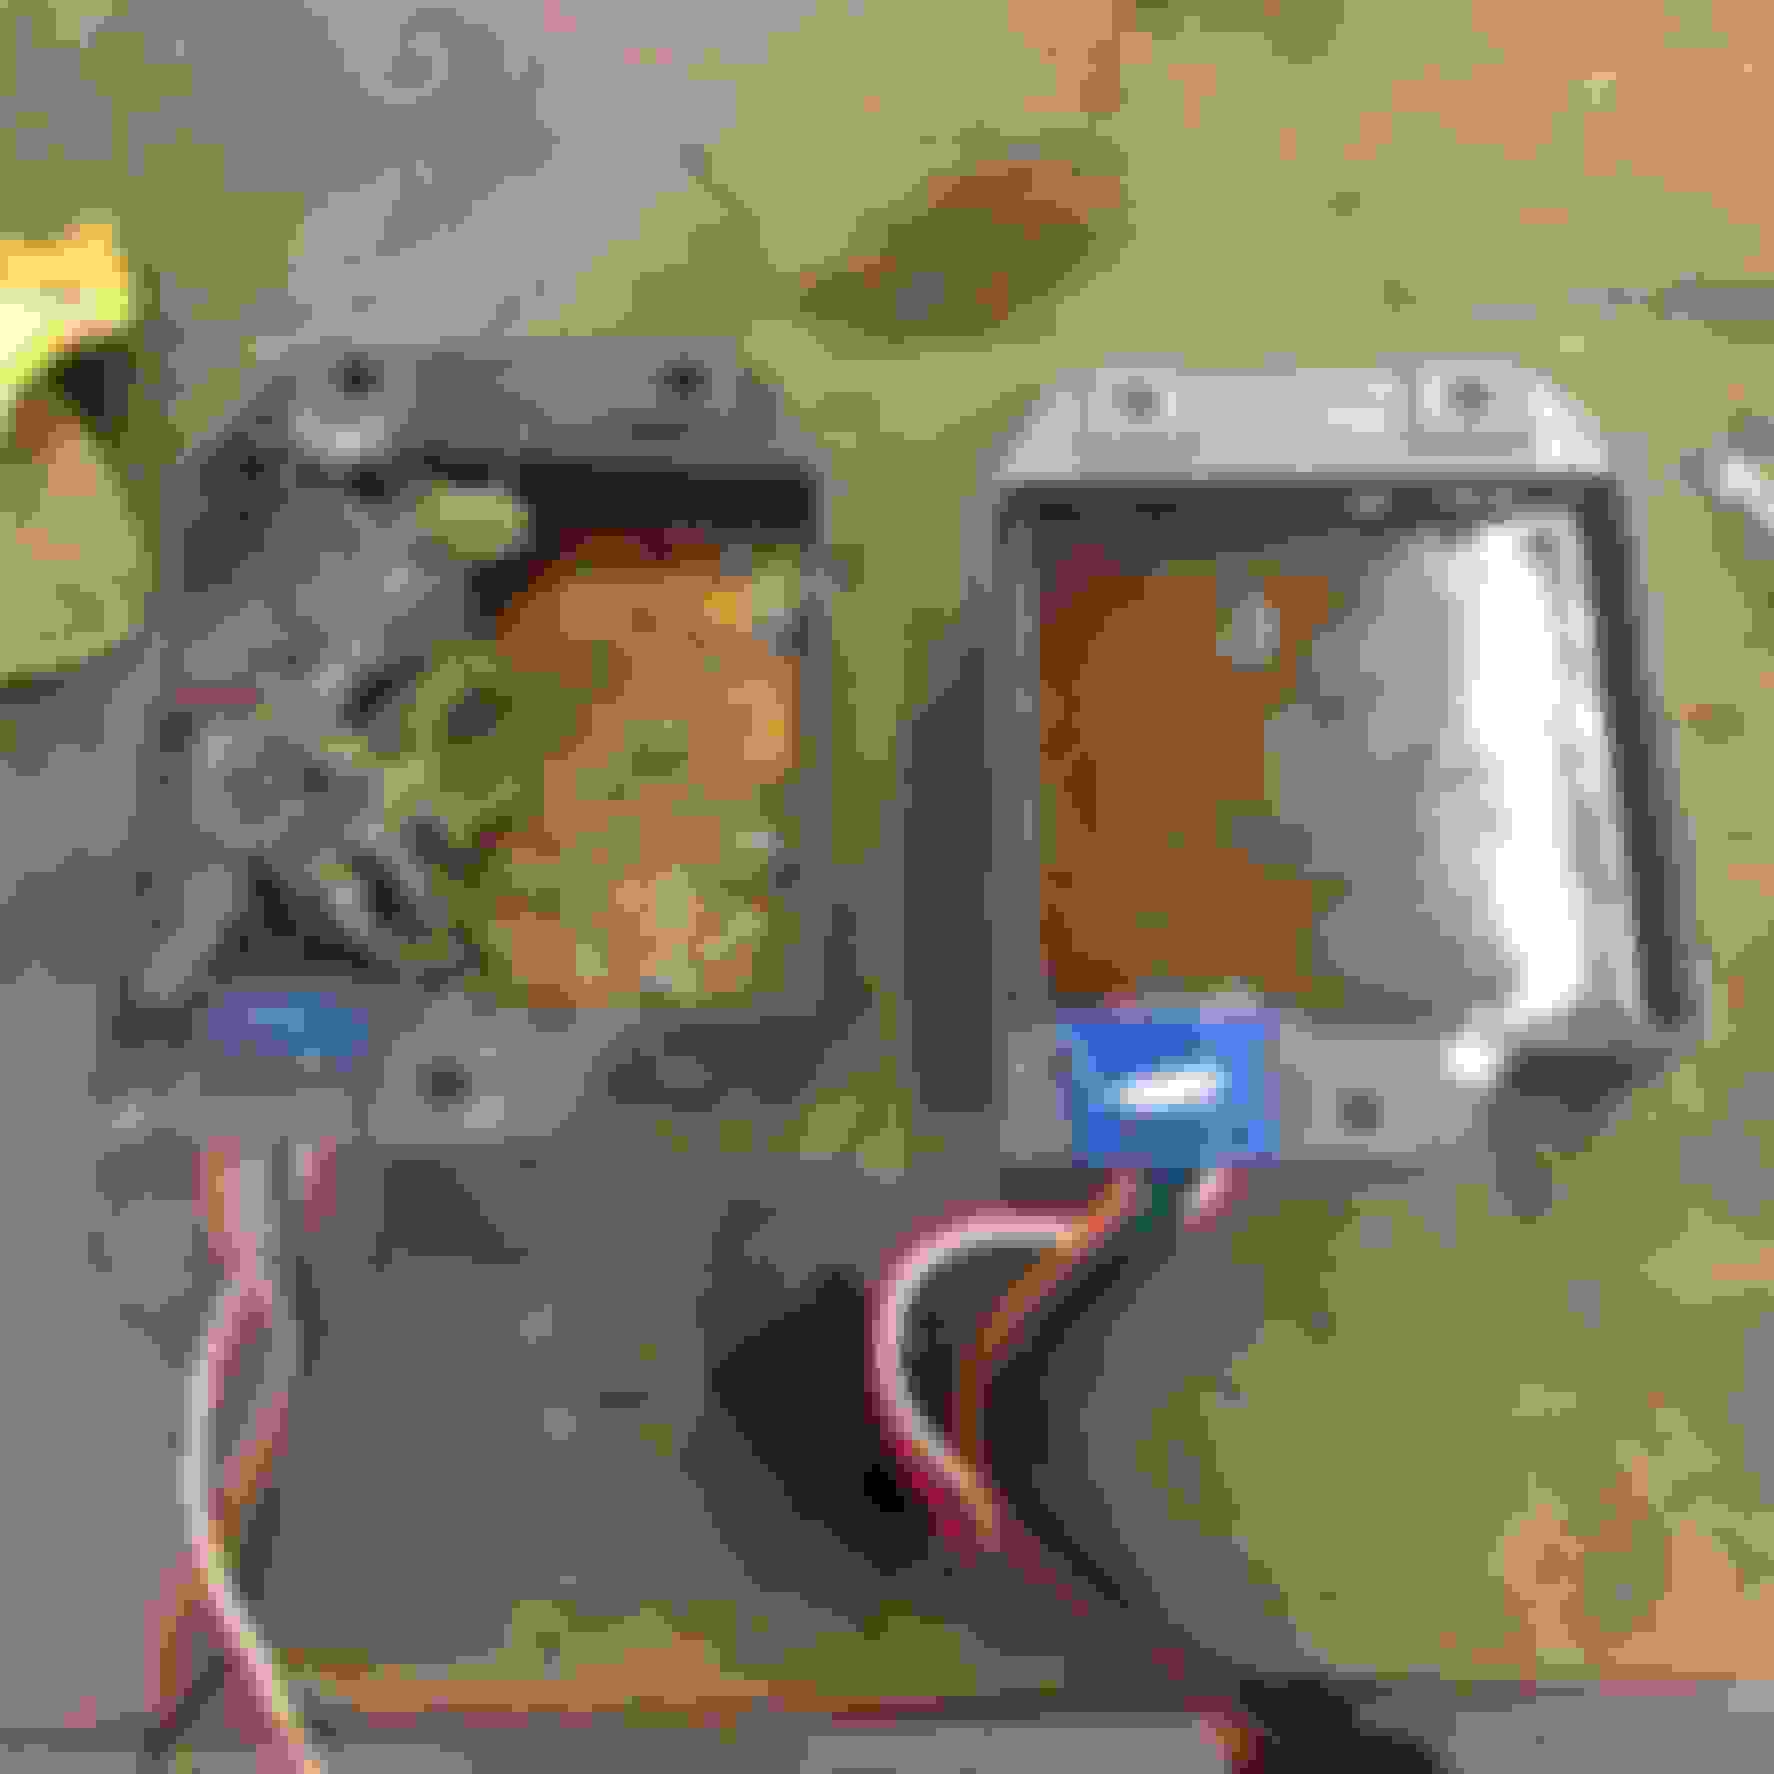
Got in some more NOS goodies. See below pics of side by side comparison of the original with the one I got. You can see how hot it gets down here - it melted the insulation stuff out of it. I think the new one will work a little better.....

 09-19-2016, 09:45 PM