


Don't bring me down, Bruce! Or the build thread part 2
Thread Starter
|
Cargo Master


Joined: Apr 2010
Posts: 2,600
Likes: 64
From: Billings, MT
Don't bring me down, Bruce! Or the build thread part 2
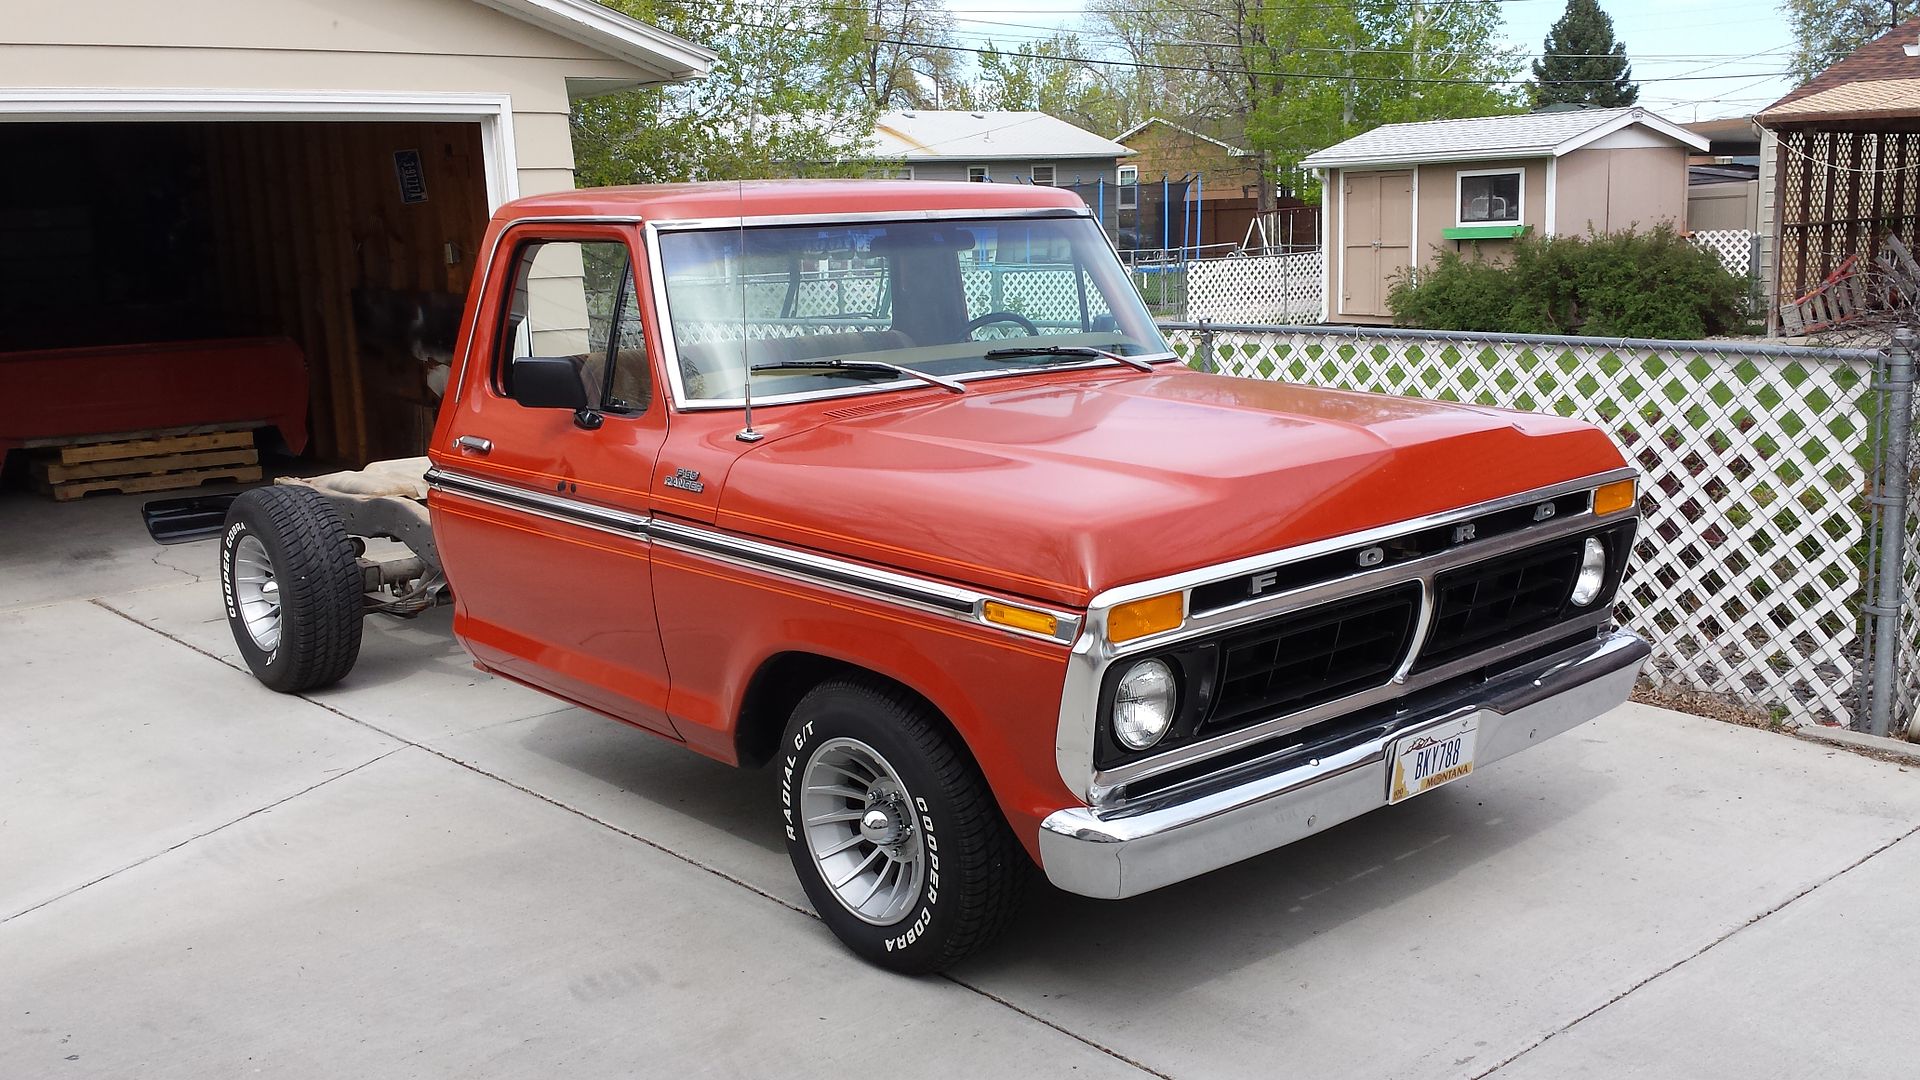
Well, 5,000 miles or so since the last build; some things need changed and some need finished.
Here is my original thread from a few years ago:
https://www.ford-trucks.com/forums/1...-of-bruce.html
Still needed to paint and detail the back half of the undercarriage and had a few small issues with the build. I thought I would get away with my axle flip without a c-notch but with a load in the bed this thing bangs the bumpstop like a screen door in a hurricane.
The 600 cfm holley is too small. Admittedly I knew this but thought I'd only be giving up a few ponies on the top end. Well, the idle and transition circuits are just to lean for this motor and I'm tired of fiddling with it. In fact carburetors and I may be done for good... Effff uuuuuu lean tip-in bog.
Parts list:
FiTech go EFI 600 hp fuel infection
Thorbros. C-notch kit
Tanksinc 255 lph in-tank fuel pump setup
Tanksinc LS swap fuel line & regulator kit
Wing window seals from Dennis Carpenter Ford
Energy suspension rear leaf spring bushings
Hamburger's 1" carb (I guess technically a throttle body spacer) spacer
Autoloc C6 kick down cable kit
Still waiting on the FiTech and bushings so I'll be starting with supporting parts.
Also since the FiTech will control an electric fan one of those will be added along with a 3G Alternator swap

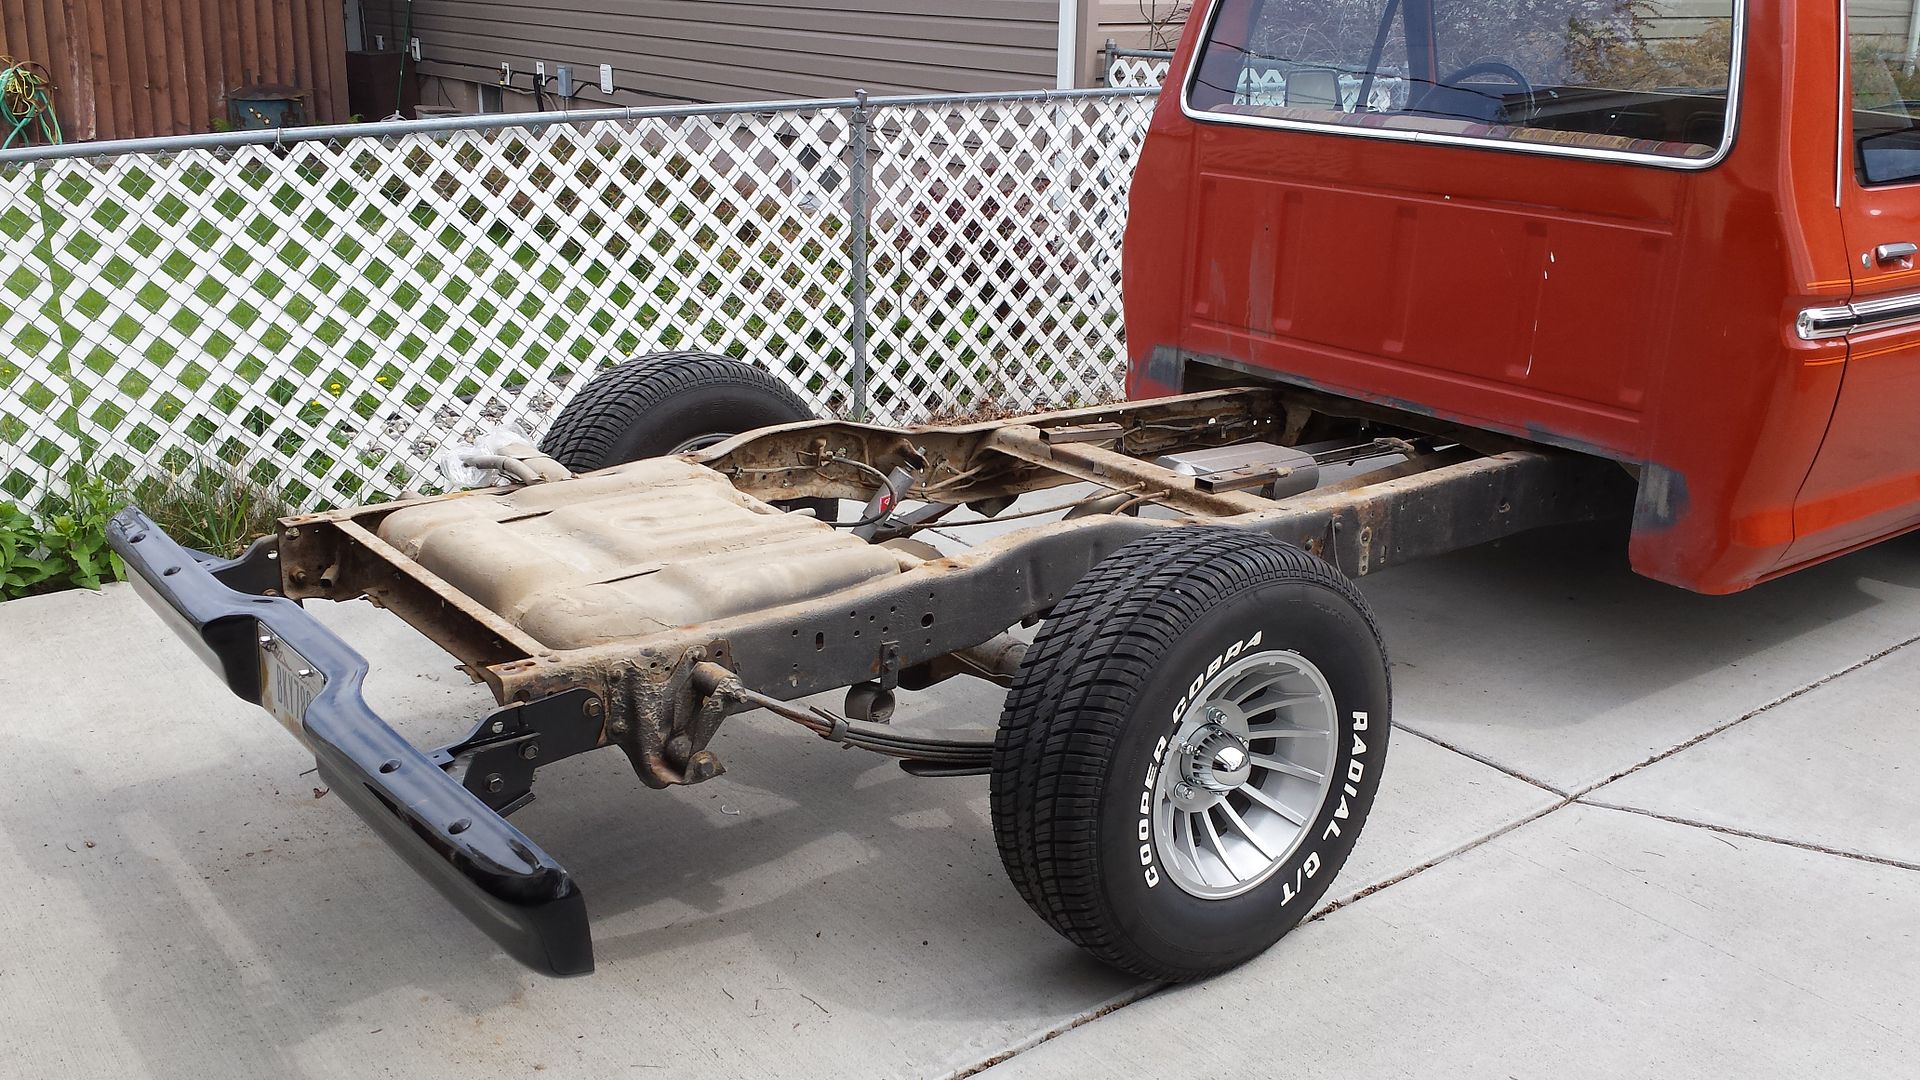

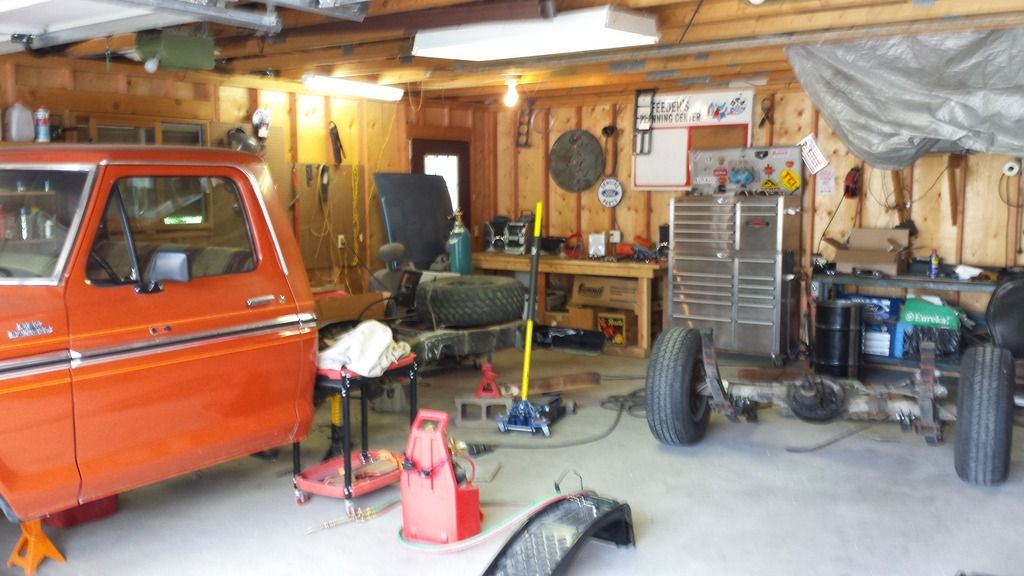
Had my brothers and a buddy come help me lift the bed off and set it on my waiting pallet stack. Made it to the shop sans bed, first order of business tomorrow is pressure washing and starting tear down.
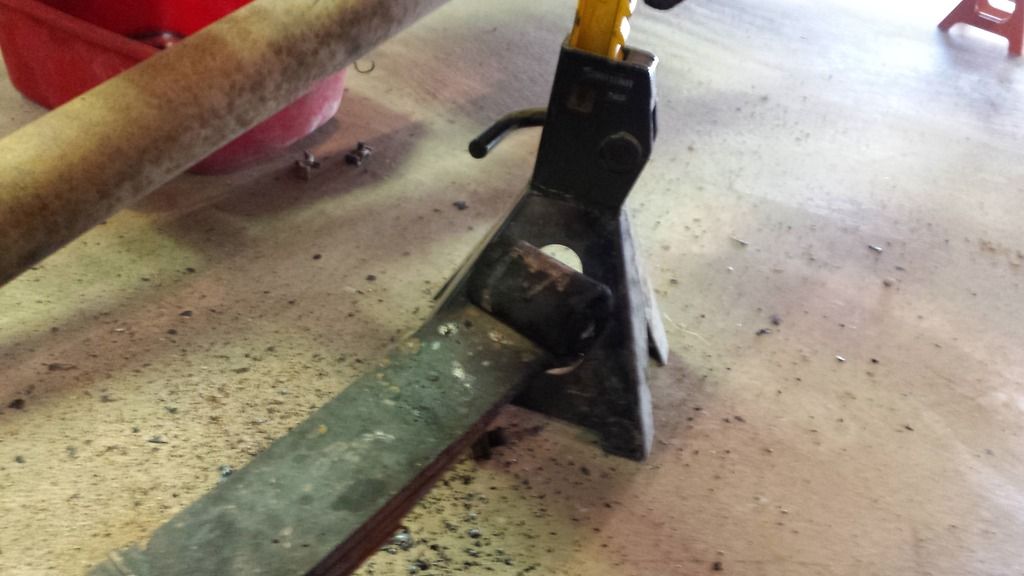
I do know one of the spring eye bolts is seized and will have to be cut. Anybody know of a source for a new one? Dorman maybe?
Here is my original thread from a few years ago:
https://www.ford-trucks.com/forums/1...-of-bruce.html
Still needed to paint and detail the back half of the undercarriage and had a few small issues with the build. I thought I would get away with my axle flip without a c-notch but with a load in the bed this thing bangs the bumpstop like a screen door in a hurricane.
The 600 cfm holley is too small. Admittedly I knew this but thought I'd only be giving up a few ponies on the top end. Well, the idle and transition circuits are just to lean for this motor and I'm tired of fiddling with it. In fact carburetors and I may be done for good... Effff uuuuuu lean tip-in bog.
Parts list:
FiTech go EFI 600 hp fuel infection
Thorbros. C-notch kit
Tanksinc 255 lph in-tank fuel pump setup
Tanksinc LS swap fuel line & regulator kit
Wing window seals from Dennis Carpenter Ford
Energy suspension rear leaf spring bushings
Hamburger's 1" carb (I guess technically a throttle body spacer) spacer
Autoloc C6 kick down cable kit
Still waiting on the FiTech and bushings so I'll be starting with supporting parts.
Also since the FiTech will control an electric fan one of those will be added along with a 3G Alternator swap


Had my brothers and a buddy come help me lift the bed off and set it on my waiting pallet stack. Made it to the shop sans bed, first order of business tomorrow is pressure washing and starting tear down.
I do know one of the spring eye bolts is seized and will have to be cut. Anybody know of a source for a new one? Dorman maybe?
Thread Starter
|
Cargo Master
Joined: Apr 2010
Posts: 2,600
Likes: 64
From: Billings, MT
Well men, it's not looking good. In fact it looks downright grim. I will not be enjoying the driveability of my new EFI system any time soon. Just received an updated email from Summit and apparently my new shipping date is August freakin first. This year at least, not next. There's no way Bruce is sitting in the garage all summer so I guess I'll finish out the season with the carb.
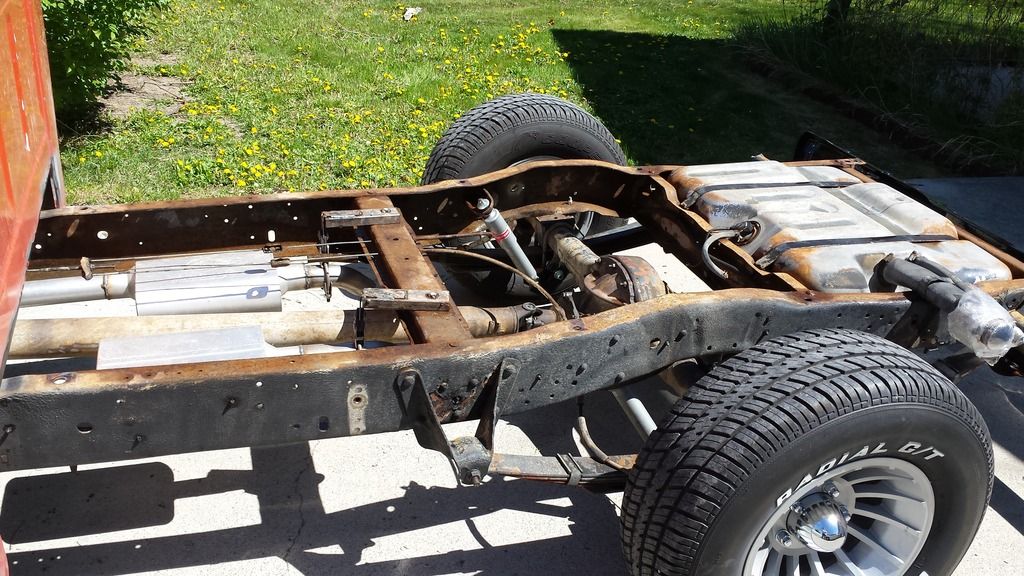
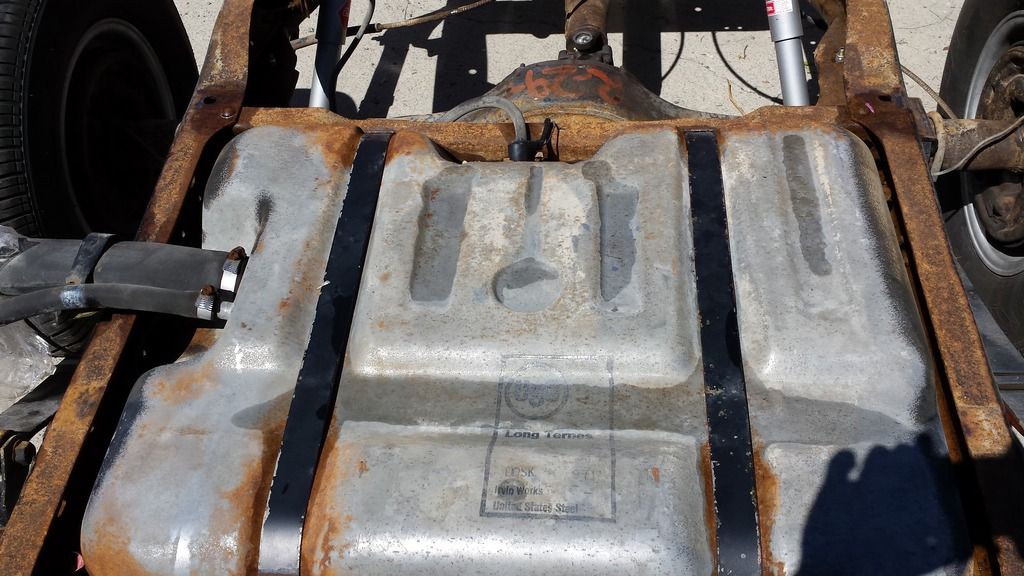
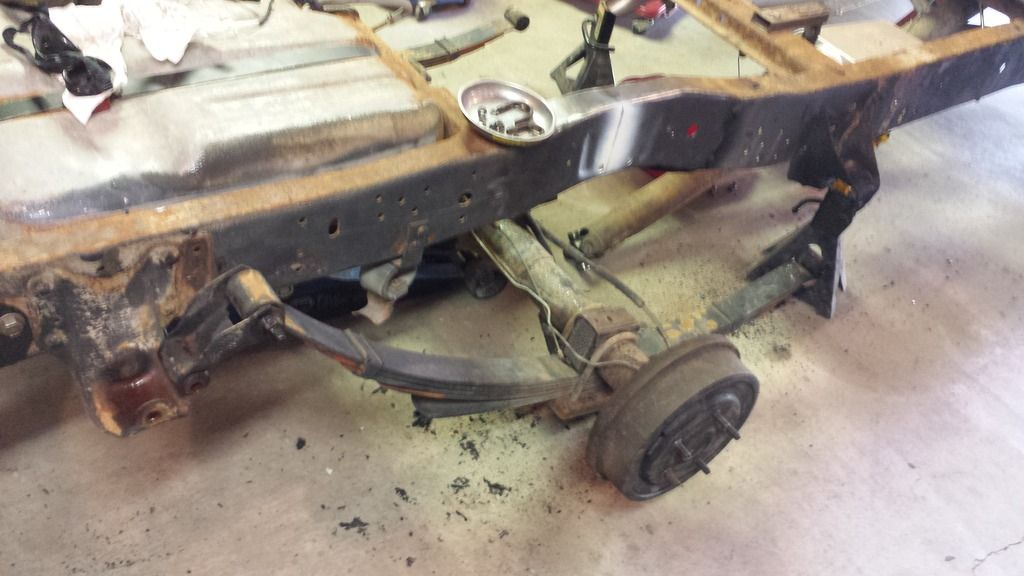
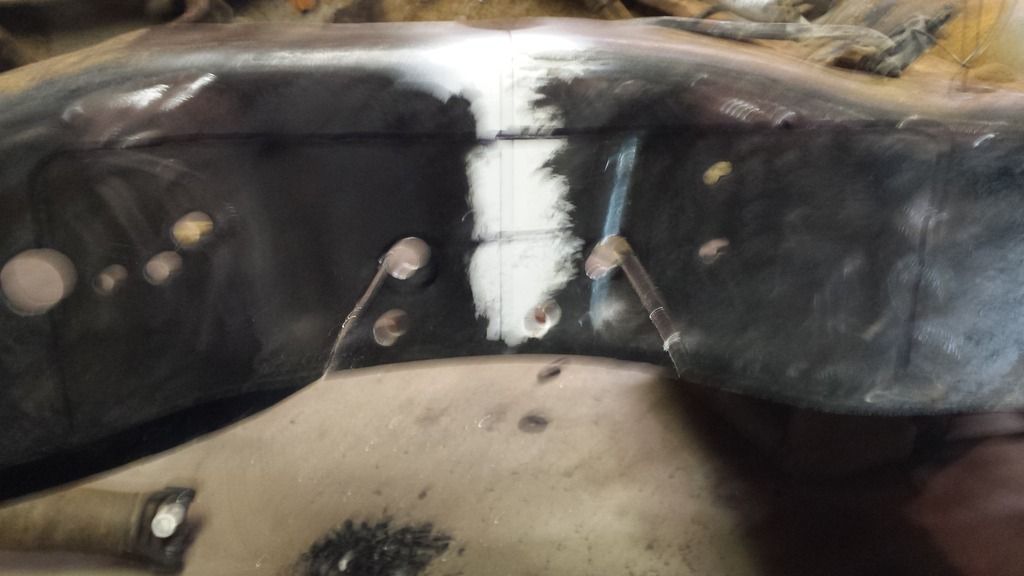
Took a trip to the car wash and hosed off the rear end. Looks like tank has been replaced previously.
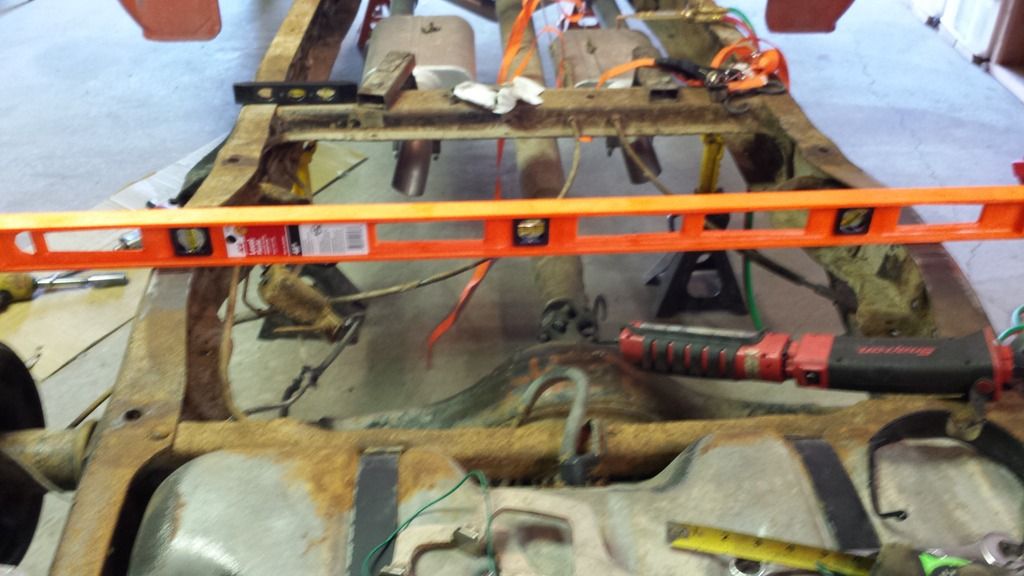
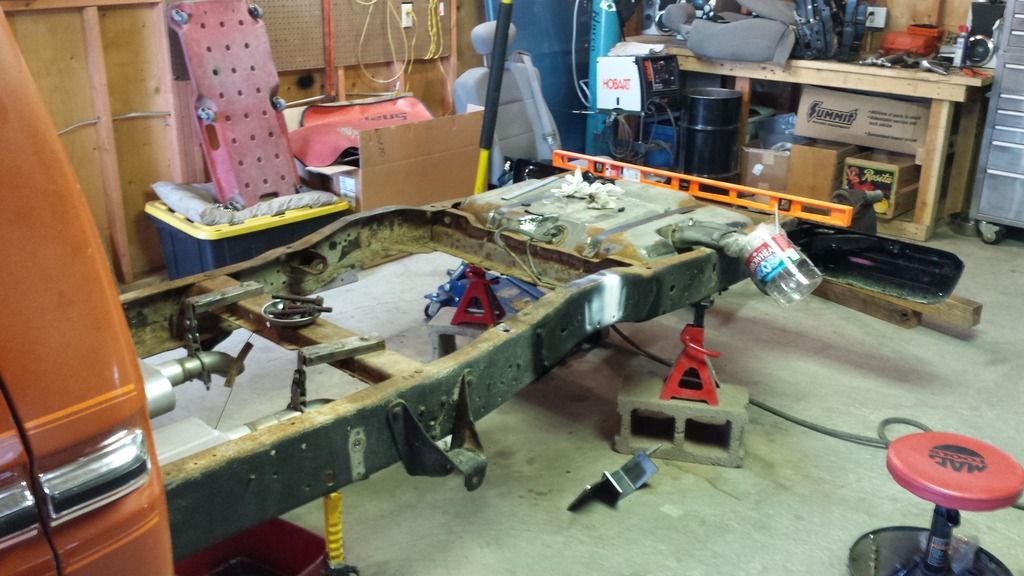
Just snapped a pic quick of the front leveled on jack stands, turned out really cool for some reason. I checked level throughout the truck while setting it up, don't want the frame to be twisted or bound at all when I'll be cutting and welding on it.
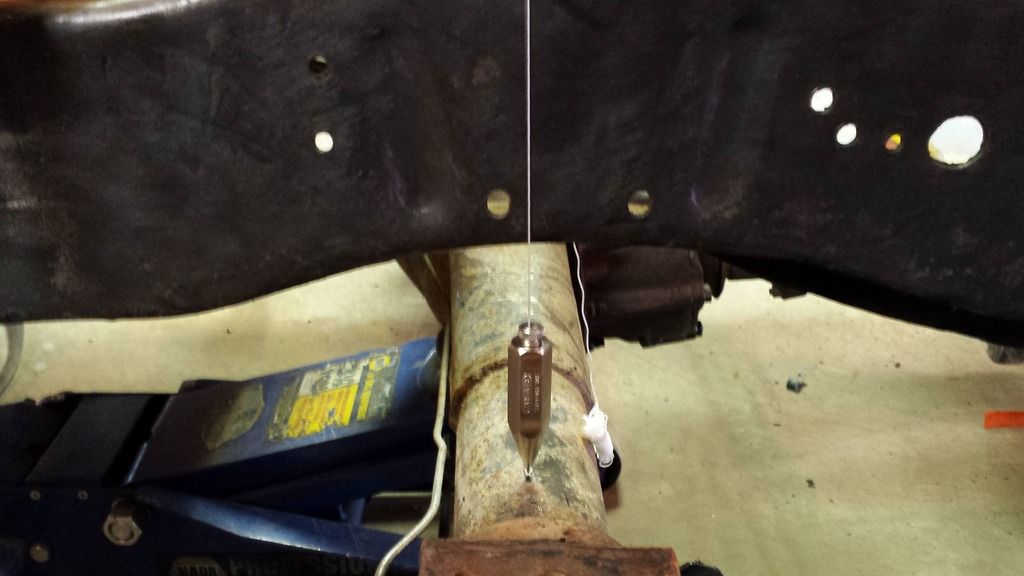
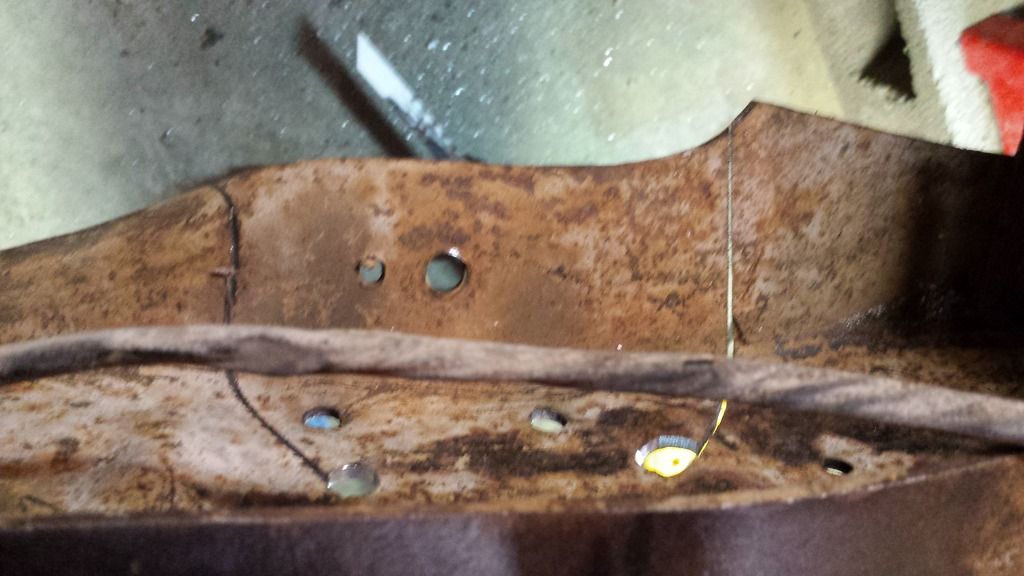
After heating and scraping undercoating for an hour or so I was ready to hang a plumb bob and mark the axle centerline. Still need more cleaning before it's good enough to weld to.
Front spring eye bolt on the passenger's side was seized to the sleeve so I had to kill it with fire. Mmm burning rubber. Still smoking in the pic though I couldn't quite capture it.
That'll be it for this week, headed back to my day job. Wing window seals from DC Ford showed up today.
Also scored a 130 amp 3G Alternator this week for $30. Grabbed the harness also and had the alt. Tested

Took a trip to the car wash and hosed off the rear end. Looks like tank has been replaced previously.

Just snapped a pic quick of the front leveled on jack stands, turned out really cool for some reason. I checked level throughout the truck while setting it up, don't want the frame to be twisted or bound at all when I'll be cutting and welding on it.


After heating and scraping undercoating for an hour or so I was ready to hang a plumb bob and mark the axle centerline. Still need more cleaning before it's good enough to weld to.


Front spring eye bolt on the passenger's side was seized to the sleeve so I had to kill it with fire. Mmm burning rubber. Still smoking in the pic though I couldn't quite capture it.


That'll be it for this week, headed back to my day job. Wing window seals from DC Ford showed up today.
Also scored a 130 amp 3G Alternator this week for $30. Grabbed the harness also and had the alt. Tested
Thread Starter
|
Cargo Master
Joined: Apr 2010
Posts: 2,600
Likes: 64
From: Billings, MT
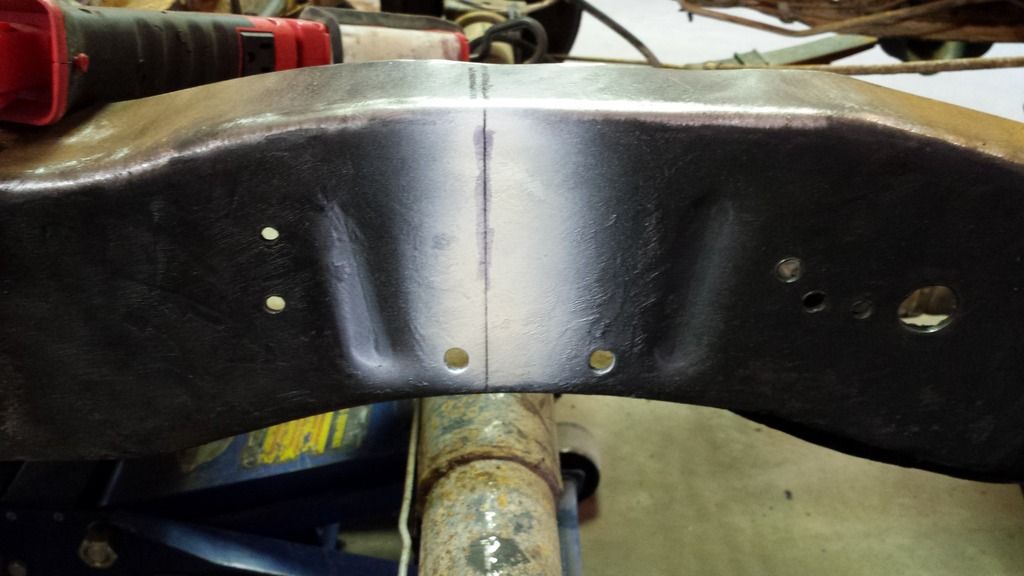
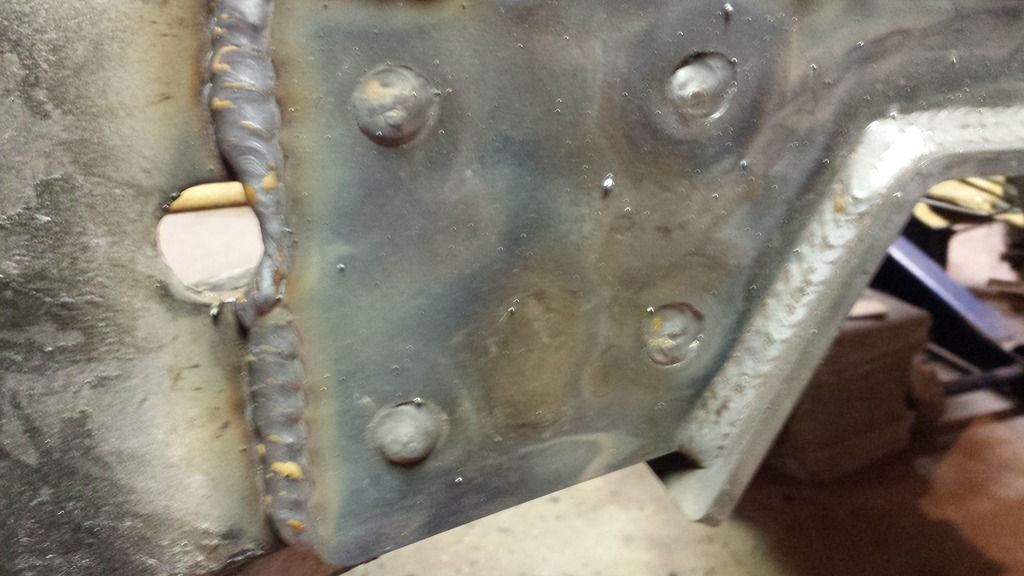
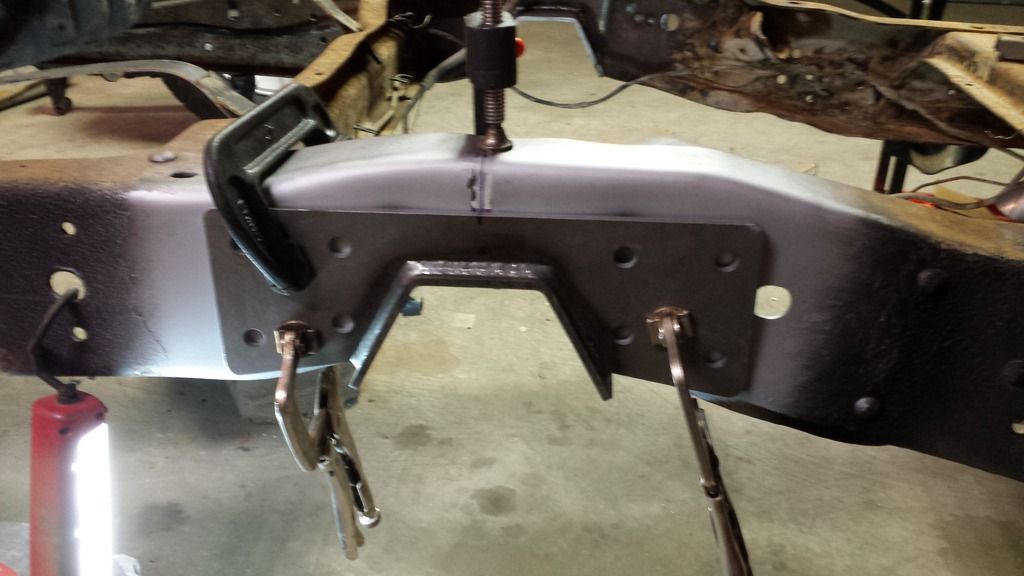
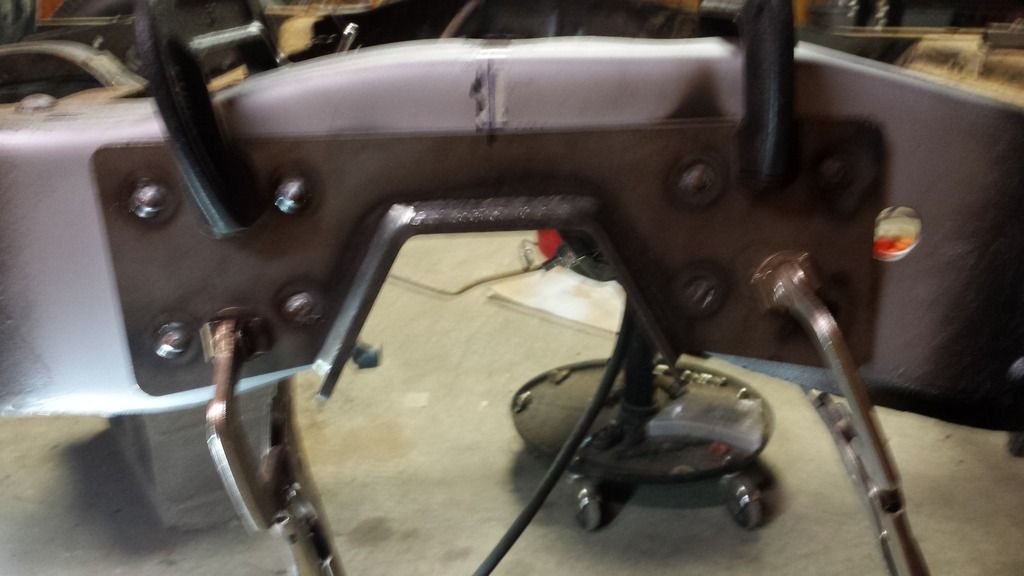
Top pic is kinda blurry but I traced around a socket at the top corners and drilled holes. I've always been told you never want sharp corners on a frame cut; it's a stress point for cracks to form. I used a plumb bob to find the axle center line, which is a bit rear of th stock location. The djm flip brackets move the rear end back a bit to stop the driveshaft from bottoming.
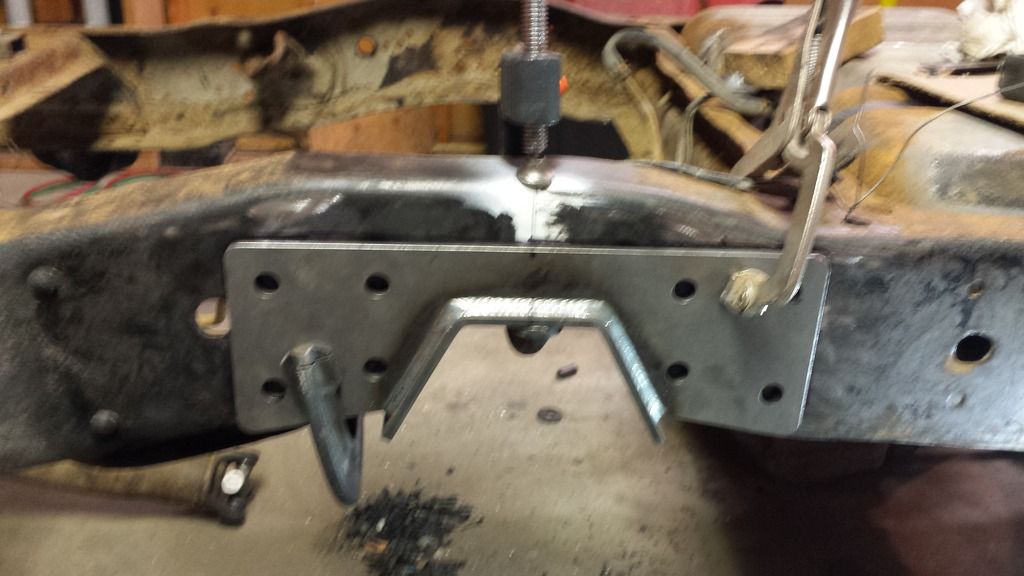
I made the cut a bit on the safe side and had to sneak up on the right fit with more cutting and a bit of grinding; tedious!
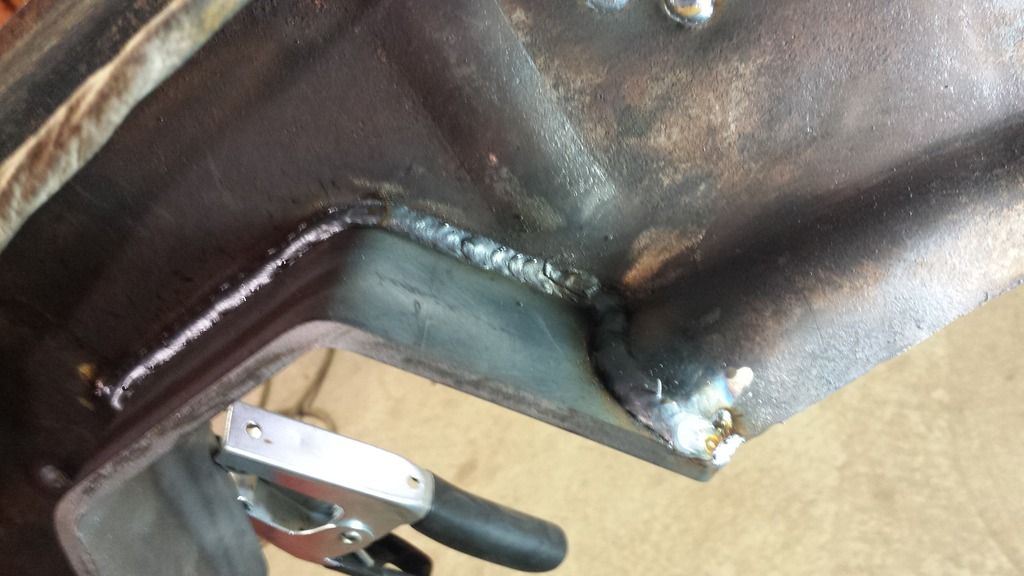
The frame curves in just a bit ahead of the axle. I heated the flat c-notch plates with a torch and cranked them down with c-clamps and vice grips. I also pre-heated the notch plates before welding. I welded with my Hobart handler 140 which required 2 passes for 1/4" metal. According to my heat marks penetration was good. This was my first time doing two passes and the top welds aren't very pretty


I made the cut a bit on the safe side and had to sneak up on the right fit with more cutting and a bit of grinding; tedious!
The frame curves in just a bit ahead of the axle. I heated the flat c-notch plates with a torch and cranked them down with c-clamps and vice grips. I also pre-heated the notch plates before welding. I welded with my Hobart handler 140 which required 2 passes for 1/4" metal. According to my heat marks penetration was good. This was my first time doing two passes and the top welds aren't very pretty
Thread Starter
|
Cargo Master
Joined: Apr 2010
Posts: 2,600
Likes: 64
From: Billings, MT
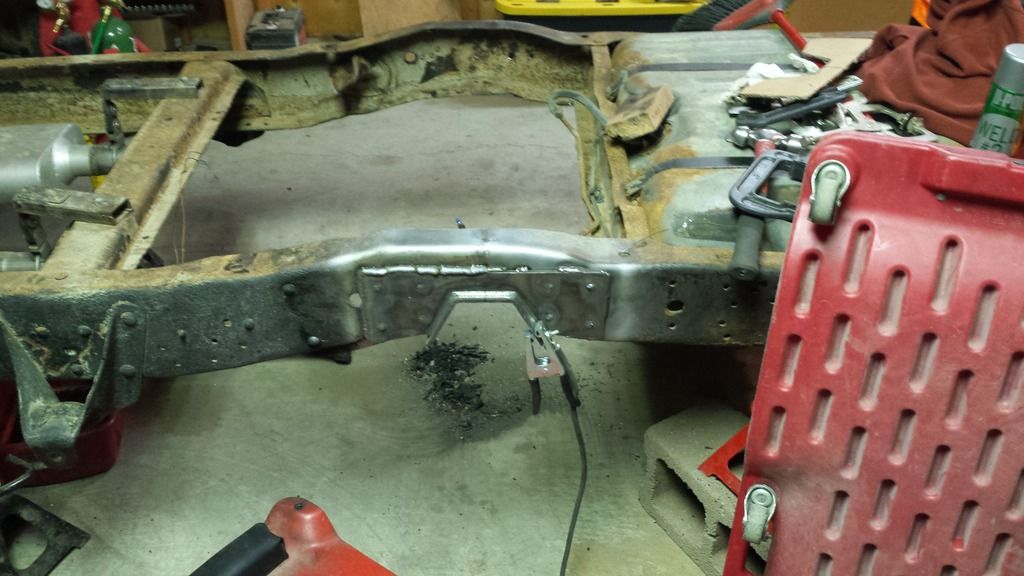
I also welded short beads on different areas moving around to avoid putting too much heat in the frame


Trending Topics
Thread Starter
|
Cargo Master
Joined: Apr 2010
Posts: 2,600
Likes: 64
From: Billings, MT
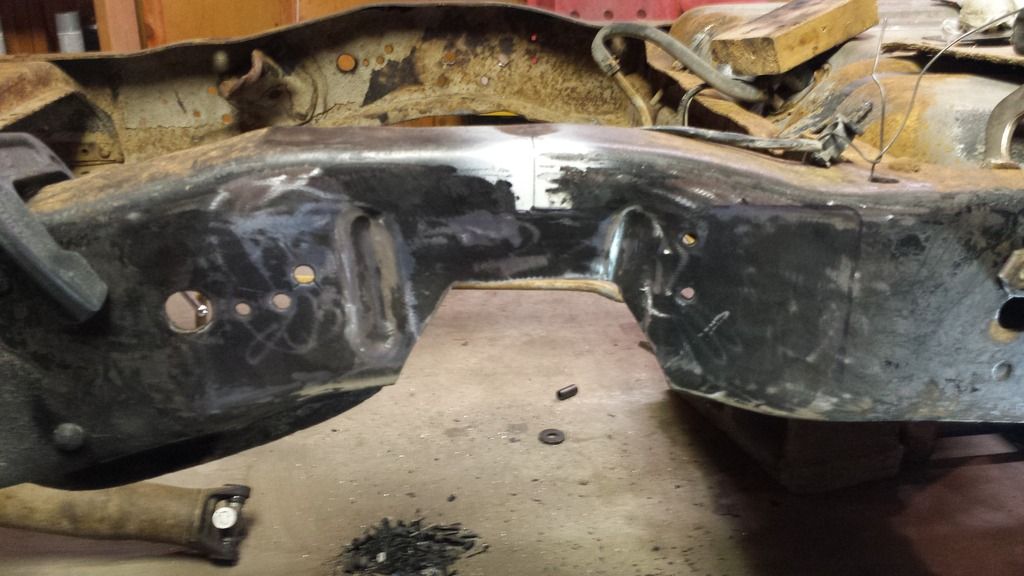
Spent a few hours scraping undercoating off the frame, please don't let friends use undercoating. Dressed the welds on the frame and sprayed the weld area with primer. I received my 3G alternator kit from rebuilder in a box and started on that. I also pulled the battery, old 1g alternator and voltage regulator, fan and shroud. I found a NIB 16" electric fan on my parts shelf to use.
FTE Stories
Ford Trucks for Ford Truck Enthusiasts

10 Best Ford Truck Engines We Miss the Most!
Joe Kucinski
2026 Shelby F-150 Off-Road: Better Than a Raptor R?
Brett Foote
2027 Super Duty Carhartt Package First Look: 12 Things You NEED to Know!
Michael S. Palmer
10 Most Surprising 2026 Ford Truck Features!
Joe Kucinski
Top 10 Ford Trucks Coming to Mecum Indy 2026
Brett Foote
5 Best / 5 Worst Ford Truck Wheels of All Time
Joe Kucinski
Ford Super Duty: 5 Things Owners LOVE, 5 Things They LOATHE!
Joe Kucinski
Every 2026 Ford Truck Engine RANKED from WORST to FIRST!
Michael S. Palmer
The Best F-150 Deal of Every Trim Level (XL through Raptor)
Joe Kucinski
Thread Starter
|
Cargo Master
Joined: Apr 2010
Posts: 2,600
Likes: 64
From: Billings, MT
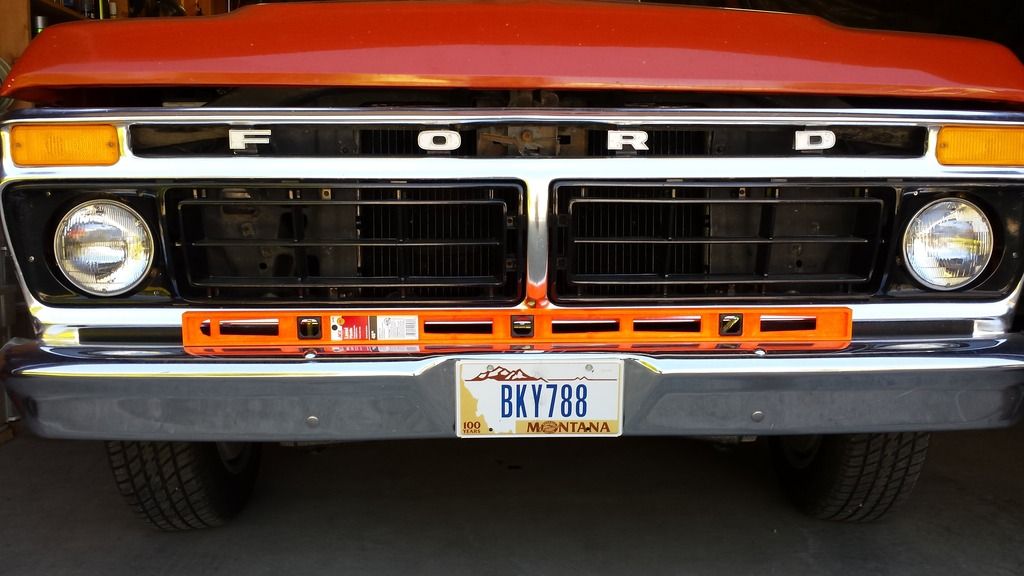
Ah, I'm blushing. Some day it will get a repaint but I'll nurse this original paint along as long as I can. It'll be slow going for a while, returning to vampire status (night shift) and will be gone on vacation next week.
Thread Starter
|
Cargo Master
Joined: Apr 2010
Posts: 2,600
Likes: 64
From: Billings, MT
Progress has been slow, it's been hot, I'm working night shift and we had a hail storm which totalled my car and damaged my house. OK, excuses aside some good things have happened. Found me an '05 Super crew to replace the car and my FiTech has arrived a few weeks early.
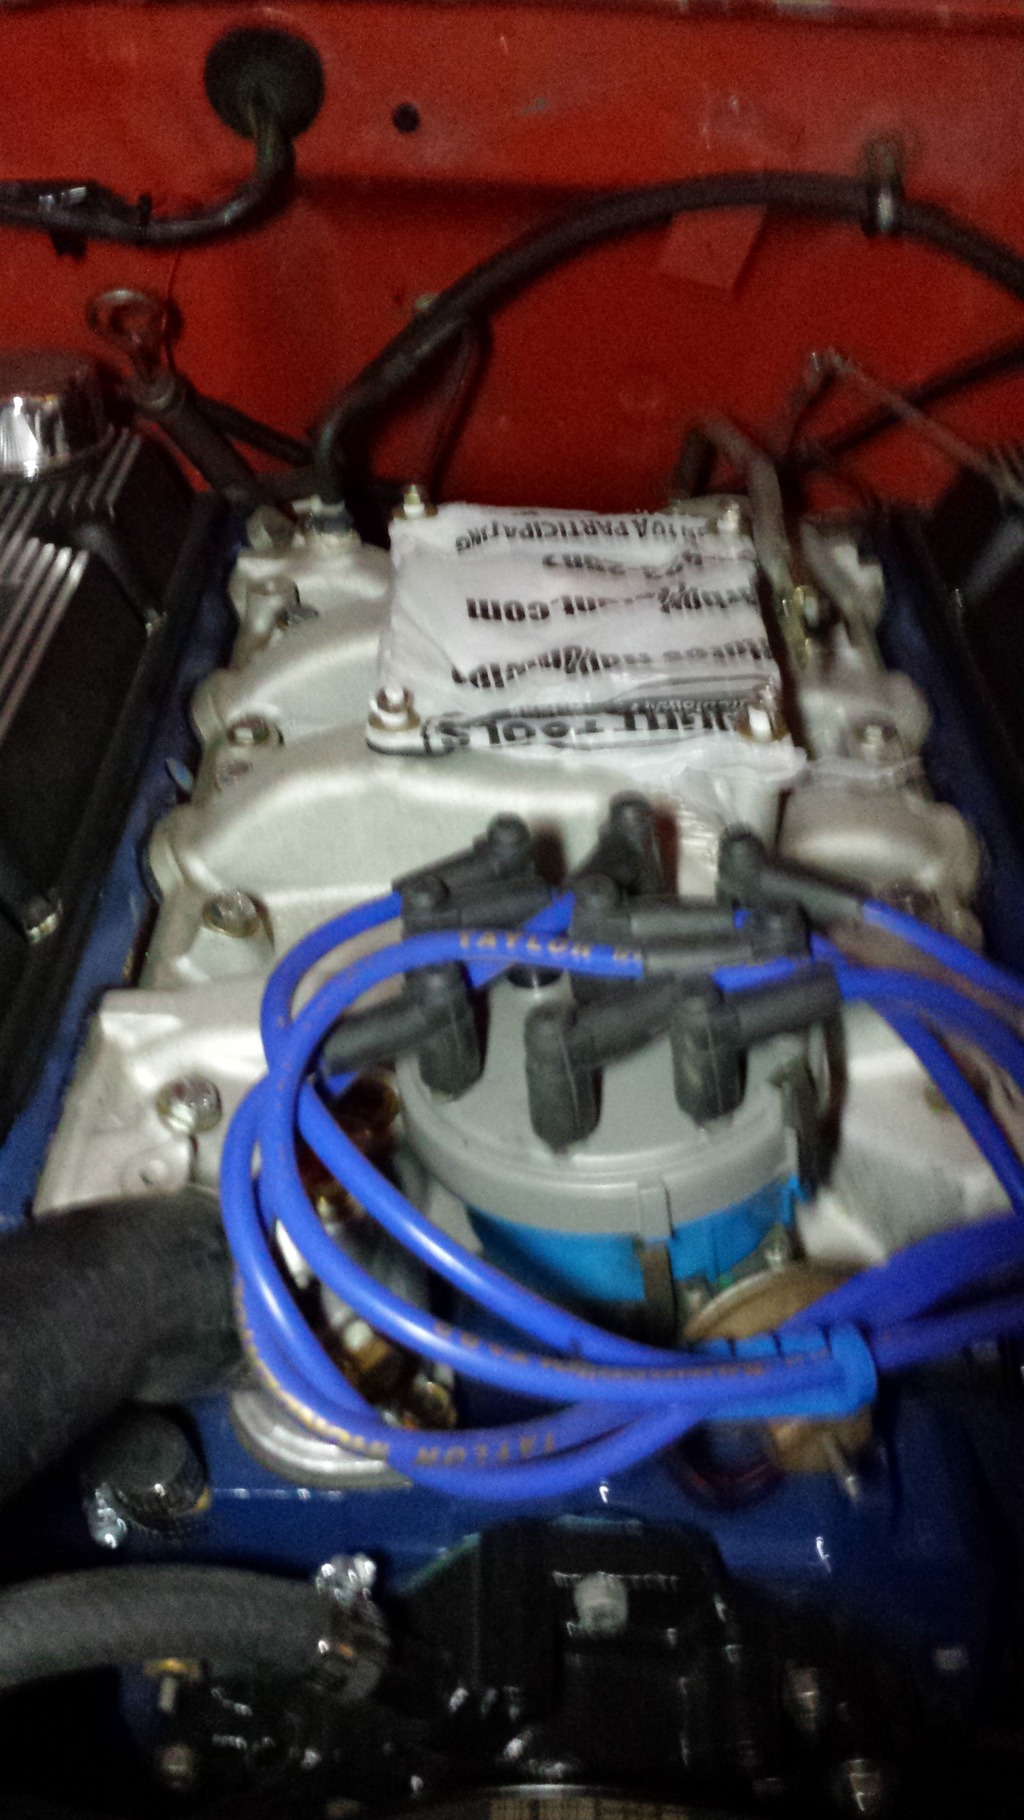
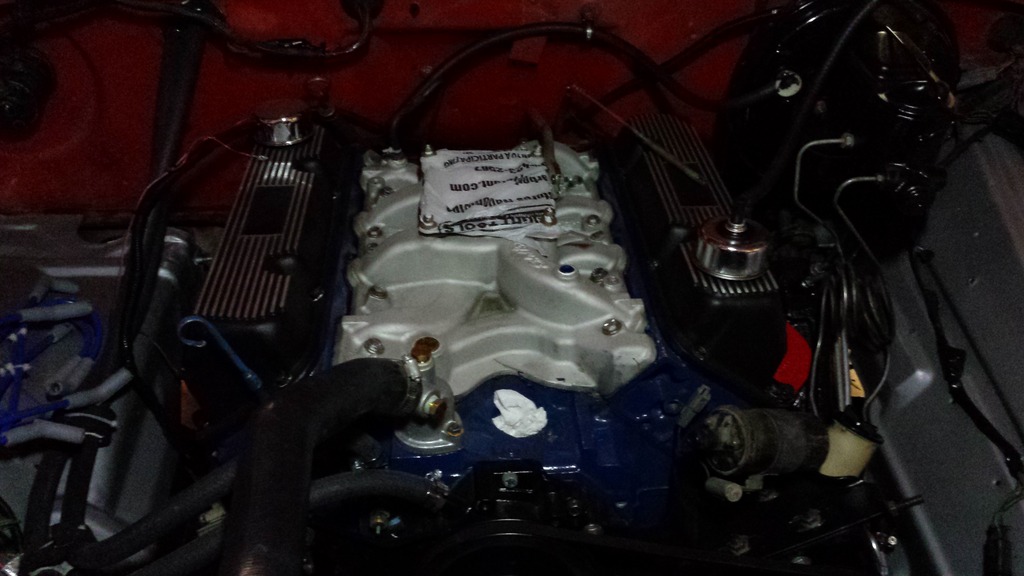
Engine is torn back into, carb went on craigslist. I will be utilizing the timing control of the FiTech EFI so the distributor is out to lock the advance and "phase" it. While I'm in there going to clean the intake with some wheel cleaner and kick myself for not painting or clearing it.
$995 worth of happiness!
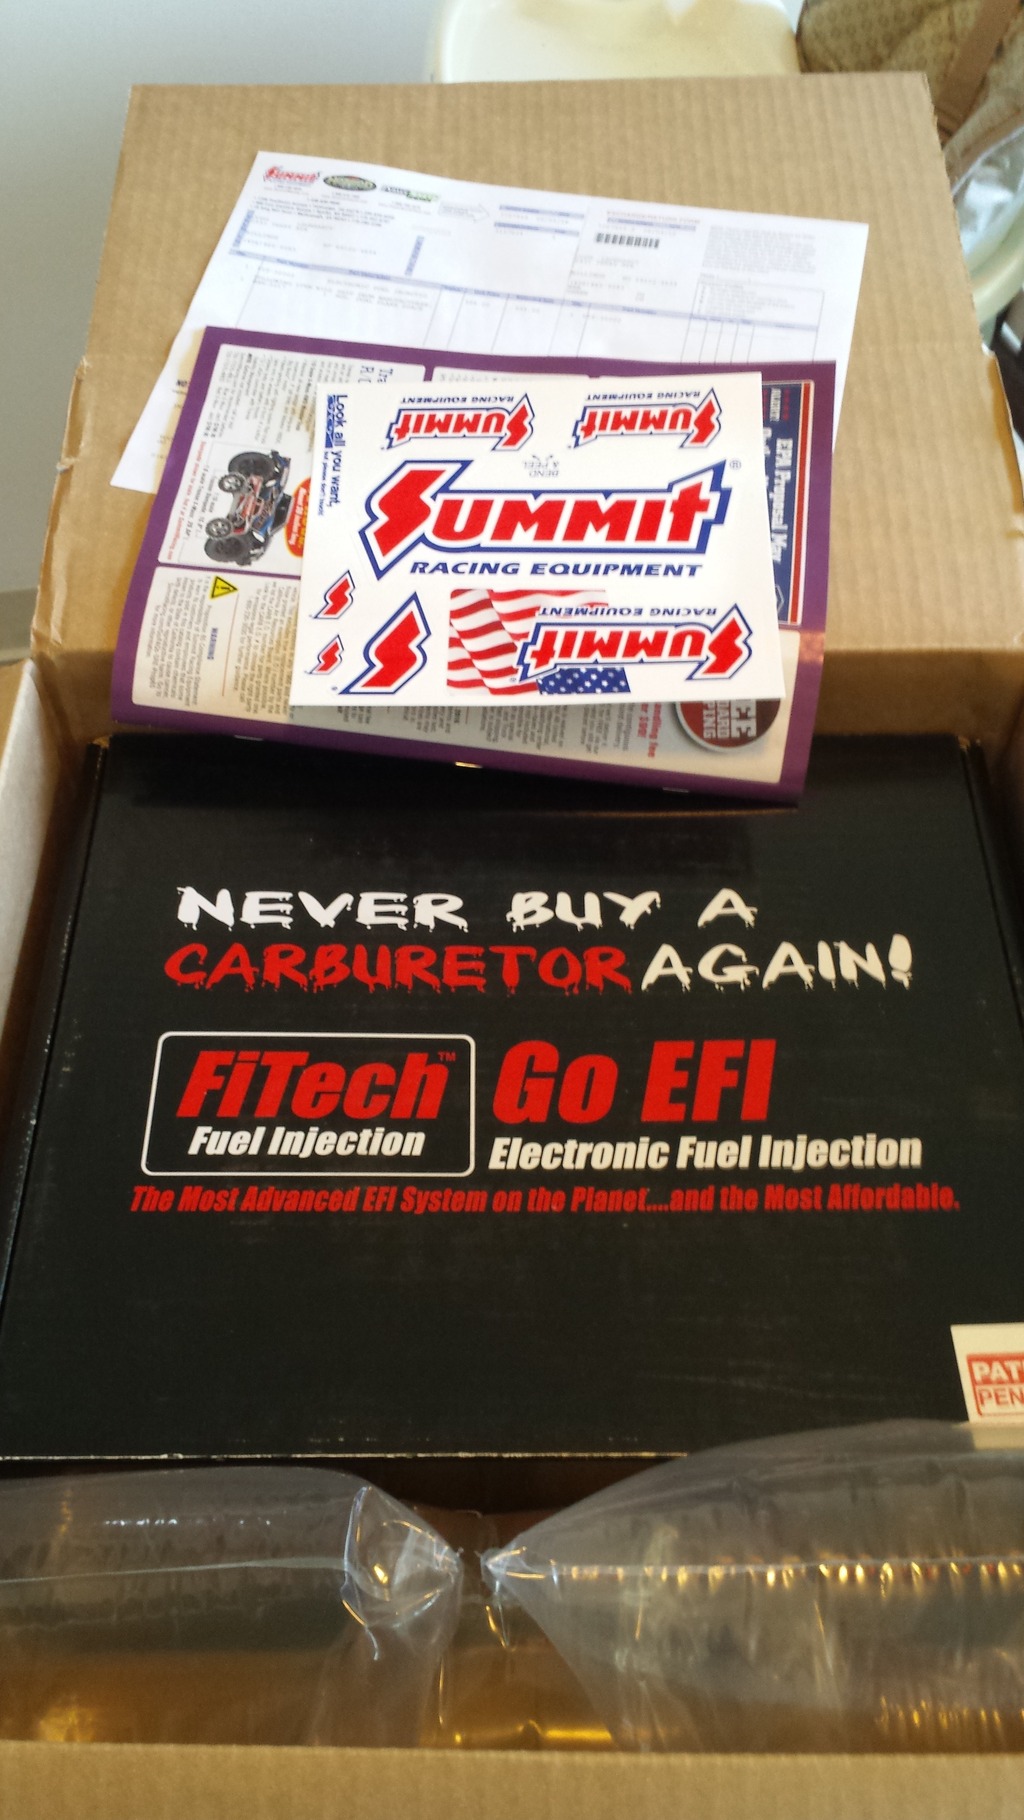
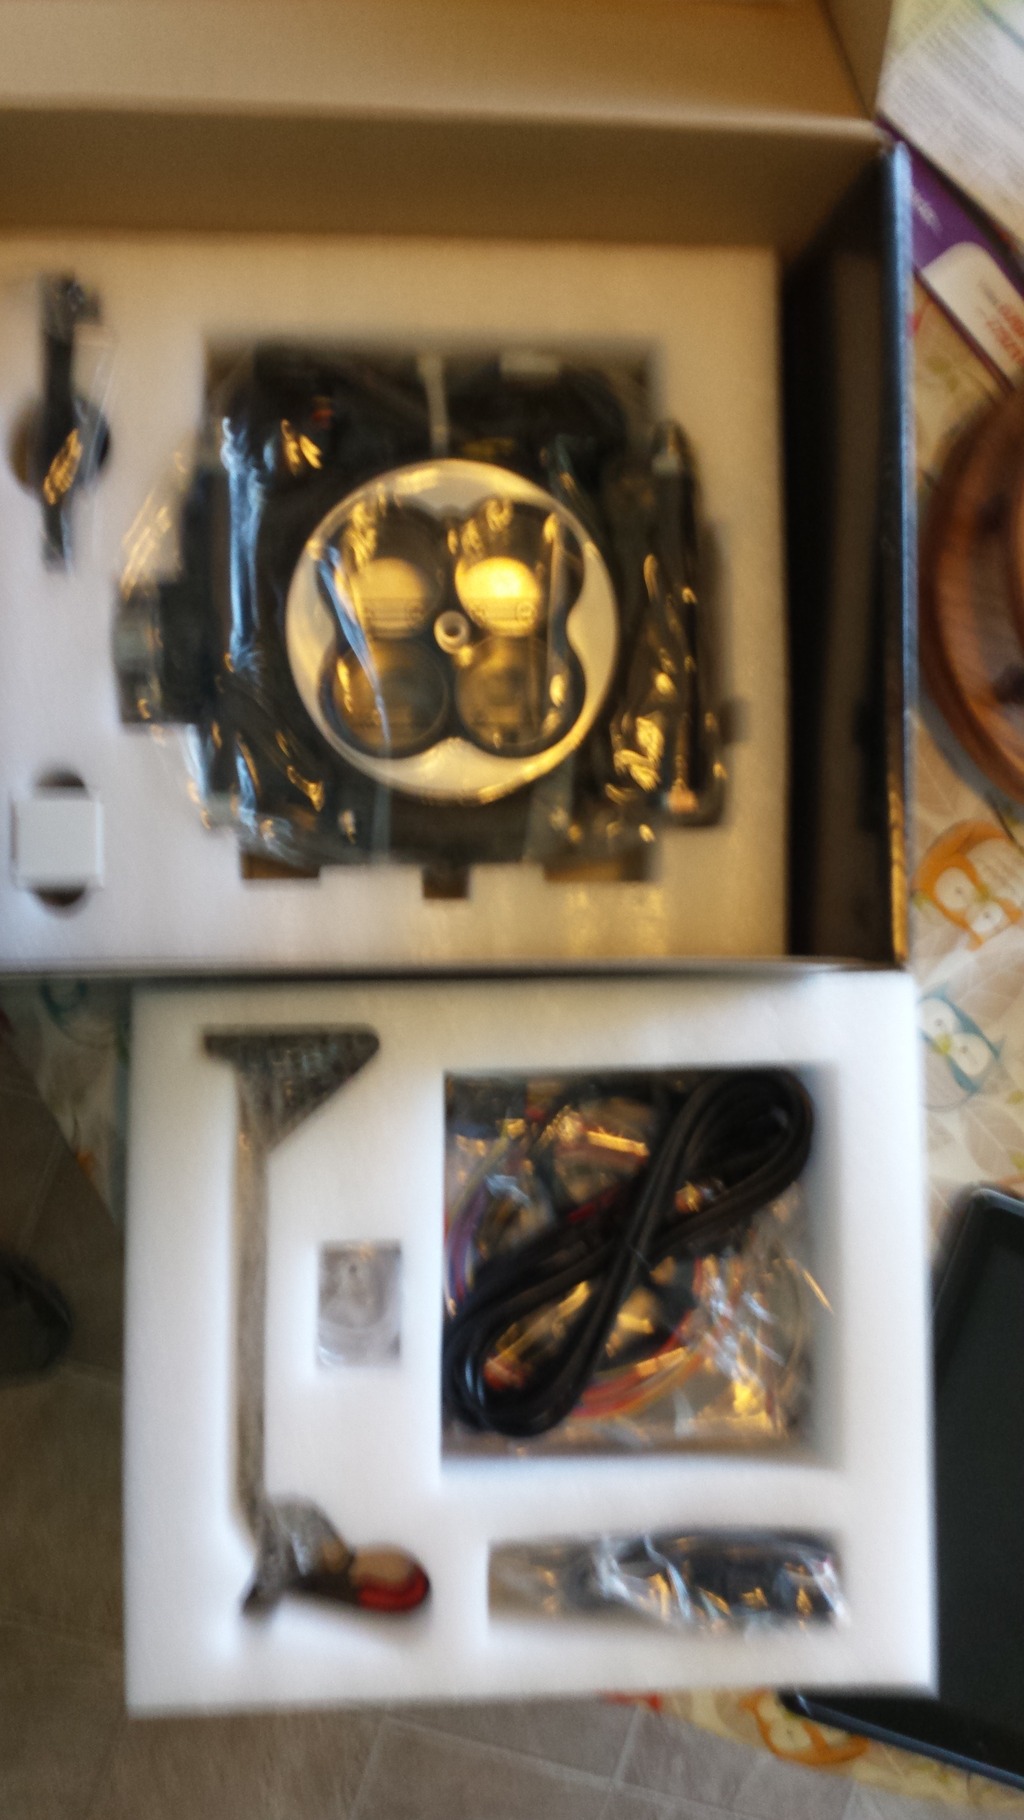
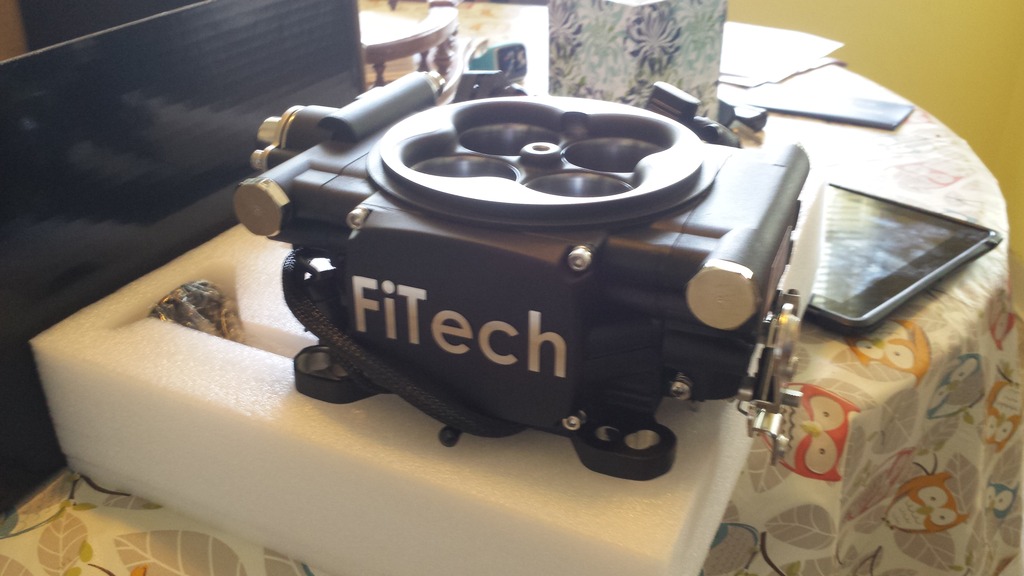
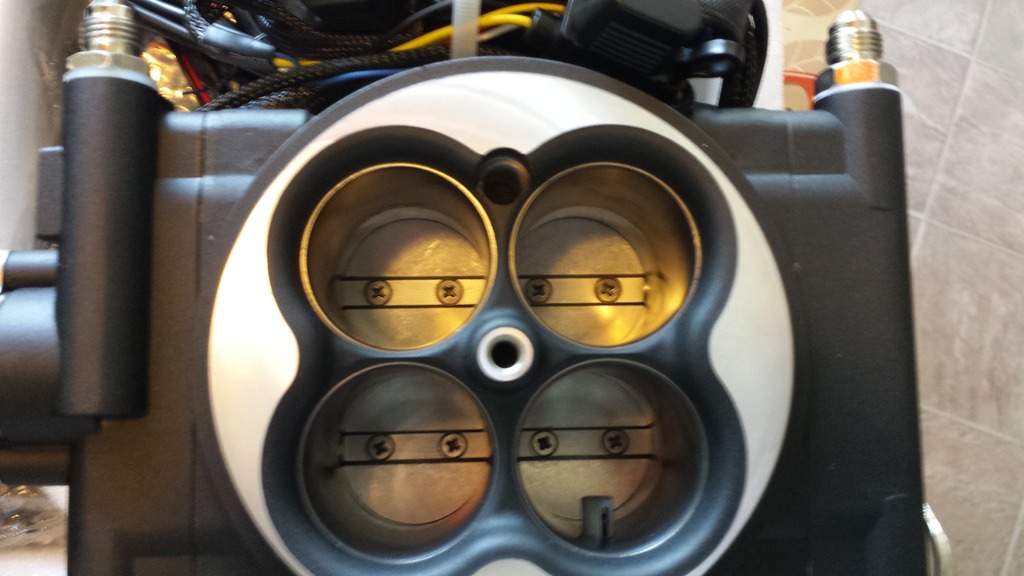
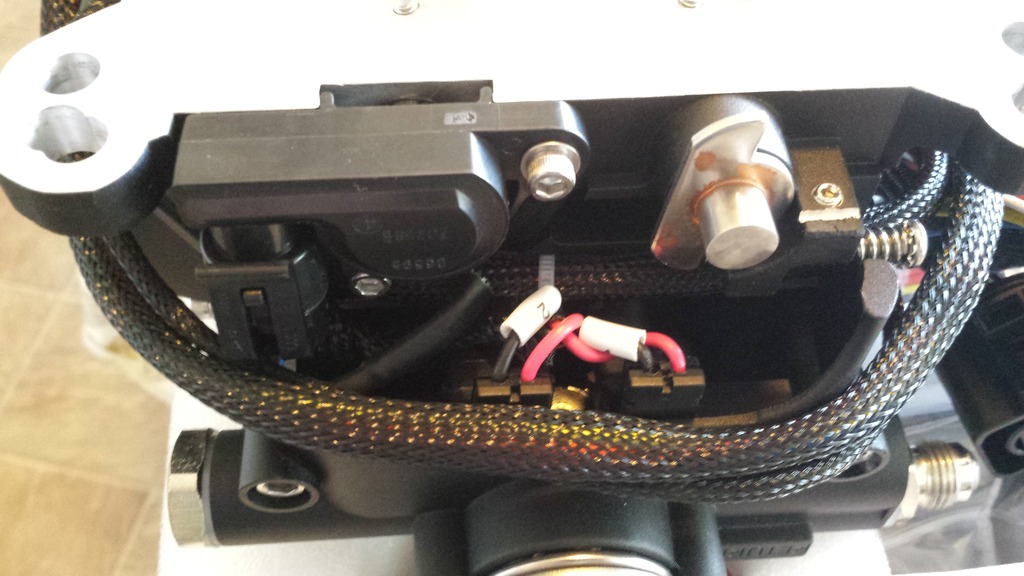
Very impressed with the initial quality, packaging and instructions. Two thumbs way up from this guy.
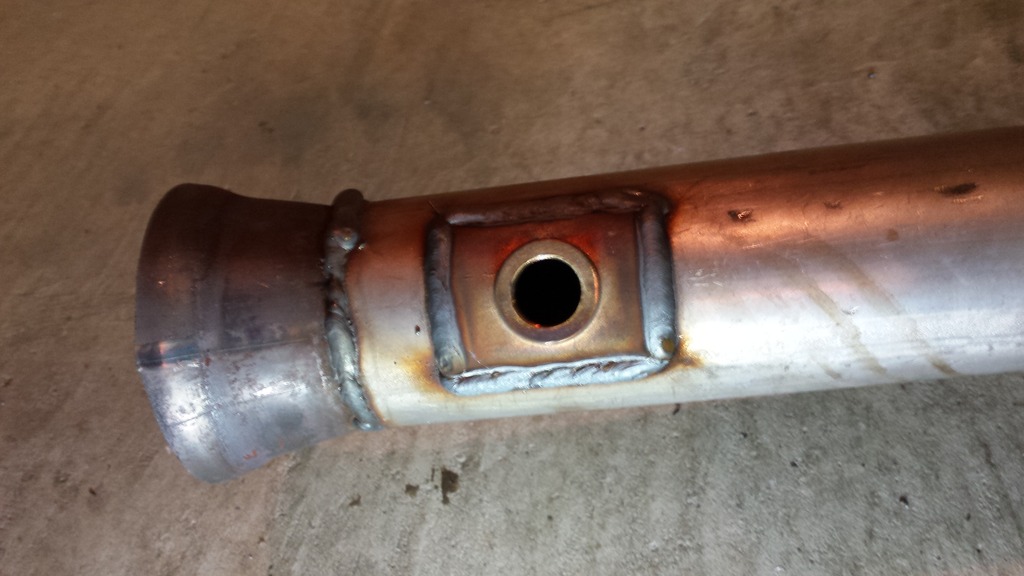
Went to the shop for a bit last night and it didn't go great. Took the low hanging fruit and welded on the 02 bung plate as it was an easy project to complete. Before removing the exhaust I used a deep well socket to figure where I wanted the sensor and trace a mark on the pipe. FiTech wants it like 4-6" from the collector; I had to put it here to clear the radius arm crossmember.


Engine is torn back into, carb went on craigslist. I will be utilizing the timing control of the FiTech EFI so the distributor is out to lock the advance and "phase" it. While I'm in there going to clean the intake with some wheel cleaner and kick myself for not painting or clearing it.
$995 worth of happiness!


Very impressed with the initial quality, packaging and instructions. Two thumbs way up from this guy.
Went to the shop for a bit last night and it didn't go great. Took the low hanging fruit and welded on the 02 bung plate as it was an easy project to complete. Before removing the exhaust I used a deep well socket to figure where I wanted the sensor and trace a mark on the pipe. FiTech wants it like 4-6" from the collector; I had to put it here to clear the radius arm crossmember.
