When you click on links to various merchants on this site and make a purchase, this can result in this site earning a commission. Affiliate programs and affiliations include, but are not limited to, the eBay Partner Network.
Picked up the new speedometer cable from a shop on LI, the owner was an awesome guy, very knowledgeable and friendly. We talked for a half hour. Got the new cable installed, and even rolled the odometer to a fresh 0. Just like day 1 off the assembly line lol, hardly
Still waiting on parts to come in, only 2 of 4 tires made it thus far. Continued working on gauges. Trying out a new "chrome" spray paint. I will have to recheck the make, but it is one of the best outcomes I have seen from a spray "chrome." The cluster I prepped and painted had a defect, looks like it was bent at some time, so the paint did not come out the best. Going to paint my other cluster black and see which I prefer. I noticed both of my battery dummy gauge label films were melted and out of position. I disassembled the housing, and sprayed the back of the gauge face and housing with high temp white paint. Maybe that will help dissipate some heat and prevent that from happening int the future. I noticed that the Oil dummy gauge did not have any overheating issues, and that the backs of the faces were plain metal, not painted black.
Started trying to figure out the turn signal issue, as they do not work. Tore into the column today. Brittle horn wire basically fell apart, that sucked. The turn signal switch was DISGUSTING! just covered in crud. I am going to try to clean everything up with degreaser and/or contact cleaner and retry it. I am waiting on a new turn signal flasher unit from mid fifty, hoping this will work, not looking forward to a new $70 switch if I dont need to.
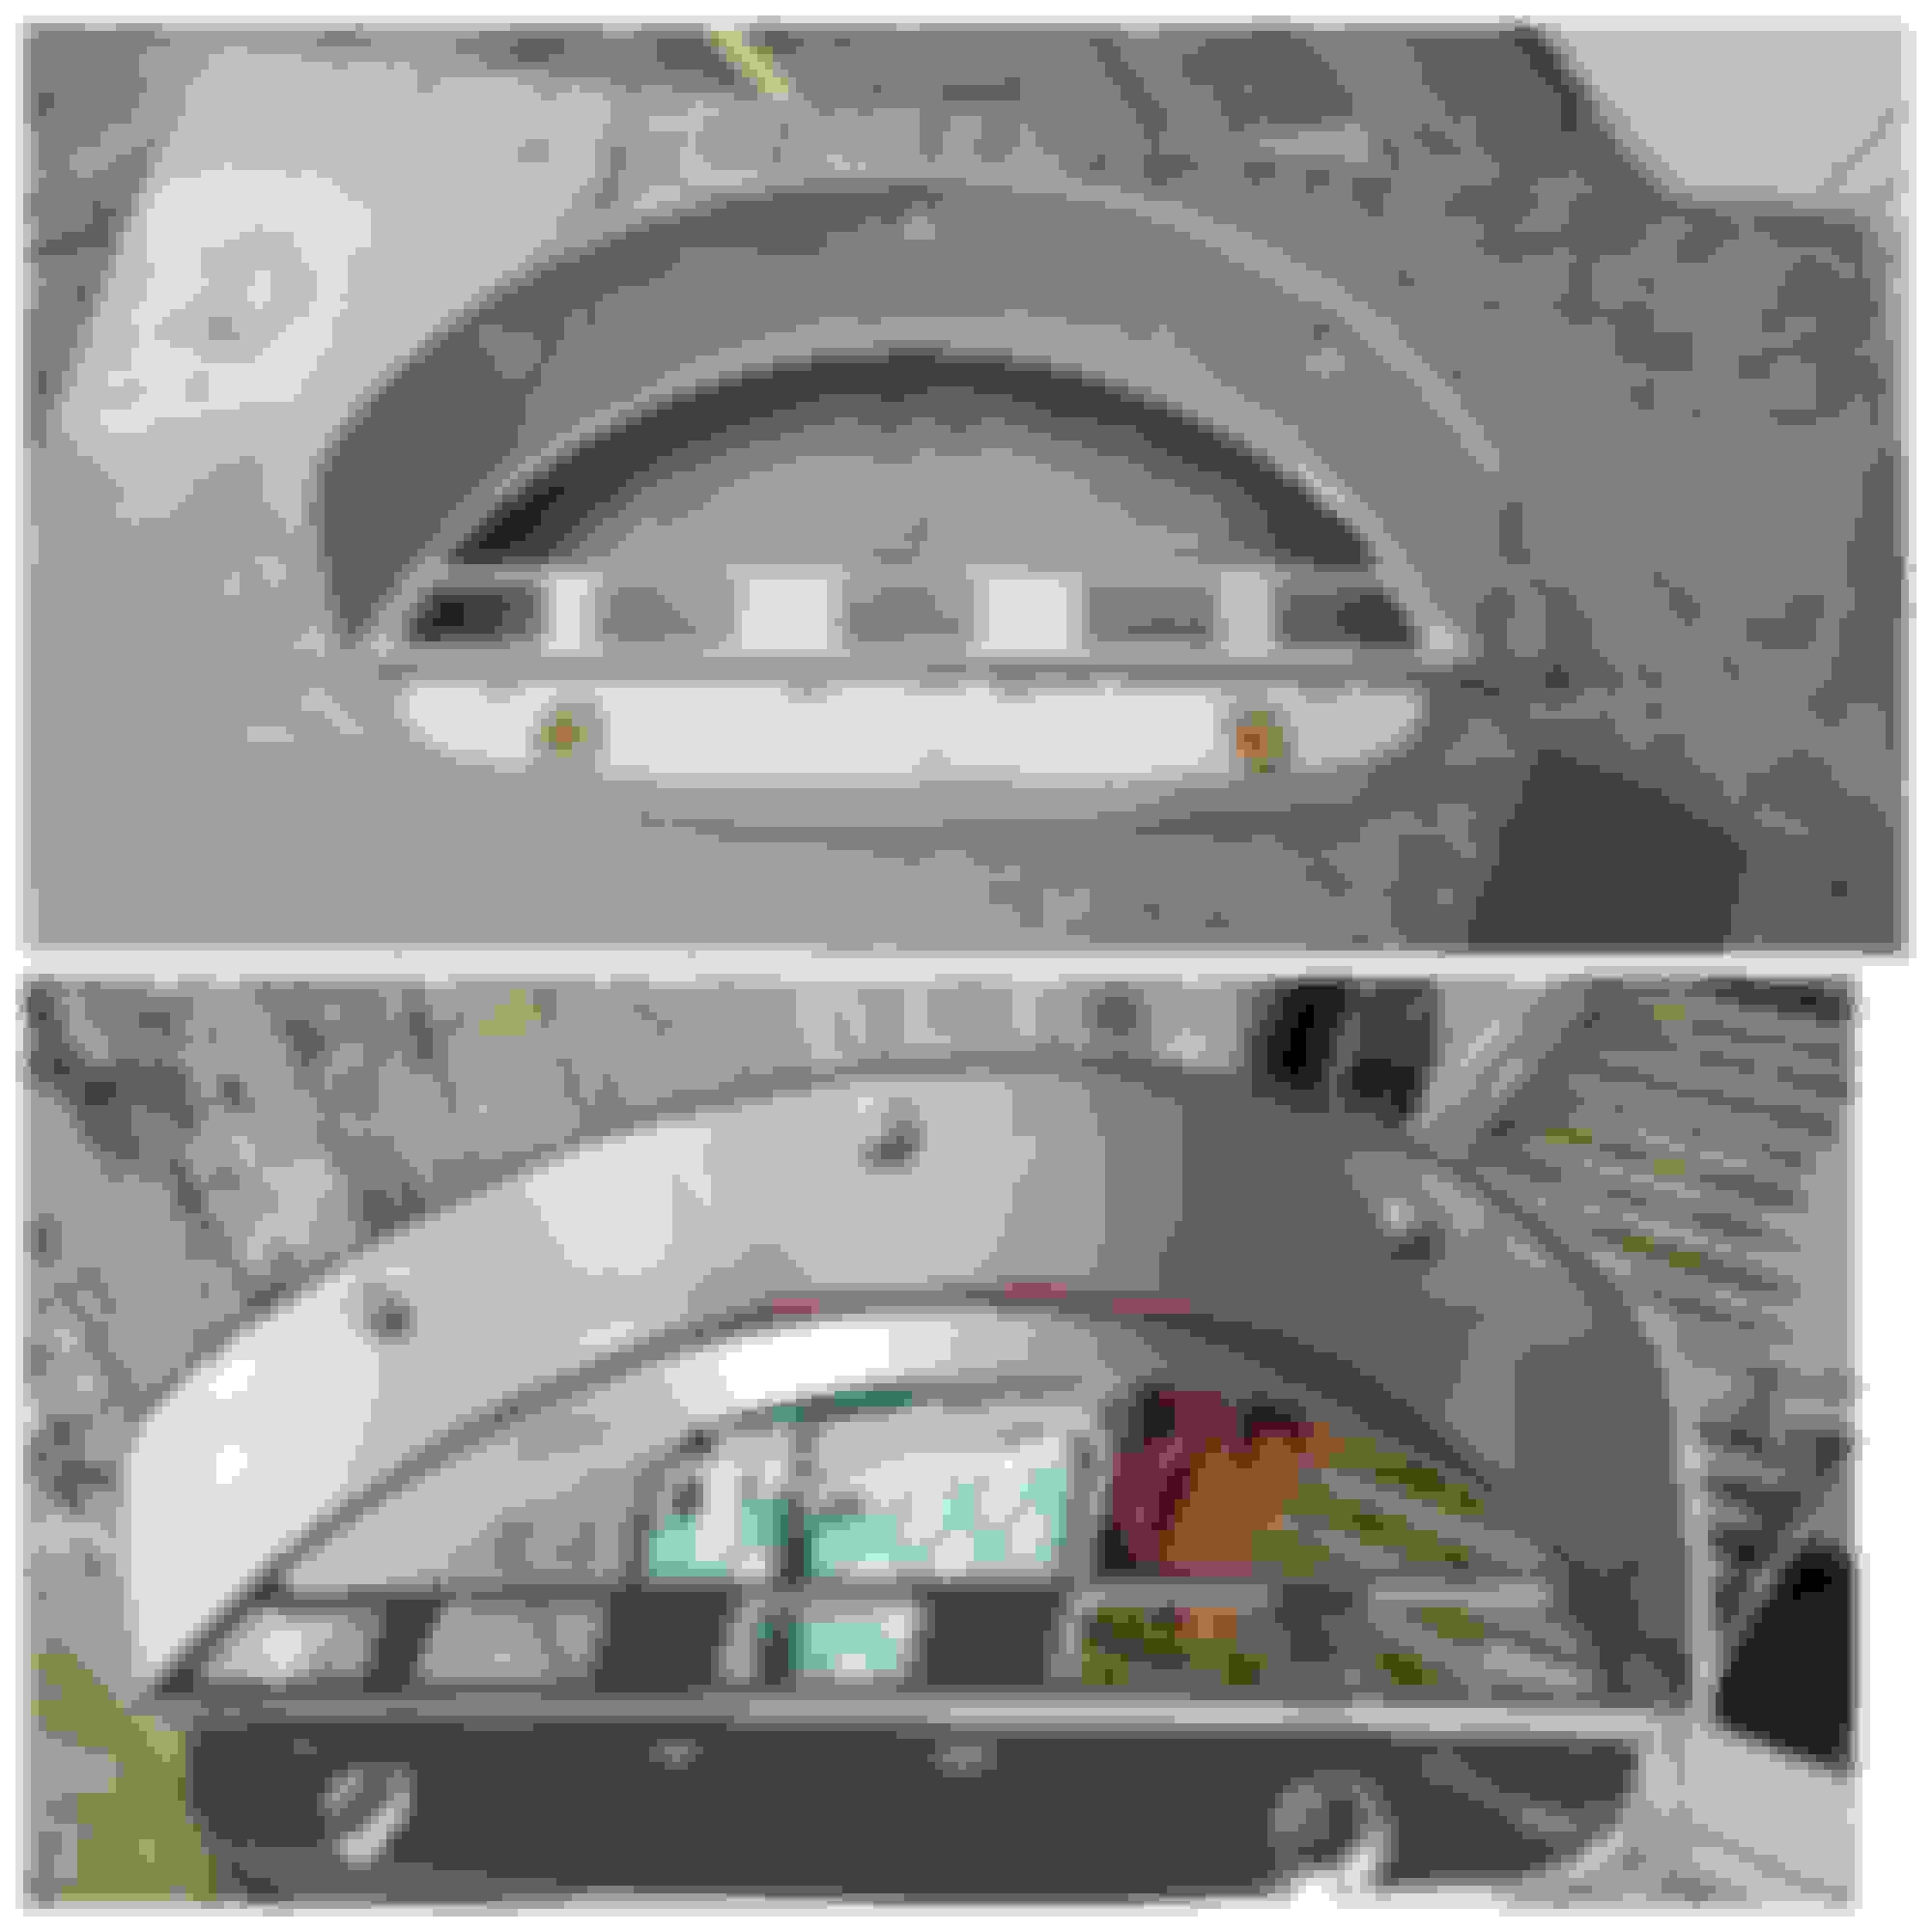
Instrument Cluster before and after:
Christmas in May! Lots of parts came in today! I would like to point out that the turn signal switch dismantling was Dads idea. The flasher unit came in today, so I popped it in, and voila! Turn signals work perfectly. Took all of 5 seconds. Now I have to reassemble the entire upper steering column & fix the horn wire. It wasnt a complete waste of time, as the parts needed to be thoroughly degreased, and painted. I sanded and painted the turn signal lever, cleaned up the turn signal switch, and reinstalled everything. All of my tires finally came in, so hopefully I can get the truck dropped off at the mechanic for its inspection and tires tomorrow.
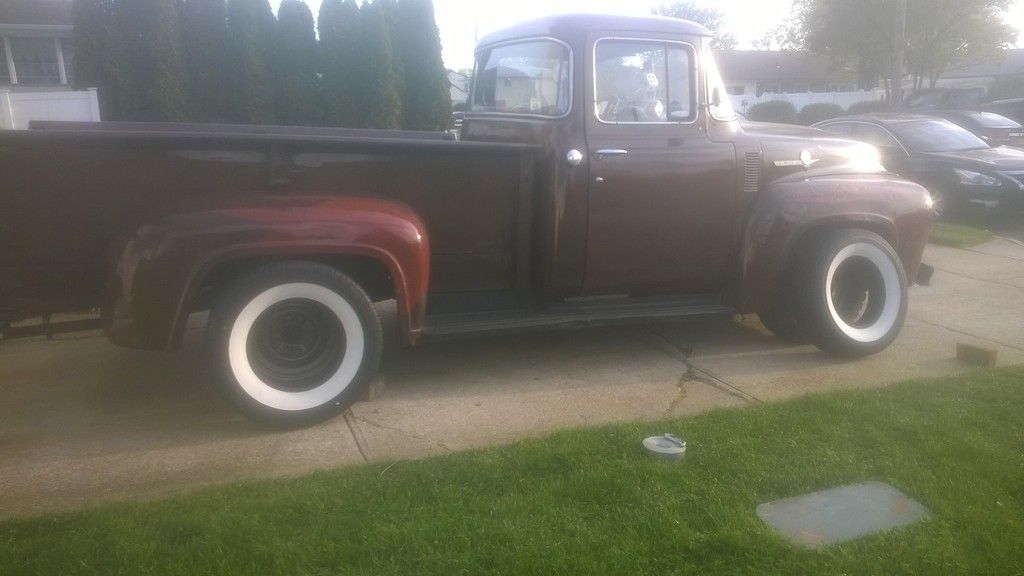
Whitewalls are gonna look sharpppppp:
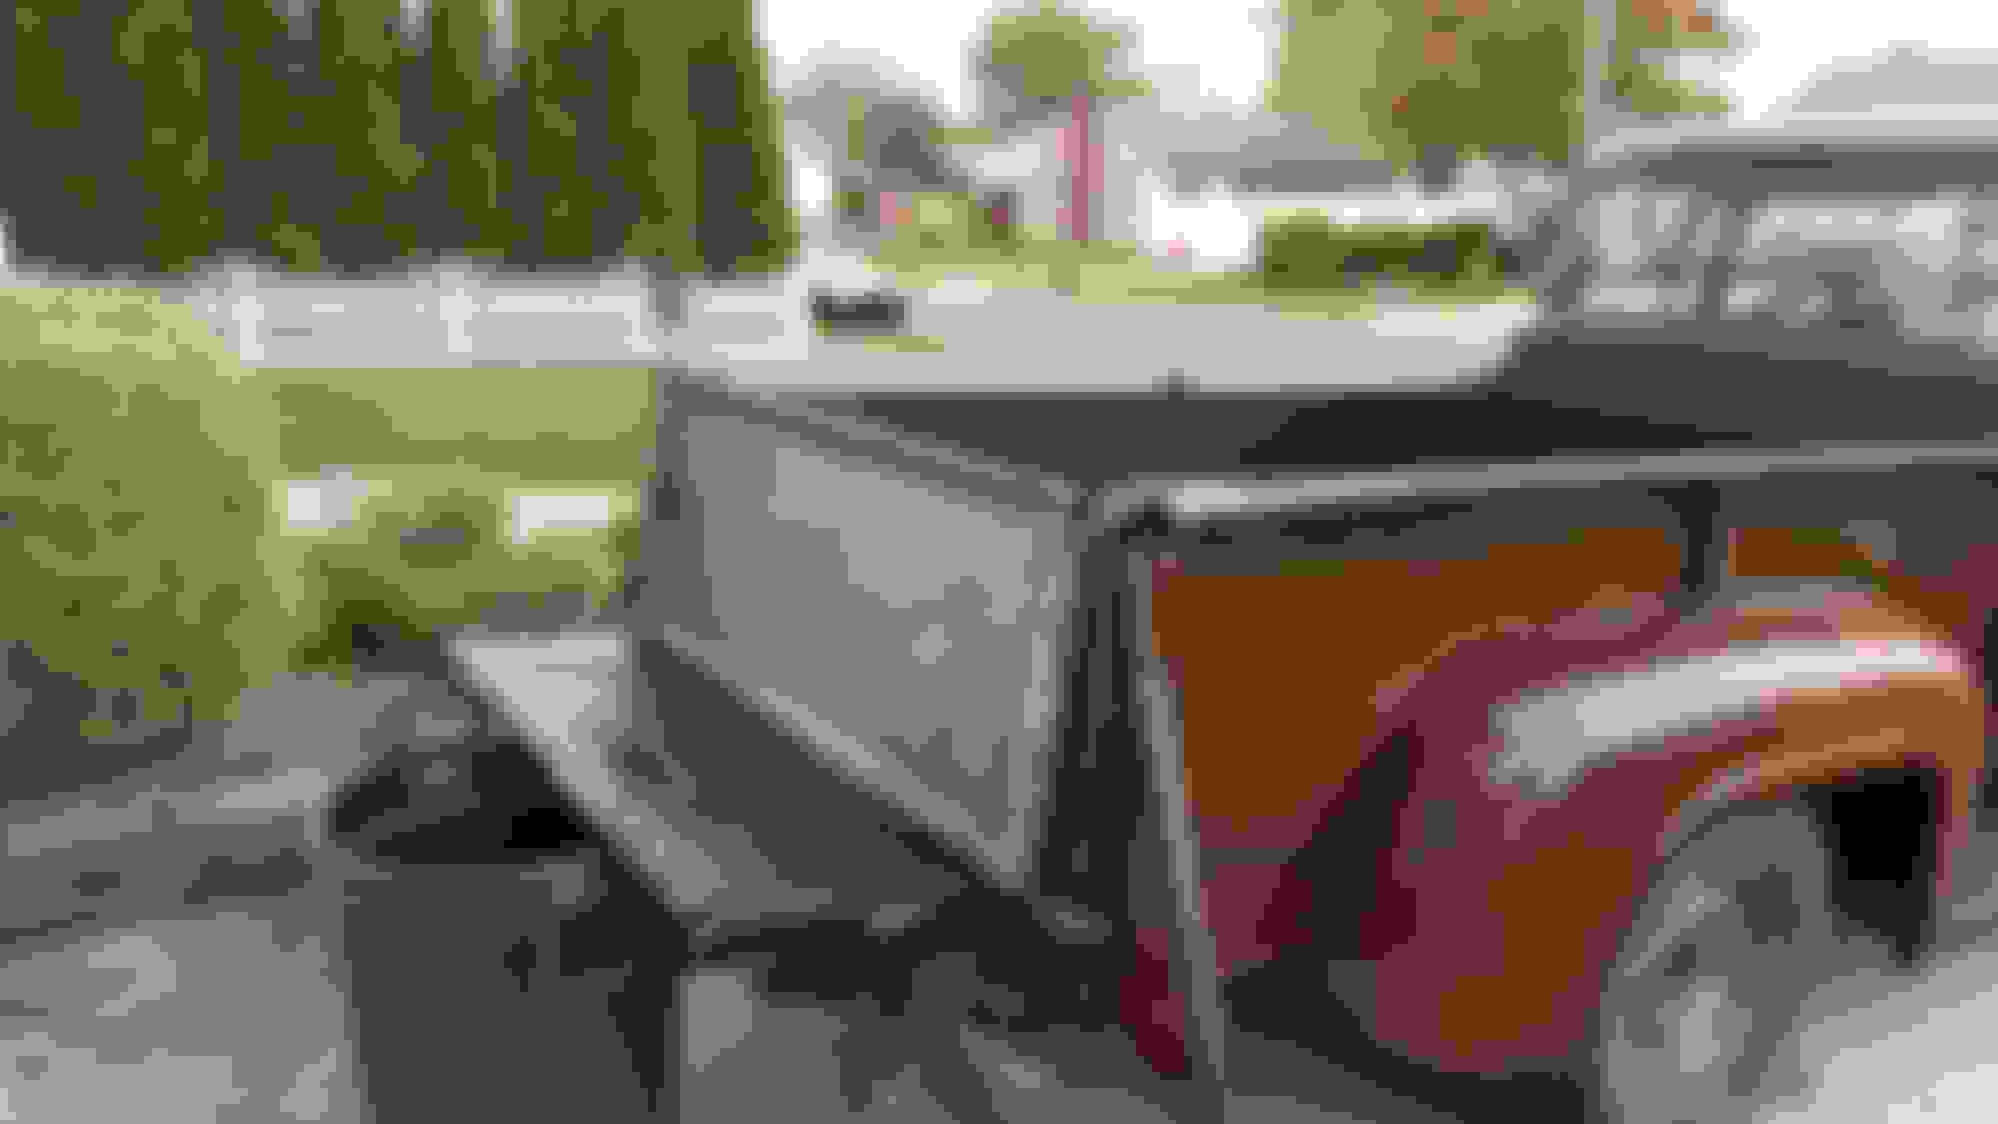
New (old) tailgate came in, sat it up to check it out, it looks good, but will take a little work to clean up. When this one is ready to be mounted, I will sell the short bed tailgate for $260 + shipping, which is what I paid for this one.
Today I started trying to grind off the angle iron that was protecting the tail lights, but quickly found out that my old Ryobi cordless grinder didnt have the power or battery life to do a good job. Dad sent me out to get a real corded grinder, which tore through the welds pretty quickly. Took a while to take the rusty old bolts out of the tail lights, but eventually got it all disassembled. I purchased the complete tail light kit from mid fifty, and while we were installing the 2nd tail light, a bird took a crap on the 1st one we installed. Good luck maybe? Lol
Dad grinding away at the brackets (safety first! Do not try this at home kids! Always wear eye protection):
Since last time I was on here, we dropped the truck off for inspection and tires. Master cylinder needs to be replaced, and possibly new brake lines. I figure it will be a good time to upgrade to a dual master cylinder and disc brakes in the front. looking at a few different kits online if anyone has any recommendations. Got a new dome light from CMW and looks great. Ran new wiring, as the old wiring was just too short and brittle.
No pictures yet, but I started using aircraft paint stripper on one of the door inspection panels as a test. Really works great, even on the 60 year old paint! Comes up with not too much effort.
Loaded up, headed to the shop:
Man you're making progress fast! My dual MC and brake booster is under the cab and required a new hole in the floor to access it. The nice thing about that location is you can leave the pedals alone and it doesn't interfere with the column shift.
Man you're making progress fast! My dual MC and brake booster is under the cab and required a new hole in the floor to access it. The nice thing about that location is you can leave the pedals alone and it doesn't interfere with the column shift.
do you know what kit you went with/where it was from? thanks
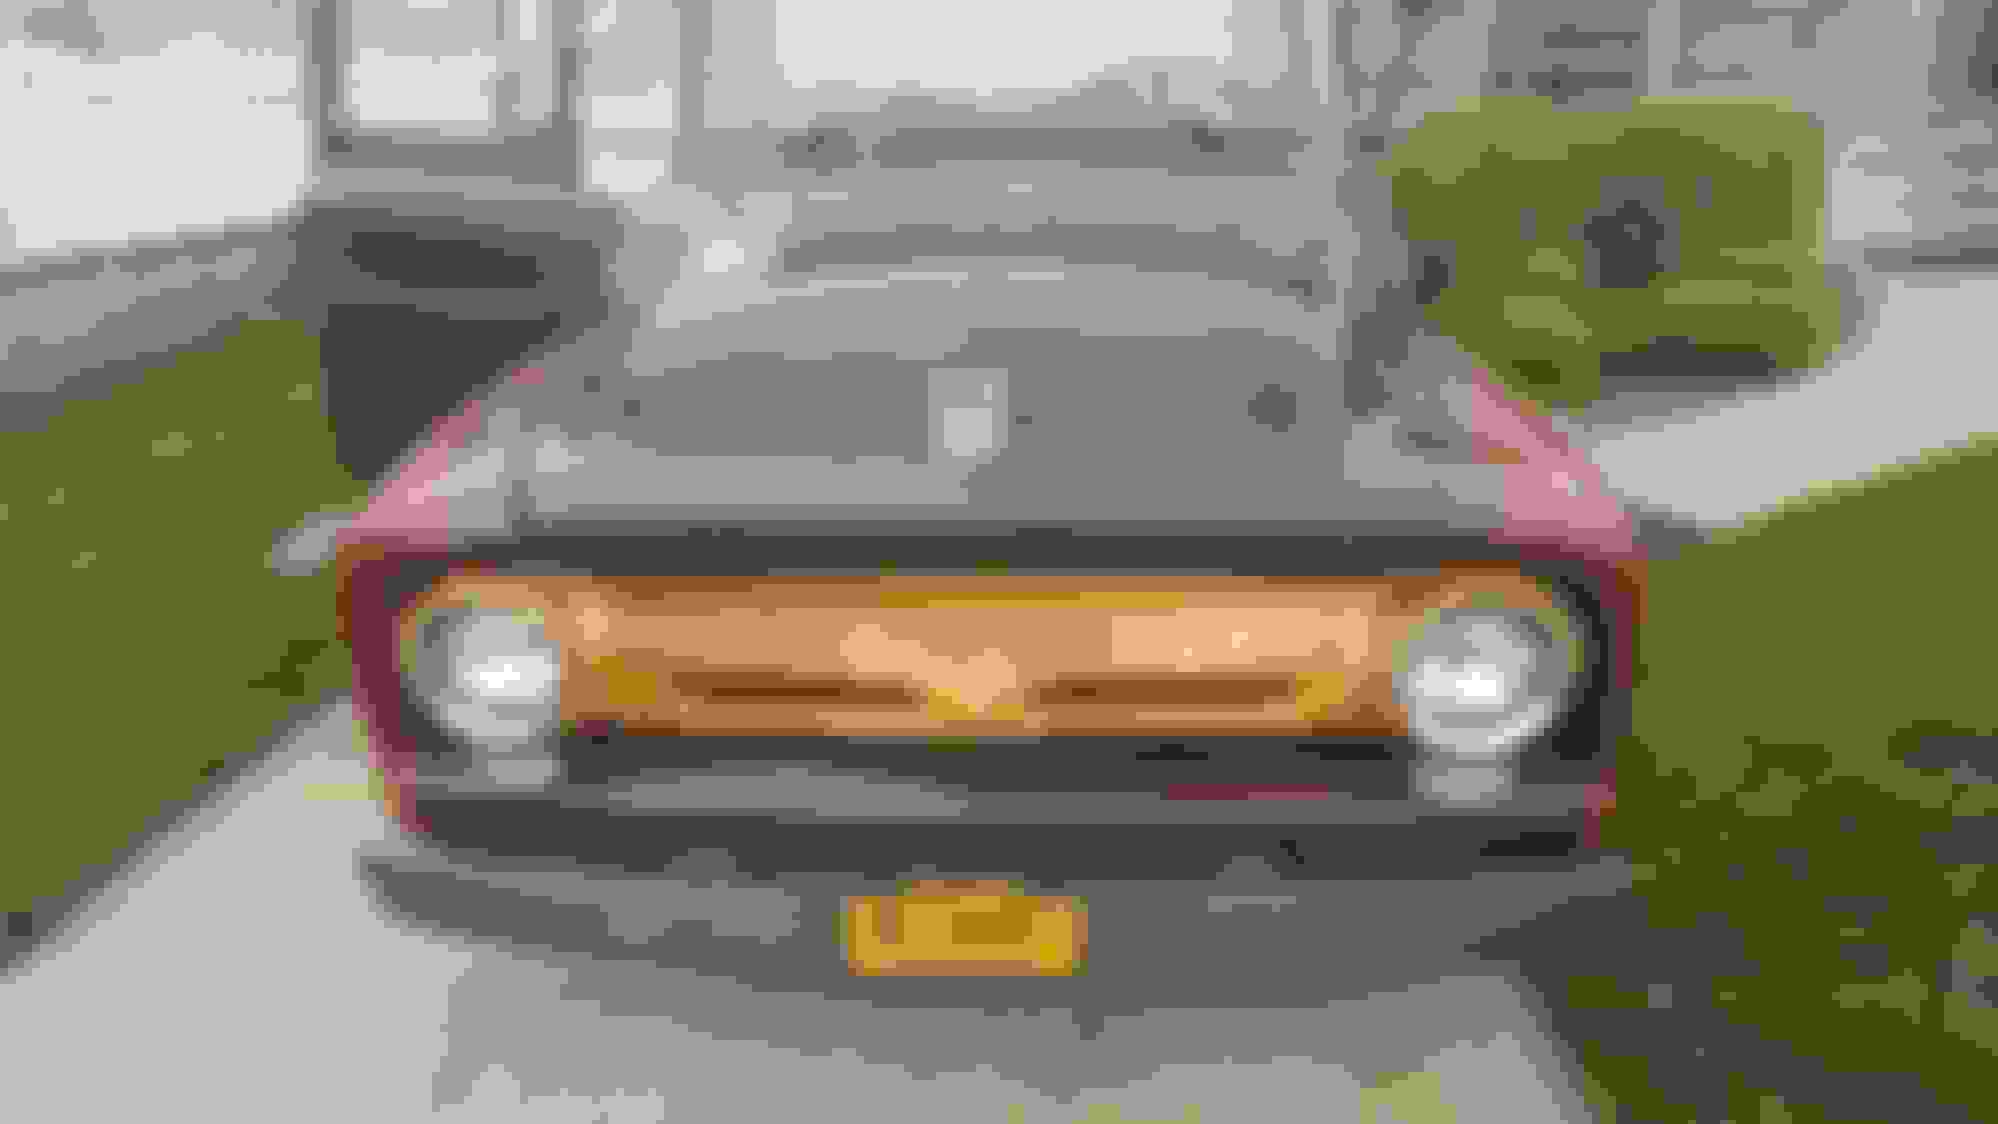
Took the truck for a spin around town the other day, and on the way home, completely lost the brakes! lol. Looks like the master cylinder is leaking worse than we thought. I ordered a new manual dual master cylinder, that should not require any major modifications, as well as all new brake lines. I probably wont be able to get that installed for a few weeks, bc I am going away next week. White walls looking sharppppp
Got the door inspection plates, battery housing cover, and parking lens housings cleaned up and primed. I painted 1 of the inspection plates to test out a blue that I think I like.
My plan is to get the truck primed piece by piece so that it can either be painted by a pro, or I will make a makeshift booth to spray it myself. Previous owner sprayed the truck brown, but as I take things apart, I can see little prep work was done, so that paint will not last more than a year or 2 at most. Battery cover was so pitted, even after paint, it still looks a little rough. It will do its job for now, as this will be a driver truck, and its covered with vinyl flooring anyway.
You can see how rough the parking lenses are. One looks like it may have partially melted. If anyone has some driver quality ones laying around, feel free to donate them
I finally got my custom plates in the mail. I love them, but wish NYS would stamp them like regular plates. It looks a little cheap unstamped.
Just FYI, the reason I did the parking light housings is bc the lenses were bouncing around bc the gaskets had disintegrated. I got replacement gaskets, and installed them after priming the housings. I looked into the door inspection panel and battery cover gaskets, but they seem unreasonably high priced. I could understand the door gasket if it was a 1 piece gasket, but its a 2 piece gasket, it shouldnt cost more than a few bucks, and it is at least $20 for the pair. Anyone know a good place to get some (rubber?) gasket material for those replacements to make my own?
The previous owner left some hubcaps in the truck when I got it, had them laying around, and finally decided to see how they look. I think I really like the bigger covers. I was never a fan of the color the PO painted the rims. I think if I clean up and paint the larger covers, they may sit real well with the whitewalls. Anyone have input, left or right?
Also began wiring up the door jamb switches, and testing out these superman LEDs that I bought. (Sidenote- everyone refers to me as superman, due to the surgeries and other problems I have overcome in my life). These will go in the door bottoms, and come on and shine on the ground when the doors are opened. When we began working on them, I didnt think they would be bright enough, but sure enough, when it got darker out, they look badass.
Also, I found a guy selling a used gas powered air compressor on craigslist. Its a little more than I would like to spend right now, but over 16CFM @100 psi, and Dewalt to boot, I think it will pay for itself in no time. Id like to get a media blast cabinet, make cleaning up these parts sooooo much easier. Hopefully I can pick that up this weekend before my vacation starts Sunday.
Have a great holiday weekend everyone!!!
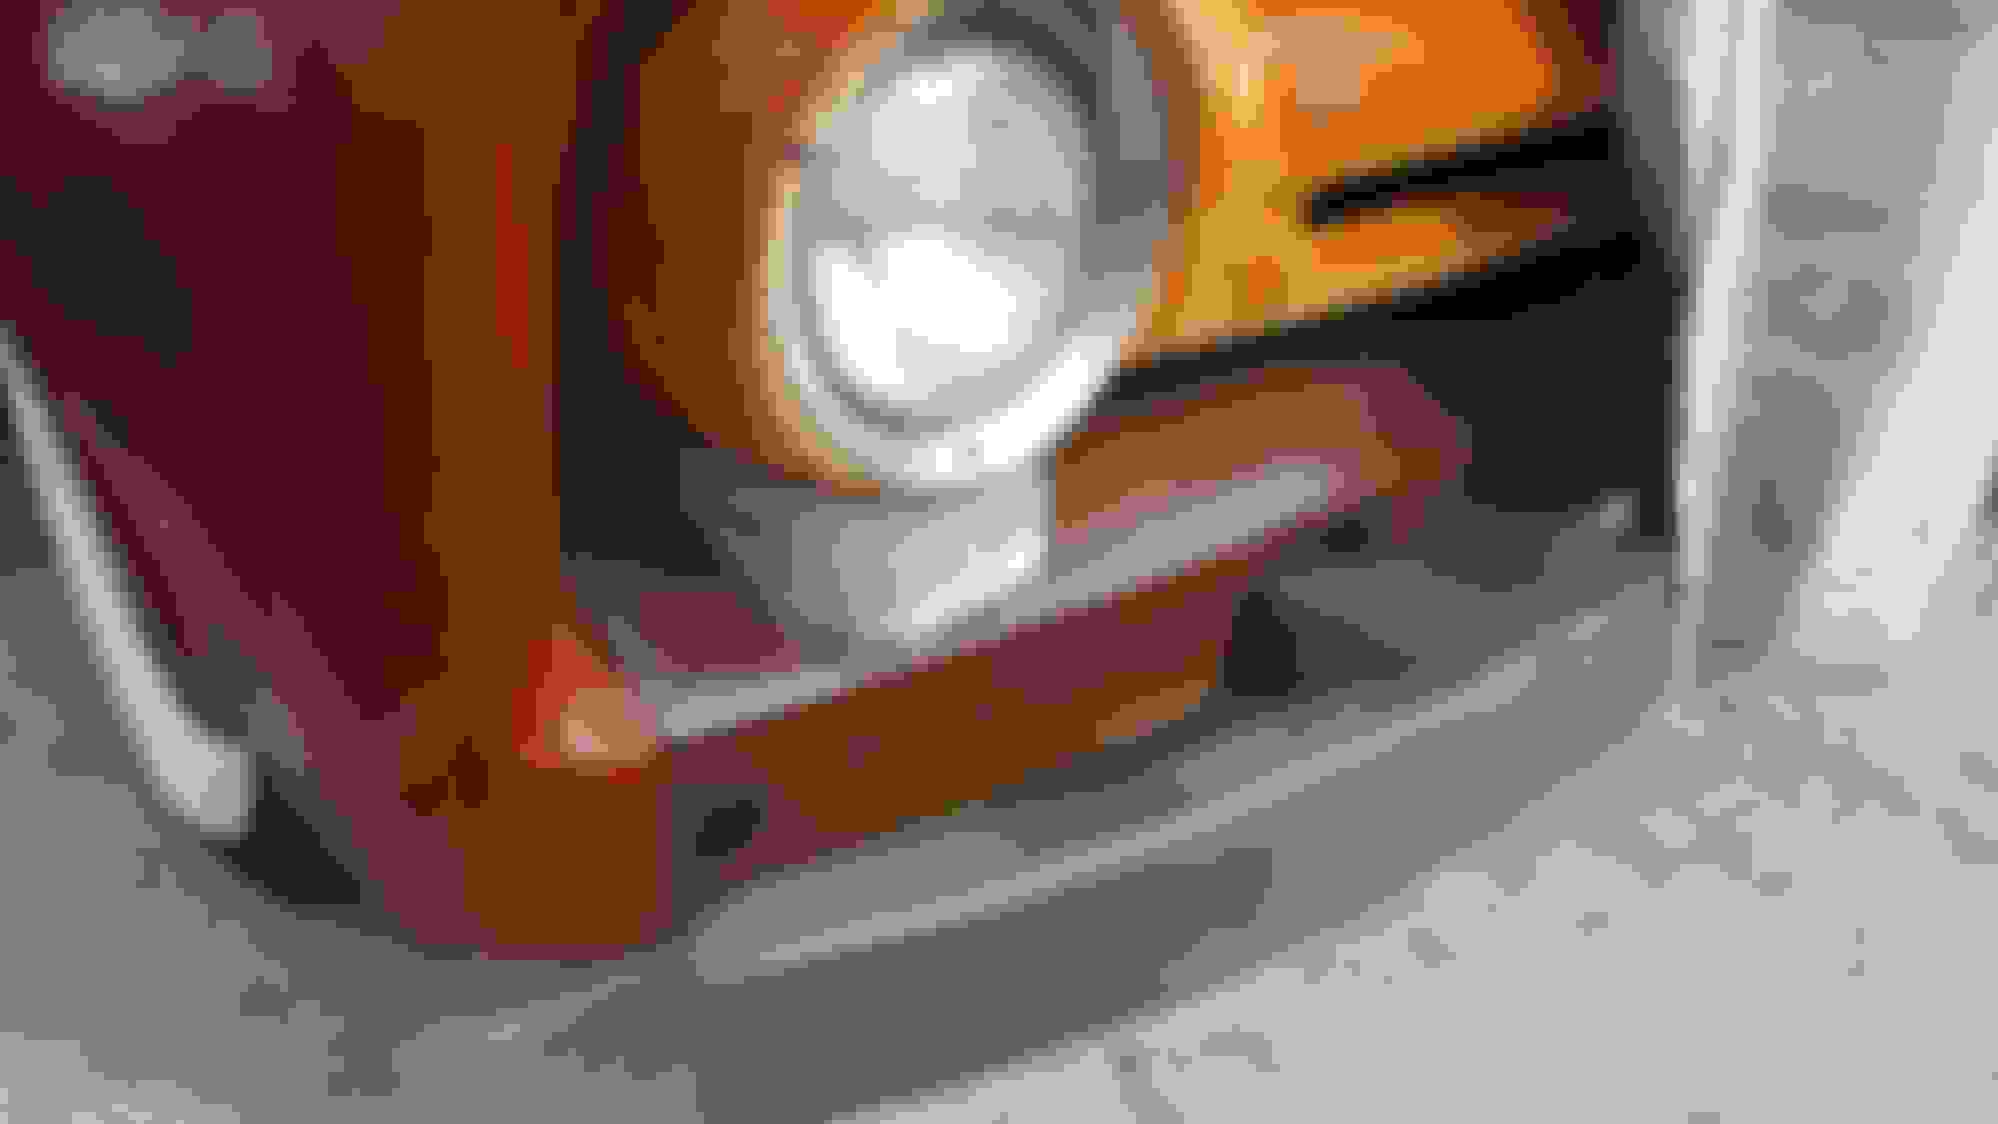
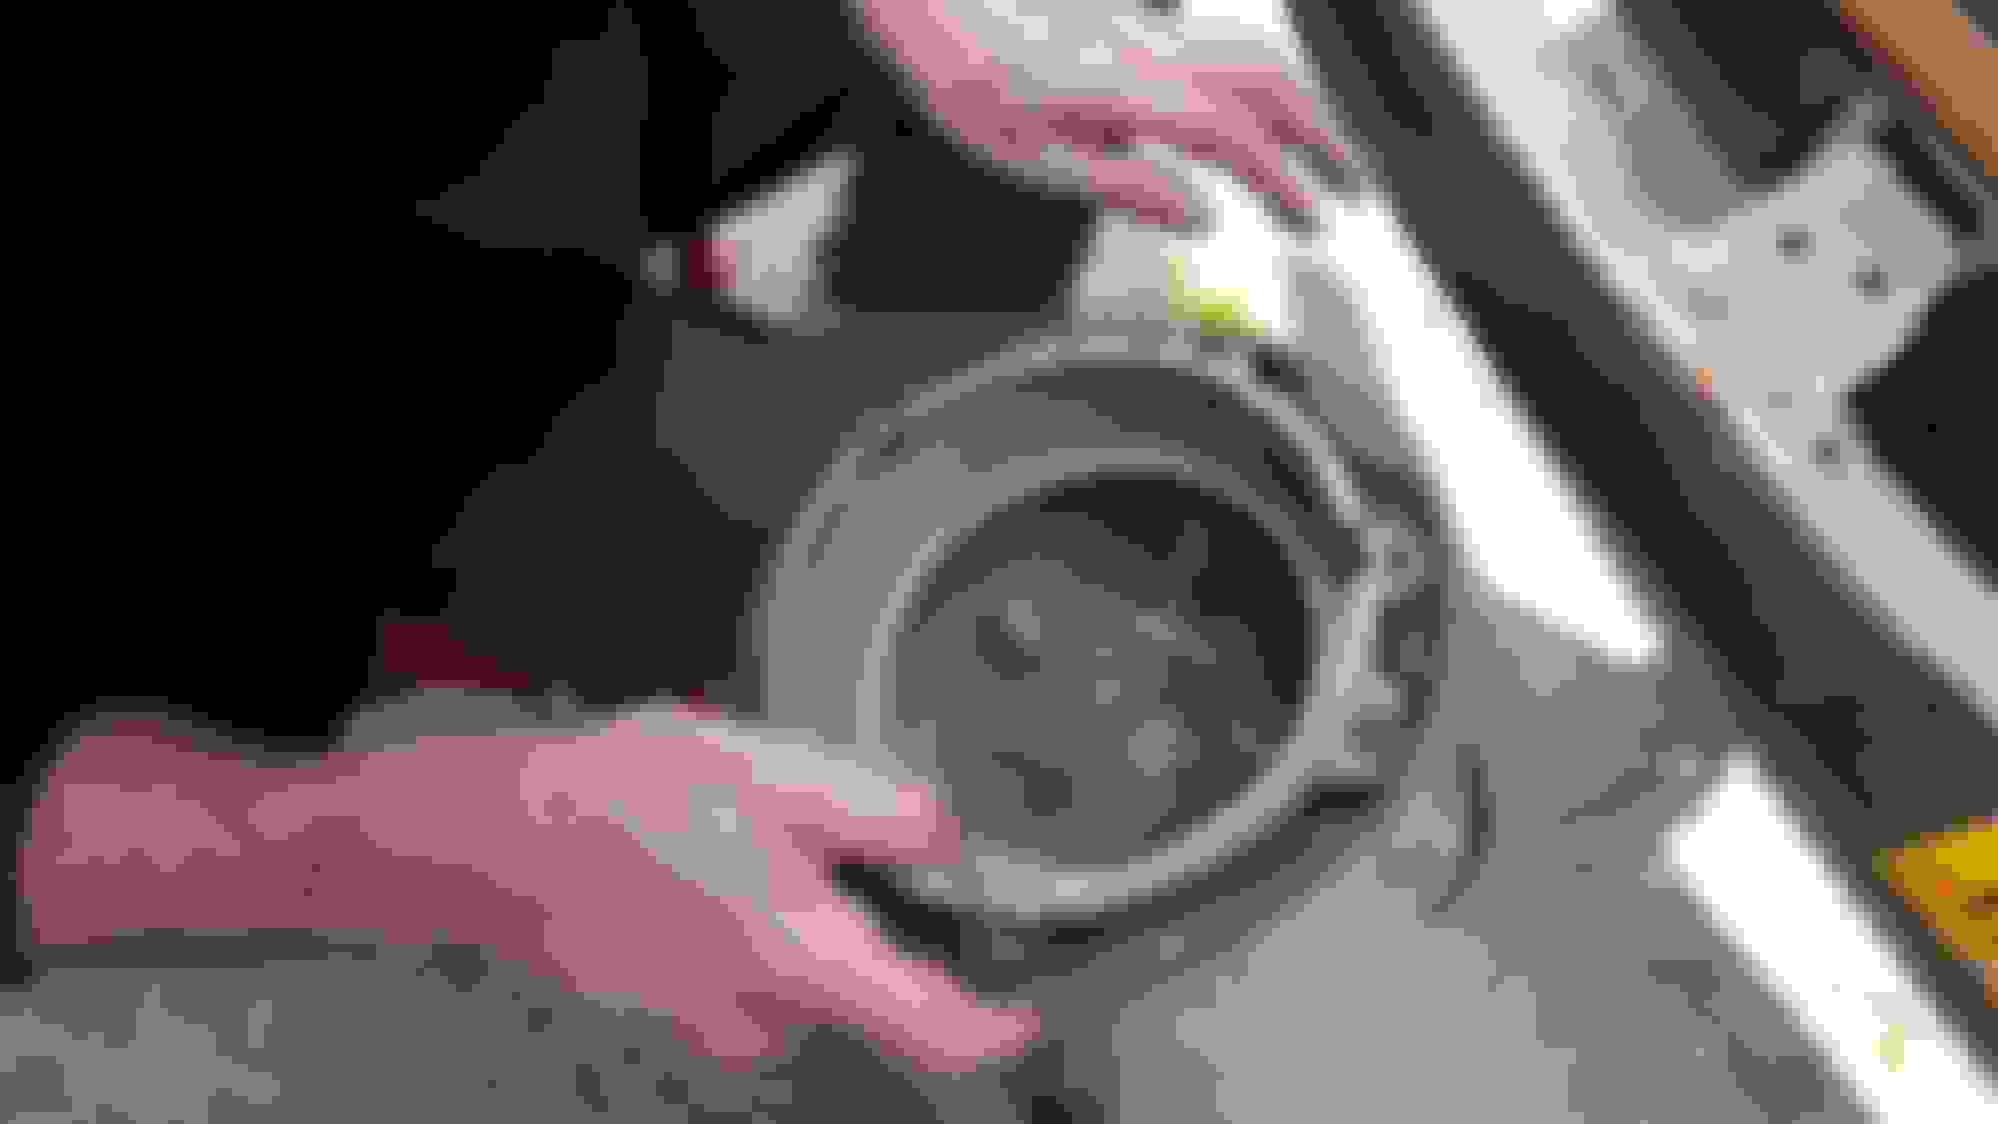
Not too much to report. Seems like I am always waiting for a part to arrive. While waiting on brake parts, I figured I would swap out my grille for a chrome grill I have. As I began tearing into the front end, the headlight and parking light wiring was S-H-O-T. A lot of exposed wire, and barely touching the wires, the insulation was just crumbling off. Im bummed that it feels like 1 step forward 2 steps back with this truck lately, but glad I caught this before it became an issue. Ordered a new crossover harness from Midfifty. I called to confirm it has all the socket connections, and they said yes, so we will see. Just look at all the junk in the headlight housing:
Terrible condition:
New dual master cylinder came in from POL. Looks like good quality parts. I will need to create a new master cylinder access panel in the floor to fill it. I dont want to do a remote reservoir. The new master is bolted up under the truck now, getting the original out was a pain! I didnt realize when ordering that the new master was going to require different brake line connectors. The new unit has 2 very large ports. 1/2-20 and 9/16-18 for anyone who purchases this kit. Kind of bummed that they dont list the sizes anywhere, and dont state that they are not included. I had to call to get the sizes.
Here is my ghetto rig setup for brake work. lol
For my birthday, dad splurged for a nice gas powered compressor off craigslist, and a harbor freight blast cabinet. Maybe we can get that set up soon. I am impatiently waiting to get my truck driveable again! I want to take it to a local fathers day car show!!
Not much exciting to report as usual. Having trouble with the brake job. Turns out the outlet port was not the size that the Performance Online tech told me. It is actually a metric size, go figure. Maybe it was threaded improperly or something, I dont know. It has been a huge headache trying to find an adapter to fit the master cylinder. Should be cast with "POS" on the side lol:
With that solved, the rear brake line will not come out of the brake hose. They are completely fused together, I left the end soaking in pb blast over night, and it still will not budge. Going to have to figure out how to separate it.
Finally got the crossover harness from midfifty, and as I expected, none of the sockets were included. It was just a basic 18ga wire harness with snap connectors. I was really frustrated, as I paid $30 for a harness I could have made last week for less than 2 bucks. I ended up going to the local auto parts store to pick up some H4 headlight sockets, and I will make my own harness. I will either have to salvage the parking light sockets, or purchase new ones.
We got the media blast cabinet set up. Using 80 grit aluminum oxide as the media. This thing is bad ***! Strips everything right down without doing any damage.
Heater cover before:
Heater cover after a quick blasting:
Headlight housing half blasted:
Heater faceplate after blasting, rust reformer spray, and chrome paint:
I have several pieces blasted, in paint right now (my paint shed lol), going to use high temp white paint on parking lamp housings and headlight buckets just because I have extra.
 05-03-2016, 08:37 PM