When you click on links to various merchants on this site and make a purchase, this can result in this site earning a commission. Affiliate programs and affiliations include, but are not limited to, the eBay Partner Network.
Used some quick steel putty to attach the dipstick to the mounting bracket. My welding skills just make it look ugly lol. Got everything back together, filled up with 15w-40, had the battery charged, went to start and nothing. Lost daylight so went back at it again today. Found out the truck wasn't getting any fuel. Blew out both lines (from carb to pump and pump to fuel tank). Both lines are clear, had some fuel in the filter canister. Tried without the gas cap as well. Nothing I do gets fuel sucked up so I'm assuming by fuel pump is bad. Currently researching making sure I buy the right one... theres too many out there! Once I get the new pump hopefully I'll be good to go!
CARTER M6978 {#6471898, D8TE9350BA, D8TZ9350B} Mechanical Pump
4WD
Detach the line from the carb side of the pump. Turn it over and see if fuel comes out. If no fuel, replace the pump.
Did that, along with a million other things to test before pulling pump. Question now is, the pump works when out of the truck. Had gas going from one cab to another after about 10 pumps. Put it back in and nothing, carb is dry as can be. Is there something that could explain that? I'll be buying a pump just frustrated. It'll get here Tuesday or Wednesday but of course I have to leave town for work again on Monday so it won't be until dec 8ish that i will get to try and get this truck running again. That's why I've been trying to see if there was another problem.
Side note, ran to Napa and they didn't have one in stock. AZ,O'R, AA all sell it as ship to Home only. Probably going with rockauto. Cheapest price and cheapest shipping
Are you sure the pump actuator lever is properly engaging the camshaft eccentric when installed on the engine?
No. And I don't know how to check.
It ran when I went to drop the oil pan and once I put the oil pan back in (a few months later) it doesn't start. So I would assume unless I had a catastrophic failure from just sitting it should be engaging correctly? Idk tho as this is all new to me.
Edit* when I did take the pump out an hour ago, when I put it back in I made sure the pump arm went under the cam lobe. I checked with grinnergetter on that.
So the Napa came thru for me and had a pump in today. They said it was a carter pump they just sell as a Napa part. Anyway new pump worked! Still unsure why the old pump worked outside the truck but oh well new one fixed that issue. Then my battery was dead which I figured cz i have been cranking it for 3 days with no start. Got the battery charged up and now just found the front bolt on the fuel pump is stripped need to see if it's the bolt or housing but I'm assuming it is the housing. New housing or helicoil are probably soon to follow.
It's always something... always something
Same bolt? Hope it's the bolt....you have luck like me...helicoil time if up size tapping is not an option. Hang in there with it, at least tomorrow is Saturday.
Thanksgiving and traveling for work once again pulled me away. Just got back into town last night. Started messing with the truck today and now confirmed I no longer have spark. Time to start seeing what the problem is there.
If you get the chance for an open knuckle high pinion 44 you will be pleased. I stumbled upon one for cheap and yanked out my closed knuckle in a second. Still working on getting the new one back in but so much better.
Wow, tho I don't get on this side often but I have read up to now. Love it , love the road trip to get it. Awesome truck.
i see you are from Vanderburgh co....I live there myself.
Am I crazy or do I recognize that 4h building...
Cmon buddy, start showing them pics of the genius electrical trick you taped up REAL nice and all.
ha i'll get to that lol
Originally Posted by fe390pc
If you get the chance for an open knuckle high pinion 44 you will be pleased. I stumbled upon one for cheap and yanked out my closed knuckle in a second. Still working on getting the new one back in but so much better.
yeah I am keeping a close eye on craigslist... what steering assist do you have? bendix or the newer one?
Originally Posted by fordman67
Wow, tho I don't get on this side often but I have read up to now. Love it , love the road trip to get it. Awesome truck.
i see you are from Vanderburgh co....I live there myself.
Am I crazy or do I recognize that 4h building...
if you venture out to the county fair then you sure do recognize it! That picture is from this years county fair. My little sister entered it as restored americana for 4H and in that picture it is sitting in front of the SIAM building. It will be down there next year hooked up to the hay wagon we usually pull in the antique tractor parade. I am hoping to be driving my highboy to the fair too but we shall see. currently don't even have driveshafts lol
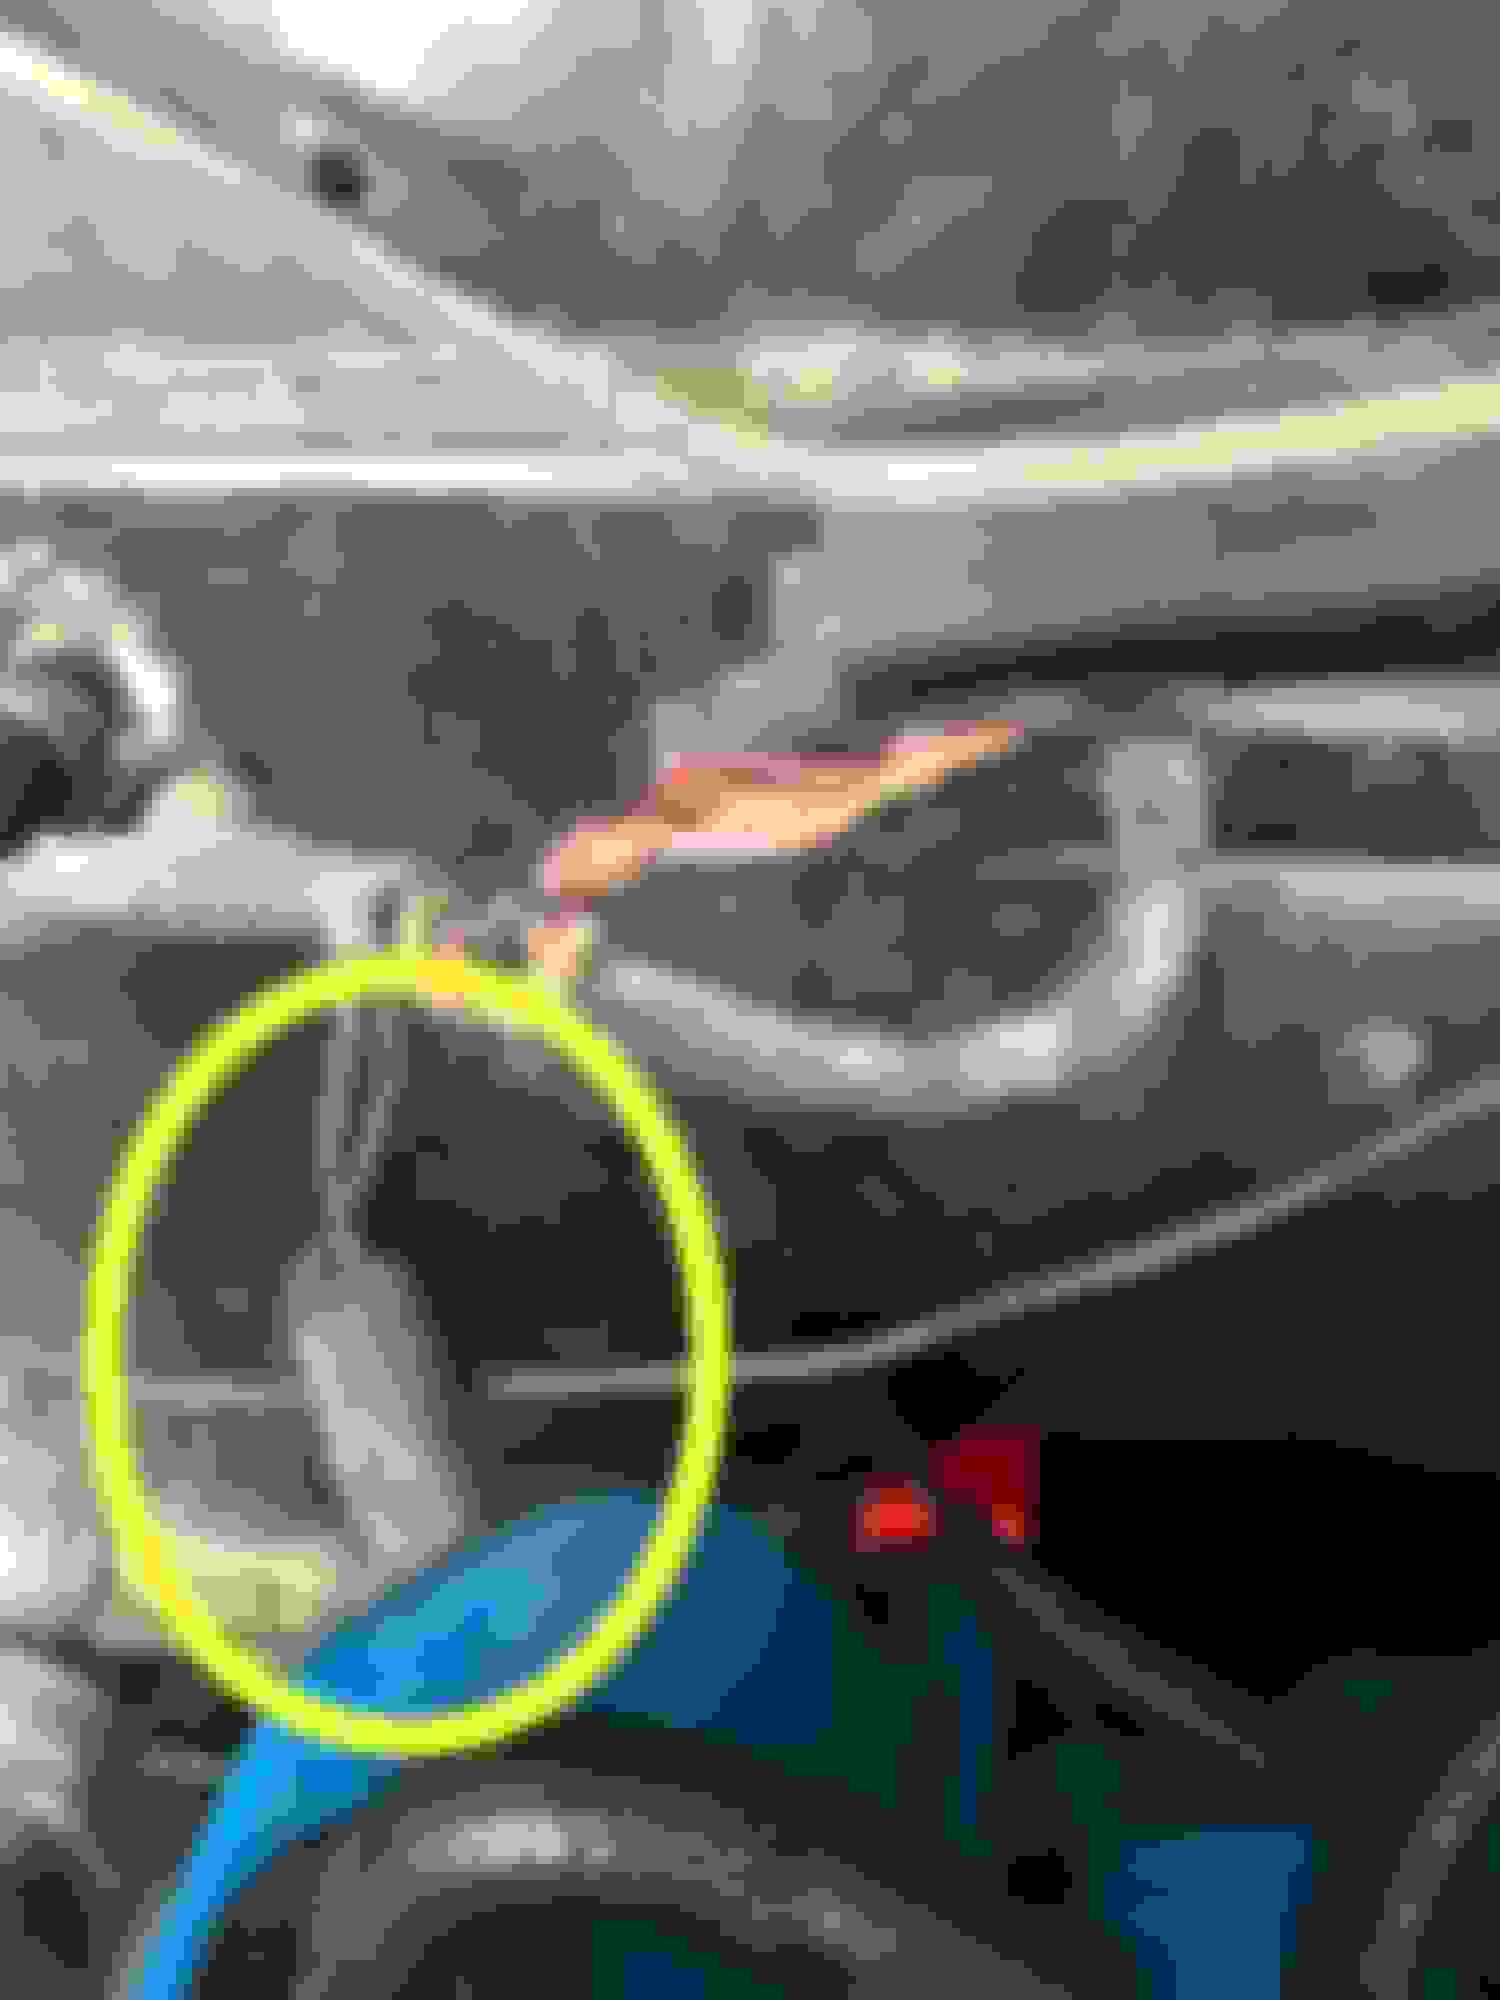
Ok so I now realized I never got back to my update. Holidays, traveling for work, and cold weather came out of nowhere! Anyway I found out why I had no spark but before I get to that lets see how I got to that point. Decided to start tracing all my wires for my no spark which meant I had to unwrap/cut MILES of electrical tape and OEM plastic sheathing. Once I unwrapped all of the electrical wires in the engine bay I began to inspect them all and started to find issues like these
Figured surely that was my problem... well it IS a problem but a problem for another day. This got me looking more closely at my wiring and I happened to see two wires that didn't seem right... well thats because it was lamp cord and that doesn't belong in an engine bay which leads me to what Grinngergetter was referencing in the above posts...
When I tore down my interior, there was a tiny switch zip tied to the back of my seat and wires that led to nowhere (or so I thought but boy was i wrong)
stock photo of the switch, bout the size of a dime
I had tried flipping it and seeing what it did but never got anywhere with the switch, figured it was a project unfinished or just more shotty PO work. Apparently the PO did something right and managed to wire in a kill switch. I never saw it from the engine bay because he split a wire at the factory connector, and then taped it all up inside a wire loom with other wires that went through the firewall so you would never suspect anything was ever added into the wiring. Once unwrapped it all start to come together. To test my theory I took some alligator clips and just jumped the cut off wires and what do you know, bang it fired! Thought to myself this was where that switch led to and I guess I never flipped it while the truck was running. Here's some pics of the PO masterpiece once it was untaped
So I fixed the wiring for now (but i love the PO's idea and think I am going to keep it but obviously wire it up properly and probably hide the switch in a different location... cause with everything taped up you wouldn't even think to start looking for a kill switch, a thief (hopefully) would just assume an old truck wont start).
So with the truck starting I can move on. Well I didn't get to move very far because the truck wont stay running unless I have the gas pressed most of the way down. Had a buddy over and noticed fuel leaking between carb gaskets... so I pulled it off and ordered some new gaskets which put me at a stand still. Figured it was time to start investigating the fuel pump bolt... and that is where the cold weather, holidays, and work came in and distracted me...
Edit** on a side note I have 2 questions 1 does anyone know what this plug goes too (see pic below)? and 2. I have to wires that look like what attach to my coil, they have never been hooked up, any idea where they go?
So with nice weather yesterday (low 50's) and me already outside trying to fix the heat in my wife's escape... I figured it was time to look into the fuel pump bolt. Pulled the bolt out and sure enough threads were fine. Re tapped the bolt hole (thought it was cutting nice) Put a new gasket on, tightened the bolts up and still couldn't get the outside bolt to tighten down. Soooo the hole is no good, guess there wasn't enough material left to fix the grooves. (was hoping i just skipped or flattened a few grooves but nope they are chewed up and gone.) I thought about just using a longer bolt and nut but wanted to fix things properly and not take a shortcut. (although hindsight maybe I should have given it a try cz now I took 30 steps back). Started disassembling to take off the timing cover which meant removing alternator, power steering assist and water pump.
Annoyed but it is what it is, figured I can paint my new water pump now too because it started to get surface rust (thought it was painted but just clean silver metal from the factory). Drained my coolant and saved most of it. Drained my oil pan just to be careful (saved it to reuse as its brand new oil anyway) and then removed my timing cover which annoyed me because I just replaced the oil pan gasket and now I had to rip the front part off. I did see new kits come with just that section so looks like I can just replace that and not the whole oil pan gasket again (whew).
So my timing cover is off and I cleaned it up, see before and after. Undecided on just stripping the paint and leave it aluminum, or paint it silver.
Here you can kind of see the hole that is chewed up
Not sure if this spider webbing is something to be concerned about?
So talking to some guys on the f150forum, someone mentioned to see if a local shop can fill the hole and re tap it. Will look into that tomorrow and either going that route or just buying a helicoil and fixing it that way. Timeserts are just too expensive (the same cost as a refurbished timing cover) and if NASA and Boeing trust helicoils, I am sure it will be fine for me. Worst case I buy a refurb timing cover from ebay.
I also measure my timing chain slack to make sure I was still good while this far down. From the best of my abilities (following haynes manual) I measure and I came up with .025" of deflection and specs says max .500" so I am good for now.
Friday is supposed to get warm again so I will probably paint the water pump and pulleys on friday. Then once I fix my timing cover I will start reassembling and hopefully the truck will fire/run with no leaks at that point. I have a neighbor who seems like he wants to help me do the rust repair this spring so hopefully I will make progress on that! Just makes me nervous as I am very much a noob at welding/patch panels. If any of yall want to make a trip to Indiana just let me know and I will have pizza/beer/free room and board to those willing to teach me LOL
Anyway here is how she sits now... hopefully updates will happen sooner after the events take place once I start making forward progress and stop having to take things off the truck lol Just isn't fun updating this thread when it is nothing but problems. Still love the project and I am learning so much! I will not give up!

 11-22-2017, 08:22 AM


 need to see if it's the bolt or housing but I'm assuming it is the housing. New housing or helicoil are probably soon to follow.