New owner 1980 F100 Flare Side
#736
Did a little work to the truck.
Dummy me when I put it back in the garage the last time I left the battery hooked up and being I don't have the dash together the light switch is on and the dash lights, only light on the truck at this time, killed the battery so on the charger it went for a few hours.
I was going to work on the door panels removing spray paint someone put on but looking closer it was not worth the time. One has a chunk missing for the slider lock opening and had a crack near the arm rest.
Both had that dry powder under the paint I would also need to deal with so when time comes I will get new ones and the lock sliders as I don't have any.
Moving on I have one of them over head trays, you remove the viziers blot this tray in place using the same screw holes and bolt the viziers to it. It has a fuzzy covering that was coming off in places so I took it off. I hope to use this as a test bed to add texture and paint before I do any of the panels inside the cab. I don't know if I will use it because when a test fitted it, it looked to sit to low blocking the top of the glass.
Next up were the kick panels, I have 2 sets AC & non-AC and wanted to prep both sets for paint.
Like most panels in our trucks they were dried out. I sanded them down, use a small wire brush that worked pretty good and then gave them a good bath.
I need to find something to add texture back to the sanded areas, why the test bed above, before I paint them.
I then looked at my dash bezels, 2 sets custom that came with the truck and has heavy coats of paint on them and the XL from the parts truck that are wood grain. The wood is not in great shape and may look into redoing it at some point.
So I took the painted radio bezel and used some old brake fluid on a tooth brush to coat and work it in.
A few hours later it looks like it is working but I also see it is broken and will need to be repaired to use.
I also mixed up some JB Weld for the nicks on the bumpers so they will not show up when wrapped or painted.
Dave ----
#738
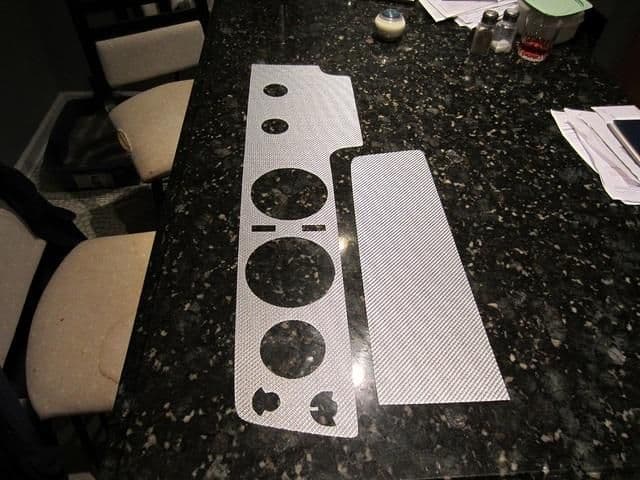
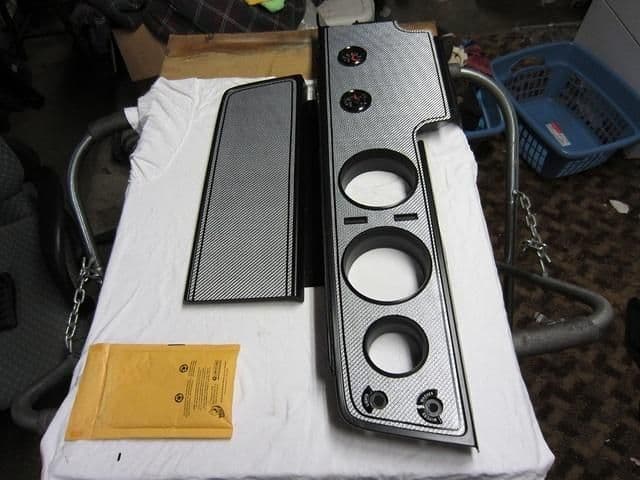
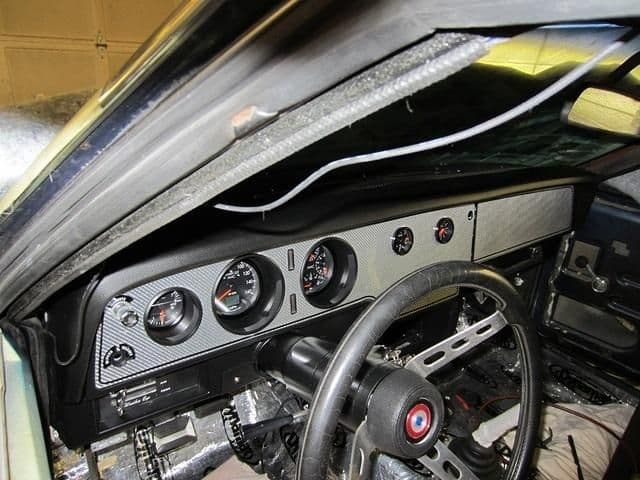
I kind of did the same thing with silver carbon fiber on another car with a flat dash that came out great.
I have thinner carbon fiber that I hope can bend around the door arm rest to match the dash.
This was all done to replace the factory wood grain dash (you cant get it for this car) and arm rest.


You can see if you put your mind to it anything can be done LOL
Dave ----
#739
#740
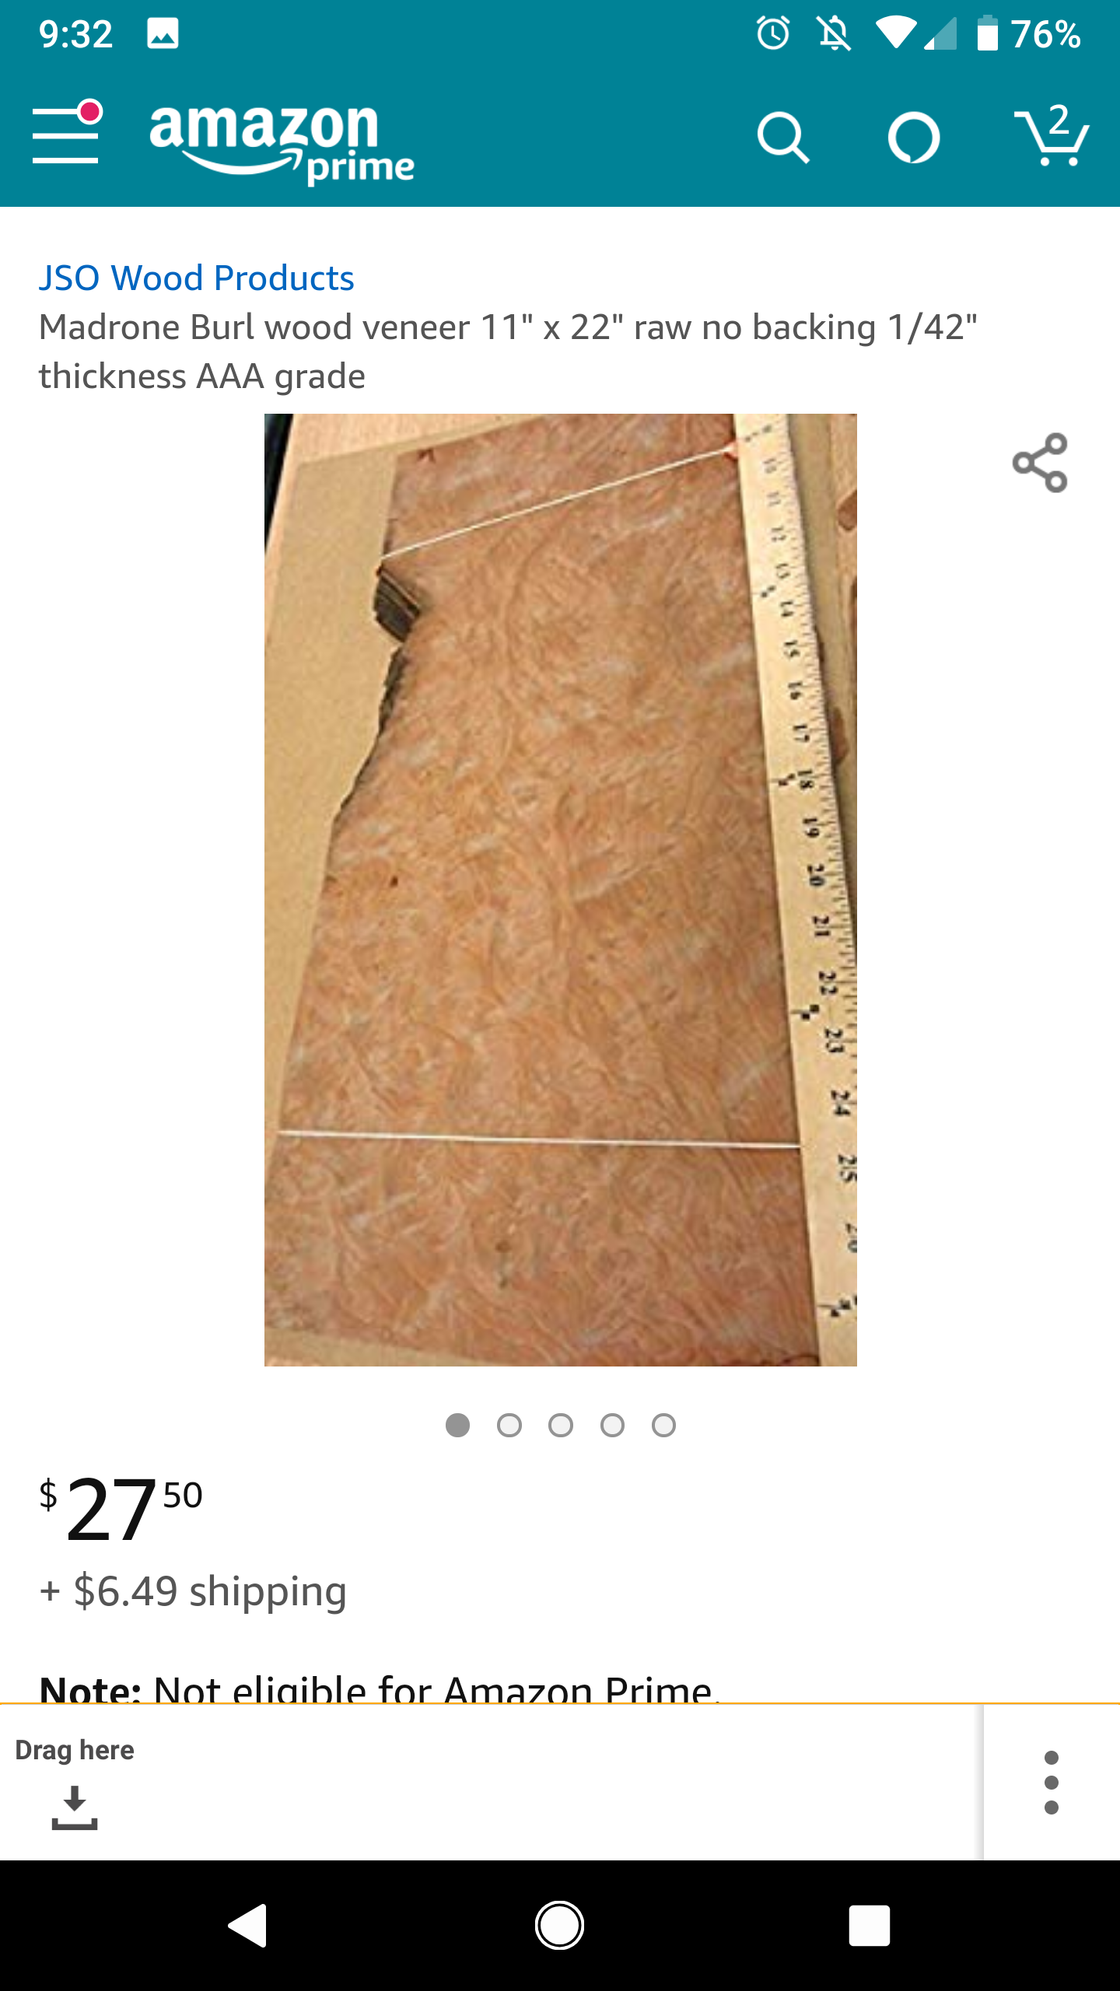
If I was going to use that I would use CAD (cardboard aid design) using thin CAD like from shirts back in the day.
I would get the cardboard to fit using tape to hold it in place wile you work another area till is the way it needs to be then move that CAD pattern to the wood.
If it needs to bend I would think you could use steam to soften so it will bend with out breaking. Using clamps or maybe tape to hold the wood to the bezel and let it dry for a day or 2.
Once dry when you remove the tape or clamps the wood should keep the set. Then you could use contact cement on the 2 parts, let set up a few mins. then put the 2 together.
I will have to look into that CAD as it may work for the wrap also?
If you did the 2 bezels would you try the steering wheel too? My wheel is in good shape.
Do the doors also have wood on them? All the wood trim came from my parts truck and the doors were sold before I got the truck so I dont know if they would have wood also?
Now I got to go out and look over what I got as you got me wheels turning when I should be doing other things on the truck LOL
Dave ----
#741
I got out of work early so I stopped and ordered 2 cans of the SEM textured paint. Should be in sometime tomorrow they say.
I have the 4 kick panels and when I finish the repair to the dash pad I want to put texture on it before painting it.
I also asked if there was something to repair / fill the cracks on the dash pad then add the texture and paint.
His answer was NO or he would have used it to fix a few of his dash pads.
At this point I need to look over the pad I started to fix and hope I can remember what I used up to that point because I can remember off the top of my had at this time..
Dave ----
#742
#743
Your link
And look what I found lower on that same page I thought I seen the SEM made something to do this repair and if I know the number I would have gotten it.
I think I used a little seam sealer of the pad I have been working on but cant remember what or if I used anything to fill in where the speaker was.
I know I hot glued sheet metal from the back side so it could be filled. I did not care if it had the holes for the sound as I will have speakers in the doors.
Dave ----
#744
Your link http://www.amazon.com/Coconix-Leathe.../dp/B0721G1HBL
And look what I found lower on that same page http://www.amazon.com/dp/B000PL06P8/..._t1_B0721G1HBL
I thought I seen the SEM made something to do this repair and if I know the number I would have gotten it.
I think I used a little seam sealer of the pad I have been working on but cant remember what or if I used anything to fill in where the speaker was.
I know I hot glued sheet metal from the back side so it could be filled. I did not care if it had the holes for the sound as I will have speakers in the doors.
Dave ----
#745
I have used their paint and like it but that repair I don't think I will try just a little more work than I want to put into the repair.
In the video they do use the grain pads, think they said there are 7 different ones. It did not look like it did much and could still see where the repair was done.
It took a few coats of paint before you could not see it in the video.
Dave ----
#747
I don't know if a hairdryer would work they were using a heat gun and a heat sink with a hole in it to protect the area around the repair.
I do have a heat gun that gets really hot that could set the thing on fire!
On a side note I have started to fix the broken picture links and made it up to page 5.
I will try and do a few each day when I can.
Dave ----
I do have a heat gun that gets really hot that could set the thing on fire!
On a side note I have started to fix the broken picture links and made it up to page 5.
I will try and do a few each day when I can.
Dave ----
#748
I don't know if a hairdryer would work they were using a heat gun and a heat sink with a hole in it to protect the area around the repair.
I do have a heat gun that gets really hot that could set the thing on fire!
On a side note I have started to fix the broken picture links and made it up to page 5.
I will try and do a few each day when I can.
Dave ----
I do have a heat gun that gets really hot that could set the thing on fire!
On a side note I have started to fix the broken picture links and made it up to page 5.
I will try and do a few each day when I can.
Dave ----
Is that the photo gallery you're bringing back online? Sounds like you've been busy. I'm kind of ashamed to go out and look at my parts pile these days.
#749
yes the photo gallery,
My site has been up for a few weeks now so figured it was time to fix all the picture links in my posts.
Nothing worst than looking over a post and find that the pictures don't show up.
All the pictures of the project truck 1980 Ford F100
Of the parts truck RIP 1981 Ford F100
Dave ----
My site has been up for a few weeks now so figured it was time to fix all the picture links in my posts.
Nothing worst than looking over a post and find that the pictures don't show up.
All the pictures of the project truck 1980 Ford F100
Of the parts truck RIP 1981 Ford F100
Dave ----
#750
During the week I ordered and picked up the SEM textured spray. I should have ask how much before asking for 2 cans, $75 and change it better work!
I used JB Weld on the bumpers last week so I sanded it down so I can either get them wrapped or I can paint them when the time comes.
Being I have the textured paint I took a look at the dash I started the repair on a wile back. After looking it over I saw that I did use expanding foam to fill the speaker hole, and latex in the cracks and covered it all with seam sealer. Well I was not happy on how it turned out. The foam expanded more and was to high and the cracks opened up.
I sanded the high spot on the speaker area and at the cracks so I could see what I was working with, that is how I saw how I tried to fix it before.
I dug out the cracks and made them deeper as I felt the filler I used before did not go deep enough to bite and keep from cracking, the latex I also think was the wrong product to use.
I also think the flexing of the dash also had something to do with it cracking so when working on it I made the center a little higher this way when level it would push the cracks closed after they were filled.
I used brushable seam sealer and a putty knife and forced it into the cracks. I did see later that the sealer sunk into the cracks more so I will need to take down any high spots and add more sealer to bring them up level, more to come.
I finished cleaning the old paint off the radio bezel with the old brake fluid. It worked pretty good, washed off with water and when dry looks like it will need to be painted black again to look good.
I also found it was broken in a few places but think I can glue it and not show up.
With that turning out good I then started on the gauge bezel with the old brake fluid. I was worried about the light covers across the top but they seam to be ok with the brake fluid I hope it will remove the paint on them.
I did see the wiper / light windows don't have the pictures in them but they are still covered in some paint still. So it is soaking in brake fluid till I get back to it in a few days.
I then did what I hope will be the last of the body work.
I was able to work the dent out of the fender to the point where I hope the primer and spot putty will make it smooth.
I also used the spot putty on the hood to take care of a spot I did not like. When I get back on it I will wet sand the 2 spots and if not good will make them good before paint.
Dave ----


