When you click on links to various merchants on this site and make a purchase, this can result in this site earning a commission. Affiliate programs and affiliations include, but are not limited to, the eBay Partner Network.
More JY searching today. Found a 78 Bronco and it had all the complete steering linkage... unfortunately all bent really badly. It got hit so hard on the front passenger corner that it bent both radius arms and cracked the axle housing- OUCH!
They must have re-done the brakes right before totaling it because the rotors and pads were just like new. Snagged those and the brake shields. They were only surface rust and cleaned up nicely.
Annnnd, major brake/ steering surgery underway. The passenger side tie rod was a pain because it was so sloppy I could not get the castle nut loose. I have since finally broke down and bought an impact wrench. I prefer hand tools for some weird reason, but power tools work wonders for stuff like this. I also ran across a snag trying to reuse the ball joints as I thought they were all good. Turns out the driver side upper is bad and it was being masked by the massive play in the wheel bearings. A complete set of four is ordered and now I wait- impatiently.
While I have the master cylinder out and I am stuck waiting for parts, I am going to deal with the rat's nest that passes for brake lines. I have no idea how PO got these so twisted and tangled.
I also have to make some minor modifications to get the new steering shaft to fit. Apparently the 78 has a flat side on the steering column shaft that the 75 did not have. Nothing a disk grinder can't fix, but the trick will be getting it cut on the correct side so it all aligns correctly so I don't have to pull my steering wheel again.
Some more slow progress. I have hit issue after issue and have had only a limited amount of time each night to work, but it has finally started to come together in the last couple days. First I ended up having to replace the axle seals. They were leaking pretty badly. Found some pretty good rust/ pitting on the right axle shaft right where the seal rides, but it cleaned up reasonably well and will work for now until I open it back up for gear change & posi-track install. Made the cover all pretty while it was off. Once it is road worthy, I really need to take it to the steam cleaner at work and clean up the rest of the axle, because it really looks bad in comparison now, lol.
Then there was the spindles. Found out that the bag of hardware was pitifully incomplete. I thought all the spindle studs were there but instead I got 4 out of 10 and a bag of random brake hardware that looked about the right size. Even the brake hardware was incomplete. Another trip to the Pick-N-Pull. And that is when I discovered that one spindle stud is impossible to remove/ install with the lower ball joint in place. So I got to practice removing and reinstalling ball joints. And speaking of ball joints, I finally gave up on the cheapos that I ordered and got a good set from Napa. Amazing how they installed with no issues after fighting with the others for three days...
For now, I have both sides up to the locking hubs done. Tie rod is assembled and installed, but no drag link as I still need to mount the steering gear. I still have to replace the trac bar bushings and I haven't even started on the brake stuff yet. But I have the day off tomorrow, so hopefully more progress.
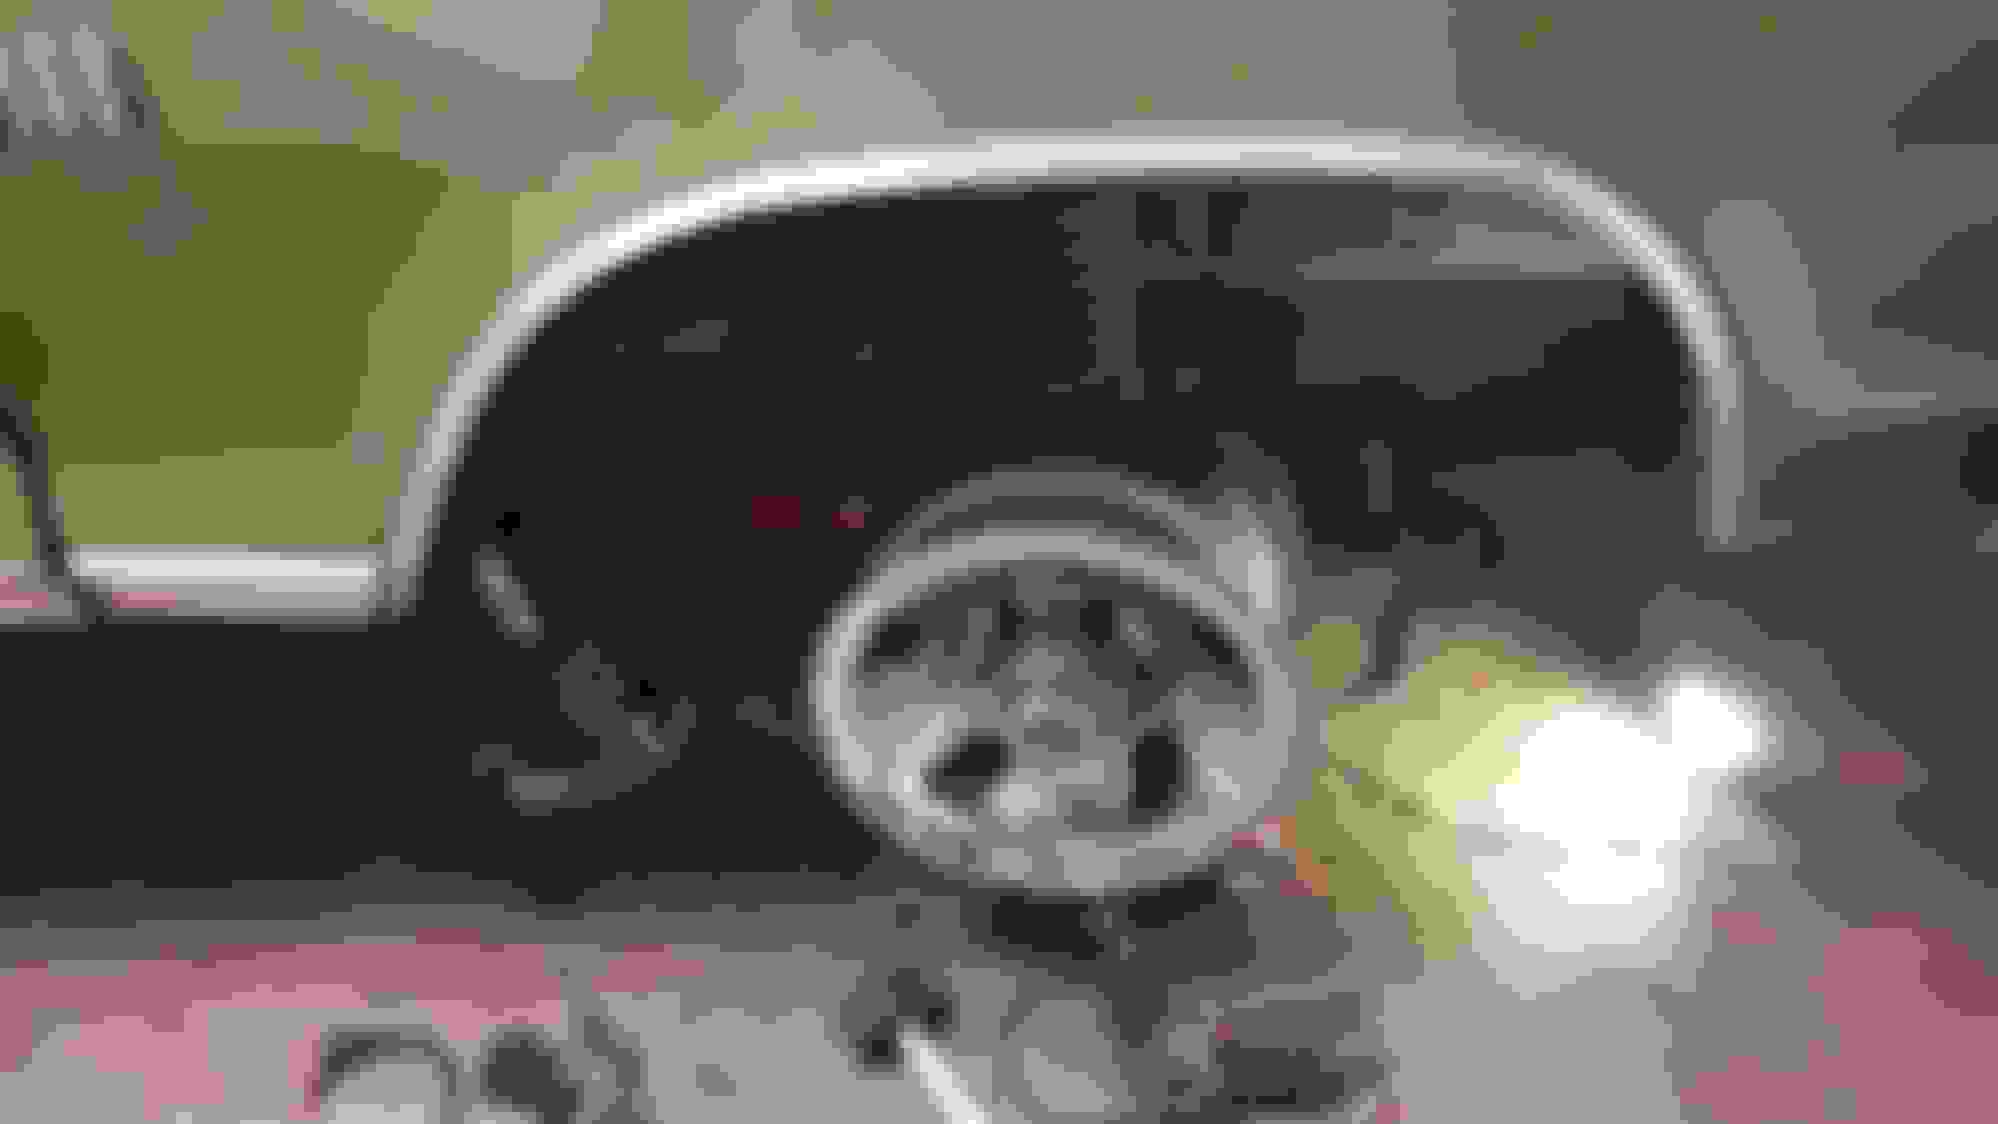
So I was checking to see how much of the hub was covered once I mount the new wheels and found the 90's wheels are not quite as plug and play as I had hoped. The good news is once I install the 1" wheel spacers to correct backspacing, I won't need to paint the hubs at all. It's hard to see in the picture, but they do actually clear the tie rod by about 1/8". Obviously not enough though. My $25 Craigslist specials just turned into $150 or so. I may just re-sell these and look for something else.
On the up side, I got the locking hubs reinstalled and started on the brakes tonight.
Finally got the steering gear mounted and the steering shaft modified and mounted. Still need to center the steering gear and connect the two, but ran out of time and energy tonight.
So while working in the engine compartment, I casually set a 9/16" wrench up on top of the radiator. One careless elbow later and I knocked the wrench down. No big deal right? WRONG! The open end of the wrench made contact with the lower tank of the radiator on the way by right where the core and the tank meet...punching a nice little pin hole. FML.
A quick trip to the radiator shop and $20 in testing confirmed what I pretty much already knew and core is not worth repairing. Given the choice of $500 to re-core my current one, picking up a plastic tank model locally, or ordering an all aluminum Champion replacement, the choice was obvious. I expect a big box from UPS on Thursday.
In the meanwhile, I have been trying to tie up the loose ends and get the beast back on the road. Problem number one surfaced while installing the power steering lines. The clearance was a bit tight with the oil filter and I needed to change the oil anyways, so I dropped the filter. The lines went right in after that, but unfortunately not so much for the filter. The lines had about an inch of interference with the filter. I found a right angle oil filter adapter from Ford Motorsport, but $80! After failing to find a cheaper alternative, I ordered and installed that only to find the filter now is too close to the upper trac bar mounting bolt. The bolt was way too long anyways, so Mr. Sawzall came to the rescue and fixed that issue. It's still a tight fit, but has about 1/2" clearance or so. I believe that the engine roll in this area should be minimal since it is pretty much at the same level as the motor mount. Time will tell. I also finally got the trac bar bushings changed while I was messing around with all that.
I also took advantage of the down time to work on the headliner. I pretty much copied co425's idea from here, except that I used a foam backed cloth that the better half found on sale at JoAnn's Fabric. I figured that the process of sticking it to the hardboard would remove any wrinkles, but no such luck. If I was to do another one, I would pre-iron it or lay it out flat for a couple days to remove the wrinkles. However, ironing after it was already stuck to the board worked pretty well too. The main problem I had was that I leaned some weight on a couple areas while flattening it out and they stuck a little too well compared to the rest. All in all, it still looks pretty good when installed. The chrome trim was pretty nasty, so I attacked it with some steel wool and cleaned it up for now. I may still replace it when the headliner comes out eventually for a paint job.
Still have a broken caliper retaining bolt to fix, oil pan gasket to change, transmission filter change, new trans pan, and brakes and power steering to bleed. That is unless anything else bad happens in the meanwhile. I have said this for several weeks now, but I hope to get it all done and finally on the road this weekend.
Got the radiator installed. As others have mentioned previously, the Champion is not quite a direct bolt in as advertised. I had to switch the mounting from the engine side of the radiator to the core support side. Also, I installed the AC condenser while I had easy access, but they ended up a bit too close together with the new mounting, so I had to fab a 1/4" spacer to give them some separation. My family seems to think I need a project supervisor as well. He likes to hang out on top of the engine and watch me work. It's kind of creepy really, lol.
Been busy the last couple days. Got the brakes and power steering bled in, but I still have to figure out an issue with the master cylinder leaking a little. It acts like it is overflowing somehow or the cover gasket is not sealing correctly. Finally roadworthy though! I got the carb dialed in pretty well tonight and took it for a couple trips around town. Steering is WAY easier. The disc brake upgrade is a little underwhelming thus far. It may just need to be bled in a bit better. Or maybe a hydroboost. There is no such thing as "done" with one of these trucks, is there?
So life and trying to fix my house up and get it sold have cut into my truck time (and budget!) big time. I have been getting a lot of use from the truck, but not much new going on until tonight. It is getting to the season where a defroster/ heater are pretty much a necessity. I had just never gotten around to getting a fuse. Finally did and popped the fuse in and nothing. Nada. Zip. Zilch. Digging around the back of the heater controls I finally found the dreaded PO wiring job. I knew it was too good to be true that I would have an unmolested wiring harness.
It looks like the plug for the fan switch had a minor melt down at one point and a replacement spade connector was shoved in there... along with about 1/2 of bare wire hanging out just waiting to cause a short. Time to dig out the wiring diagram and figure out where the issue is. I am betting with the half melted plug, I stand a pretty good chance of a new fan motor and probably a new switch too. Sigh.
On a brighter note (literally), having the dash apart, I finally got the rest of the blue LEDS installed. Now I just need one for the tach and one for the headlight/ wiper switch light.
Nice work and looks like you work about about the same speed I do. I feel once it is running on the road all the small stuff can wait until it can't any more. Glad you got it on the road and are enjoying it.
So almost a year later a bit of a forced update. I was towing a friend's broke down Chevy (is there any other kind? ), and I start getting pretty terrible noise out of my engine, losing power, and wondering if we are going to make it up the hill to my house. We did and the truck got parked while I worked to get the Chevy back out of my garage. Fast forward to last week and I was going to haul some yard debris to the recycling center. Fired it up and no noise. Sweet!
Yeah, until it warmed up on the road... noise is back and power loss even worse. Pinging really bad so I limped it back home again and into the garage with a bed FULL of leaves. Took the valve covers off today and everything is as it should be except four slightly bent pushrods. I'm going to replace them, but I'm pretty sure they are not the issue though because I couldn't even tell they were bent until I test rolled them on a flat surface. So now, it is pretty much narrowed down to bad lifter(s).
I was checking around on prices and ran across the Summit Racing brand cams. They are substantially cheaper, but that makes me wonder about quality. Has anyone ever used them? Any good or stay away? Any better suggestions that won't break the bank? https://www.summitracing.com/parts/sum-k34052
Wow, life sure has a way of getting in the way of truck projects. And apparently, I have been slacking in the update department.
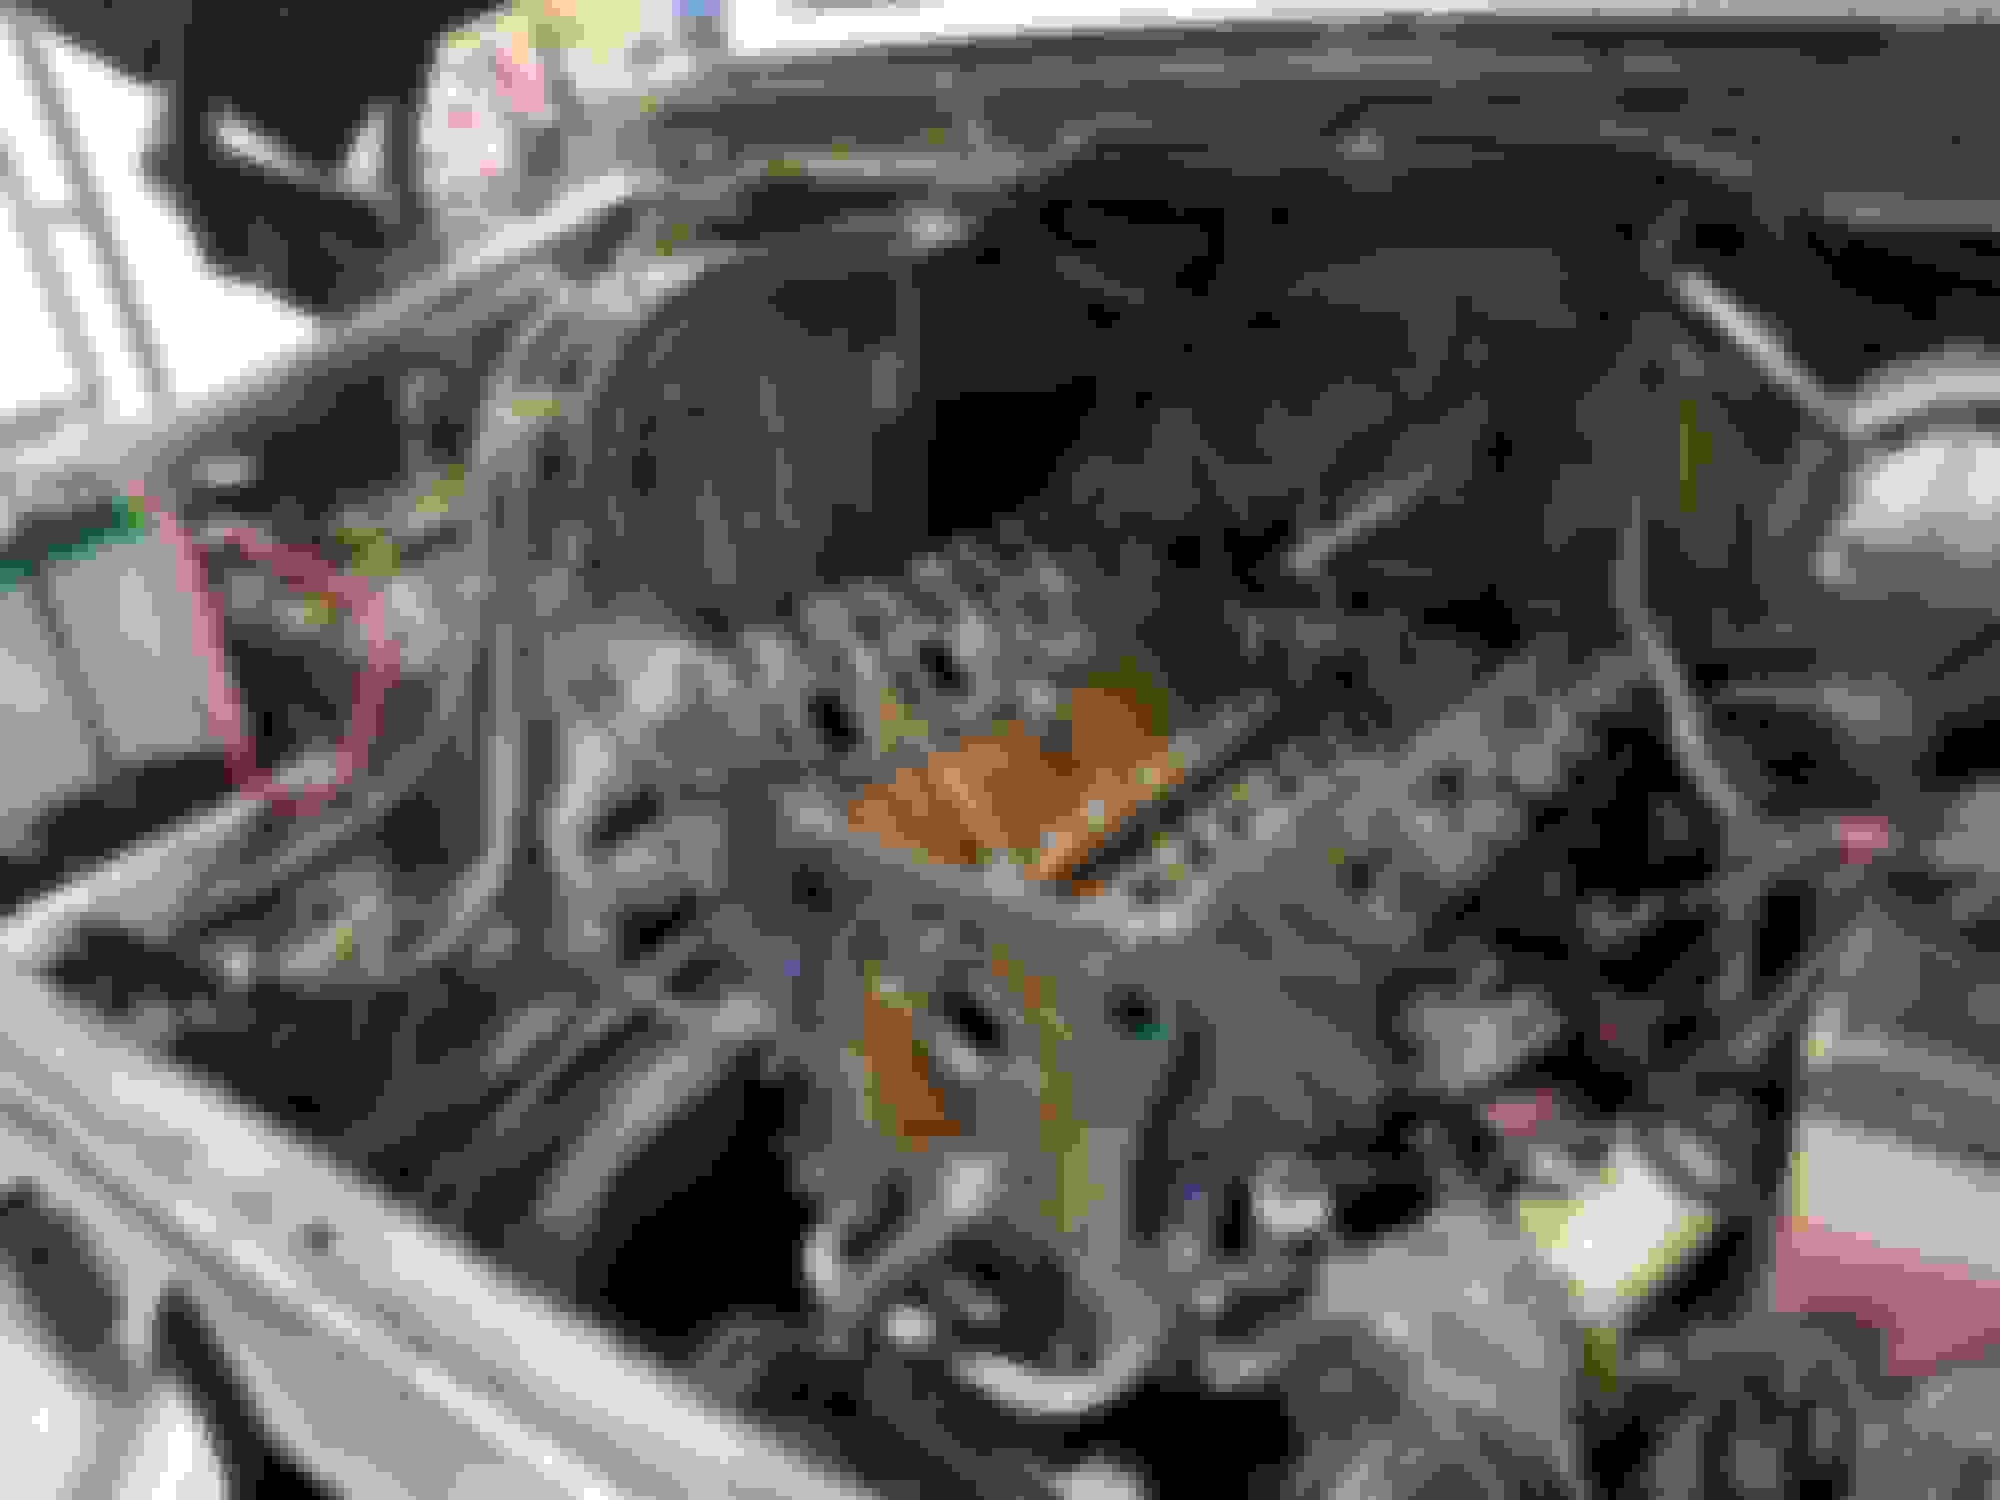
First of, I did end up using the Summit cam and while not immediately apparent during the disassembly, the lifter(s) were the culprit. That and eight slightly bent pushrods. Four were only slightly noticeable if you rolled them on a flat surface, but they were cheap so I replaced them all. I also swapped out the pretty severely worn timing chain with an adjustable Summit brand set and installed it in the straight up cam timing position.
The cam bearings were a bit on the sketchy side, but a full tear down and rebuild were not in the time or money budget.
I am kind of glad that I will be tearing it down again later for two reasons (well, three if you count the cam bearings). First, that china wall seal is a PITA. I thought I got it sealed, but was horribly, horribly wrong. I finally managed to slather enough Right Stuff sealant across the gap to hold back the flood for now, but it is one of the ugliest repairs I have ever done. (No pictures out of sheer shame on this one.) Second, I am pretty well underwhelmed by the performance improvement by the combination of the cam and timing gear set. Once again, budget was an issue and I wanted a mild cam without too much lift that would work without having to change the stock springs or upgrade the rocker shaft. Turns out, it is a little too mild for my taste although it didn't cost any more than a stock replacement. I honestly think that the only noticeable difference is from the straight up timing. MAYBE a very slightly more lumpy idle. I plan to correct this mistake during the full rebuild/ 390 crank swap. More cam surgery progress pics.
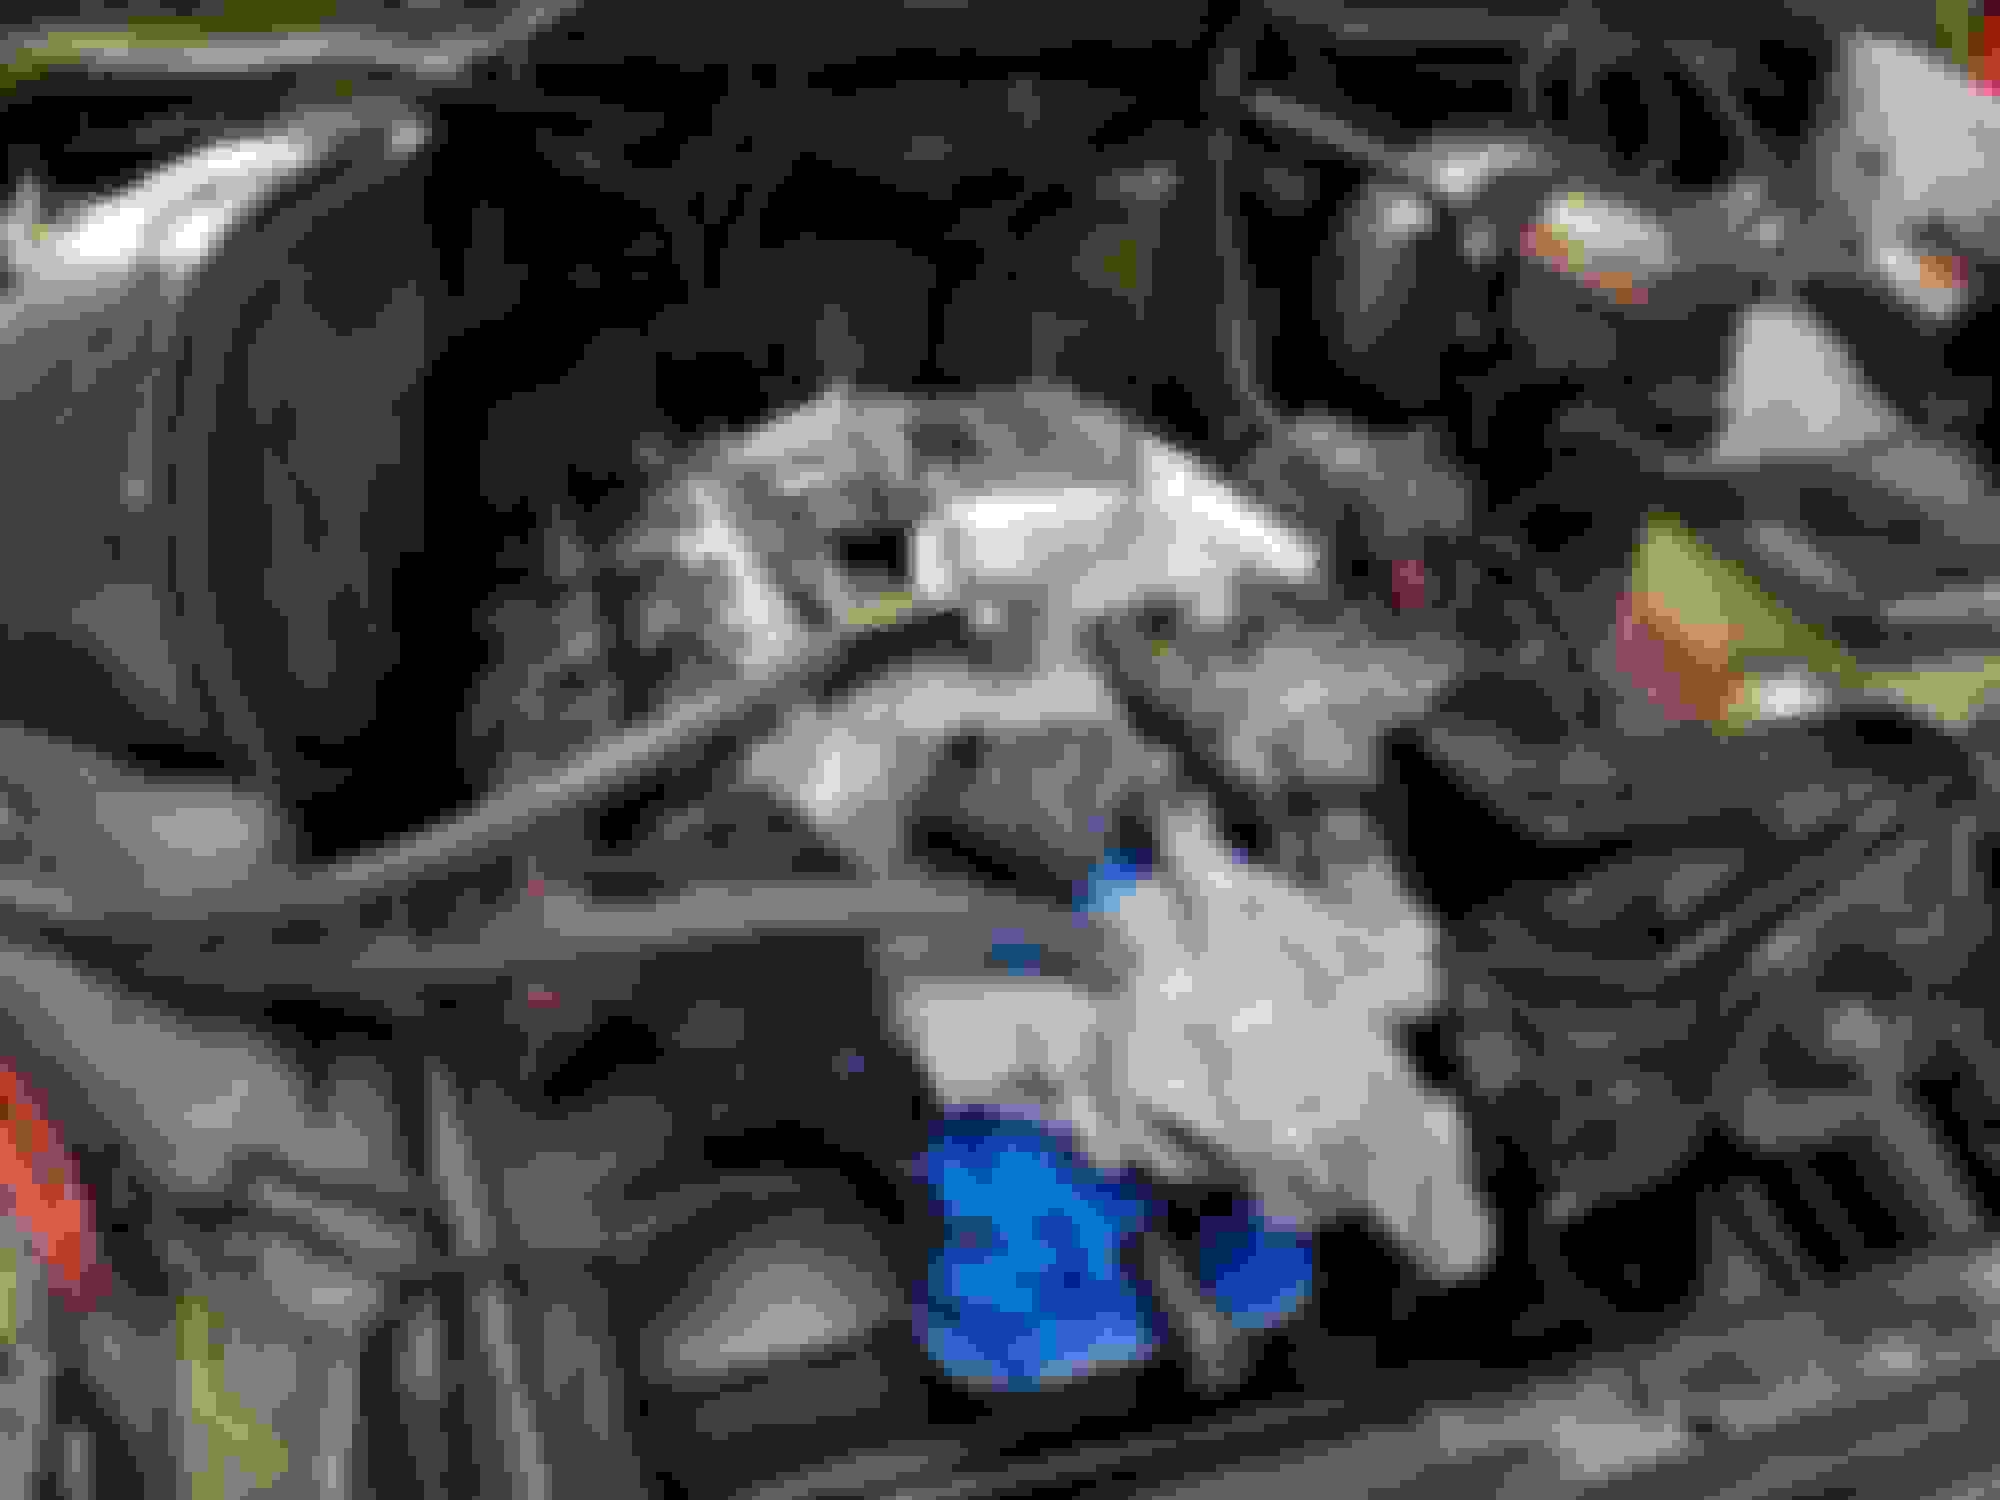
And while I already had the alternator out, I decided to swap in the 3G that had been sitting in my garage for over a year.
Shortly after getting it back on the road, it developed power steering issues. Time was short and I didn't need the truck for a while so it sat until I had time to deal with that. I thought it was just due to air in the lines so I jacked up the front and tried to purge the air. Almost a quart into the process I began to get a bit suspicious. I found the missing quart- all over the frame and garage floor. The input shaft seal was completely dumping as fast as I was pouring it in. Since it wasn't the common sector shaft issue, I figured I would do a cheap reseal for now and get a Blue Top gear when it eventually does start leaking out the bottom. Discovered another smaller leak on the pressure line while bleeding the gear in post-reseal. Of course the line would not come loose to replace the o-ring without stripping. Finally resorted to vice grips and destroyed the line and replaced it with a new Napa one.
So I'm thinking as long as I have the truck in the garage I might as well fix the brake issue for good. The PO made a rat tangle of the brake lines and I tried to straighten them up while doing the disc brake swap, but they still looked bad. Oh and somewhere in the upgrade I got the lines crossed between front and rear and even better, somehow managed to forget to upgrade the simple distribution block to a proportioning valve needed with the front disc. So I tore out the old rusty, buggered up lines and made a new set while installing the proportioning valve. Also found out that my flaring tool is a piece of garbage (OEM brand- don't waste your money). I failed to notice that it had buggered the flare that I had done previously and that in turn buggered up the port on the master cylinder. Even worse, now I can't even get it to produce anything even close to a double flare and I have the truck torn apart. So long story short, I now have a second new master cylinder and a second new flaring tool...but the brakes are back together finally...right this time. Also with the lines cleaned up, I had room to move the windshield washer tank backwards about an inch, making it easier to get the power steering cap off.
My timing could not have been more perfect in getting all of this done. Got almost six inches of snow Thursday night/ Friday morning so I turned my truck into the worst MPG possible commuter car for the day on Friday. Yeah that whole shorten my commute thing never worked out and I still drive 80 miles round trip to work, thus why it is still not my daily driver.
It turns out the roads were clear once I got off the hill I live on and I didn't need the 4x4 with chains after all, but it was fun to get to drive my truck again for a change (and with a HUGE improvement in braking!). Well kind of fun. The door seals are terrible and the heater core cannot keep up very well with sitting in a wind tunnel. That and the noise from the leaky headers. The fun factor really took a nose dive momentarily when I went to dim the high beams. I haven't driven it much at night and apparently, the dimmer switch has a mind of it's own and decides to randomly shut the headlights off completely rather than dim them! Once that small panic moment was over I finally realized through trial and error that with this switch you have to really stomp on it for it to work reliably. Rather than rely on that as a solution, I have a new switch on order. Now I just need to install that, replace the headers, get new door seals, and a radio and I might start driving it once a week or so just for the fun of it despite the MPG hit. OK, who am I kidding? I still had a blast finally driving it for a decent distance and I will probably keep driving it just like it is until I have the money. Except for the headlight switch- that has to go, lol.

 03-05-2016, 11:27 PM


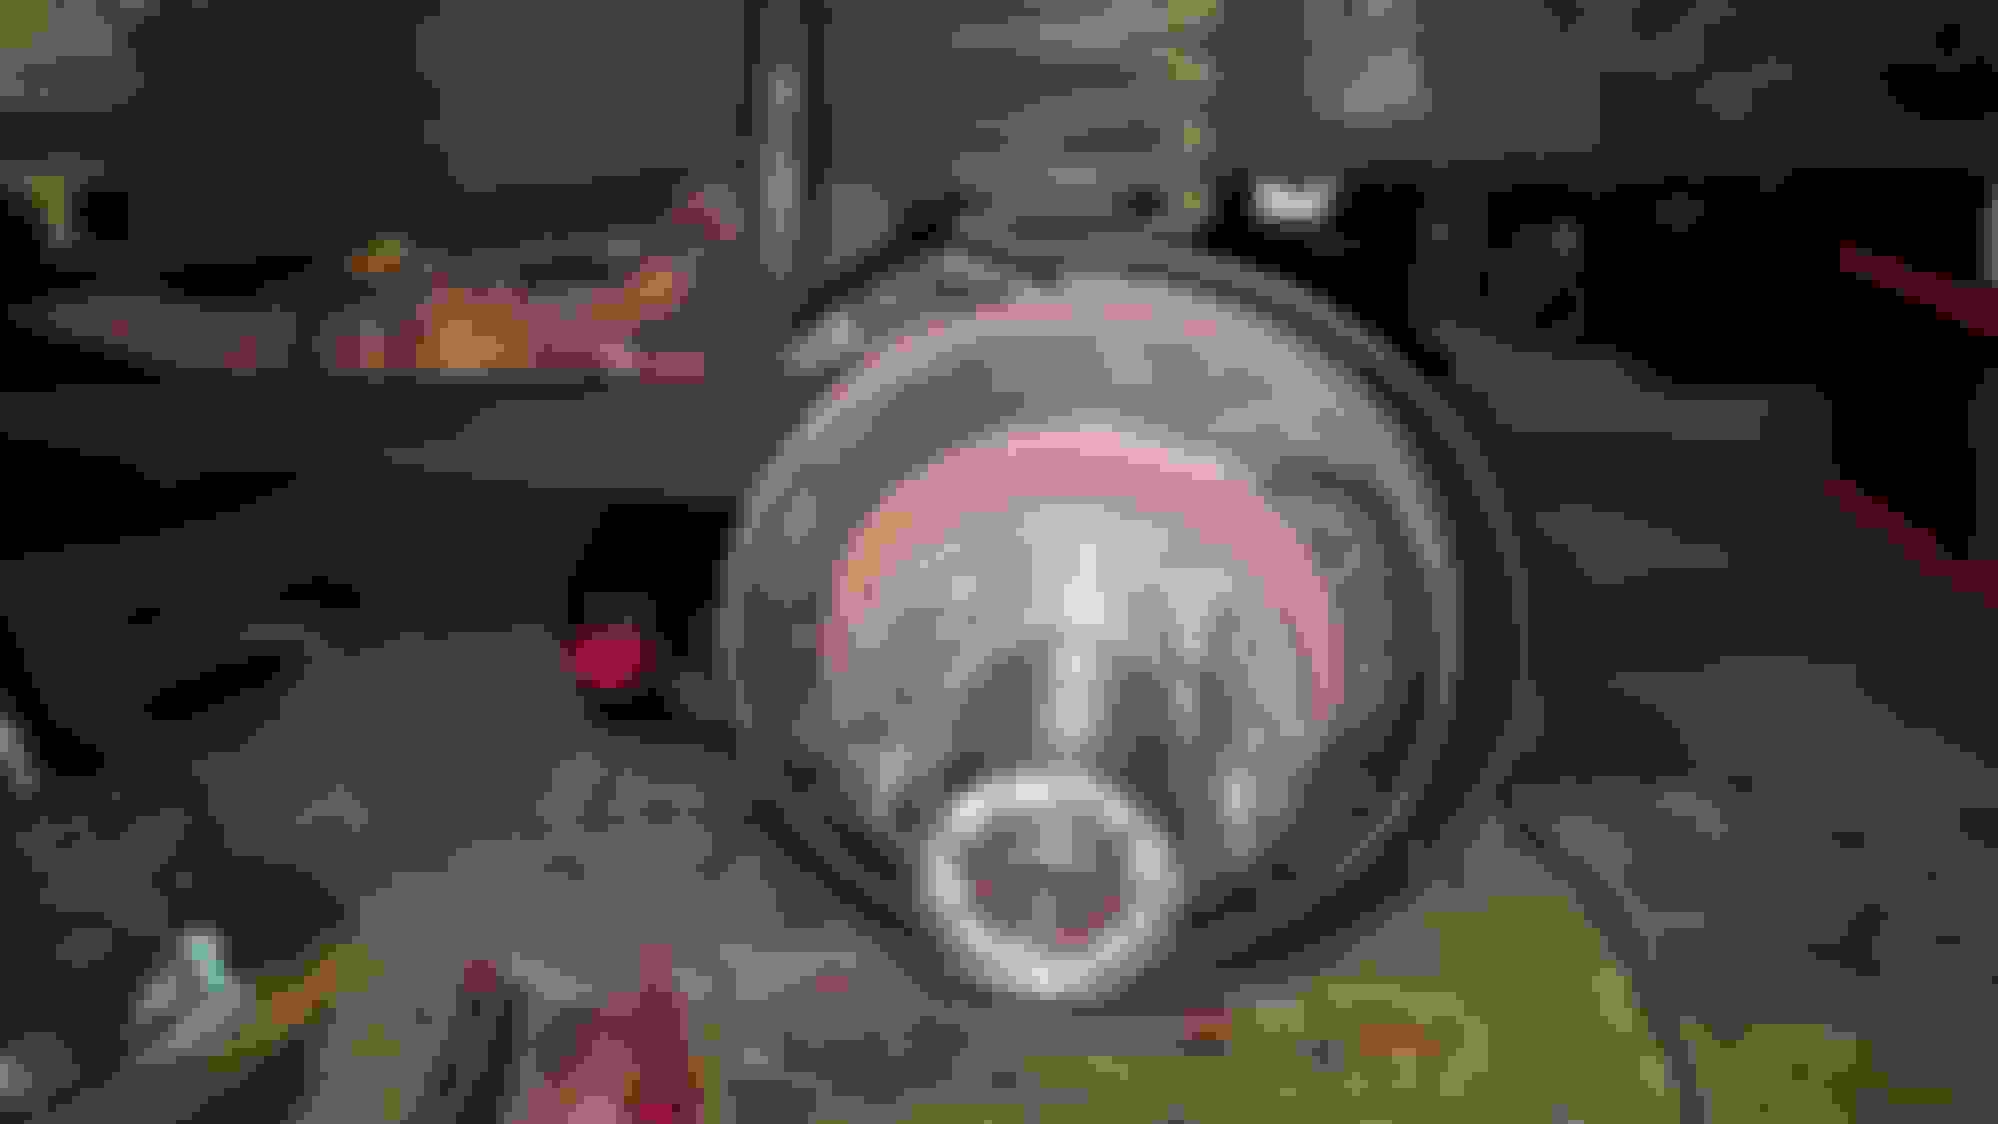
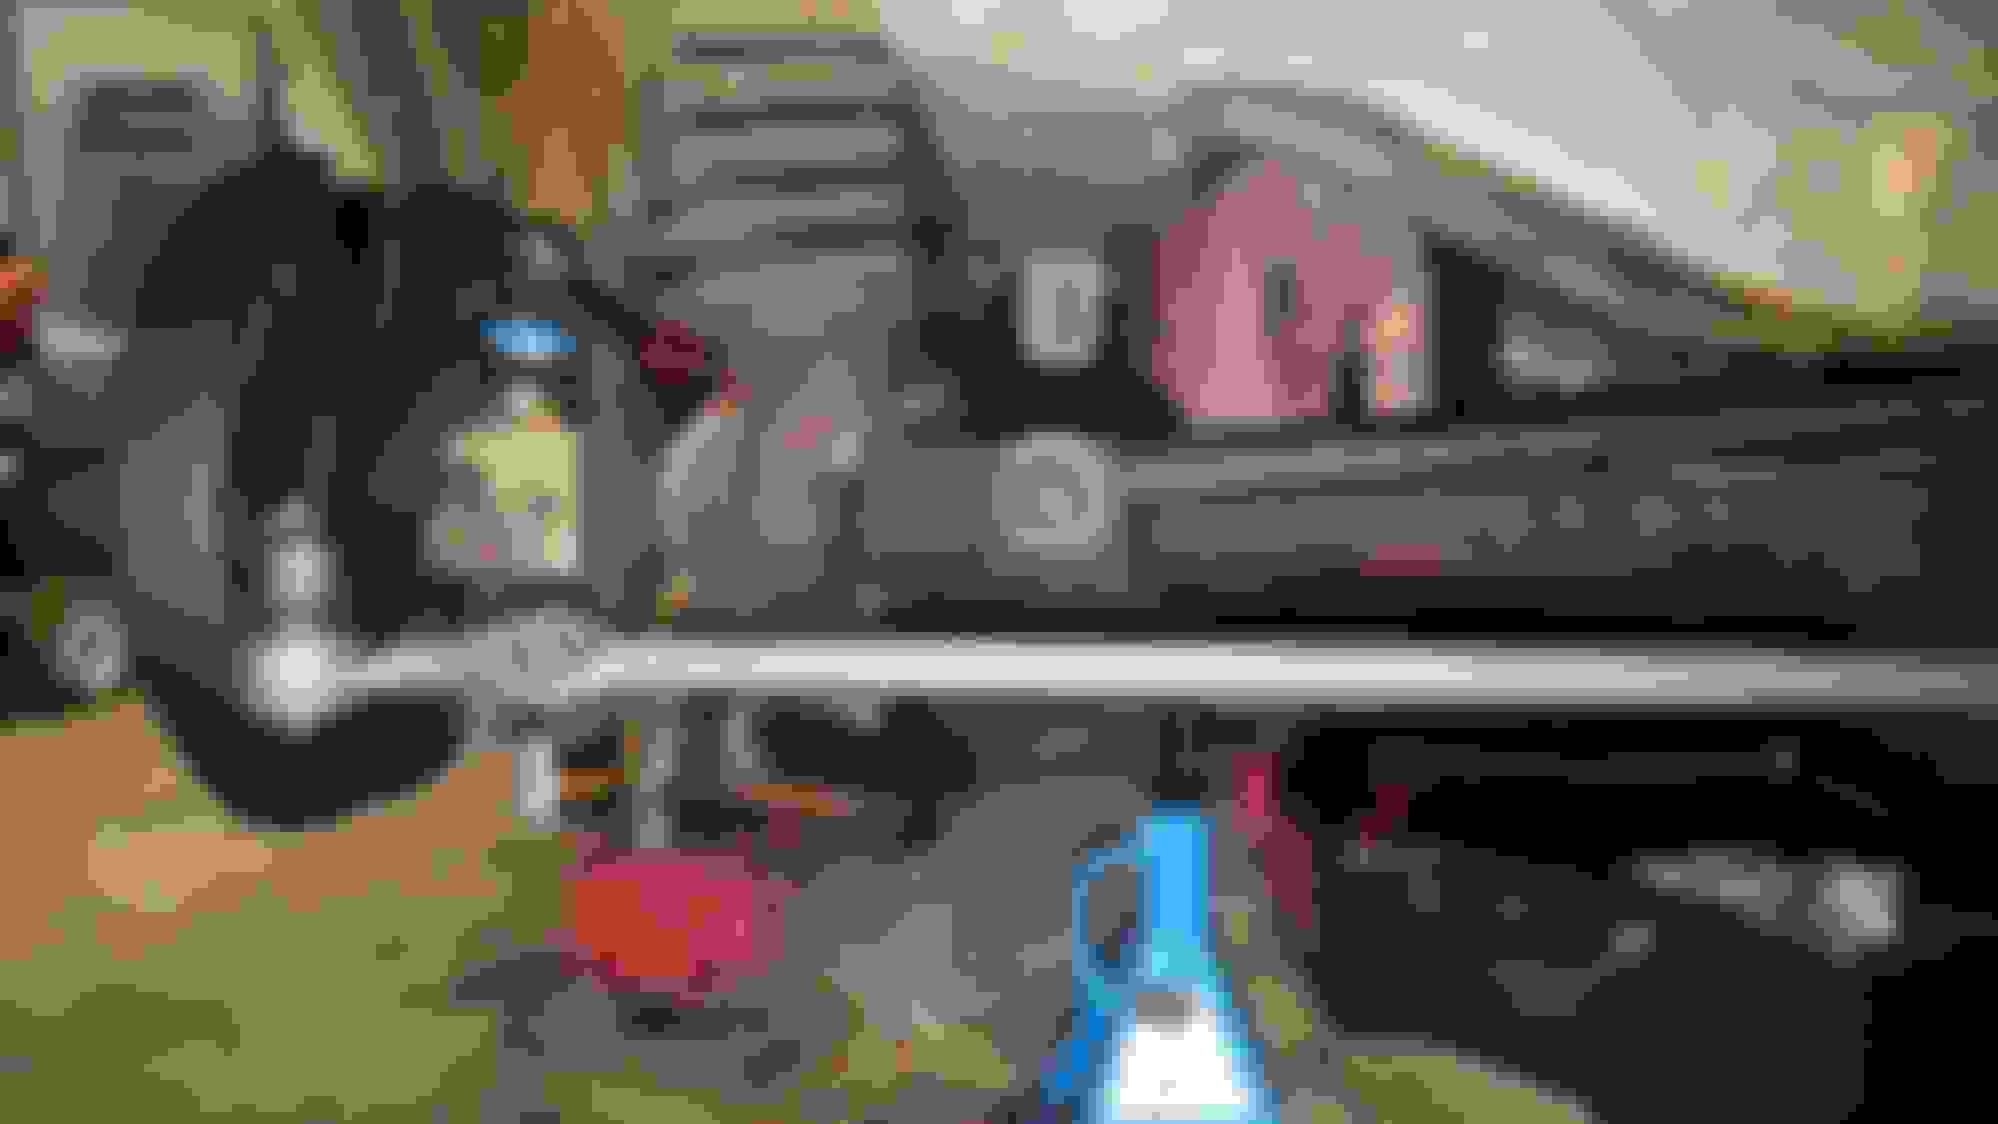


 I may just re-sell these and look for something else.


 ), and I start getting pretty terrible noise out of my engine, losing power, and wondering if we are going to make it up the hill to my house. We did and the truck got parked while I worked to get the Chevy back out of my garage. Fast forward to last week and I was going to haul some yard debris to the recycling center. Fired it up and no noise. Sweet!


 So I tore out the old rusty, buggered up lines and made a new set while installing the proportioning valve. Also found out that my flaring tool is a piece of garbage (OEM brand- don't waste your money). I failed to notice that it had buggered the flare that I had done previously and that in turn buggered up the port on the master cylinder. Even worse, now I can't even get it to produce anything even close to a double flare and I have the truck torn apart. So long story short, I now have a second new master cylinder and a second new flaring tool...but the brakes are back together finally...right this time. Also with the lines cleaned up, I had room to move the windshield washer tank backwards about an inch, making it easier to get the power steering cap off.