When you click on links to various merchants on this site and make a purchase, this can result in this site earning a commission. Affiliate programs and affiliations include, but are not limited to, the eBay Partner Network.
That would be so much appreciated, I ordered the cap and rotor last night, and a sketch would be awesome to help. My dad works at a machine shop and can get a machinist to get it done.
Seems like something you could get a little market going with!
Also want to apologize for jumping on your thread from questions, it won't let me PM for another week. Too new!
Here you go. I'd give your machinist your cap and distributor so he can verify.
Good luck!
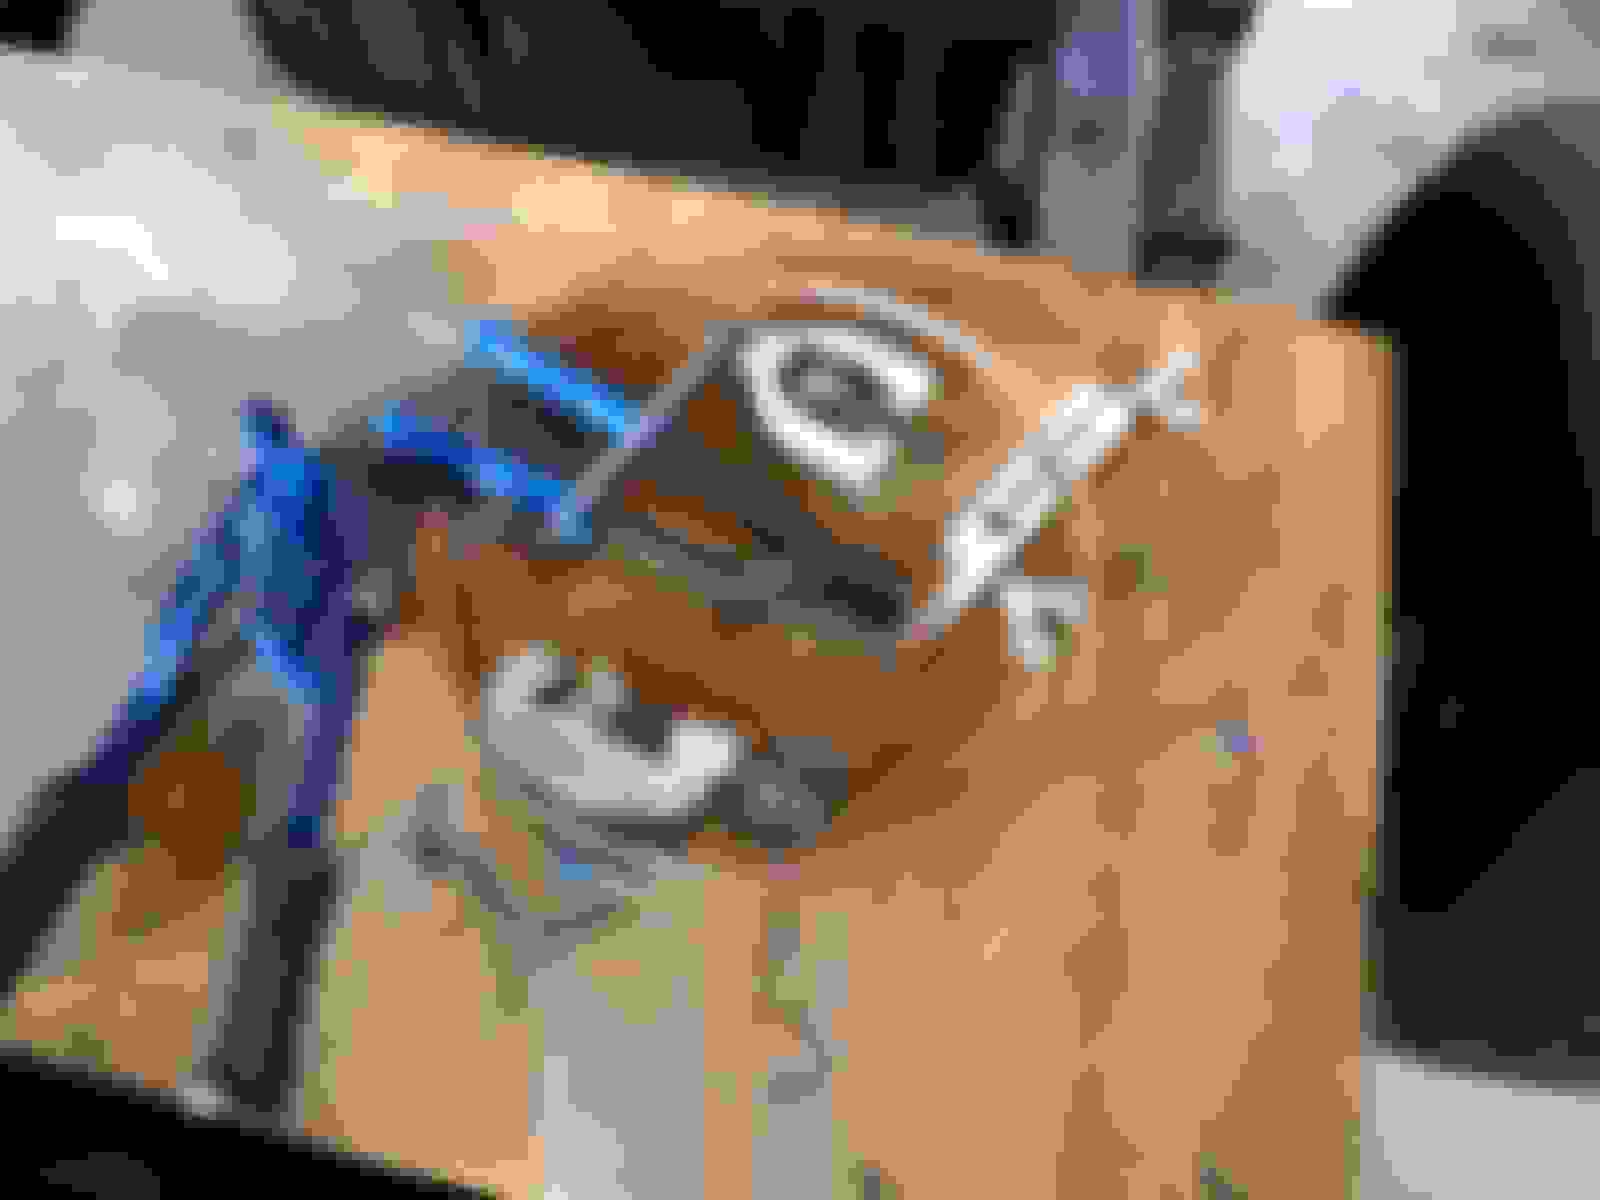
I'd like to add something to this cap thread. I used a 2000 Dodge dakota 5.9 cap and a Ford 4-6 cyl rotor. I found by accident that the Dodge cap has the same offset as the tfi housing and fastener location. The bolt spacing was wider so I used a band saw and slotted the ears on the cap. I put the cap in a mill and turned the id register to the same size as the tfi housing. I went deeper than the original register to match the rotor location with the terminals inside the cap. This is on a project that I don't have finished yet. I used grease on the terminals inside and turned the engine over to check the rotor to cap spacing. I believe this will be good. Machining the cap was a test in patience. I would have had to build a jig the hold the cap on the outer perimeter of it to have had any speed. Sorry to interrupt the thread. You have a great build going.
I'd like to add something to this cap thread. I used a 2000 Dodge dakota 5.9 cap and a Ford 4-6 cyl rotor. I found by accident that the Dodge cap has the same offset as the tfi housing and fastener location. The bolt spacing was wider so I used a band saw and slotted the ears on the cap. I put the cap in a mill and turned the id register to the same size as the tfi housing. I went deeper than the original register to match the rotor location with the terminals inside the cap. This is on a project that I don't have finished yet. I used grease on the terminals inside and turned the engine over to check the rotor to cap spacing. I believe this will be good. Machining the cap was a test in patience. I would have had to build a jig the hold the cap on the outer perimeter of it to have had any speed. Sorry to interrupt the thread. You have a great build going.
Very ingenious! . That looks like a very delicate machining operation.
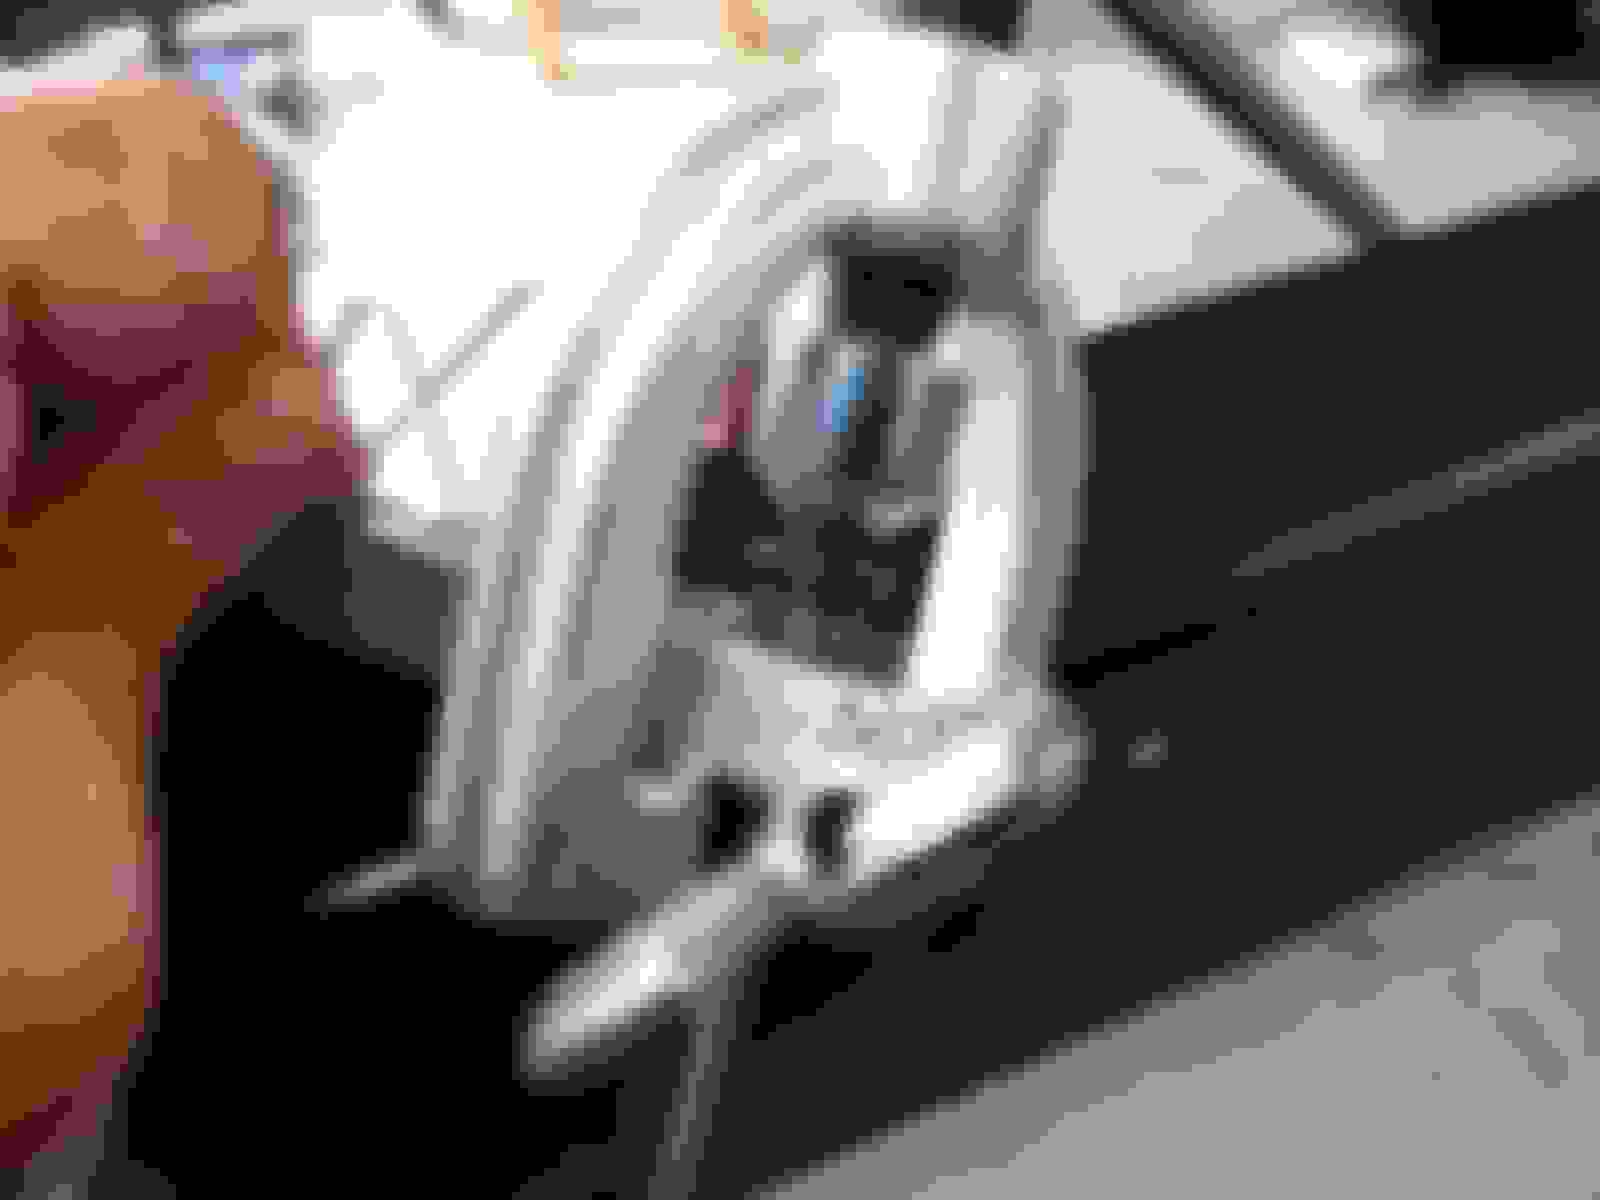
Delicate would be accurate. If I would have been serious about this, I would have built a jig to hold it in the lathe or mill. Also on the list of possibles was to take 2 rotors and cut part of the shank off from one and glue it to the other to facilitate the height difference. I could have just allowed the hold down screws center the cap. From what measuring I did on several different caps in the shop, precision is not a description to use. This is the intake that caused me to need this.
After studying too many YouTube videos on the subject, I decided to tackle my brake lines.
I couldn't justify the cost of a fancy turret style flaring tool, so I though I would give one of the cheap $20 flaring kits a try.
I am using 3/16" copper nickel brake line. This line is very easy to bend and flare, even with simple tools.
In case somebody else wants to give this a try, I'll show some details of the double flaring procedure.
I welded som threaded tabs onto the rear axle, so that I could clamp the brake line.
I had bought the tube bender and bending pliers as a combination for this job, but I never even needed the tube bender.
Starting with a straight end with a square cut, put the fitting on first, and then clamp the tube into the clamp bar. Use the shoulder of the die as a gage to have the correct stick-out, as shown.<br/>BTW, be sure to deburr the tube first.
Set the die over the tube, and clamp it down until it bottoms out.
It will leave a bubble, like this.
Now use the flare tool.
The finished flare.
ready
The other end of the tube marked and ready to cut and flare. Don't forget to put the fitting on first!
Installed.
Hi Tony B, Great thread. I have a 49 F1 project on the go. Some similar stuff Tilt front end, front clip from 72 thunderbird. I've gotten some great ideas from your pictures. Question. 1. what are the blue connectors for in your brake lines. 2. What gastank did you use? 3. What master cylinder?
Hi Tony B, Great thread. I have a 49 F1 project on the go. Some similar stuff Tilt front end, front clip from 72 thunderbird. I've gotten some great ideas from your pictures. Question. 1. what are the blue connectors for in your brake lines. 2. What gastank did you use? 3. What master cylinder?
I'll post some pictures soon.
Thanks.
1. The blue fittings are residual pressure valves. You need to use them when the master cylinder might be lower than the brake calipers.
2. From a 1995 Chevy van. I learned about this from a thread by �drptop70ss�.
Search his posts, for more details on this, plus a lot of other cool ideas.
3. I bought this off of eBay. You can find similar units from Speedway Motors.
I think it uses a corvette master cylinder.
It�s been nearly two years since I�ve posted anything on my build thread. Life circumstances had caused my truck project to be put on hold.
Family health issues, Retiring, selling my business, selling my house and shop, buying and moving to the new home and shop, etc.
Things are now back to normal, so I hope to get back to my project.
I made a little video yesterday of where I am with my truck. I plan to start posting updates again, to make myself accountable.
Thank for looking, everybody!
Great job, Tony! The video was well done. The truck is looking good. I know full well how quickly projects get pushed to the back burner when life gets in the way. Good to see you're able to get back at it. Looking forward to your progress.
Great job, Tony! The video was well done. The truck is looking good. I know full well how quickly projects get pushed to the back burner when life gets in the way. Good to see you're able to get back at it. Looking forward to your progress.
Well, I�ve been busy on the truck lately, welding and grinding patch panels, and filling holes on the firewall. Making pretty good progress.
got the bottom of the cab painted with rust converter, welded in shoulder harness mounts, and lots of other details.
I put the cab back on the frame so that I can figure out my steering column seats, front cab mounts, and other details.
I�ve been uploading videos of my progress, every week, so that keeps me motivated to work.
If you�d like to see what I�ve been doing on the truck, please check out my videos, and subscribe to see my latest videos.
Thanks for looking!
 05-15-2017, 02:41 PM


 . That looks like a very delicate machining operation.