When you click on links to various merchants on this site and make a purchase, this can result in this site earning a commission. Affiliate programs and affiliations include, but are not limited to, the eBay Partner Network.
Hey Keith,
Your dash looks brand new - that's at least something! Your doors
also look great compared to what we saw - Swiss cheese on the bottom 10
inches of the door. I was a wimp & paid someone $1,300 to sandblast our cab
with baking soda. (Picture Texas heat - full body suit with breathing hose - just awful).
Looking good over there in Tennessee! The cab is the worst part - you look like you are grinding through that one.
After working on getting the cab clean for two weeks, the doors only took about 2 days. I was happy with how they turned out.
Tonight I turned my attention to the dreaded rusted cab floorboards and cab mounts. I bought replacement right and left front floorboard sections from Dennis Carpenter. I bought the cab mounts from Mac's.
After cleaning and wire wheel cleaning it was pretty easy to see the spot welds holding the cab mount to the inner and outer sheet metal. I took a 1/4" ball bur and ground into the spots until I could see a line or they changed color. Then I used a pneumatic hammer/chisel to bust them apart. I missed one and ripped the sheet metal in one place but it will be okay. That's why I have a welding machine and a right angle grinder.
Does anyone have a parts cab that they'd part with the driver's side toe board? They aren't available as reproductions so I've either got to find a good old one, or fab something up.
Stay hydrated in your shop while working. The heat can sneak up on you really quick.
Work has been a zoo the past few weeks, but I finally stitched together a few good days to get back to work on my cab floor and toe board.
Both the floor board and the toe board on the driver's side were a rusted out mess. Back when I was a junior in high school in 1984 I had pop riveted sheet metal in that came from an old AC unit that burned up. Dad threw the old unit away but he kept the sheet metal cabinet. That was what is used.
I laid a straight edge down 1 1/4" in front of the center rib in the cab and that was my cut.
I bought that replacement floor pan from Dennis Carpenter about 25 years ago. No kidding. It had sat in a garage and had a little surface rust on it but it will clean up fine. I trimmed the new piece to match the cut I made on the existing floor
I started tacking it in after taking a grinder and cleaning the original metal clean. I made tack welds about every 6" and mechanically stress relieved them with a hammer. I kept moving back and forth across the joint until it was mostly filled up with weld. The weld guide that Axel Racer posted on here along with YouTube were invaluable to me. This was the first thing I've ever welded in my life.
My original cab support was rotten. I got new ones from Mac's. I cut out the rusted area of the toe board and made every attempt to save every square inch of material that I could. The cab mount sits on top of the floor pan. I drilled 1/4" holes in the areas that sit on the pan and the area that attaches to the door post to facilitate making clean spot welds. I didn't weld braces to hold the cab when I cut out the old cab support and floor pan. I didn't mess with the passenger's side so I was able to make measurements with a tape and check everything on the driver's side. Here is the cab support tacked to the floor board. The wooden 2x4 was cut to fit the door opening on the passenger side and the tapped in to place to position the driver's side before welding the vertical piece of the cab support to the door jamb. I also hung the door on the hinges to double check the fit up.
I moved on to tie the other end of the cab support to the cab mounting brackets attached to the firewall that I never took off. The holes matched up perfectly. I drilled 3 holes in to allow to spot weld it to the mounting bracket. After that was done, I took a sheet metal hammer and beat the inner fender well portion back around and rolled it under the cab support. There are four spot welds that hold the cab support flange to the wall of the fender well.
Classic Haulers (now Mid 50?) is the only reproduction company that makes '48-'52 F-1 toe boards. They are the right shape and gage, but the hole for the steering column isn't there and the rib rolls don't line up. Oh well, it will be under the floor mat, right? I saved as much steel as possible. I only used about 1/3 of the new piece. I made detailed photos with a tape measure to locate the holes were the pedal bumpers are located since they are not in the new ones. Then I drilled the support plate to toe board spot welds and zizzed out a rectangle.
The rectangle I cut out of the original is seen in this picture
I literally spent about 5 hours with dykum, a scribe, a right angle grinder, and a file to get everything trimmed and fit like I wanted. Like I said, the ribs don't line up on the new versus the old, but I hammered and flattened as good as I could. I then drilled the toe board flange to allow me to spot weld it to the floor pan.
Now spot welded in place
I then tacked the butt joint along the top and finished it out. I'm not a good welder by any means. I've had great welders work with me though. I spent a lot of time grinding everything smooth when I was done. The ribs bother me, but not enough to make new ones from scratch.
I still have some grinding and cleanup to do on the underside but I'm so happy how this turned out considering it is the first thing I've ever welded in my life. I love my Hobart 140 machine.
The passenger side is next. The toe board and floor pans are not nearly as bad. The cab support will need replaced. And only a small section of the pan under the support.
When I'm done I plan to sandblast the whole underside of the cab and the floorboard before I epoxy prime and undercoat it.
In the past two weeks, I moved over to the passenger's side of the cab. The passenger's side floorboard and toe board were not in nearly as bad a shape as the driver's side. The cab support and the floor pan area under the cab support were really the only spots rusted through.
I started by drilling out the cab support spot weld and removing it. I noticed that the driver's side only had 4 spot welds from the inner fender well to the cab support, but the passenger's side had 6. Seemed strange. Must have been fabricated close to the shift change. LOL!
With the cab support removed, the floor pan looks bad, but it really wasn't in too bad a shape. There is a hole under the support, but that is all mostly surface rust with good steel underneath.
I only used a very small area of the new floor pan section I bought from Dennis Carpenter.
I spent quite a bit of time grinding and trimming to get it to fit.
It all has to fit together before welding it up
Tack welded in place
Mostly Finished and ground smooth
I was tired of all the rusted and dirty material inside and underneath. Yesterday I cut lose in 95 F heat with 150 lbs of Starblast in my sandblaster after dragging the cab outside the door of my shop.
In case anyone is wondering why I didn't blast the rocker panels, I have new ones to install. I did blast about 1/2" the at floor pan joint to clean up the area where the weld lines will be.
Blasted the inside also. All that surface rust came pretty clean. As luck would have it just as I finished blowing out the sand from inside the cab, a small thundershower came over the shop. I had to very quickly slide it back inside.
Looks really good! One suggestion, check the fit of your doors to the gasket surfaces now, before you get any paint on them. I'm sorely disappointed how mine fit but with it all painted, I'm not inclined to do anything about it. Years of slamming take a toll on the shape of the doors.
The bottoms of my doors are rusted and are gonna have to be repaired.
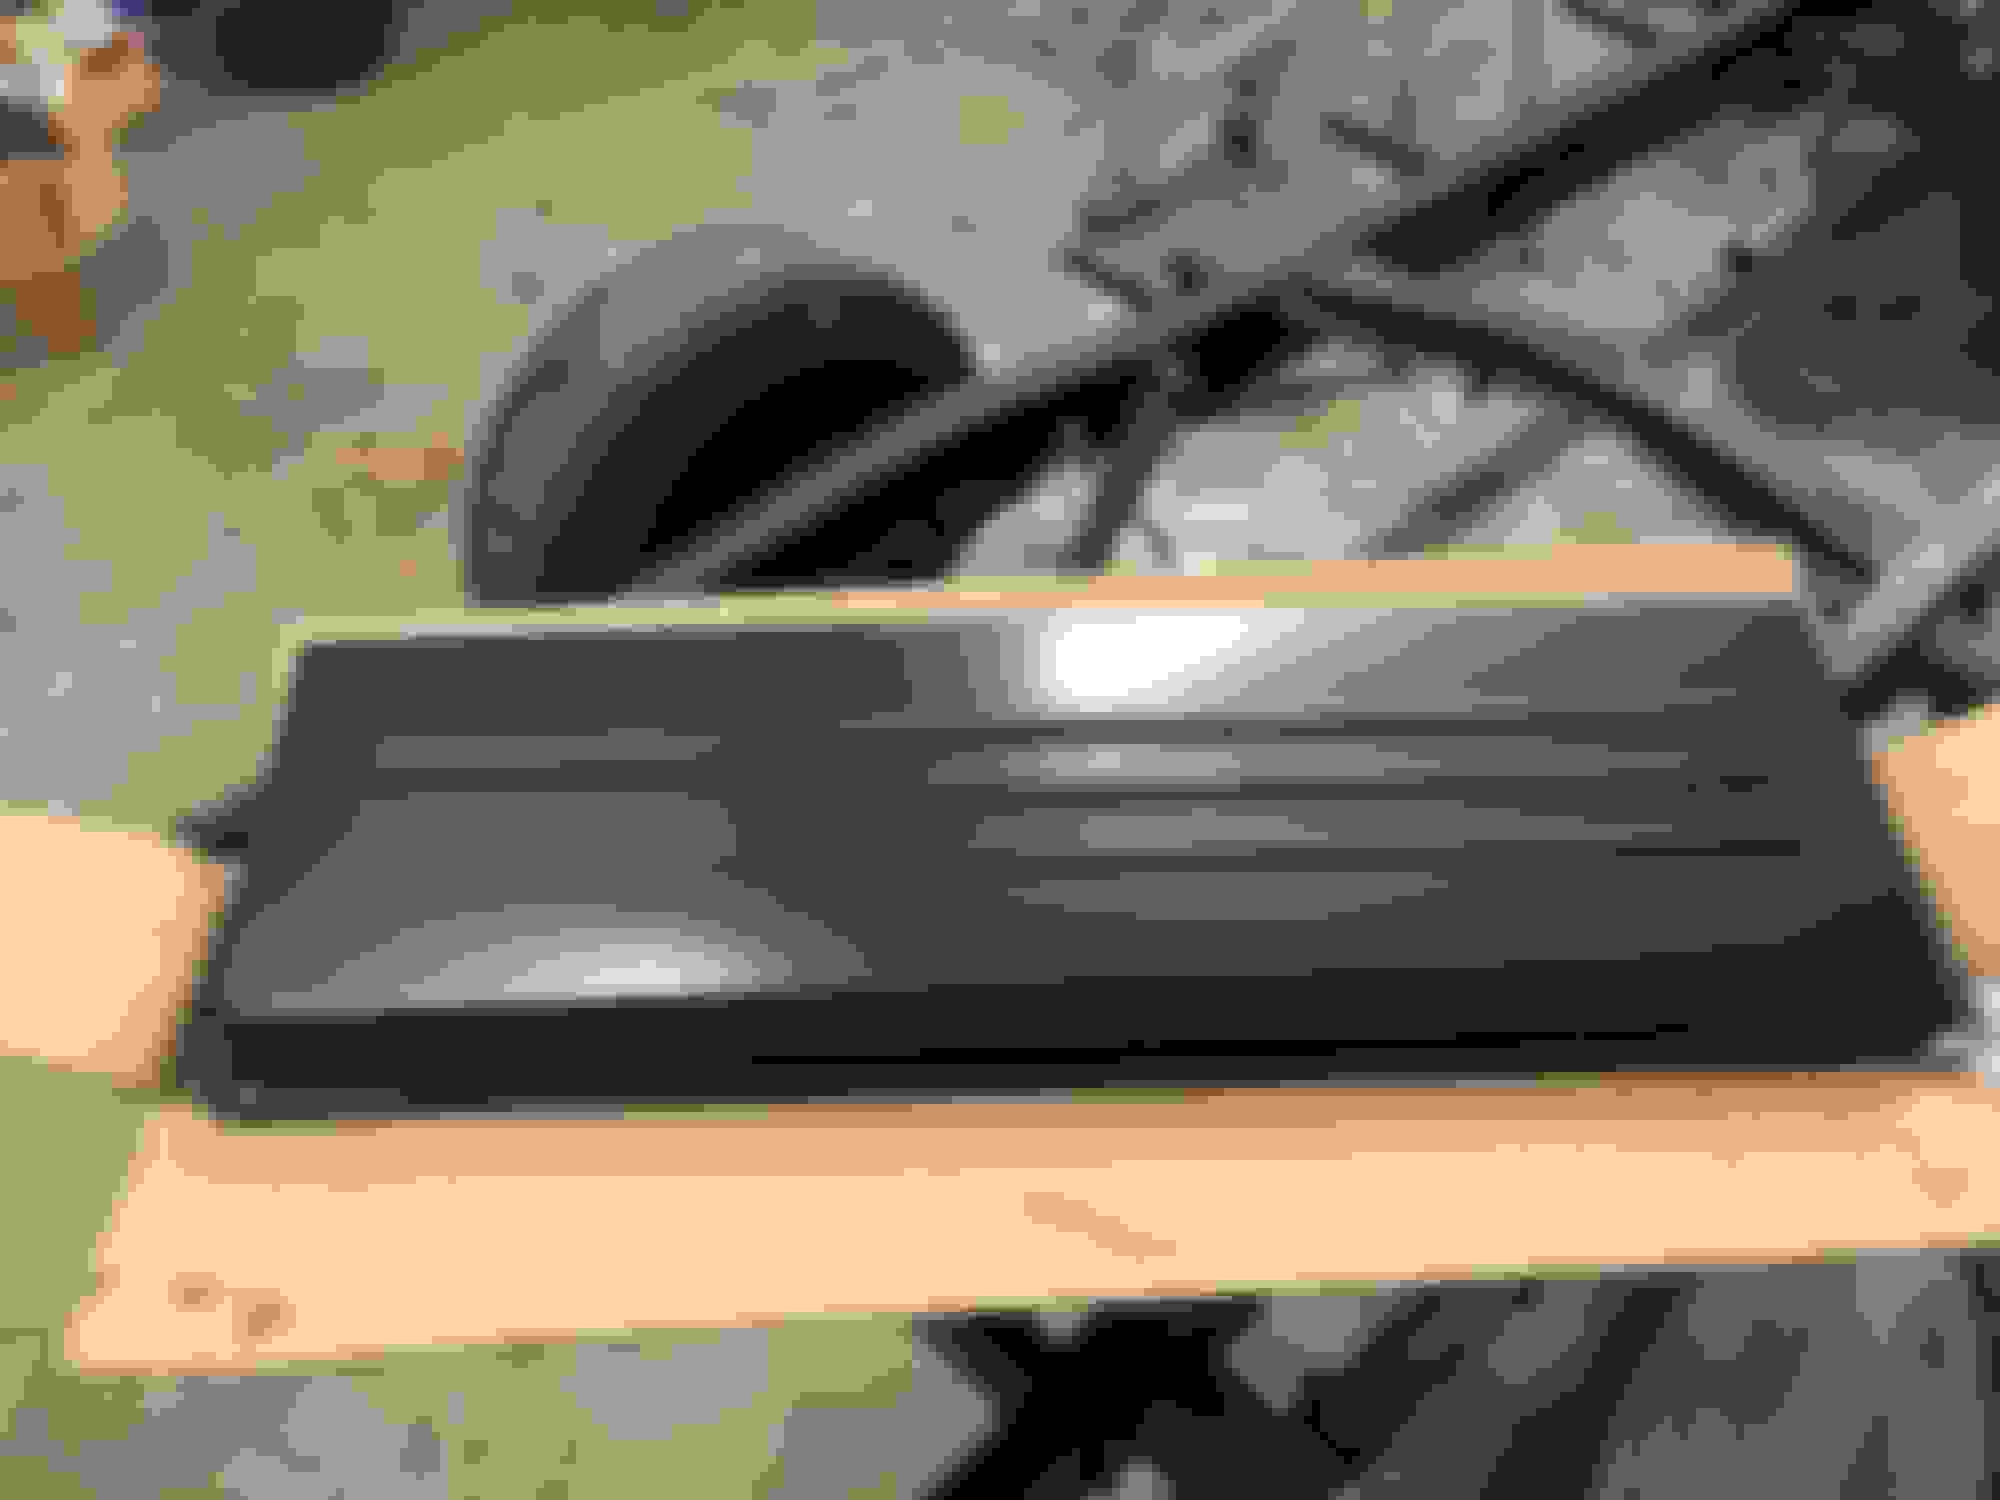
I ordered these off of eBay. And they came this past Thursday
So I will definitely have fit up work to do. I'd be lying if I said I wasn't nervous about doing this, but it has to be done. As with the floor pans I'm gonna try to use as little if the new and keep as much of the old as possible.
I didn't realize they made replacement door bottoms. I agree, that would make me nervous to try to weld that straight across, without warping. How close does it come to the bottom of the access panel? I wonder why they don't sell just the bottom inch or so?
A guy on the "1952 Ford F-1 pickup Restoration" Facebook page posted a listing on eBay of them. I immediately ordered them that afternoon. The same seller also has the correct Toe Boards that I couldn't find anywhere.
Here is the listing. The sellers name is truckshop_oc
Hi Keith, Nice work!
I didn't see any mention of checking your new front cab mounts, as far as alignment to the frame mount holes. I presume you did, but just a thought.
Know what I mean? center to center of the "frame holes" vs. center to center of the new "cab mounts"
As you know, the cab mounts are made up of two pieces. The vertical piece that welds to the firewall and the horizontal piece I replaced that welds to the floor pan. I didn't touch the vertical portion, only the horizontal part. Both pieces have holes and welded together in a sandwich. Since the cab fit fine when I took it off, I only realigned the holes in the new horizontal parts to the same holes in the existing vertical parts.
You'll see the holes in the floorboard sections aren't there. I plan to drill them after I set the cab back on in case there is any slight misalignment. On those holes.
I'm still plugging away on the cab. I went after the firewall next. Since I owned the truck from 1983 there were two different heaters in it and at least one extra set of holes for a third. Needless to say my firewall literally looked like Swiss cheese. Since "16 year old" Keith, made a lot of this mess, I could only look back, rewind the tape, and shake my head.....
I started welding up the myriad of 1/4" and 3/8" stud holes that were drilled to mount those different heaters. I really cussed the ones drilled right in the ribs! I have the case for a Magic Air Heater so I was able to fit it up and find the "real mounting and heater hose holes".
I cut and welded in several patches to fill the heater hose holes. This was a learning experience. I wanted (for some dumb reason) to keep as much firewall as possible. I wished now I had just cut a single piece. But you learn as you go and since I didn't even own or know how to operate a MIG welder until a month ago, I can truly call it a "rookie mistake"
A lot of grinding. Amazing how fast one can go through a carton of rollock disk! Here is what I ended up with. I have a few more blemishes to tough up, but for the most part I'm happy with it. It's pretty straight and ready to accept a 1952 Magic Air Heater!
Now on to this! It's not as bad as it looks. Those aren't all rust holes, they are where I didn't get all the weld drilled out and tore the sheet metal. I'm going to blast it / rust convert it and work my way back out.
As you know, the cab mounts are made up of two pieces. The vertical piece that welds to the firewall and the horizontal piece I replaced that welds to the floor pan. I didn't touch the vertical portion, only the horizontal part. Both pieces have holes and welded together in a sandwich. Since the cab fit fine when I took it off, I only realigned the holes in the new horizontal parts to the same holes in the existing vertical parts.
You'll see the holes in the floorboard sections aren't there. I plan to drill them after I set the cab back on in case there is any slight misalignment. On those holes.
Keith
Your doing a great job
I did my floor the same way as you are but I had xbraces in the cab to keep it strait and drilled it at the mounts after all welding including checking the door fit
 06-16-2016, 05:38 PM