When you click on links to various merchants on this site and make a purchase, this can result in this site earning a commission. Affiliate programs and affiliations include, but are not limited to, the eBay Partner Network.
There are few rules when modifying a vehicle one of the most important being, assemble everything first. I didn't follow this rule when I test fit the engine, I left the front swaybar out. On the regular TCI 48-52 front suspension the bar installs behind the crossmember. On the custom IFS it installs behind and slightly above the crossmember. After installing the sway bar I attempted to install the engine, the drivers side was fine but the passenger side has a small bulge in it which hit the newly installed swaybar. This is where it's great to have the help of fiends. Rick, everyone building a truck needs a Rick he is a machinist and a welder and I've never had a job yet he couldn't do modified the pan for fit. Had I caught it earlier I could has raised and moved the engine rearward for clearance but really I would have installed it the same as I did.
Getting ready for front suspension install.
Prepping the rear.
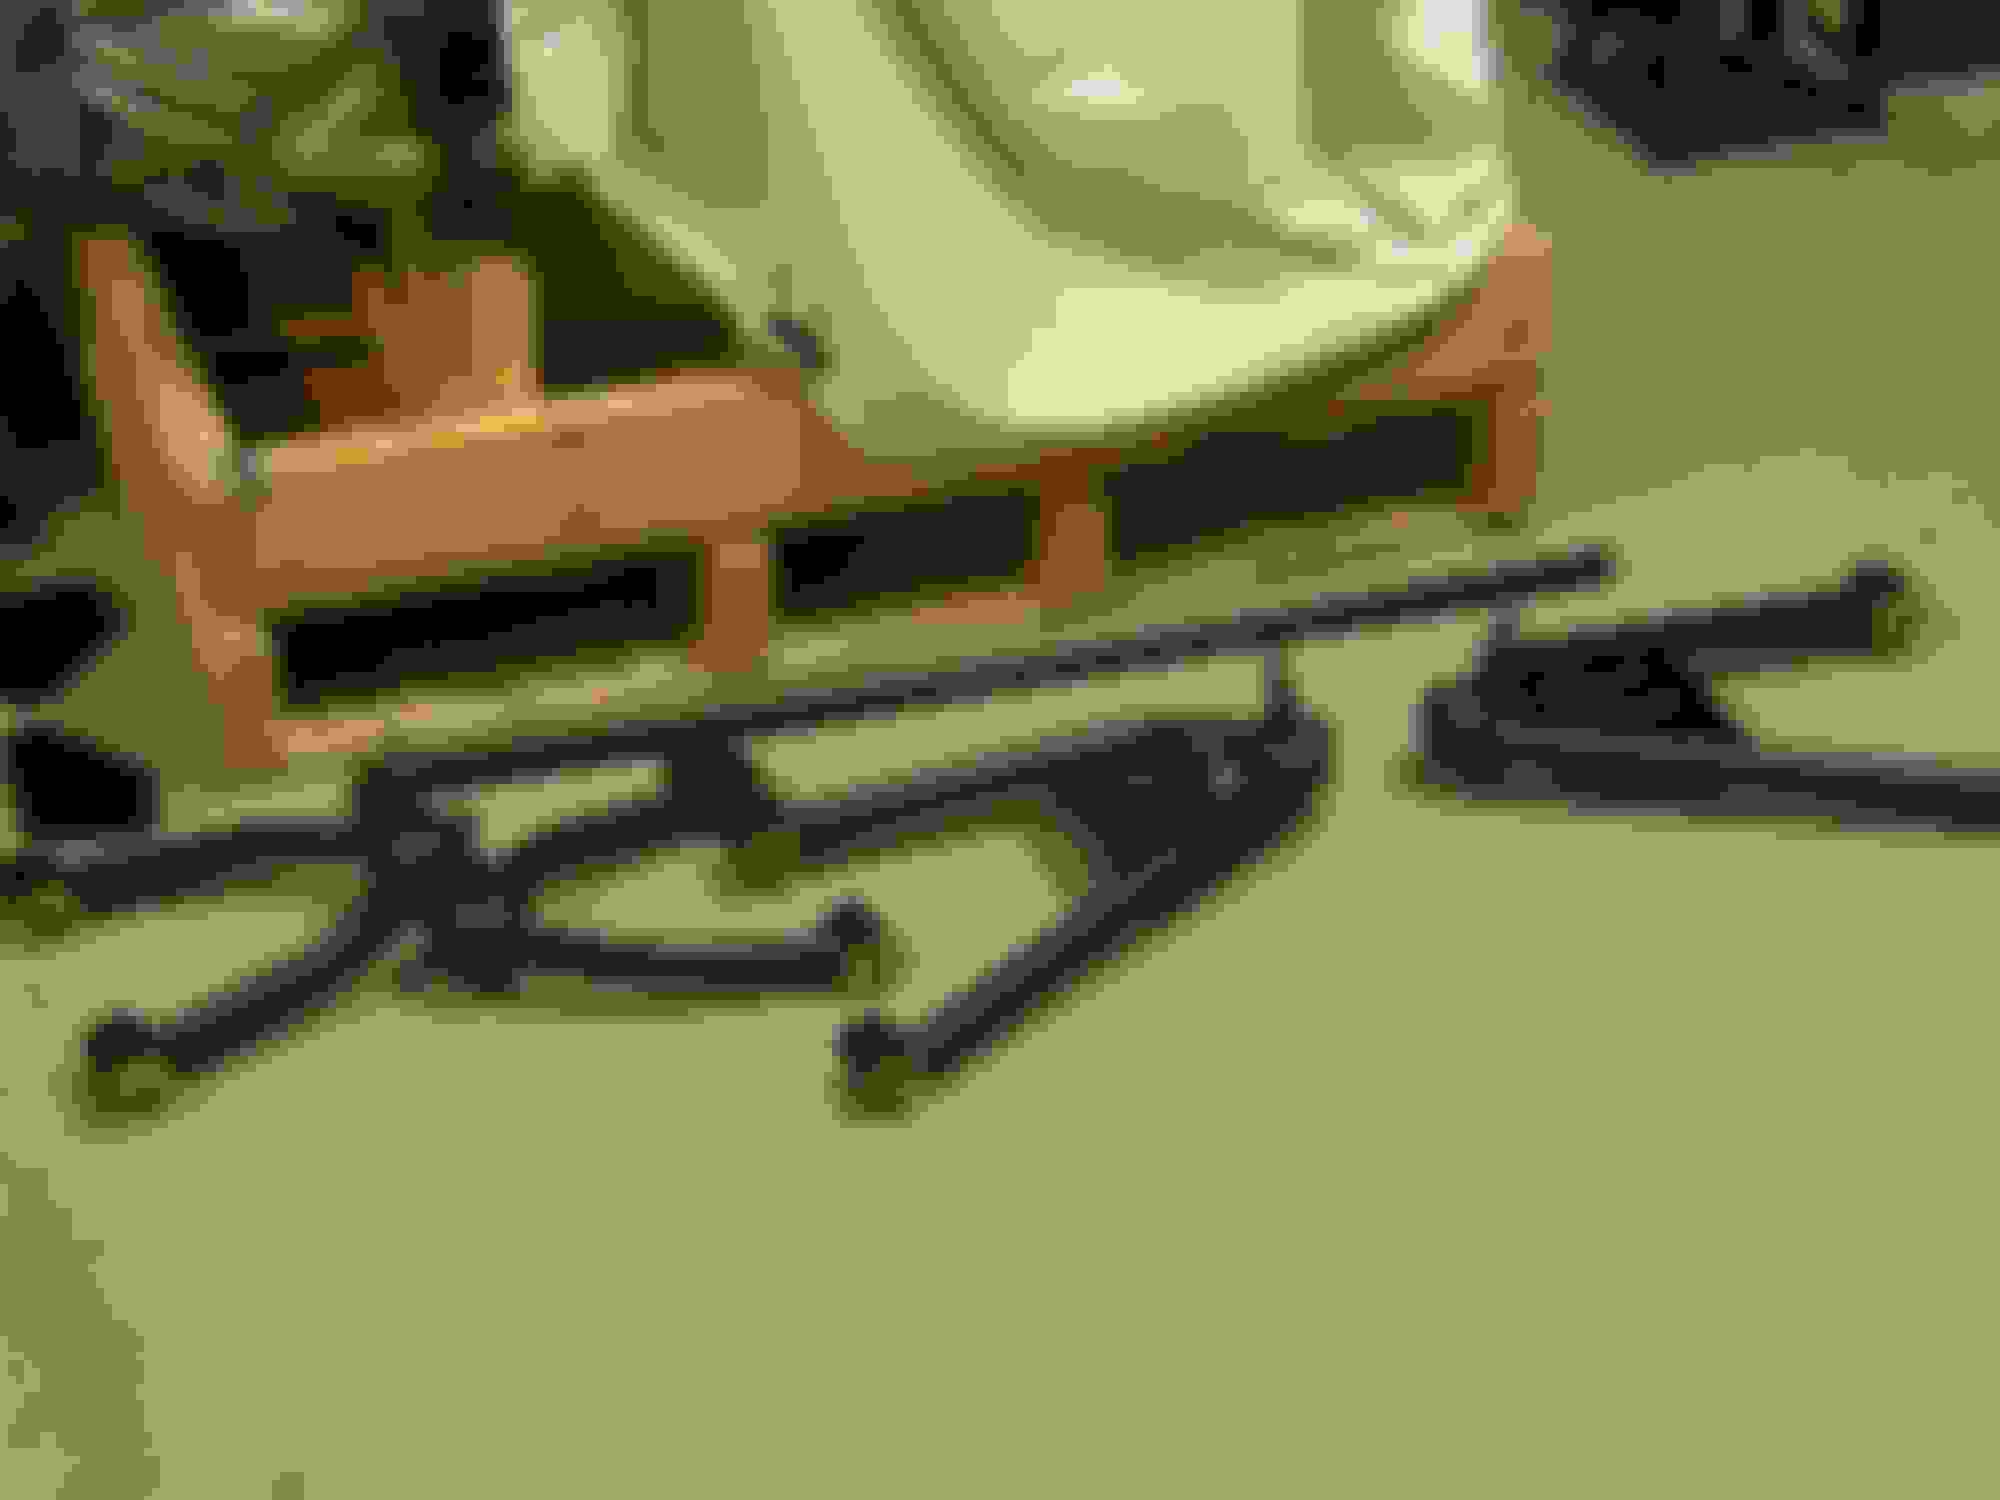
Front control arms.
Lower control arm and swaybar installed, this was a uh-oh moment.
Since the pan modification was going to take awhile it was on to other projects. This is the bell crank for the clutch, another Rick part. This will allow the use of a hydraulic clutch with the stock pedal.
As installed.
Since I had a lot of other work to do I installed the engine without the pan.
Looks great in the frame, pan or not.
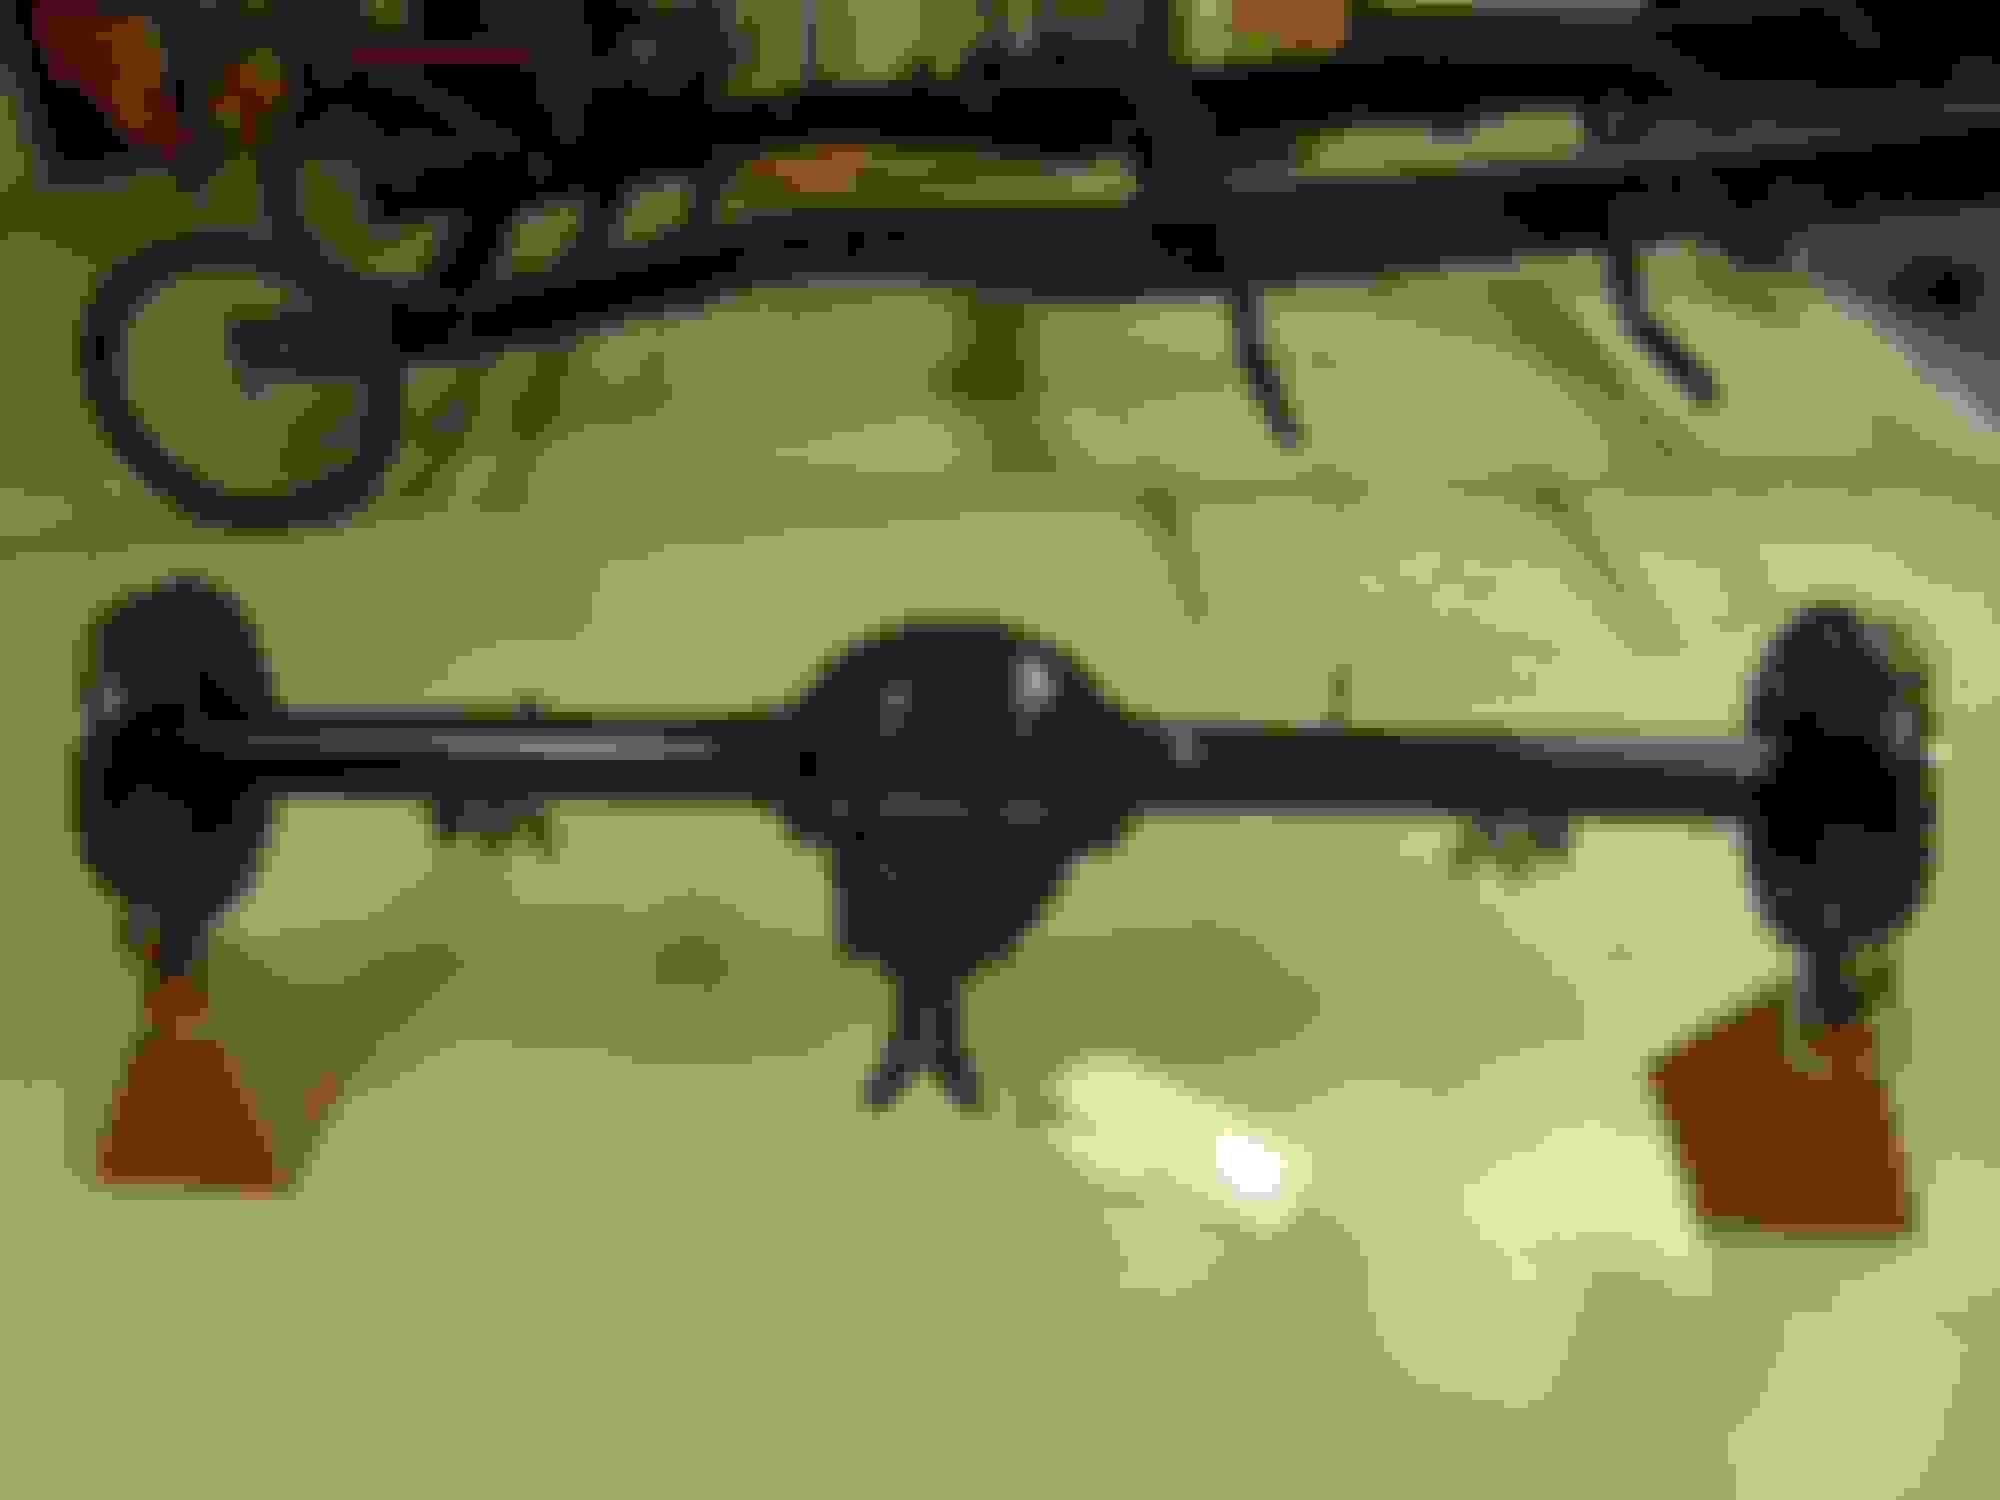
Started measuring the rear suspension for some bushings and locating left to right.
I left a little extra space between the rear coil-overs and the crossmember in case I had to adjust the rear end back.
Made a couple spacers to fill the gap.
Also took this opportunity to install the stock parking brake. Should say my wife did, took about four try's for her to get it right but she stuck with it.
While she was working on the parking brake I started on the hydraulic brakes. Lines are ni-cop that's why the strange color.
The ni-cop won't rust, comes on rolls and is easily bent.
I hate doing brake lines and am usually the one who does it for all my friends. When I pressurized the system none of my connections leaked. However four connections on the CPP booster and combination valve leaked. Two days after I fixed them I started getting fluid on top of the combination valve that would then drip on the floor and run for a couple feet (thanks epoxy floor). After a hour long search I found the combination valve had a leak inside one of the mounting holes.
A whoops moment. When they made the drive shaft they installed the wrong rear u-joint. The spec sheet had the right one specified so they paid the return shipping, welded on a new joint and had it back to me two days later.
I also decided to change the routing of the steering. I moved the shaft inside the header. You can see the heim joint to the outside of the header where I was originally going to run it.
Because of the new routing there was a small boss on the block I removed for better clearance.
The other clearance issue with the engine was the oil filter. My solution was a remote filter in front of the engine.
Finally I started fitting up the hydraulic clutch master. With the bellcrank Rick made I was able to keep the stock pedal and geometry.
You are doing a fantastic Job on your Truck!!That motor should have no problem getting onto the super Slab. Wow !! I learn so much on this site from Ya'll Great Fab work!! Thanks for posting.. I might need to steal your bell crank design.
The Clutch pedal adapter that was made could be marketed... everything looks great!
Mark
Originally Posted by barnfind 51
You are doing a fantastic Job on your Truck!!That motor should have no problem getting onto the super Slab. Wow !! I learn so much on this site from Ya'll Great Fab work!! Thanks for posting.. I might need to steal your bell crank design.
Thanks for the compliments. I now know the Clutch setup works great. I was worried for awhile.
If you aren't already planning on it, I would find a way to add a new cross bar back onto the radiator support. The whole front sheet metal is hung off of that support so that cross bar add a lot of structure to it.
 01-20-2015, 08:58 PM


 . Wow !! I learn so much on this site from Ya'll Great Fab work!! Thanks for posting.. I might need to steal your bell crank design.


