
My 2011 F250 Crew, Cab Clearance Lights thread...
#16
 09-29-2014, 02:25 PM

At this point, I have done nothing that would prevent me from stopping and forgetting about this project. Take the tape off the roof, put the interior back together and just forget about this project.
That’s all about to change.
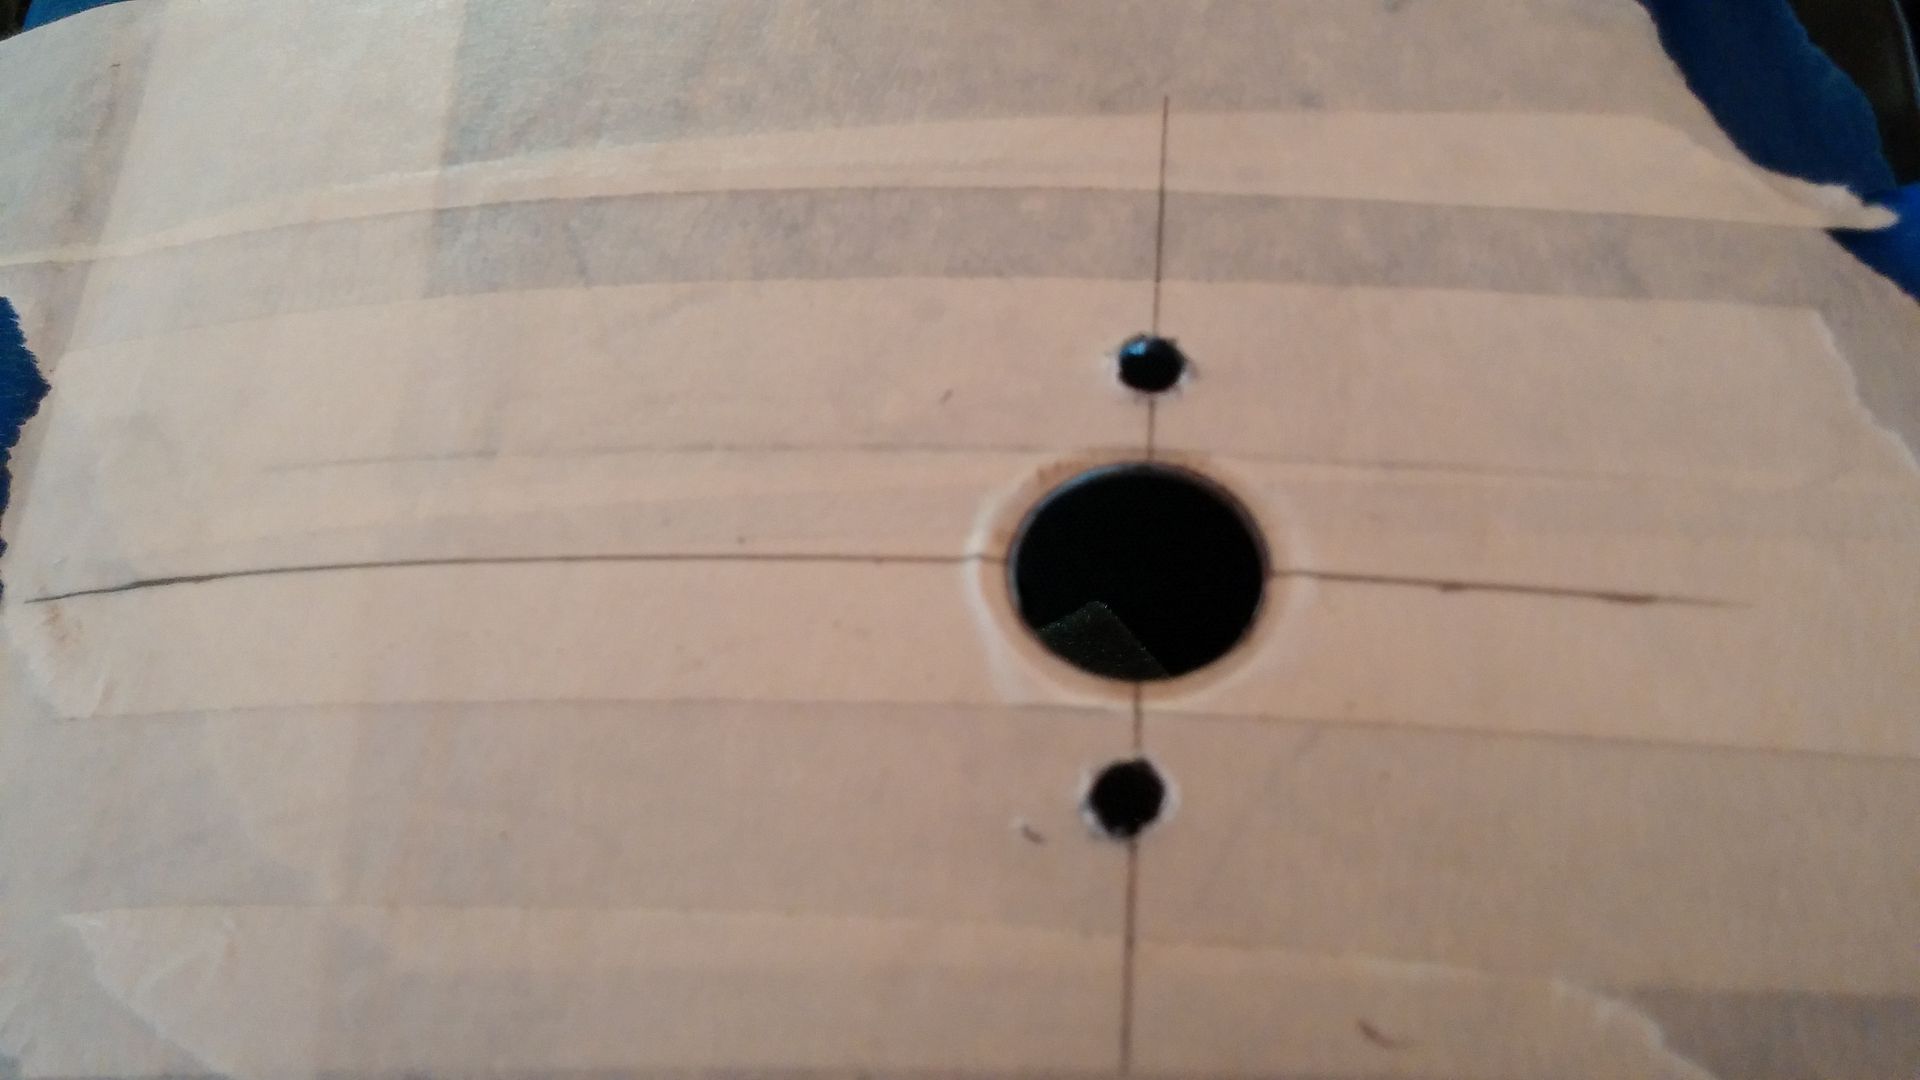
I center punched and drilled 15 pilot holes into my $60,000 (msrp) truck that had a roof that never leaked.
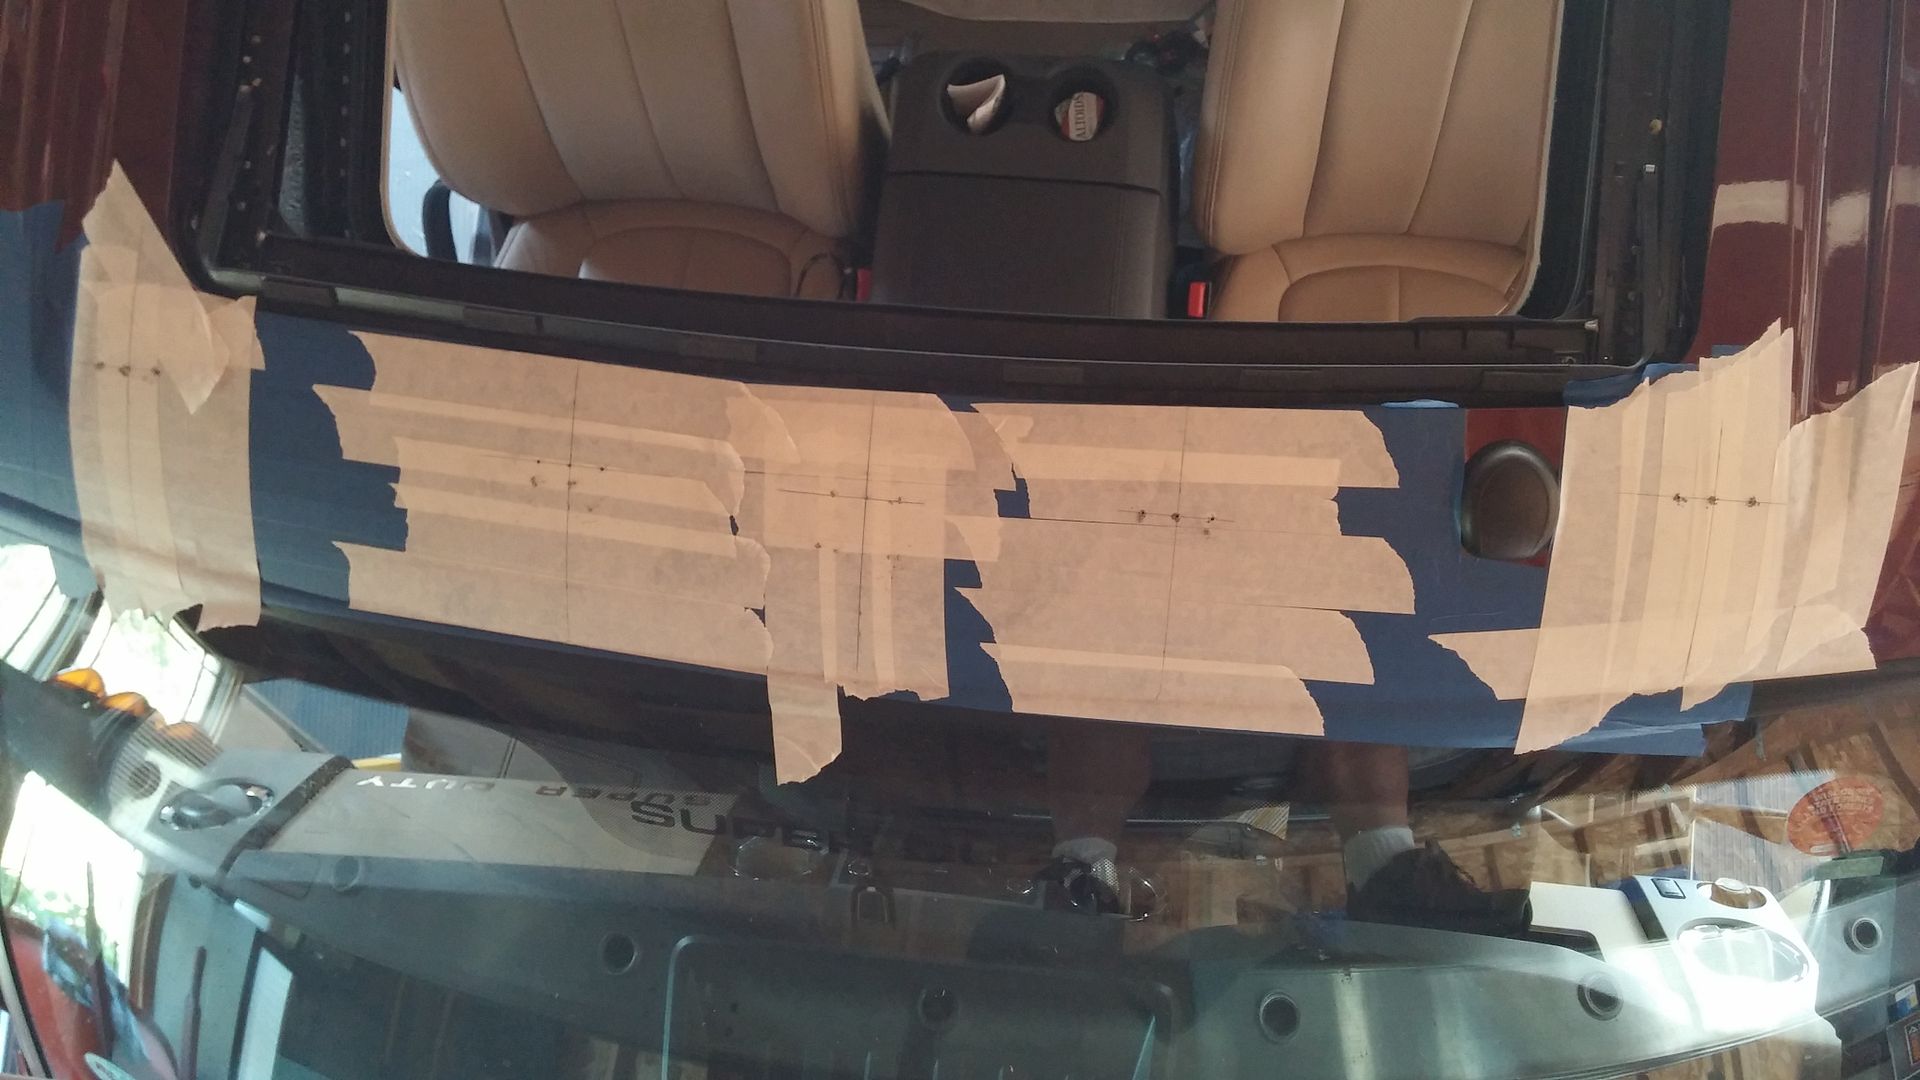
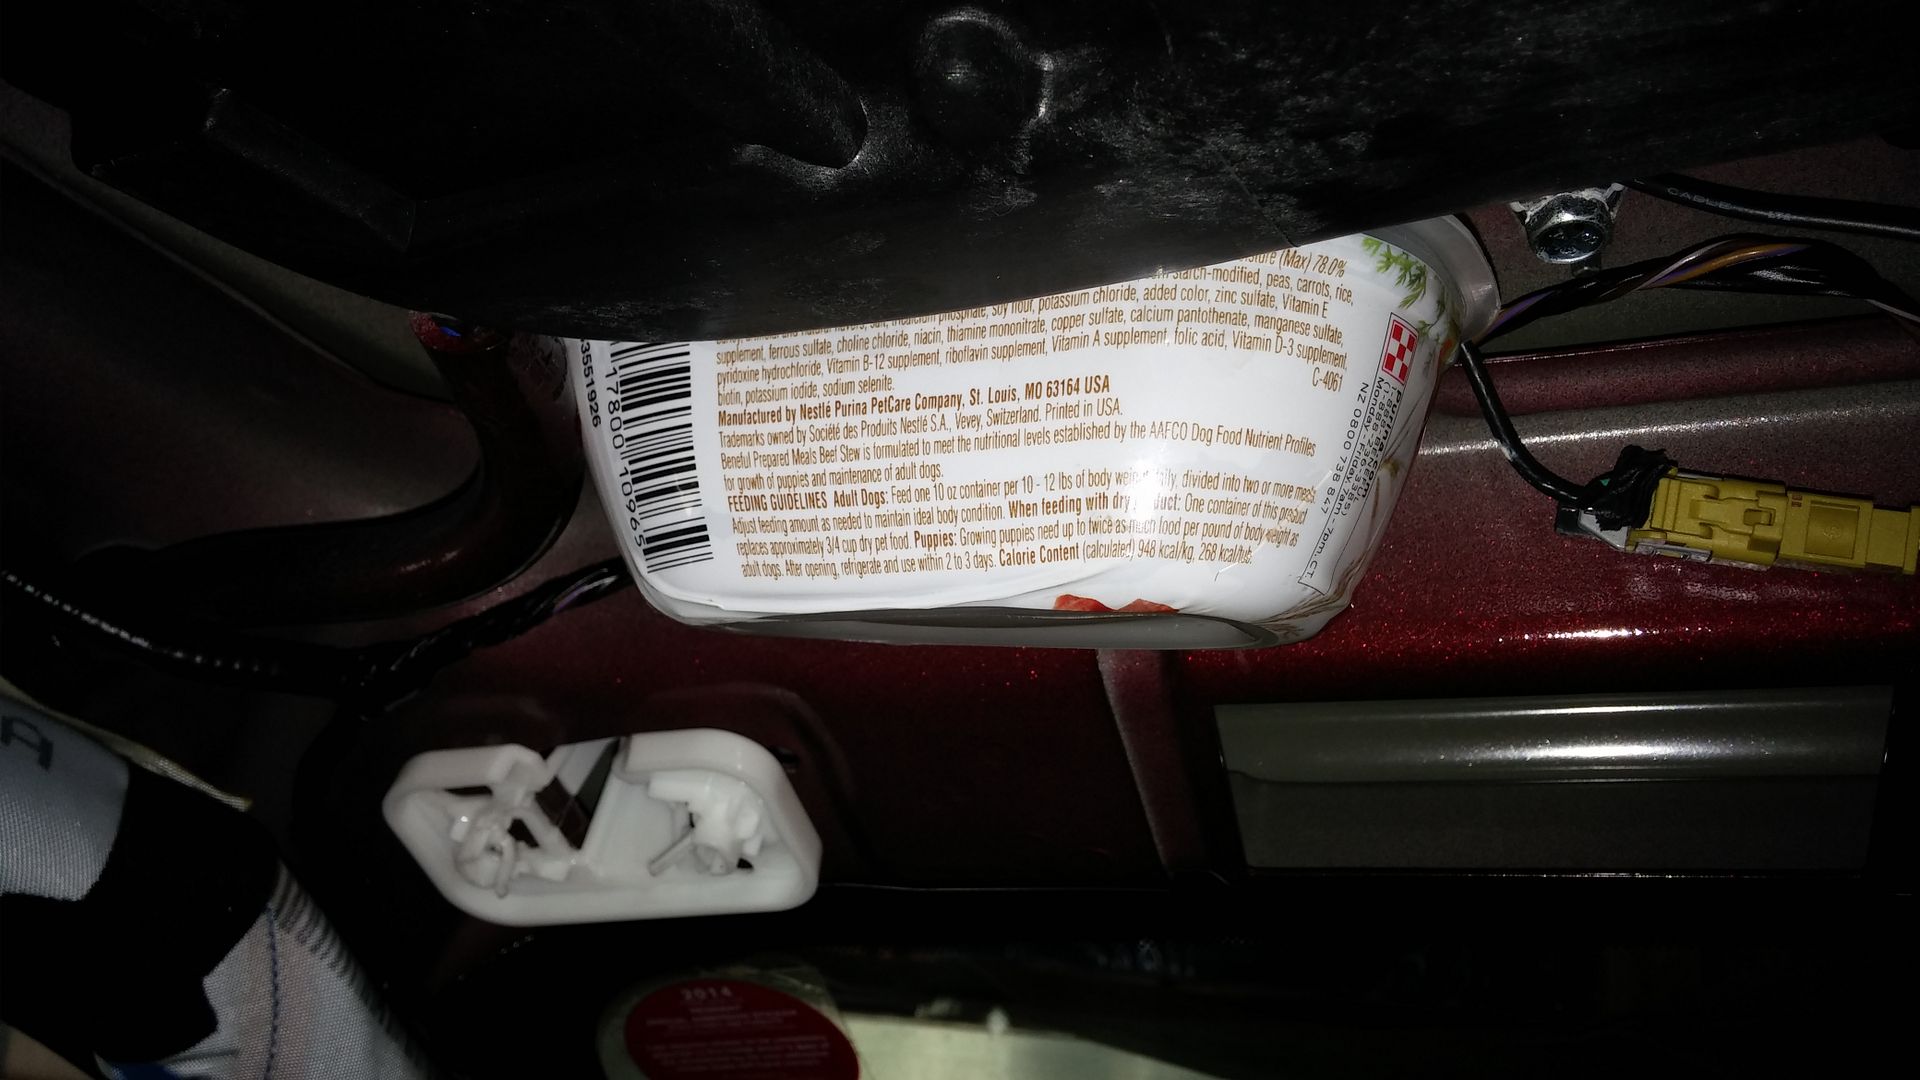
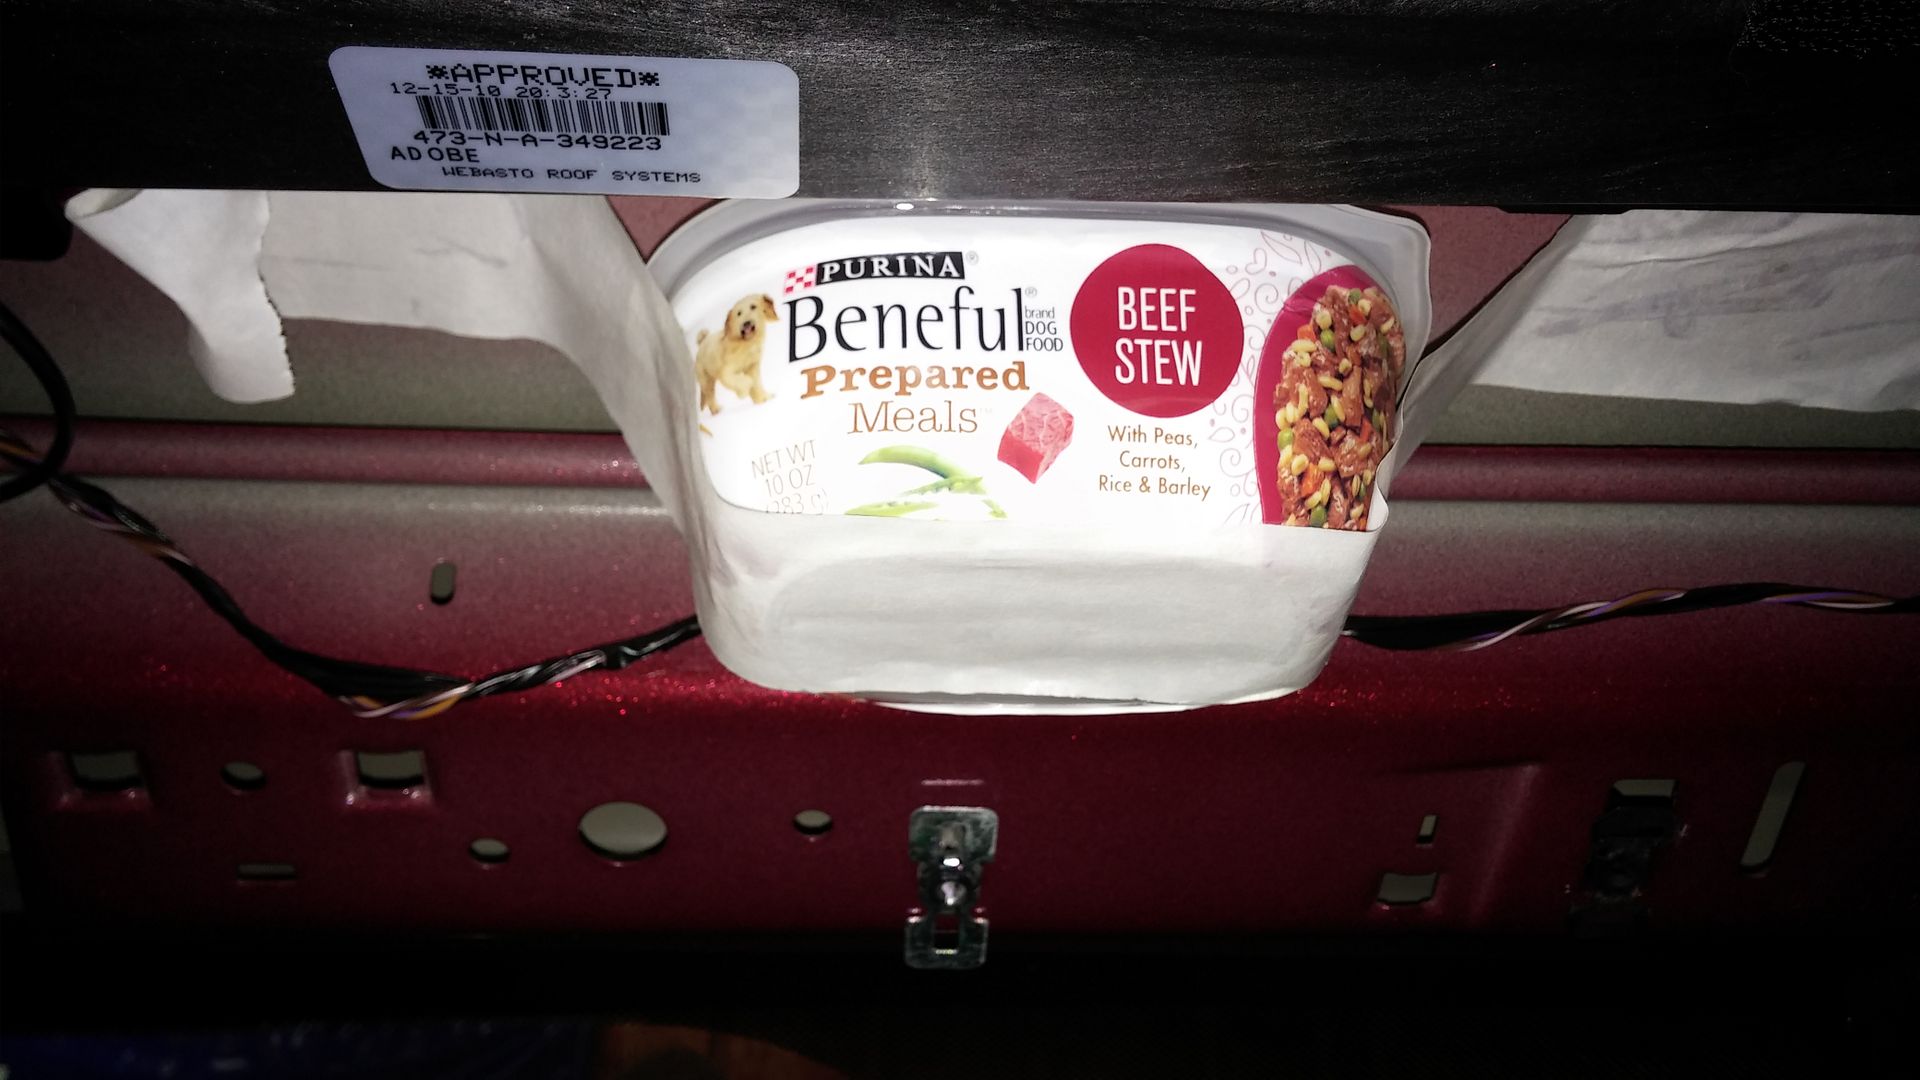
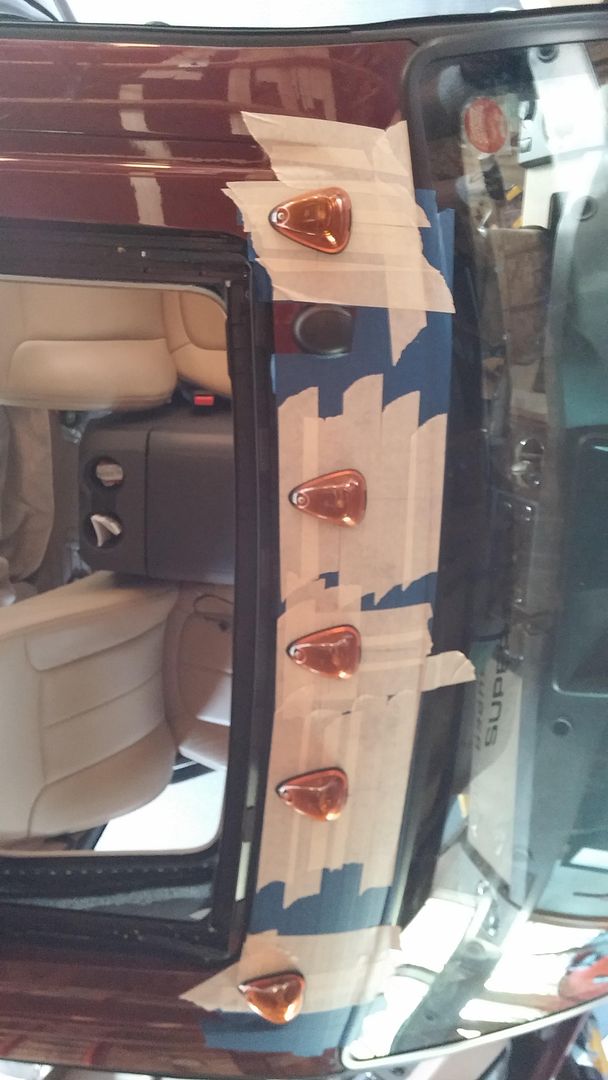
Before I moved on to the larger holes, I found these handy dog food containers in the recycle bin. Taped them under my pilot holes to catch the chips from my drilling really big holes in my now leaky roof.
#17
09-29-2014, 02:26 PM
Increasing the size of my pilot holes to quarter inch. Good time to vacuum up the chips. Really tried to keep the work area as clean as I could.

Using new, sharp drill bits, increased the size of the center hole to 3/8th inch.
I am done drilling holes. I have 10 quarter inch holes and 5 three eighth inch holes. The larger hole being the center hole for each light.
#18
09-29-2014, 02:26 PM
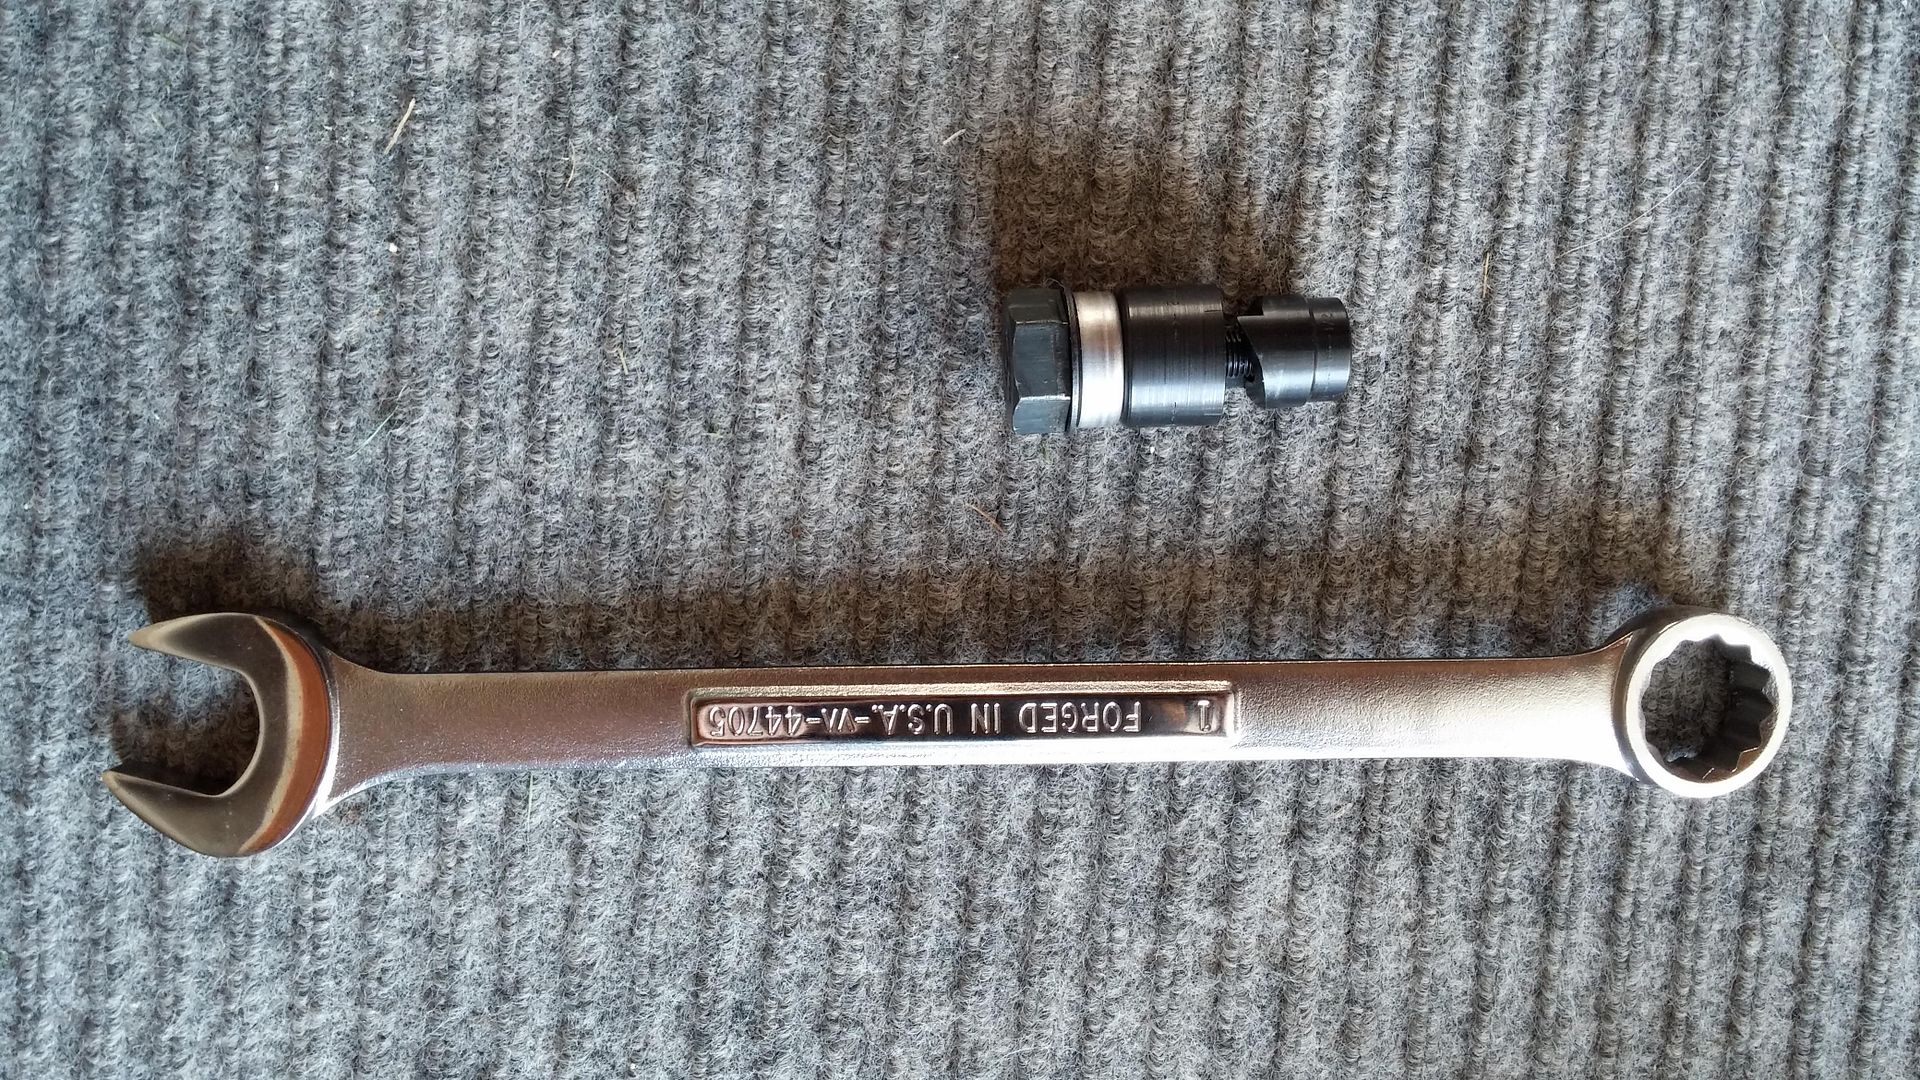
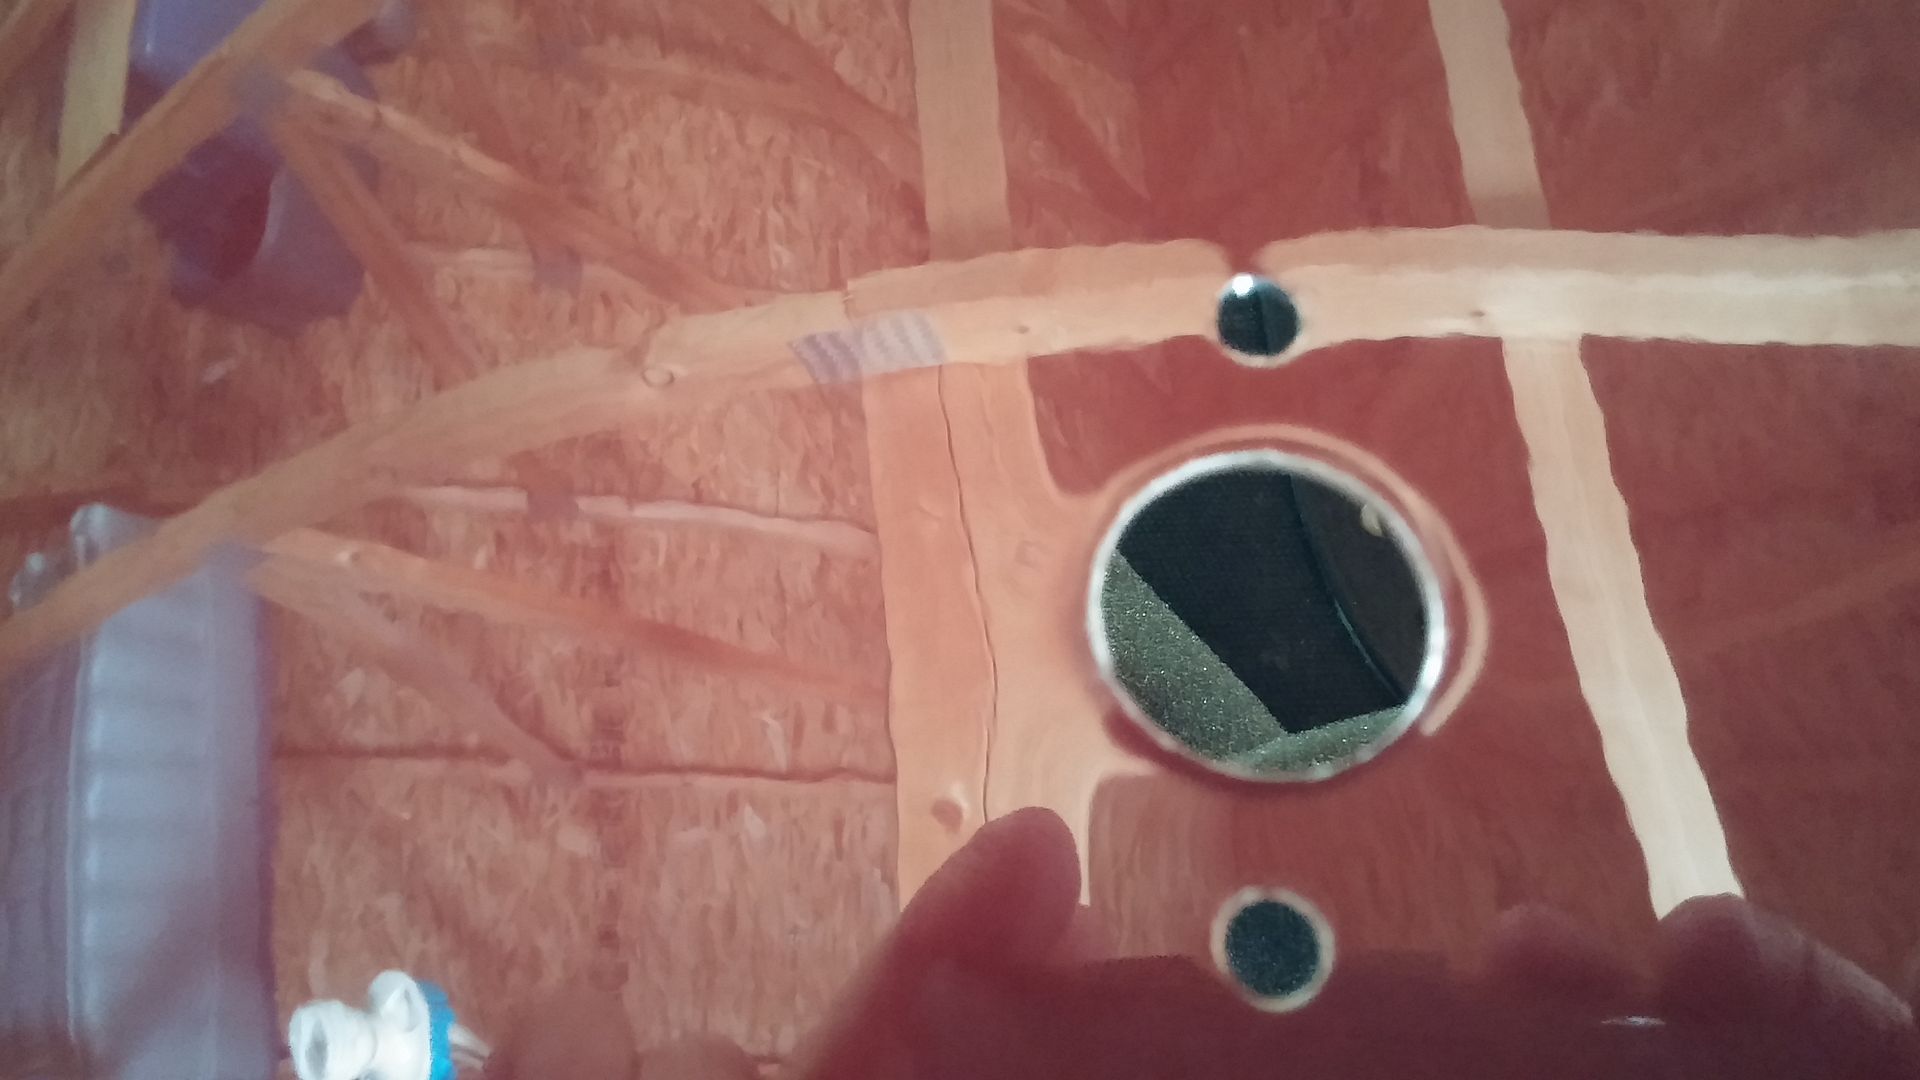
Never used one of these before. This cutter is for increasing the size of the middle hole for the electrical connection for each light. Practiced a few holes in some scrap sheet metal. Tool works great and is the correct tool for this job.
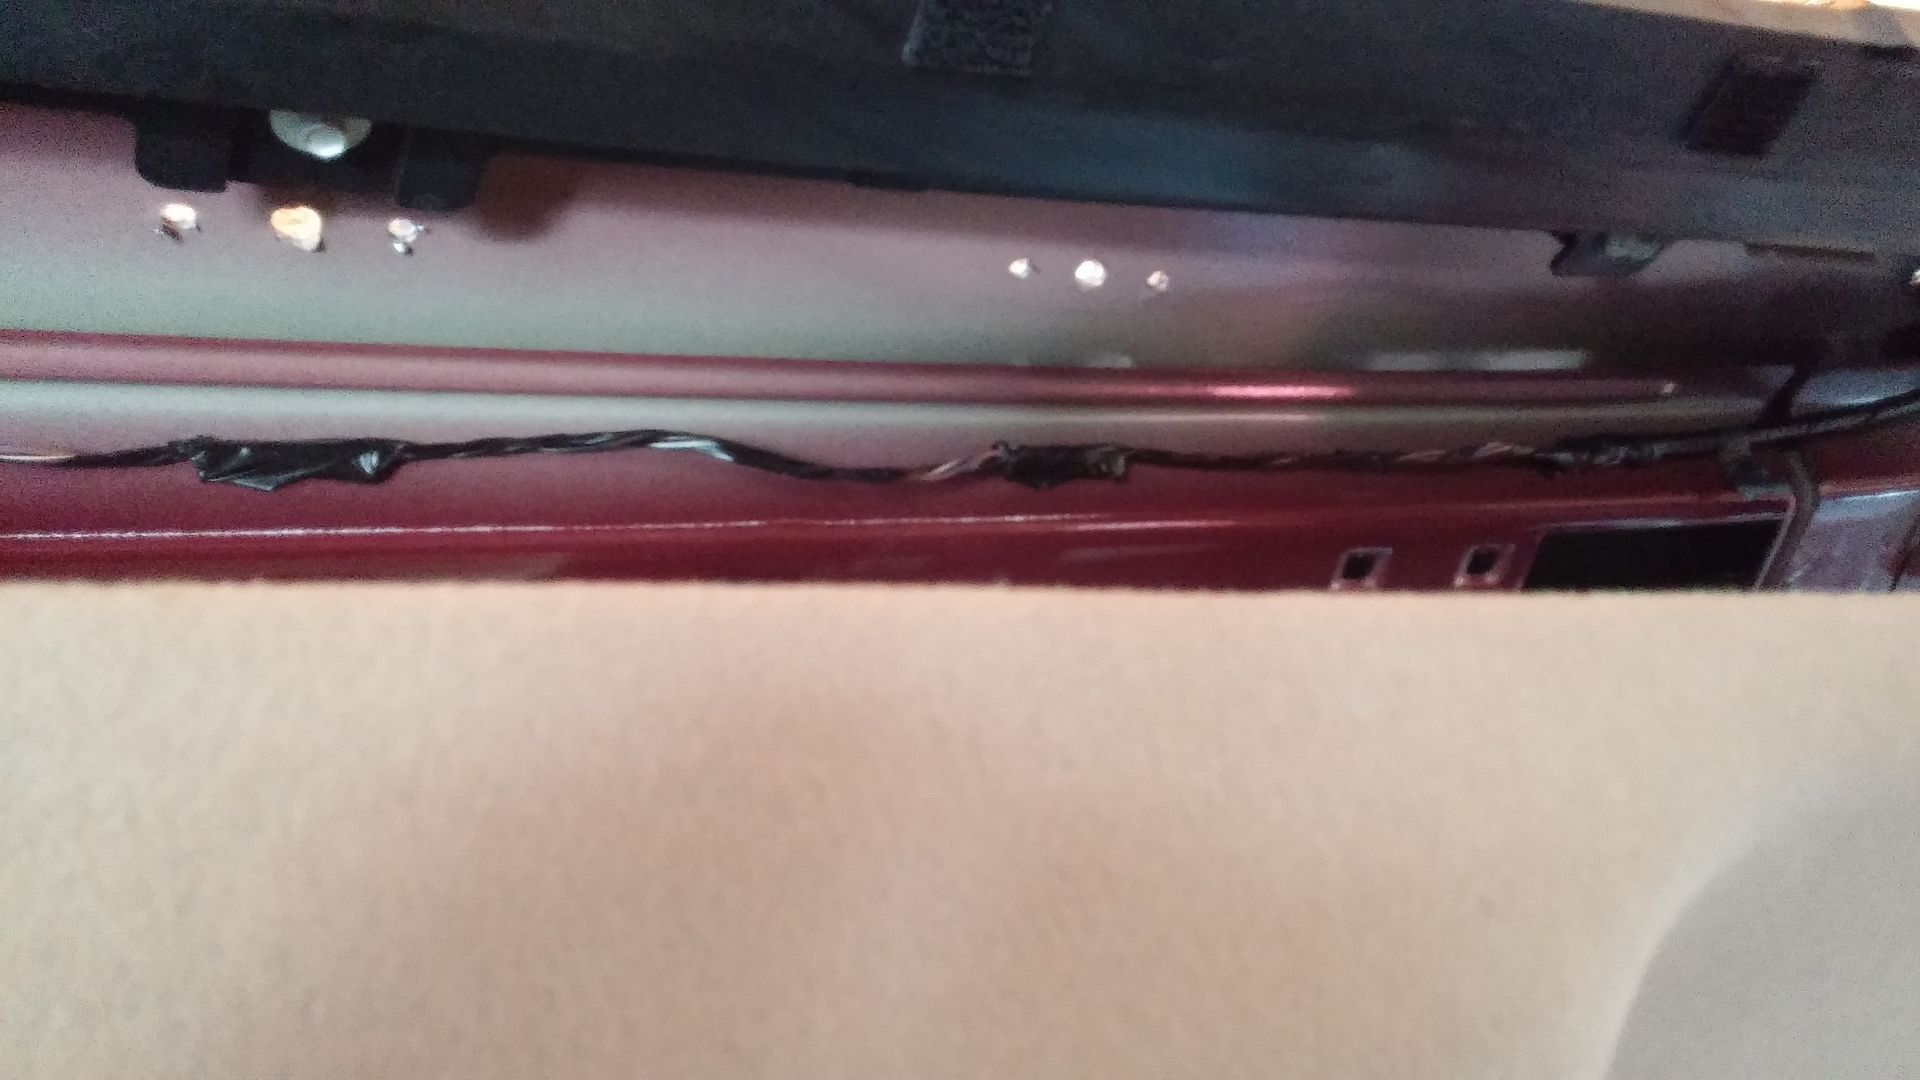
From the outside of the truck put the bolt through the 3/8 inch hole until the collar sits on the body panel.
Outside of my truck:
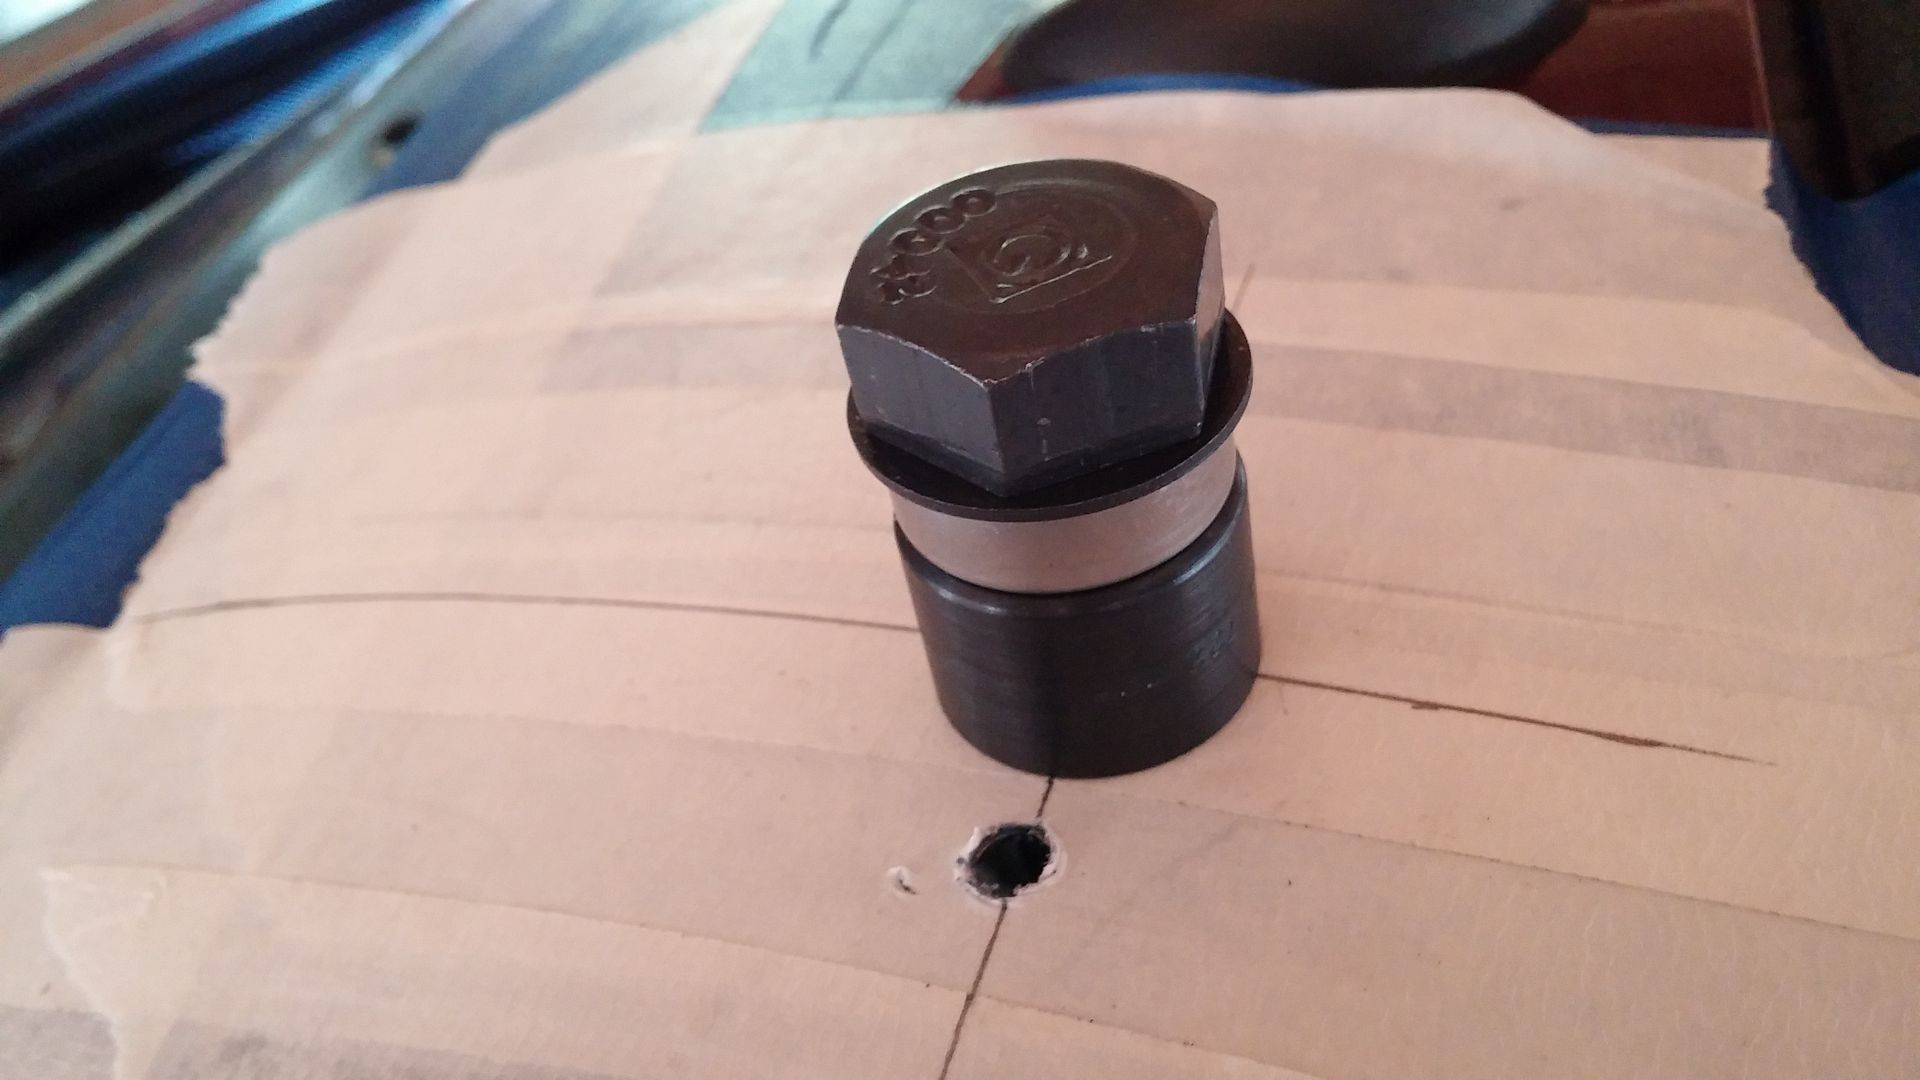
From the inside, hand thread and hand tighten the cutter. I added a drop of cutting oil to the threads of the cutter and a drop to each half of the cutter itself, can’t hurt. Once the cutter is hand tight, use the wrench to tighten the big bolt on the outside of the truck. After a few turns you will hear a pop. Tighten a little more and you will hear a second pop. The second pop means that your hole is complete. The moon/sun roof was handy, I could do all of this from my work platform on the outside of the truck.
Inside of the truck:
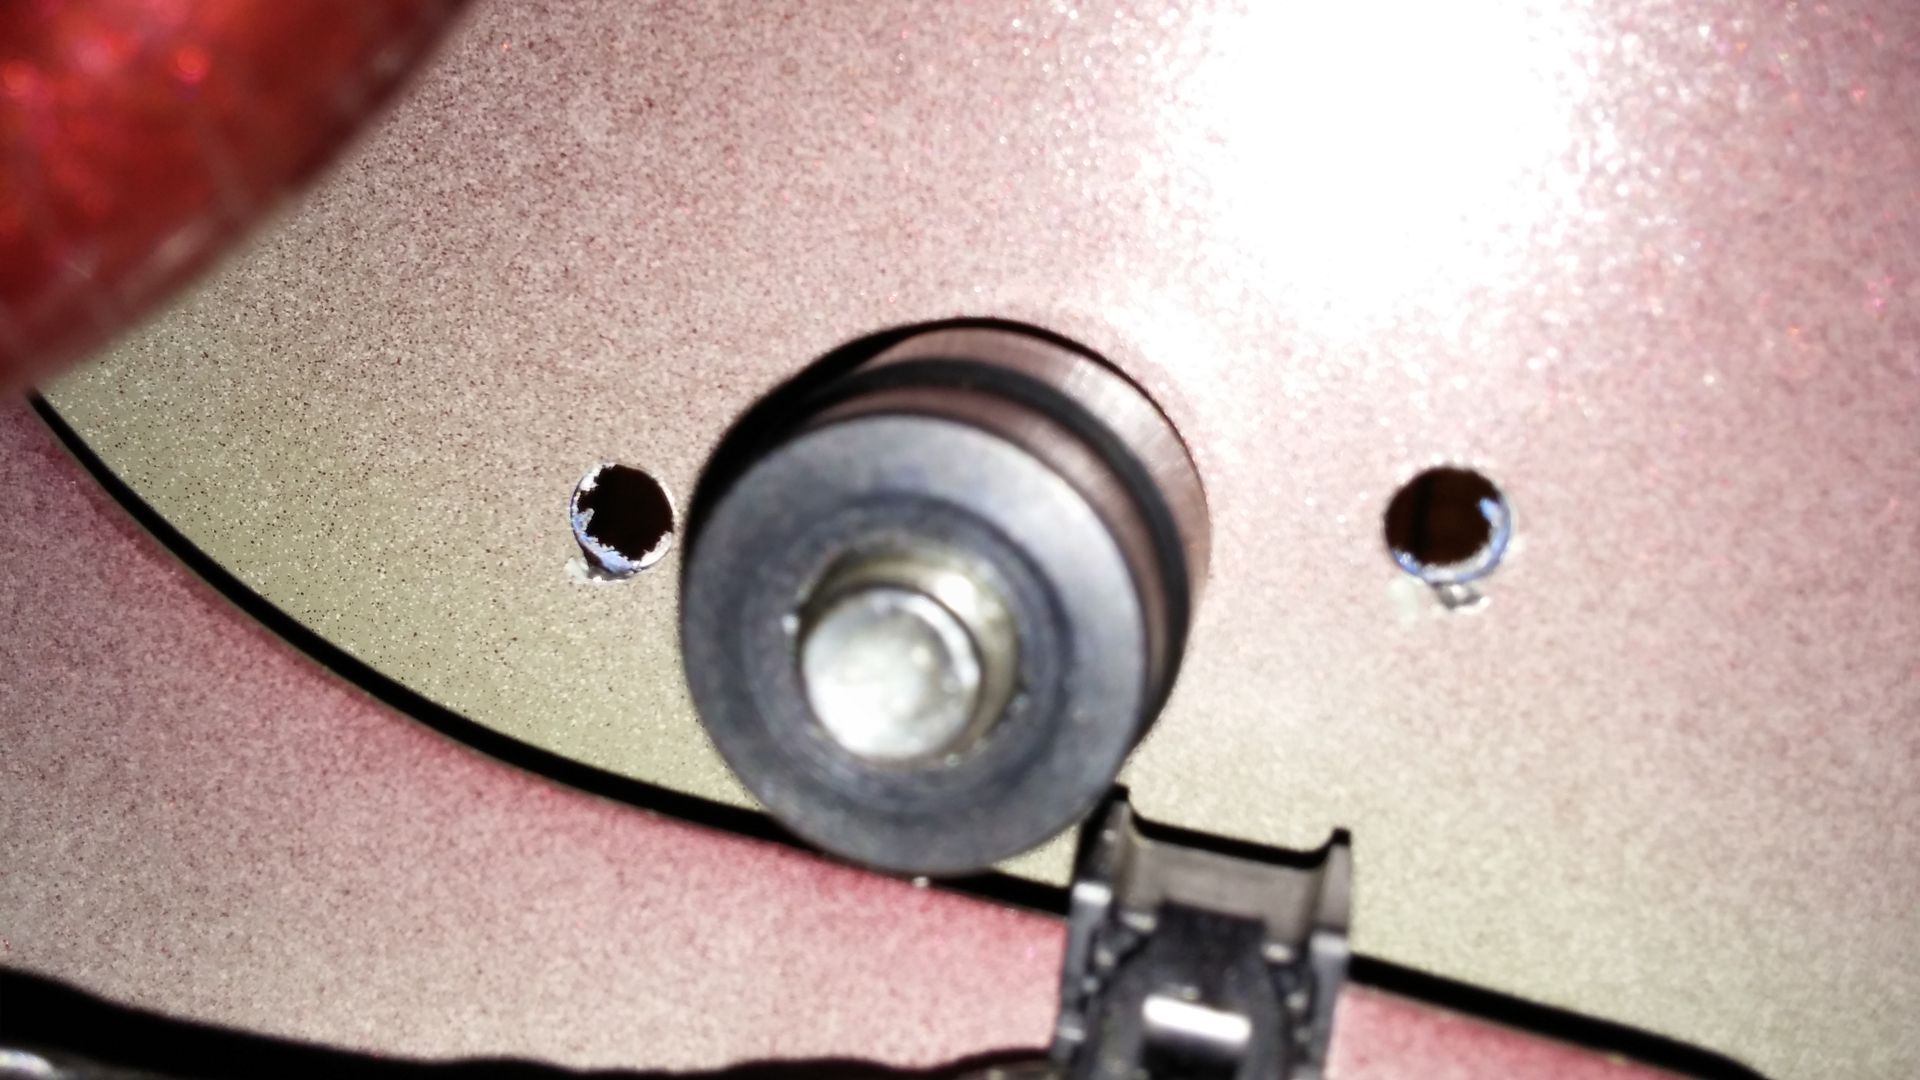
After:
#20
09-29-2014, 02:27 PM
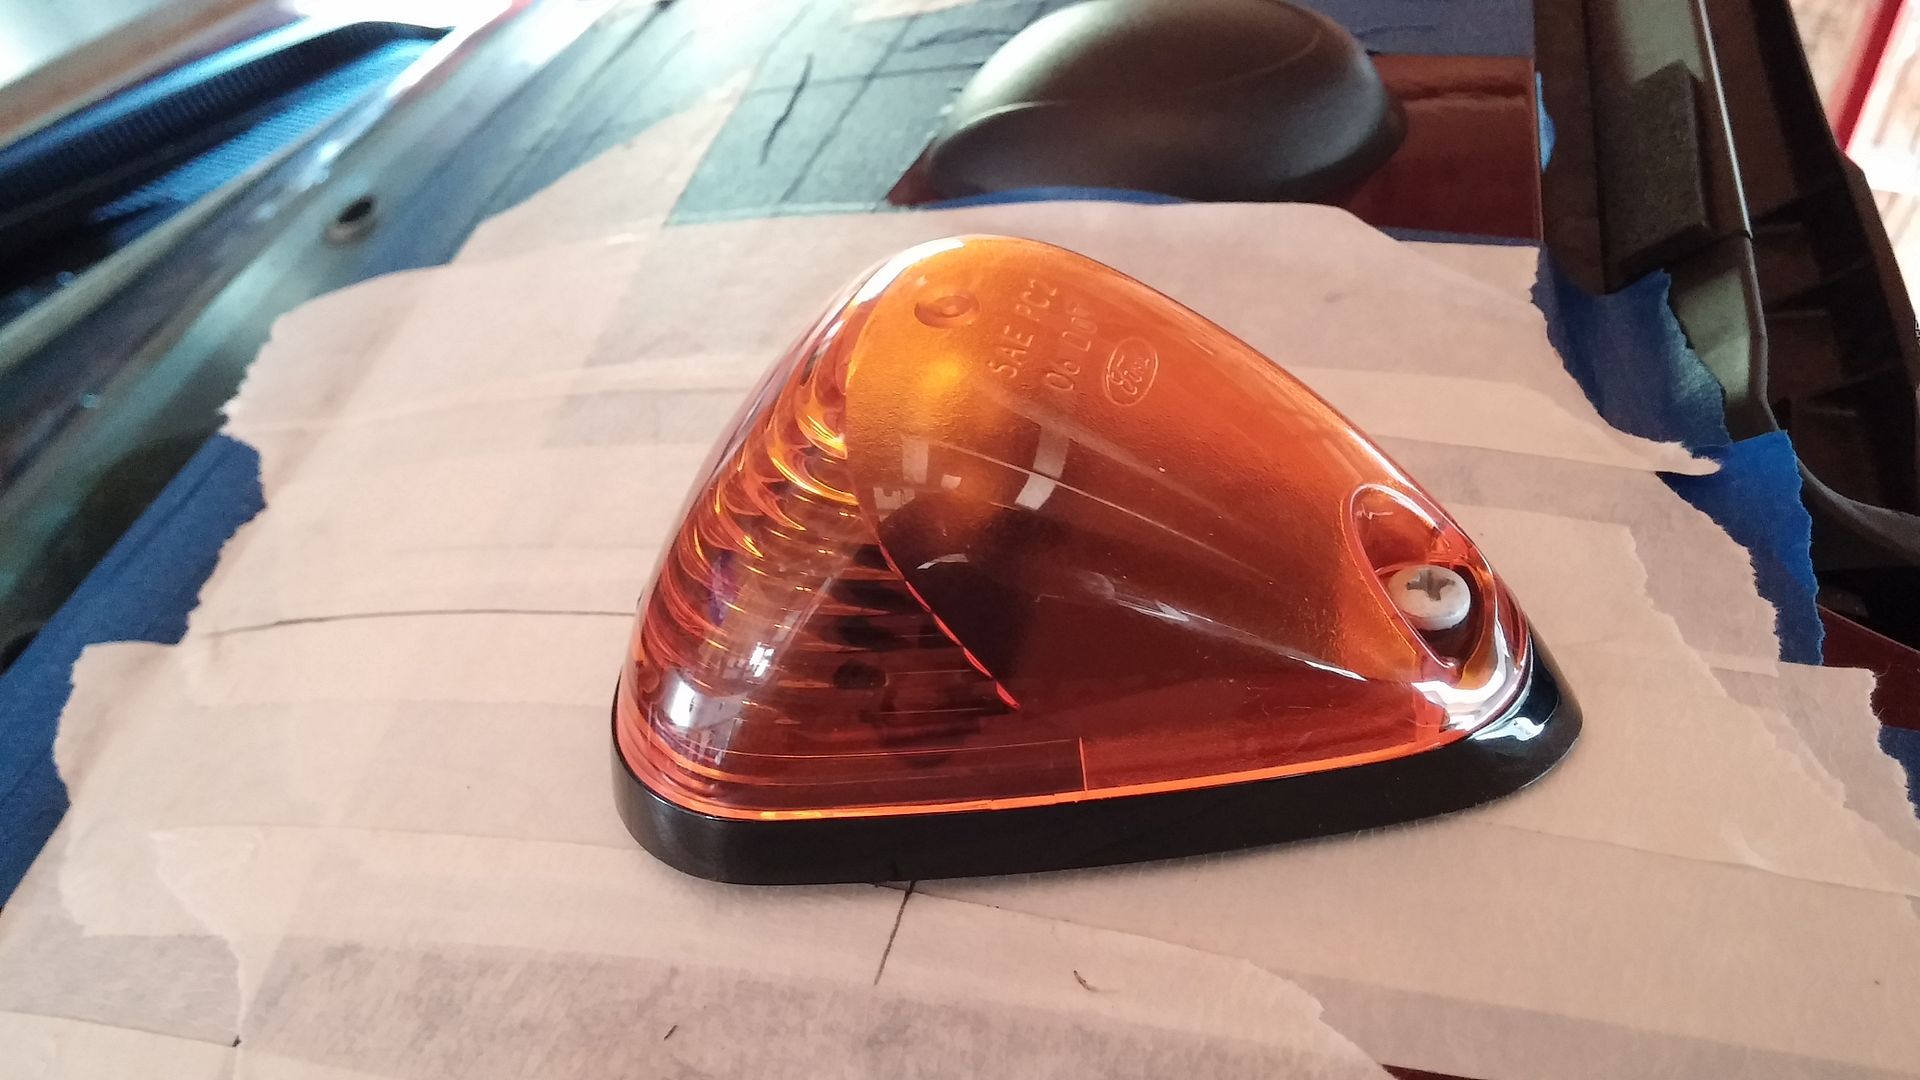
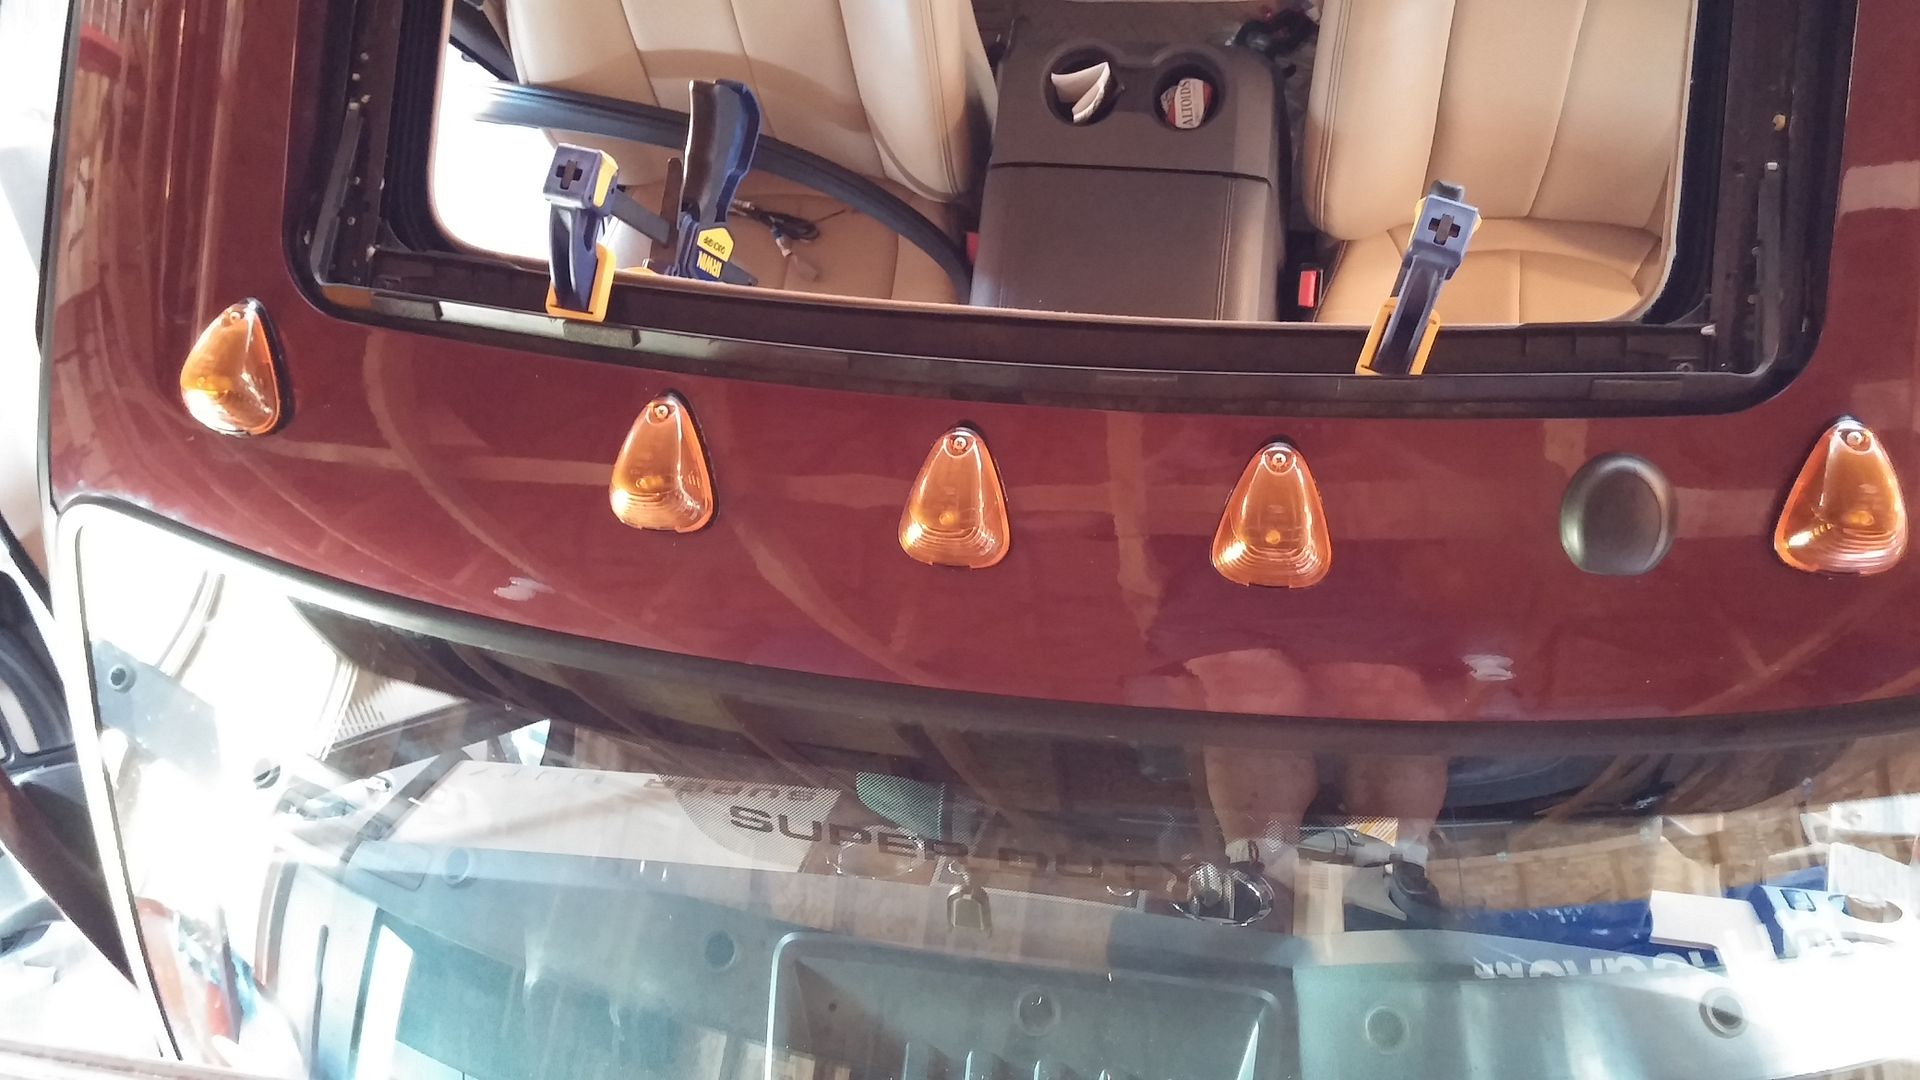
As stated earlier, I added silicone under each light. Wherever the gasket was not, I added silicone. It squeezed out the sides of each lamp as I tightened and through the holes on the inside of the truck. A little paper towel and mineral spirits and cleaned up the silicone mess. I read in several other threads that the rim of the light and the metal, painted roof of the truck had a gap. In some cases a significant gap. I have no gaps with any light. All the lights fit tight and make me think the silicone was unnecessary.

#22
09-29-2014, 02:28 PM
Now I need to get power to these lights. Day two starts.
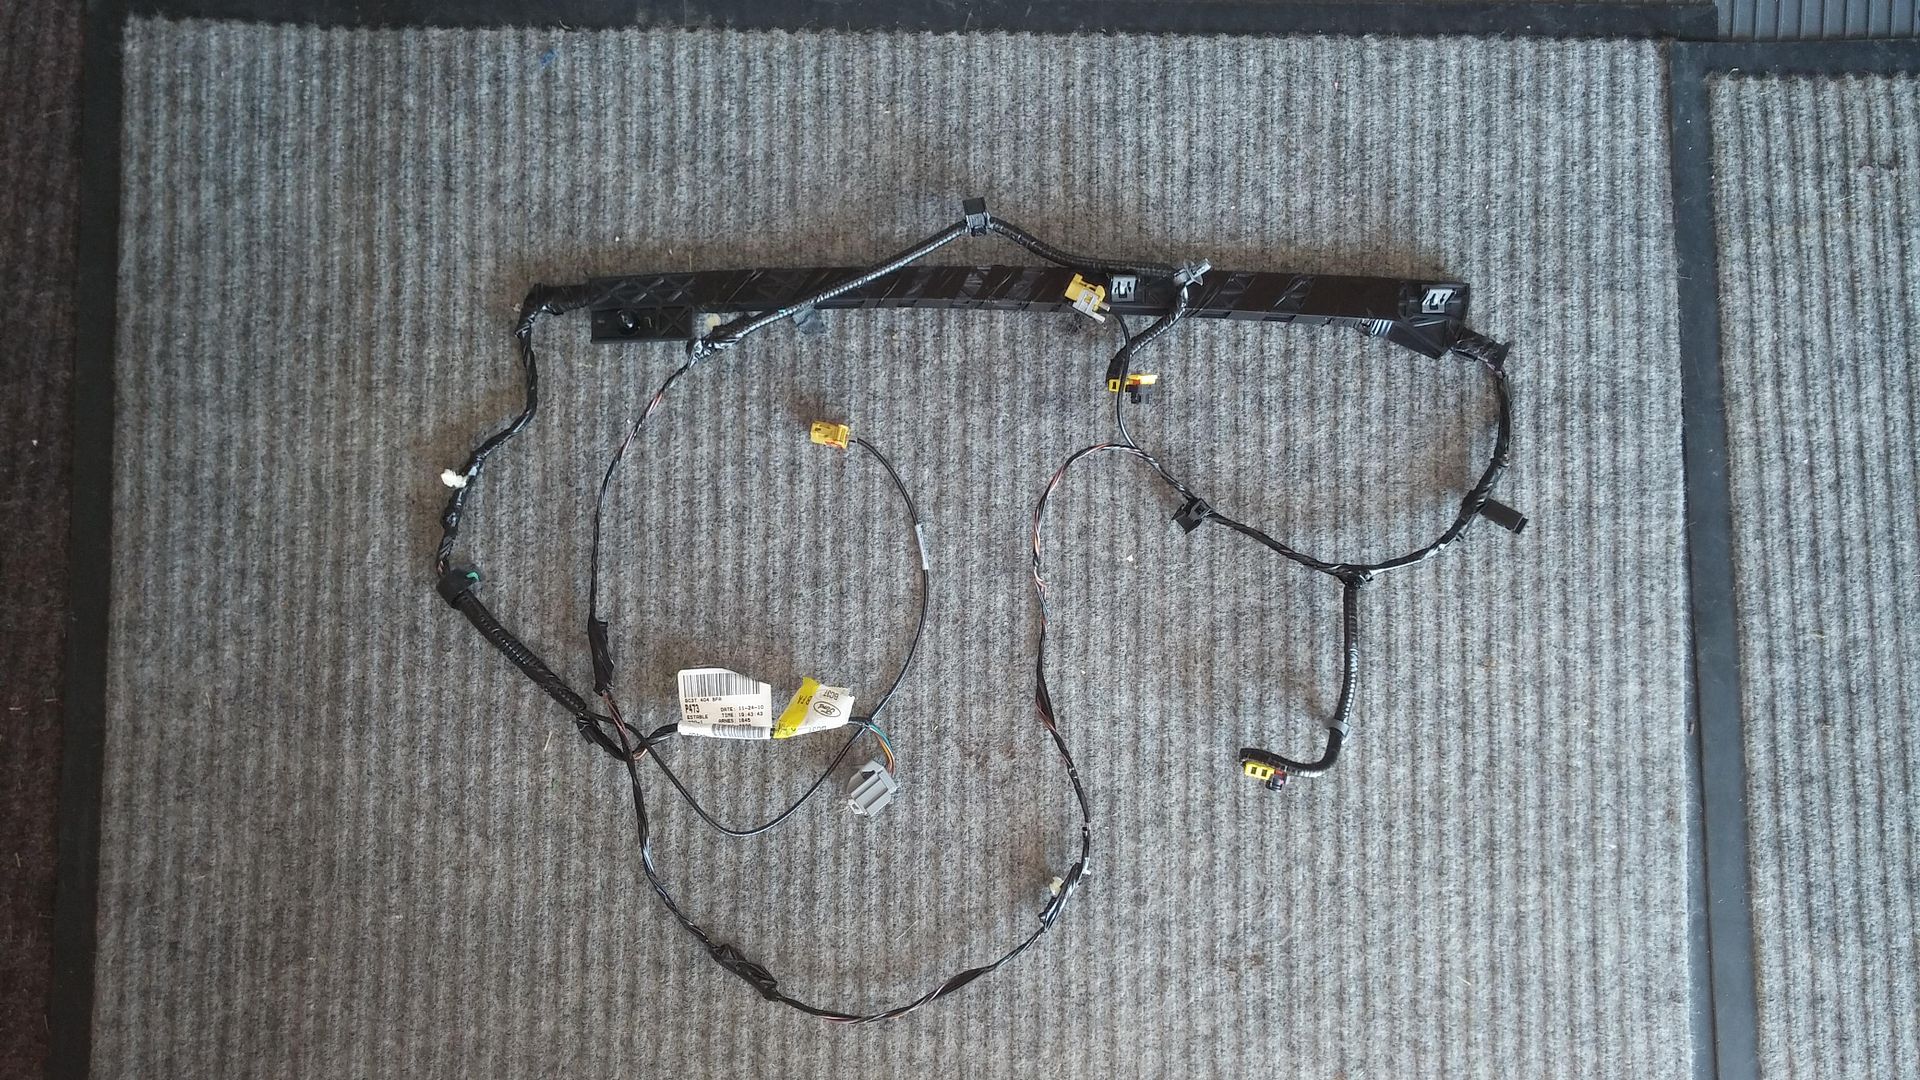
You are not just running electrical to your lights. You are replacing the existing wiring harness with a new wiring harness that in addition to doing everything that your old wiring harness did, the new harness will also provide electricity to your cab clearance lights.
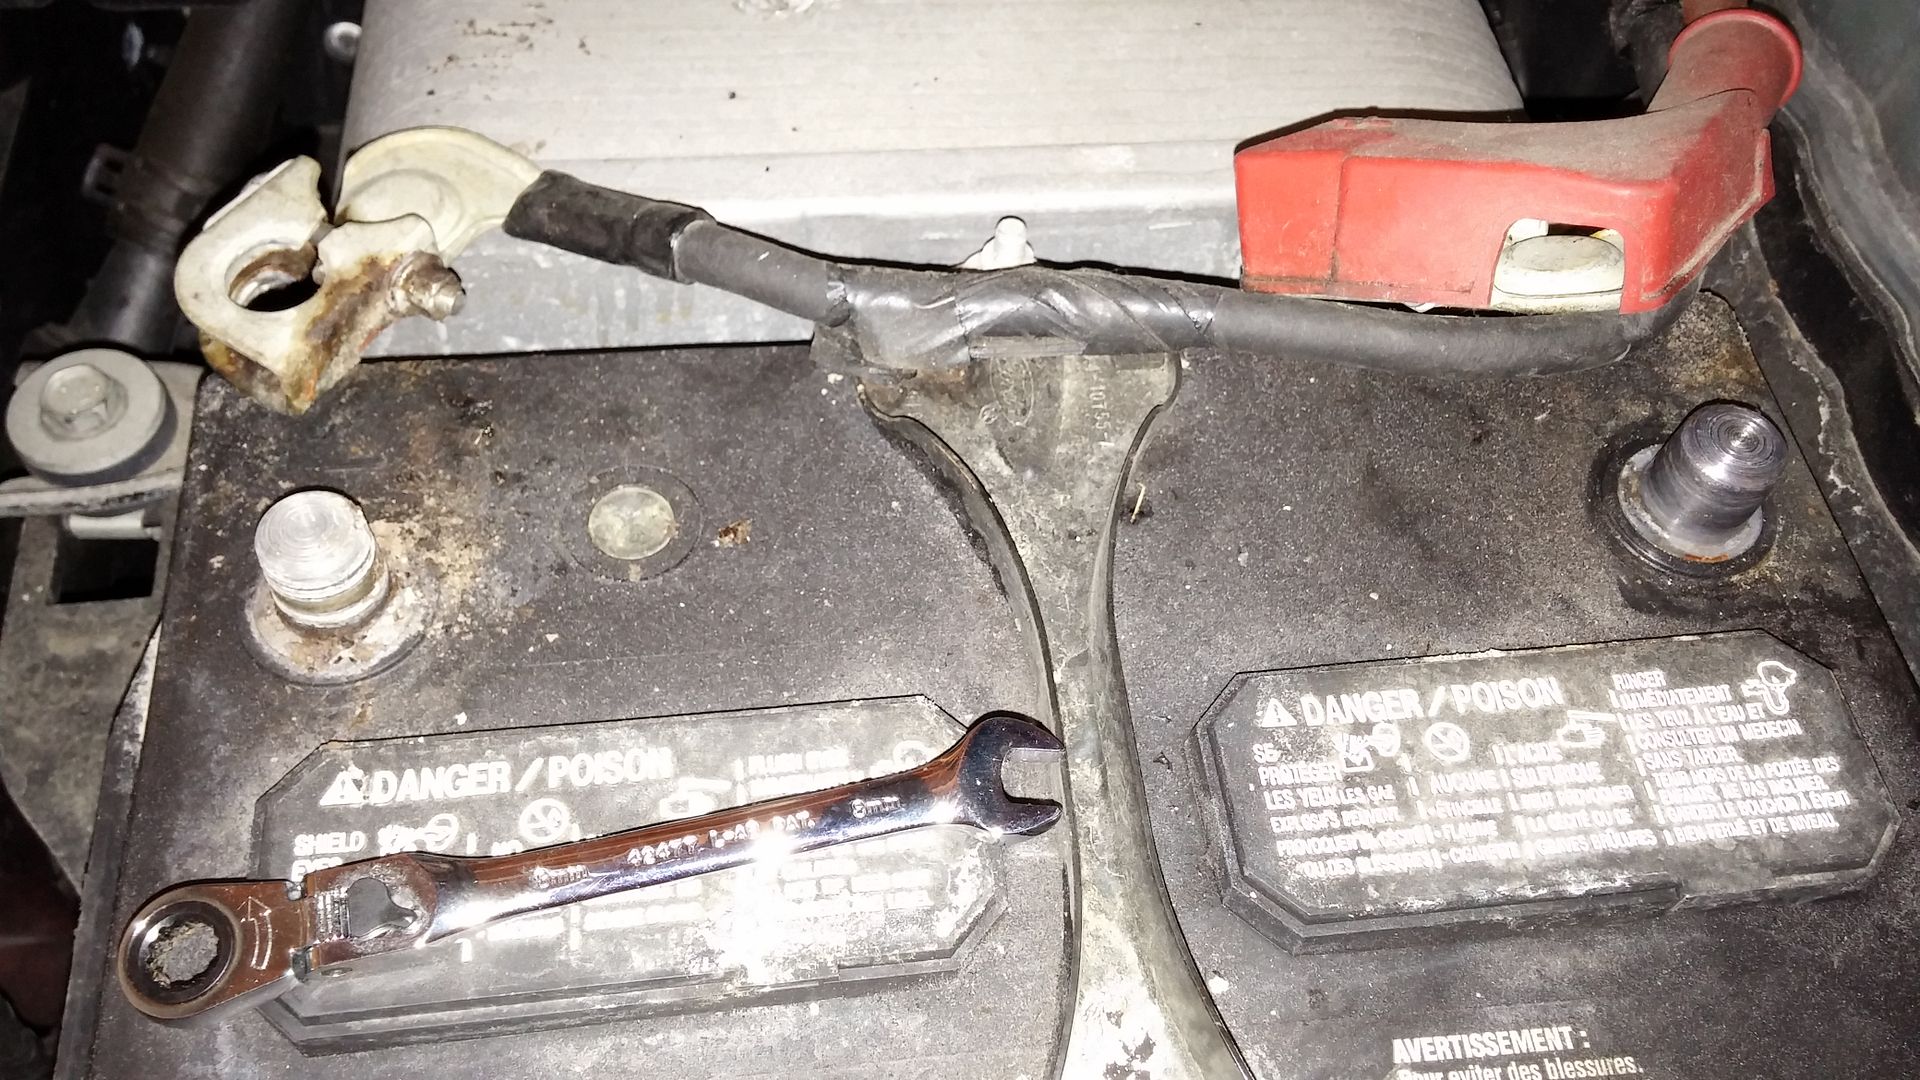
Disconnect both batteries (6.7l in this case). (I cleaned this too when I re-connected)
#23
09-29-2014, 02:29 PM
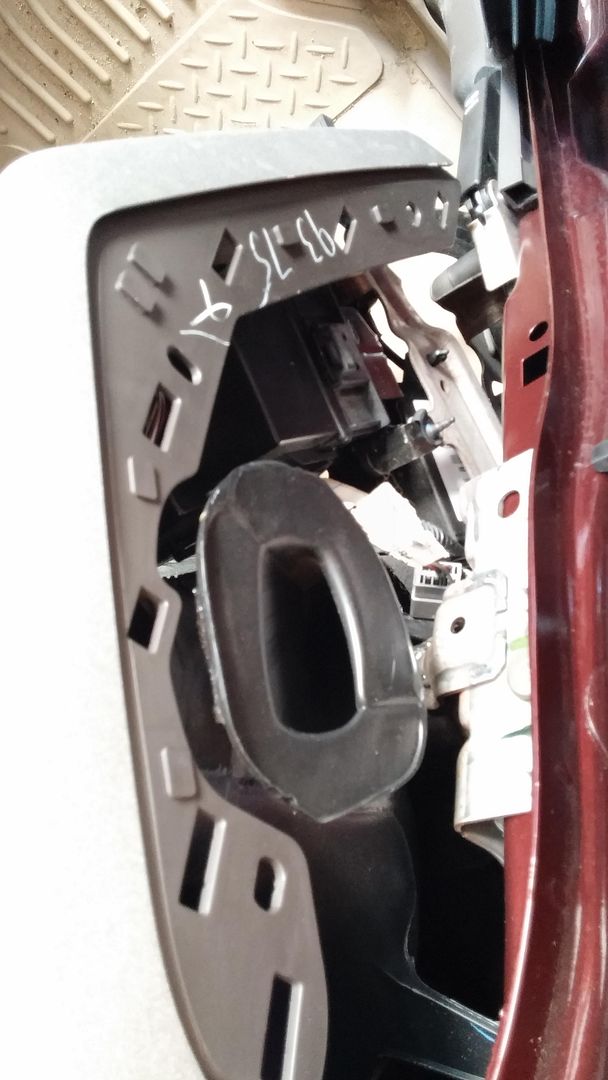
So I took this panel off. Every other thread that I read said to do this. Outside of taking this picture, no need for this panel to come off. It snaps back in place. This is the side dash piece just inside the door on the driver’s side.
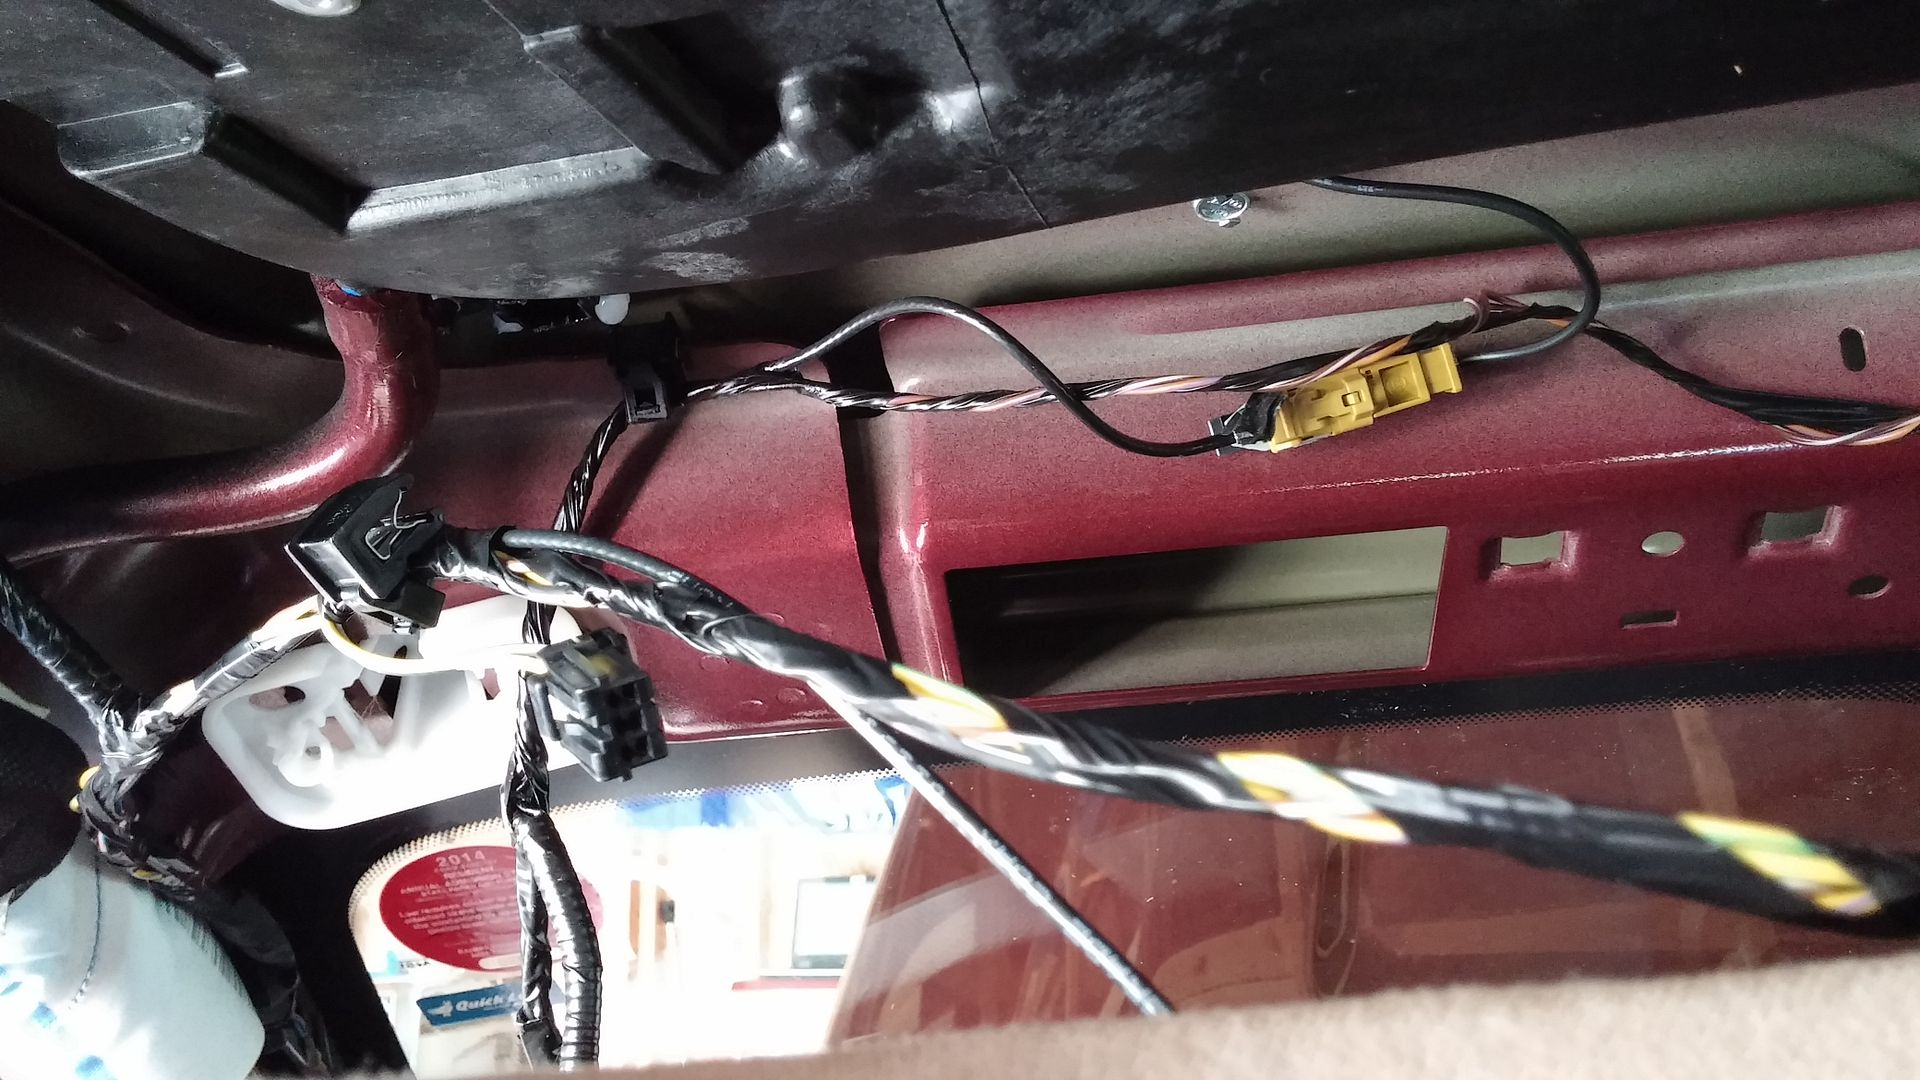
By looking at the plugs on my new wiring harness, I crawl under the driver’s side of the truck above the brake and gas peddles looking for my plugs.
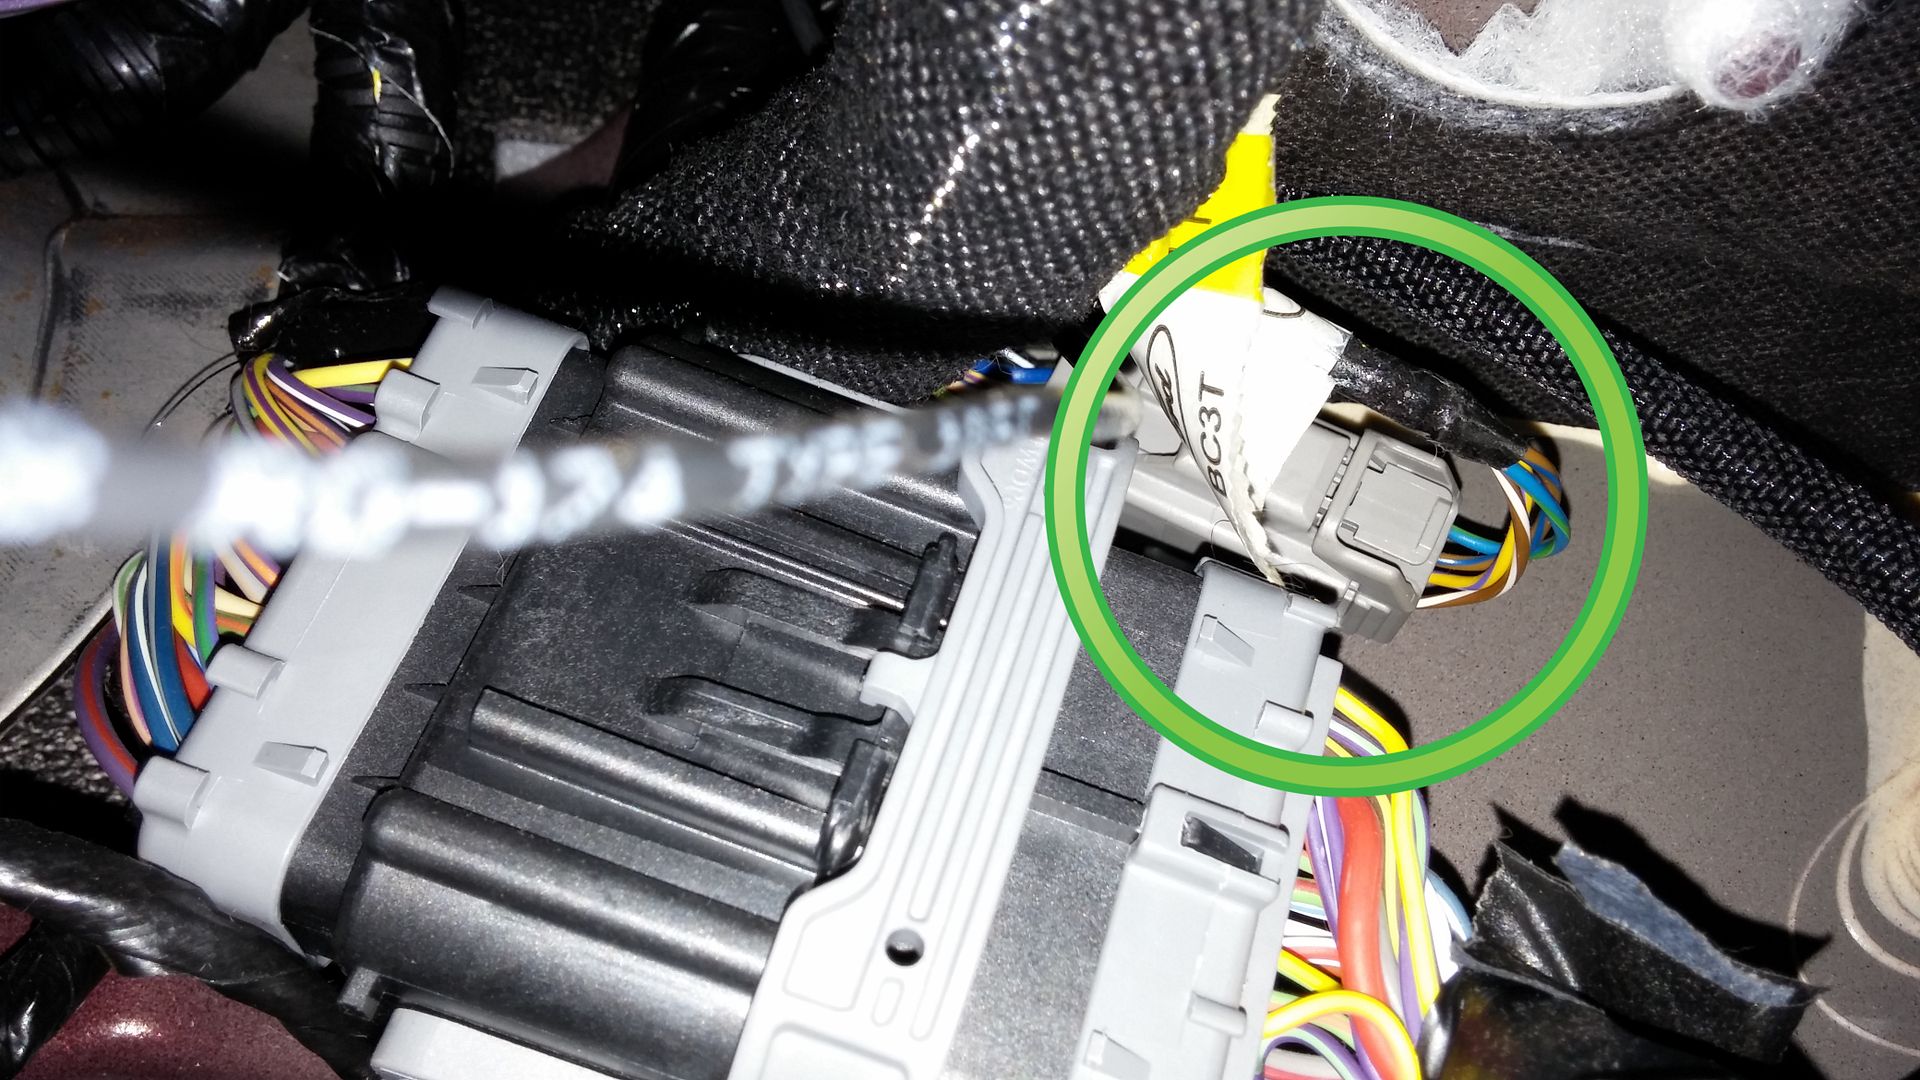
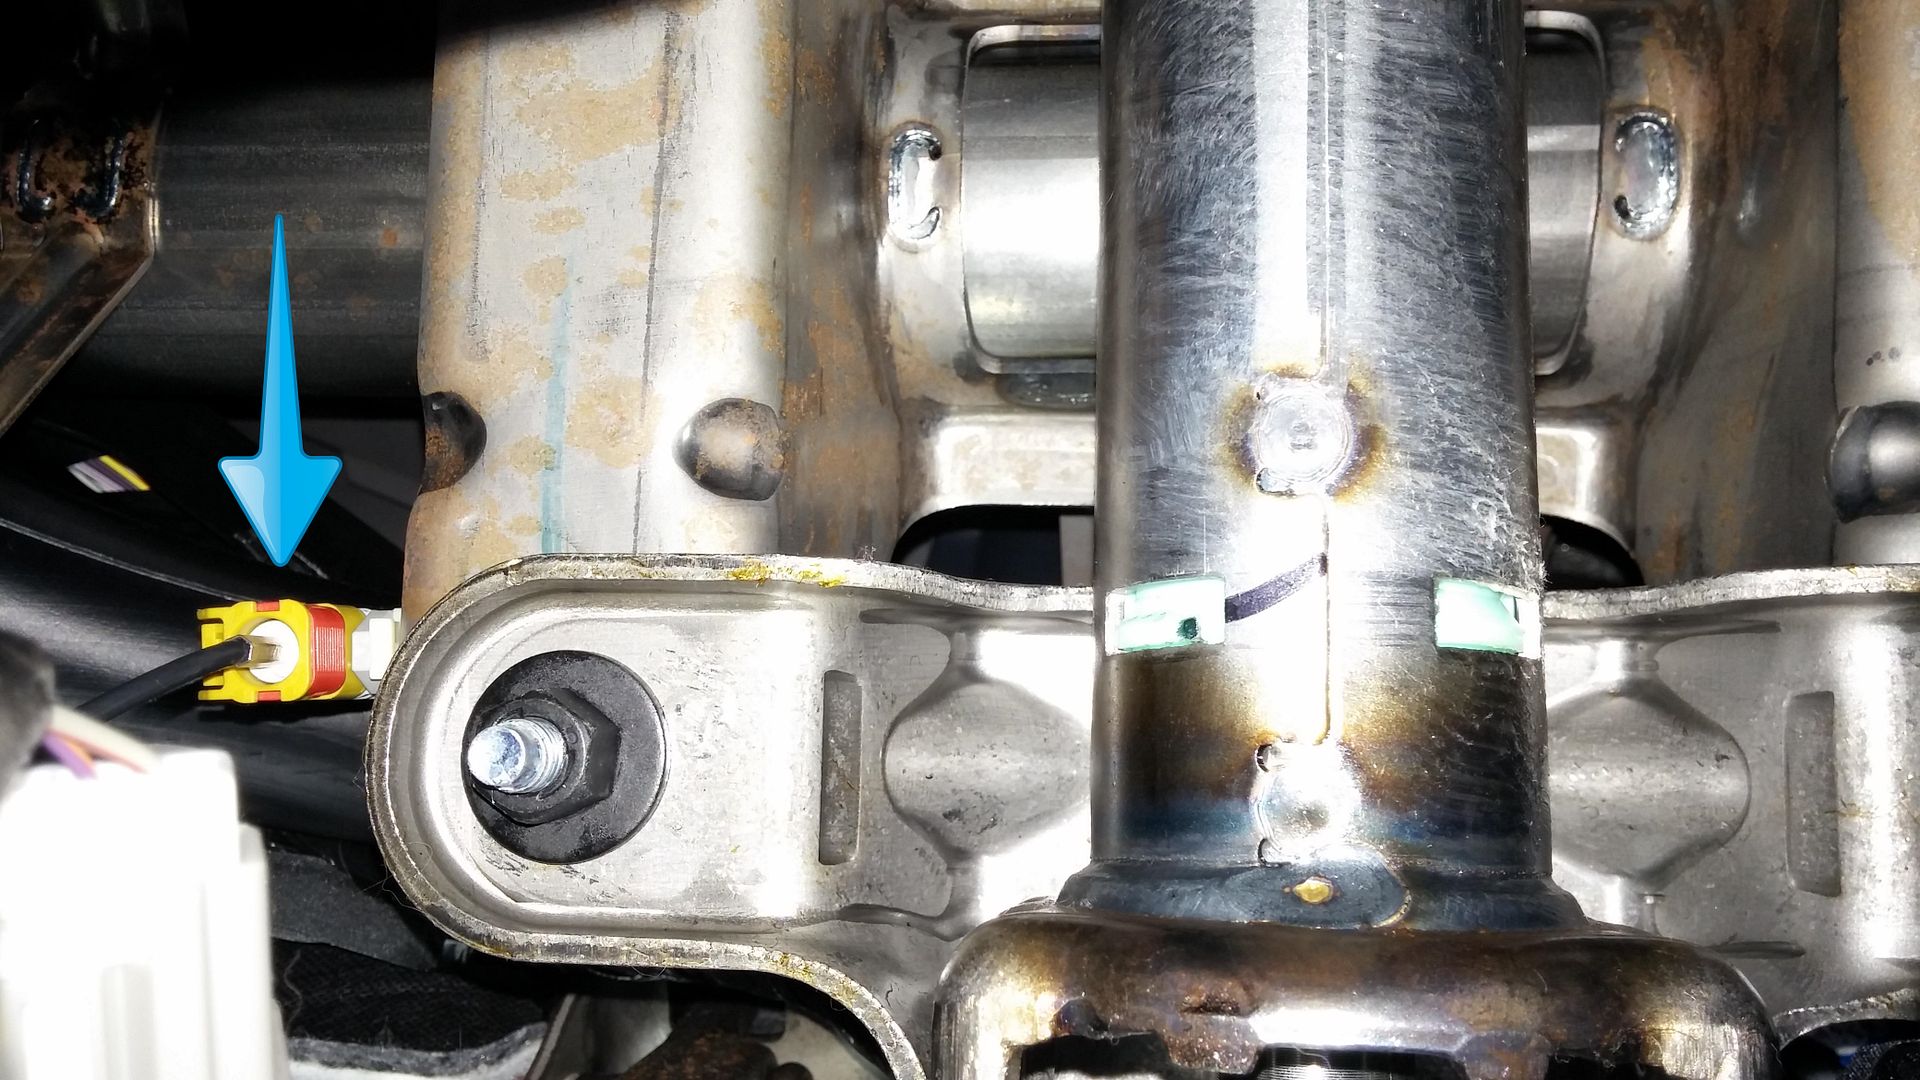
I then tied a small piece of rope to the plugs.
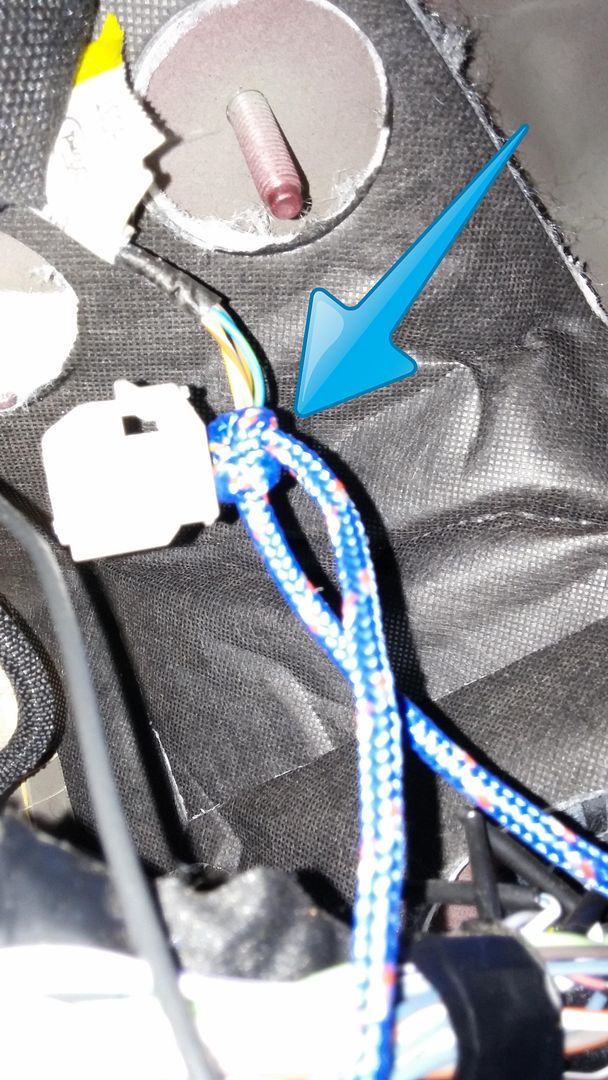
As gentle as I can be, I start pulling on the wires from the top side of the dash. If I feel a little resistance, I stop, go under the dash and with my hand, gently move the obstruction out of the way. Move back to the top of the dash and pull a little more. After a few minutes, this is what I have. The wires are out and my piece of rope traces the wire path back under the dash. Didn’t see this in any other thread but it worked great.
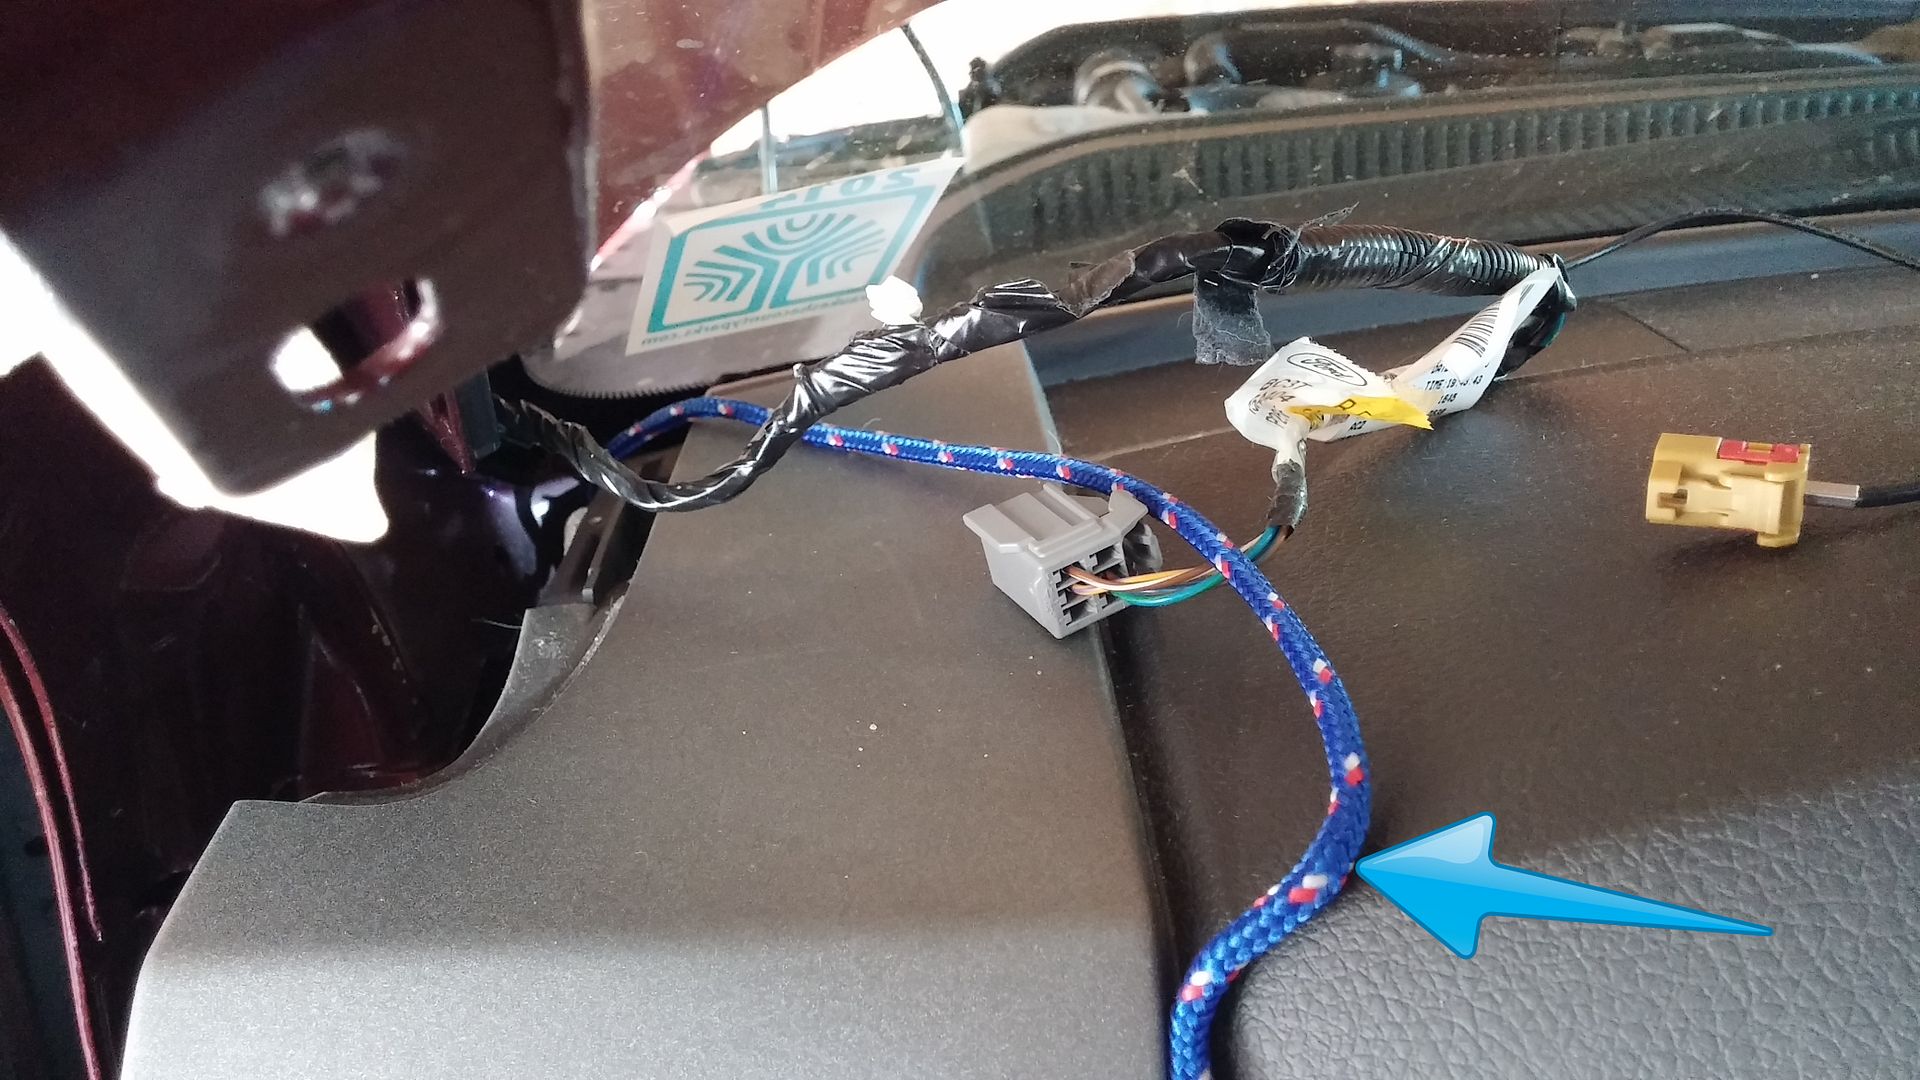
With a little screw driver, start removing the old plastic trace channel for the old wiring harness.
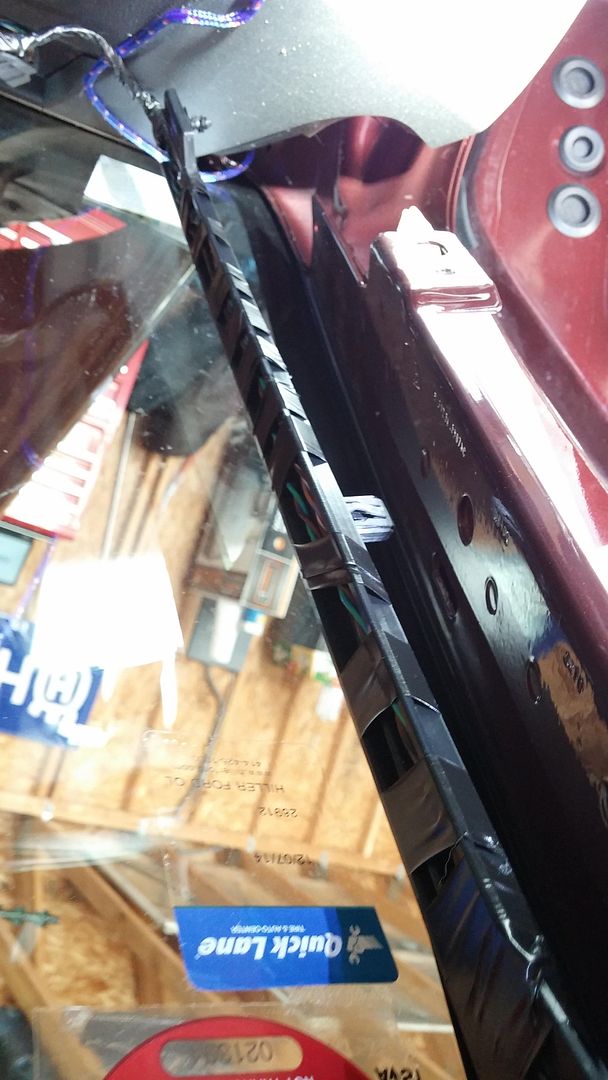
At this time I tied my rope to my new harness wires and fed the new wires back under the dash. Made my connections and snapped the new plastic wire chase to where the old one was.
#24
09-29-2014, 02:29 PM
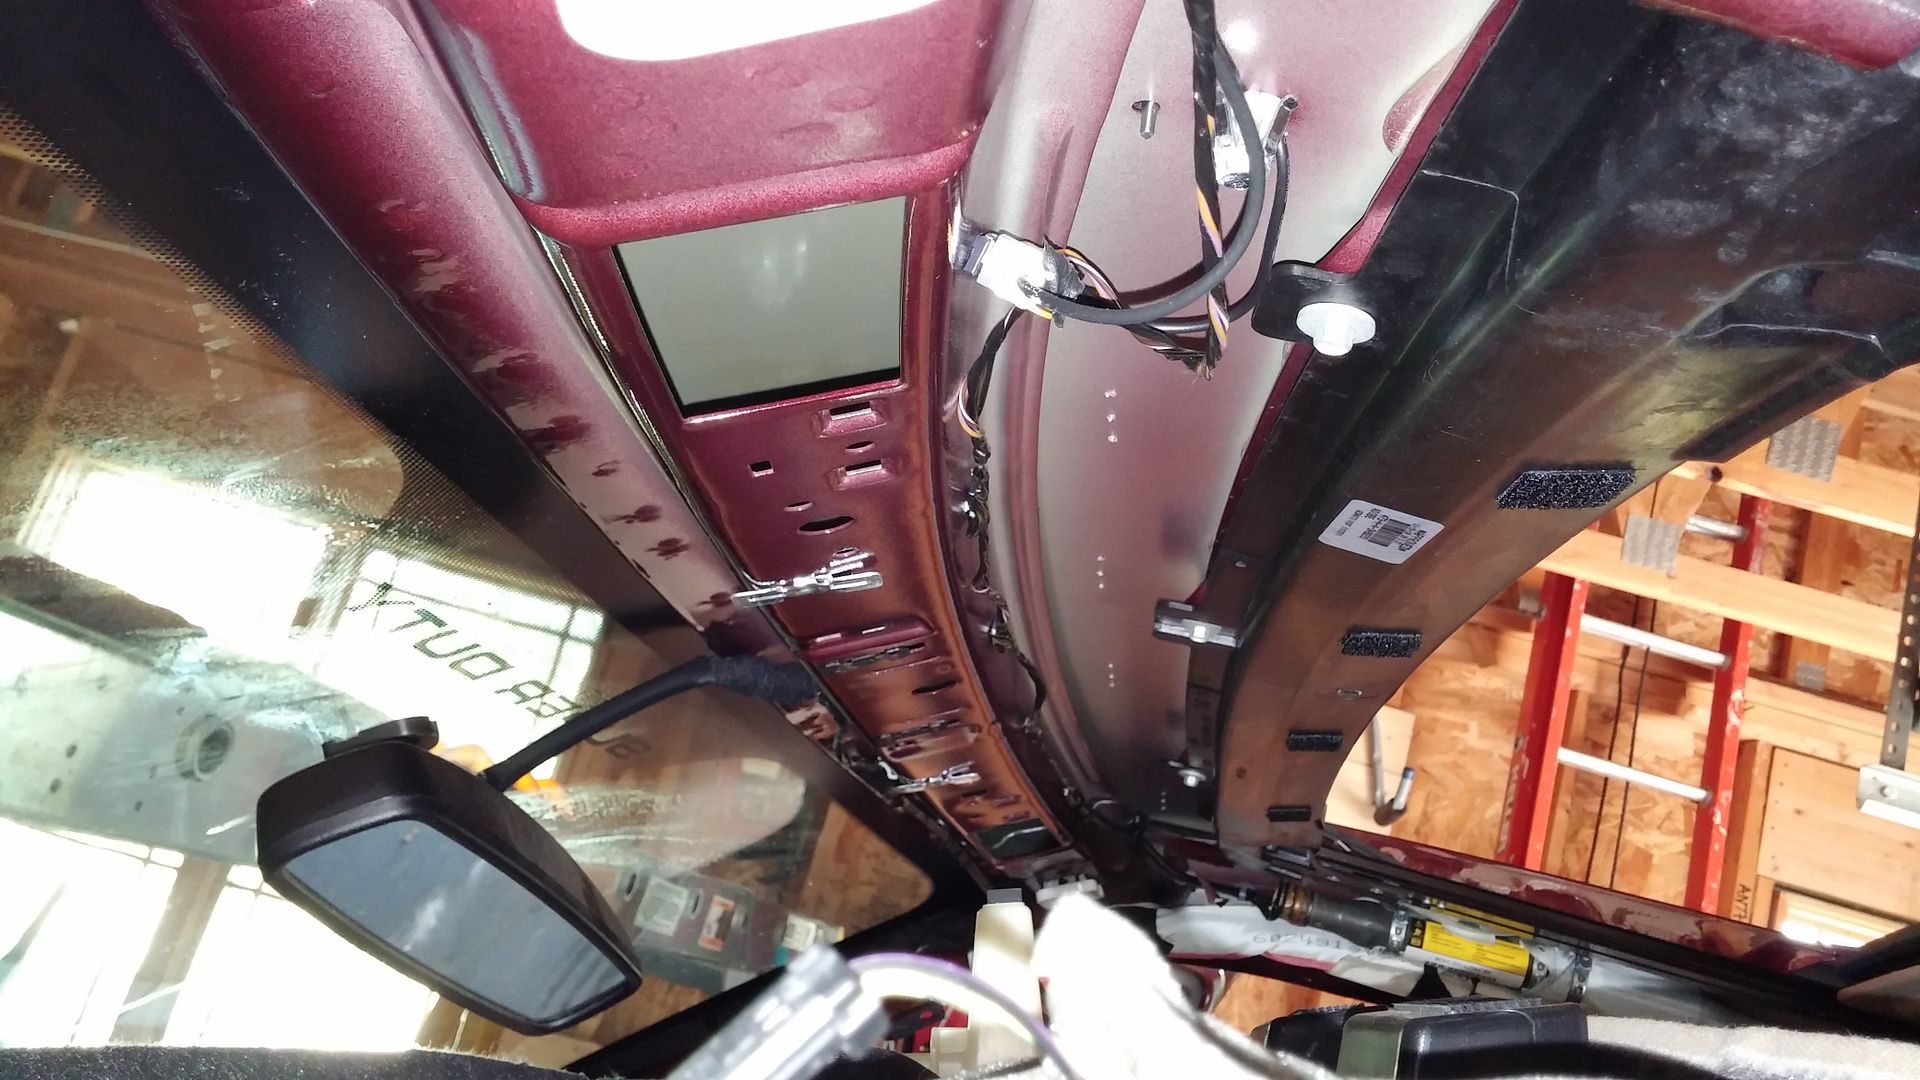
Pretty easy here. Each time I disconnected a wire from the old harness, I connected it to the new one. The harness has several press fit plugs to hold the harness in place. As I removed the old plugs and some clips, I pushed in the new press fit plugs. I worked one connection at a time. I did not rip out the old harness and then start putting in the new. I worked slowly to insure that I didn’t miss anything. I connect the cab clearance lights at the same time.
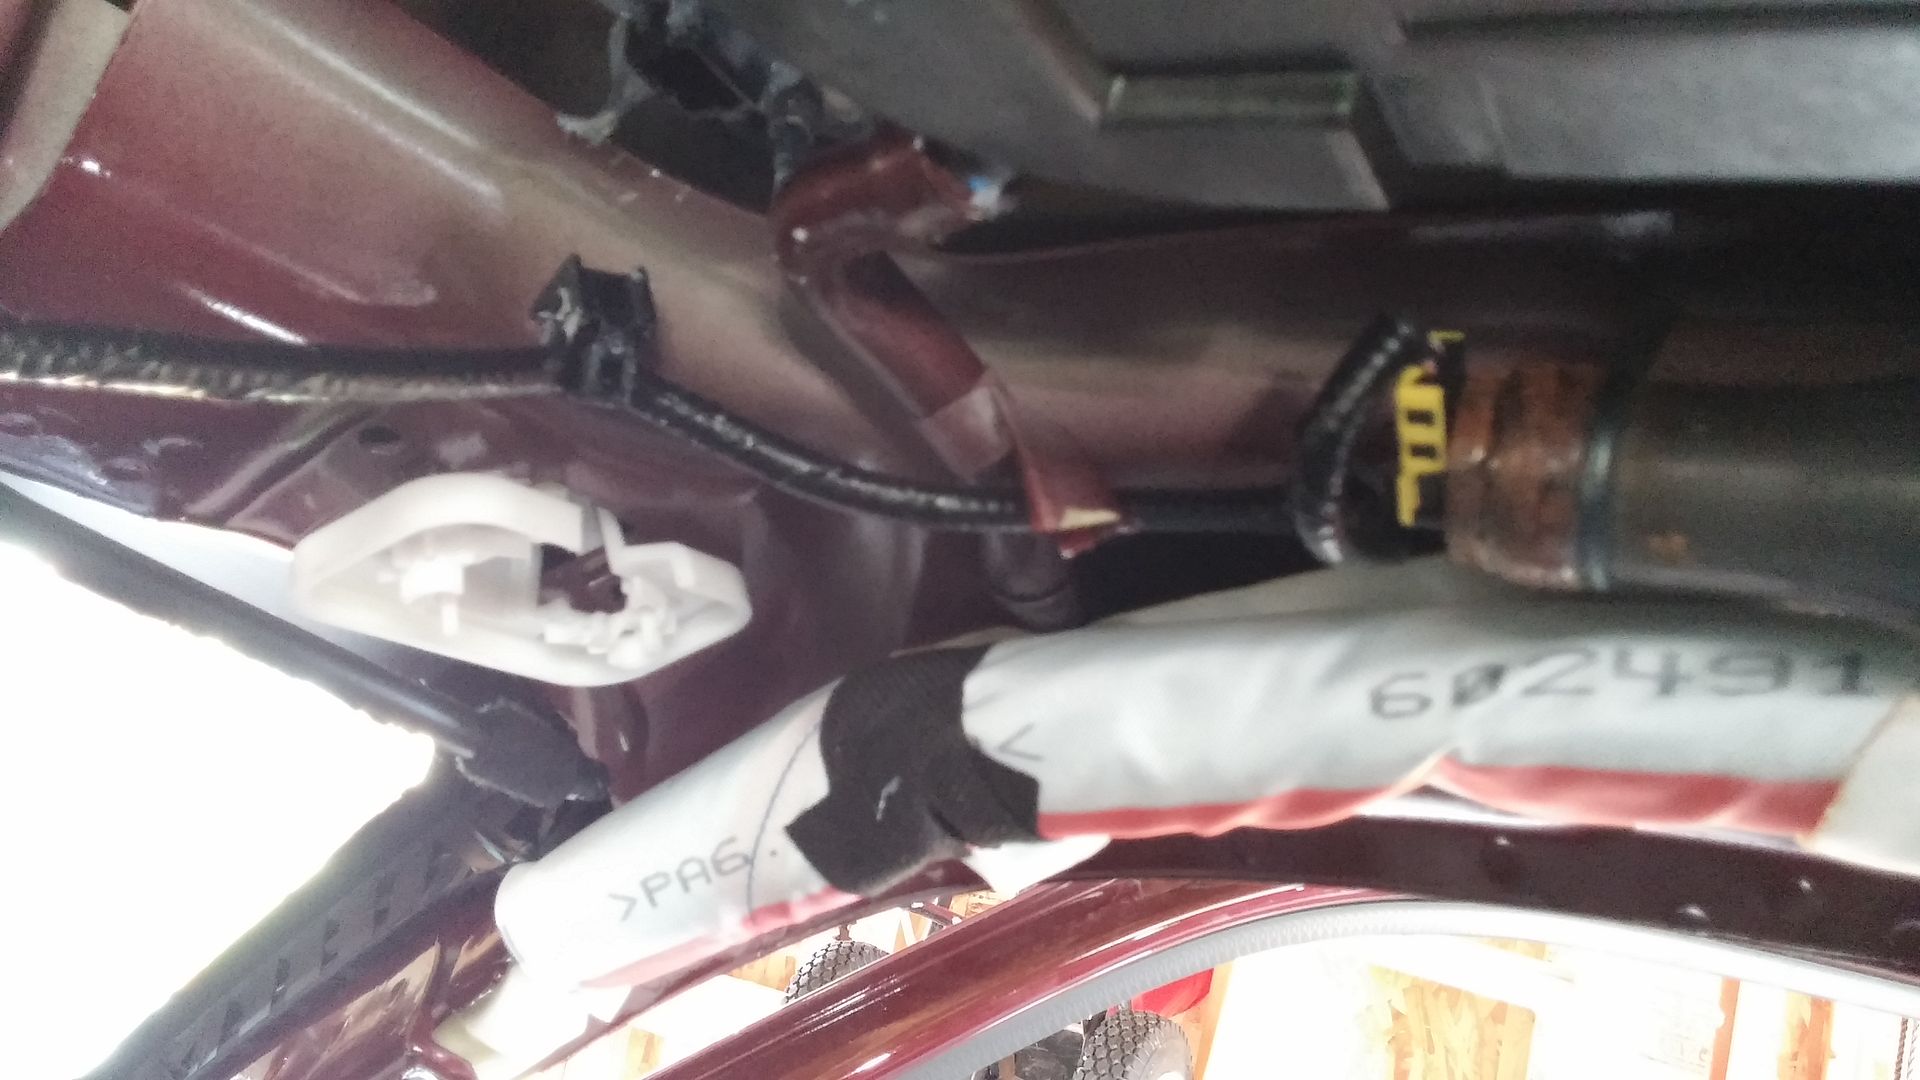
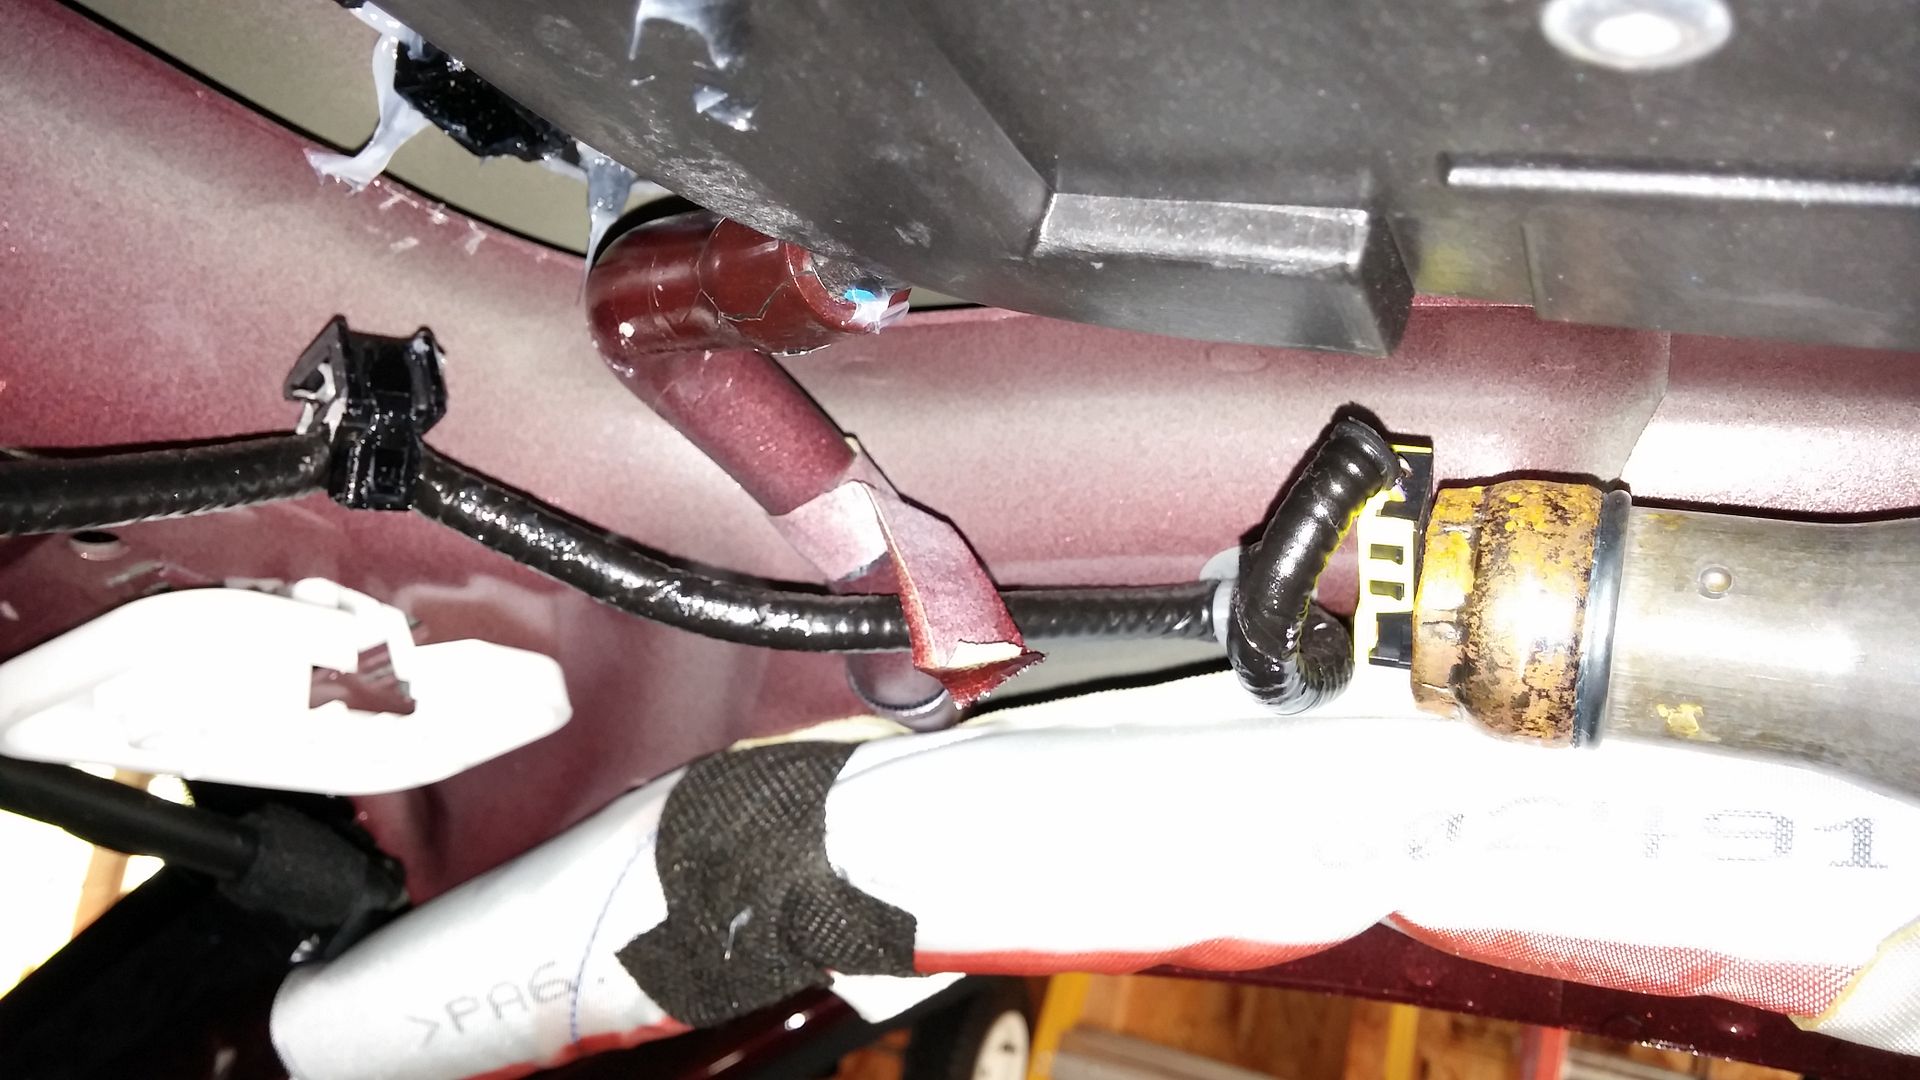
Old harness is out.
#25
09-29-2014, 02:30 PM
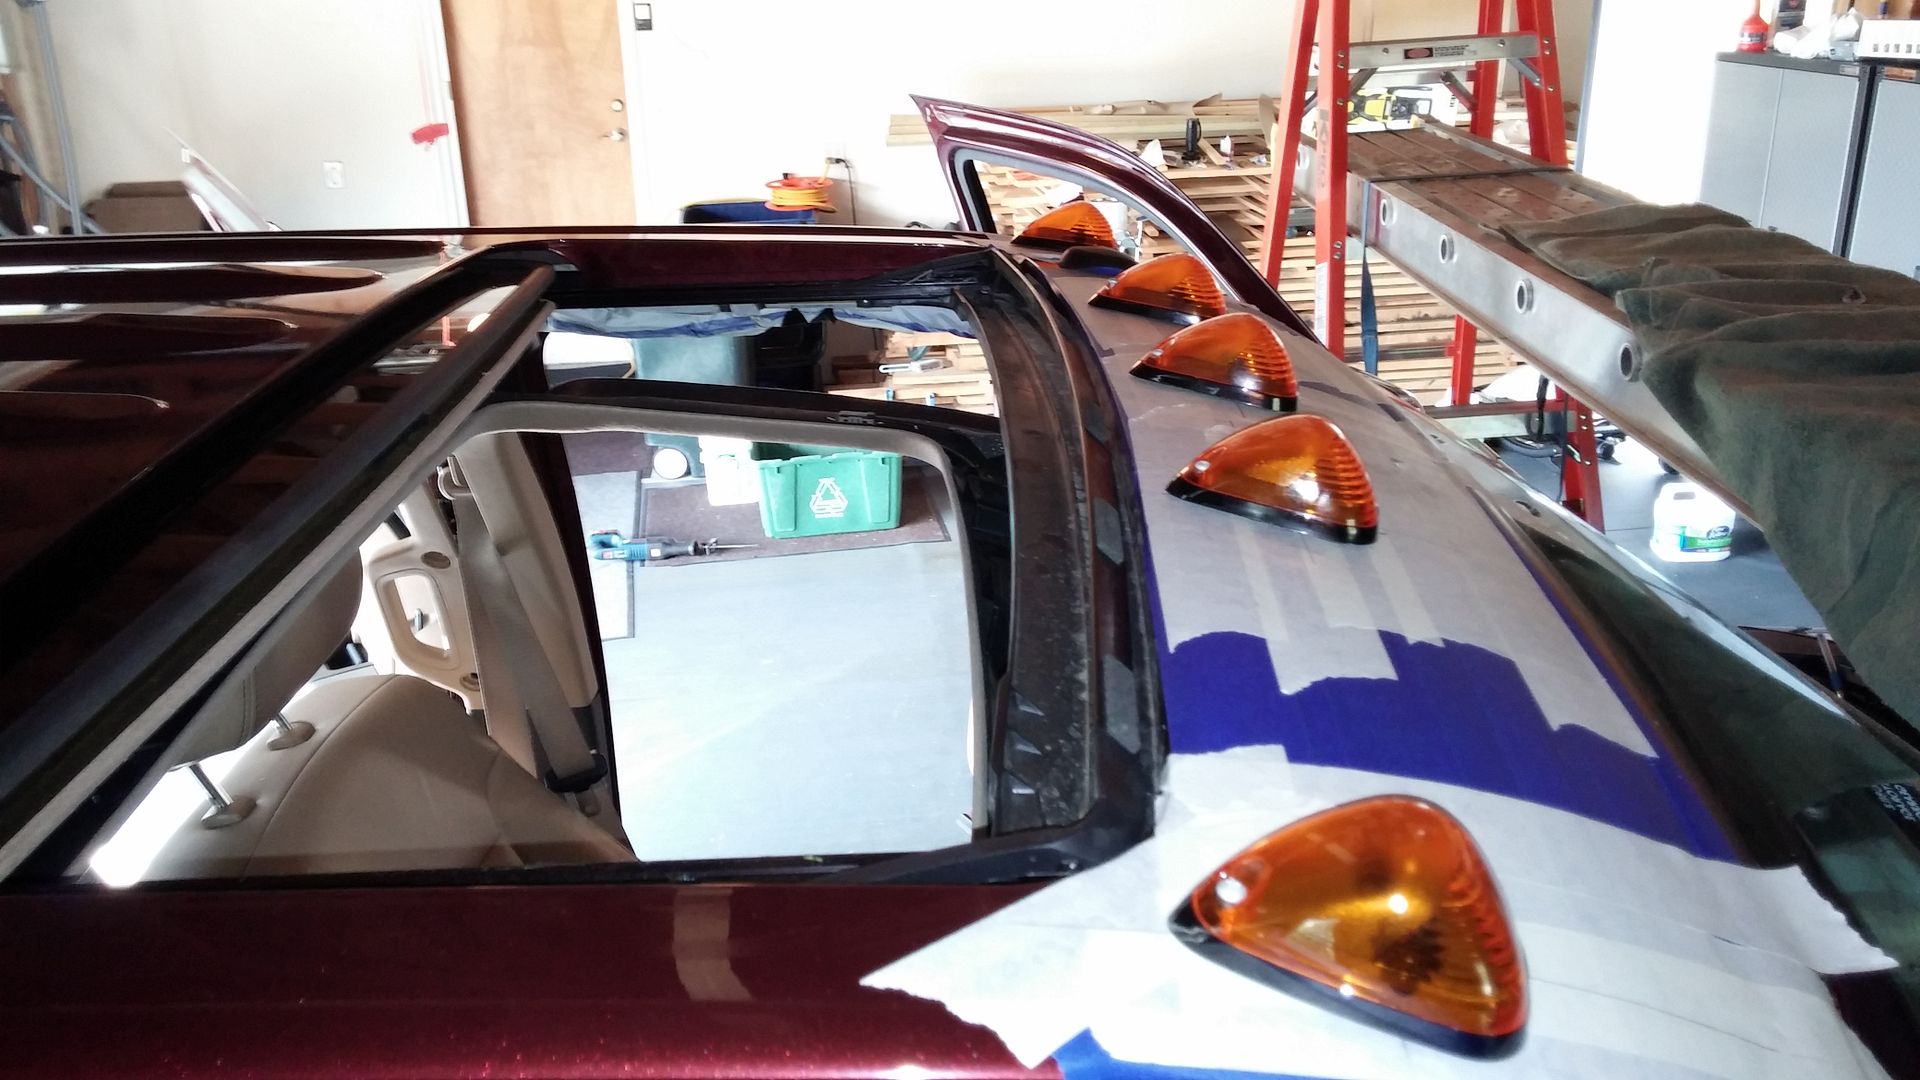
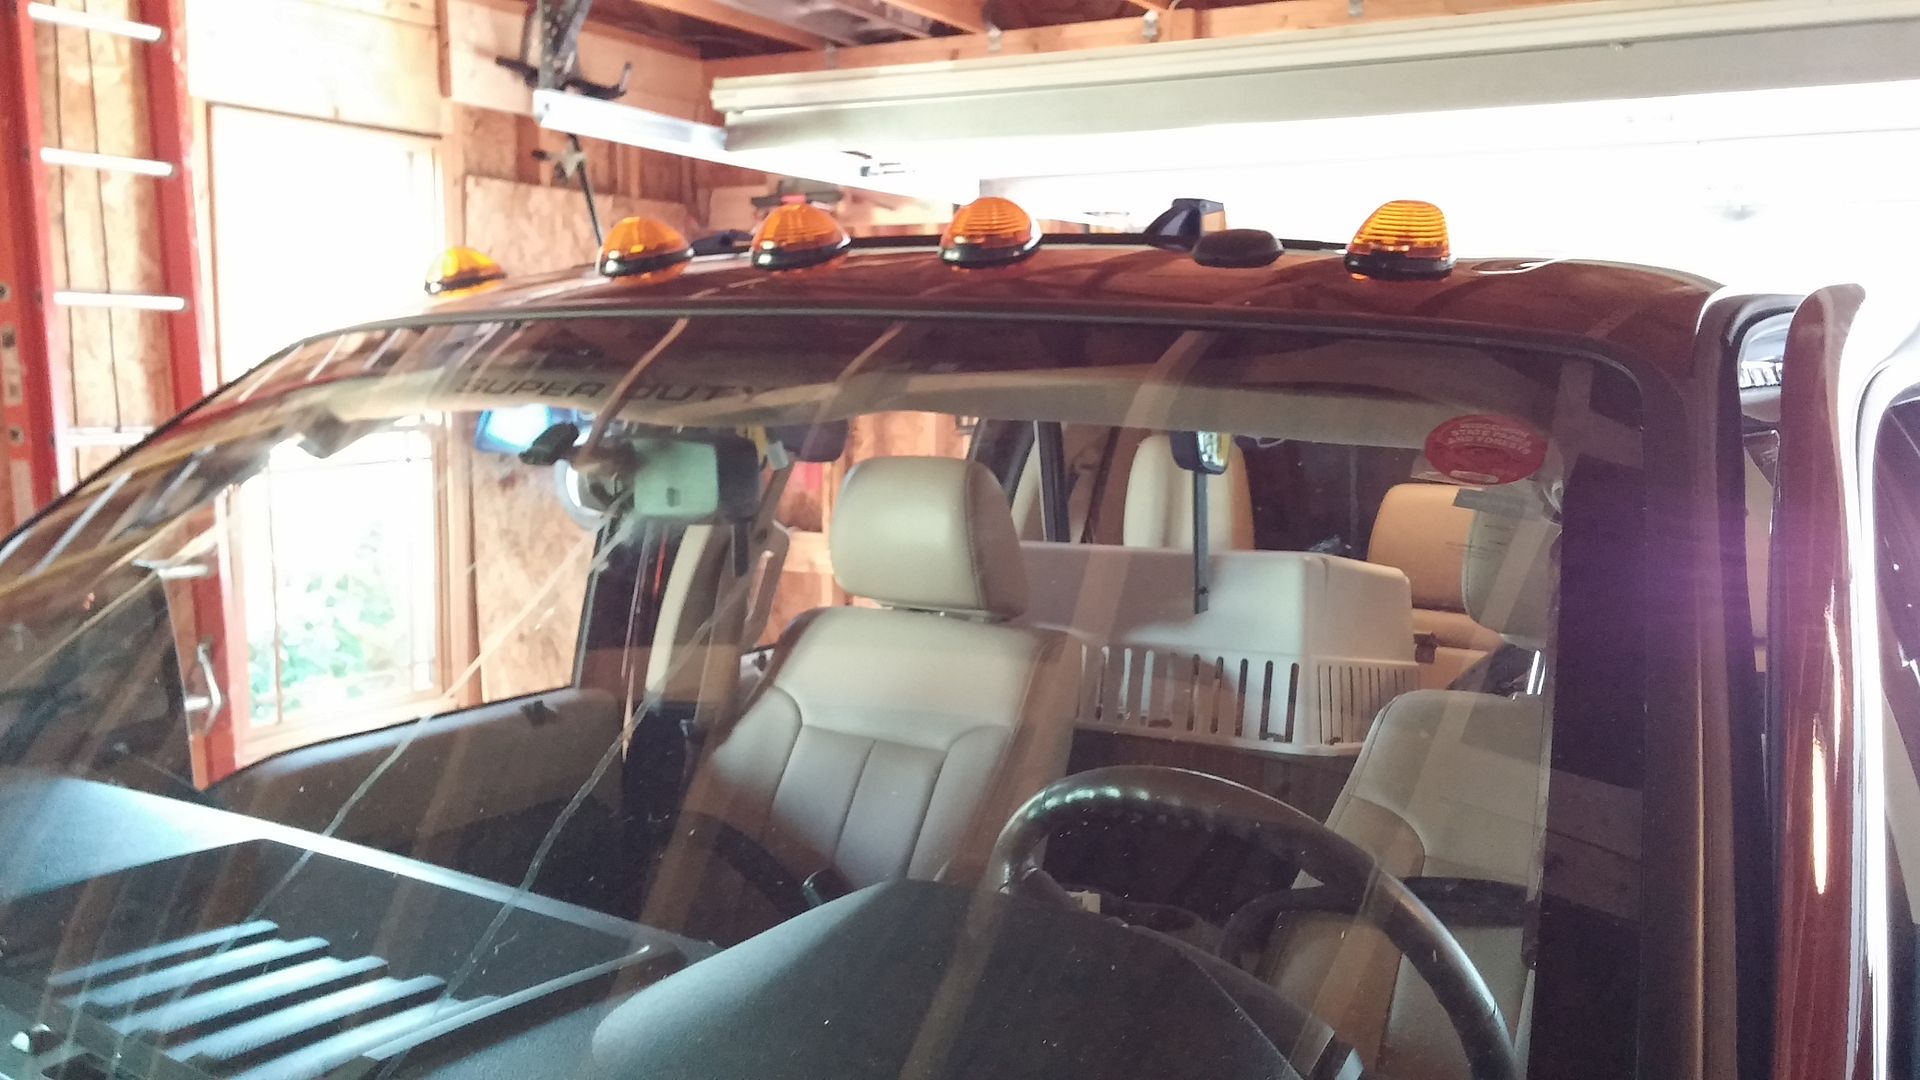
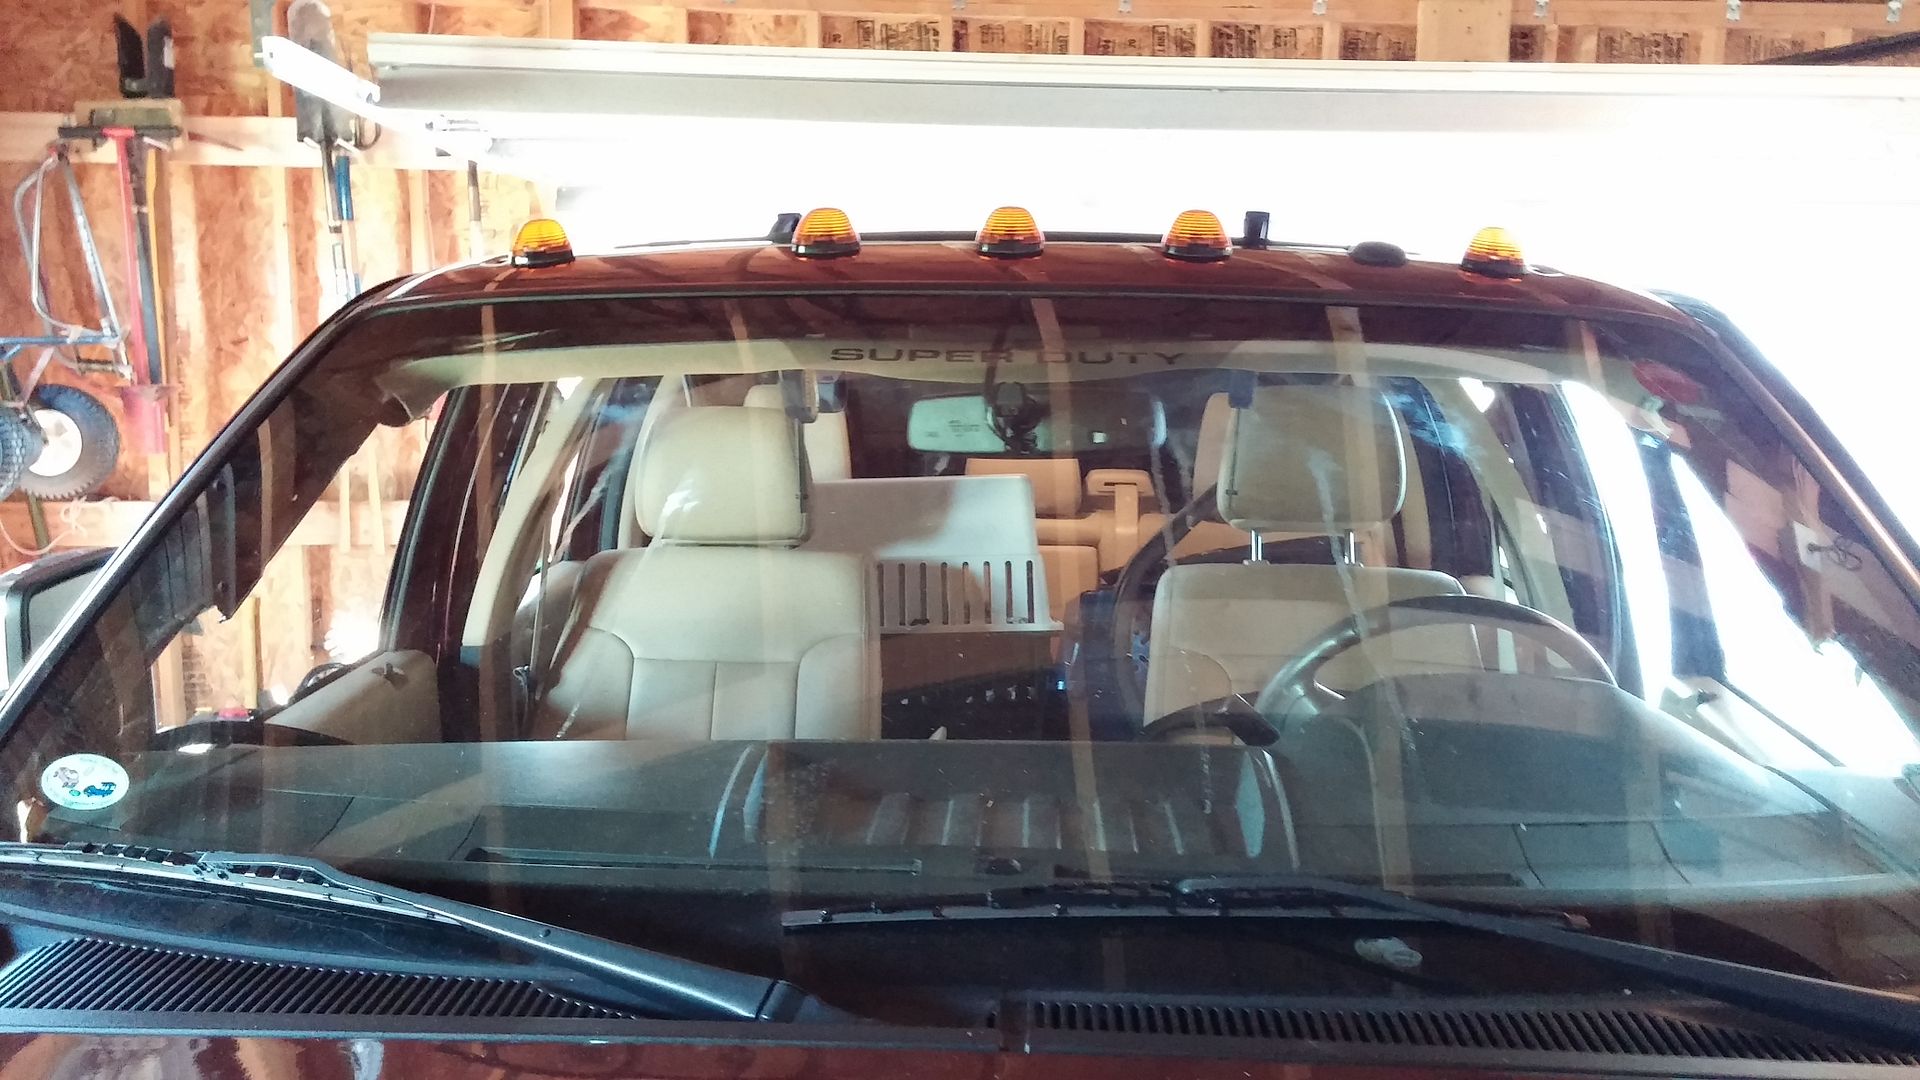
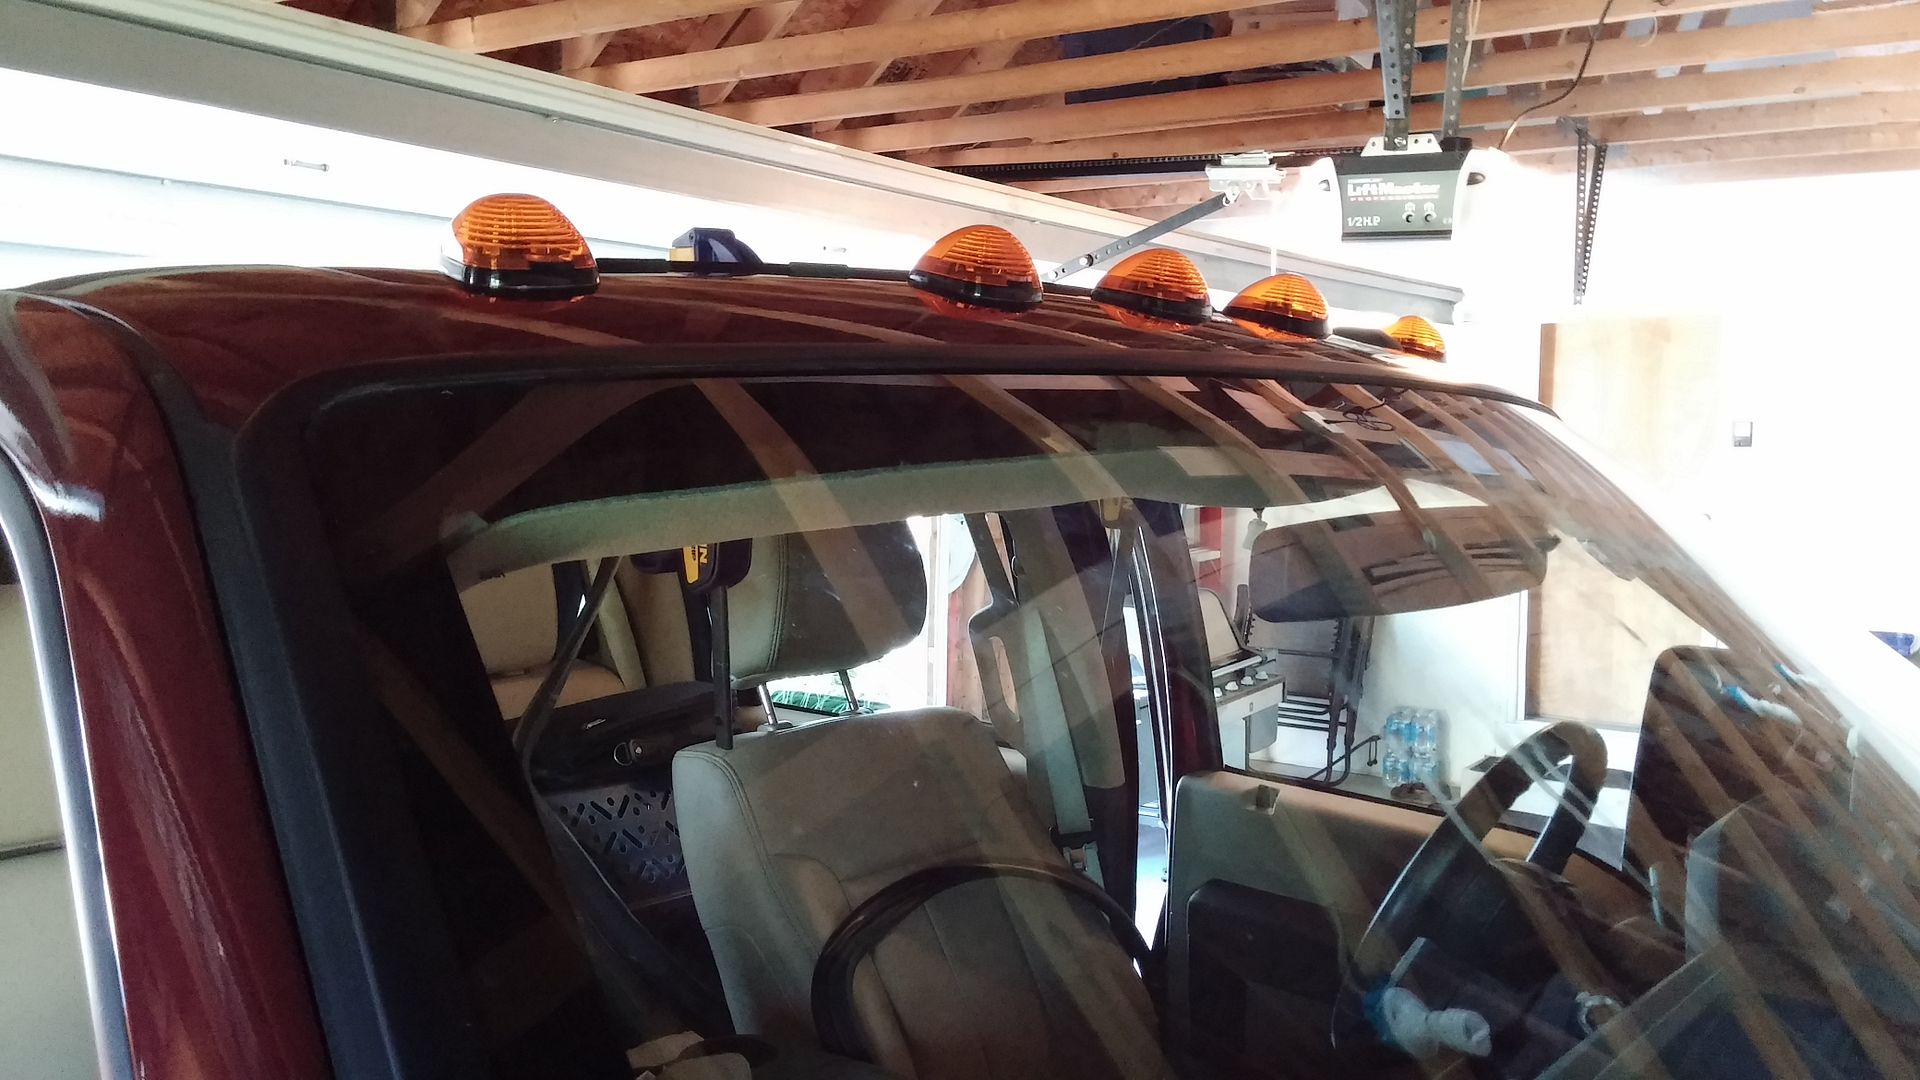
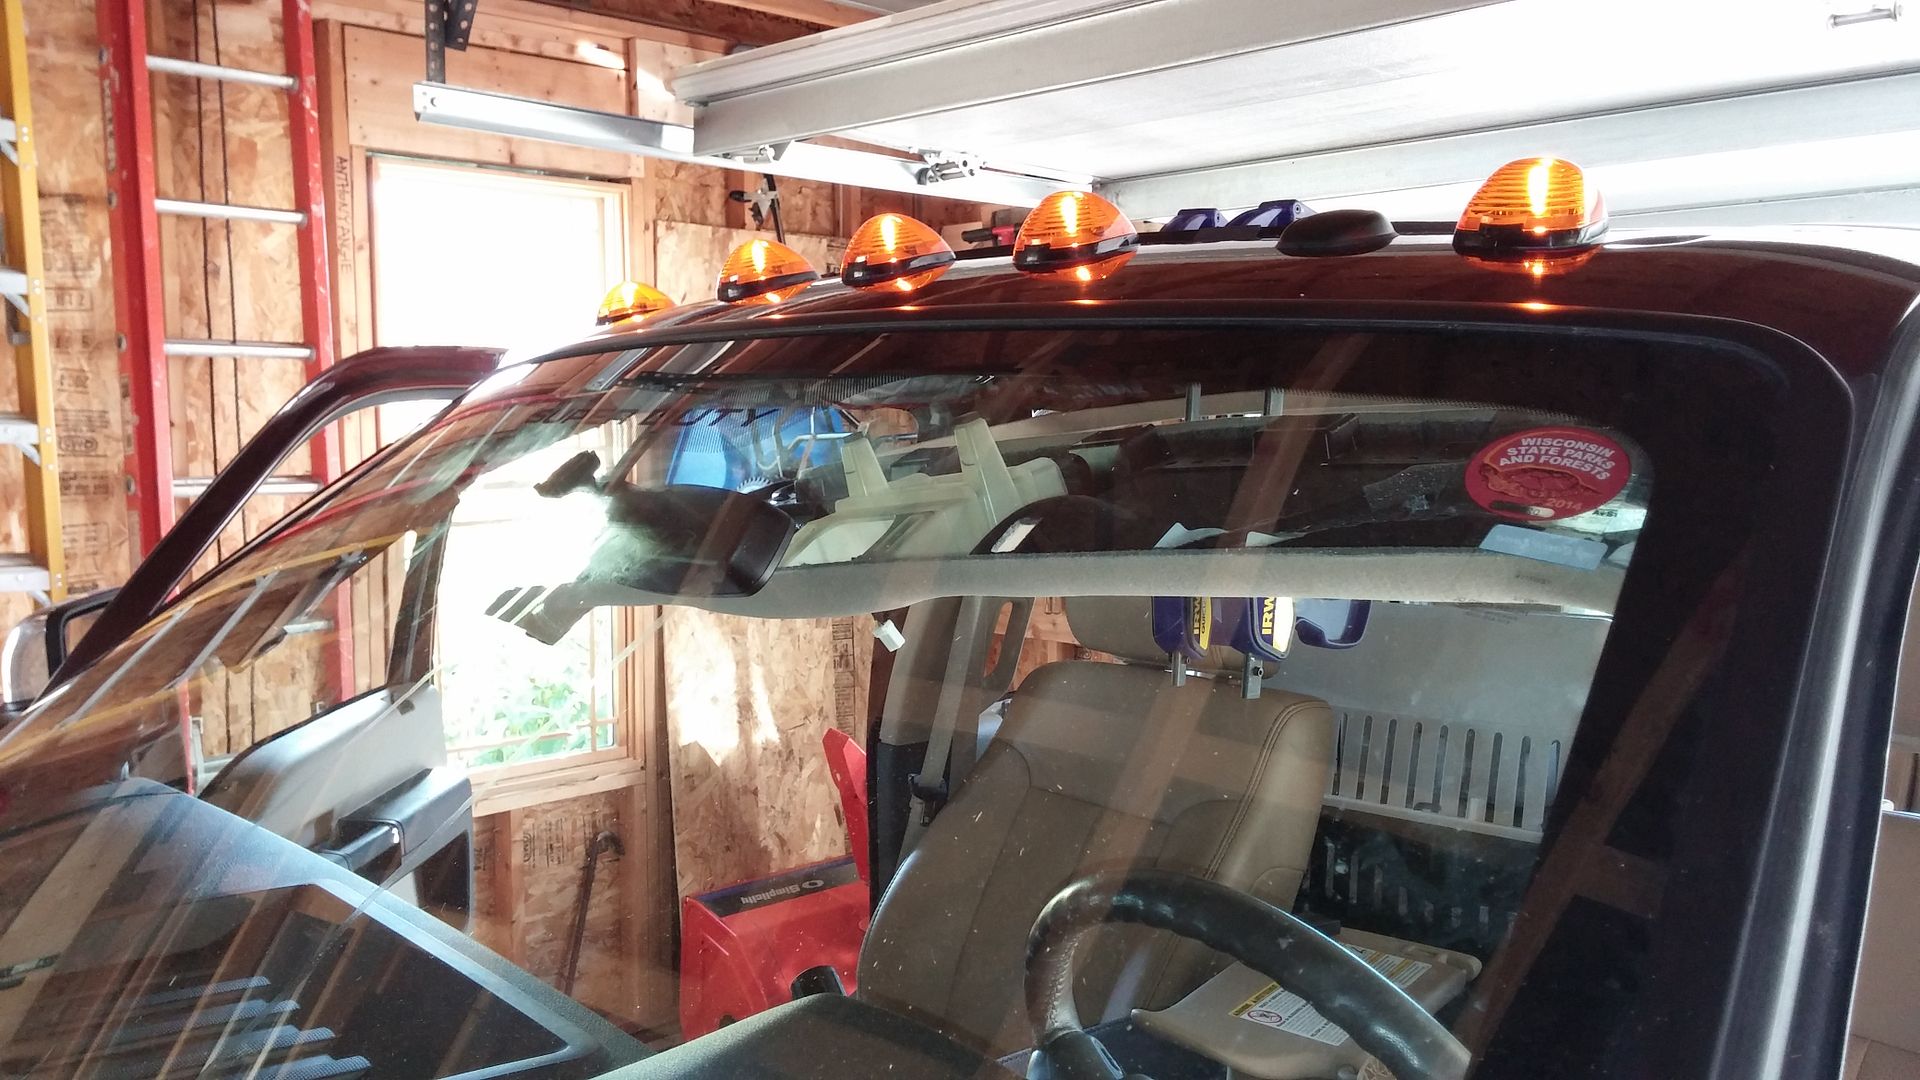
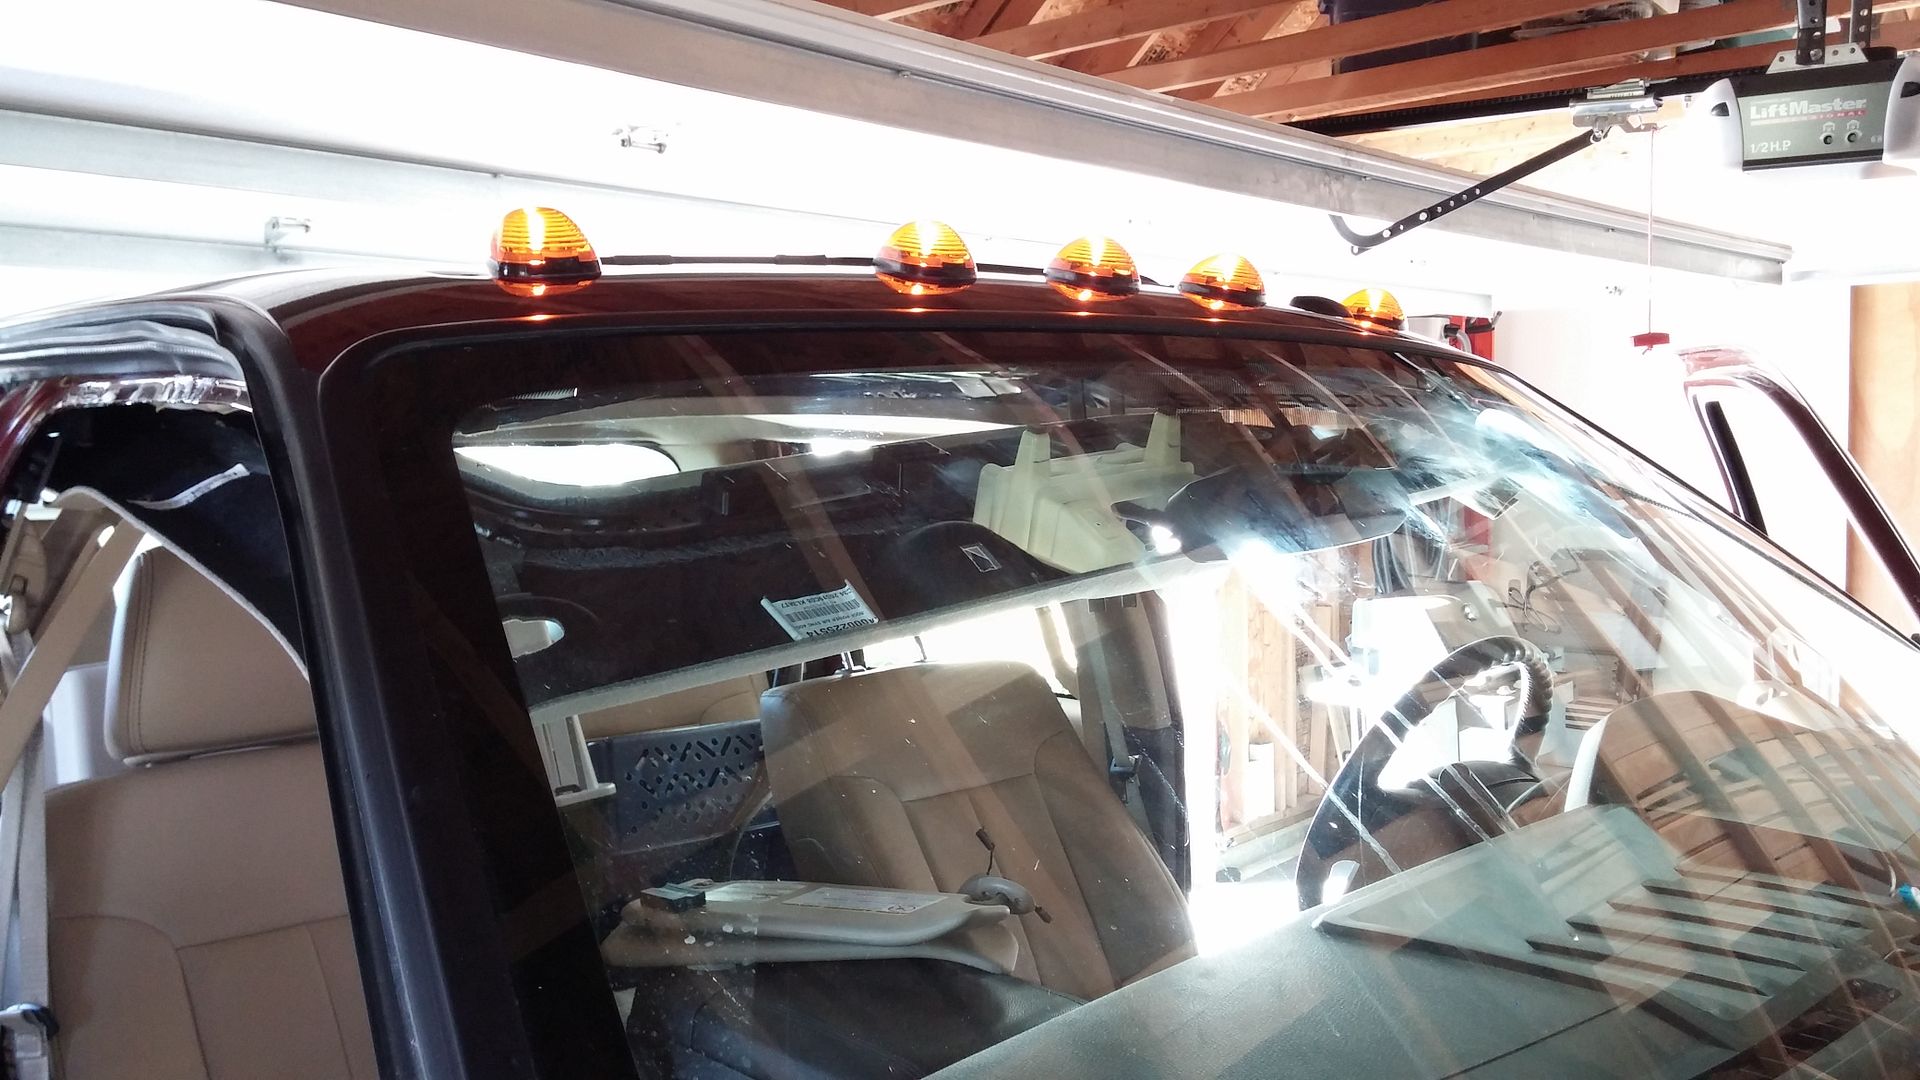
I re-connected the battery and this is my first sight. The lights come on as you connect the battery.
Put the interior back together. This goes faster than what you think.
Last step, start the truck and look for warning lights. Back the truck out of the garage and take some more pictures. Lastly, put tools away and have a beer.
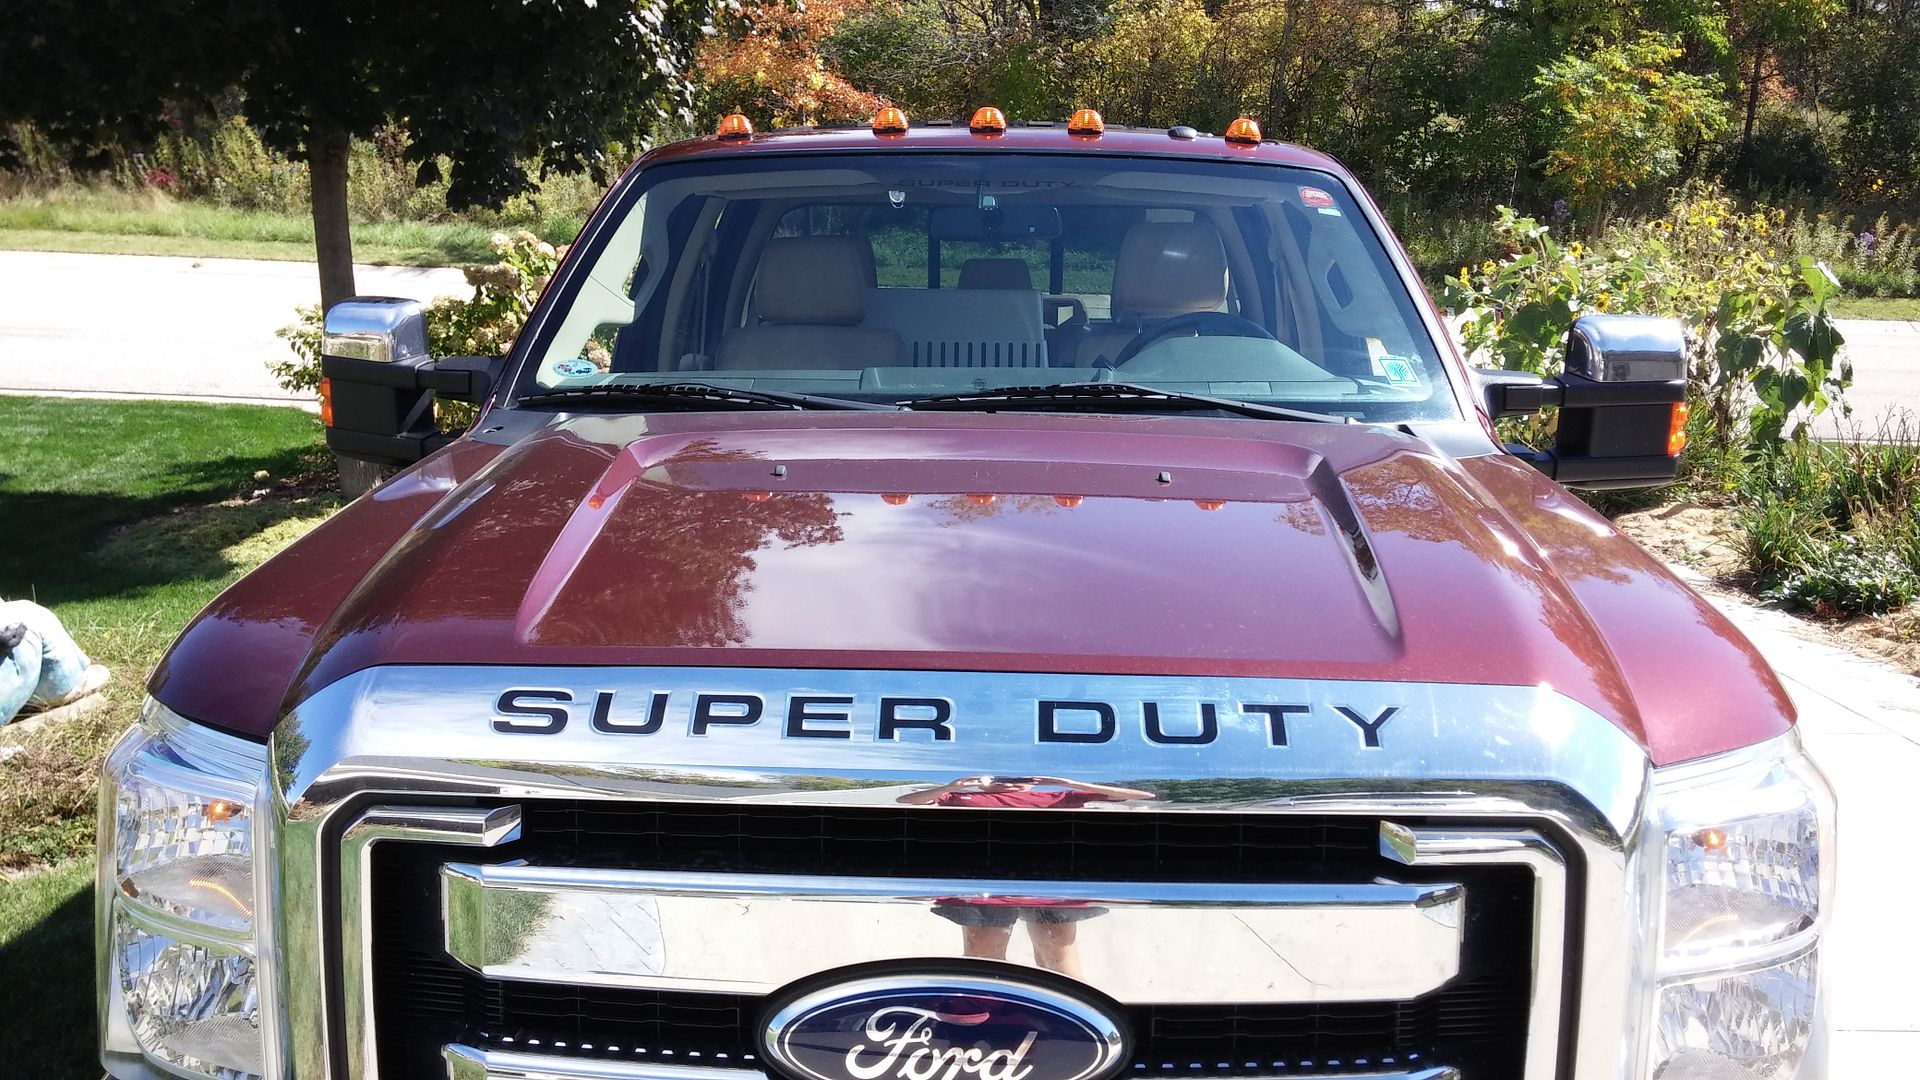

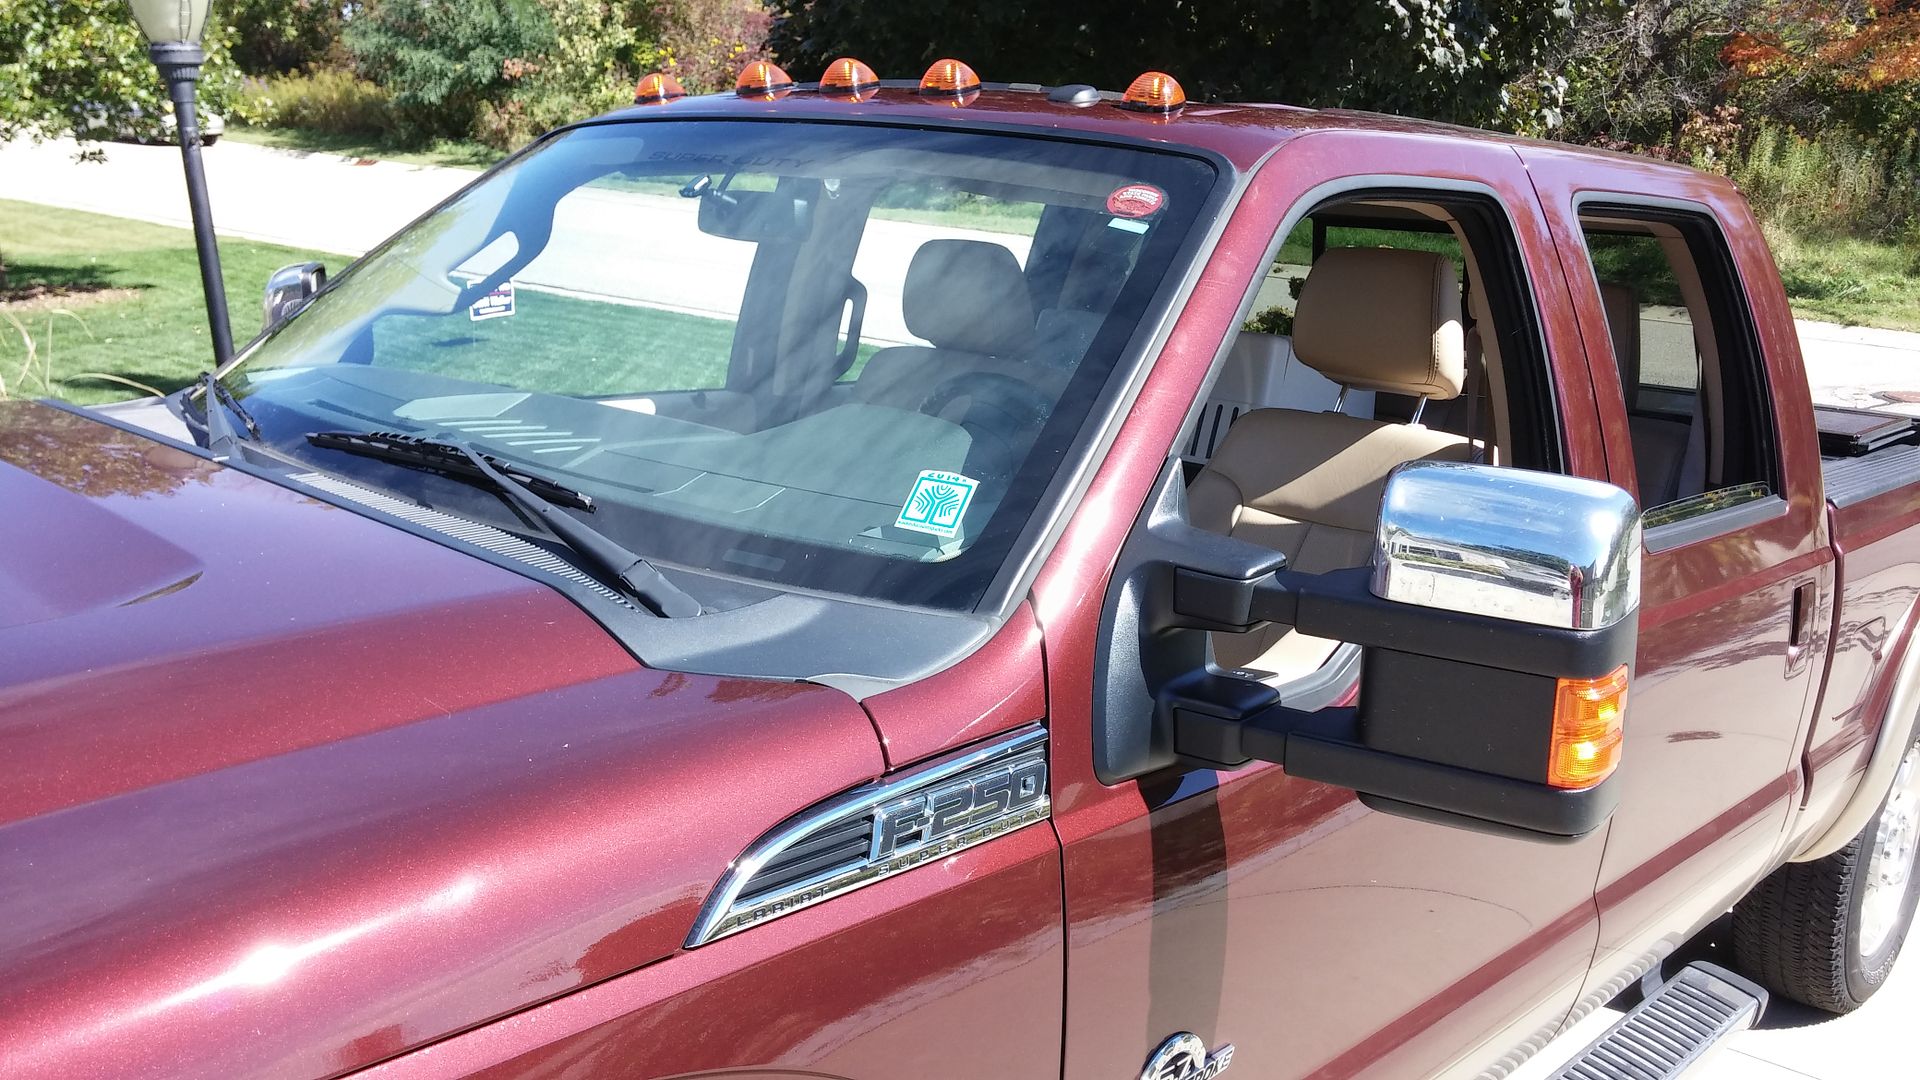
You can notice in the last pictures that I forget to put the antenna back on. Did that after the picture.
#26
09-29-2014, 02:30 PM
Final thoughts:
• I am a desk jockey at work. Handy enough as a homeowner but I don’t typically work on my truck. Dealership does all my maintenance.
• I planned to do this over two days. The plan was for day one to get the lights mounted. Day two was wiring and getting the truck back together. I didn’t want to rush anything. I find that when I rush, I make mistakes and I certainly didn’t want any mistakes.
• I was very careful about tool placement and what I had with me on my work platform. I wanted nothing on the platform that could drop and damage the truck. As soon as I was done with a tool, it came off the platform and back to the tool box. Before I moved on the platform, I looked around to insure nothing would fall.
• This project took me 8.5 hours. I’m being honest. This is way longer than any other post I could find. 1 hour to make my template. 6 hours to get the lights mounted. 1.5 hours to wire and put my interior back together.
• For me, I don’t want anyone to think this is an easy project. I think this is moderate. Again, I don’t do this every day. You have to take a lot of the interior apart. Take your time and be certain about every move before you make it.
• Some FTE members have reported damaging their trucks while doing this. Chips after drilling melted through the paint, dents from elbows and knees on the hood or roof, scratches from metal chips. Easy enough to do.
• I typically only read in the 6.7L forum. I didn’t post this in that area because it’s not unique to that build. This thread should apply to almost any Super Duty.
#27
09-29-2014, 03:08 PM
Cargo Master
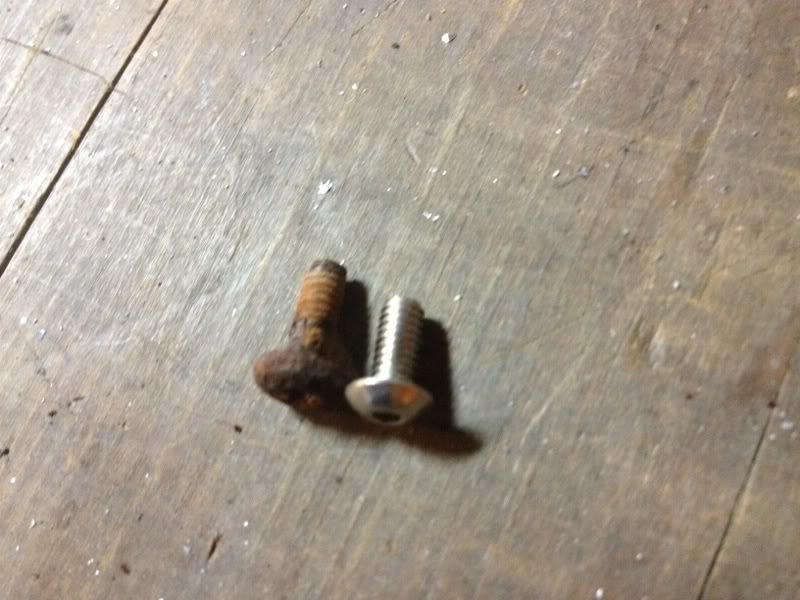
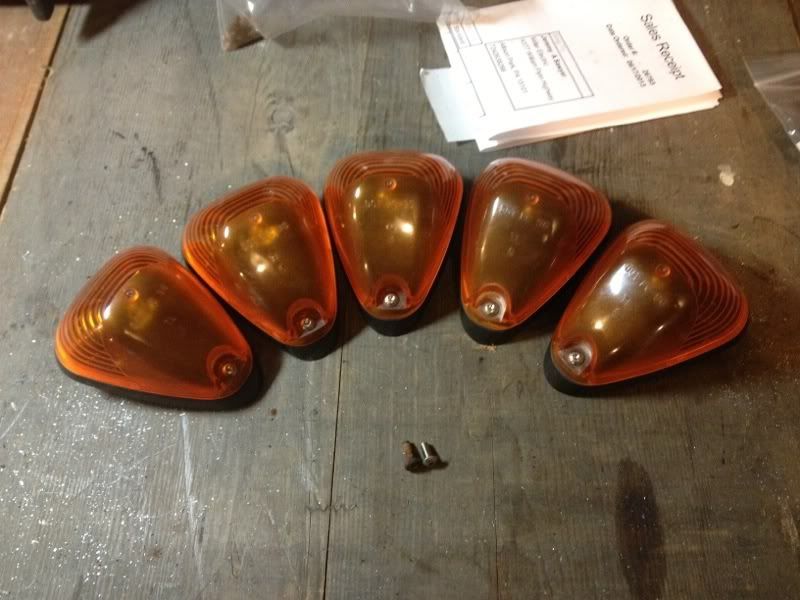
Excellent write up! I can add one comment... I have some older sets of marker lights. Bought a used set for my last truck and my current truck came with them. Regardless, I swapped the stock Philips head screws for stainless counterparts. The regular ones rotted over time and I've had problems removing old Philips screws in several things that I own. I prefer allen key because it is much easier to get leverage.
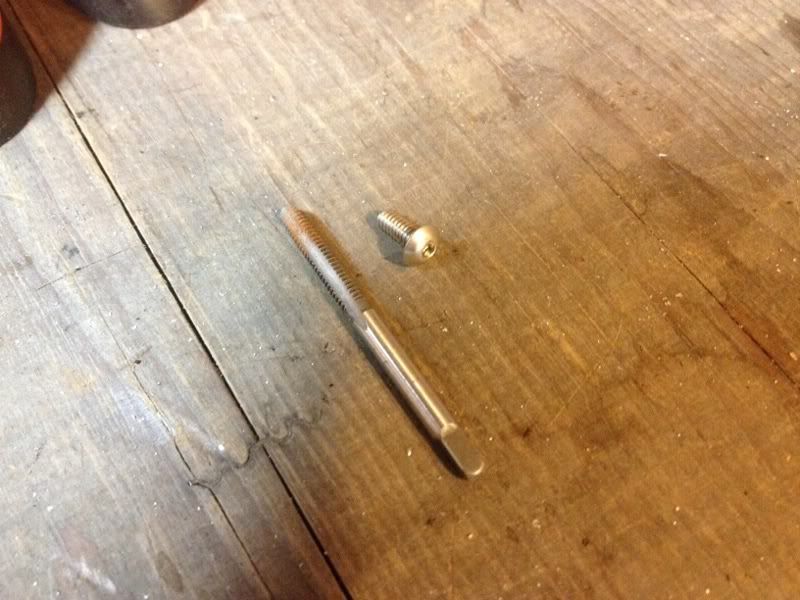
If anyone cares to know, the screws that hold the lenses onto the factory marker lights are 8-32 x 3/8". Mine were shot. I had to order some bolts for my Ranger so I also ordered an 8-32 tapered tap and some 8-32 x 3/8" stainless steel button head screws. I cleaned out the threads and fitted these right in. Silly easy fix but I couldn't find the info anywhere so I thought I'd post it. The screws were part # 0190 from Allens Fasteners and at $0.05 each, a very good price. I did have to pay shipping, but that rolled into a bunch of other things I needed.


#28
09-30-2014, 11:10 AM

#30
10-02-2014, 10:40 AM
Excellent write up! I can add one comment... I have some older sets of marker lights. Bought a used set for my last truck and my current truck came with them. Regardless, I swapped the stock Philips head screws for stainless counterparts. The regular ones rotted over time and I've had problems removing old Philips screws in several things that I own. I prefer allen key because it is much easier to get leverage.
