Lets do it again! 1951 Ford F1 LT1 supercharged, 4L80E, EFI, jag IFS, etc..
#301
 08-12-2015, 03:23 PM

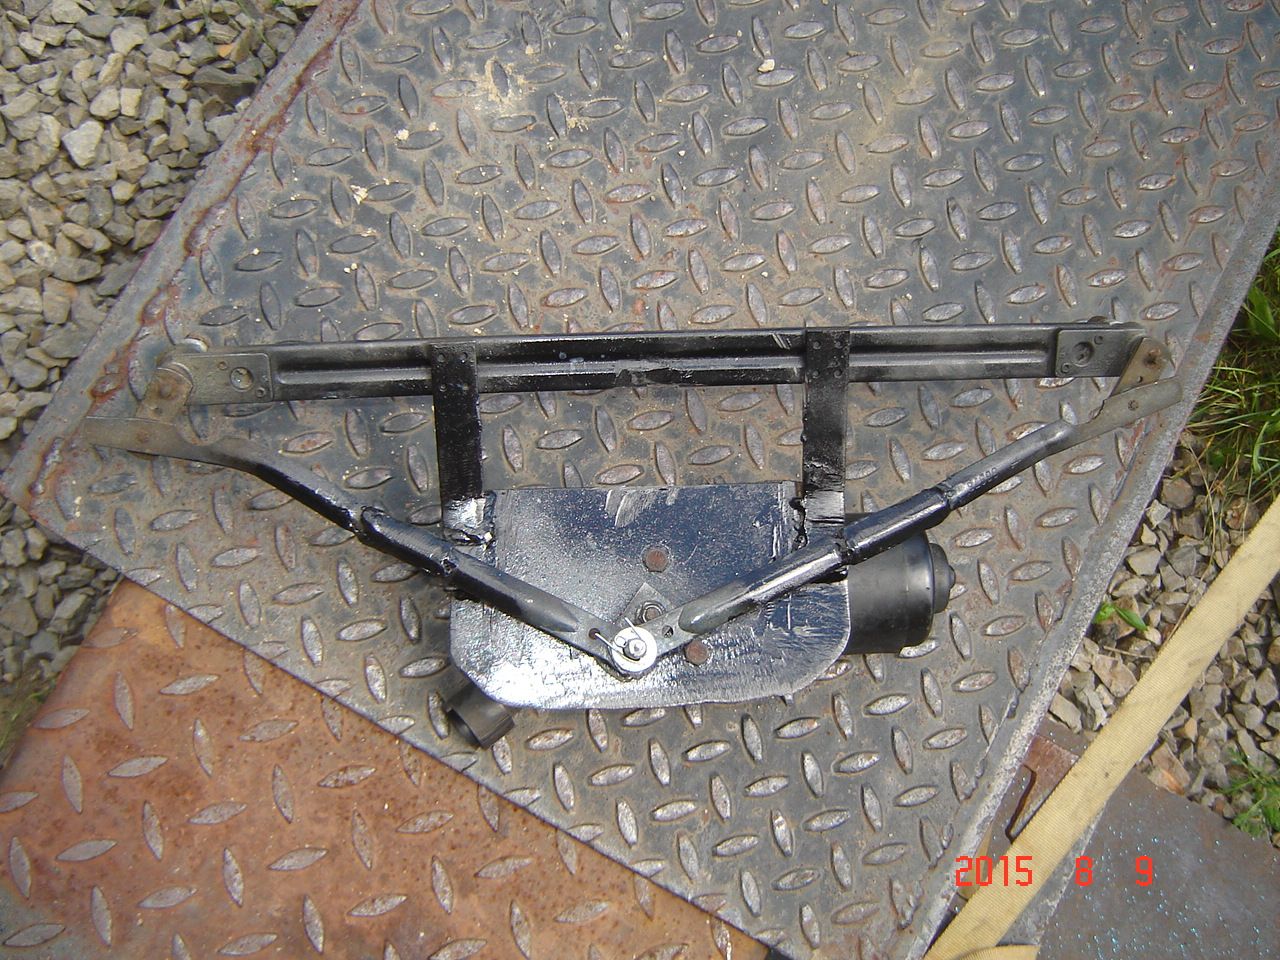
They are in and installed, I will get pics together when I make the 2nd one, which will be soon. I had to mount the wiper motor low and bend the mount at an angle to clear the cowl vent when it is closed. Since I lowered the motor I had to extend the arms, but when it was all done I have one wiper arm that moves faster than the other. Works fine just doesnt have the arms in sync, so I want to mess with that with the next one. I will mount the motor higher on the 2nd one since truck #1 doesnt have the cowl vent anymore.
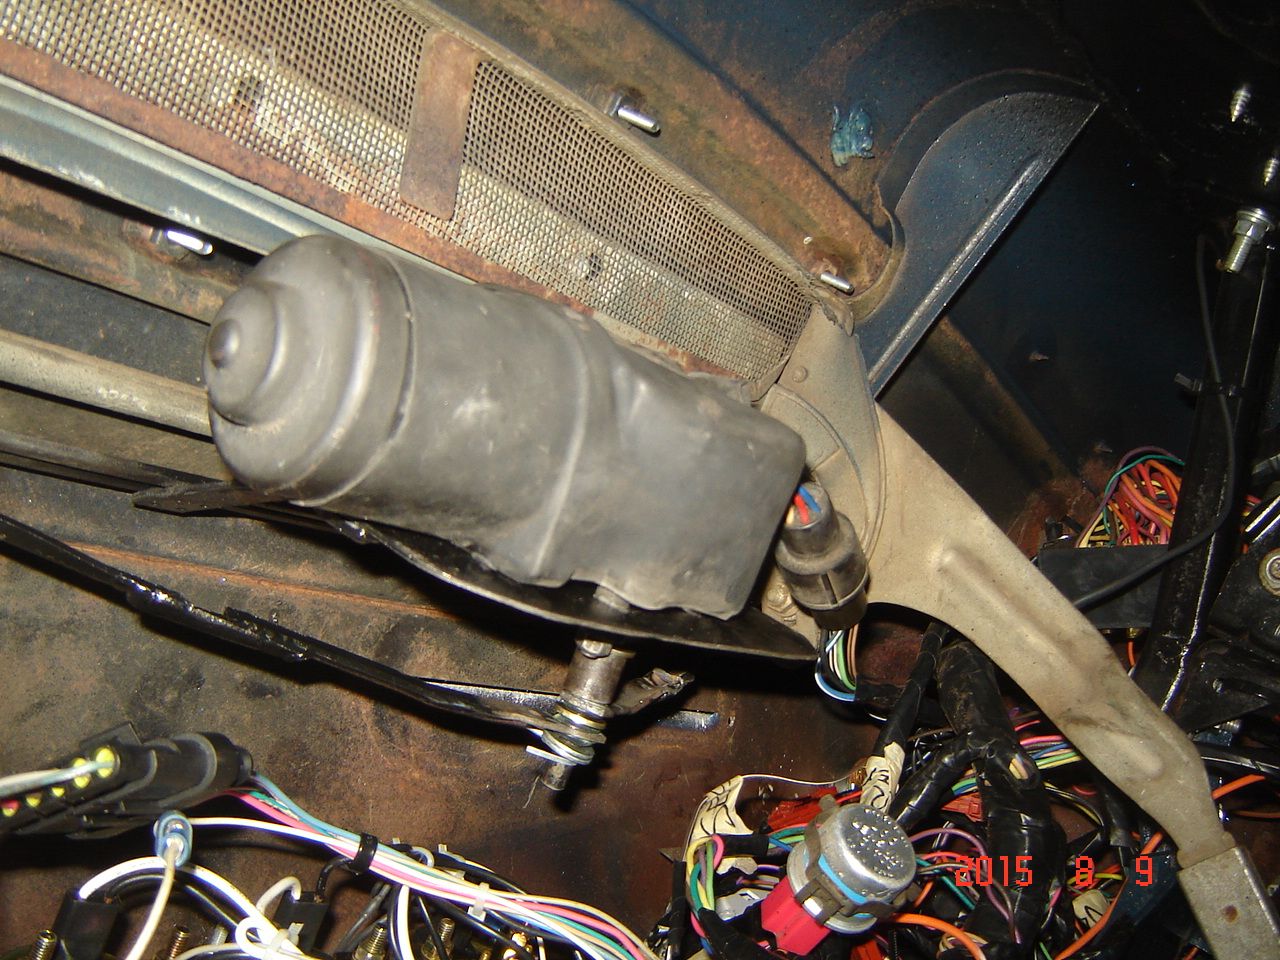
I have also not been able to get the jeep wiper motor to park, may have to open a separate thread on that one. No idea why, tried on two different motors but they will not park, maybe I need a jeep switch? I will have to get one to see how it works.
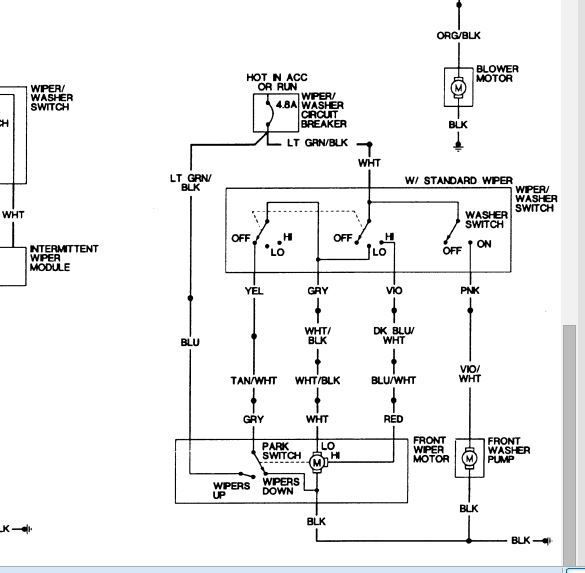
Unless I am missing something here..
Black to ground
white to low speed
red to high speed
blue to 12v
gray to park, which would be 12v with the wiper switch on the OFF position. Am I missing something?
The following users liked this post:
#303
08-17-2015, 10:11 PM
More small jobs to do..
Swap meet battery box installed
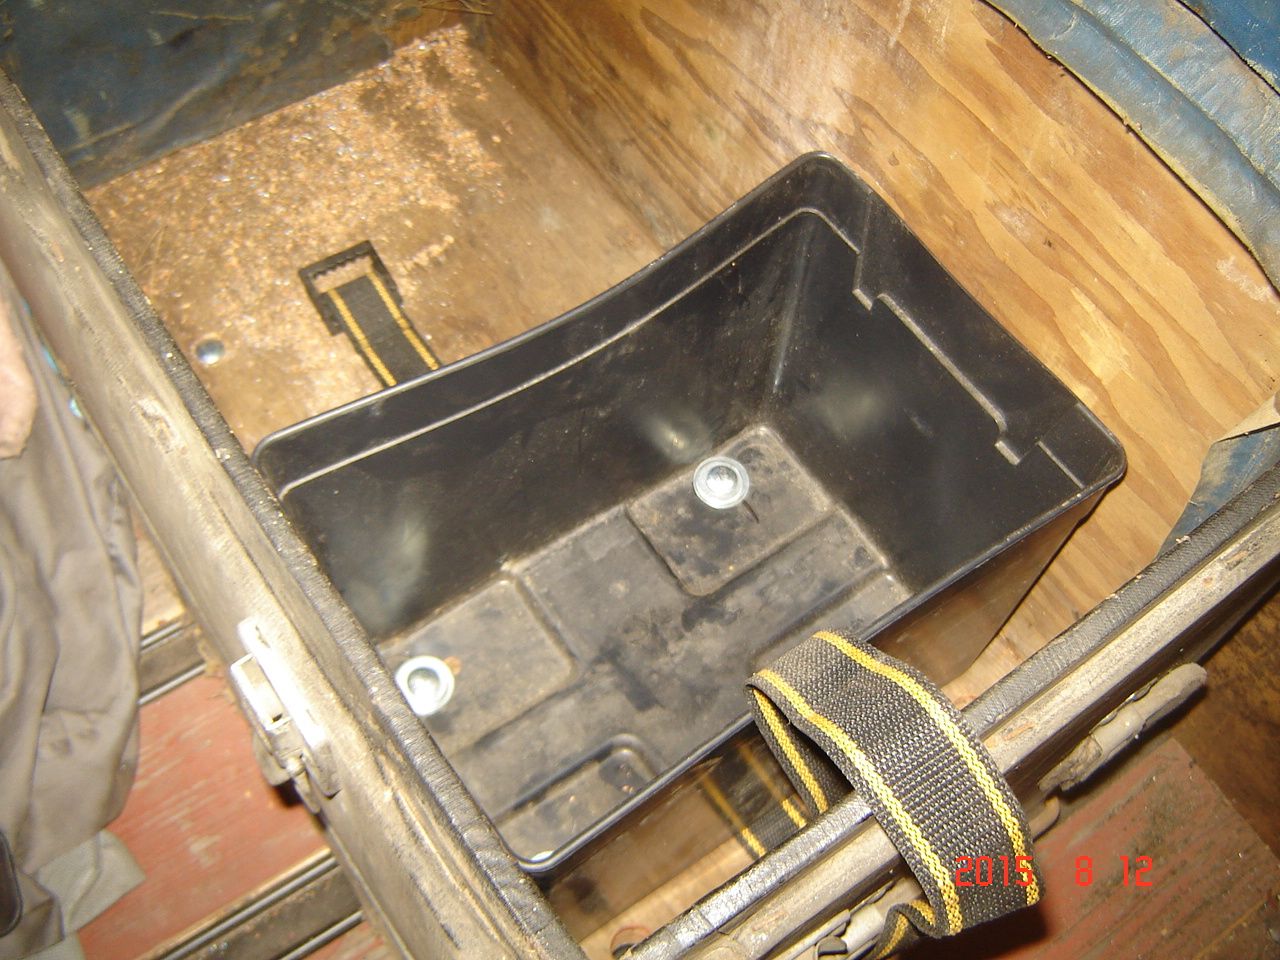
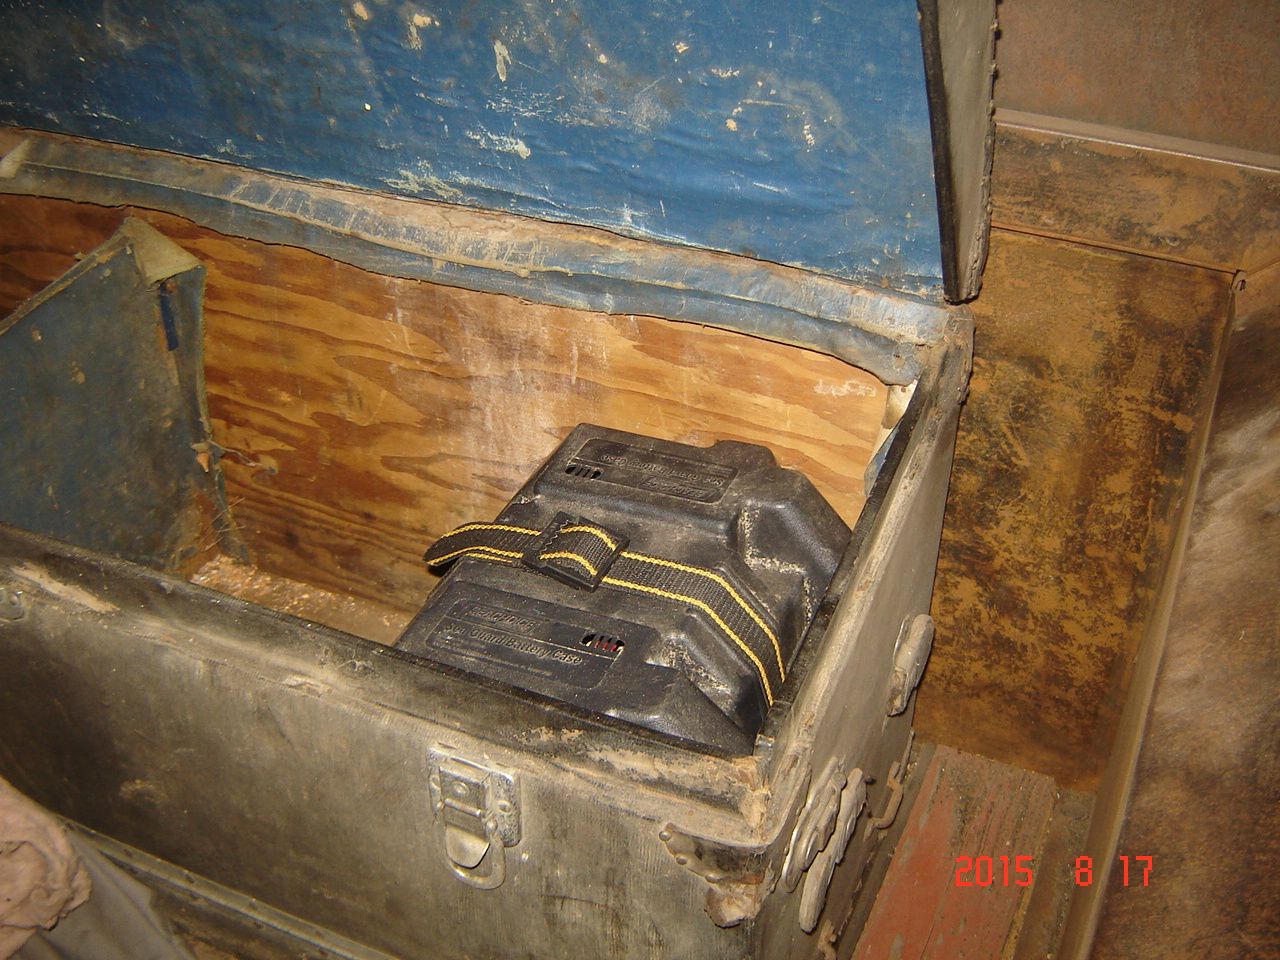
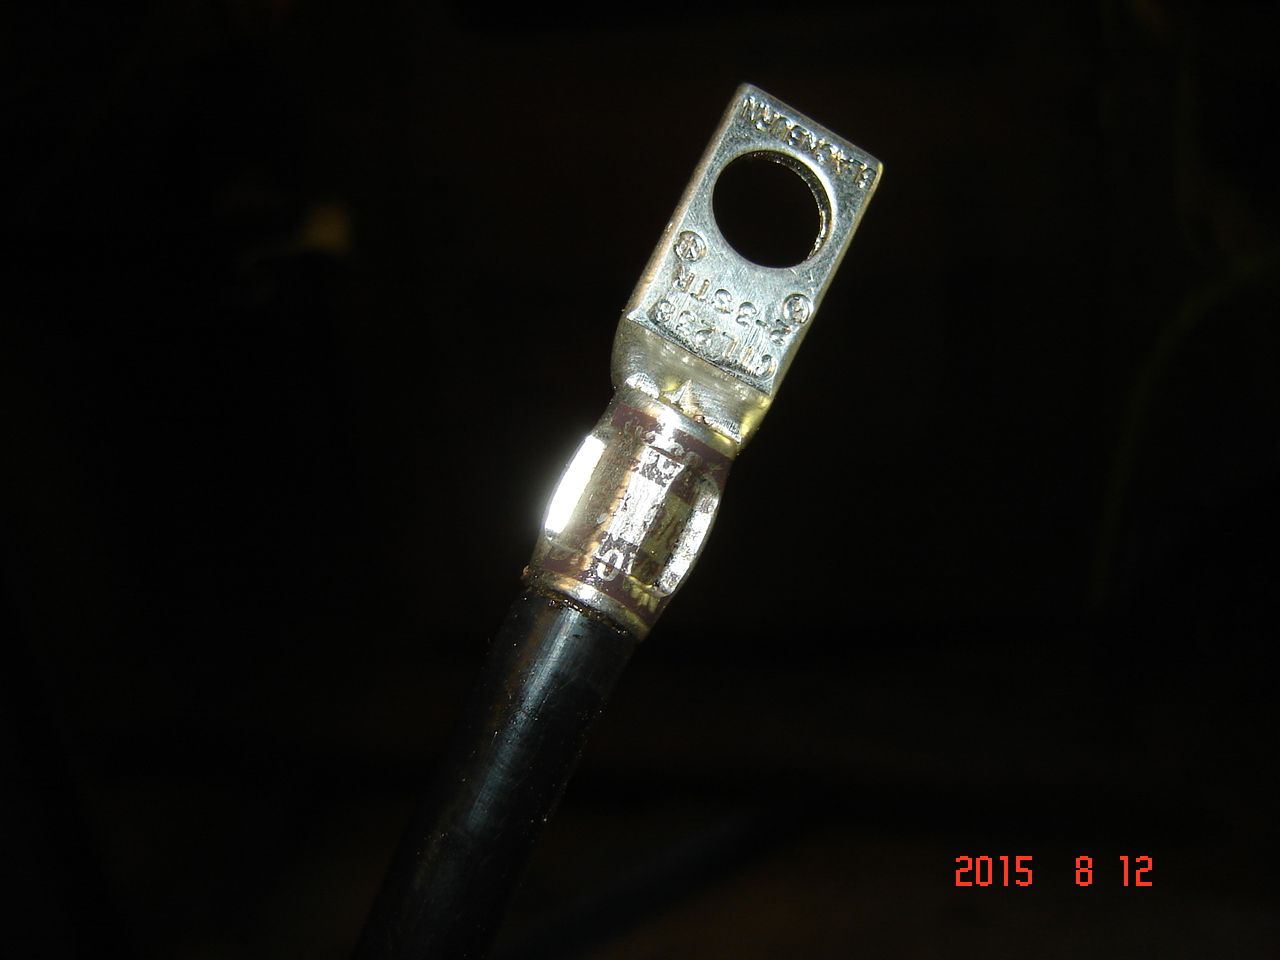
With rear mounted batteries I make my own cables, #2 copper for the positive from the battery to the starter, #2 copper from the battery to the frame, #2 from the frame to the engine block, then a smaller ground braid jumper to tie the cab and bed to the frame. I use #4 copper from the alternator to the starter and in this build from the starter to a positive junction block where the harness gets power.
I know some like to run the ground all the way from the battery to the engine block but I have been doing it this way and it works fine, no issues wtih charging and the engine cranks over like the battery was in front of it. Either way works fine, I grind the paint off all ground connections and use toothed star washers to bite into the steel.
The #2 and #4 is sold by the foot at home depot and isnt expensive, and for ends I buy lugs 20 at a time on ebay for cheap.
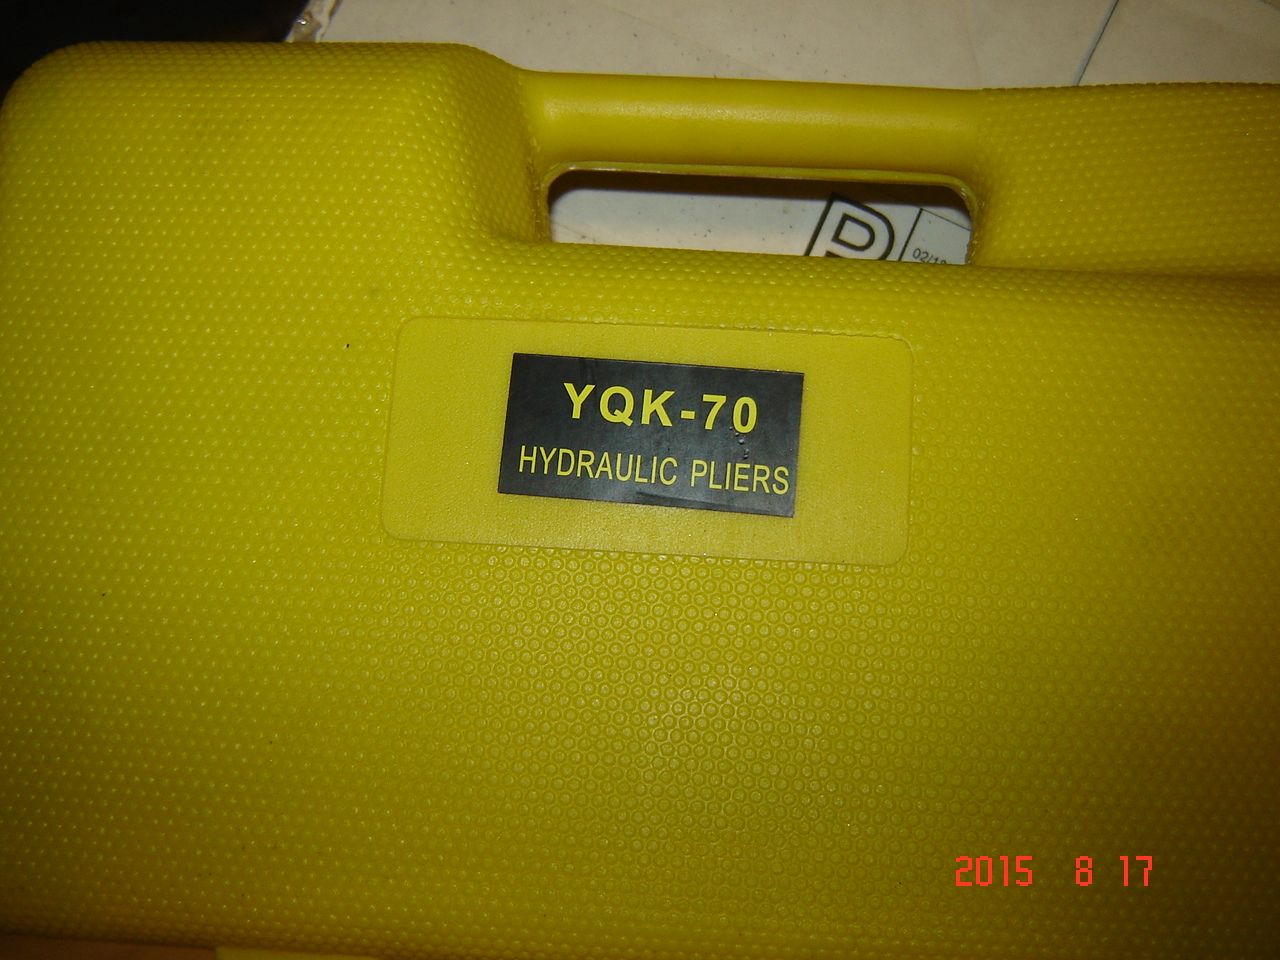
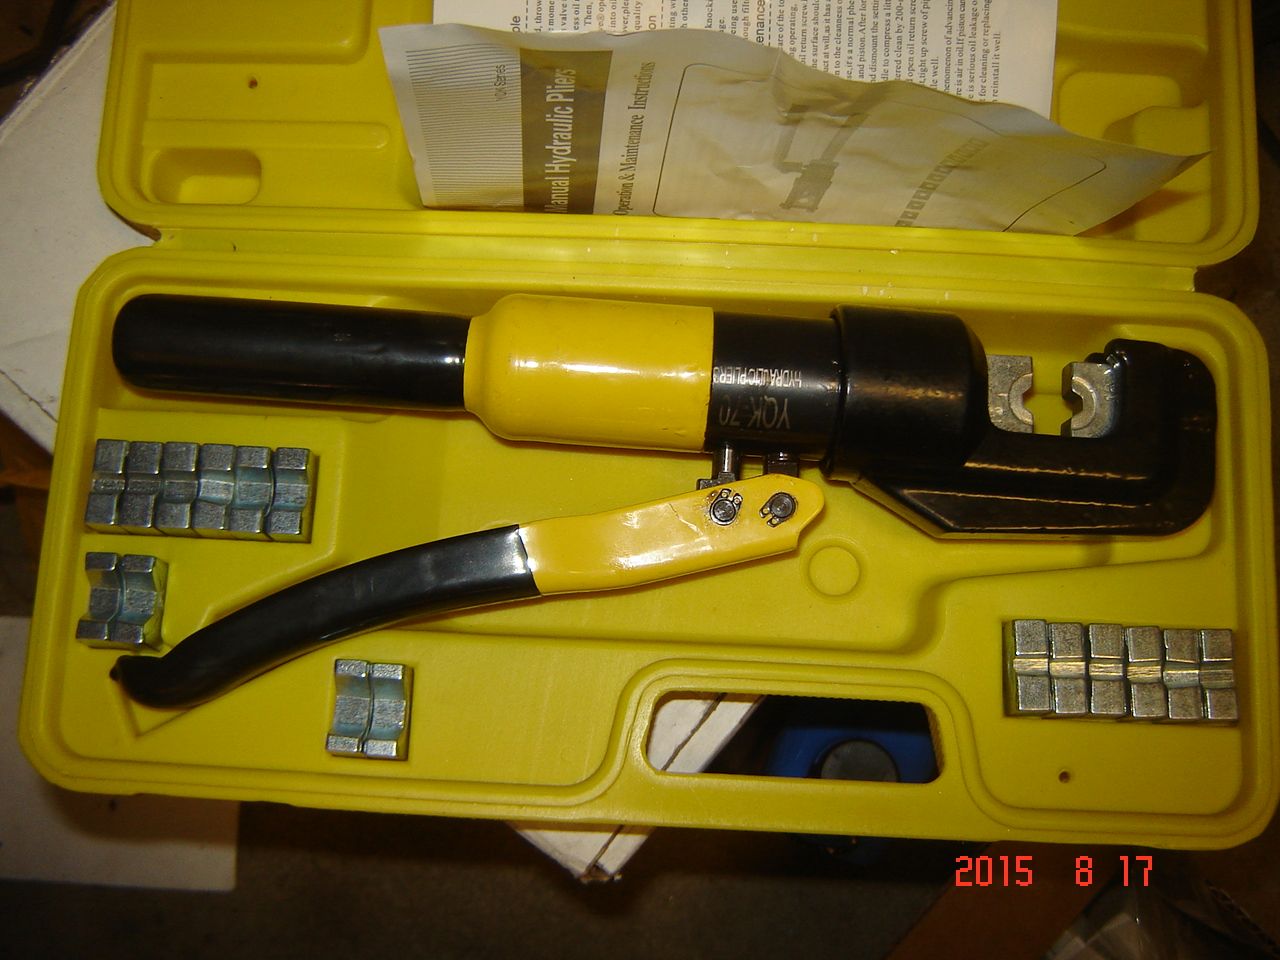
I use this hydraulic crimper to put the ends on, I think this one was less than $40 shipped.
Swap meet battery box installed


With rear mounted batteries I make my own cables, #2 copper for the positive from the battery to the starter, #2 copper from the battery to the frame, #2 from the frame to the engine block, then a smaller ground braid jumper to tie the cab and bed to the frame. I use #4 copper from the alternator to the starter and in this build from the starter to a positive junction block where the harness gets power.
I know some like to run the ground all the way from the battery to the engine block but I have been doing it this way and it works fine, no issues wtih charging and the engine cranks over like the battery was in front of it. Either way works fine, I grind the paint off all ground connections and use toothed star washers to bite into the steel.
The #2 and #4 is sold by the foot at home depot and isnt expensive, and for ends I buy lugs 20 at a time on ebay for cheap.
I use this hydraulic crimper to put the ends on, I think this one was less than $40 shipped.


#304
08-18-2015, 05:34 PM
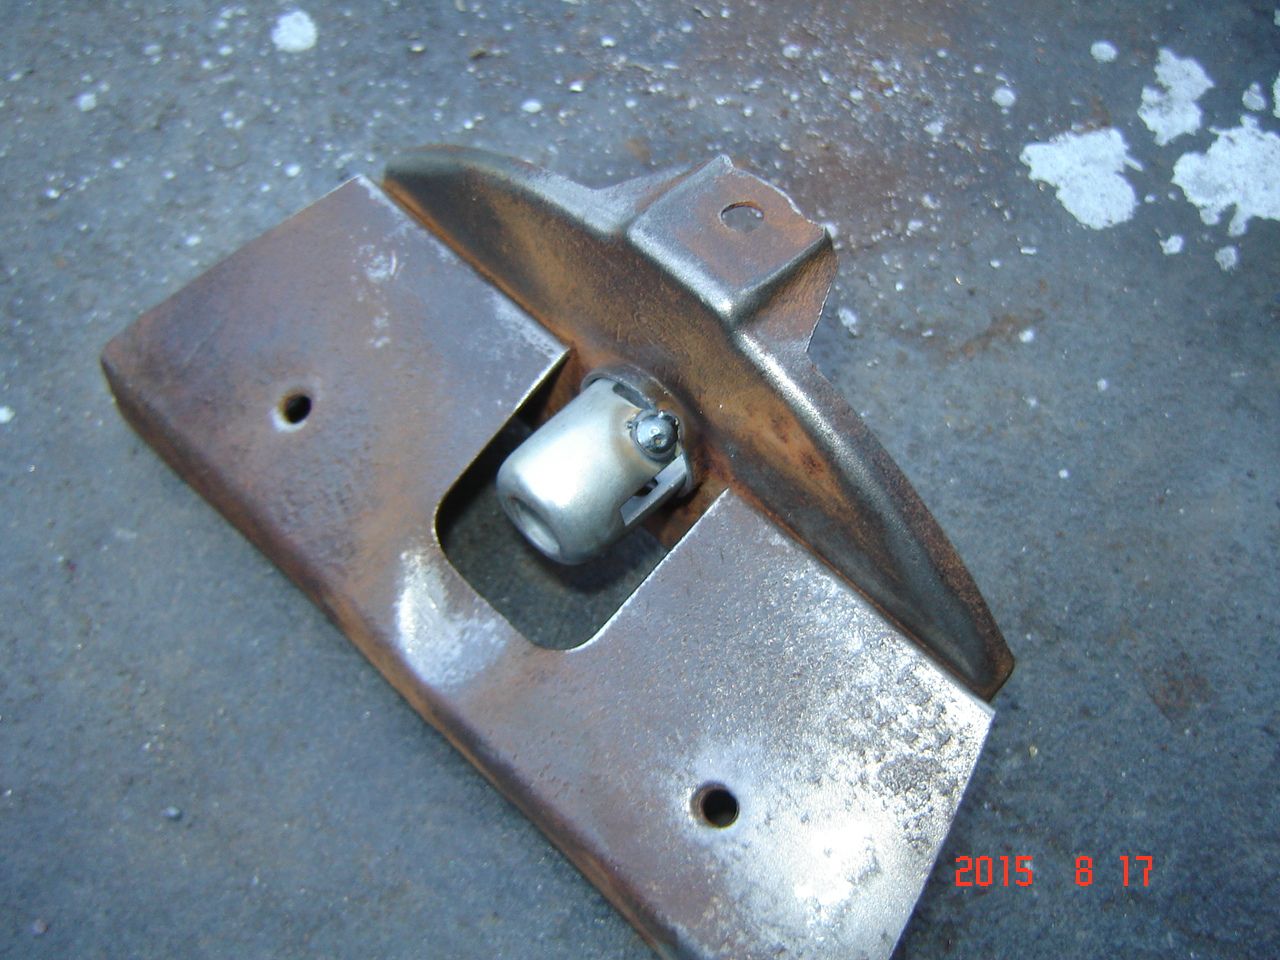
Front parking light work..these are the originals to the truck as far as I can tell. Lenses are not broken so I am reusing them along with the stainless trim. Bulb is so corroded it will not come out, no matter because a quick rebuild will fix it up.
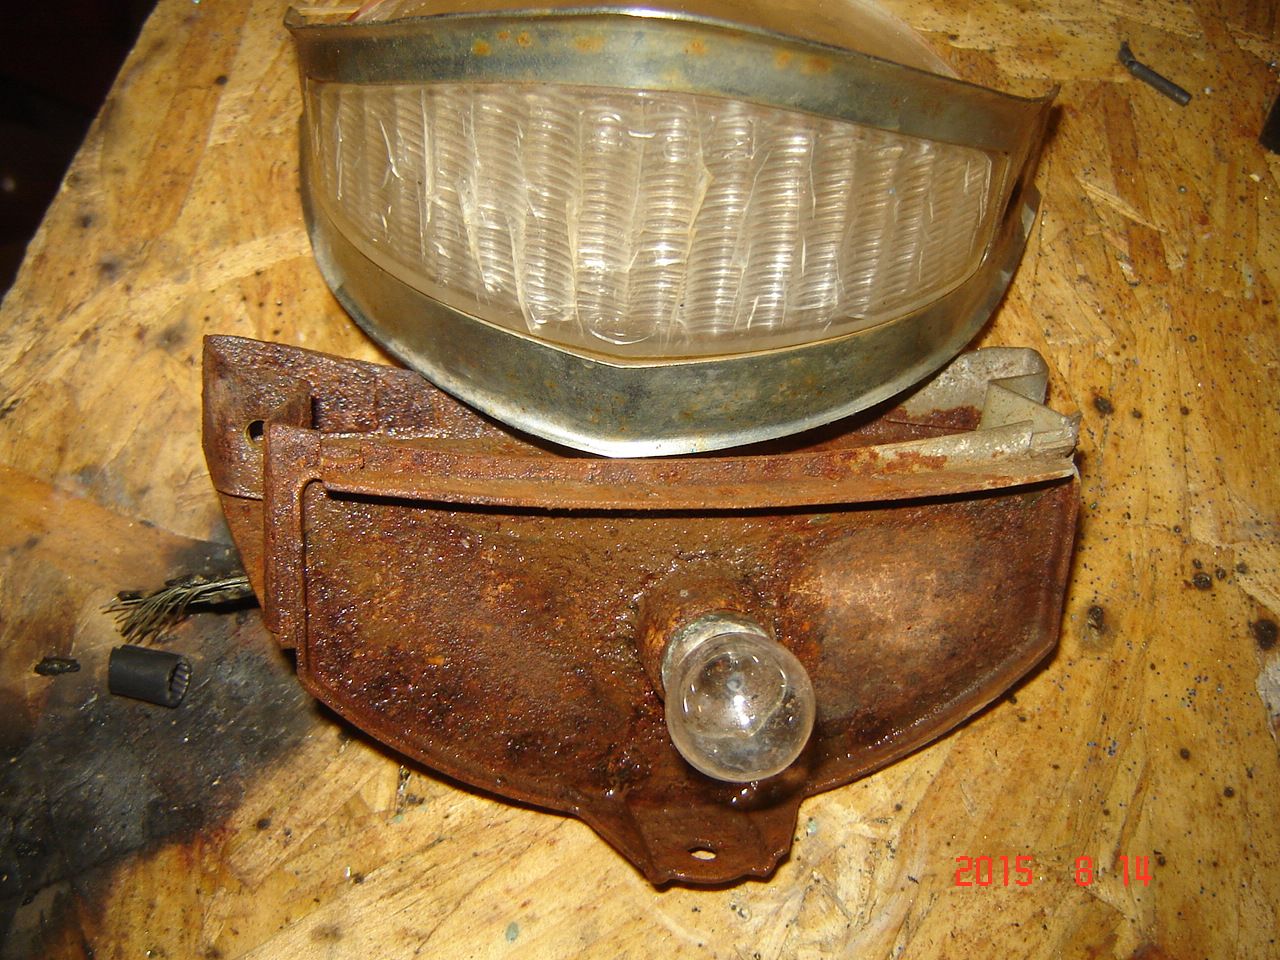
Dual filament light sockets from ebay, another thing I buy in bulk to have in stock.
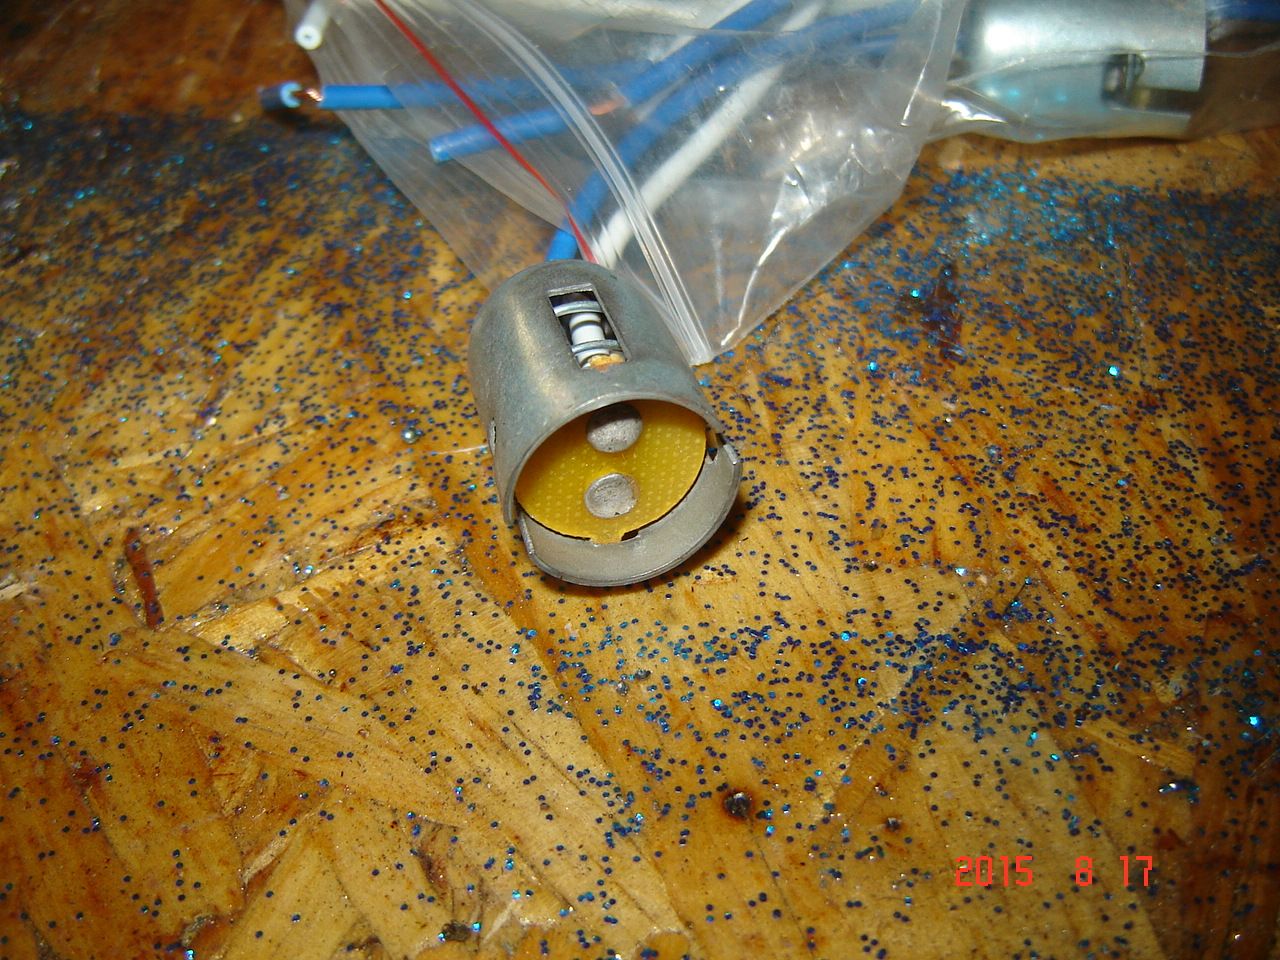
Light bulb and most of the socket cut away with a cutoff wheel.
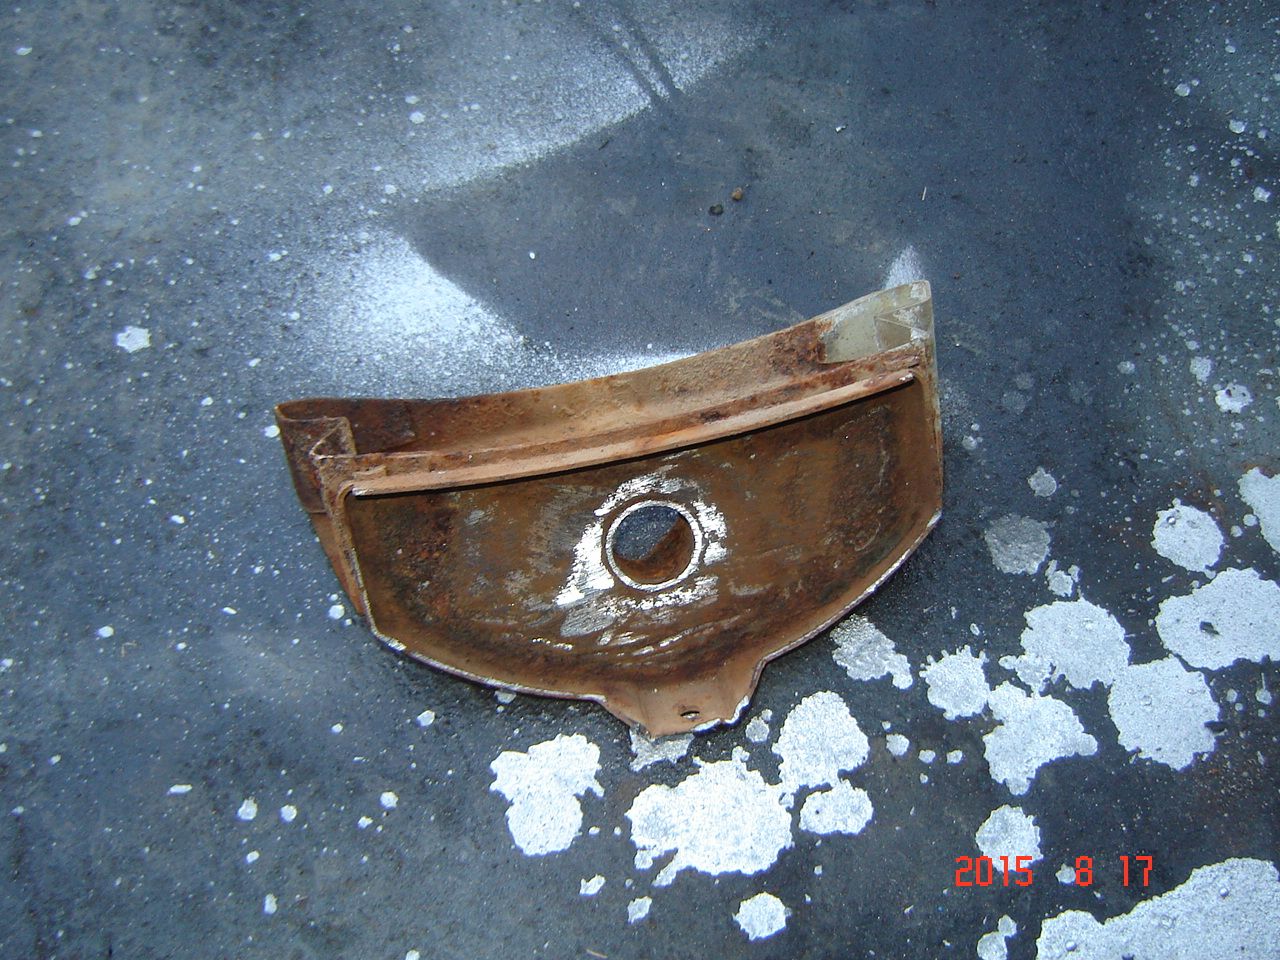
Last part of the original light socket drilled out with a uni-bit
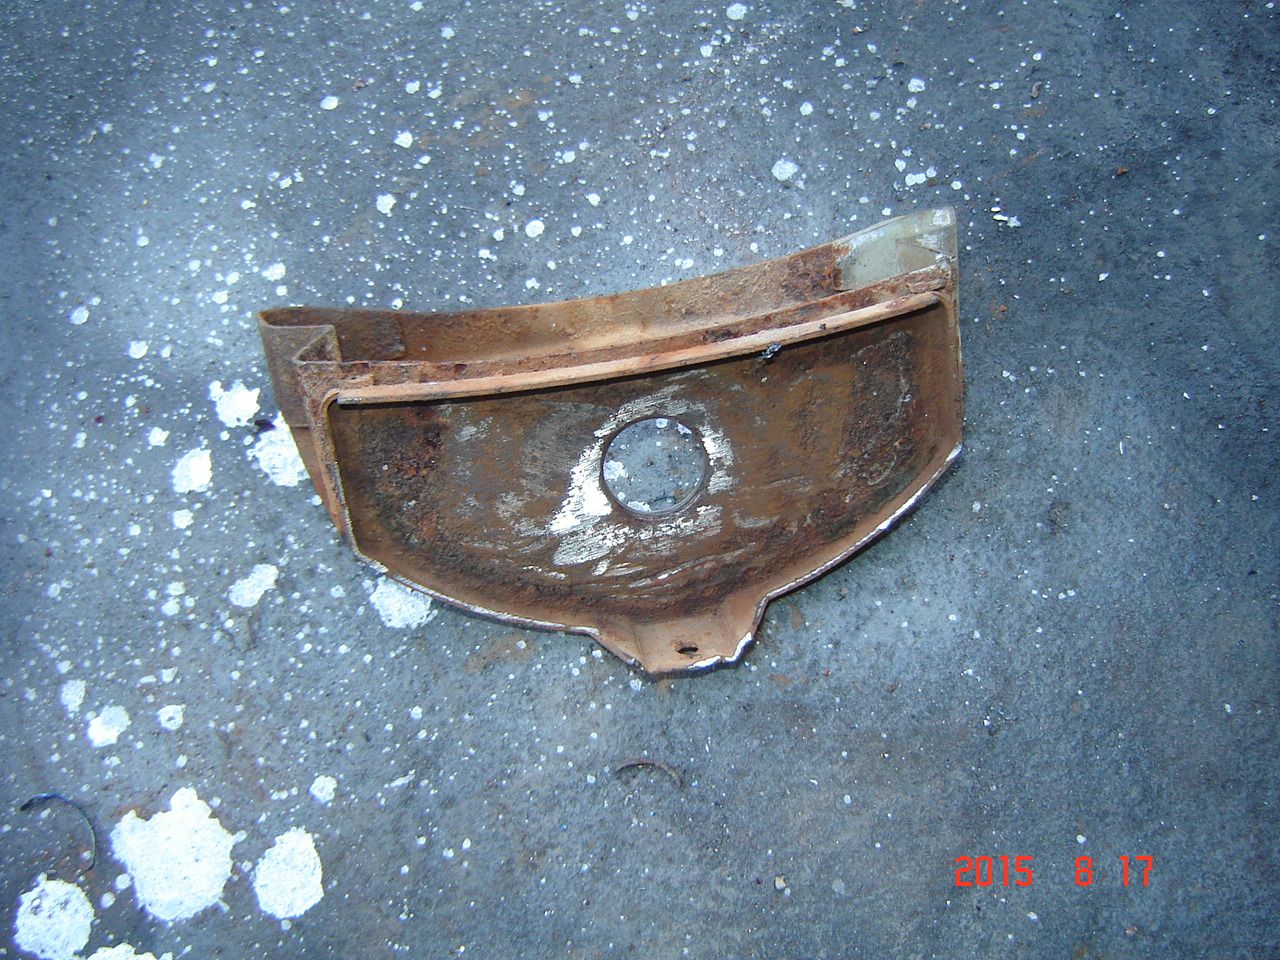
Housing cleaned up with a wire wheel (too lazy to blast these, no biggie ) and the new socket tack welded into place. Wiring was removed first to keep it from getting damaged. The welds leave slight raised areas inside the socket so they were filed down with a carbide bit in a cordless drill.
Some silver paint and a new 1157A bulb and looks better already.
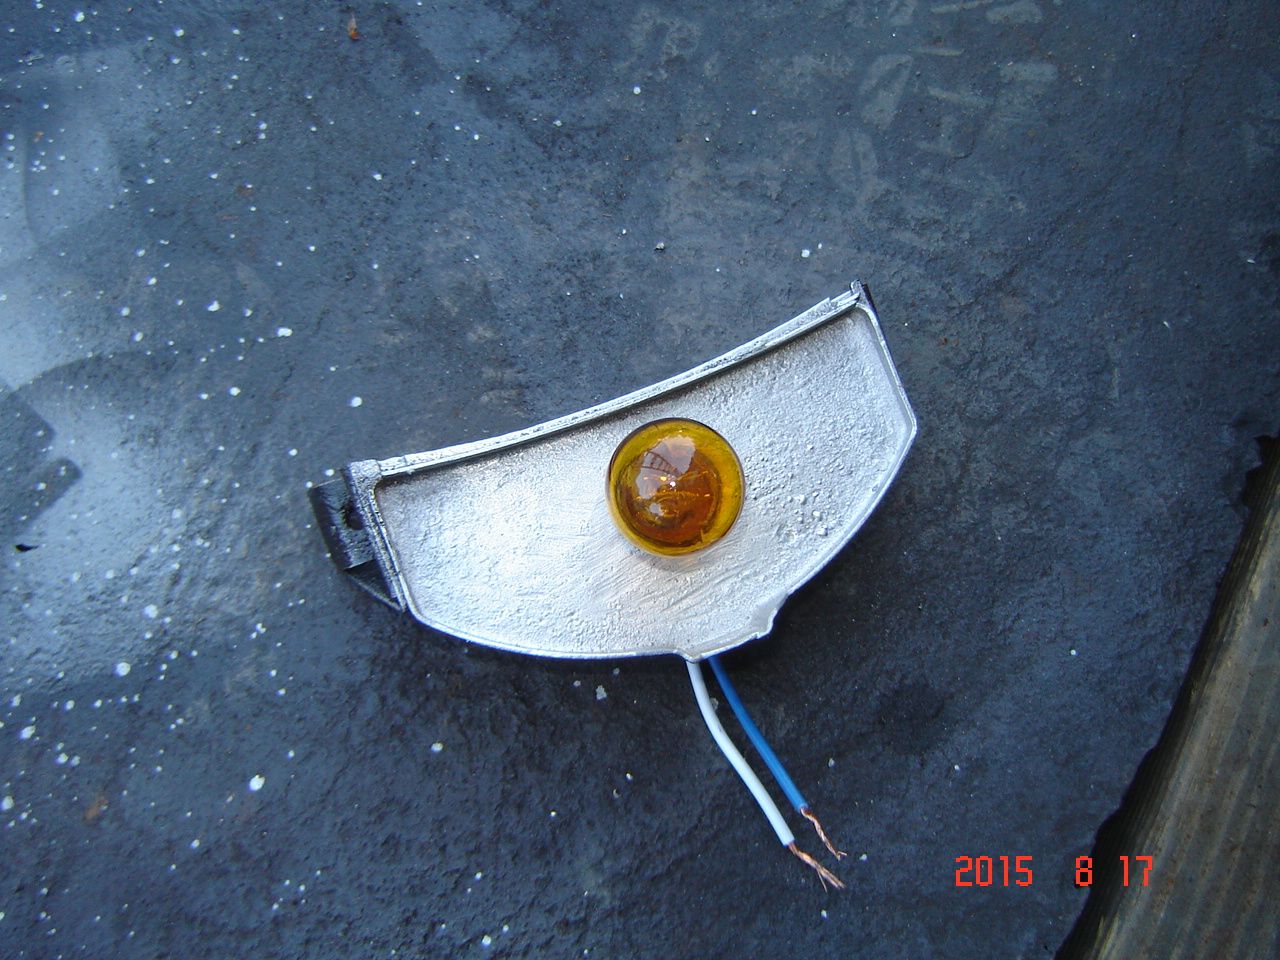
They even work!
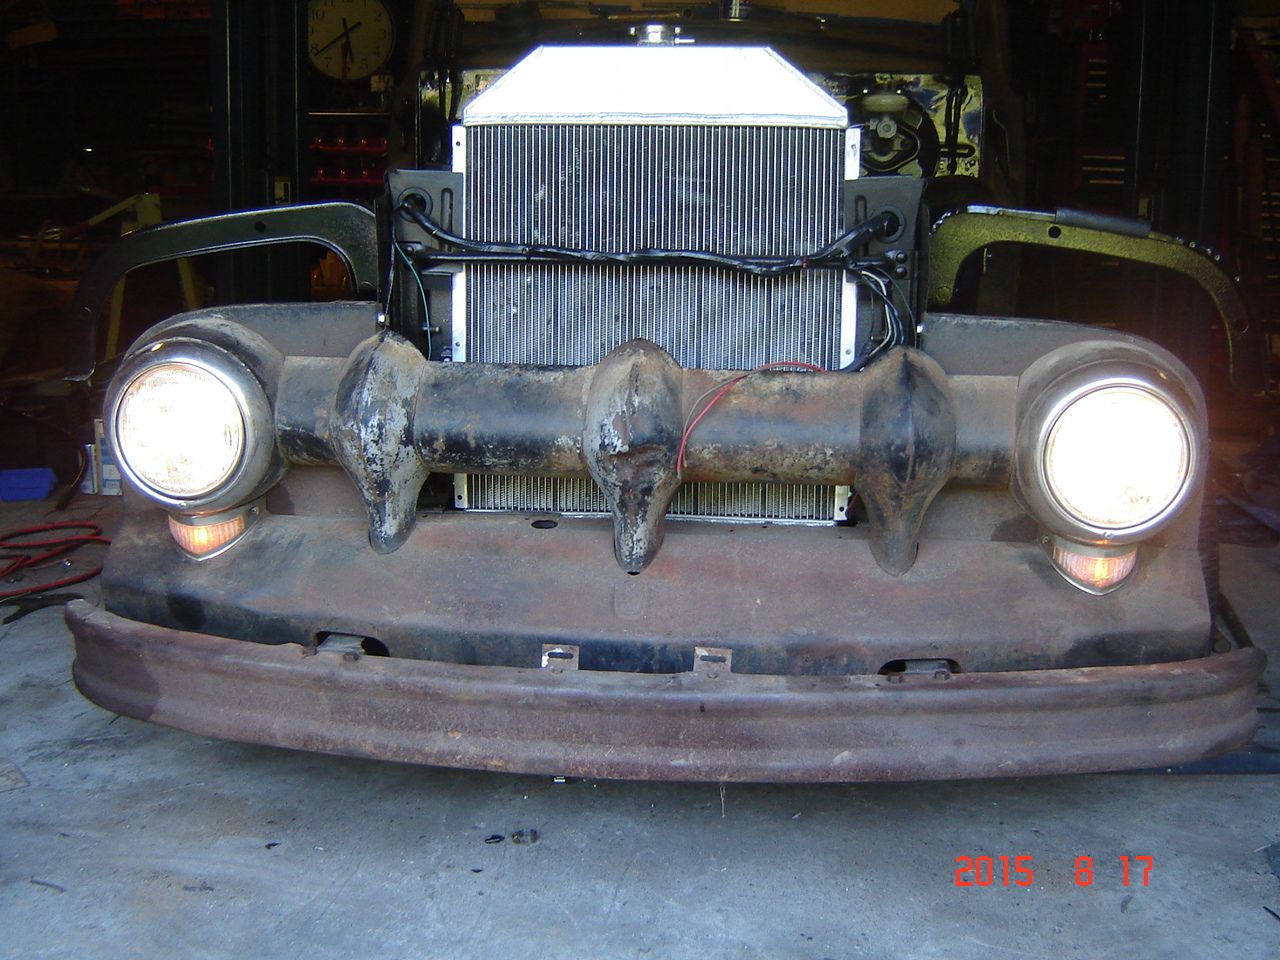
Progress continues, getting closer..

Dual filament light sockets from ebay, another thing I buy in bulk to have in stock.

Light bulb and most of the socket cut away with a cutoff wheel.

Last part of the original light socket drilled out with a uni-bit

Housing cleaned up with a wire wheel (too lazy to blast these, no biggie
) and the new socket tack welded into place. Wiring was removed first to keep it from getting damaged. The welds leave slight raised areas inside the socket so they were filed down with a carbide bit in a cordless drill. 
Some silver paint and a new 1157A bulb and looks better already.

They even work!

Progress continues, getting closer..
#305
08-18-2015, 06:08 PM

Lead Driver

#306
08-18-2015, 07:58 PM


#307
08-19-2015, 07:34 AM

#310
08-19-2015, 08:28 AM

This truck stays as is on the exterior, truck #1 I am painting inside and out, and all parts will be painted before assembly.

#312
08-23-2015, 10:08 PM
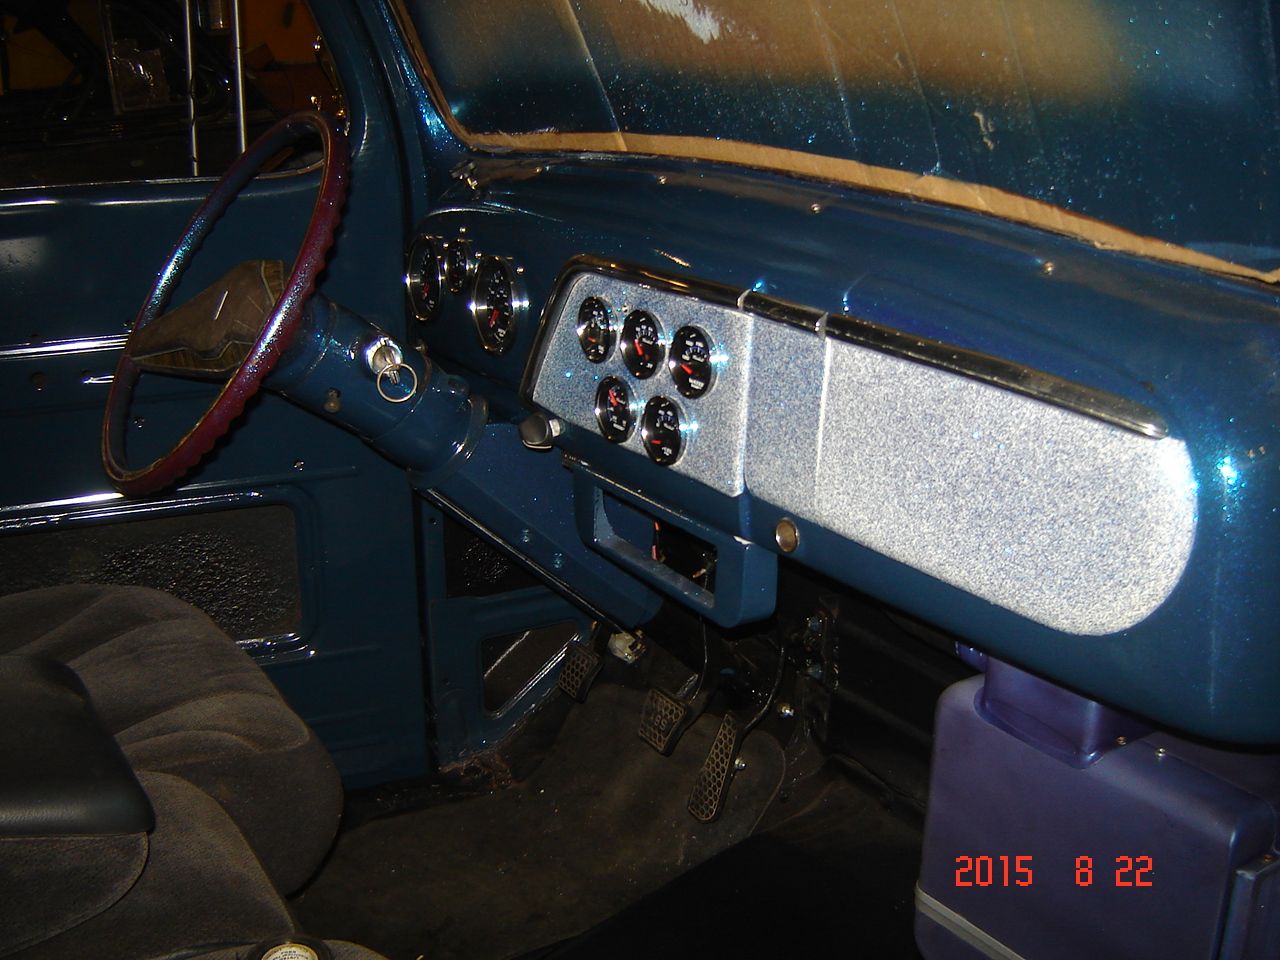
Getting small jobs done in between work days. Got the new glove box liner in and did some more assembly on the dash.
As you can tell I am dragging my feet on replacing the steering wheel because I cant make up my mind!
Engine compartment is getting full but I can get to everything pretty easily.
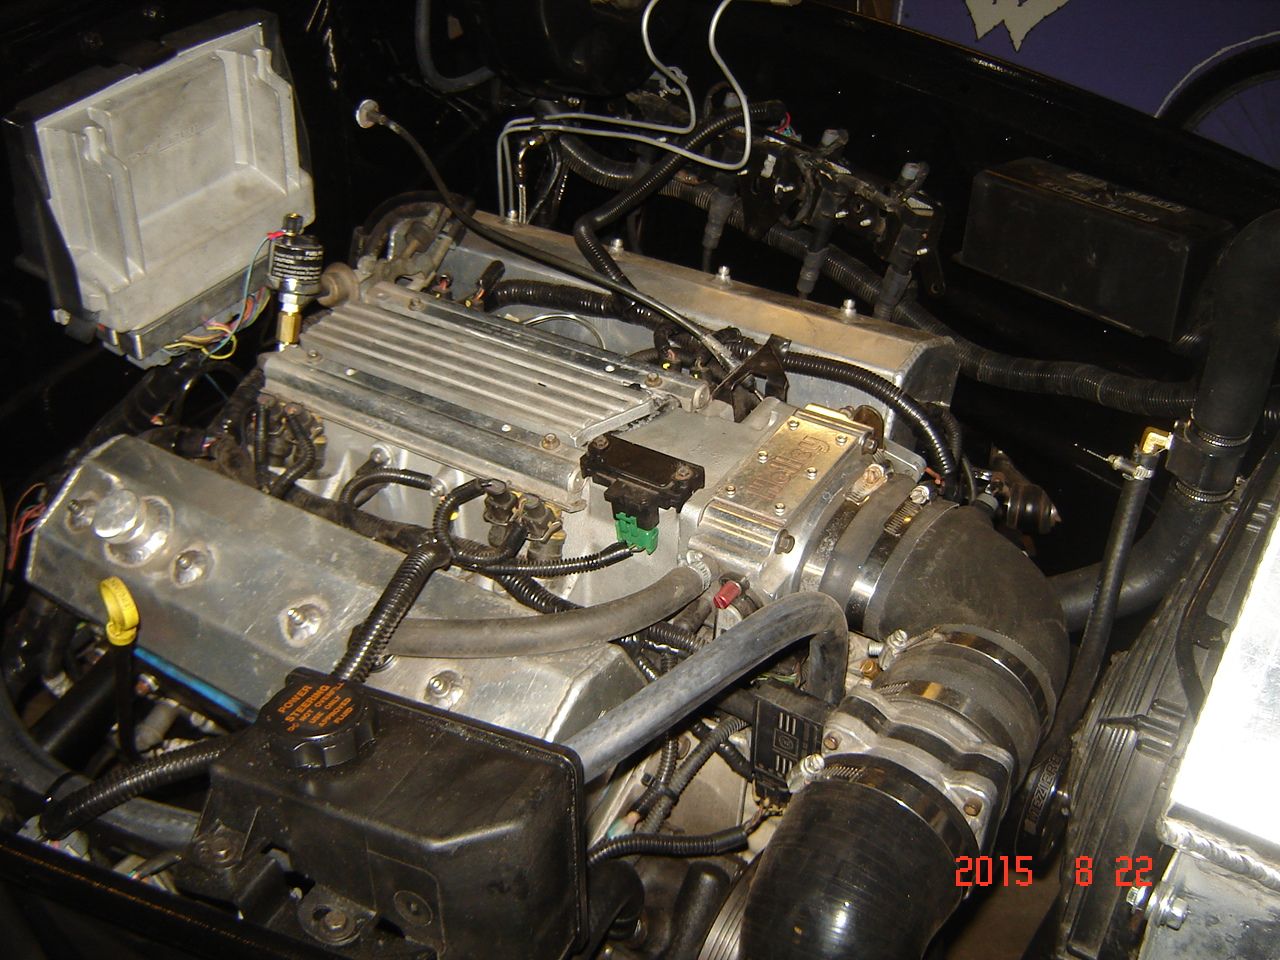
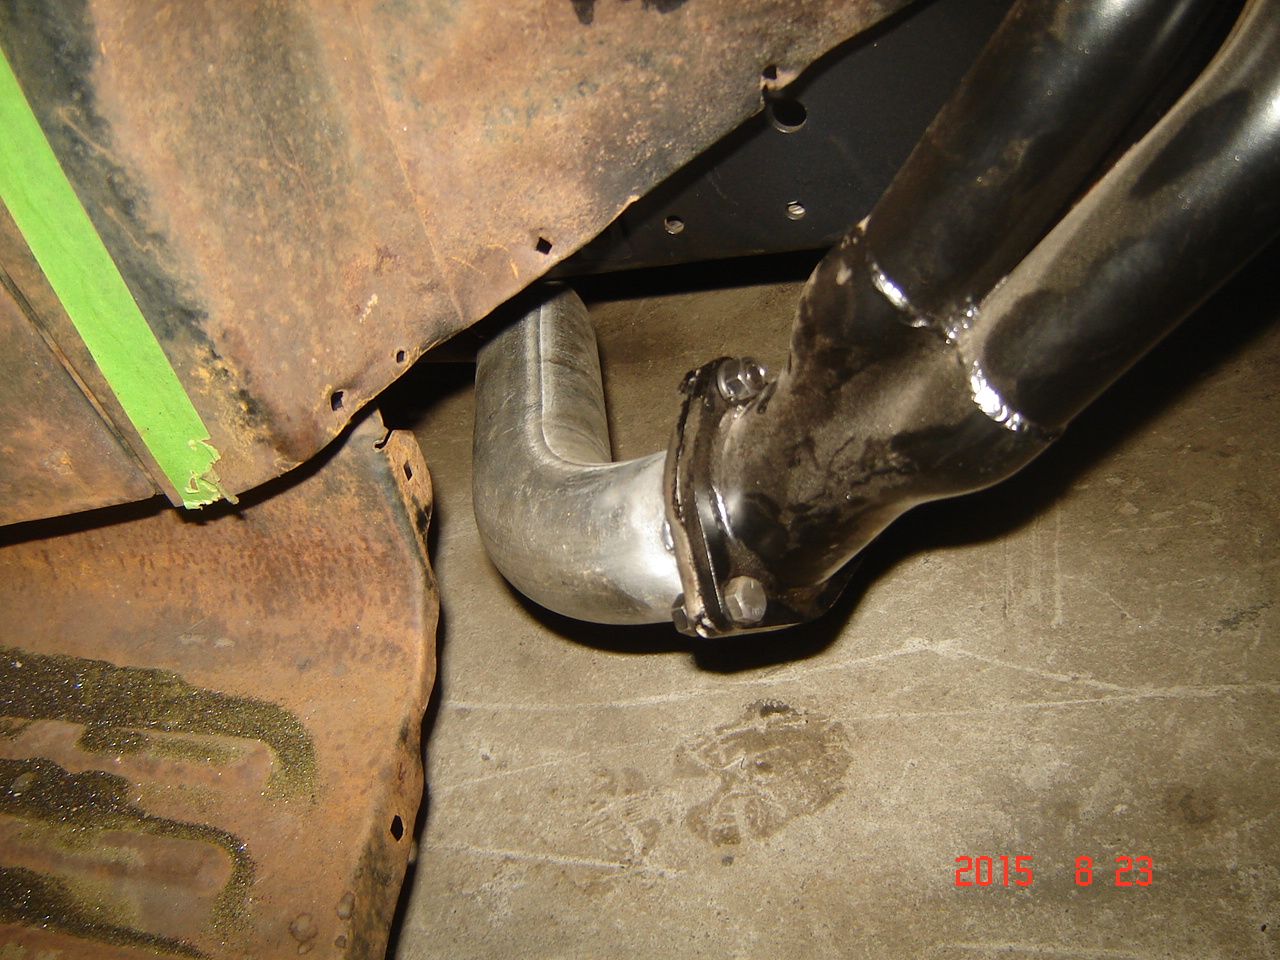
Time for some exhaust work. I was going to fire the engine with open headers but I want my O2 sensors hooked up, so I will put on the exhaust to the mufflers now.
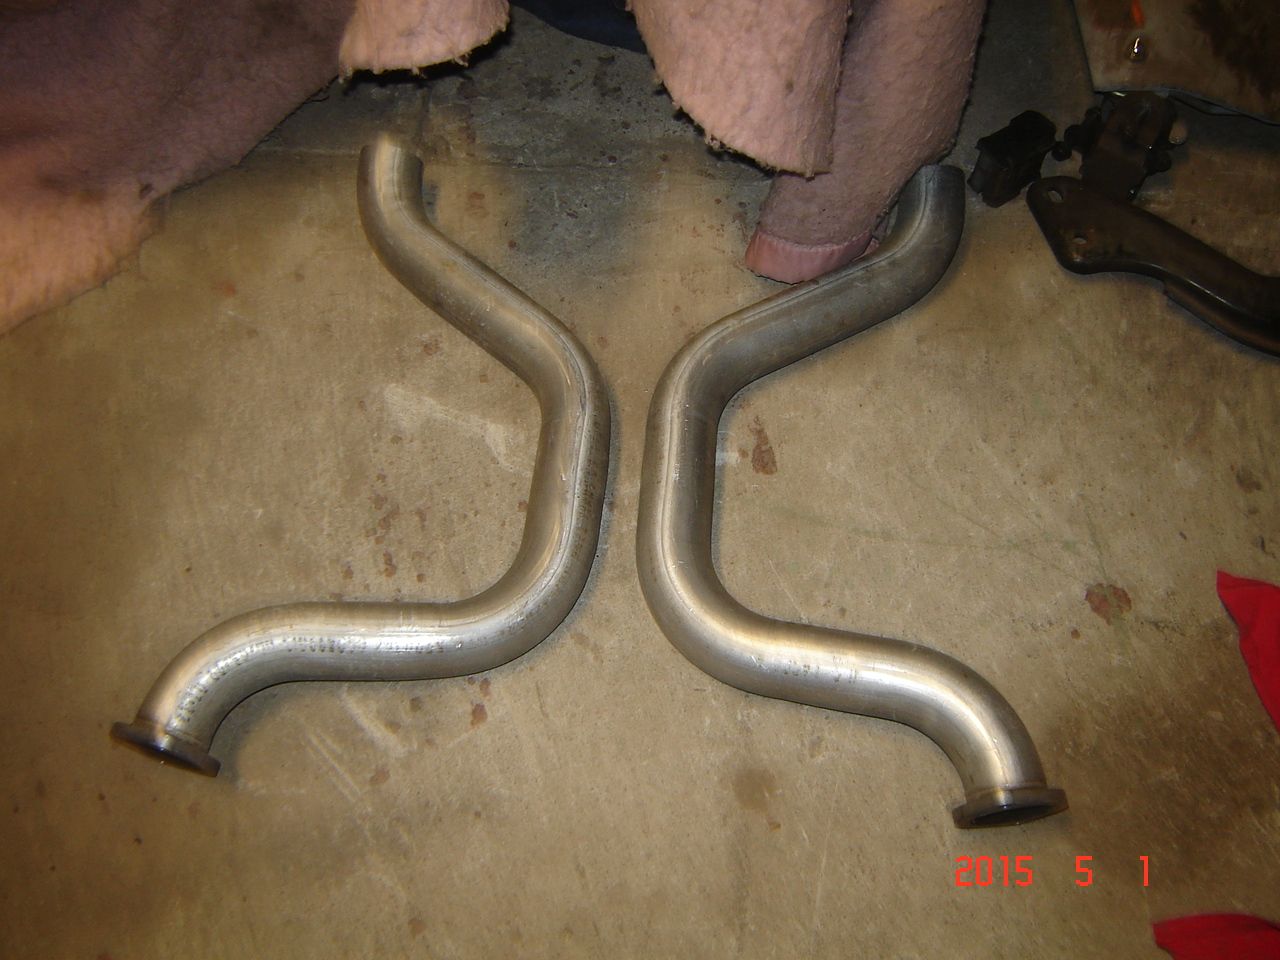
Head pipes off the headers are sections of tail pipes picked up for $5 at a swap meet. I cut off the flanged ends.
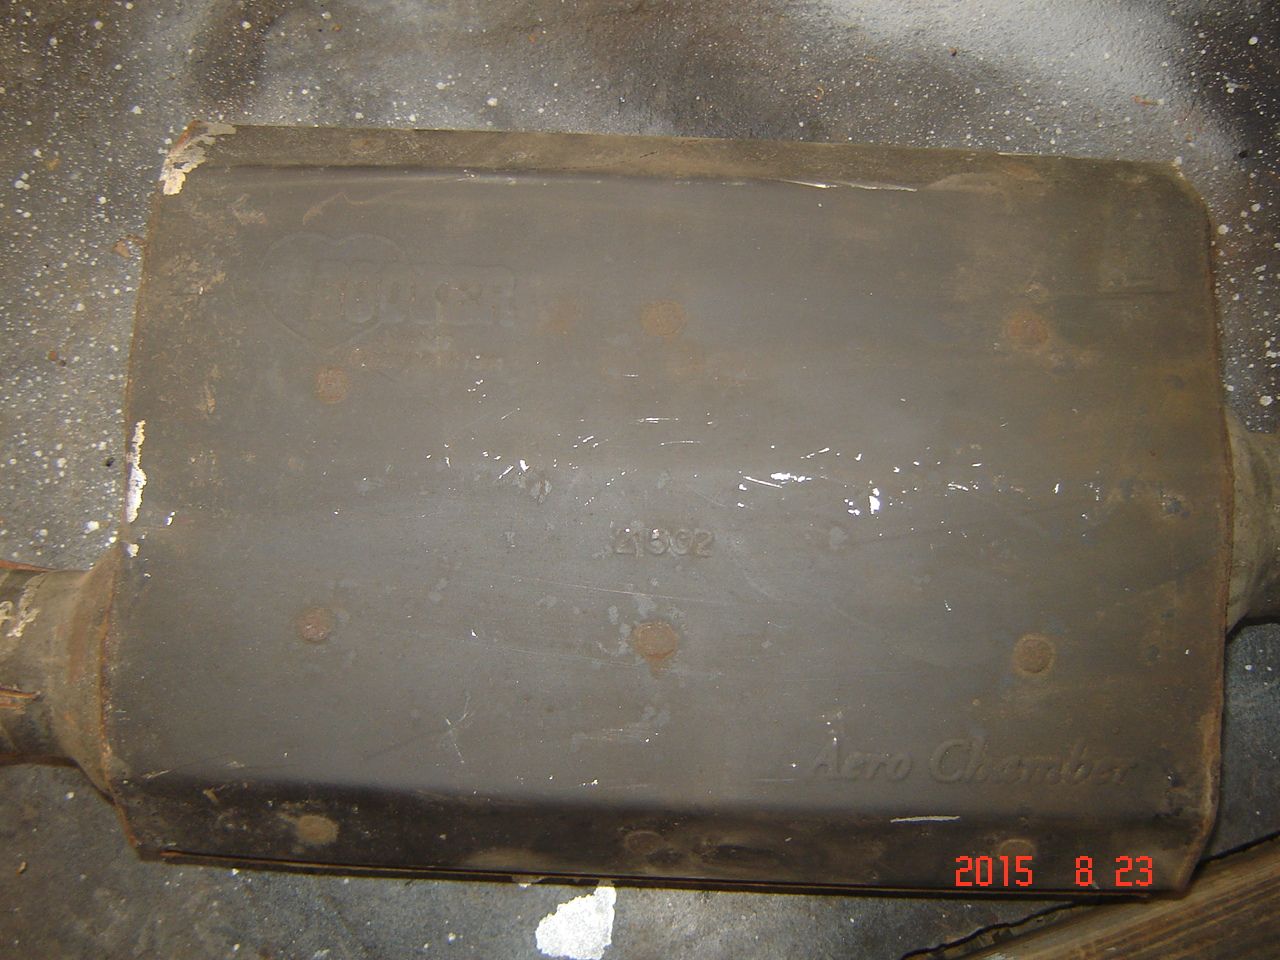
And I had these hooker aerochamber mufflers on the shelf. Dont remember where I got them, either from a swap meet or parts car.
[
I had some sections of 2 1/2" exhaust pipe on the shelf as well, I had bought a new 2 1/2" universal exhaust off craigslist a couple years ago. This was mocking up one side.
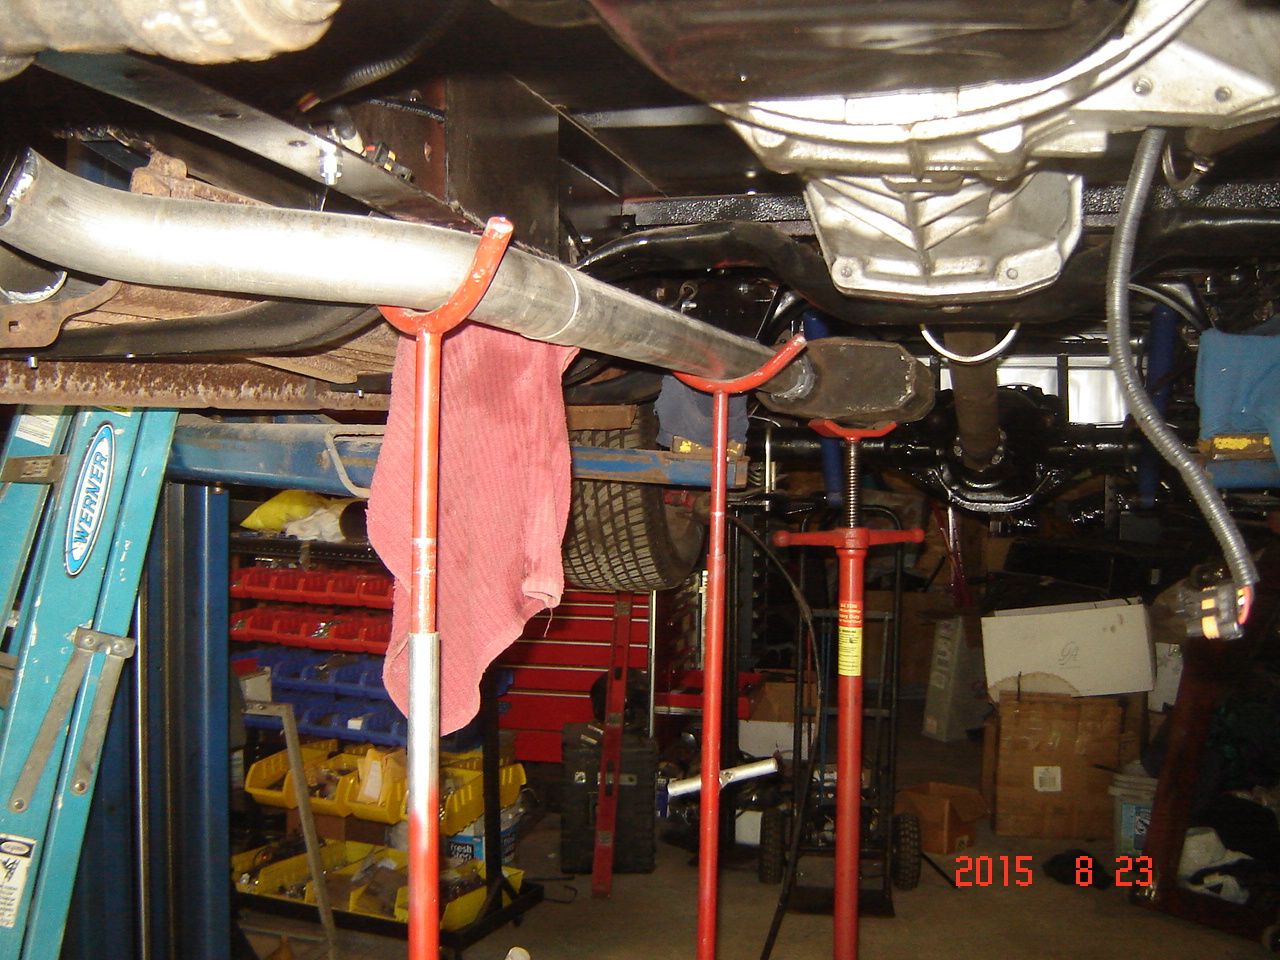
Check out my adjustable exhaust supports, I made them for a few bucks out of one stick of 3/4" conduit and one stick of 1/2" conduit. If you have a lift these are great to have. I will have to throw up some pics of them so they can be copied.
The fenderwell headers worked out great, plenty of room and the exhaust pipes are tucked up higher than the bottom of the running boards. I am **** about not being able to see the pipes from the side. O2 bungs are on order, bought a bunch years ago and now I cant find them LOL! Hope to have them within a couple days.
As you can tell I am dragging my feet on replacing the steering wheel because I cant make up my mind!

Engine compartment is getting full but I can get to everything pretty easily.

Time for some exhaust work. I was going to fire the engine with open headers but I want my O2 sensors hooked up, so I will put on the exhaust to the mufflers now.
Head pipes off the headers are sections of tail pipes picked up for $5 at a swap meet. I cut off the flanged ends.

And I had these hooker aerochamber mufflers on the shelf. Dont remember where I got them, either from a swap meet or parts car.
[

I had some sections of 2 1/2" exhaust pipe on the shelf as well, I had bought a new 2 1/2" universal exhaust off craigslist a couple years ago. This was mocking up one side.
Check out my adjustable exhaust supports, I made them for a few bucks out of one stick of 3/4" conduit and one stick of 1/2" conduit. If you have a lift these are great to have. I will have to throw up some pics of them so they can be copied.
The fenderwell headers worked out great, plenty of room and the exhaust pipes are tucked up higher than the bottom of the running boards. I am **** about not being able to see the pipes from the side. O2 bungs are on order, bought a bunch years ago and now I cant find them LOL! Hope to have them within a couple days.


#313
08-24-2015, 07:27 AM
Senior User
Join Date: Aug 2006
Location: Cary, NC
Posts: 218
Likes: 0
Received 0 Likes
on
0 Posts
Haha, I love it!! You might want to have plaque made with that saying.
Honestly, I love the look of your truck. Tastefully rustic.
And, thanks for sharing all the little details of your builds with us. What you've done is much more impressive than assembling parts out of a catalog.
Honestly, I love the look of your truck. Tastefully rustic.
And, thanks for sharing all the little details of your builds with us. What you've done is much more impressive than assembling parts out of a catalog.
#314
08-24-2015, 05:46 PM
Haha, I love it!! You might want to have plaque made with that saying.
Honestly, I love the look of your truck. Tastefully rustic.
And, thanks for sharing all the little details of your builds with us. What you've done is much more impressive than assembling parts out of a catalog.
Honestly, I love the look of your truck. Tastefully rustic.
And, thanks for sharing all the little details of your builds with us. What you've done is much more impressive than assembling parts out of a catalog.
Funny thing is this truck was supposed to be the one I painted and #1 was supposed to be the rat rod, but it got turned around the other way. I have nothing against the guys who catalog shop and want all the latest and greatest stuff, it just isnt my style. For me a huge part of the fun of the build is the fabrication and using whatever is around, which is why I stopped building muscle cars. I still like them but building one almost feels like a snap together model compared to these mix and match builds.
So following on the used parts trend, installed my swap meet radio antenna today and mounted the header panel with a crusty V8 emblem.
Fenders are staying off until the front end alignment is done for easy access to the shims.


Also finished up the EVAP system, charcoal canister will be purged once the engine is at temp, vacuum controlled by this thermal vacuum switch threaded into a port on the water pump. Normally I have the PCM doing the purge control with a solenoid as factory, but this is a hybrid system and the EVAP functions have been tuned out.

As shown earlier the canister is mounted behind the running board.

#315
08-25-2015, 08:56 PM
First surprise expense today, steering rack leaks out of the tower like it has no seal at all! And no, I have not even started the engine yet. Information on replacing the seals is not easily found, and I figure it will really puke when the pump starts working, so a rebuilt rack is on order. Although this is supposed to be a budget build the 2nd budget line in the sand is about to be crossed pretty soon ($7000).
I think there is at least $1000 in stuff I could of done without, but what the heck. Like these, $35 for header bolts? Had to have them because I hate header leaks caused by backing out bolts. We will see how they work. For $35 they better work great. New line in the sand $7500.
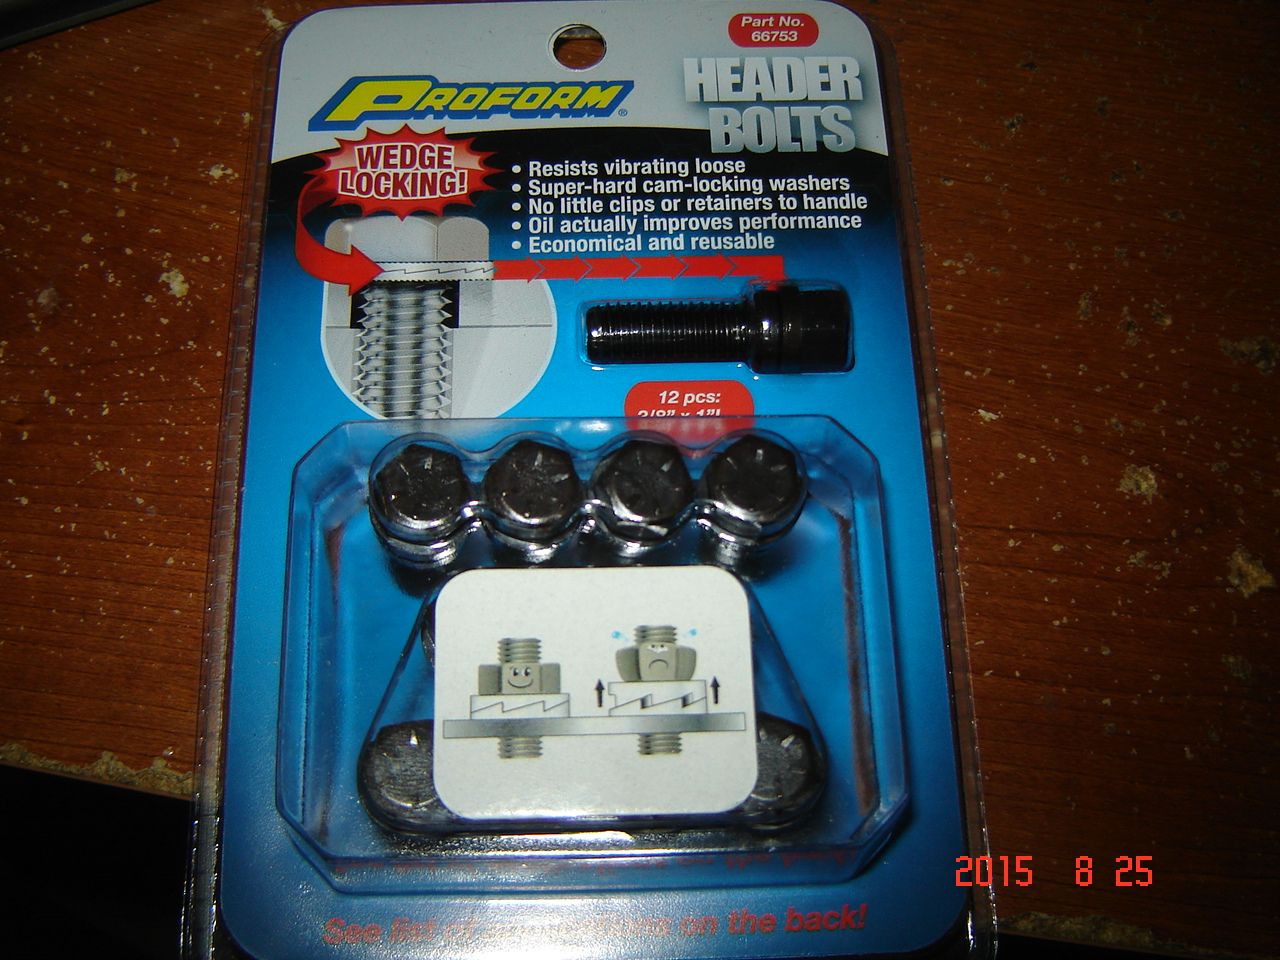
I think there is at least $1000 in stuff I could of done without, but what the heck. Like these, $35 for header bolts? Had to have them because I hate header leaks caused by backing out bolts. We will see how they work. For $35 they better work great. New line in the sand $7500.
