When you click on links to various merchants on this site and make a purchase, this can result in this site earning a commission. Affiliate programs and affiliations include, but are not limited to, the eBay Partner Network.
We have all seen TV shows like Overhaulin where proffesionals with an unlimited budget build a vehicle in a week. So it got me thinking.
I want my truck on the road by the end of summer so I needed a dead line. What better place for it's debut than the All Truck Nationals in Carlisle August 5th. That's 96 days away. I chose the Nationals because it is very close by but more importantly I work for them. For extra motivation I have a spot reserved in building T for display.
So let's see what an average Joe, with a limited budget, can get done in a little over ninety days. I will post daily so if you do not see anything give me hell.
Today I painted the front bumper brackets and mounted them. Test fit the bunper, made a pattern and contoured the front bumper to match side to side and mounted my brake pedal bracket under the dash.
That will keep you on track, I would love to do the same but too many things happen that keep derailing me. Everyday life (and work) seems to interrupt all the time!
Your truck is going to be a work of art, good luck with your schedule.
Unpacked and mapped out the wiring today but I could not start as I applied some body adhesive around the mounting plates for the brake pedal brace . It was still wet and is right near the fuse panel mounting plate.
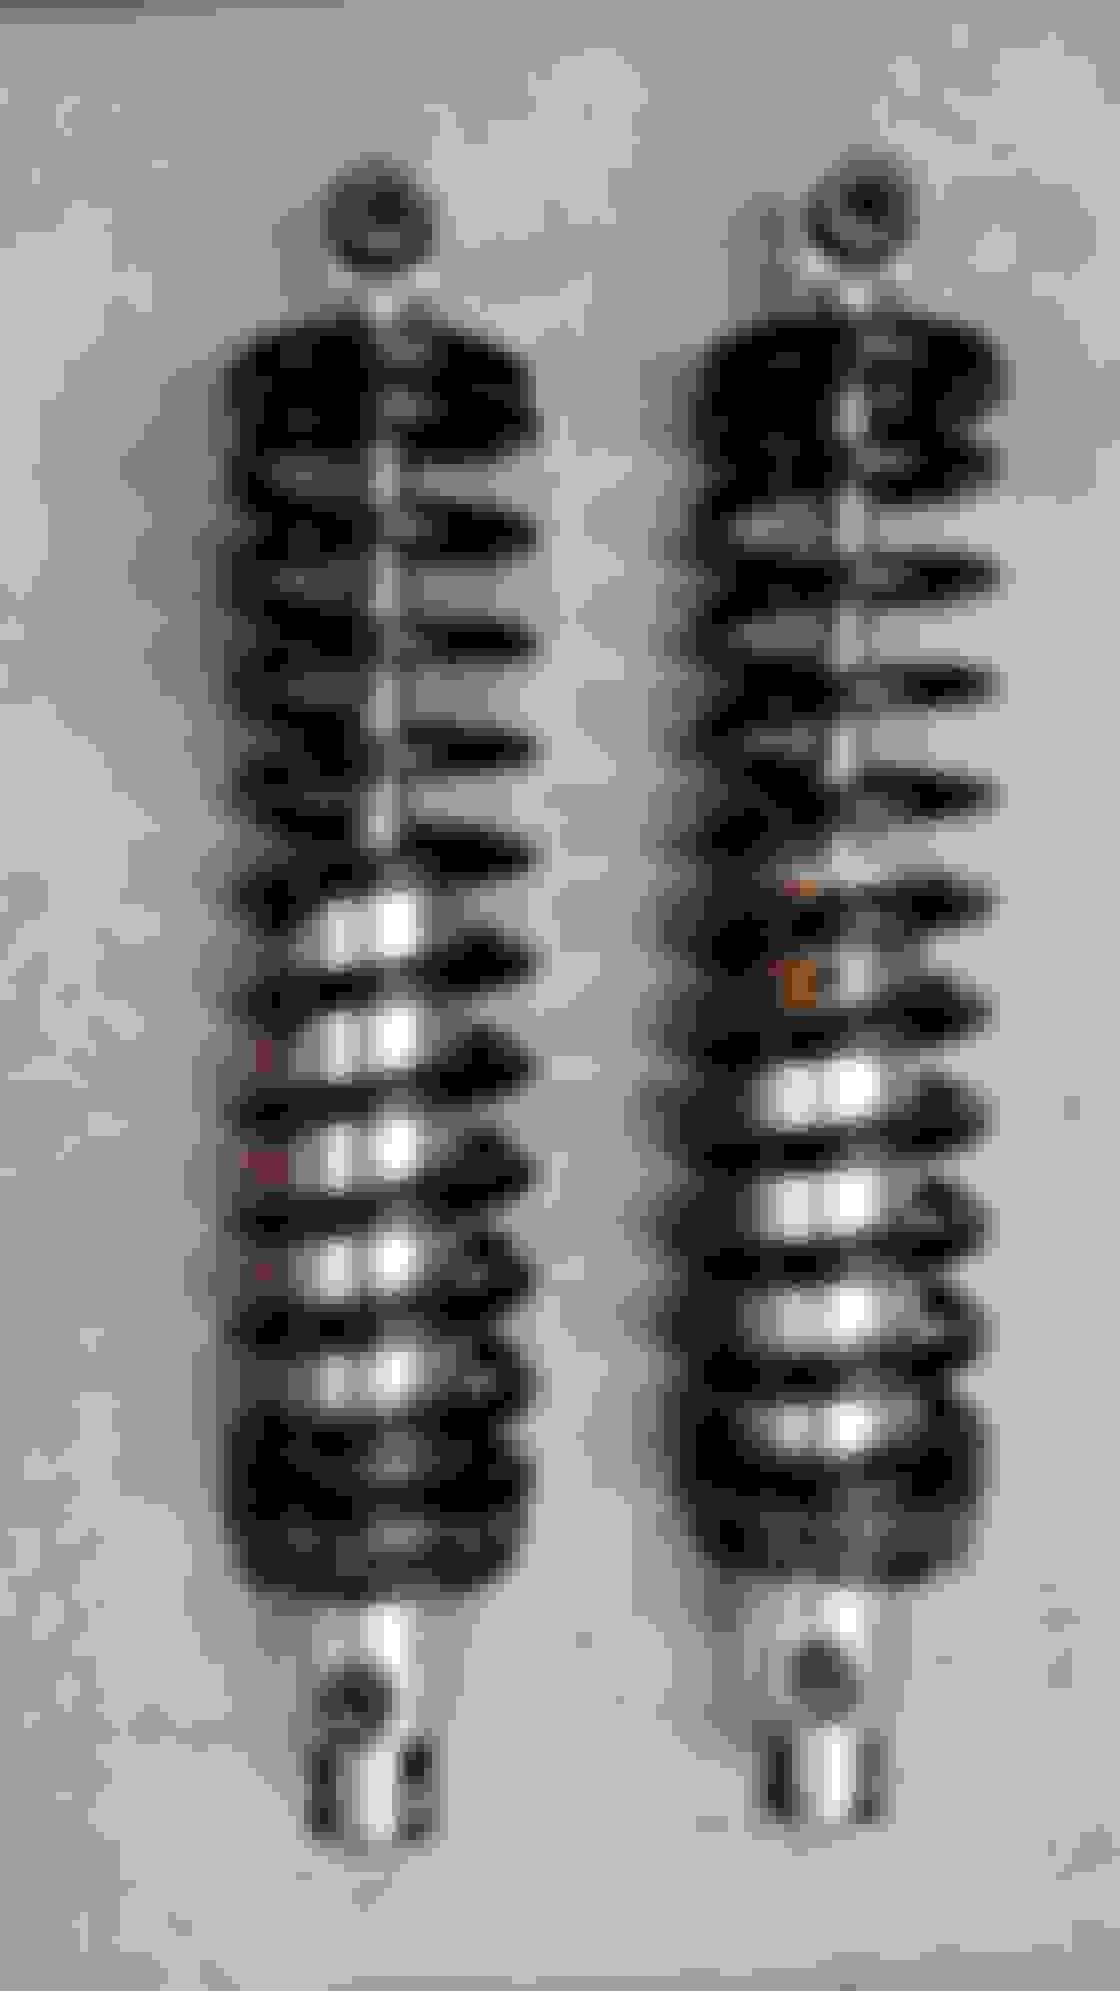
I decided to move onto the rear coilovers to keep busy. I had to order shorter shocks in order to get the correct ride height . The old shocks were nearly bottomed out. I ordered QA1 shocks with a 12 1/2 eye to eye ride height. According to their web site a 10" spring will work. My old springs are 10" so I figured no problem. They will work but I will need a spring compressor to install. I also noticed the adjusters will need to be all the way down to fit the springs. Fortunarley they sag a good inch when mounted so I can then adjust them up for a little flexibility.
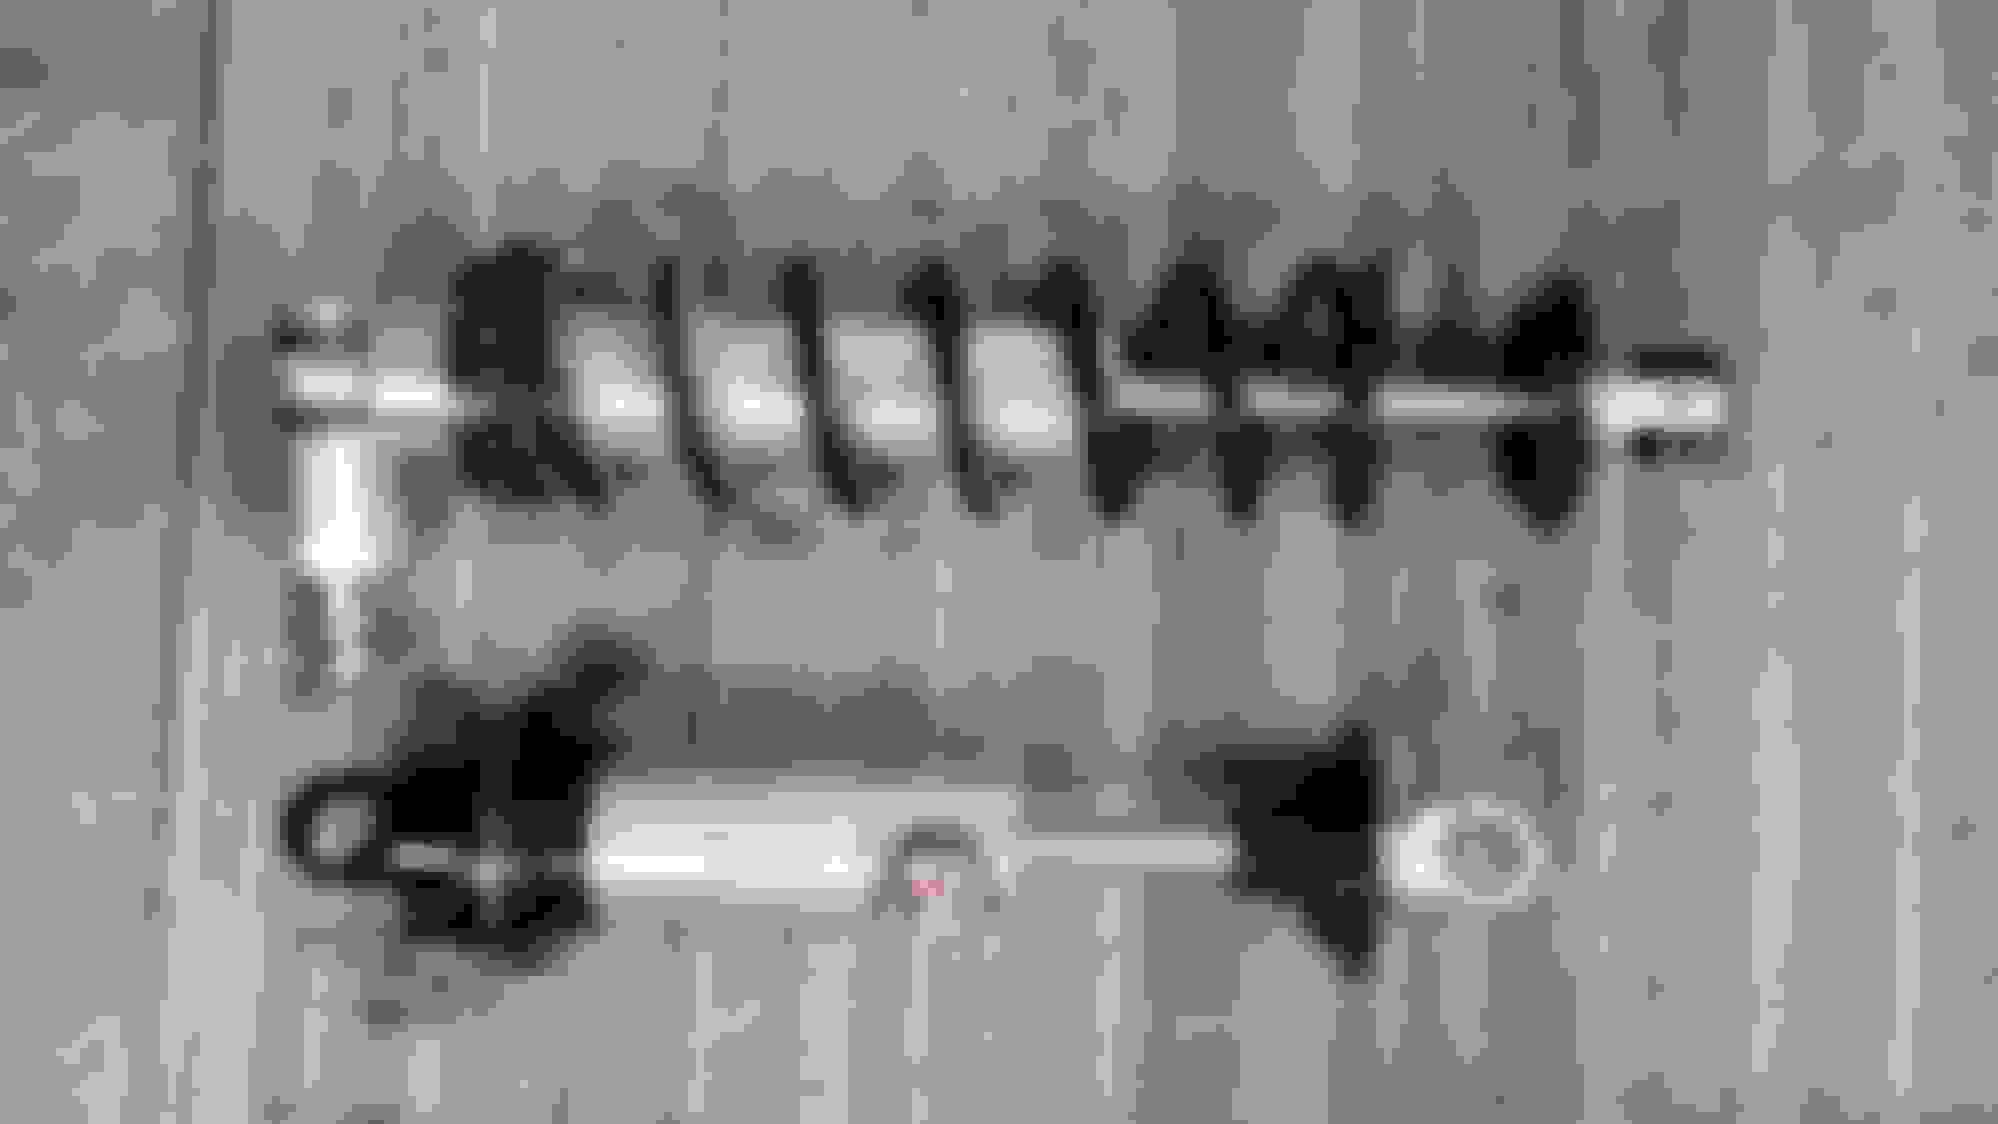
Ran into another issue , the spherical bearing for the eyelet is 1/2 inch in the kit. My old ones are 5/8 so I need to order those in order to keep the same mounting bolts.
Two steps forward , one back
Ahh, new shock smell.
The old springs almost fit without compessing, almost.
1/2" bearings, of course I need 5/8.
I now have a set of QA1 single adjustable shocks with a set of 12" / 250 springs I had as extras for sale.
Not too much to report today. Stopped by my buddies garage after work to use his spring compressor. Got a late start on the truck so I laid out all the wiring circuits and started on circuit A. They have them label A through F in order to build one circuit on top of the other.
I drilled a few holes to route wires and started on the starter wiring ( bag A ) . I also mounted the high amperage fuse that protects the fuse panel in the battery " compartment "
The shock bearings should be here tomorrow so I'll re install them and then get back on the wiring.
Just some more wiring today so not many photos today. I finished wiring the starter and did the alternator as well. The wires for each were red and everything under the hood is either polished aluminum or semi flat black. Call me picky but I couldn't have that so I fixed it.
Had a roll of shrink tube so instead of buying black wire I just covered the red.
That's more like it. Yes I know the plug wires are red, I have black ones to install later.
Didn't take any photos yesterday or today as wiring isn't exactly exciting stuff. I finished the wiring for the headlights, parking lights and horn. I tucked everything up high in the wheel well. I need to pick up some wiring loom to hide it all and will get a photo .
I did make one thing that I will need until the center console is built.
It's only temporary and not the prettiest but it will work. It!s more motivational than anything. Can't wait to use it.
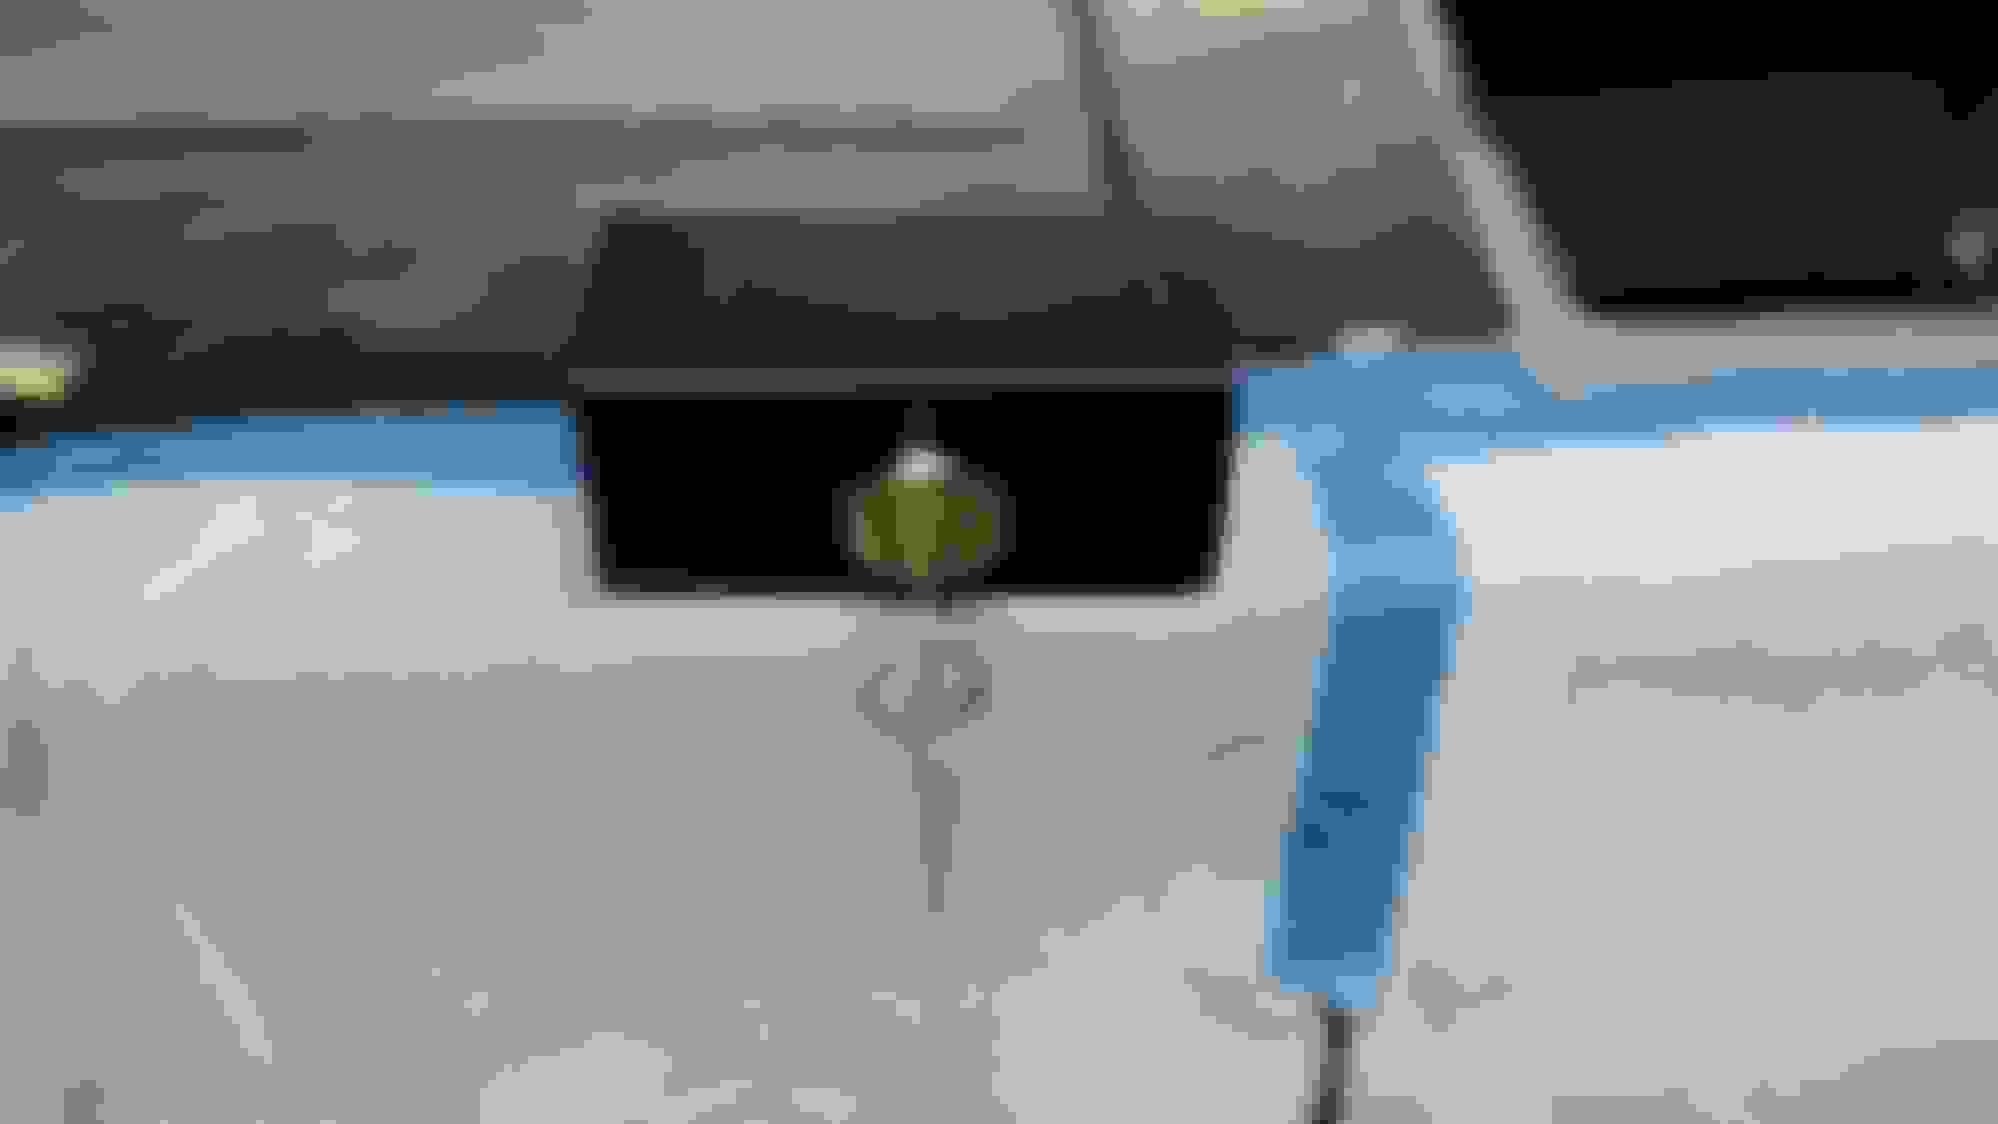
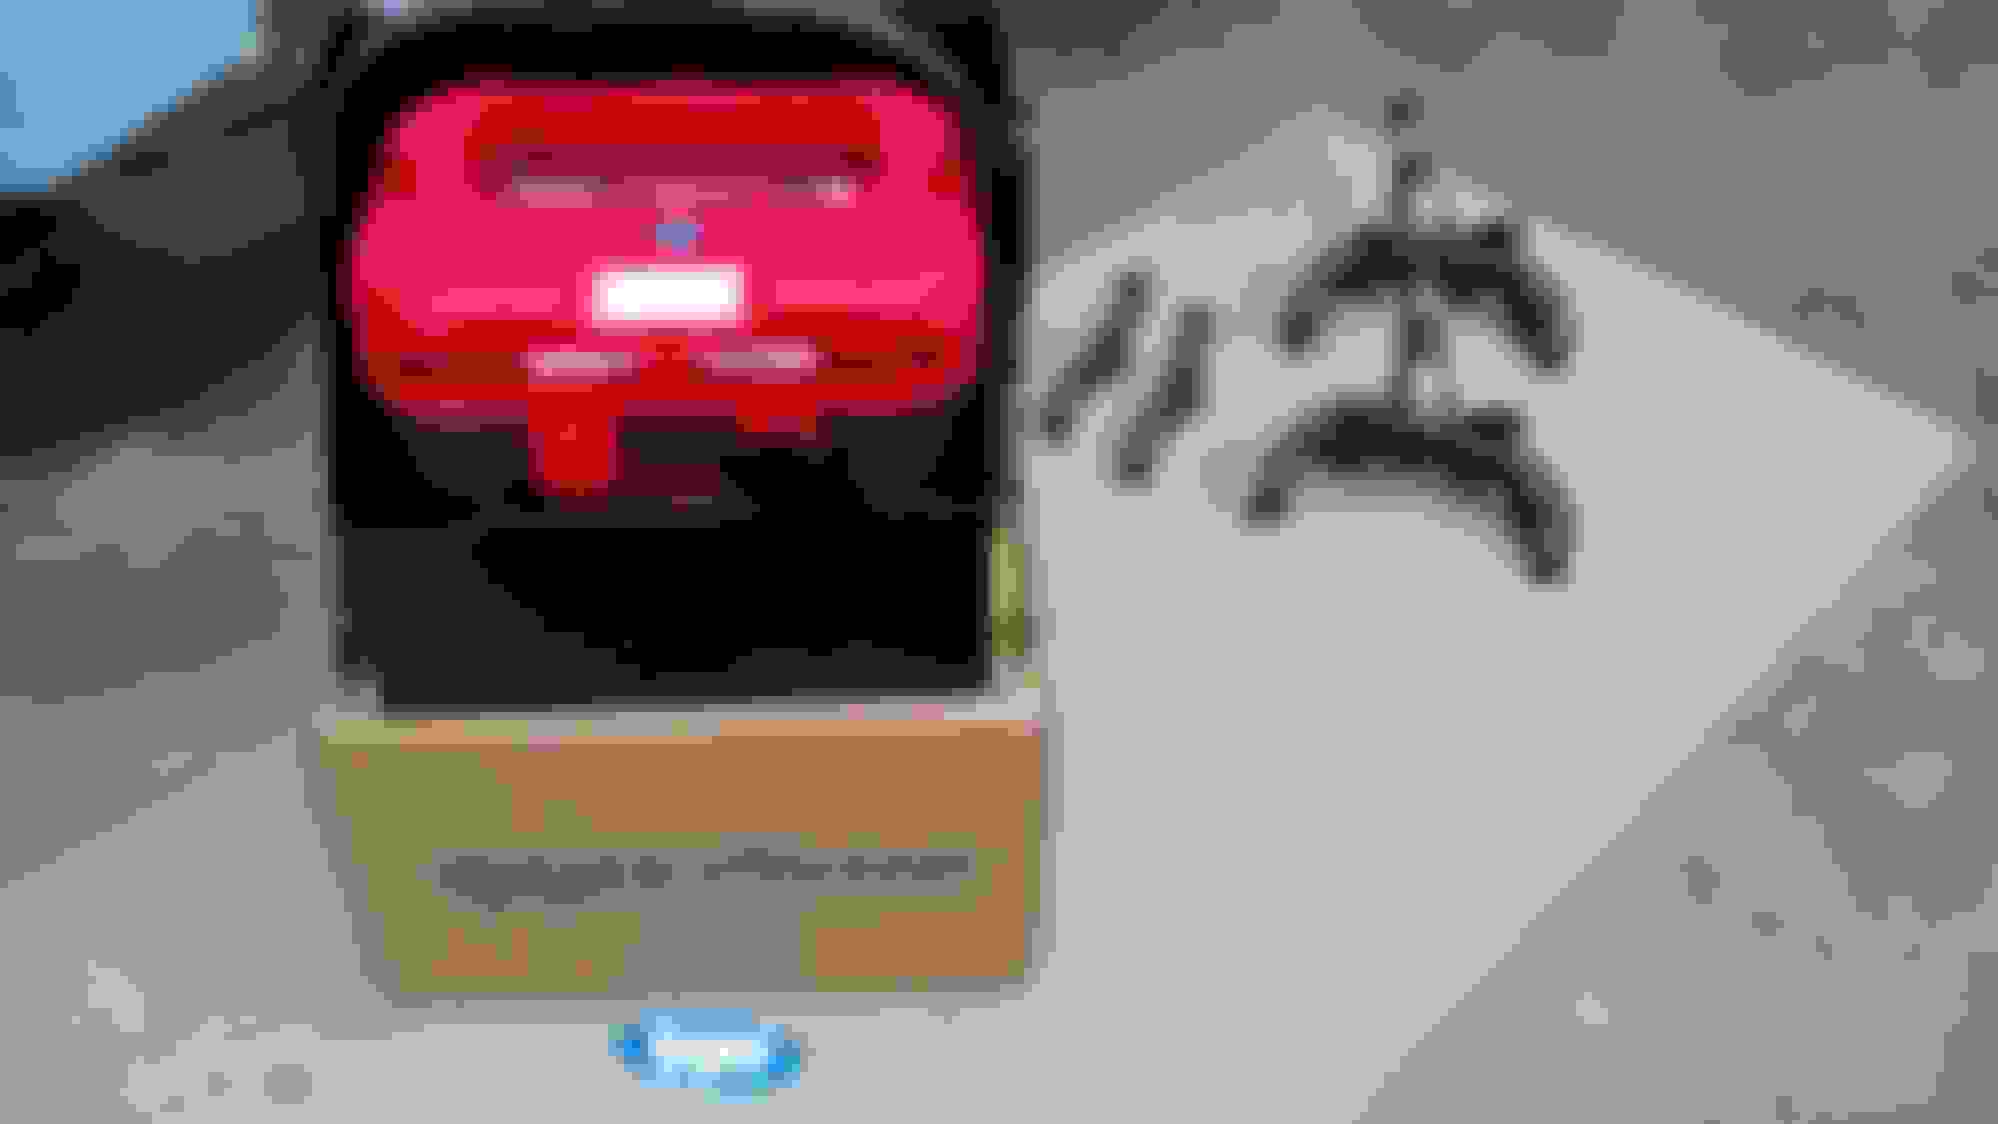
A few deliveries today. CPP drop down battery box, Optima red top and Wildwood drop spindles.
I ran some wires today to the electric fan and mounted the the battery box . I cleaned and primed the spindles as well. I am going to paint and mount them tomorrow as I have a big delivery coming Monday.
Mounted directly to the frame. I put a piece of no skid on the bottom.
Today was a productive day. I finished the wiring to the front of the truck and built a temporary console the same dimension of the yet to be built center console. I did this to get the approximate wire length and test my wiring skills. I also painted the drop spindles.
I ran the wires through the firewall and into the outer fender well to hide them.
I tucked the wires in loom and used stainless wire loops to attach to the bottom of the fender bolts.
Once the head lights are installed I will finish this up.
 05-01-2016, 06:52 PM