Build Progress - '49 F-1
#121
 02-07-2015, 11:44 AM

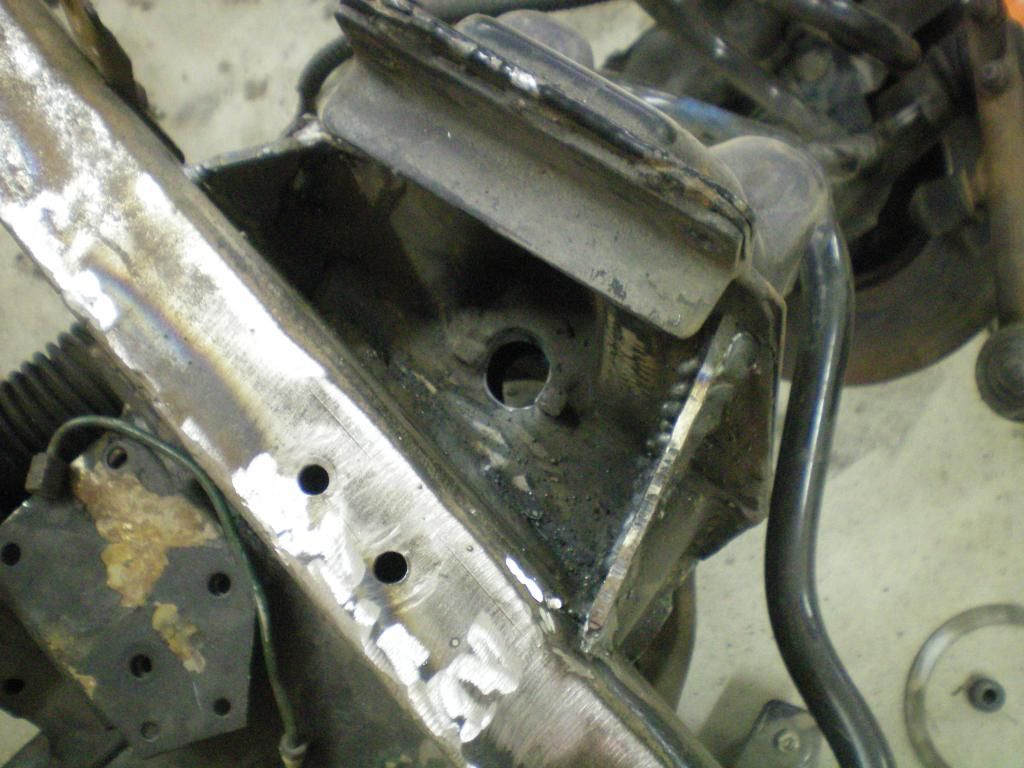
So today I thought I would try to reinstall the Jag IFS coil spring that the PO of the IFS had removed (WHY??). He told me he was taking stuff apart to be taking stuff apart and was disassembling the driver's side WITHOUT restraints and all of a sudden things went flying! I can only imagine. At any rate, it's time to reinstall the coil. I didn't see a means to get an internal spring compressor out after everything is in place and I don't think there is room for an external spring compressor. There is a hole in the A arm that will allow for a piece of allthread to go through and tighten things with nuts/washers etc. However, I've removed a few bolts to get the lower A arm to swing away, but I don't see how to get the spring in there, prior to starting the compression process. Can someone give me an idea on how to proceed???


#122
02-07-2015, 12:03 PM
Cargo Master
#123
02-07-2015, 12:05 PM
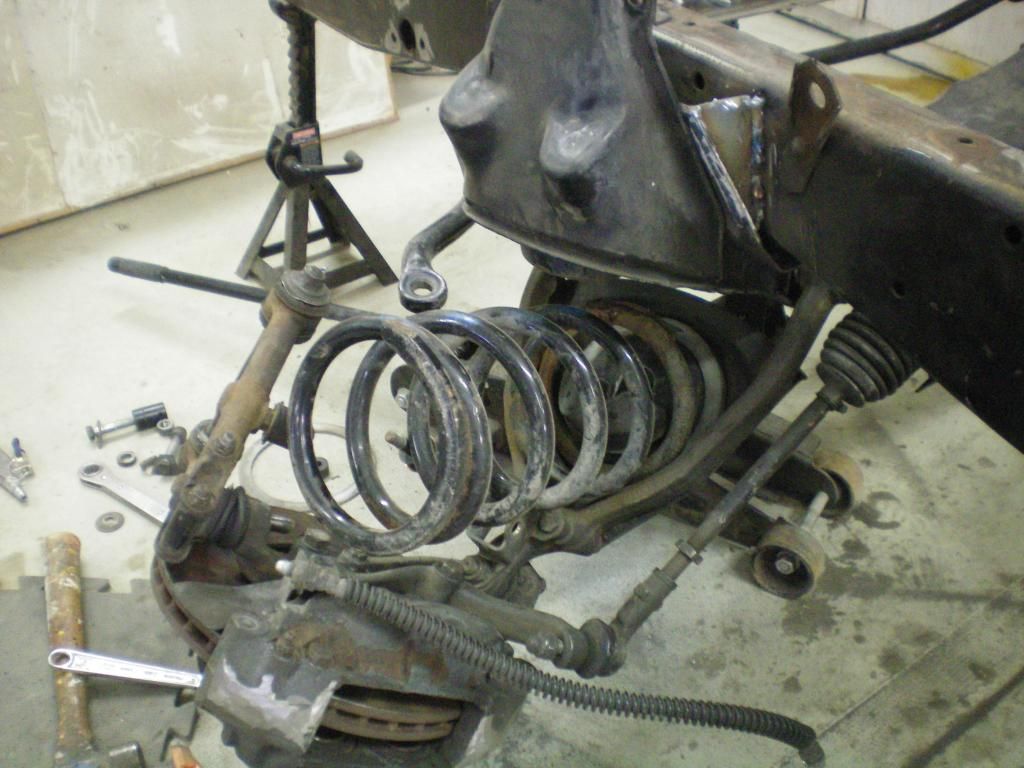
One of things I wanted to do today was reinstall the coil spring in the Jag IFS that for some reason the PO had removed  . He told me he was just taking things apart to be taking things apart (I'm guilty of this!) and without any restraints started disassembling the driver's side of the suspension. Well, to make a long story short, all of a sudden things went flying (I can only imagine!). So now it's time to put things back together. I've never done this on any vehicle before, but have a general idea. I don't see how there is room to remove an internal spring compressor after everything is in place and I don't see enough room for an external compressor tool. There are holes available to insert a LARGE piece of all thread and draw the assembly together with nuts/washers.
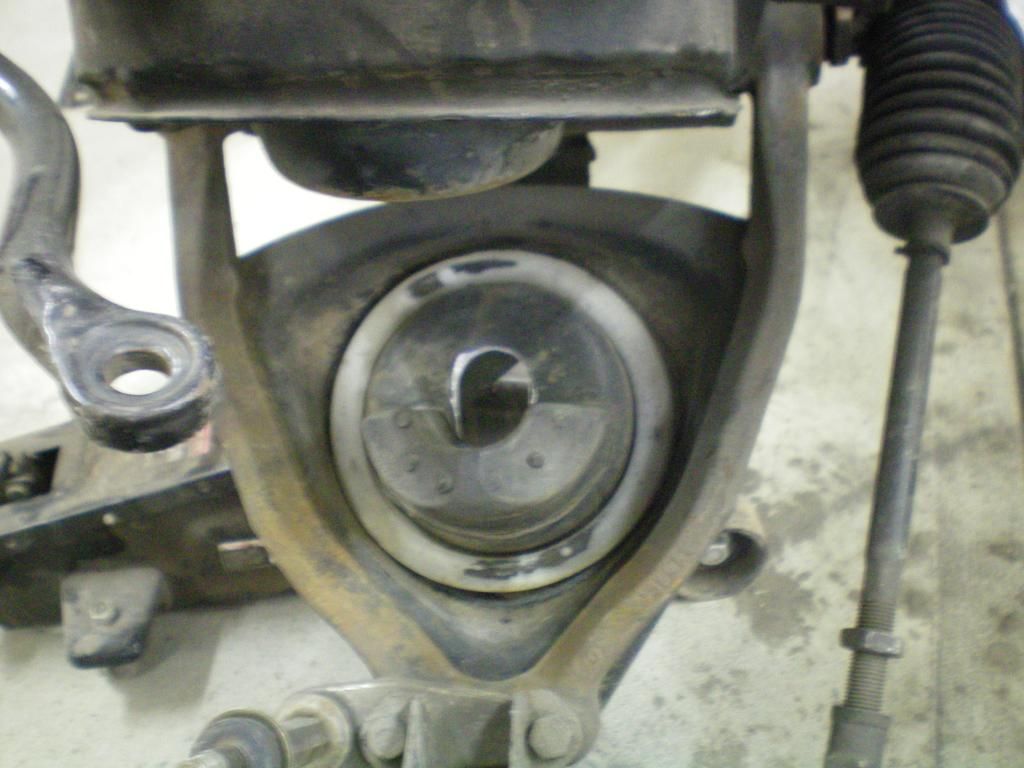
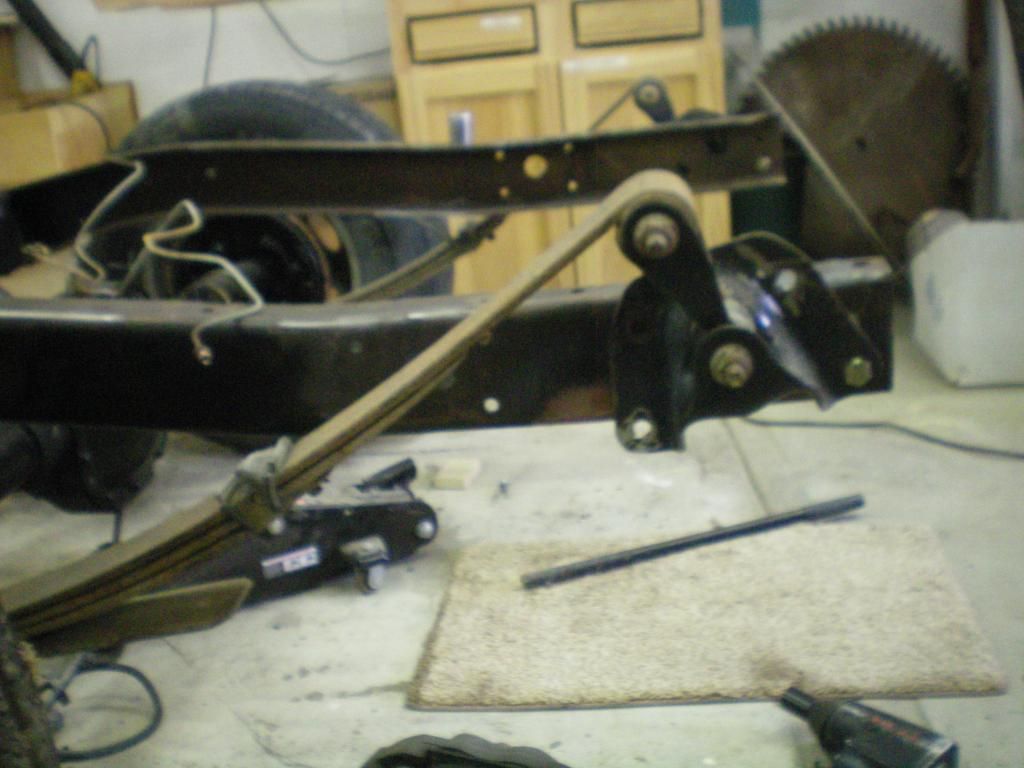
I took a few bolts out to allow the lower A arm to drop, but don't seem to be able to get enough room to insert the spring and then allthread/nuts/washers:
I'm looking for suggestions/ideas on how to get this bleeping spring in there! Thanks in ADVANCE!
. He told me he was just taking things apart to be taking things apart (I'm guilty of this!) and without any restraints started disassembling the driver's side of the suspension. Well, to make a long story short, all of a sudden things went flying (I can only imagine!). So now it's time to put things back together. I've never done this on any vehicle before, but have a general idea. I don't see how there is room to remove an internal spring compressor after everything is in place and I don't see enough room for an external compressor tool. There are holes available to insert a LARGE piece of all thread and draw the assembly together with nuts/washers.

I took a few bolts out to allow the lower A arm to drop, but don't seem to be able to get enough room to insert the spring and then allthread/nuts/washers:
I'm looking for suggestions/ideas on how to get this bleeping spring in there! Thanks in ADVANCE!
#124
02-07-2015, 12:40 PM
Cargo Master
Put it all back together other than the spring, then use the threaded rod as shown in my pics in the truck #1 build. Not hard at all, I used threaded rod in all 6 holes tightening a nut on each rod a little at a time for each rod. When the spring was completely compressed I removed one rod at a time and installed the mounting bolt for the lower spring pad. I can post pics later today if you cant find them. I would lose those plastic spring spacers as well, they can be found on the top or bottom of the spring.
EDIT here ya go. The threaded rod in the middle is not doing anything, it was there as a safety. After doing the spring install on this truck I did not bother with the safety when putting the springs in on truck #2, no way could all of the threaded rods fail. Lube them up and the nuts actually compressed the spring pretty easily.
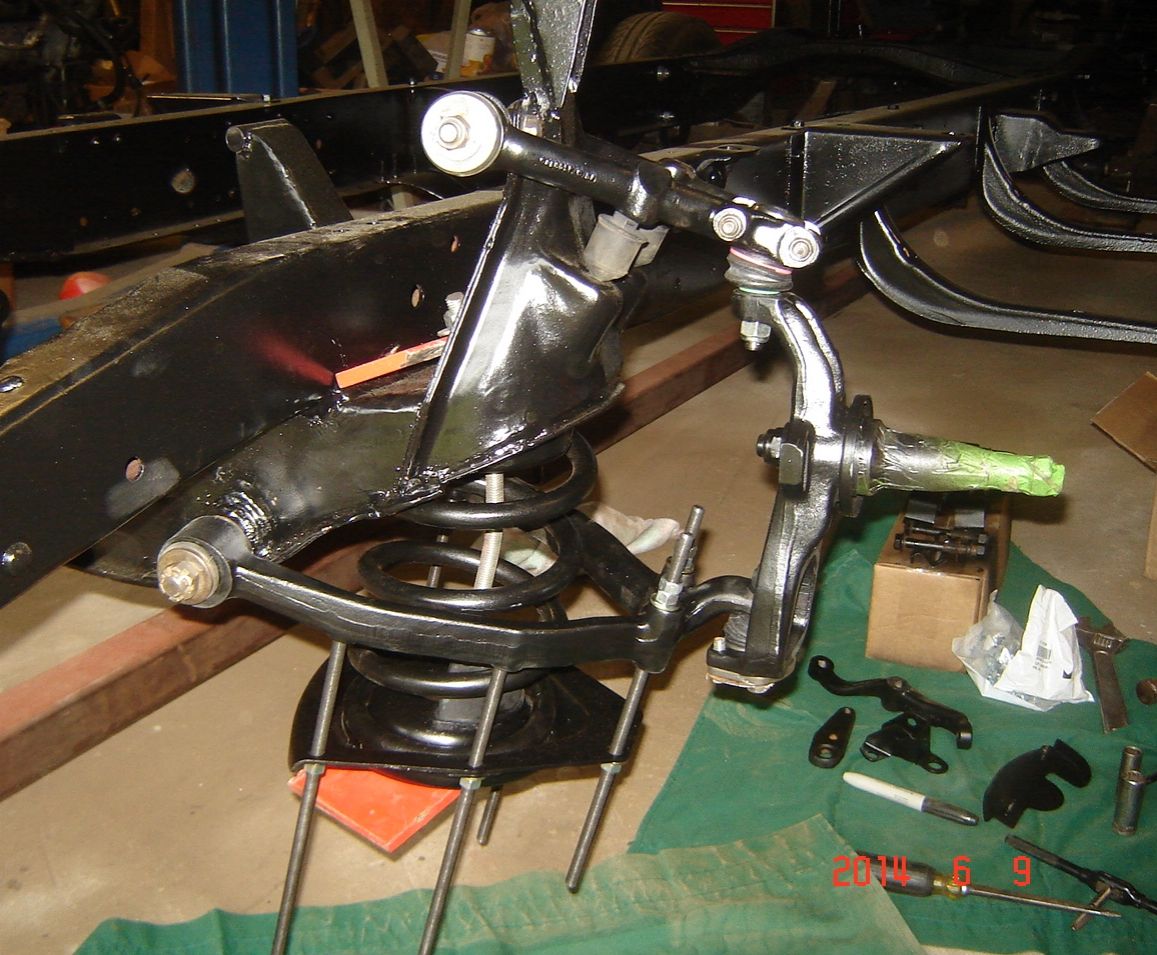
EDIT here ya go. The threaded rod in the middle is not doing anything, it was there as a safety. After doing the spring install on this truck I did not bother with the safety when putting the springs in on truck #2, no way could all of the threaded rods fail. Lube them up and the nuts actually compressed the spring pretty easily.

#125
02-07-2015, 01:27 PM
 Wish I'd seen it earlier! Now I have a really nice piece of 1" all thread, LOL
  When I'm town next week I'll pick up some 3/8". Thanks again!!
#126
02-07-2015, 01:45 PM
Cargo Master
#127
02-07-2015, 03:06 PM
So thought I'd throw on the wheels/tires on that I bought last week from my barber. Sans the driver's IFS coil spring, this thing is a ROLLER. This was my goal for the winter, so anything else I can get done is gravy, lol. I have a 3 degree frame pitch and a 3 degree diff pitch at this time.
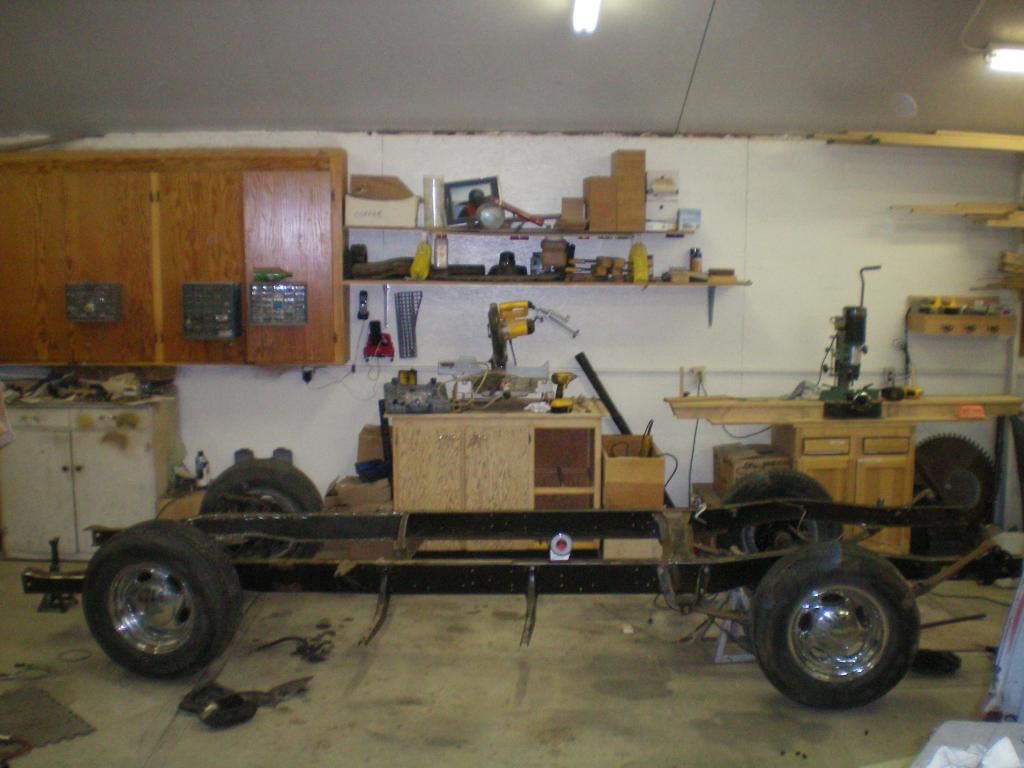
I'll have to rotate the rear spring mounts a bit more to drop the rear of the frame, but this is getting close.
AND my little brother bought this for me last week! Way cool place to keep my iPod and shop speaker when working in the garage.

I'll have to rotate the rear spring mounts a bit more to drop the rear of the frame, but this is getting close.

AND my little brother bought this for me last week! Way cool place to keep my iPod and shop speaker when working in the garage.


#129
02-09-2015, 01:19 PM
#130
02-16-2015, 07:13 PM
Dave,'
I received the all the threaded rod I ordered last week and have the spring compressed down to about an inch of thread left. However the forward, inboard nut seems to be binding something fierce. All other nuts are still compressing quite well (a little stiff now that I'm getting close to finishing). I've been careful to keep the distance between the lower spring pad and the A arm the same for all six bolts. The one I'm having the issue with simply will not turn, I've applied as much force as I think I should on a 3/8" bolt. I scrounged up a nice piece of 3/4" threaded rod and will buy nuts and washers tomorrow to see if I can suck that spring pad up some with it.
I received the all the threaded rod I ordered last week and have the spring compressed down to about an inch of thread left. However the forward, inboard nut seems to be binding something fierce. All other nuts are still compressing quite well (a little stiff now that I'm getting close to finishing). I've been careful to keep the distance between the lower spring pad and the A arm the same for all six bolts. The one I'm having the issue with simply will not turn, I've applied as much force as I think I should on a 3/8" bolt. I scrounged up a nice piece of 3/4" threaded rod and will buy nuts and washers tomorrow to see if I can suck that spring pad up some with it.
#131
02-16-2015, 09:56 PM
Cargo Master
Dave,'
I received the all the threaded rod I ordered last week and have the spring compressed down to about an inch of thread left. However the forward, inboard nut seems to be binding something fierce. All other nuts are still compressing quite well (a little stiff now that I'm getting close to finishing). I've been careful to keep the distance between the lower spring pad and the A arm the same for all six bolts. The one I'm having the issue with simply will not turn, I've applied as much force as I think I should on a 3/8" bolt. I scrounged up a nice piece of 3/4" threaded rod and will buy nuts and washers tomorrow to see if I can suck that spring pad up some with it.
I received the all the threaded rod I ordered last week and have the spring compressed down to about an inch of thread left. However the forward, inboard nut seems to be binding something fierce. All other nuts are still compressing quite well (a little stiff now that I'm getting close to finishing). I've been careful to keep the distance between the lower spring pad and the A arm the same for all six bolts. The one I'm having the issue with simply will not turn, I've applied as much force as I think I should on a 3/8" bolt. I scrounged up a nice piece of 3/4" threaded rod and will buy nuts and washers tomorrow to see if I can suck that spring pad up some with it.
After I was done I ran a die over the threaded rods to clean them up for use on the other side.
#132
02-17-2015, 08:24 AM

#133
03-25-2015, 12:16 PM
I drive the route between Ennis and Missoula, MT about once a month and have noticed over the past several years that off the freeway a guy has been working on an old truck and I noticed about three weeks ago when returning from Missoula that the truck appeared complete and was sitting out side his garage. I promised myself that I would stop the next time I went by. I am usually doing about 80 MPH so it was hard to scope it out too much with out the better half telling me to keep my eyes on the road! LOL So, last week I had the occasion to drive up to Missoula again, so stopped and pulled into his driveway. Lo and behold here is a 1949 F1 sitting there with a license that says 1949F1! 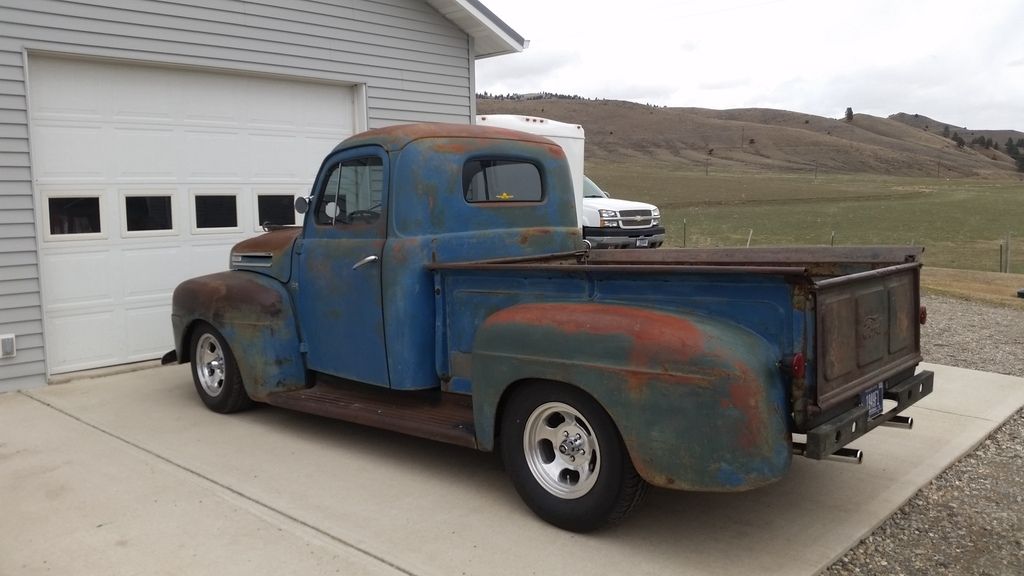 I knocked on his door and had the most enjoyable two hour discussion with a great guy named Dick. We looked over his truck, he did the same thing I'm doing: 302/C6 combo for a power train. He invited me about 4 times to take it for a drive before I finally said sure! WOW Was this a motivator!!
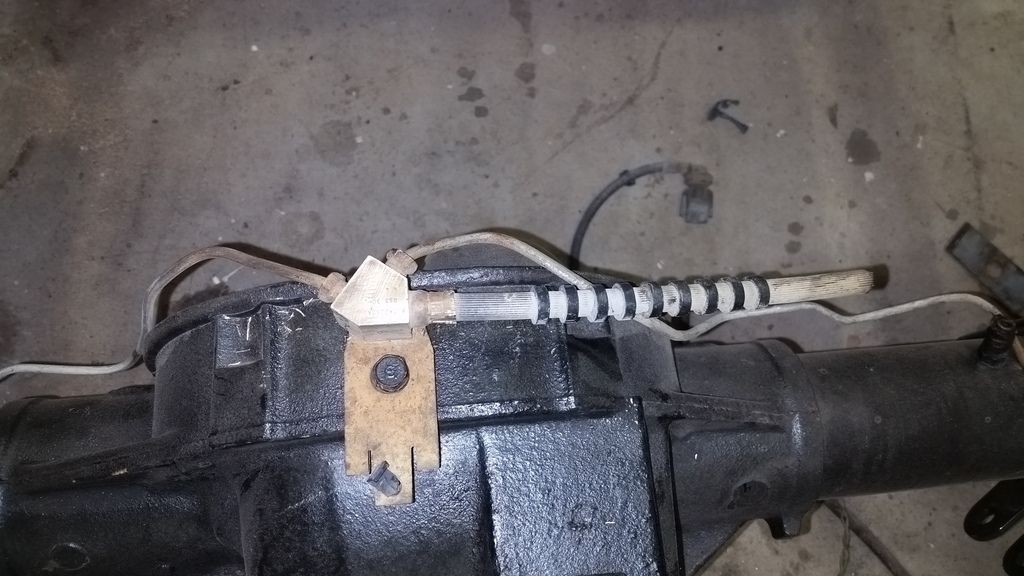
To make a long story longer, in the past couple of days I've completed lapping the valves and installed the heads on the 302. Today I went to install the brake lines on the rear axle and discovered that the PO of the rear axle simply cut the flex line from the rear axle to the frame. I called the Ford dealer and they told me this part is obsolete ( the flex hose is a permanent part of the distribution block) He suggested I go to a junk yard. Does anyone have an idea to source this block and flex line? Or something that could replace it? Could I just find a three way block and attach a flex line that would do the trick?
 I knocked on his door and had the most enjoyable two hour discussion with a great guy named Dick. We looked over his truck, he did the same thing I'm doing: 302/C6 combo for a power train. He invited me about 4 times to take it for a drive before I finally said sure! WOW Was this a motivator!!
To make a long story longer, in the past couple of days I've completed lapping the valves and installed the heads on the 302. Today I went to install the brake lines on the rear axle and discovered that the PO of the rear axle simply cut the flex line from the rear axle to the frame. I called the Ford dealer and they told me this part is obsolete ( the flex hose is a permanent part of the distribution block) He suggested I go to a junk yard. Does anyone have an idea to source this block and flex line? Or something that could replace it? Could I just find a three way block and attach a flex line that would do the trick?

#134
03-25-2015, 12:53 PM
Cargo Master
Man I love those old school slots!
To make a long story longer, in the past couple of days I've completed lapping the valves and installed the heads on the 302. Today I went to install the brake lines on the rear axle and discovered that the PO of the rear axle simply cut the flex line from the rear axle to the frame. I called the Ford dealer and they told me this part is obsolete ( the flex hose is a permanent part of the distribution block) He suggested I go to a junk yard. Does anyone have an idea to source this block and flex line? Or something that could replace it? Could I just find a three way block and attach a flex line that would do the trick?
Lots of modern cars use a simlar rear brake line, I use one from a 1979 camaro. Just about anything modern will have a flex line with the junction block built in, the camaro uses standard 1/4" brake line in and two 3/16" brake lines out if that works with your rear.
#135
03-25-2015, 02:15 PM
Posting Guru
Join Date: Apr 2013
Location: Rimrock AZ
Posts: 1,170
Likes: 0
Received 0 Likes
on
0 Posts
Dennis Carpenter has this 3 way block that should work.
Brake Line Connector | Dennis Carpenter Ford Restoration Parts
Brake Line Connector | Dennis Carpenter Ford Restoration Parts