When you click on links to various merchants on this site and make a purchase, this can result in this site earning a commission. Affiliate programs and affiliations include, but are not limited to, the eBay Partner Network.
Since I am a budget minded guy, I sold some parts to buy some parts. In order to shorten the valve guides and shape them for positive stop seals, I had to buy an 11/32 arbor for my cutter. I already had the cutter from when I used it on a set of Dodge Magnum heads. Unfortunately they use an 8mm (5/16ish) stem, so I had to cough up $30 to do it right.
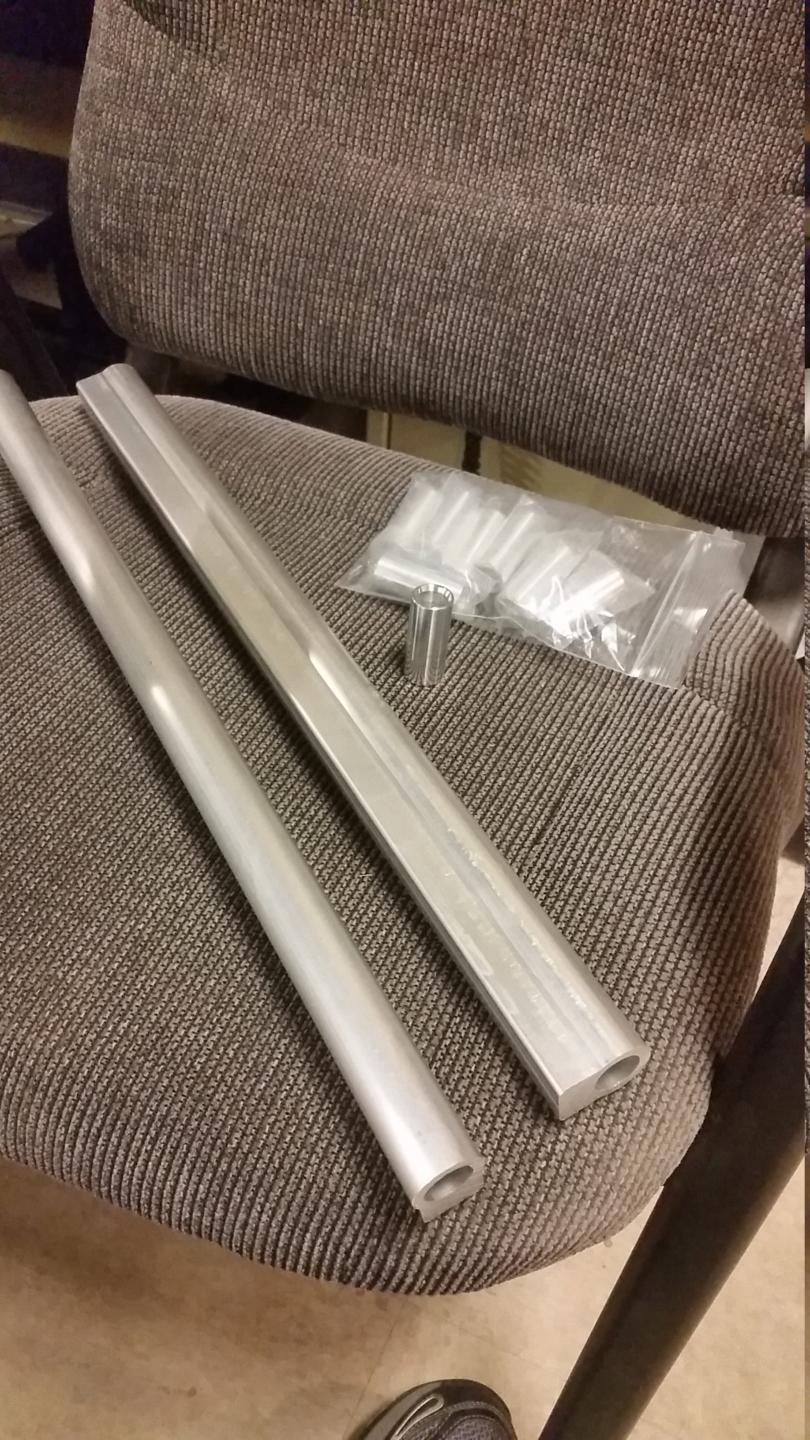
I bought a set of fuel rail blanks and injector bungs from racepartsolutions. $66 for 2 19" fuel rail blanks and 8 bungs. Seemed like a decent deal to me. If you order from their website you get dinged for shipping. If you go through ebay, shipping is free. Go figure.
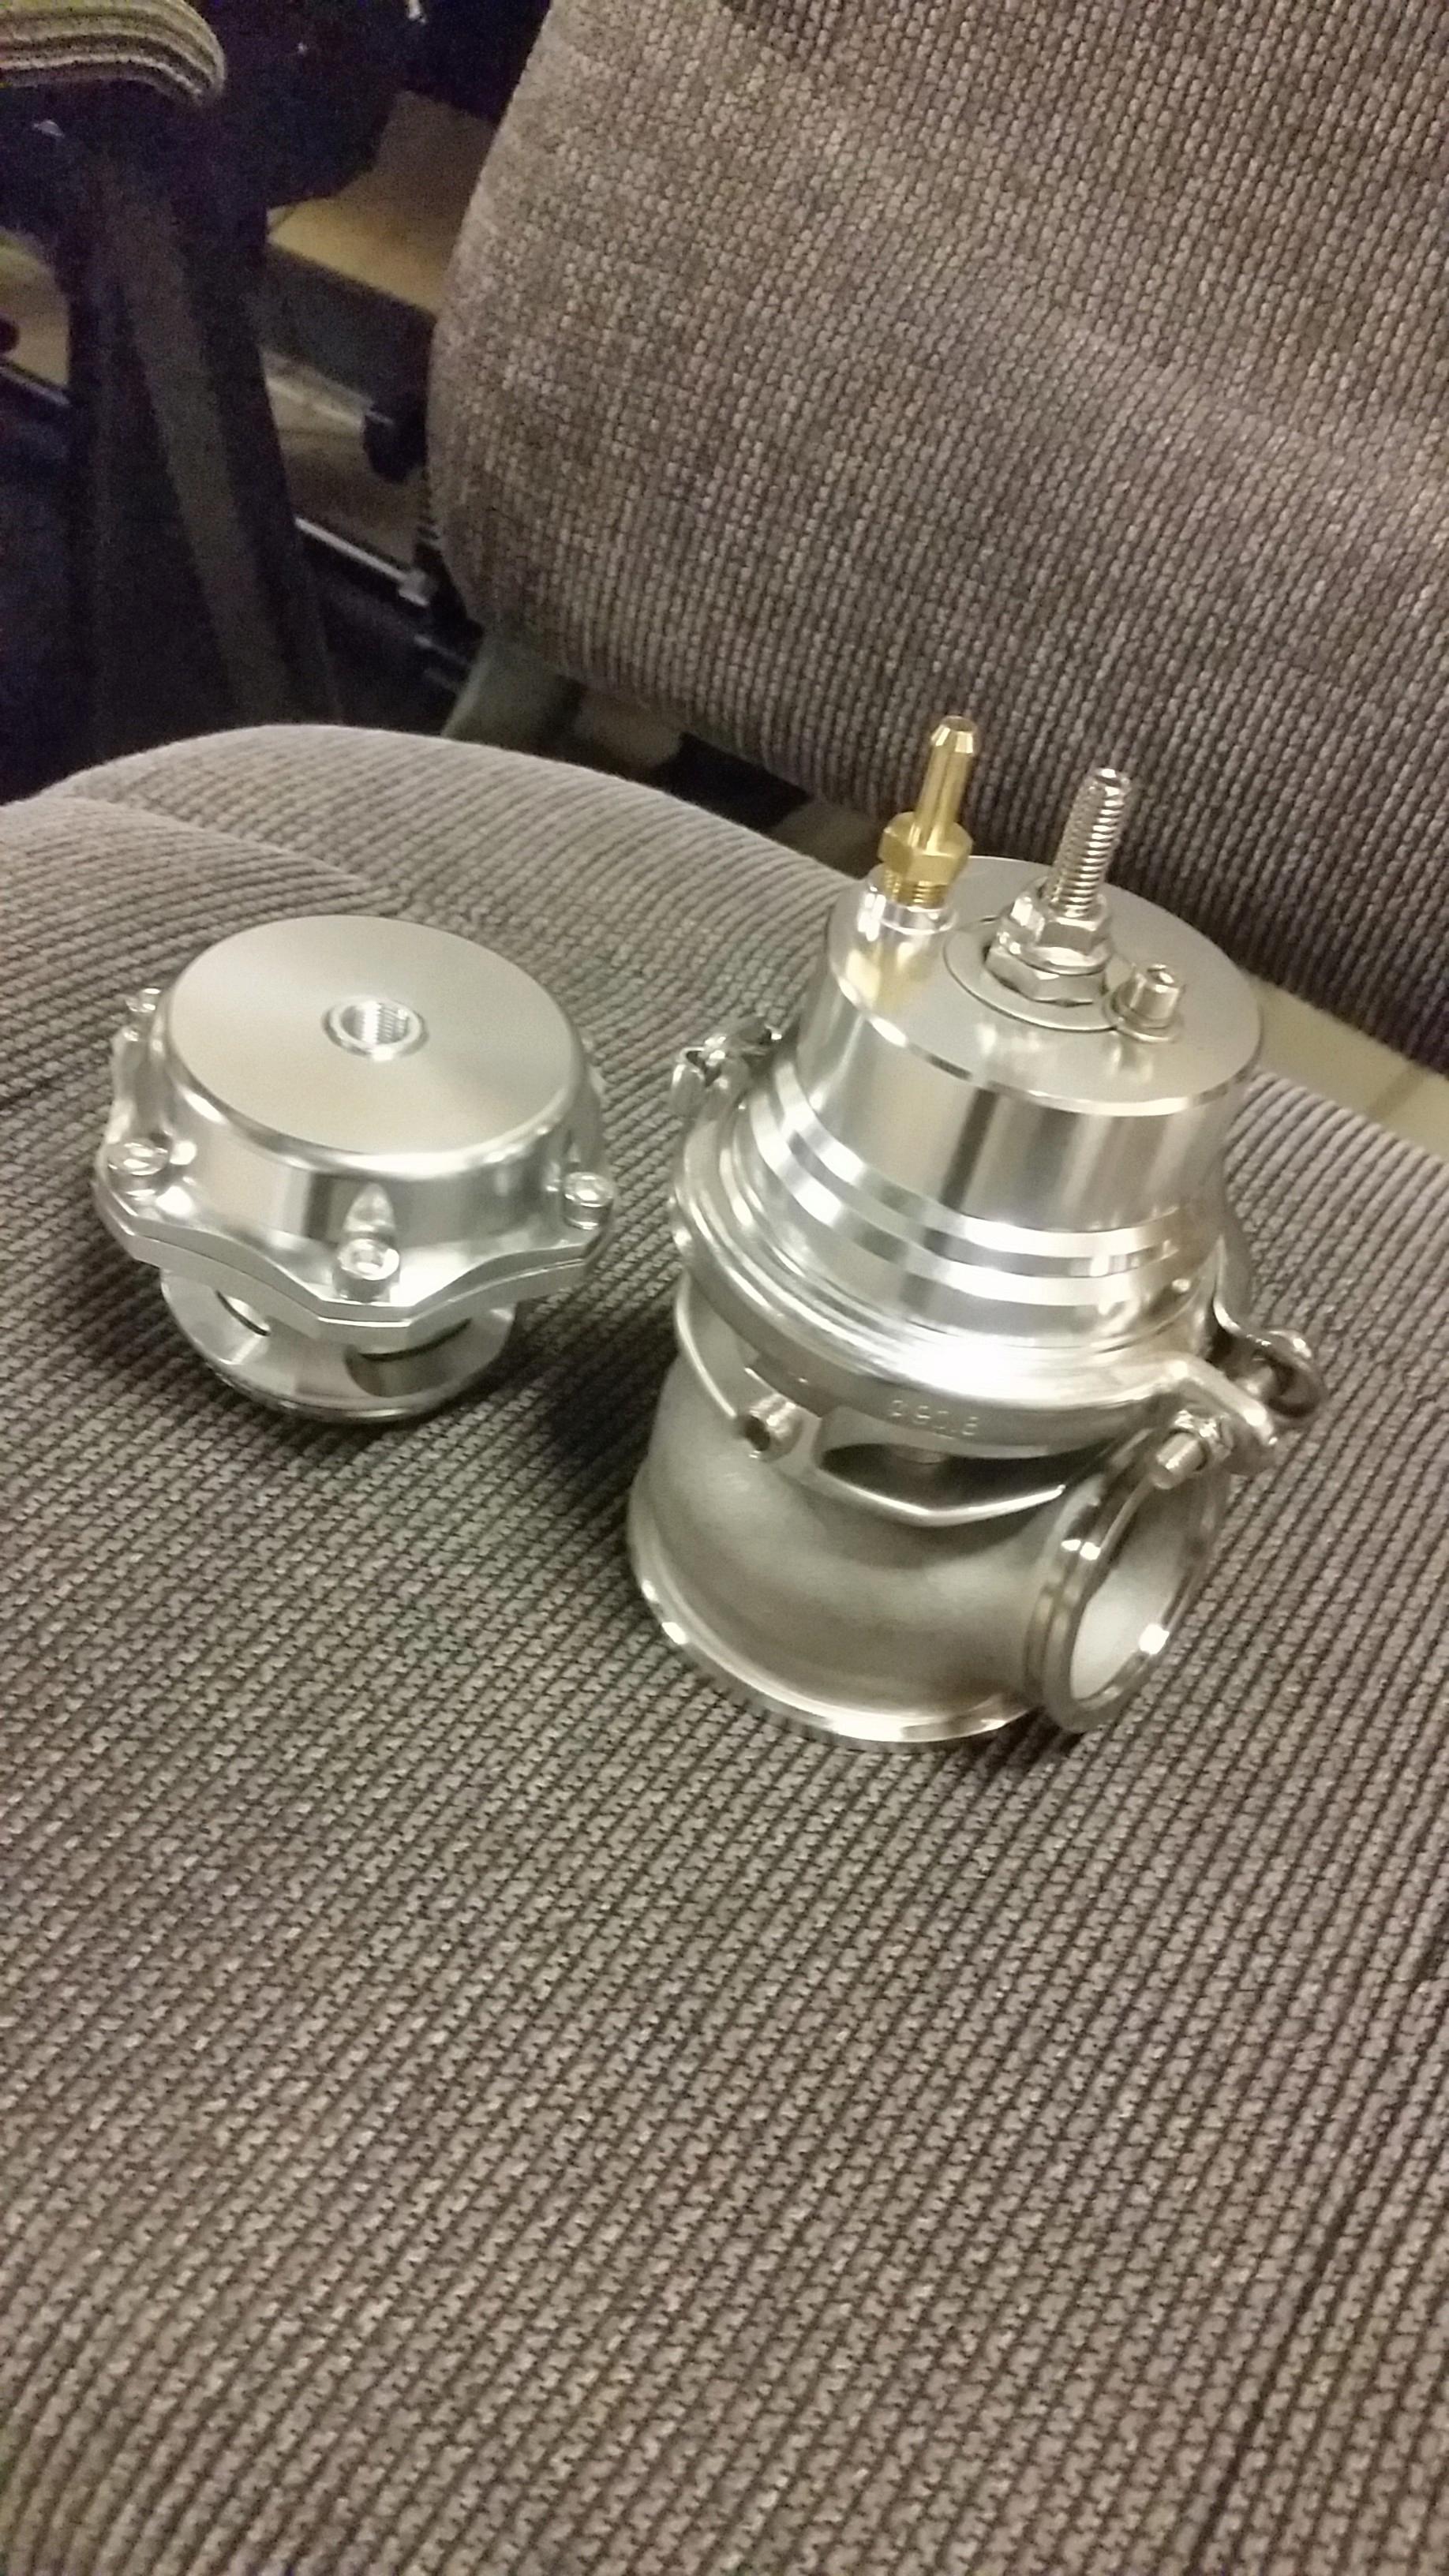
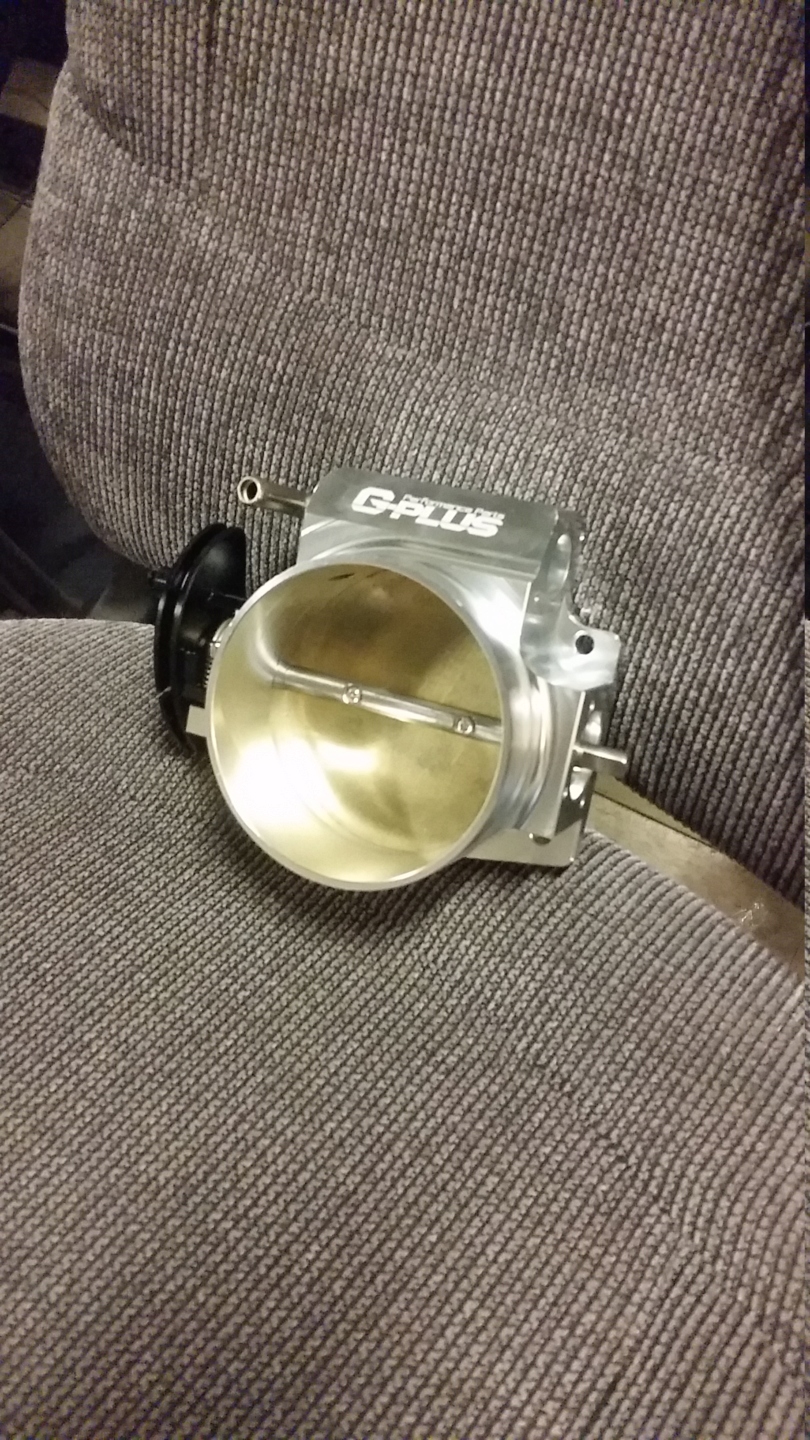
In keeping with the chinesium theme, I bought an LS2 to Holley Dominator throttle body elbow and a 102mm LS2 style throttle body. I also have a 60mm wastegate and a 50mm blow off valve on the way. They should be here next week. So far, I have right at $550 invested in new parts. The only remaining big items are injectors, intercooler and fuel line/plumbing.
I played machinist the other day. That cutter cuts the guides like butter. The stock guides limit lift to around 0.550" and use umbrella seals. I am probably good to 0.750 lift now, not that I need it though. The new guides use .530 positive stop seals. I left the spring locating steps in place because I do not plan to use dual springs.
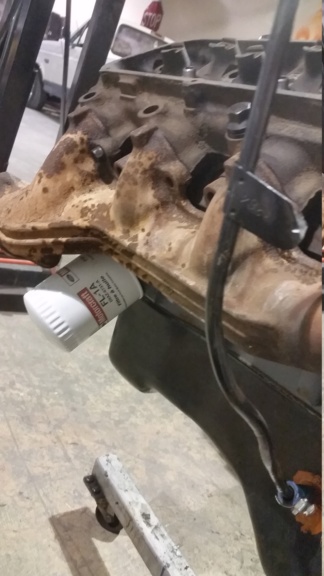
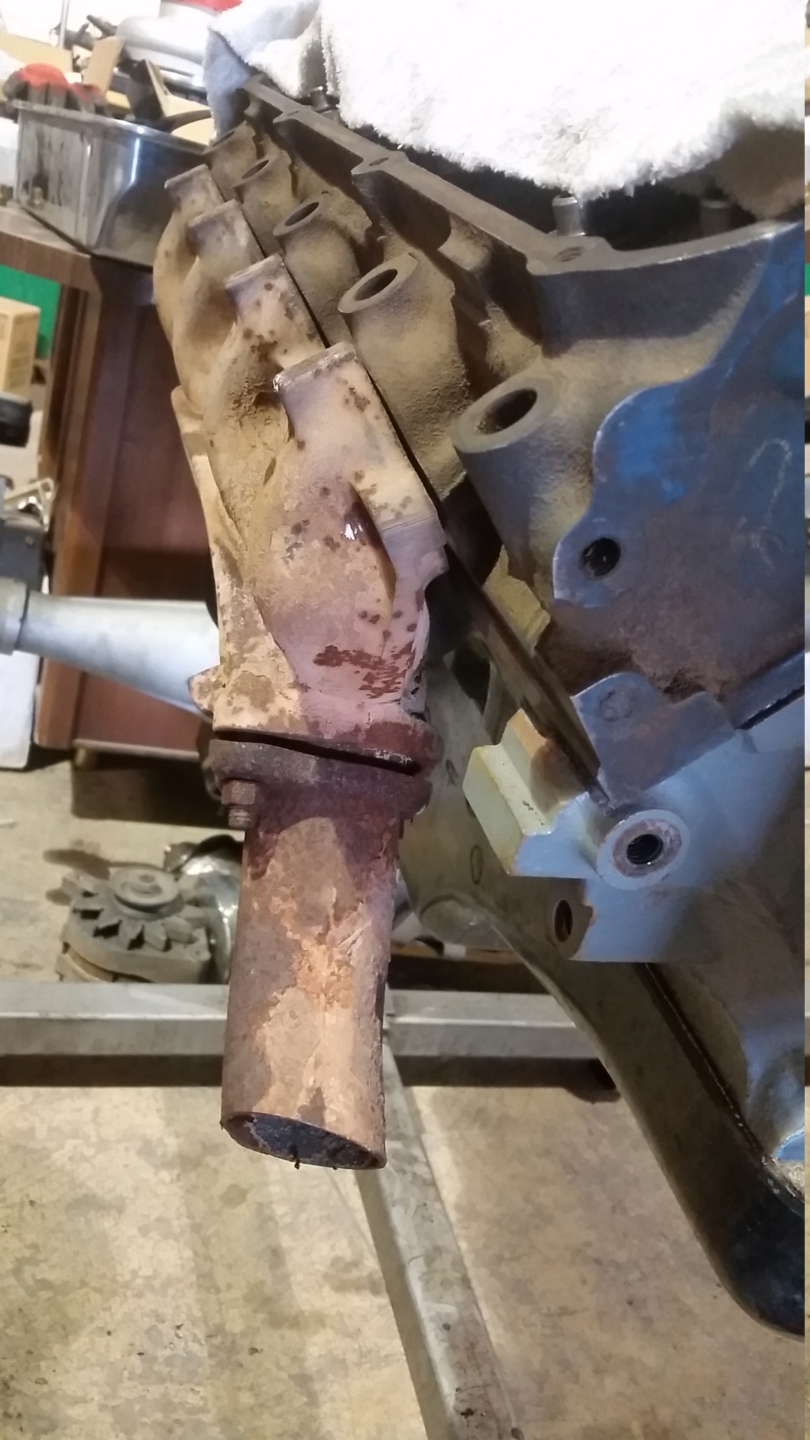
I also put the engine on a stand and mocked up the driver's side exhaust manifold. It looks as if Ford meant for you to flip it backwards! Clears the oil filter very nicely but might interfere with my power steering pump....
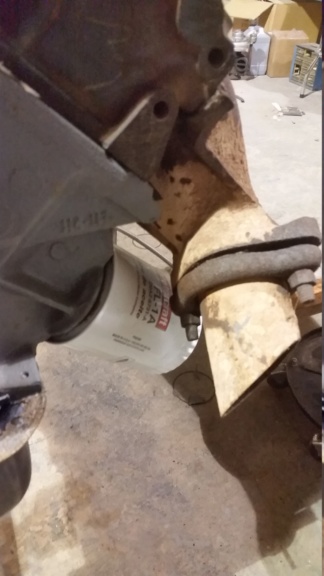
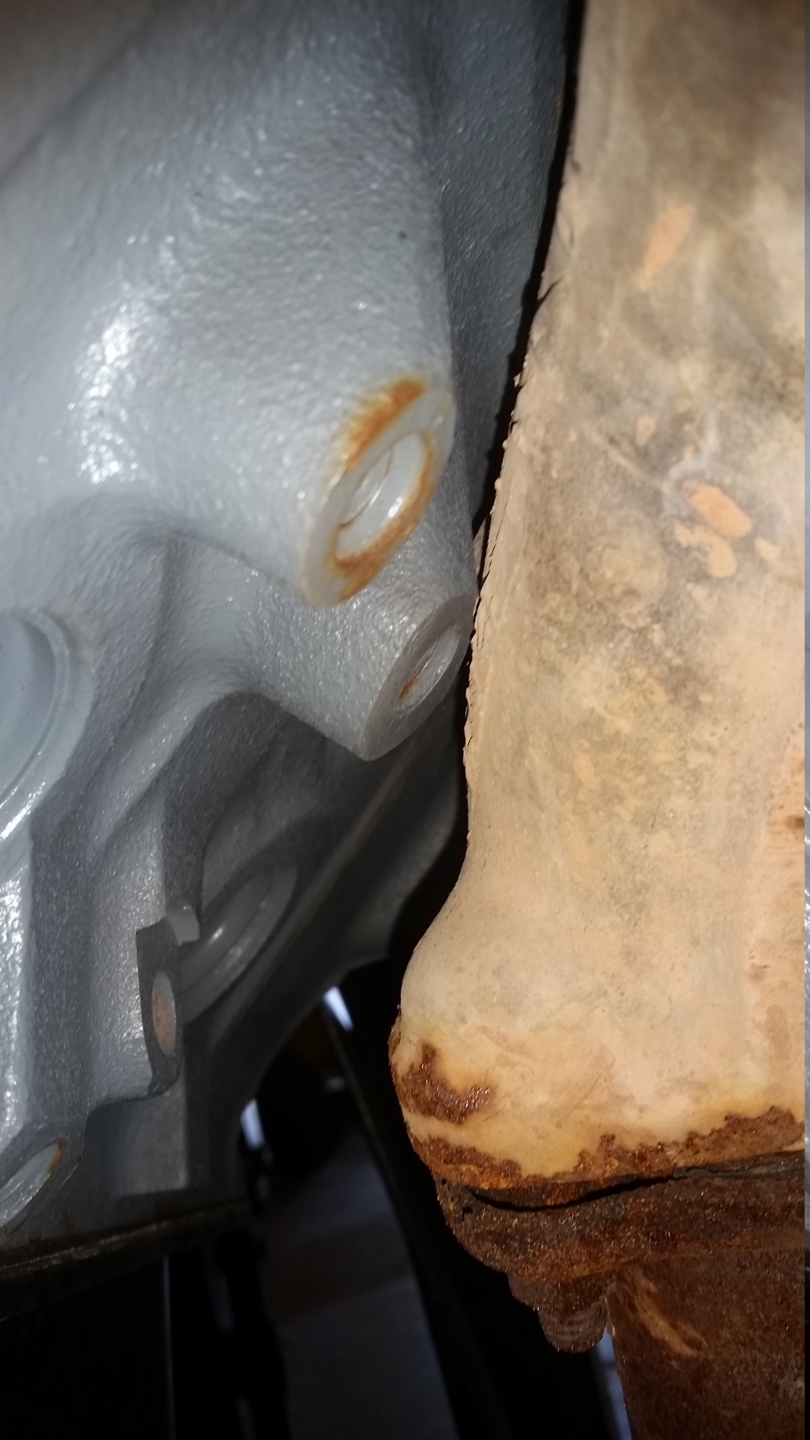
The other side does not play as nice. The manifold interferes with the engine mount boss on the block.
At this point I have not 100% mapped out where the hot side piping is going to go, so side to side swapping may not be necessary.
What are you going to control the FI with? Will you develop an E85 map as well? (assuming your new heads give a doable compression ratio.)
I ended up with a very streetable compression on my motor to account for ***** fuel; actually runs fine even on regular. Before this, some of the engine options I was considering were not realistic. If you want a NOS Edelbrock varijecion I�ll sell it to you cheap.
I am not going to mess with E85. If it were available at regular stations around here I probably would use it. Before they pulled all the pumps here, I did an E85 conversion to our junkyard wars supercharged 98 buick regal. It worked well but we had to bring fuel in from 80 milea away.
As for the efi, I have an older Megasquirt I will be using to run it. I used this same MS on my original BBF Ranger project, then later to just run ignition on my Mustang. I am very familiar with the system, so there should be no big surprises.
Today I turned my attention to the intake manifold. I followed the same procedure I did when I converted a different Victor to efi. Only difference this time was that I used a step bit instead of a bunch of bits.
Bolt jig on, drill pilot holes, remove jig, drill out with step bit, finish size with a 3/4" standard bit. The jig is then used to position the bungs vertically for brazing or welding or whatever.
My intake elbow and throttle cable mount both came in today. It's going to look pretty cool.
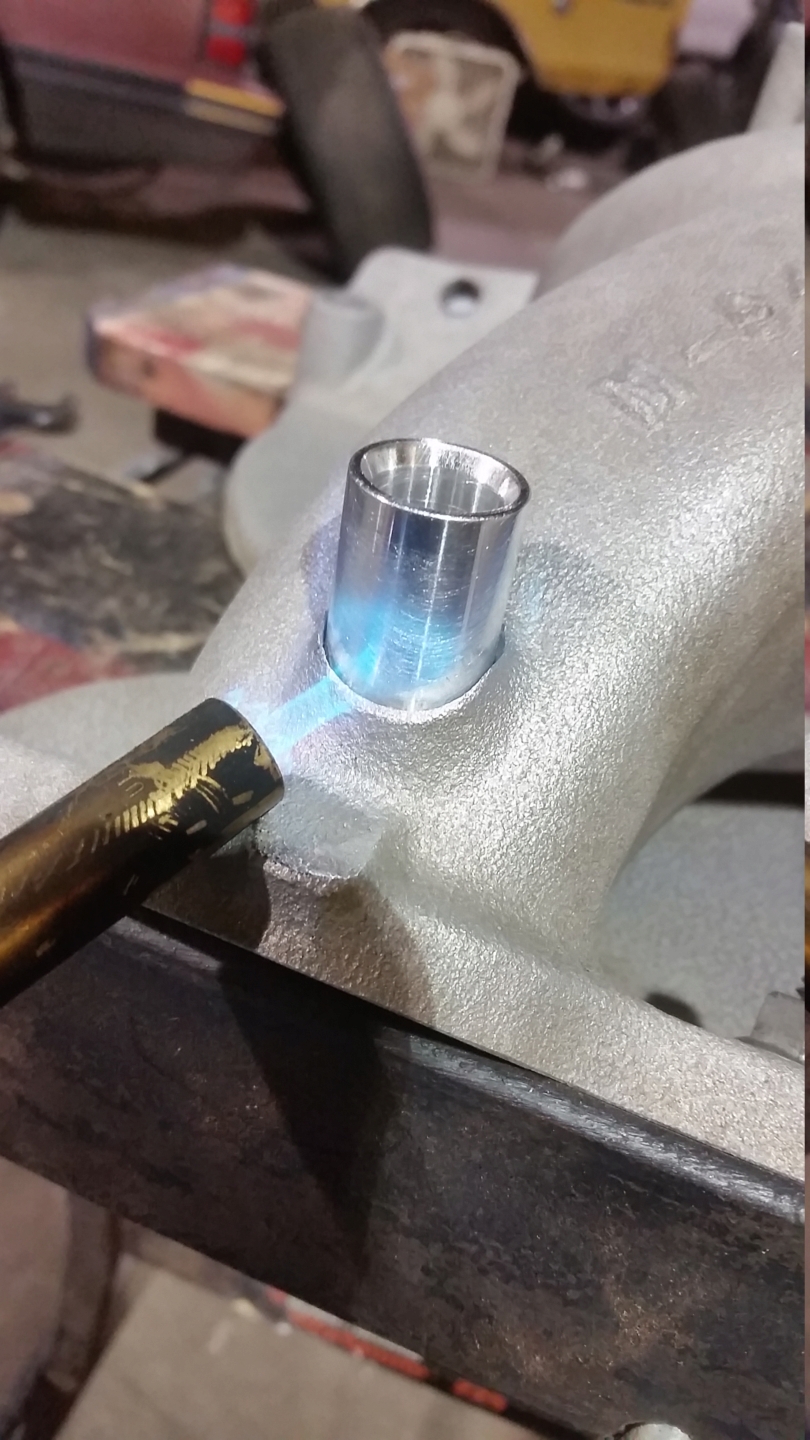
Busy weekend but I managed to clean the intake with mag wheel cleaner. Works great. Later I tried to use the alumaweld. No luck with my little propane torch. I just could not get it hot enough to get the alumaweld to flow. Too much metal sinking the heat I believe. I think I will fire up the little oxy/acetylene rig and see if it will work better.
Do you have any better pictures of your modified engine perches? I will be doing a CV swap on my 76 f150 soon with a 460. And what brand was that heater core that blew out?
No I do not. I literally just set them in place, eyeballed the amount to chop off, chopped some, then test fit, then chop a little more a few times until the portion that rests on the original frame rail was flush. Then welded it to a steel plate bolted the the CV xmember.
The heater core was the cheapest one from Oreilly whatever brand. I checked my parts list, but I didn't put a part number or brand in it. Maybe go one better. Haha.
CURRENT STATUS
Intake: The alumiweld was a fail. I tried several brands and various techniques. No luck. I have some other options for securing the bungs I am currently pursuing.
Camshaft: Lunati Barebones. I chose this one after a lot of turbo-motor cam research. Not radical at all, but that's what I am wanting.
Lately I have been working on the heads and in particular, porting the exhaust ports. These heads have gigantic thermactor bosses in them. They are so big, I can't even stick my finger through the port. The goal was to get rid of the boss, clean up the bowls and not hit water. lol They are not max ported or anything, but should be way better than stock. I loosely referenced ScottyJ's D3 pics, but mainly to know where to not hit water.
I'm pretty happy with how they turned out. They should be fine for a turbo motor that is going to have a fairly high exhaust back pressure vs. a N/A motor or nitrous motor.
Garage Binge 2018/19 has begun.
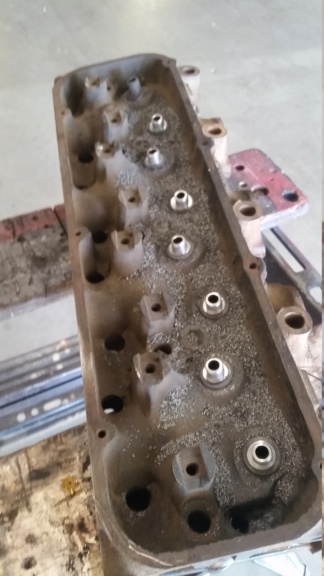
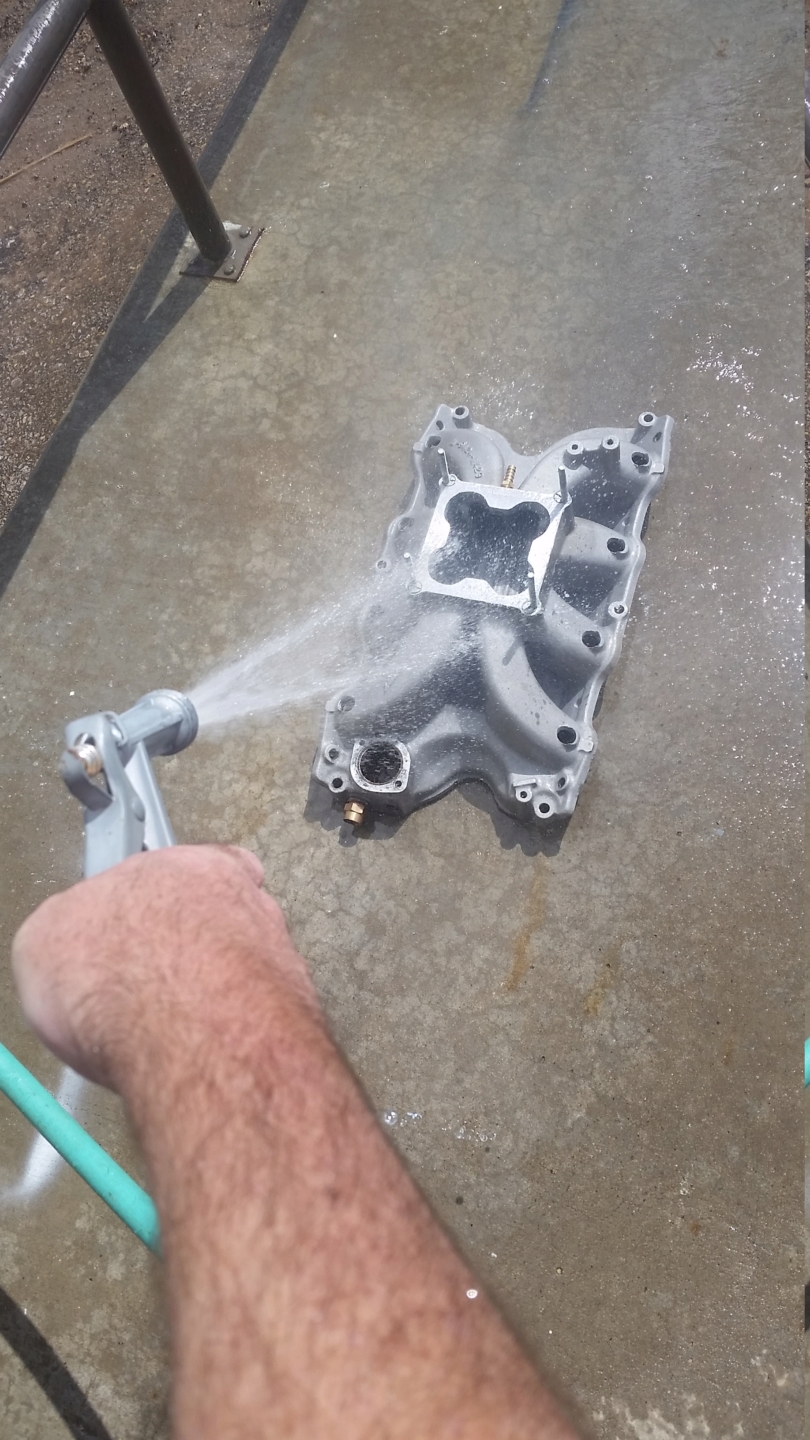
Soaked the heads in Purple Power and it worked awesome. I pulled them out and pressure washed them and they look fantastic. I dried them and later lapped the valves and assembled the heads. They are now ready to install.
Engine and trans came out fairly easily. I amazingly avoided testing the tensile strength of the dipstick tube, wiring or any other easily missed attachments. Since I am using the efi motor front dress, I had hopes of reusing the efi motor's water pump, but it was pretty rusty inside. So I decided to pass.
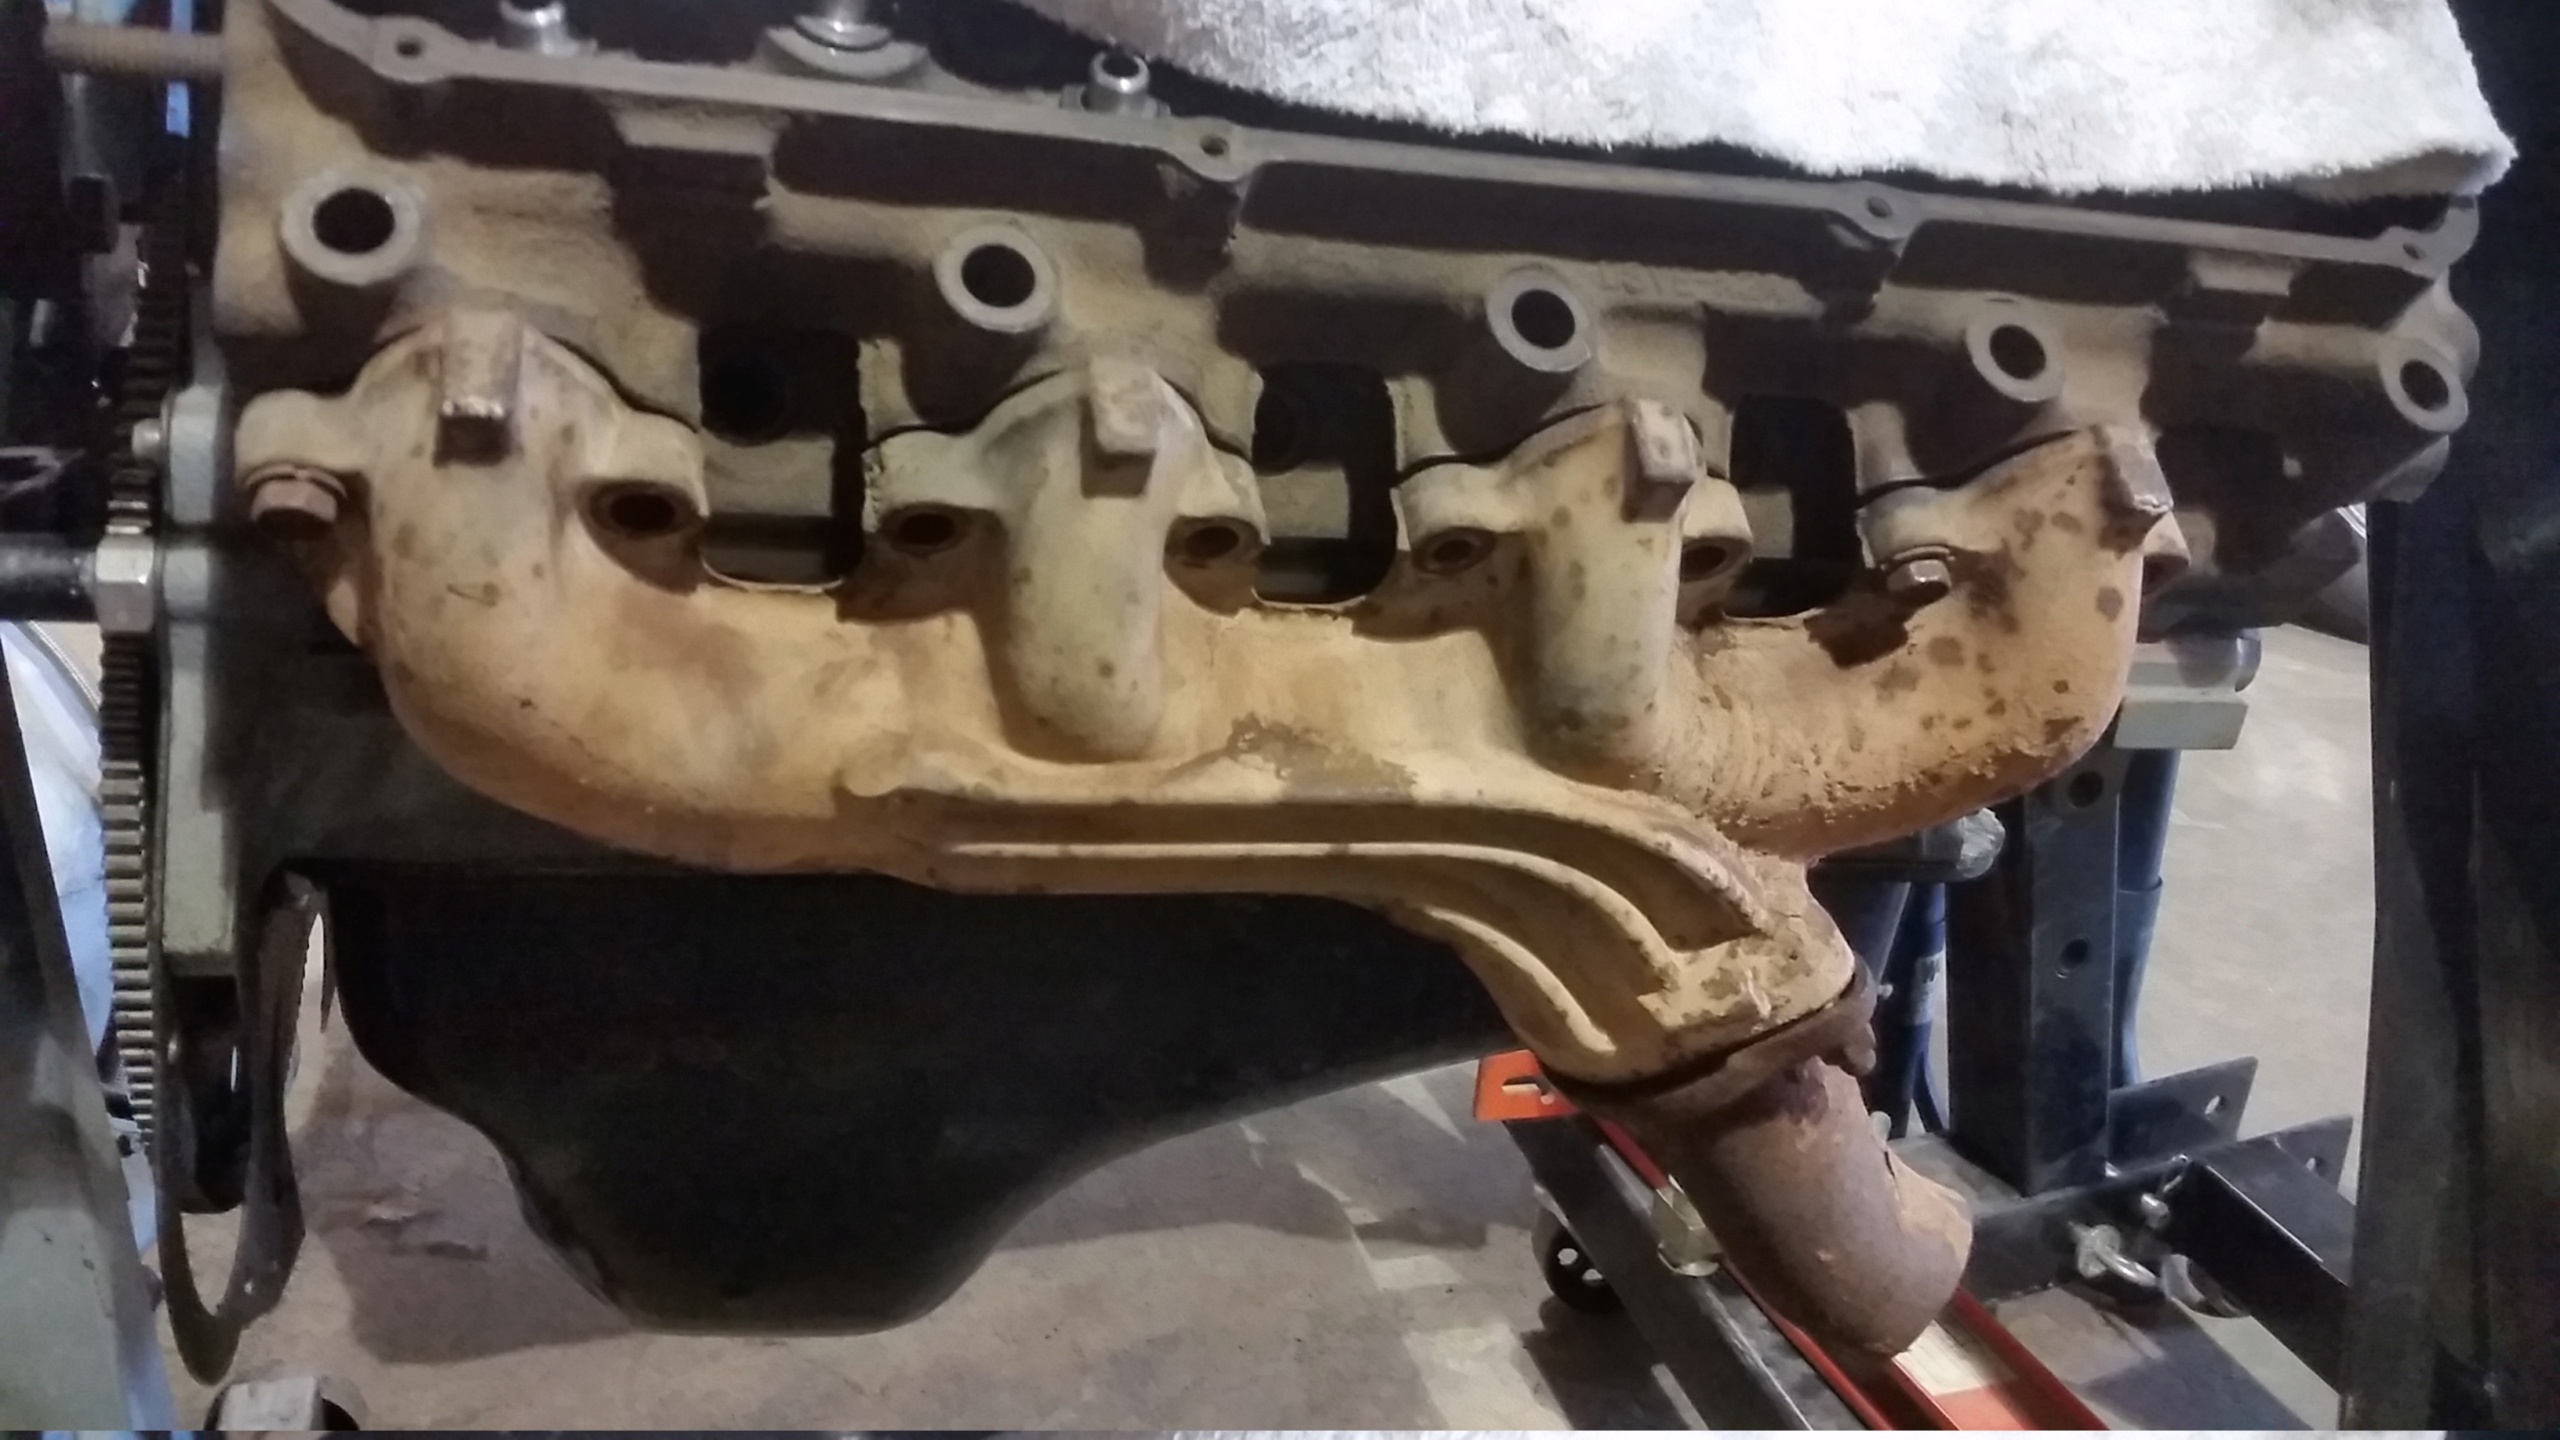
After the engine was out, I pulled the manifolds to compare them to the old style manifolds. Outlets are identical at 2.25".
Removing the fuel system was the part I was dreading the most. Gas always seems to run out of the most unexpected places. I managed to siphon most of the fuel out of the tank. The stock tank was a huge pain in the butt to get out, but it is done. In place of all this will be a 20 gallon fuel cell, the A1000, and -8AN hoses.
There is still a lot to do, but I made more progress yesterday than I expected. Hoping to have the fuel lines run, the A1000 mounted, the engine together, mated to the trans and in the chassis by the end of GB2018/19.
Removing the fuel system was the part I was dreading the most. Gas always seems to run out of the most unexpected places. I managed to siphon most of the fuel out of the tank. The stock tank was a huge pain in the butt to get out, but it is done.
Agree, what a pain. I now use a small remote electric pump to drain fuel tanks. The MOST difficult part by far is how to dispose of the old fuel tank. None of the salvage yards take them nor the refuse places or hazardous materials drop offs. They gave me a number of some outfit that reclaims underground fuel tanks... uh, no. I�d love to hear what others have done. I ended up using some air powered shears and sliced the tank up into little pieces.
GB2018/19 is officially over. 98% of my goals were accomplished, but I purposely set them high. The things I didn't do were just a couple of minor things, so no biggie.
New Year's Eve was spent mostly cleaning parts and assembling the engine. I tapped the front cover for a turbo return line and tapped the throttle body for pipe thread because the fitting was loose.
New Year's Day started with painting the engine and cleaning the Crown Vic xmember because the efi460 was a leaker.
I did a quick mock up of the engine and then the engine and trans were mated and installed. Input shaft is in this time! ( I left it out of this trans once upon a time....)
REALLY??? Booster to valve cover clearance issues in a full size truck??? Sheesh.
Those are the highlights. Many many small things were fixed/corrected that did not warrant pics. Overall though, it was a very successful GB!

 09-04-2018, 05:57 PM