When you click on links to various merchants on this site and make a purchase, this can result in this site earning a commission. Affiliate programs and affiliations include, but are not limited to, the eBay Partner Network.
The regulator is inside the alternator case, you have to disassemble it to check it. You can do it yourself but you probably only want to if you know that is the cause.
If you can get the alternator load tested it will tell you if you really have a problem.
I checked all the battery connections and the negative on
the second battery was abit loose.
Tightened it up but it did not solve the problem.
Still not certain that the batteries are still healthy, they are
seven years old have have been flattened a few times in the
past.
I will put the load tester on them again later today, or tomorrow,
and see what it has to say.
Does anyone on the list know of any dealers in the Newcastle
area that sell Odessey batteries?
If I have to replace mine I am not going to waste time on cheap
Chinese rubbish.
It's time to deal with an oil leak at the rear of the engine.
I suspect its from somewhere around the turbo pedestal,
there are a few possibilities.
Because the turbo has to come off then I am going to do
everything I can back there so I don't have to do the same
job again.
I am replacing the pedestal and turbo outlet with a non-EBPV ones.
While the turbo is off the waste gate actuator is being replaced
with a "Turbomaster" mechanical controller http://http://www.dieselsite.com/199...ontroller.aspx
The downpipe needs replacing as well as there appears to
be a crack right at the top near the turbo outlet.
I bought one of the "Diamond Eye" pipes and have added a
flex joint to it to try to prevent the crack from happening again.
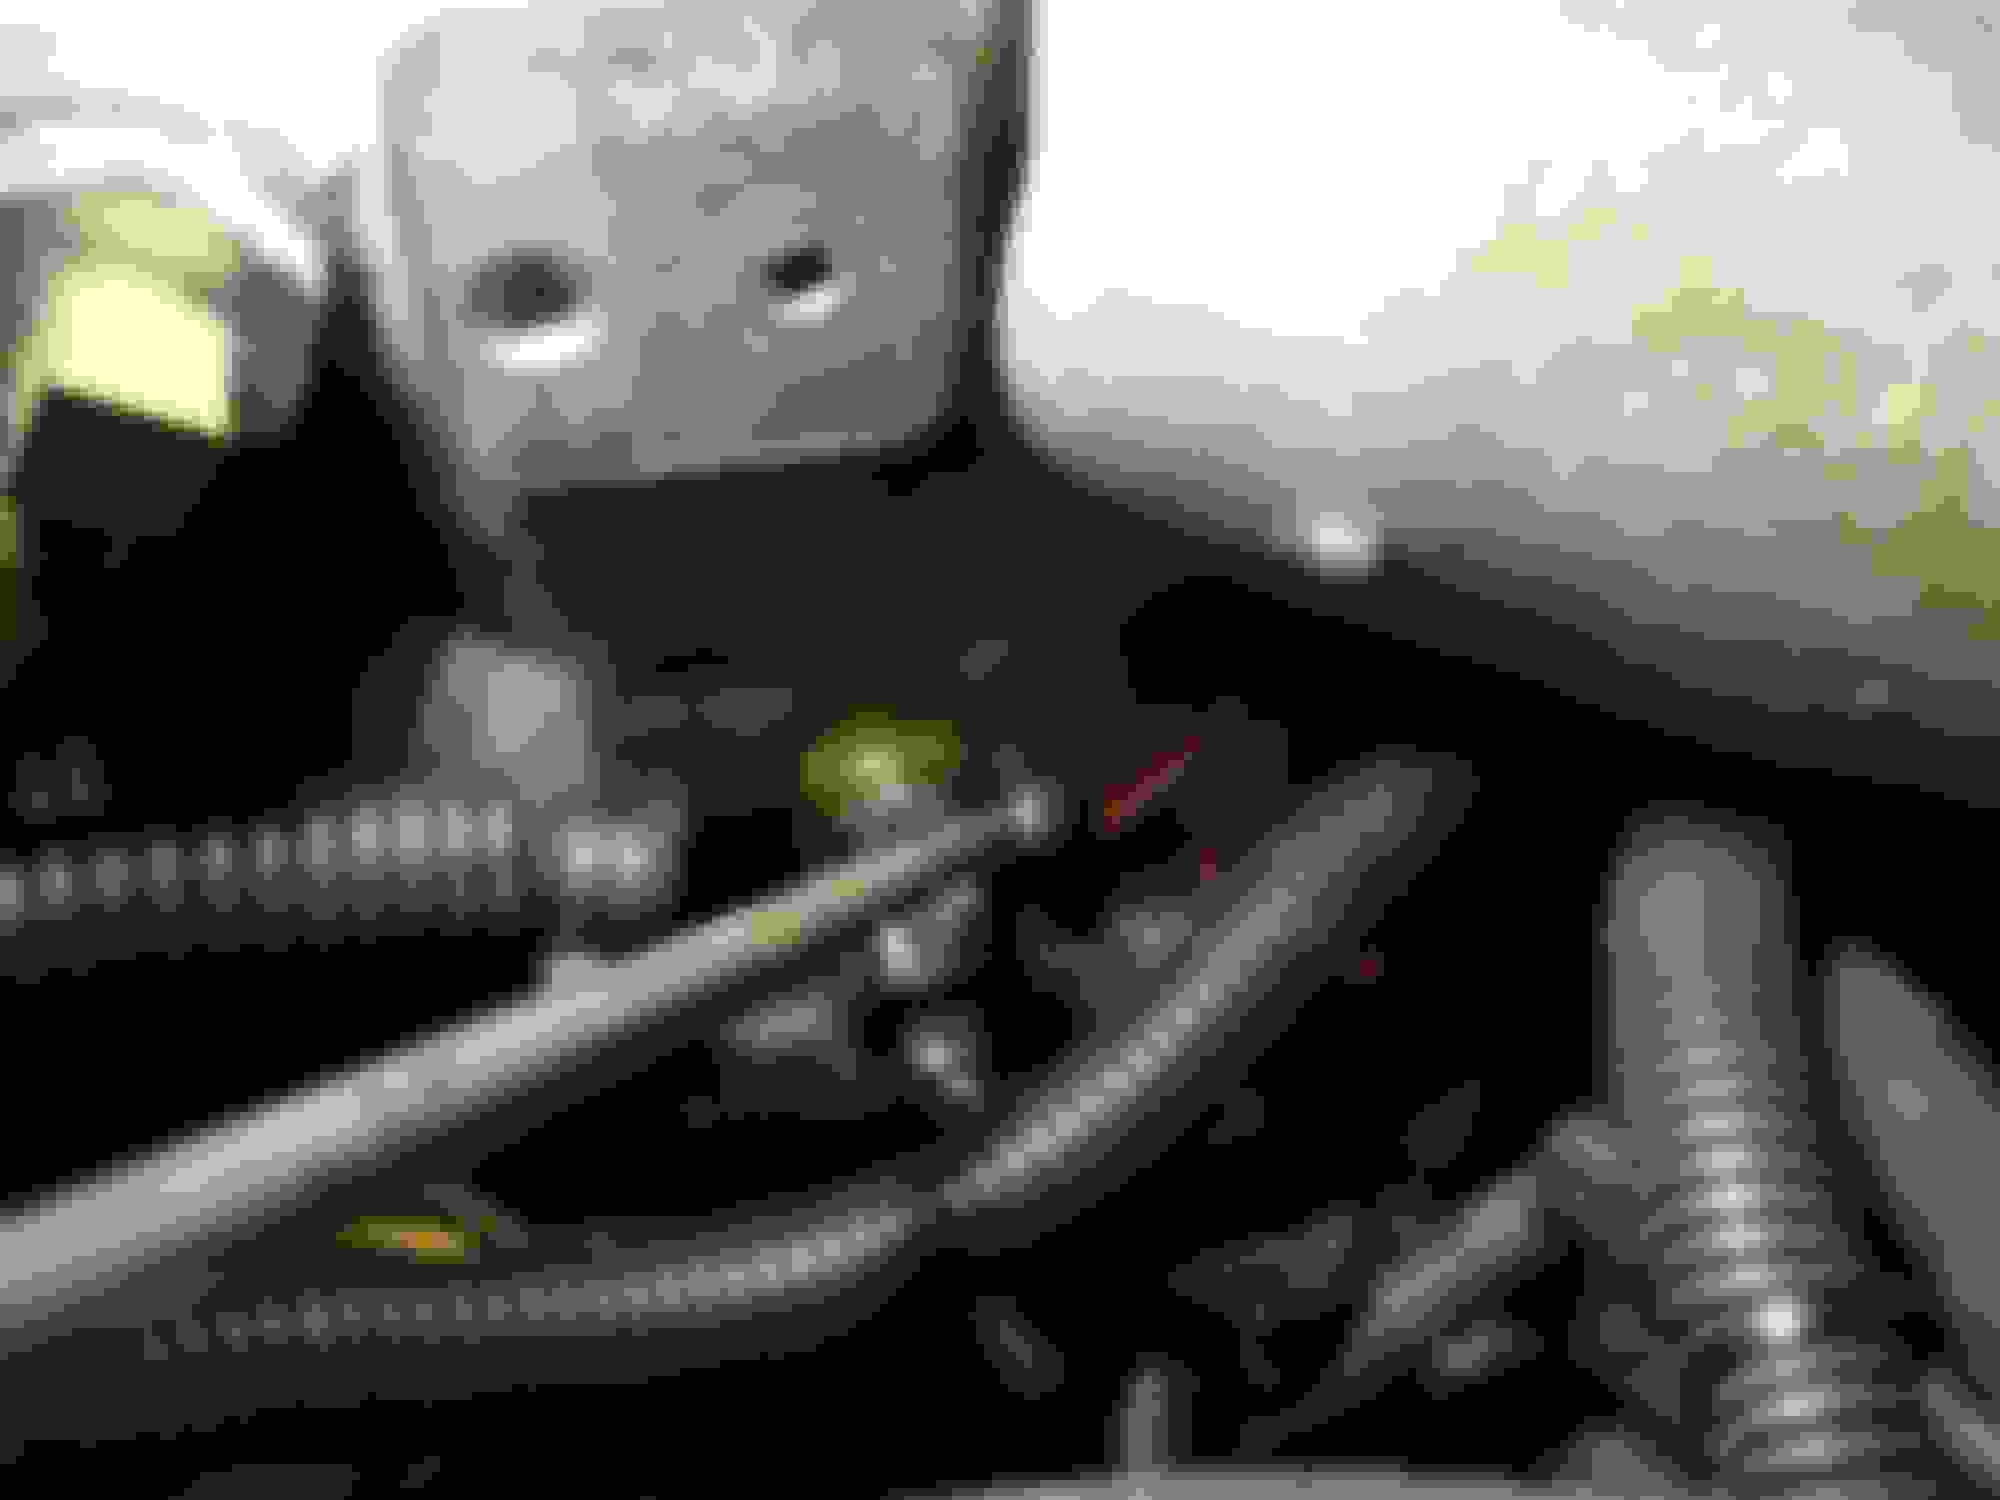
New downpipe ready to be welded.
Unrelated to all the other jobs, the bushes on the sway bar arms are
totally trashed so the arms are getting replaced with geasable
"Moog "ones.
As you can see from the photo, a lot of parts to play with.
Wish me luck.
I have done the easy bit, spent the money, next the hard part, doing the job.
I also did this all this stuff, with the exception of the flexi-down pipe coupling. The mods have stood the test of time, make the truck more drive-able and more reliable.
Same Same, the only thing i can think of doing so you don't keep getting a CEL is a 470 ohm 1/2 watt resistor on the W/G harness.
When you fit the TM you will get rid of the red and green line, you can block them off or get rid of them all together and fit a resistor to stop the CEL.
You'll need to block off the low pressure out let (red line) on the lower end of the intake spider with a rubber cap or take it out all together and plug it ( drill and tap) , i'll post some photos.
This is what i did, see where the screw driver is pointing, that's the rubber plug you need , that's where the red line elbow was.
That's the W/G solenoid harness that i fitted the 470 ohm 1/2 watt resistor to..
Here's the two ends (W/G harness and resister capped)
I think the flex pipe is a good move mate i wished i'd thought of that when i fitted my exhaust.
Good luck with the conversion mate.
Oh , make sure you use viton O-rings on the pedestal Ford 7.3 Diesel Turbo Pedestal O-rings - Set of 4, so you don't have any leaks in the immediate future.
Plenum inserts are also a good idea while your're on top of the motor. RDP Plenum Reinforcing Inserts? - Ford 7.3L 99.5-03
Blue,
Manythanks for the info and photos.
I knew I was going to have to deal with the waste gate vacume
lines and wireing and so your info is of great help.
As for setting the boost pressure with the TM, do you have
any recommendations?
From what I have read it seems that 26psi is about as high
as I should push a stock engine.
I still have standard injectors and HPOP and am unlikely to
change these in the forseeable future due to "budgetry constraints".
I have already done the plenum inserts, did them when I fitted
the Afe manifold and replaced all the boots.
I have bought all the required seals and "O" rings for the job
from "DieselOrings". The new pedestal came with a set but I
have no idea what they are made of, so thats why I opted to
get good viton ones.
No point skimping on these relatively cheap parts on this job.
I removed and cleaned the exhaust back pressure sensor and the
pipe the other day. It was not all that dirty but I did get a bit of
carbon flushed out of the pipe.
Is there any way to test the sensor to make certain it is
functioning correctly?
Is there any way to test the sensor to make certain it is
functioning correctly?
Exhaust back pressure sensor will just malfunction you can test for reading on AE. or monitor on your ScanGauge 11 if you have one.
I wouldn't over 26 psi with a stock 38 even though you will be fitting a WW2, i have mine set at 30 psi (38R).
Between a failed sensor and a blocked tube it will IMO, and you'll have loss of power and your boost will fluctuate some, as the PCM will get the wrong readings to open the EBPV.
if you have have gutted your EBPV you could probably get a pig tail to eliminate the sensor altogether.
Between a failed sensor and a blocked tube it will IMO, and you'll have loss of power and your boost will fluctuate some, as the PCM will get the wrong readings to open the EBPV.
if you have have gutted your EBPV you could probably get a pig tail to eliminate the sensor altogether.
I was wondering if that was the case.
In all the research I have done on eliminating the EBPV I have not
come across anything about eliminating the sensor.
I expect it would be a case of replacing the tube with a plug to
seal the exhaust and fitting a resistor in place of the sensor.
No clue as to the value of the resistor though.
Have you any idea where I might find what resistance the
computer expects to see from the sensor?
Would measuring the resistance of the sensor with my
multimeter give me the correct value?
 06-08-2015, 07:20 PM