
bronco build thread
#1
 04-20-2012, 06:35 PM


#3
05-12-2012, 07:06 PM
I have made a little progress on the bronco, the past couple weeks.
Welded the body seams shut for a smooth clean look.
Added some metal to the fender seam so it would match the door and bed cap.

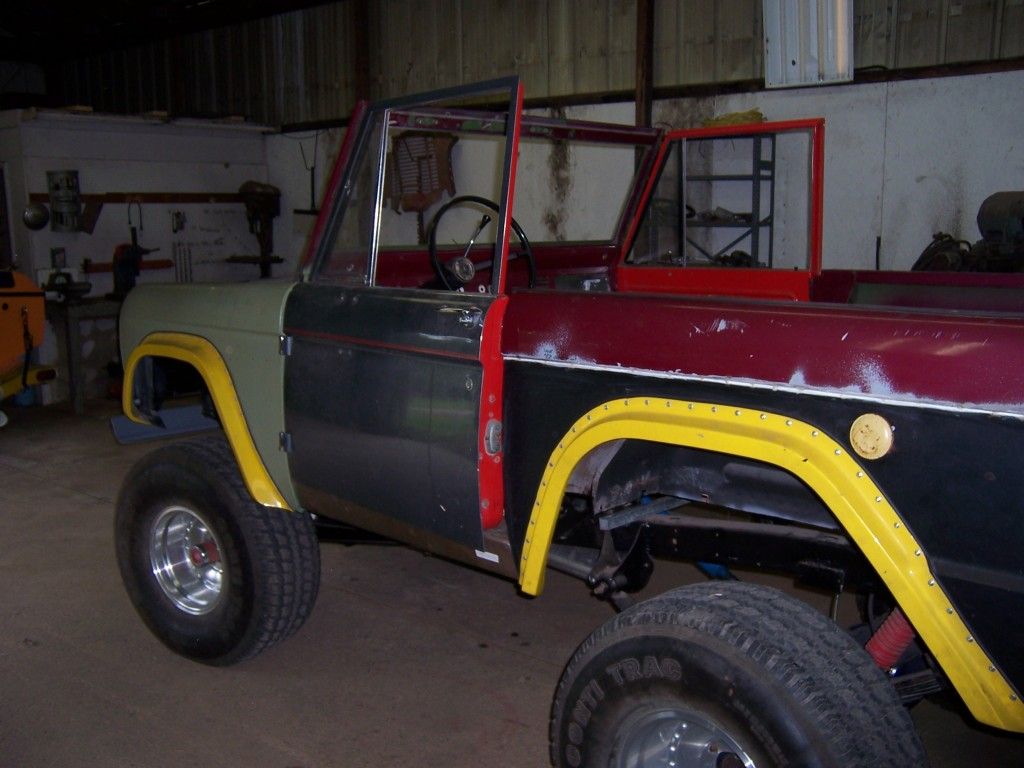
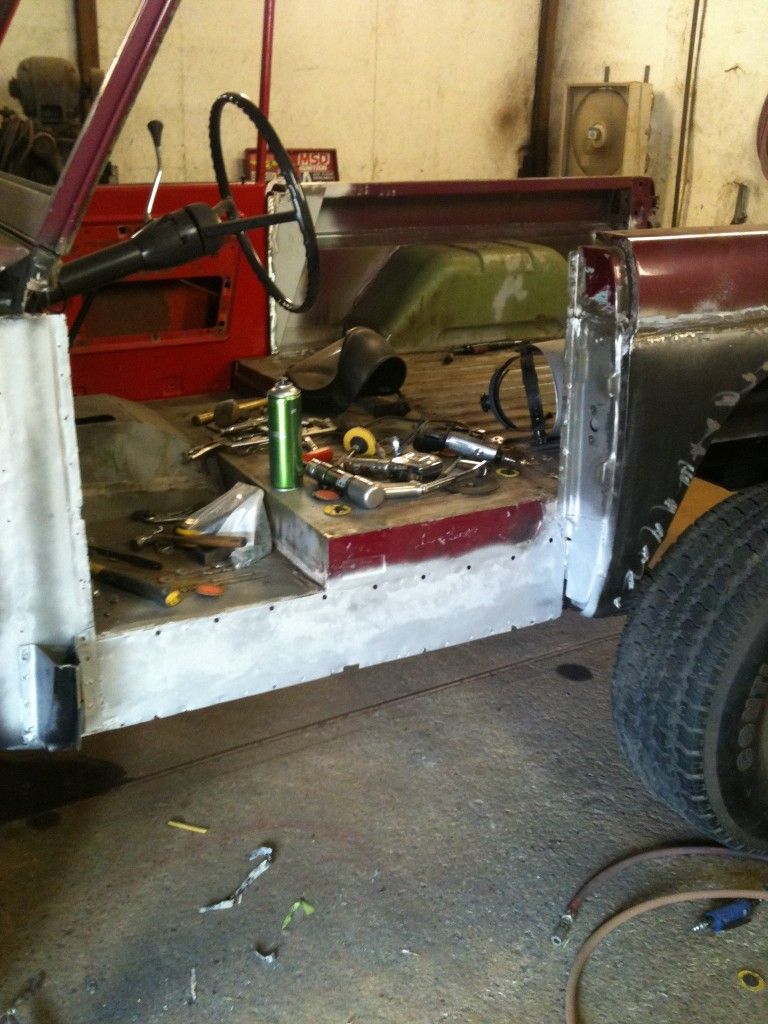
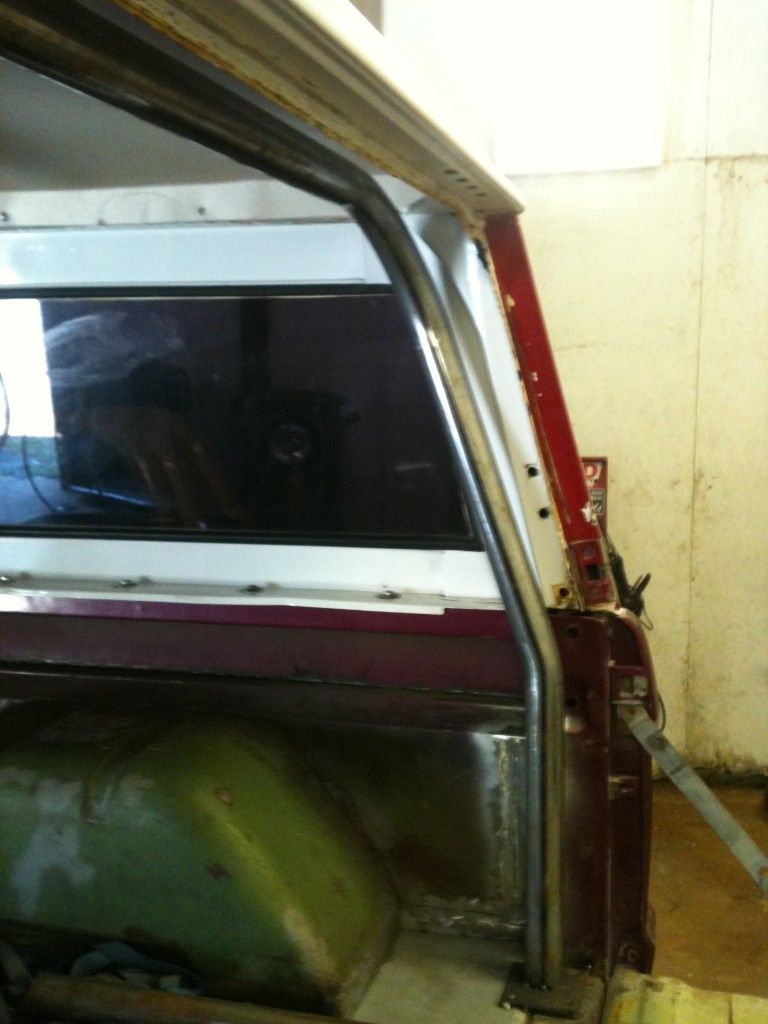
The drivers door did not fit the opening because the work the previous owner was not correct, had to cut the A pillar out move it up and towards the front.
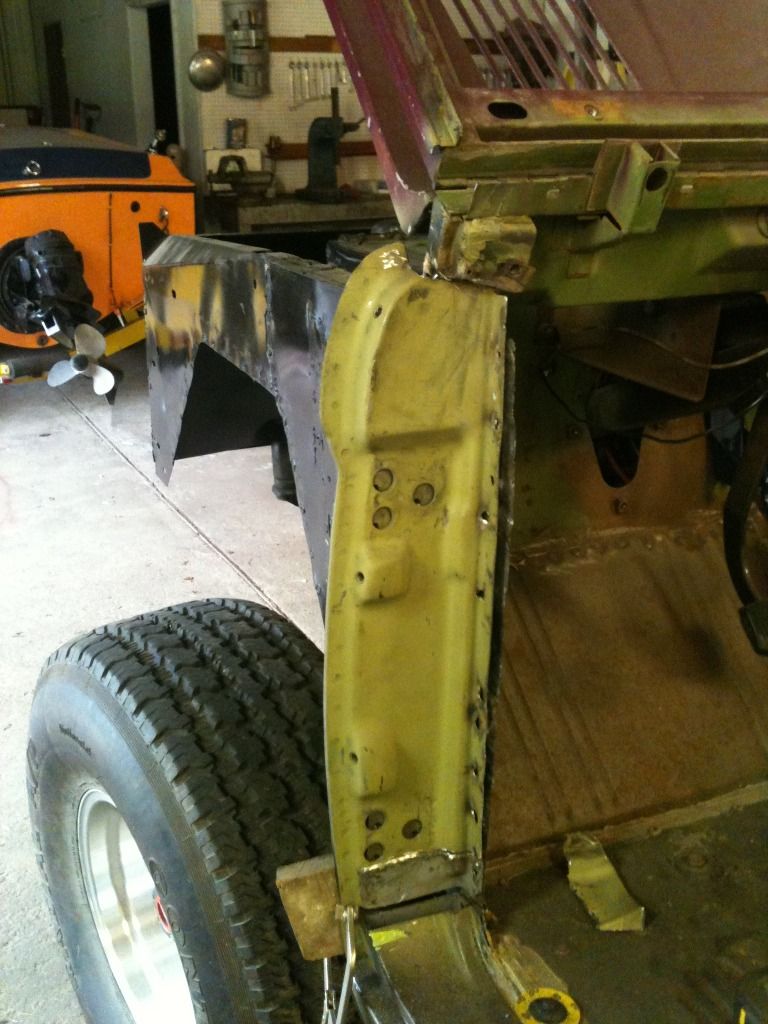
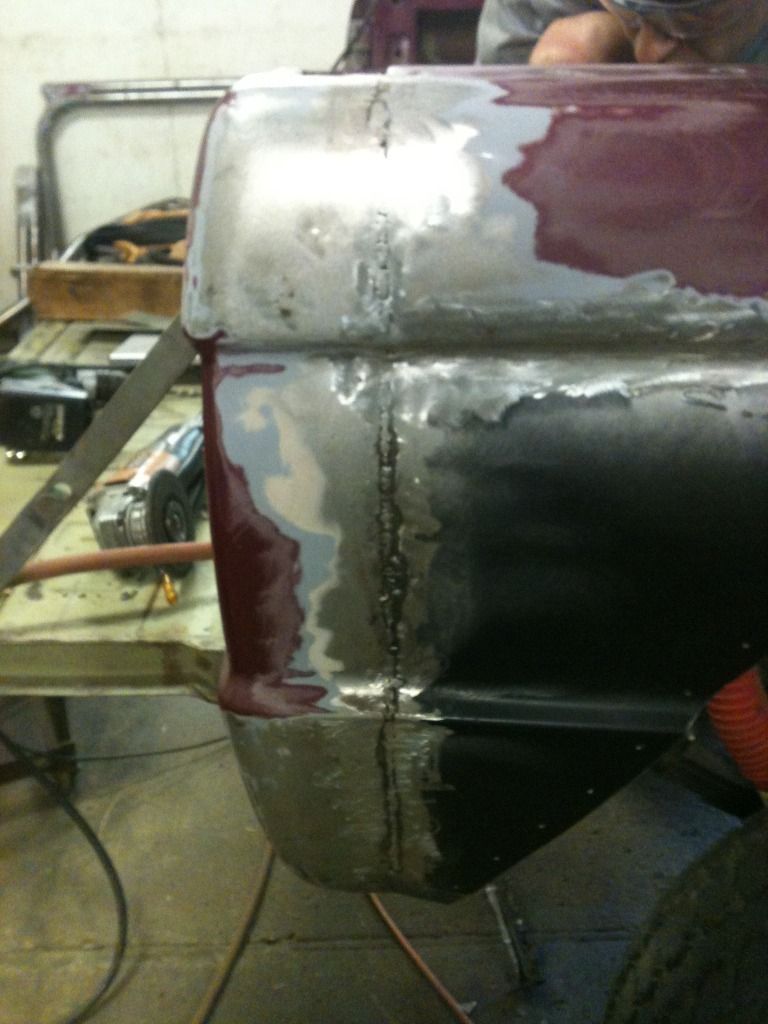
Had to put in lots of various patch panels to fix rusted areas all over the place. Most were small, this is one of the larger areas that had to be cut out.

Welded the body seams shut for a smooth clean look.
Added some metal to the fender seam so it would match the door and bed cap.
The drivers door did not fit the opening because the work the previous owner was not correct, had to cut the A pillar out move it up and towards the front.
Had to put in lots of various patch panels to fix rusted areas all over the place. Most were small, this is one of the larger areas that had to be cut out.
#4
05-12-2012, 07:20 PM
On thing I would highly recommend is to make it so that the debris cannot get flung up into the seam between the inner and otter wheel housing... If you came across from the inner wheelhouse (tub) to the lower quarter with some fill metal you would really eliminate a lot of the rot problems you can get with mud/debris/salt etc.... IMHO.... and if you could figure something out for the front too in the same area I think it would probably be worth the effort.....
When get around to my body work I want to make these mods to my rig front and rear, as well as figure out how to make the front clip drop off in one piece like the 73-79 trucks (which you remove the 6 bolts that bolt the inner fenders to the firewall and then undo the two front body mounts and the whole clip drops off in one piece) which makes a huge difference on a lifted truck.....
When get around to my body work I want to make these mods to my rig front and rear, as well as figure out how to make the front clip drop off in one piece like the 73-79 trucks (which you remove the 6 bolts that bolt the inner fenders to the firewall and then undo the two front body mounts and the whole clip drops off in one piece) which makes a huge difference on a lifted truck.....
#5
05-12-2012, 08:26 PM
I plan on sealing up the entire bottom side. Once we get most the big body work done the body will be blasted. I plan in fixing any seams and undercoating the bottom with spray in bed liner. It's a lot cheaper than lizard skin. All this even know this bronco will never see off road again.
#6
05-13-2012, 07:12 AM
#7
05-13-2012, 10:11 AM
lizard shin is a high end undercoating this is suppose to block out heat and noise. I have used the normal rubberized under coating on several projects in the past but I'm trying to cut down a little more on noise. I may even need to dyna mat the inside to keep the noise down. I can get the bed-liner for 70 bucks a kit and it will take a couple kits to do the bottom and top side of the tub.
Trending Topics
#8
05-13-2012, 02:13 PM
#9
05-13-2012, 02:44 PM
I'm not shure of the brand a buddy of mine gets it through the body shop he works at. We have sprayed several things with it and it's pretty tuff stuff. The flooring will be carpet front to back not shure what color yet.
#10
05-25-2012, 03:09 PM
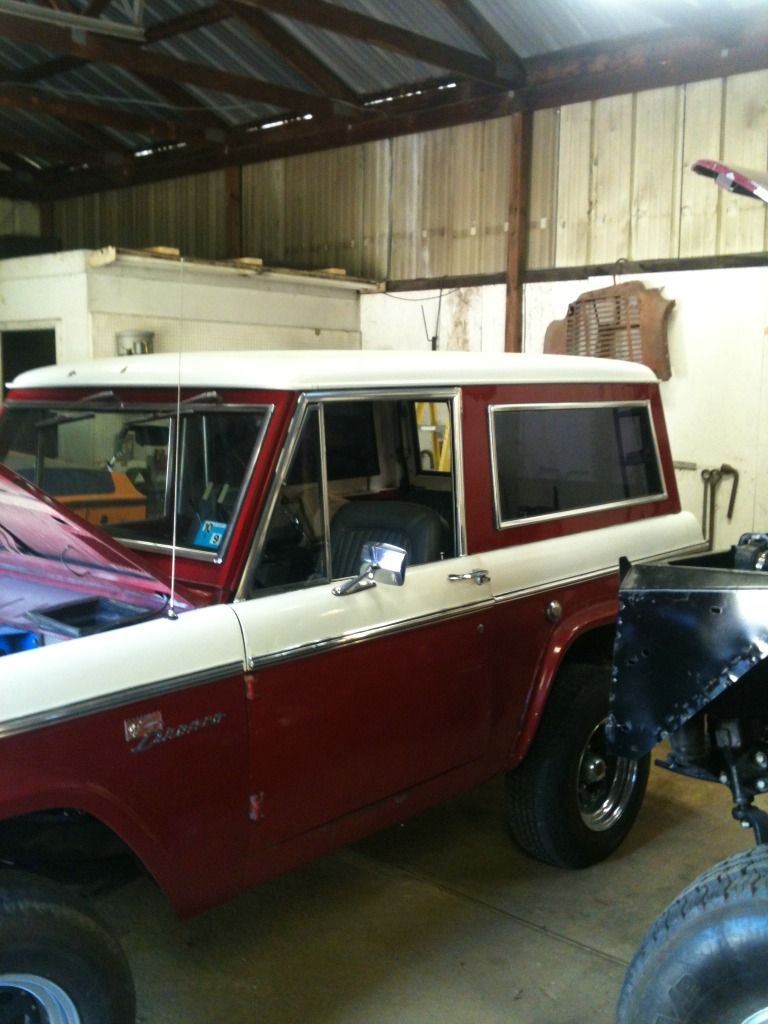
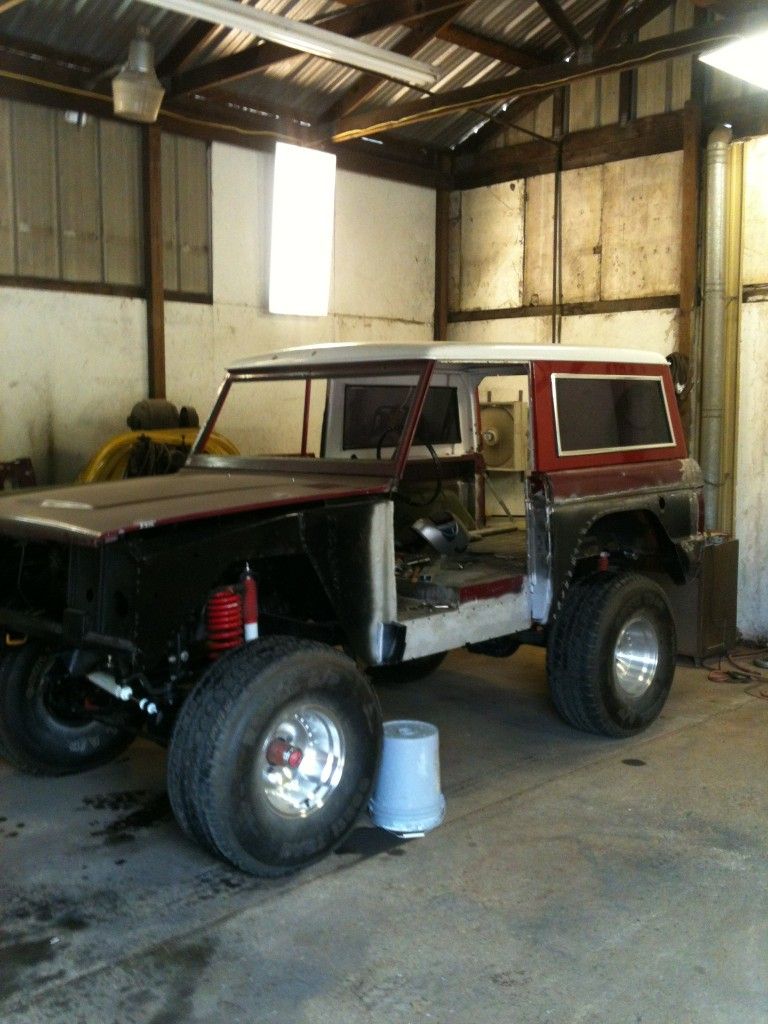
we have made a little progress this week and have gone backwards some too. After getting the body lift off the owner came by and said its still too big, so we are taking the 5.5" lift off and going with a 3.5" lift. So if anybody wants a 5.5" lift hit me up. I also will have some 35" tires and wheels for sale too. I brought the next restoration over to the shop to remove the hard top and install on the current project. The red and white bronco will get a soft top.
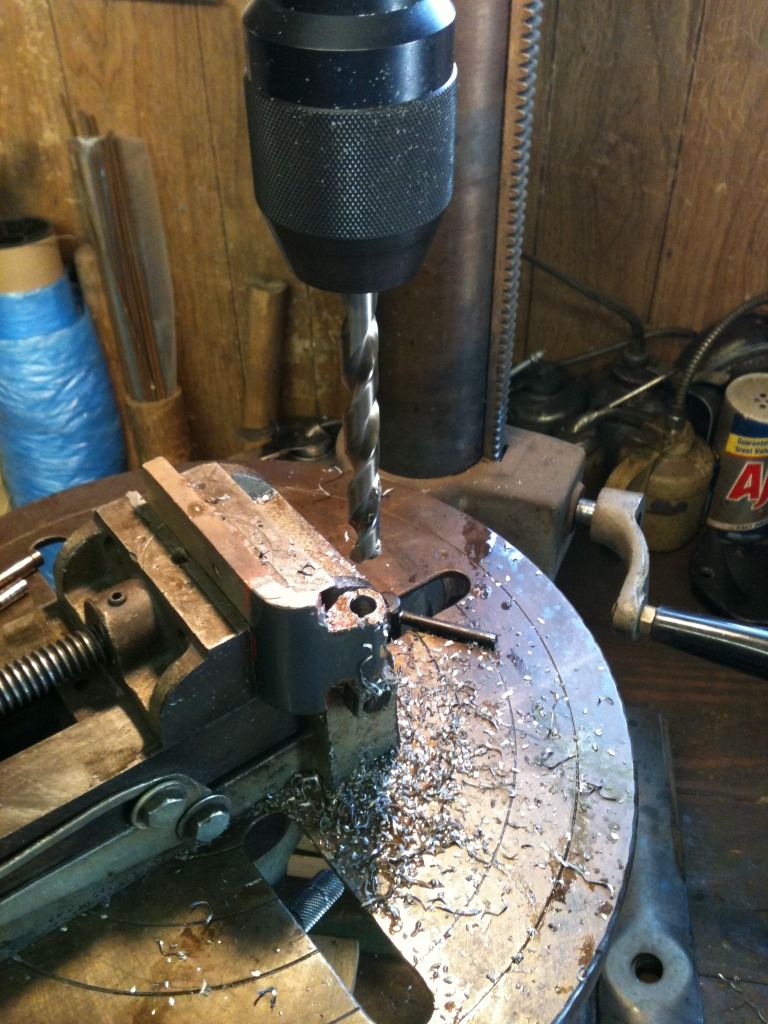
I rebuilt the factory hinges, Too bad the pin supplied was about .005" too big. So I chucked the pins in the drill and turned them down to .001 bigger than the hole to make sure there was no play.
The drivers door still did not fit after removing the A pillar so we removed the rocker, tearing it up in the process so had to order a new one.
The top installed helped line the doors up, drivers side door is now on just don't have a picture yet.
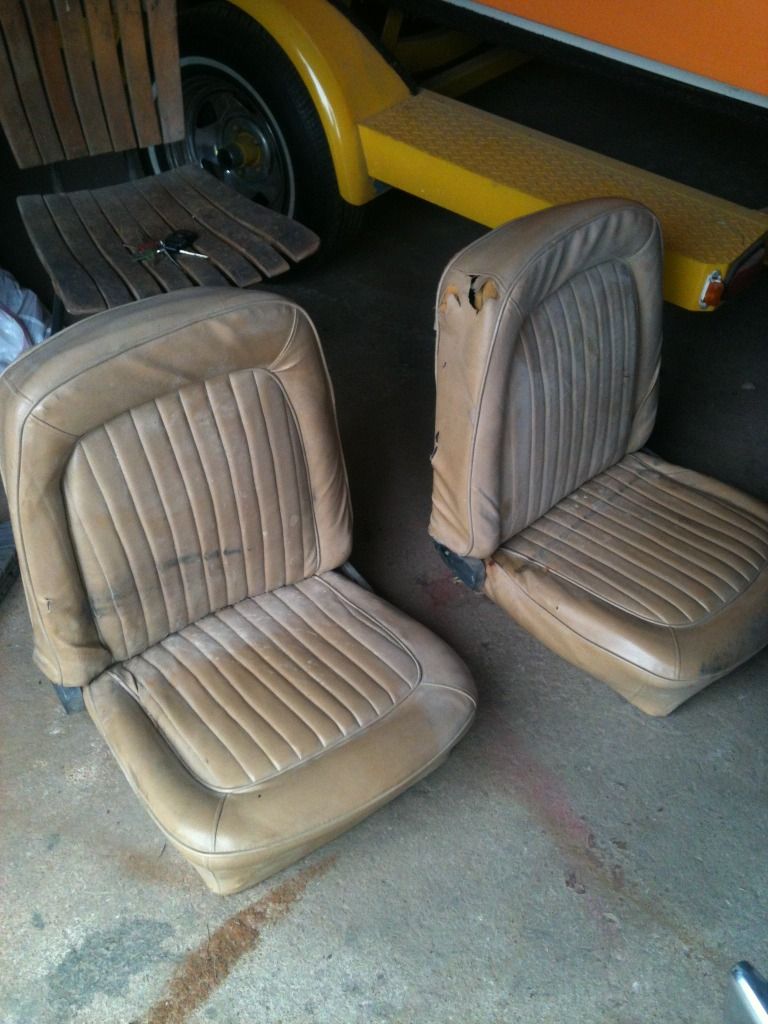
I picked up a set of seats for almost nothing, they will be re done to match the interior. I needed them to make fit the roll cage around.
I rebuilt the factory hinges, Too bad the pin supplied was about .005" too big. So I chucked the pins in the drill and turned them down to .001 bigger than the hole to make sure there was no play.
The drivers door still did not fit after removing the A pillar so we removed the rocker, tearing it up in the process so had to order a new one.
The top installed helped line the doors up, drivers side door is now on just don't have a picture yet.
I picked up a set of seats for almost nothing, they will be re done to match the interior. I needed them to make fit the roll cage around.
#12
06-01-2012, 07:17 PM
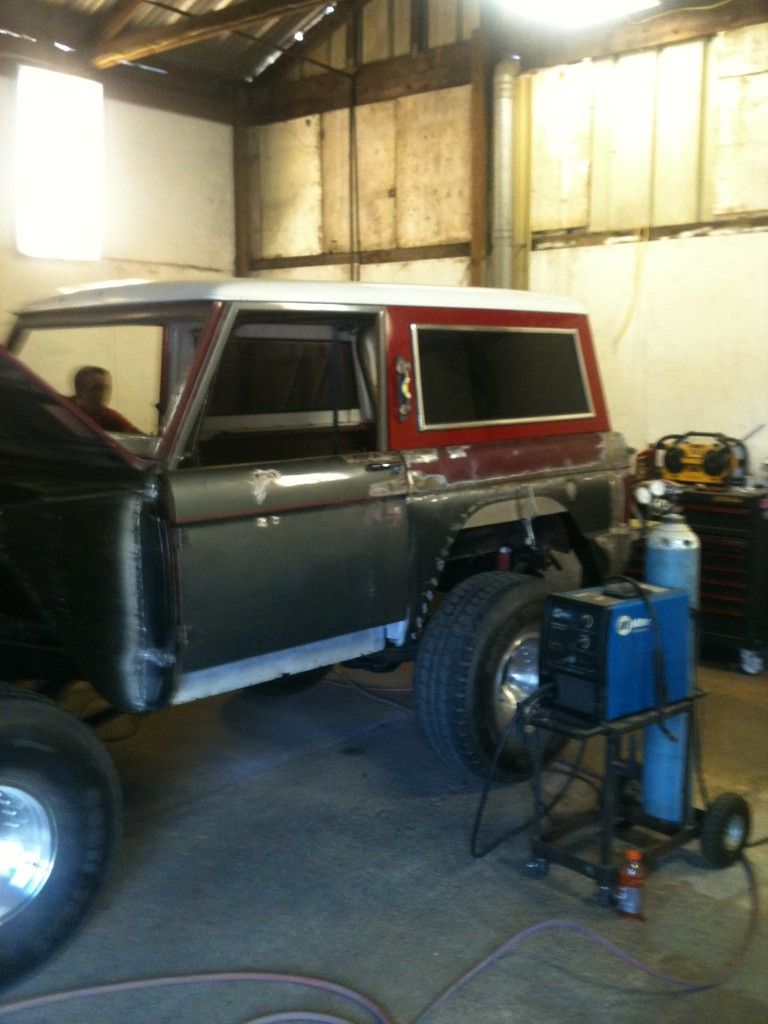
Made some good progress this week, would have been better but delayed by not enough parts to work with.
This is how it sits at the moment.
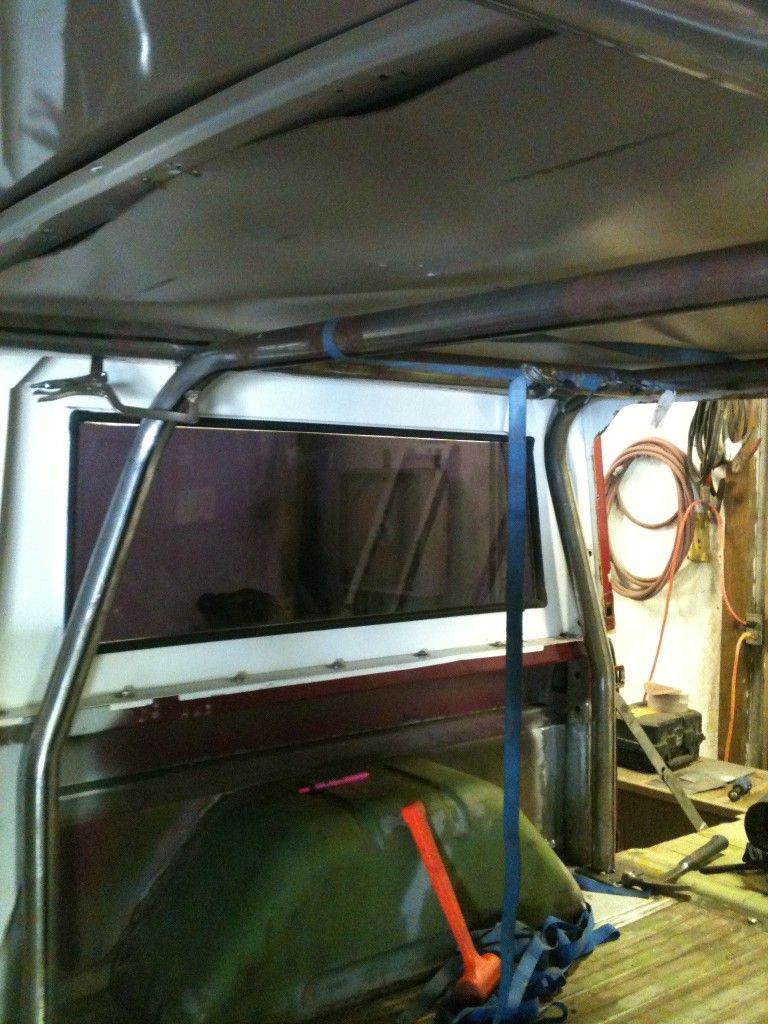
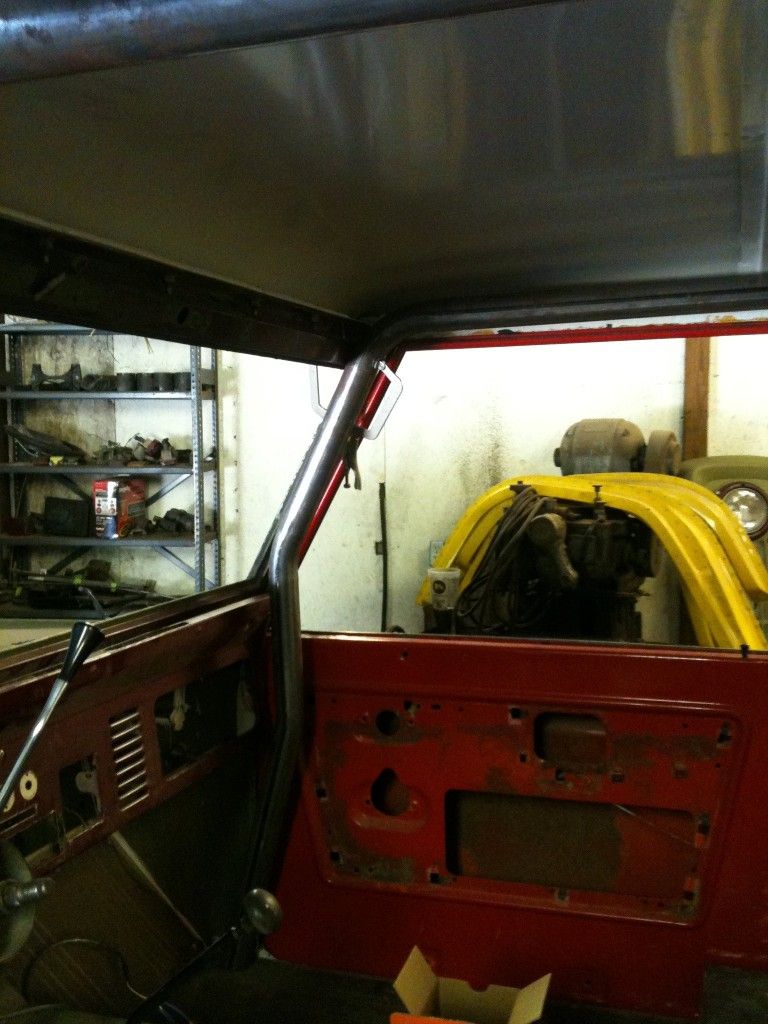
Started fabing up the cage. the top will be removed for final welding.

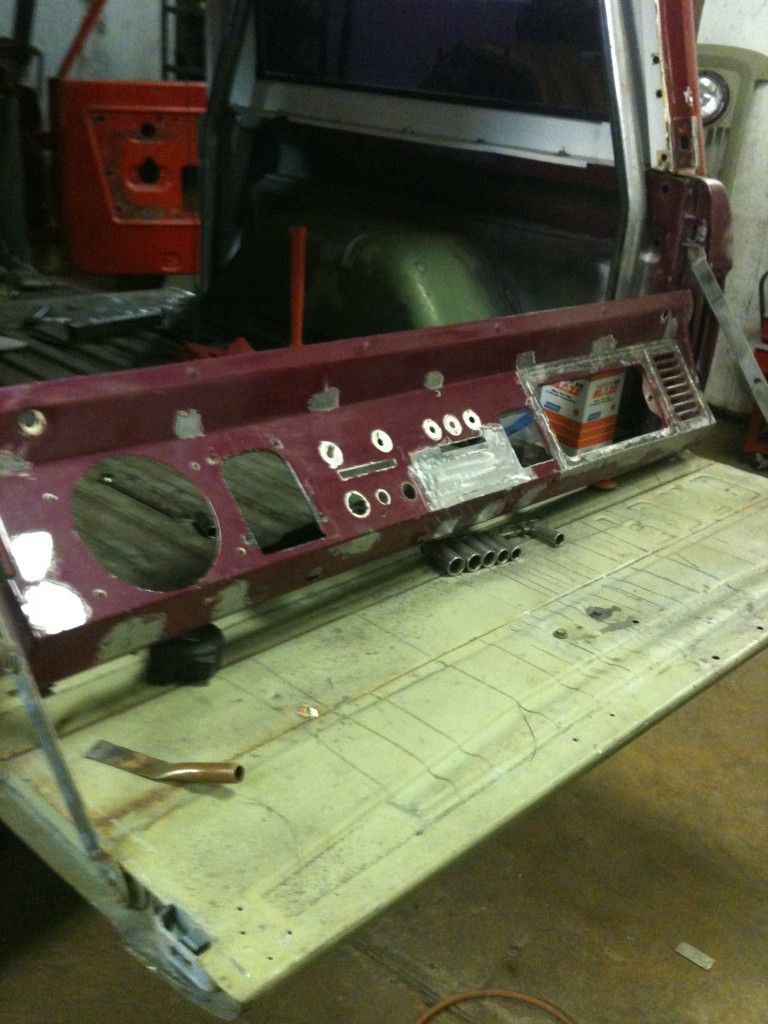
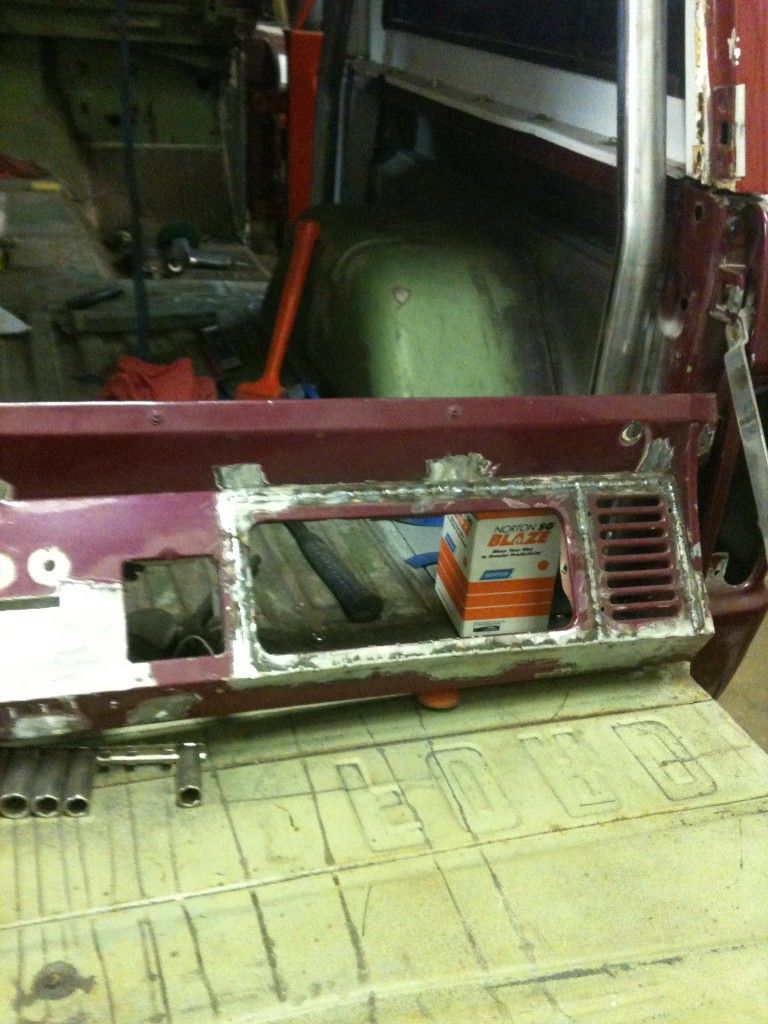
The cage had interference with the glove box door opening so we switched the glove box with the front speaker to allow full access to the glove box. Also welded up where some one had hacked a cd player into the dash at some point. New cd player will go into the center console.
This is how it sits at the moment.
Started fabing up the cage. the top will be removed for final welding.
The cage had interference with the glove box door opening so we switched the glove box with the front speaker to allow full access to the glove box. Also welded up where some one had hacked a cd player into the dash at some point. New cd player will go into the center console.
#15
09-13-2012, 09:00 PM
The pre-bent cage went well until the a pillar bars were tacked in, the dash pad would not work and the cage could not be moved back because the window cranks would not be operable. then someone cut all the hood latch brackets off the grill anther set back. So it got put on the back burner and worked on a few other projects. So today I met with a guy to bend me up some new bars and we will be back on this project in no time.