1966 F150 build
#61
 04-05-2012, 08:25 AM


#64
04-05-2012, 05:10 PM
Another good day for progress.
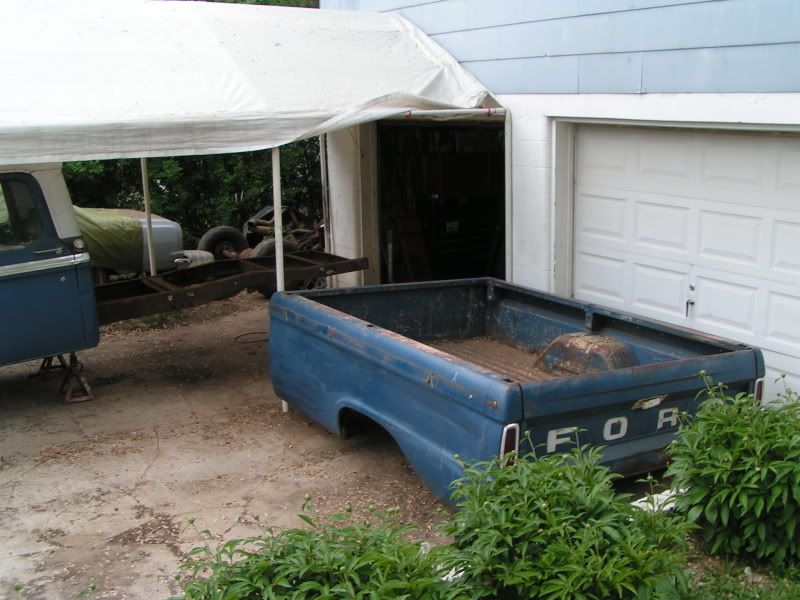
I got the bed off using my little engine hoist. It wasn't too bad, but I'm looking forward to using the I-beam next week.
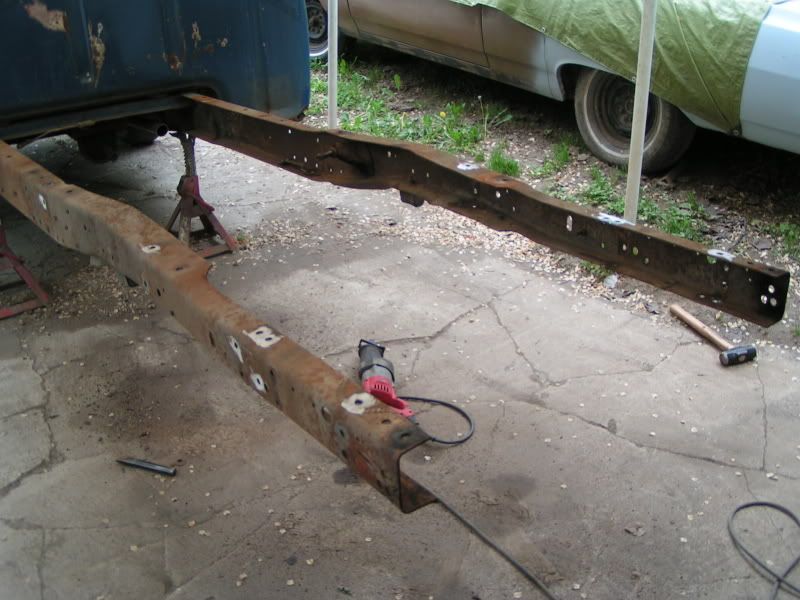
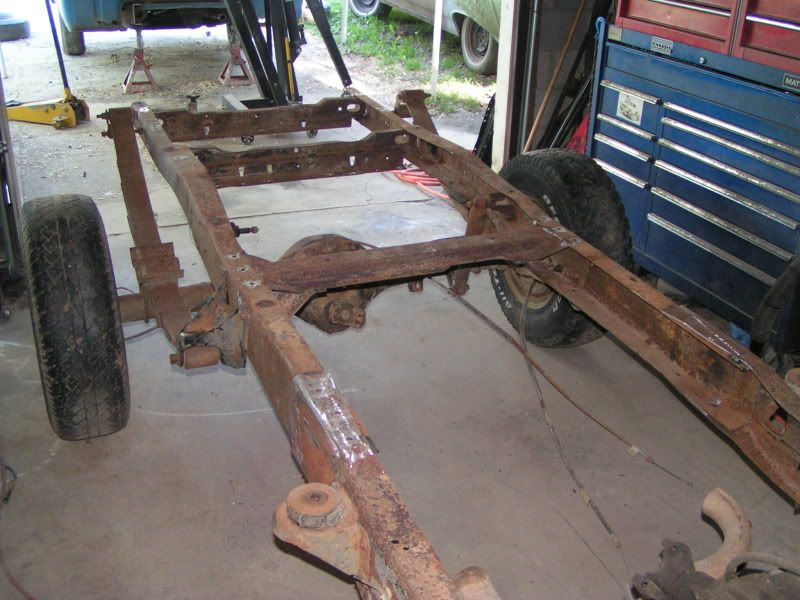
All of the demo work on both frames is done. (Woo Hoo) Now I can start building the new chassis.
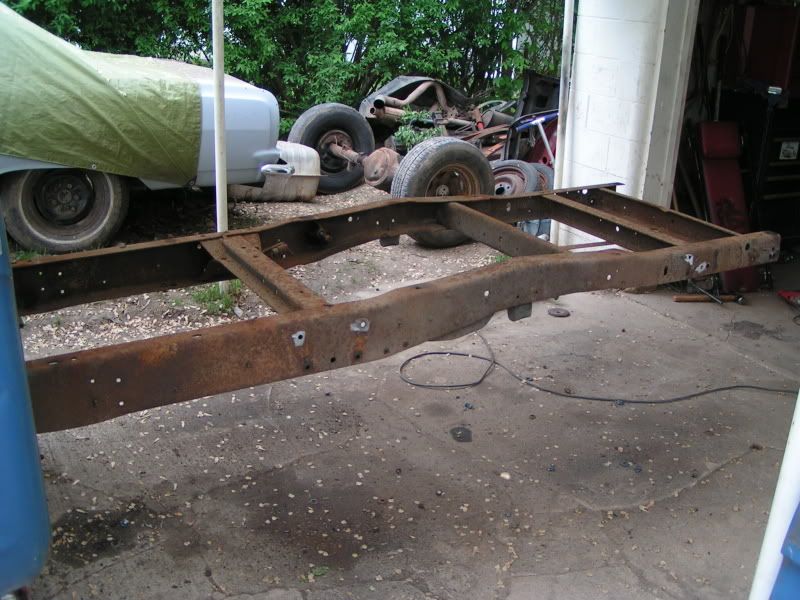

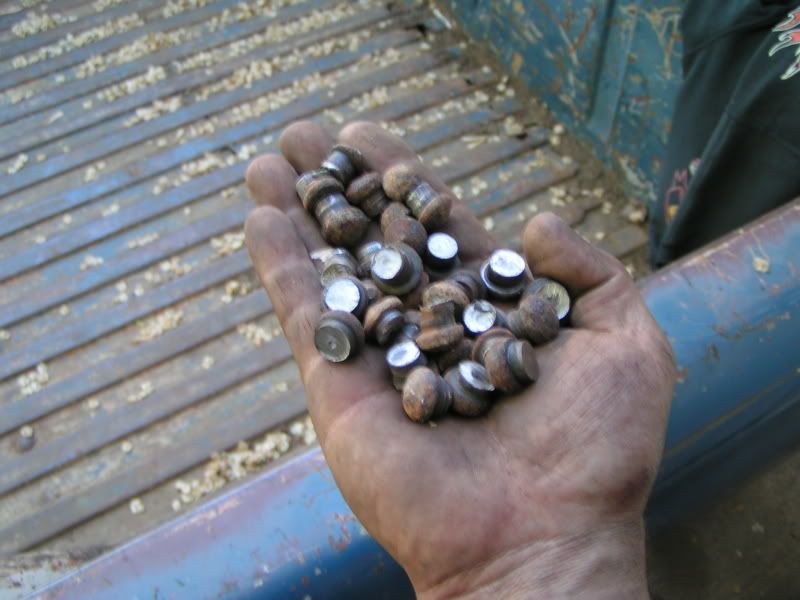
Here's all of the crossmembers out. I've ground out about 70 rivets between the two frames.
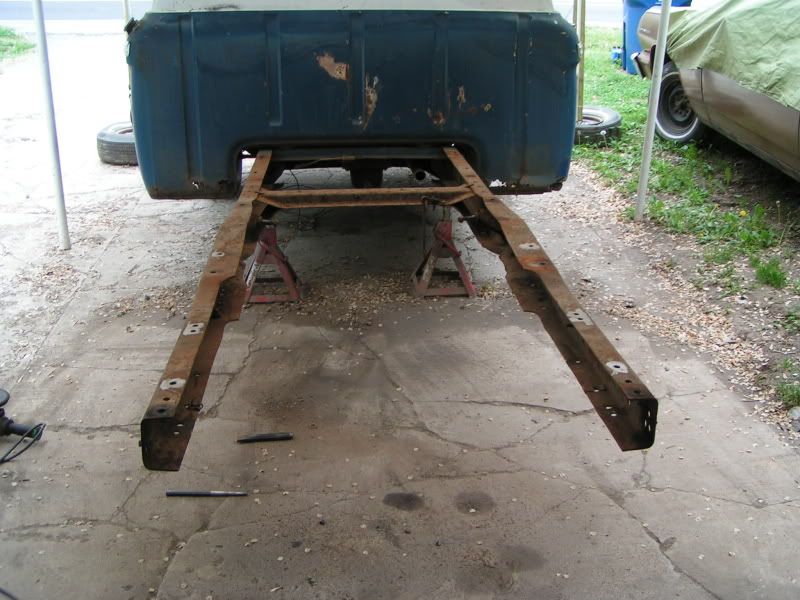
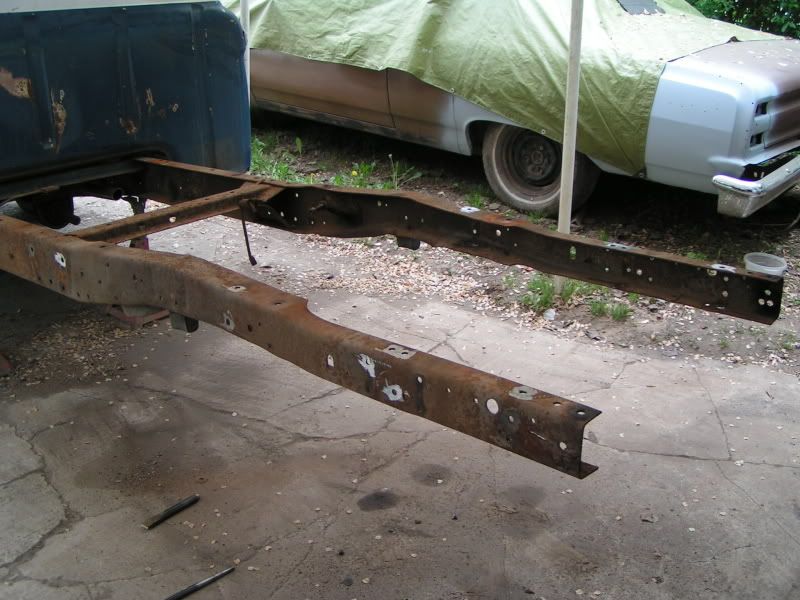
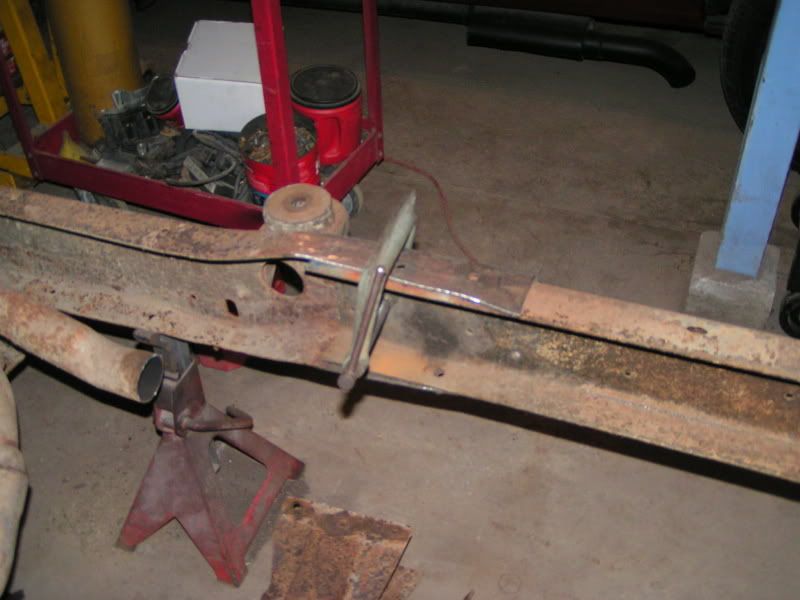
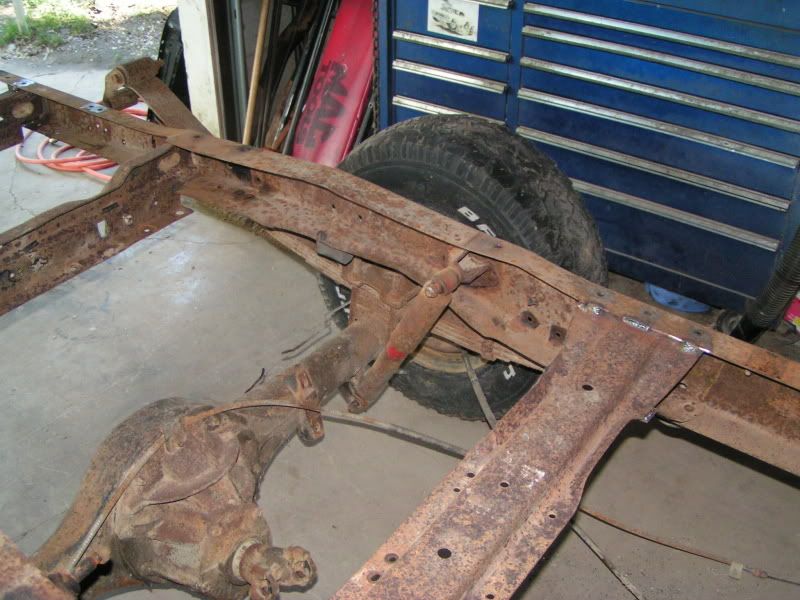
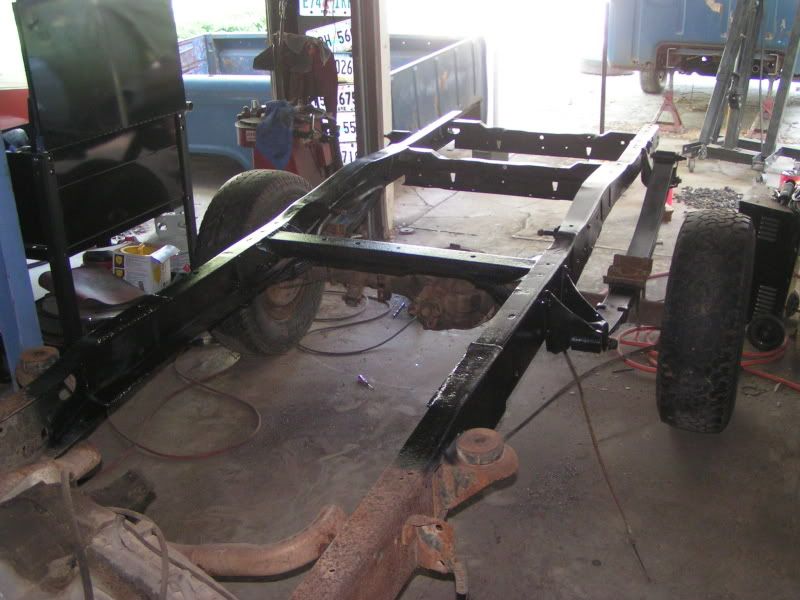
YES! So far, my math is working out. I have the rear section clamped in. The wheelbase is spot on. The frame rail sections fit perfectly like I planned. and it looks like I can have the rolling chassis I wanted tomorrow.

Here's a shot of the overlap where the sections fit together.
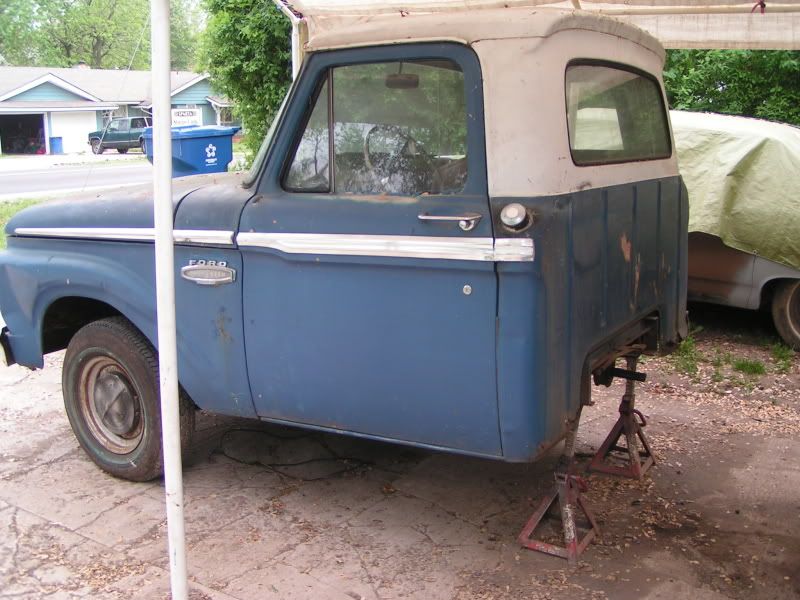
Here's the '66 after the frame was cut off. ...it's a little shorter.
I got the bed off using my little engine hoist. It wasn't too bad, but I'm looking forward to using the I-beam next week.
All of the demo work on both frames is done. (Woo Hoo) Now I can start building the new chassis.
Here's all of the crossmembers out. I've ground out about 70 rivets between the two frames.
YES! So far, my math is working out. I have the rear section clamped in. The wheelbase is spot on. The frame rail sections fit perfectly like I planned. and it looks like I can have the rolling chassis I wanted tomorrow.
Here's a shot of the overlap where the sections fit together.
Here's the '66 after the frame was cut off. ...it's a little shorter.
#65
04-06-2012, 07:46 AM
#66
04-06-2012, 08:08 AM
The wheelbase was exactly 2 feet longer than the Bronco. I was just going to stretch the bronco frame, but with the frame rails kicked up 4" in the back, I would have to do some serious fab on the body mounts. This way, the frame is stronger and the bed bolts right down with only a few holes drilled.
#72
04-06-2012, 08:16 PM
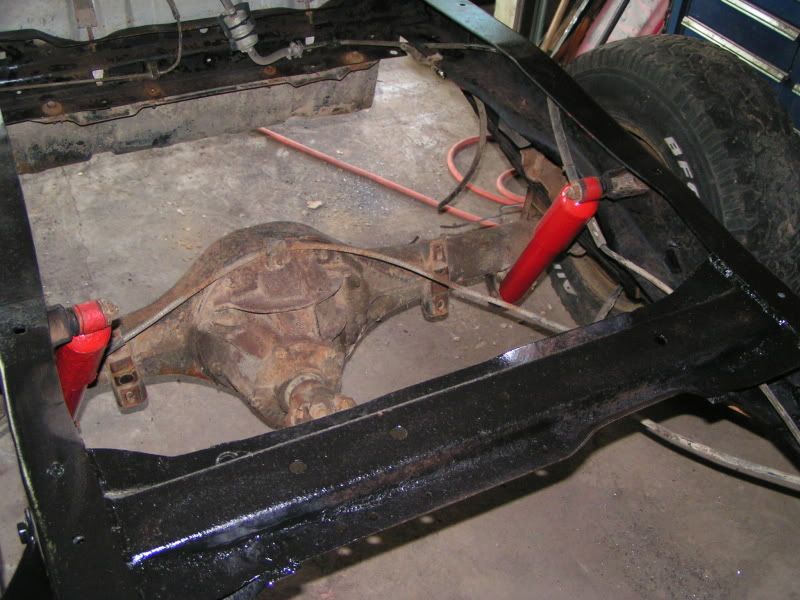
Well, I didn't get as far as I wanted, but I did get something done. It's almost a rolling chassis. I still have to mount the shackle mounts and finish weld everything. It's getting closer.
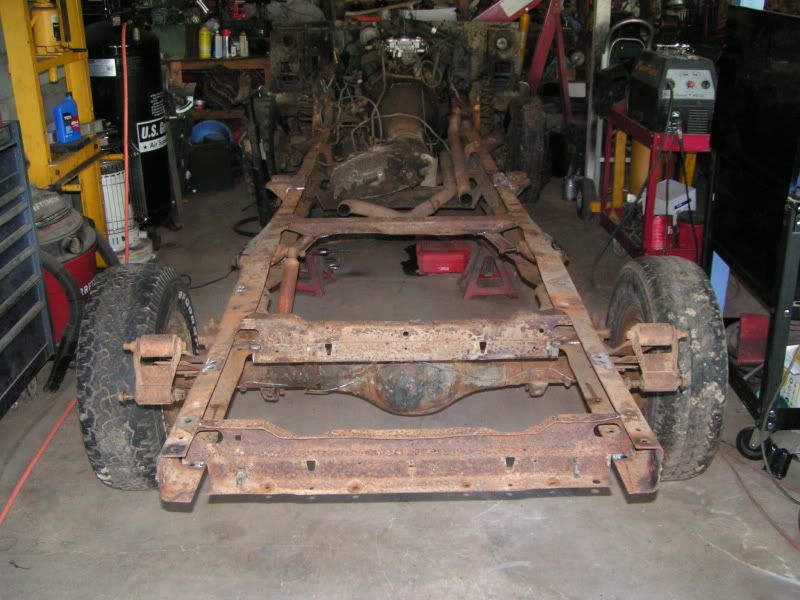
The shock isn't permanent. I need a longer shock. I just wanted to check the angle. (it's looks good.)
Here's about half of the rivets ground out. The other half was shot across the shop or yard.
The shock isn't permanent. I need a longer shock. I just wanted to check the angle. (it's looks good.)
Here's about half of the rivets ground out. The other half was shot across the shop or yard.
#73
04-09-2012, 06:44 PM
Another disappointing day. Every time I try to work on this thing, something always happens to slow me down. Today, it was my MIG gas. It was labeled 75%/25%, but that's not what was in the tank. It was a spattering mess. I swapped out the tank where I got it and now my welder works like new again.
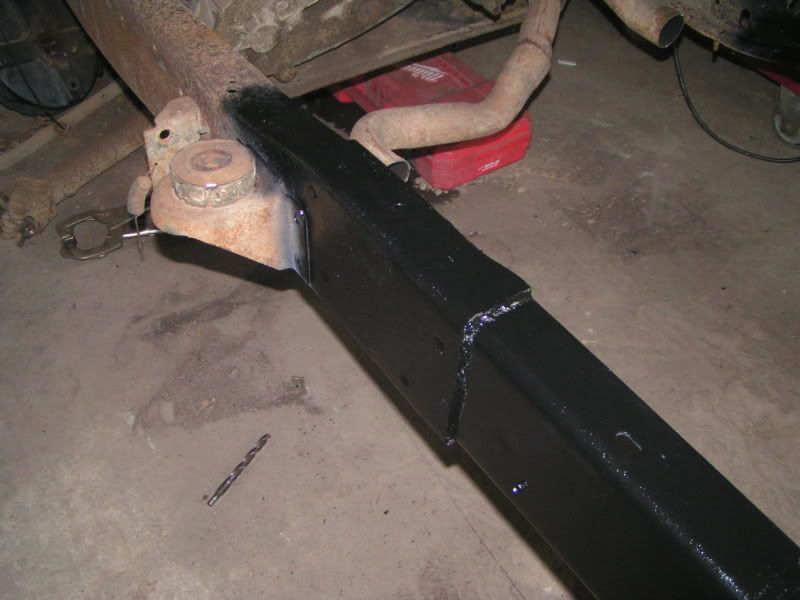
I got the chassis finalized. Everything is welded and set where it belongs.
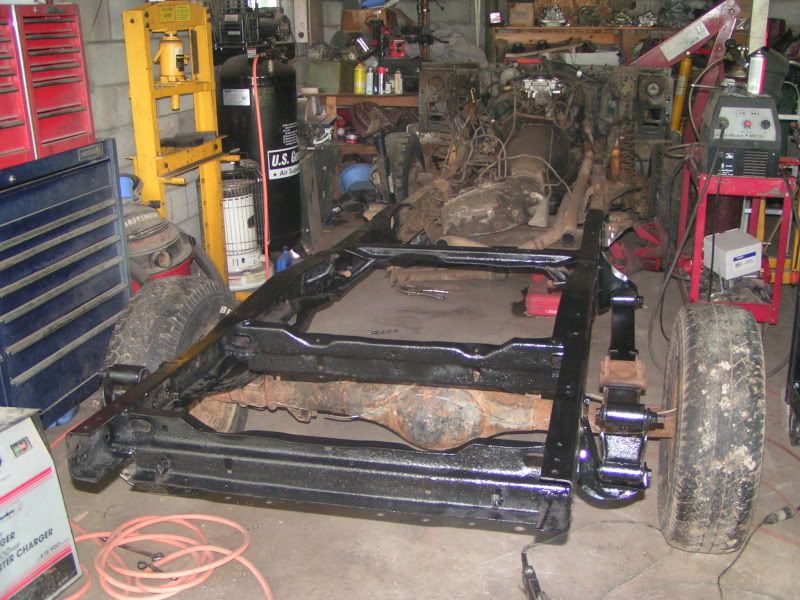
Here's a shot of the splice. Each side is plug welded in 9 spots along with a 10" overlap and 2 FEET of weld on each side. It ain't going NOWHERE!
I got the chassis finalized. Everything is welded and set where it belongs.
Here's a shot of the splice. Each side is plug welded in 9 spots along with a 10" overlap and 2 FEET of weld on each side. It ain't going NOWHERE!
#74
04-09-2012, 06:48 PM
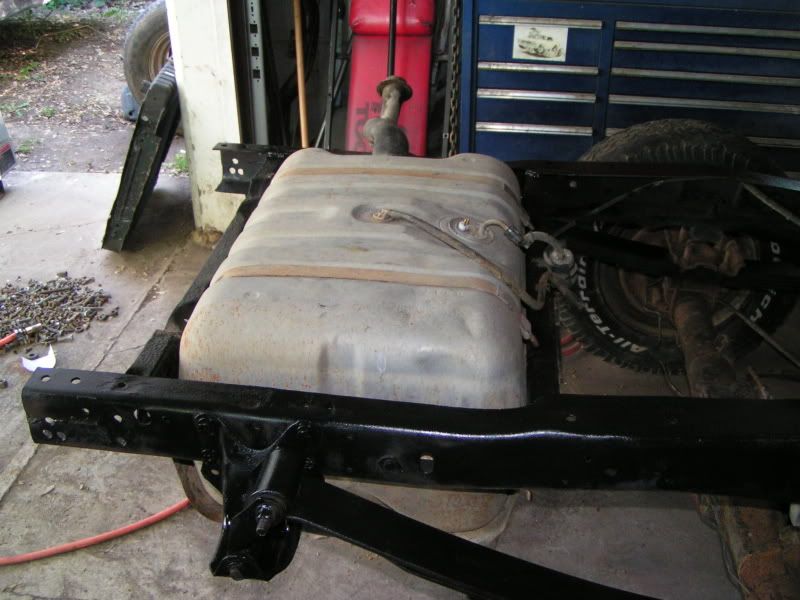
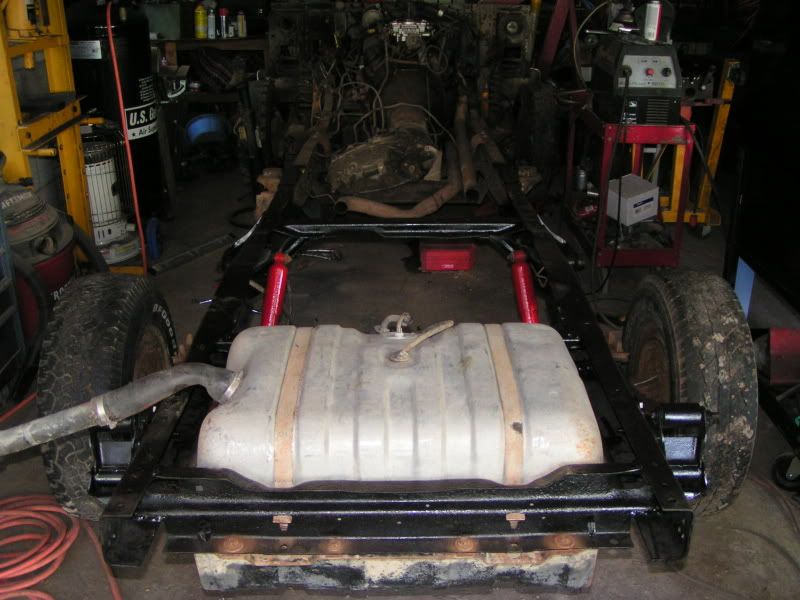
I started putting stuff back in the chassis. The gas tank is in. I may need a body lift or some creative welding to clear the crossmembers under the bed.
I cleaned and painted the Bronco shocks and put them back on.
I got the E-brake cable bracket back on too.
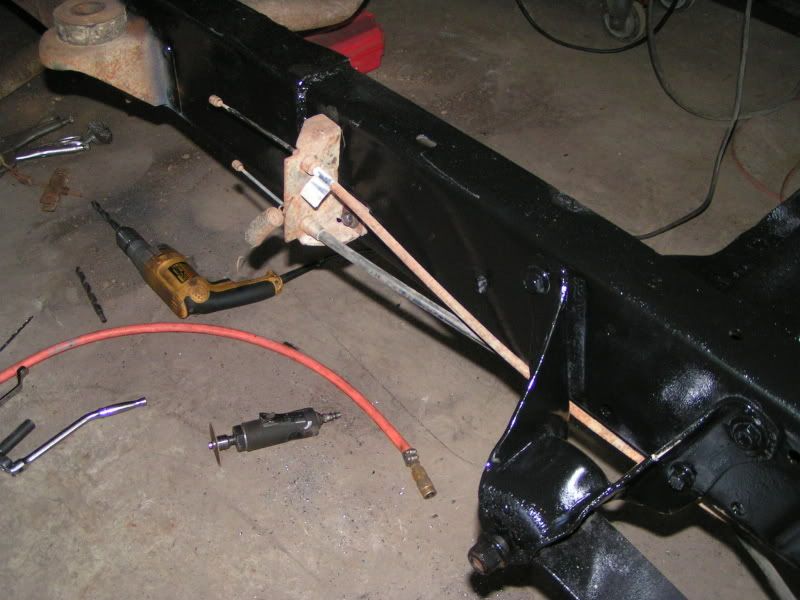
This is a super budget job. I'm to the point where he has to pony up some parts. I'll give him a list tomorrow. Here's where I left it today....
I cleaned and painted the Bronco shocks and put them back on.
I got the E-brake cable bracket back on too.
This is a super budget job. I'm to the point where he has to pony up some parts. I'll give him a list tomorrow. Here's where I left it today....