
Build Thread-My 1979 F100 2wd Flareside
#31
 04-25-2013, 09:39 PM

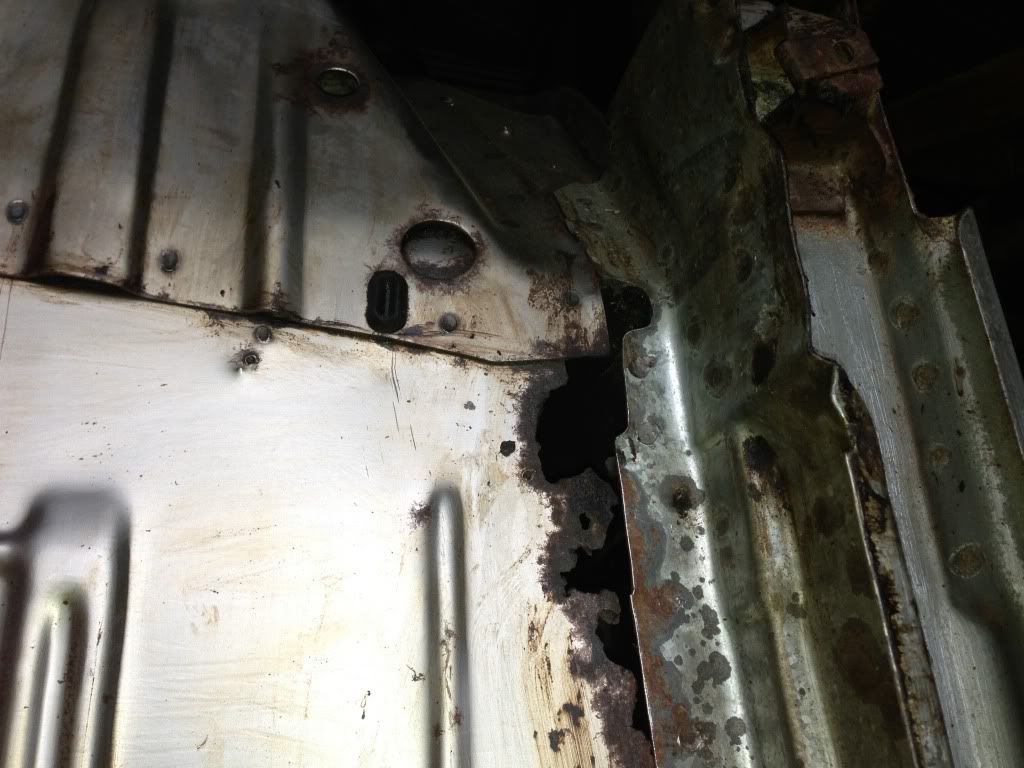
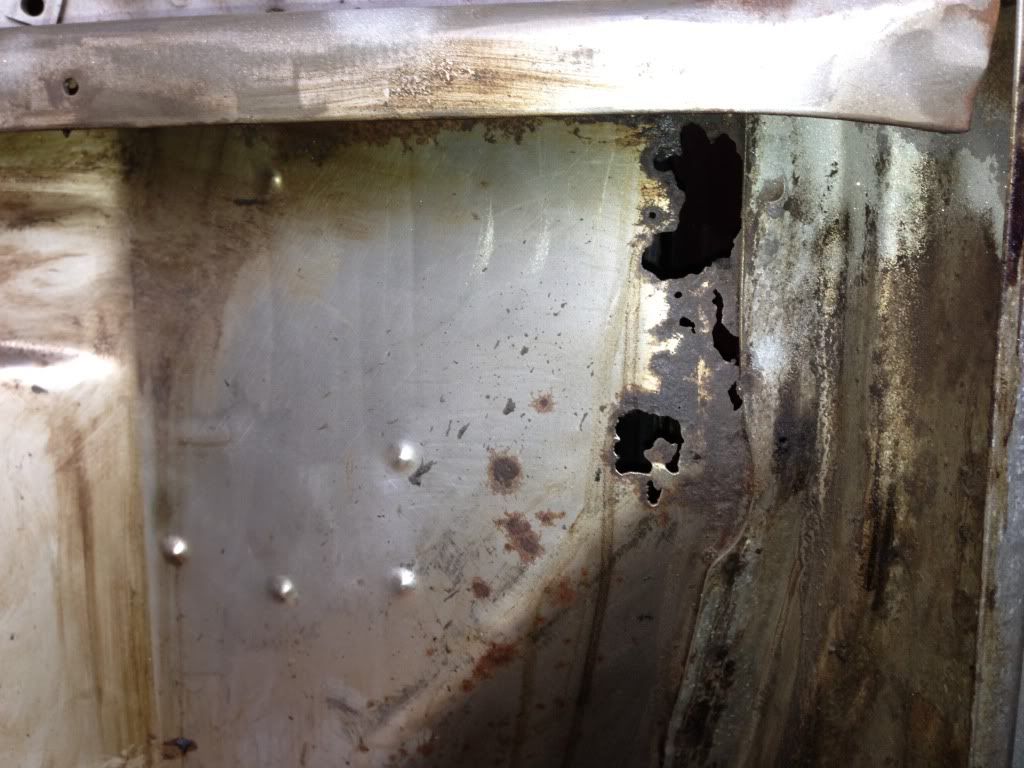
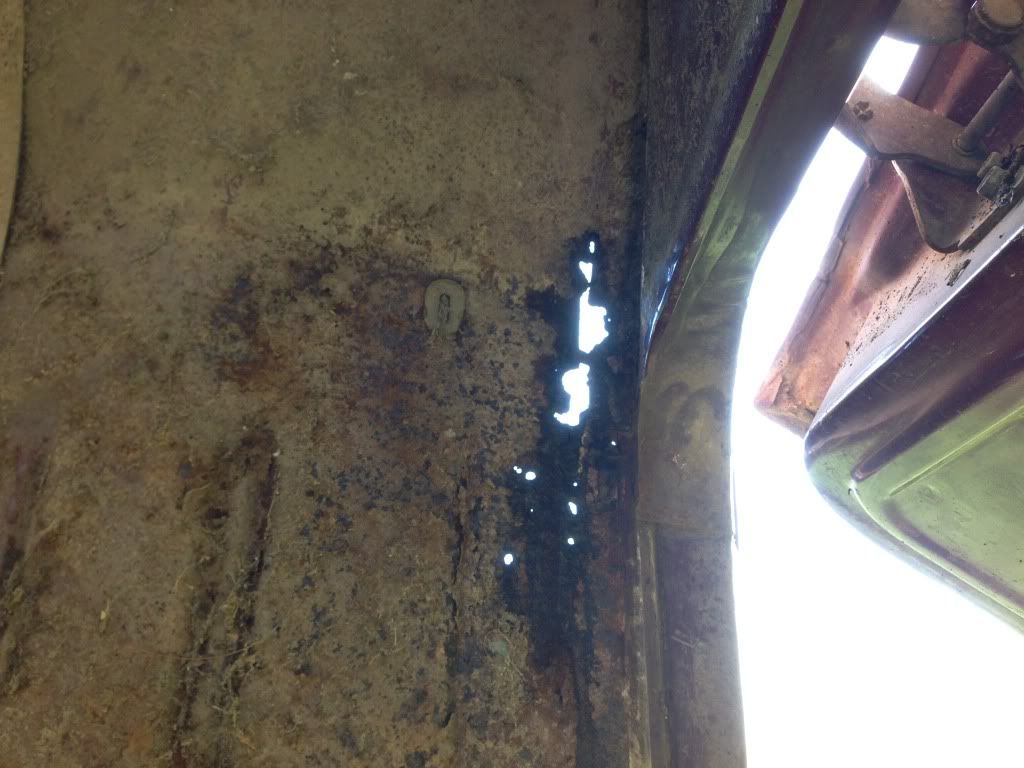
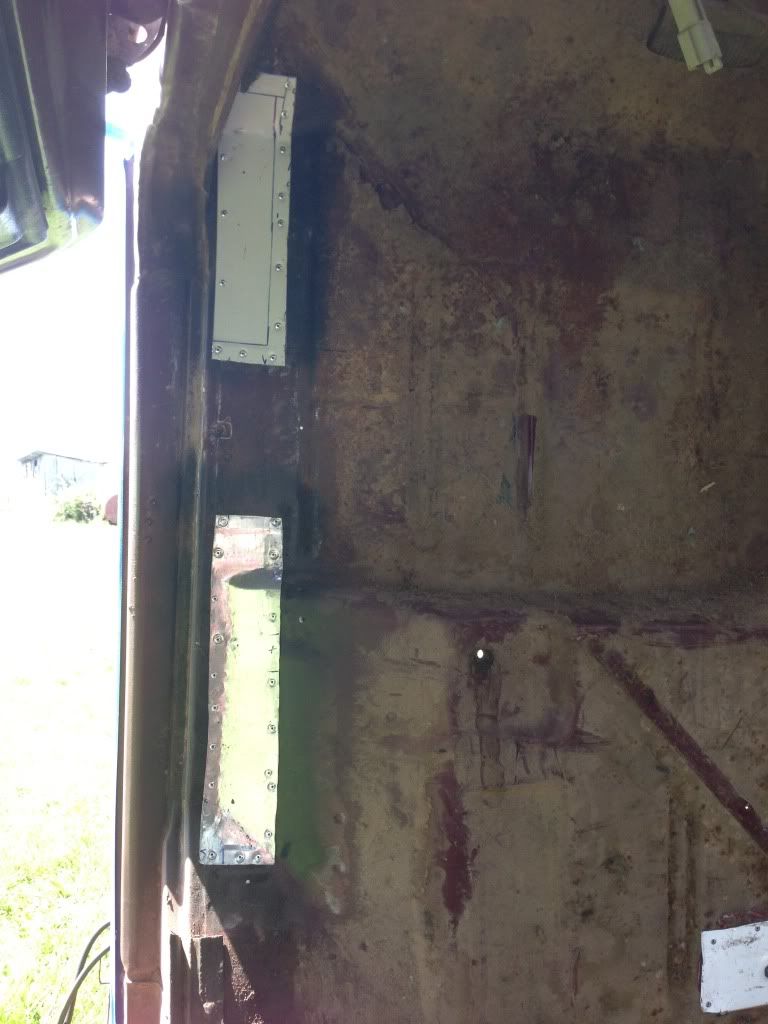
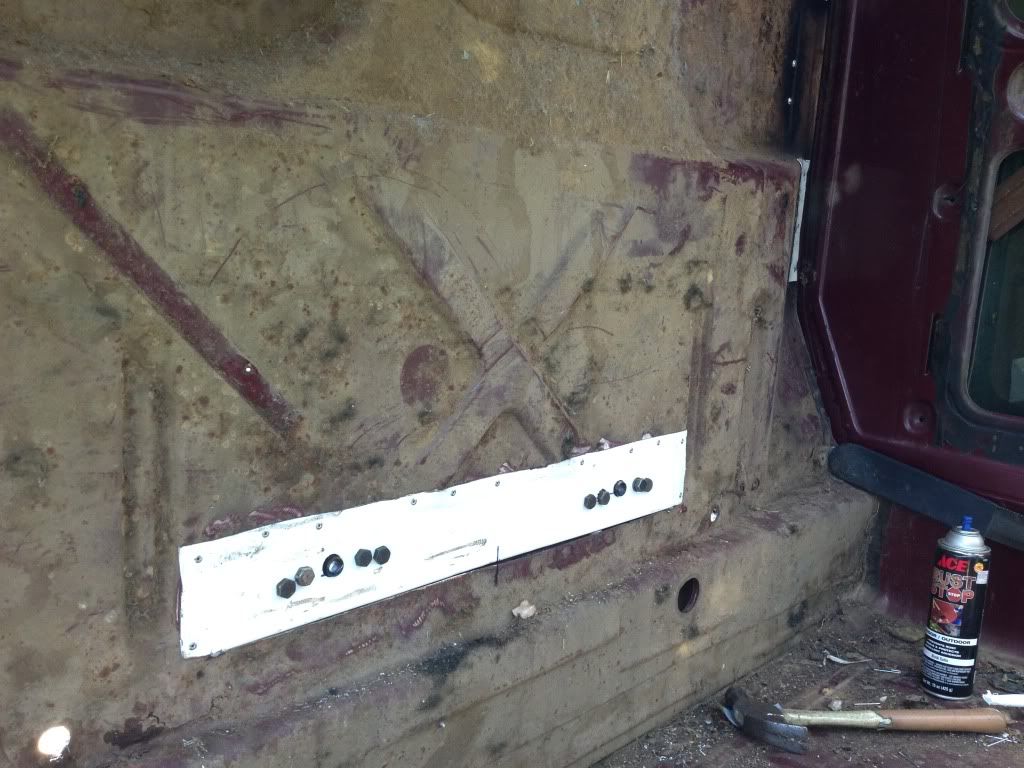
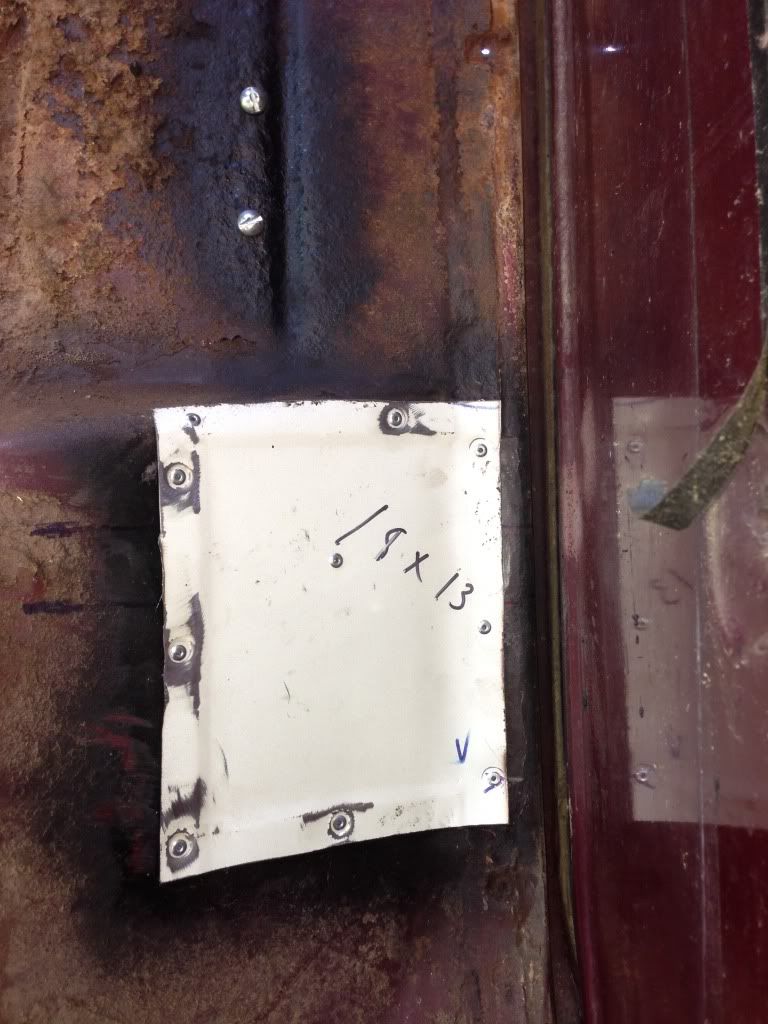
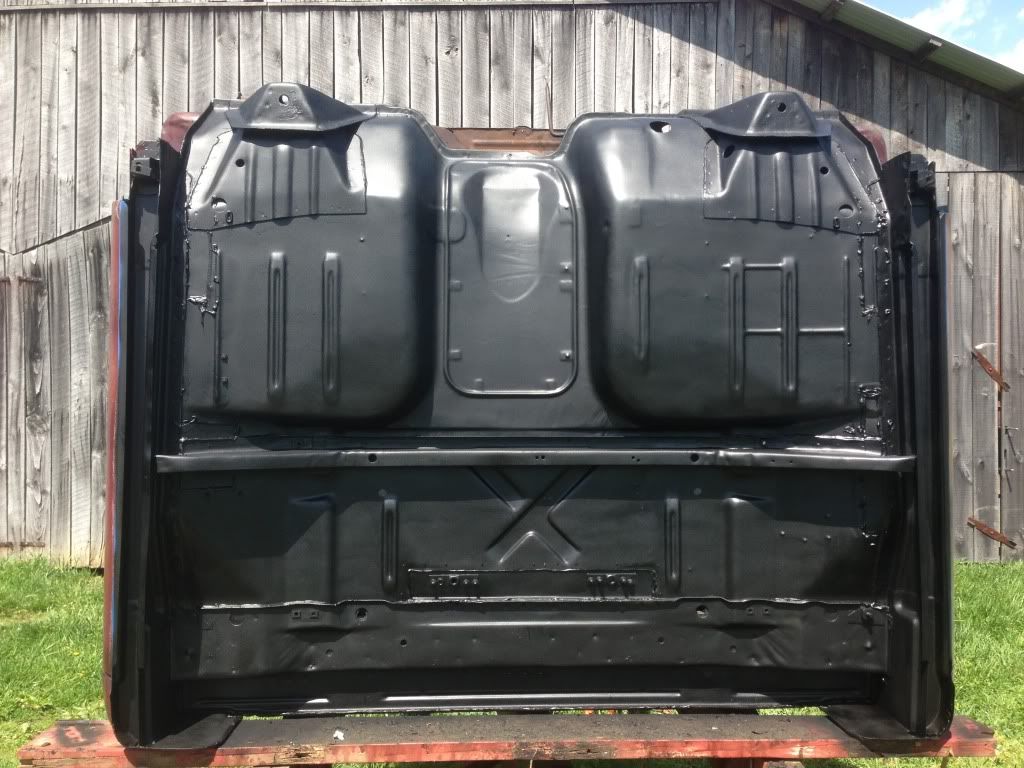
Well update for now. I have finished patching the holes in my floor with homemade patch panels. My metal source, in continuing with the low-buck build, was the old dryer we just replaced. Pics below
Some before pics:
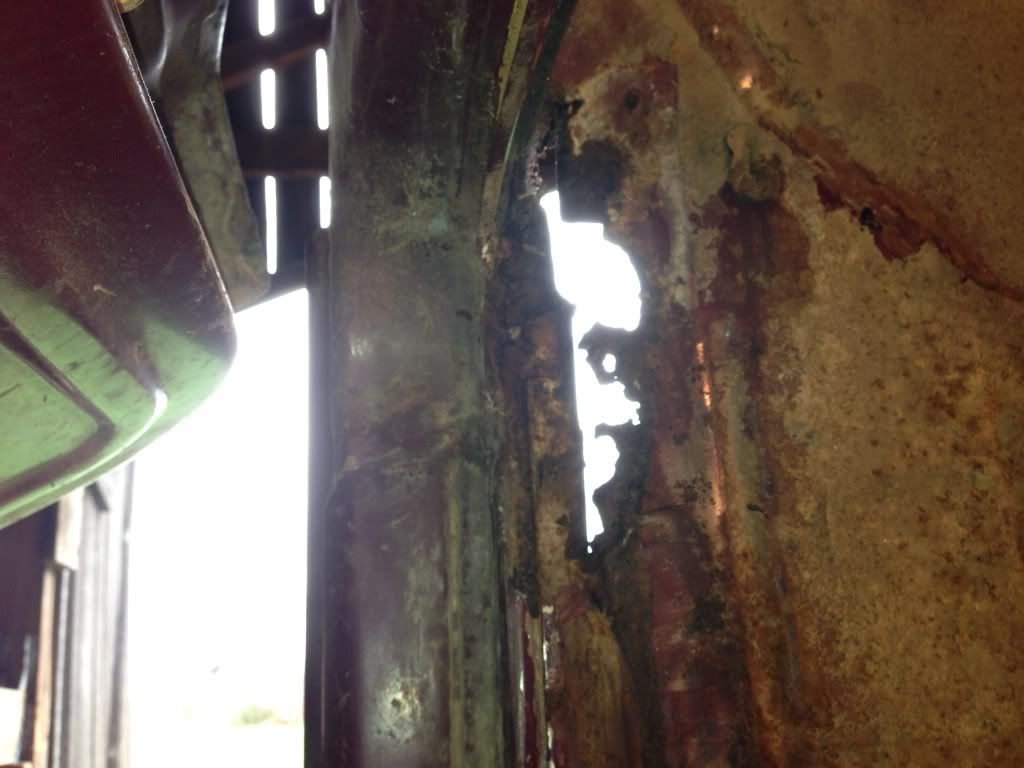
And final shots inside:

And underneath with the Rustoleum Truck Bed Liner sprayed on:
Some before pics:


And final shots inside:


And underneath with the Rustoleum Truck Bed Liner sprayed on:

#32
05-08-2013, 08:11 PM
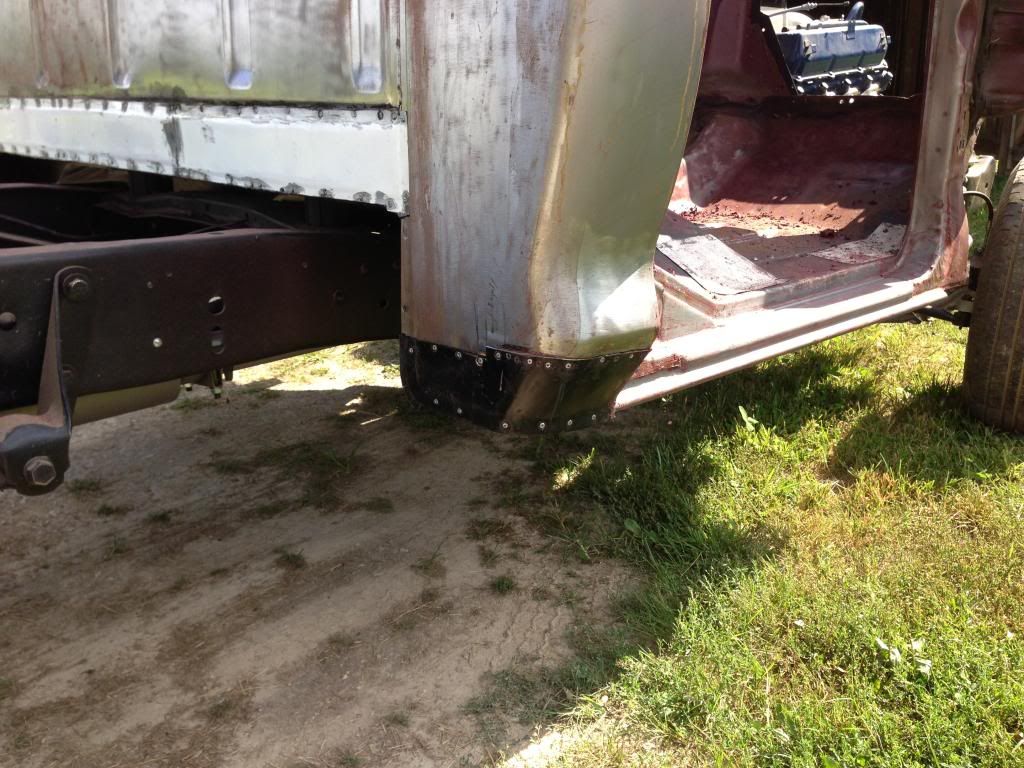
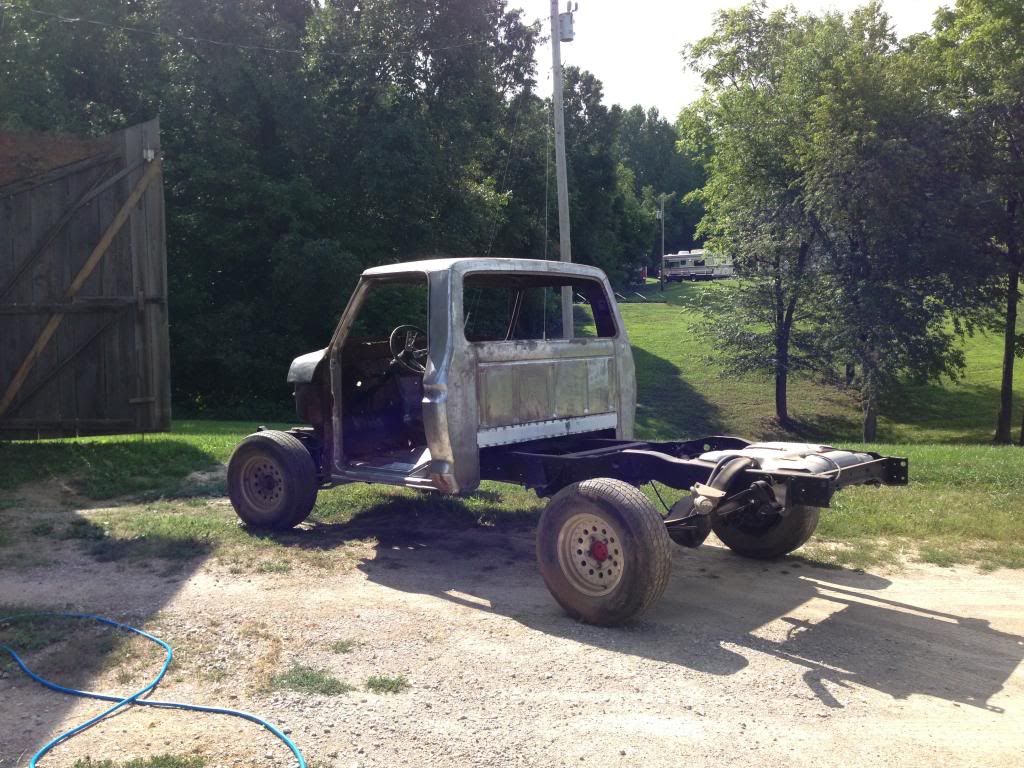
Well, update time again. I know have the cab back on the frame and ready to do more rust repair and bodywork. I have a distinct feeling that a lot of you guys will/would bust my chops for some of the repairs finished and upcoming, but this is a low-buck affair and I don't have a mig welder nor convenient access to someone with one. Anyway, on to some pictures.
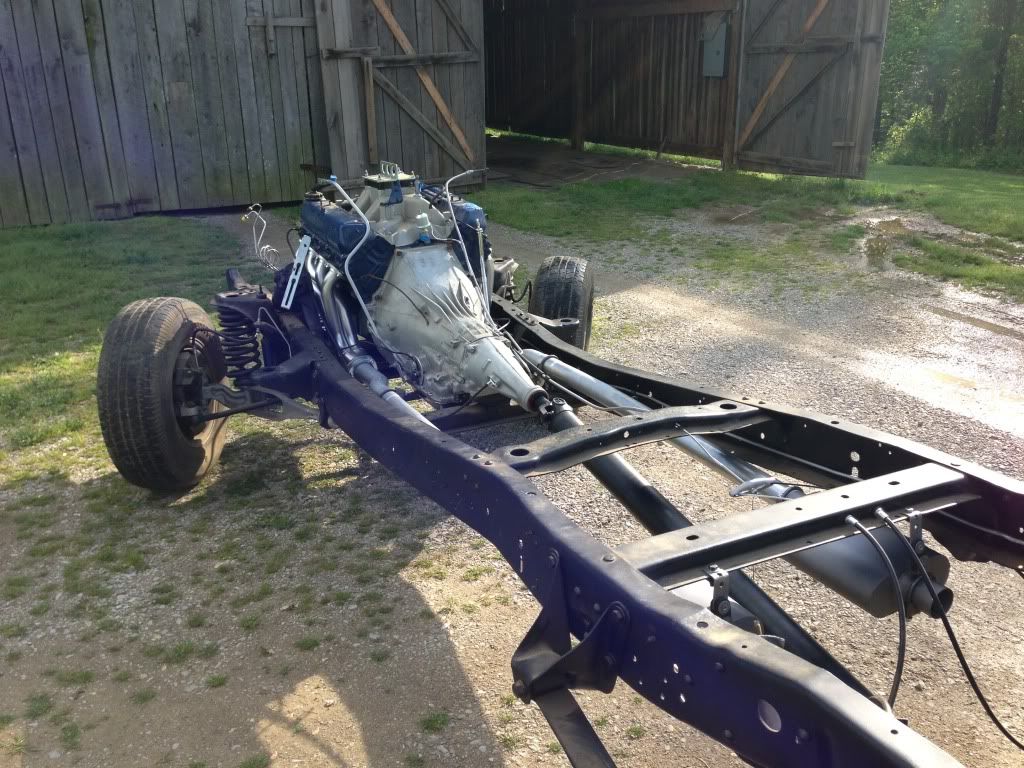
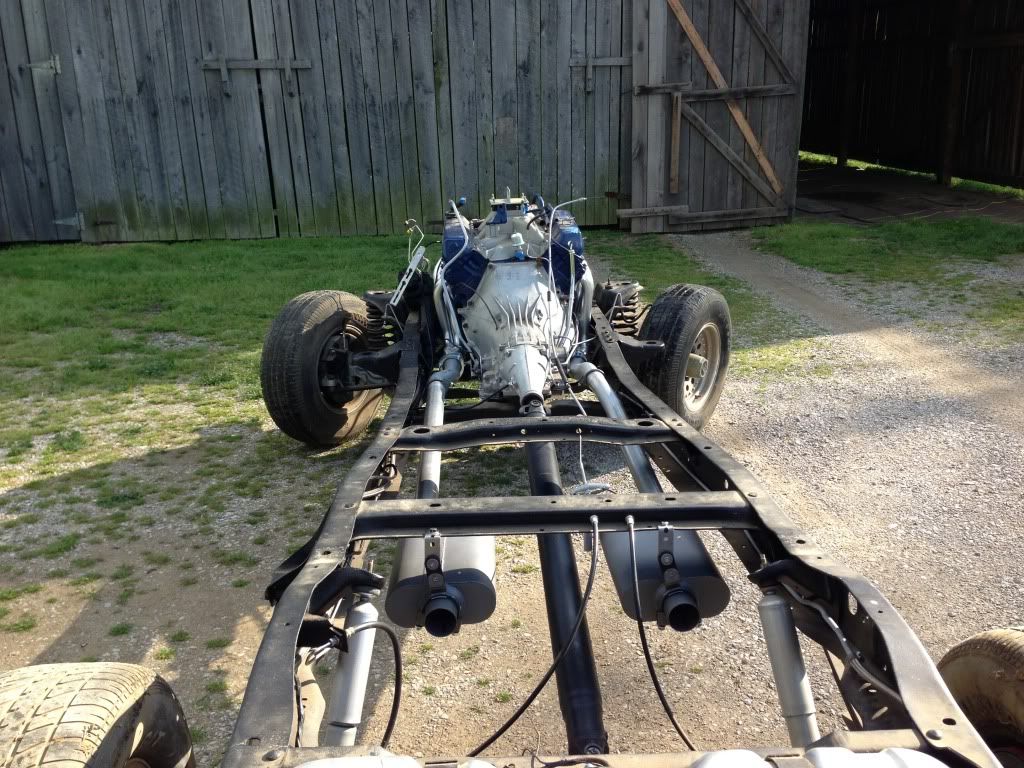
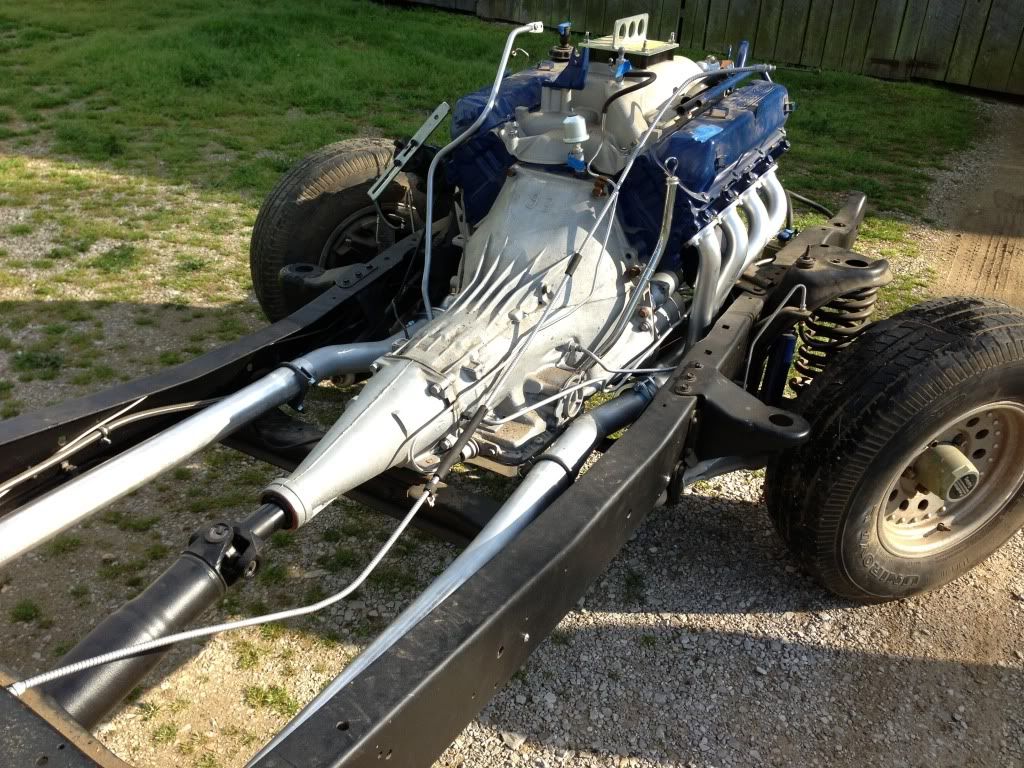
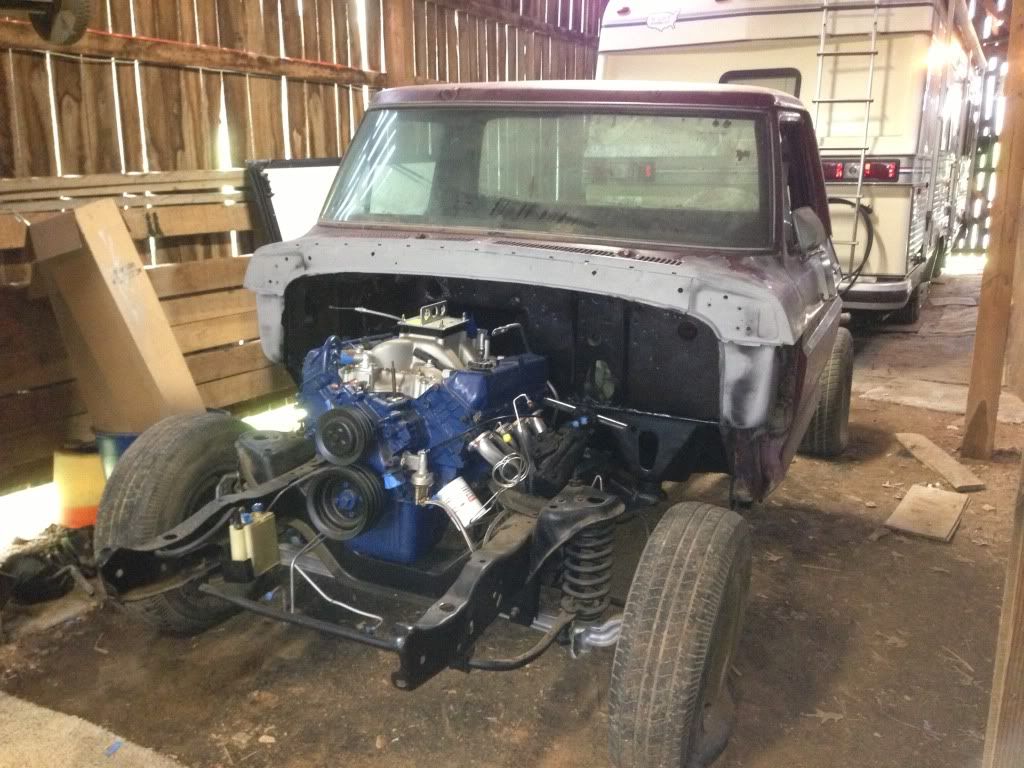
Here are some shot of the chassis since I put the "Hedders" and other knick knacks on:
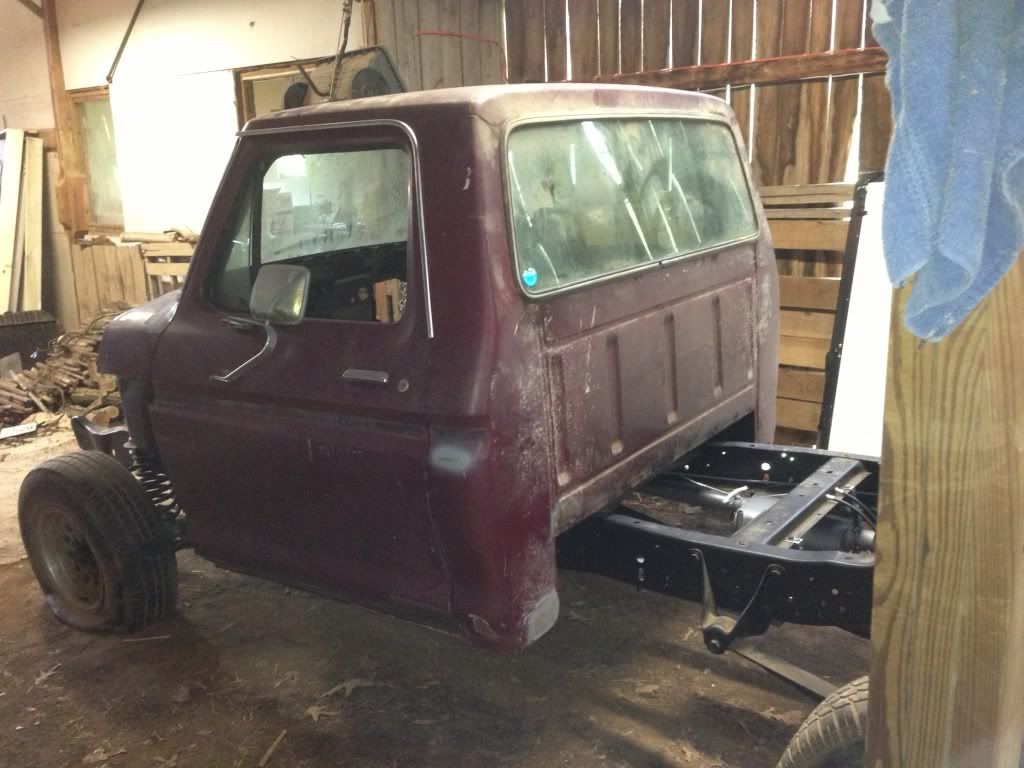
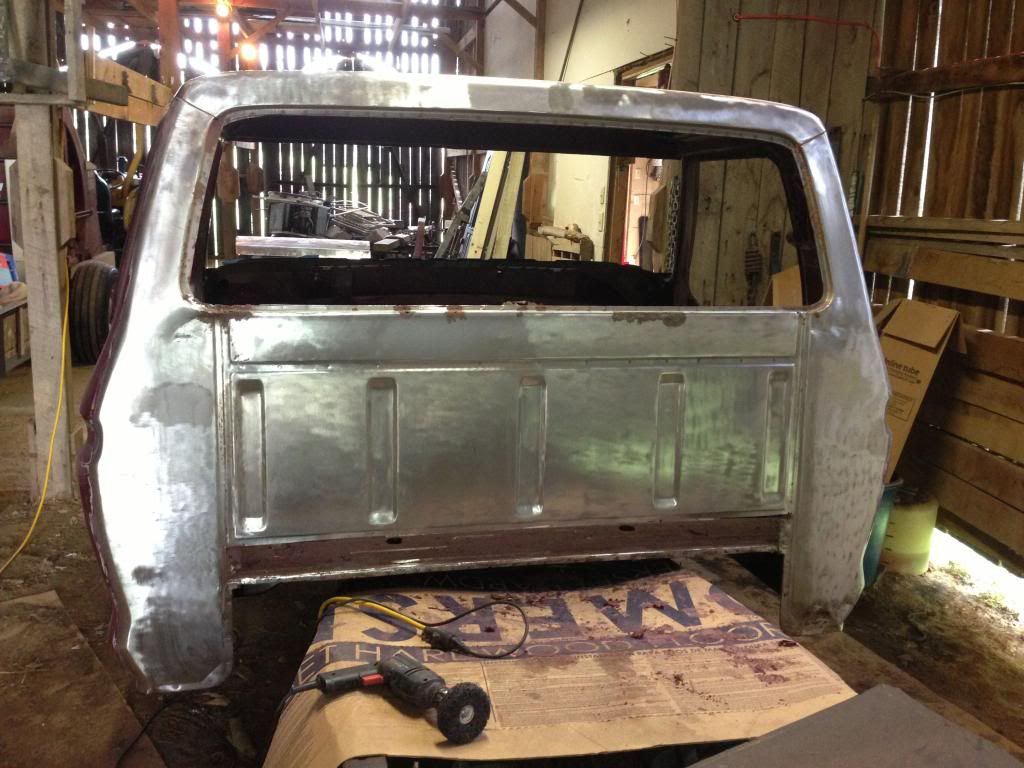
And now some of the cab back home. Please disregard the flat tires, they go down overnight!
That's all for now
Here are some shot of the chassis since I put the "Hedders" and other knick knacks on:


And now some of the cab back home. Please disregard the flat tires, they go down overnight!


That's all for now
#33
07-30-2013, 08:11 PM


#34
07-30-2013, 09:38 PM
Posting Guru
Join Date: Jul 2012
Location: Southern Illinois
Posts: 1,119
Likes: 0
Received 0 Likes
on
0 Posts
#35
08-02-2013, 08:40 PM
Small Progress
Well, like I posted in another thread, I have been stripping the paint off of the back of the cab to do rust and body repair. Well, being a cheap @$$ and a broke former college student (returned after 20 years), I had to do it the redneck way instead of media blasting. Took some aircraft stripper and this:

And after 10-12 hours I get this:
I just have the back done, not the rest. In addition, I got the cowl stripped and a door about 1/2 way done.
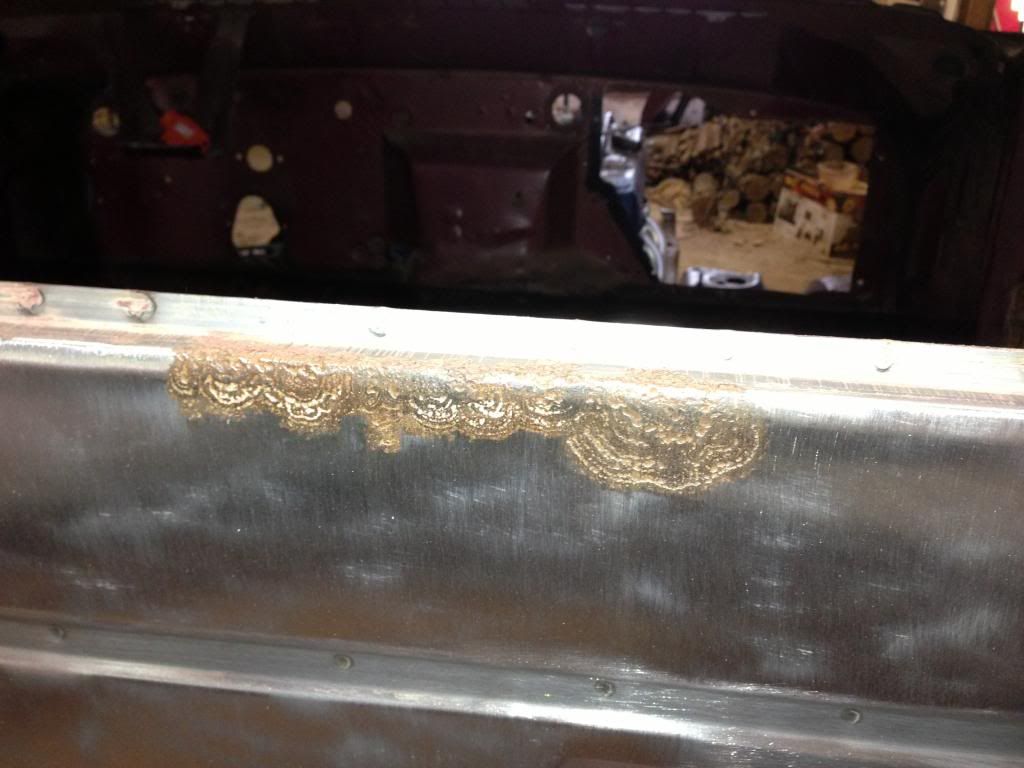
Now for a question. Need opinions. What should I do with the rust in the next picture? Seems structurally sound, no holes. I am going to be applying an epoxy primer after bodywork.
List any and all suggestions, thanks!

And after 10-12 hours I get this:

I just have the back done, not the rest. In addition, I got the cowl stripped and a door about 1/2 way done.
Now for a question. Need opinions. What should I do with the rust in the next picture? Seems structurally sound, no holes. I am going to be applying an epoxy primer after bodywork.

List any and all suggestions, thanks!
#37
08-03-2013, 12:25 AM
Posting Guru
Join Date: Jul 2012
Location: Southern Illinois
Posts: 1,119
Likes: 0
Received 0 Likes
on
0 Posts
#39
08-04-2013, 08:06 AM

Well, like I posted in another thread, I have been stripping the paint off of the back of the cab to do rust and body repair. Well, being a cheap @$$ and a broke former college student (returned after 20 years), I had to do it the redneck way instead of media blasting. Took some aircraft stripper and this:
#40
08-10-2013, 08:33 PM
Update time again. I have the entire cab stripped now. The outside anyways. I have repaired most of the rust on the cab now as well.

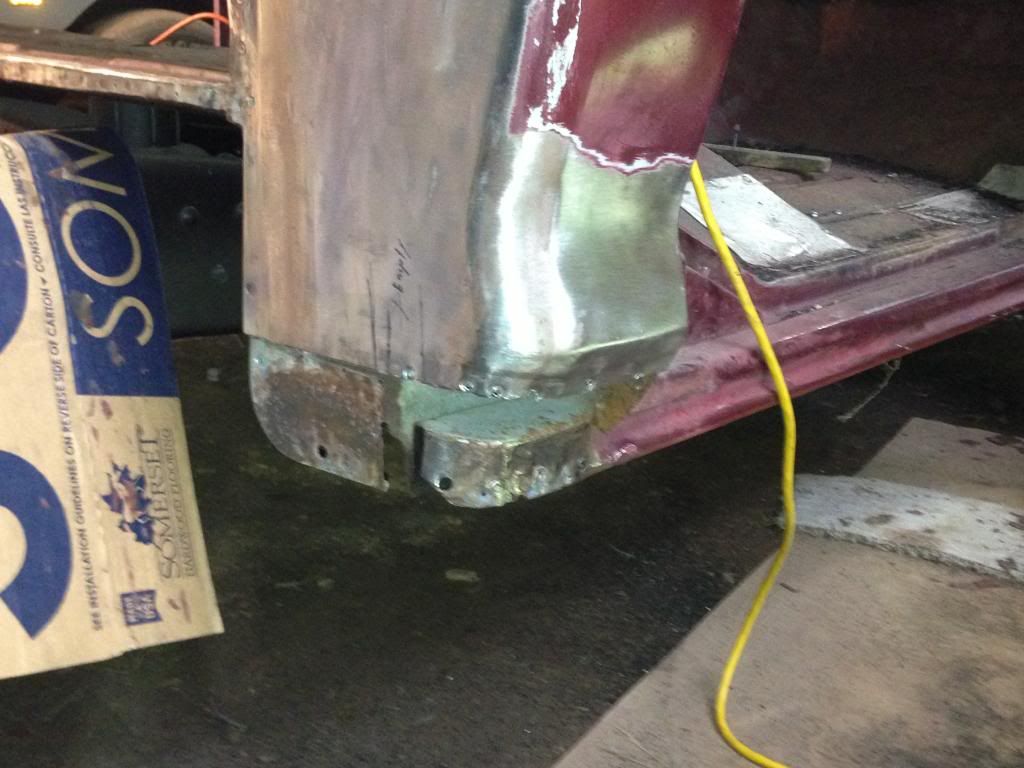
These were after cutting out the worst of the rust.
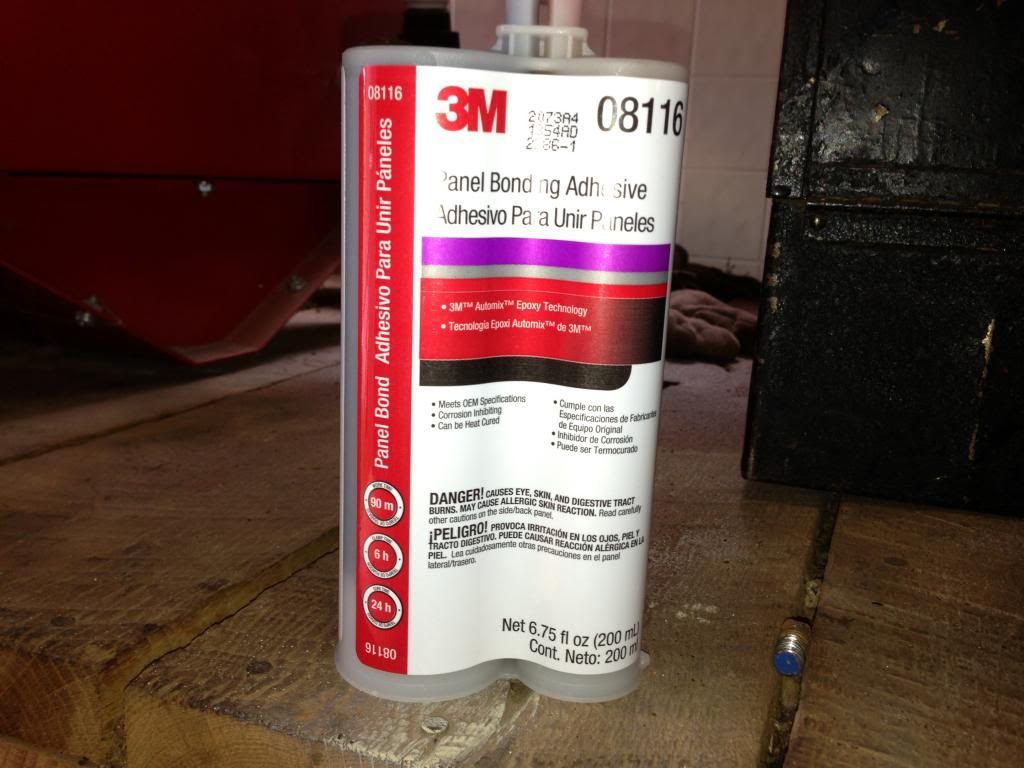
I used this for the repairs. So far, I am impressed.
And now as she sits:
I'm ready to start smearing "mud" now. Hope to get the epoxy on by next weekend.


These were after cutting out the worst of the rust.
I used this for the repairs. So far, I am impressed.

And now as she sits:


I'm ready to start smearing "mud" now. Hope to get the epoxy on by next weekend.
#41
10-16-2013, 07:06 PM
Wow, been a really long time since I updated this. Partially because I have been lazy on taking pictures, and partially because I have had some slow progress. I do have the cab in epoxy.
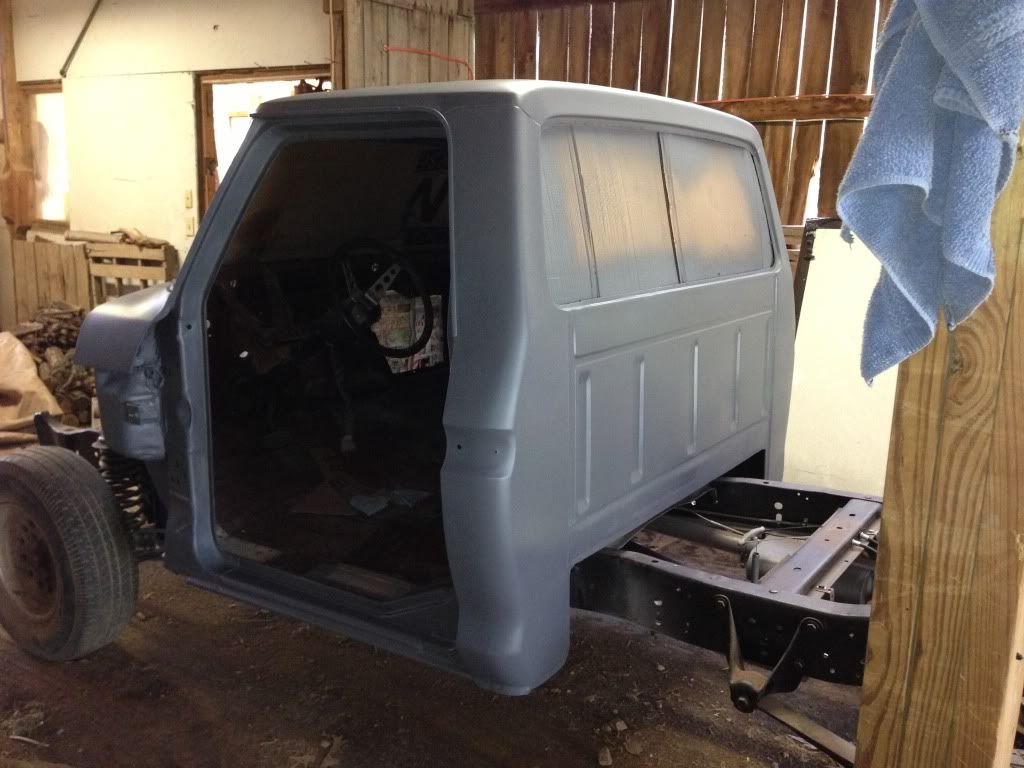
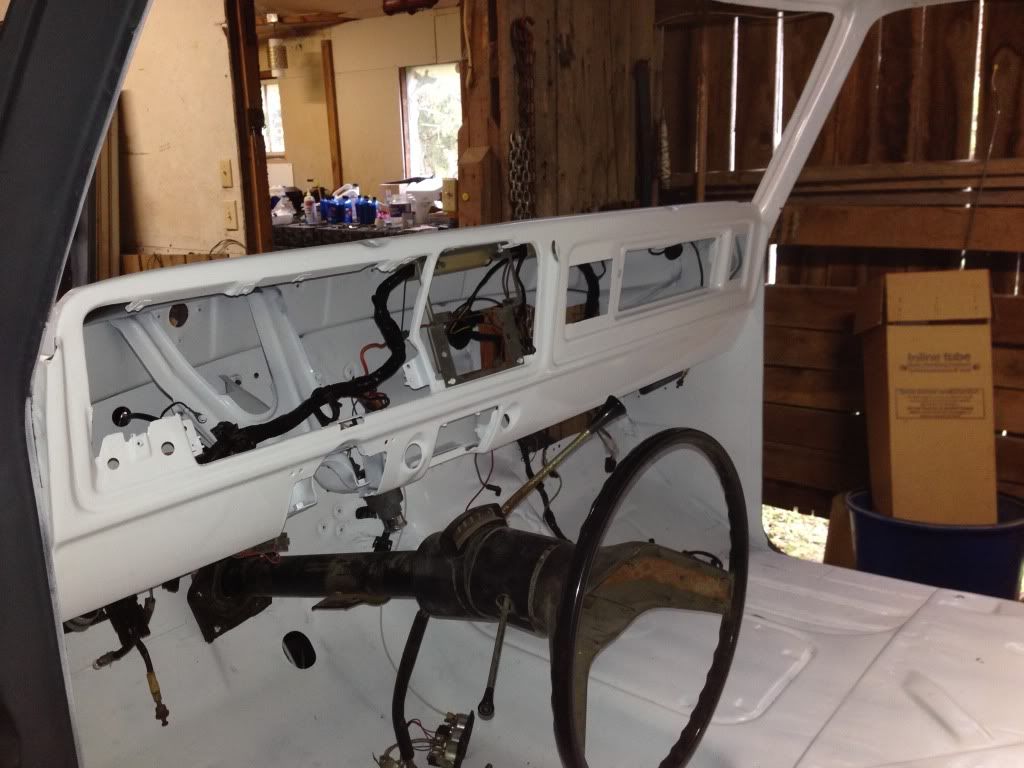
I also have the inside of the cab painted, along with the dash--
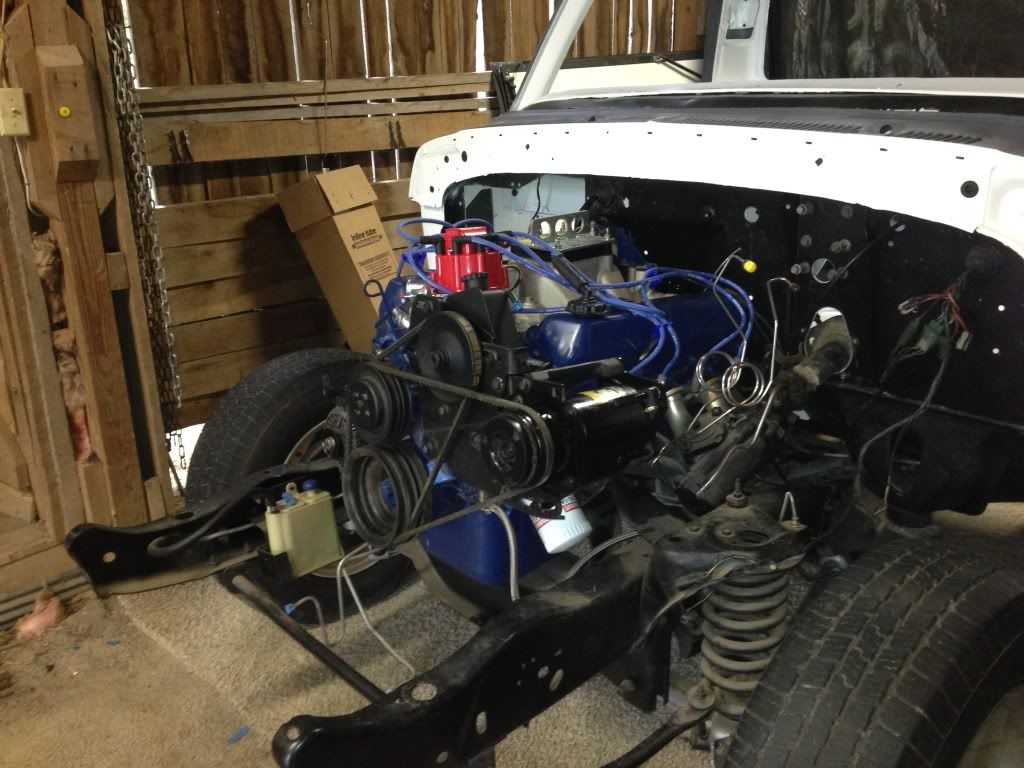
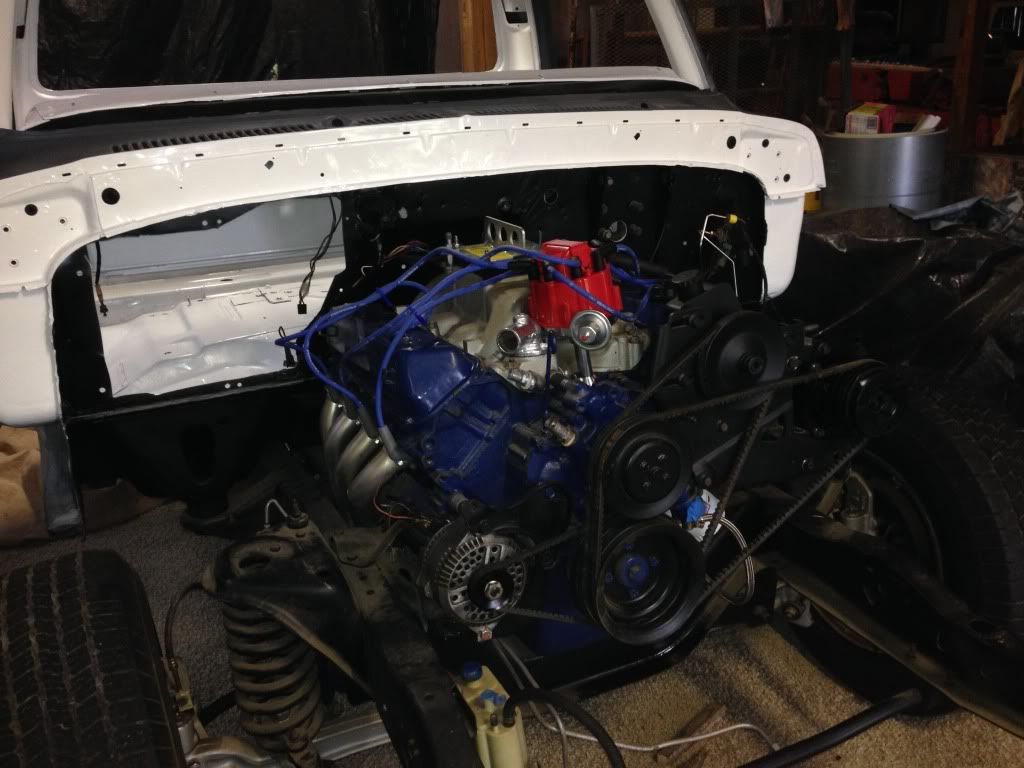
I also now have the engine close to firing up for the first time. I have added the accessories, updated to a 3G alternator, and the dreaded (or maybe praised) HEI dizzy.
I will post a video of the engine start up when that happens. Hopefully more regular progress updates in the future.

I also have the inside of the cab painted, along with the dash--

I also now have the engine close to firing up for the first time. I have added the accessories, updated to a 3G alternator, and the dreaded (or maybe praised) HEI dizzy.


I will post a video of the engine start up when that happens. Hopefully more regular progress updates in the future.
#42
10-16-2013, 09:58 PM
More Turbo
Coming along nicely, you and I are about the same pace. I tore my '79 down to the bare frame, wire wheeled it and rattle canned it. It is now a roller with one side of the box in epoxy and I'm currently piecing the cab together. Just the engine in it now, hopefully gonna get the trans in shortly, just cant decide between a T-18 or M5od.
#43
10-22-2013, 10:21 PM
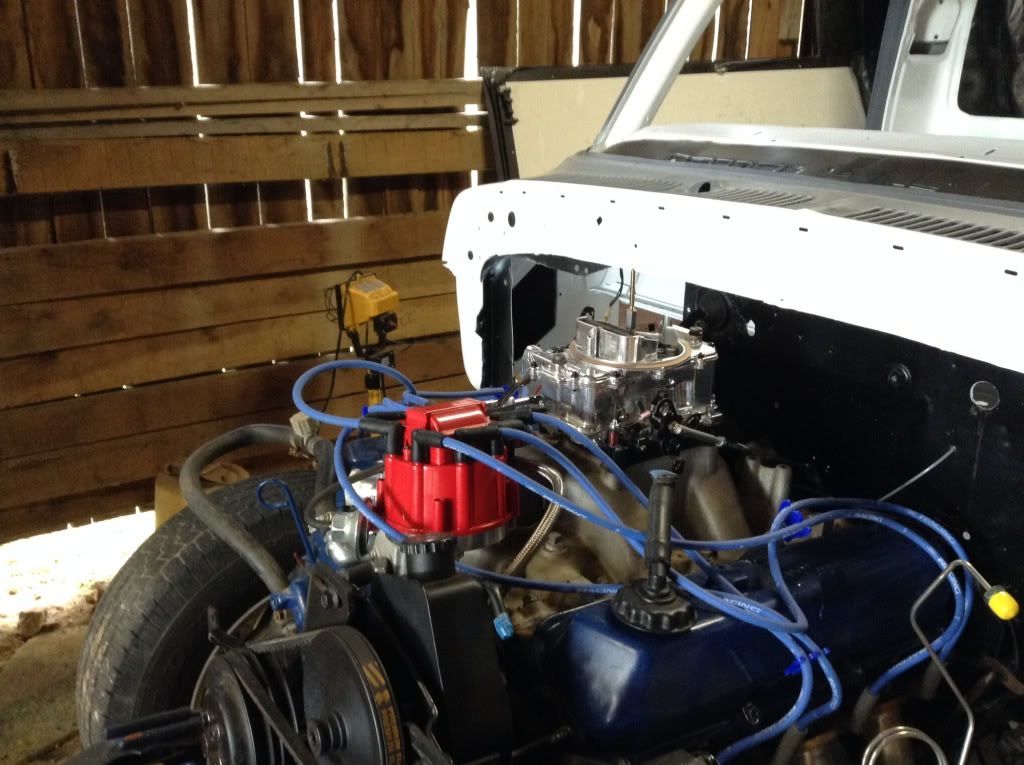
Over the past two days, I have gotten the carb on (mostly). With a sick kid, bonfire and life in general, I haven't been able to get as much done as I would like. I am in the process of modifying a 5.0 Mustang air cleaner to fit. I will post pics of that process soon. Tomorrow I hope to finish my carb install- return spring, throttle linkage, etc. The way the linkage is set up in the pic below, just won't cut it.

#44
10-23-2013, 05:45 PM
Well, I finally got to work on the truck after some errands. I started with fabricating a return spring bracket. It is very simple, but it works well. I drilled all the holes because the scrap I used already had extra holes.

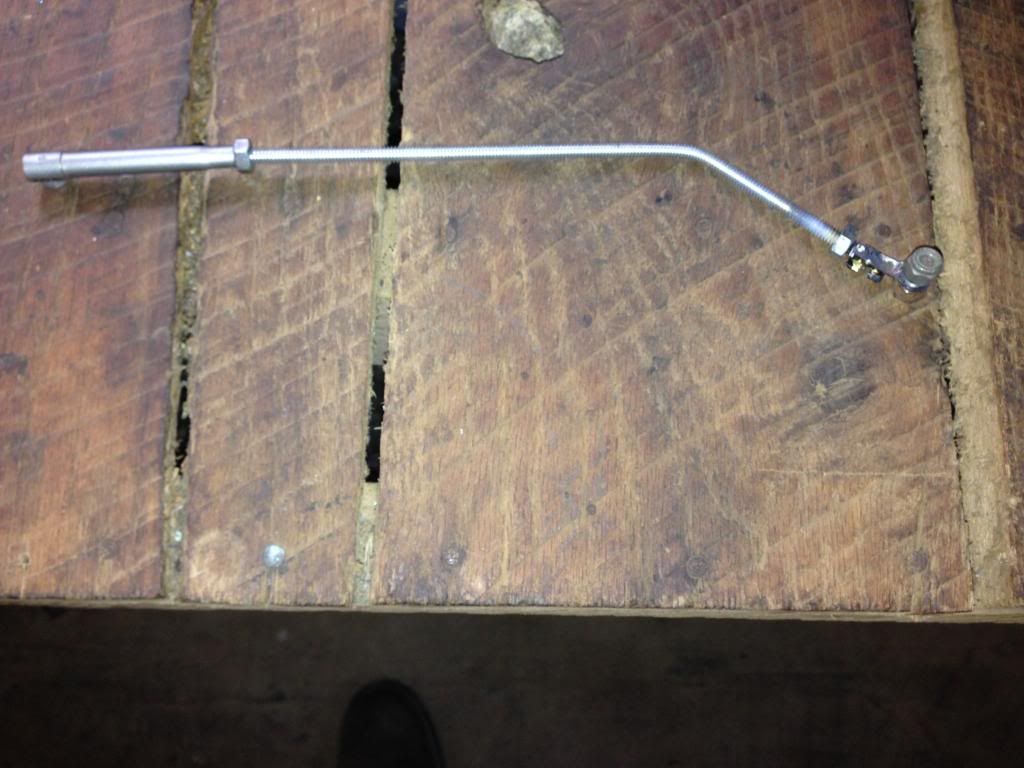
The throttle linkage was a bigger headache for certain. I started with a 1/4" all threaded rod.
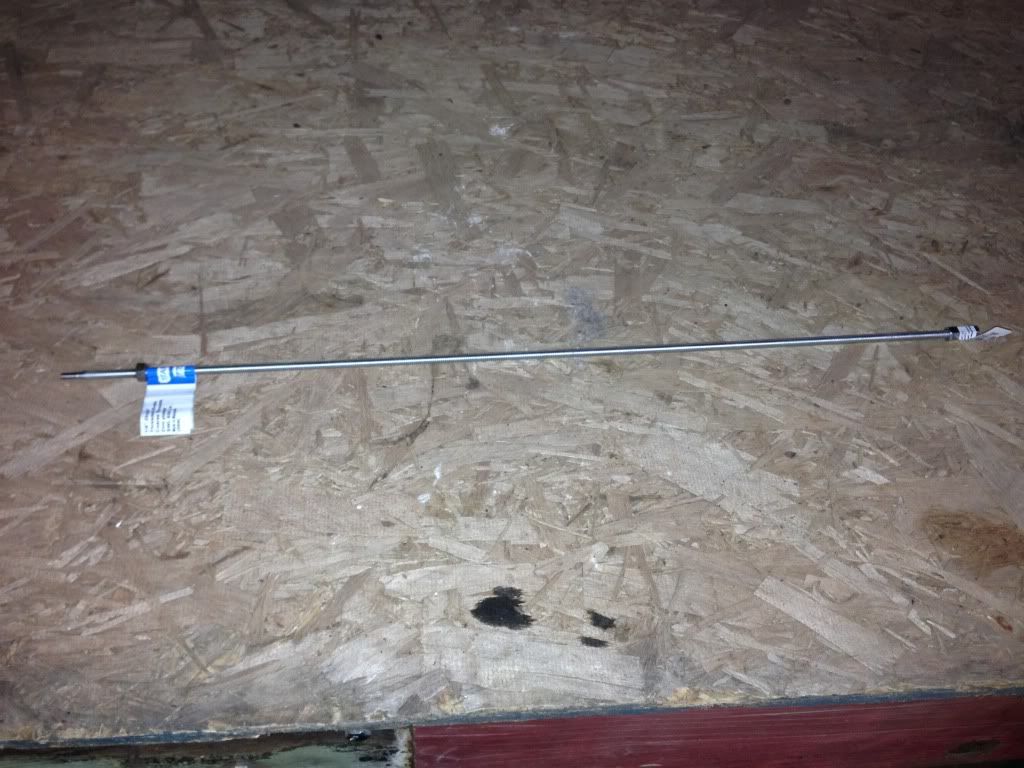
Then I started to bend it into shape. One problem with the all thread was that when bend 90 degreees, it would snap in two. I used a stock-style linkage clip, and after several methods to hold it, I brazed the clip to the rod. I also tapped the carb end to 1/4"-20. The end is tapped 12-32 original, but I could not find a rod that size. The end result is a little redneck for sure, but I'm into it for about $1.75.
After brazing:
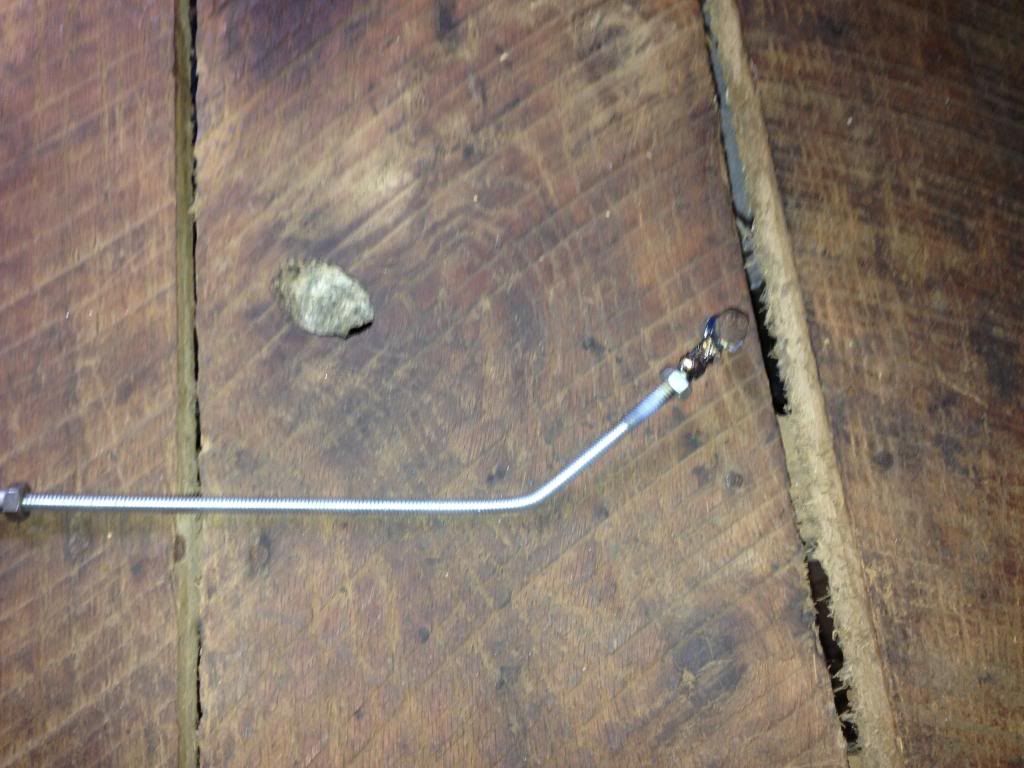
And after some Eastwood Detail Gray
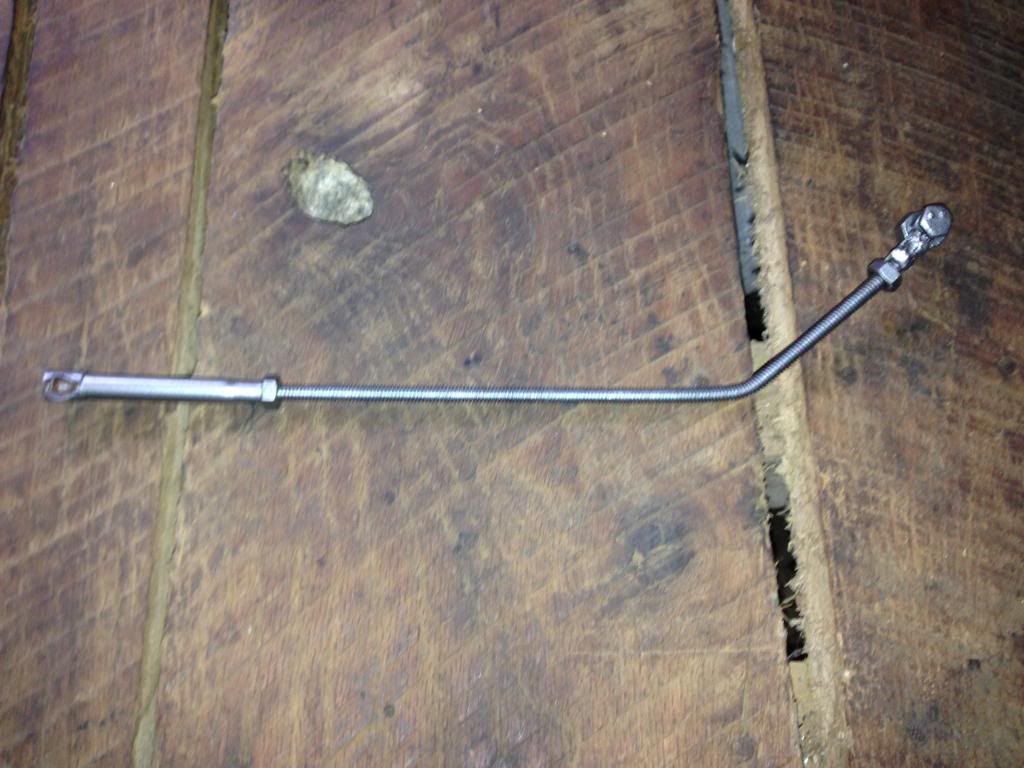
And installed:
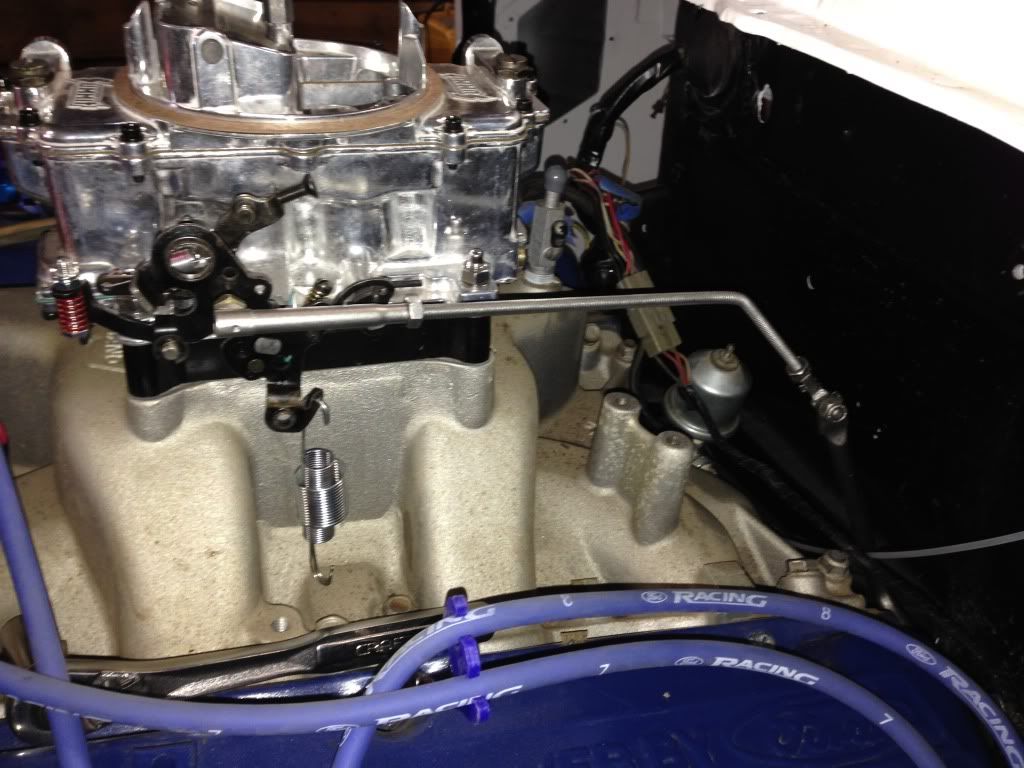
Feel free to criticize LOL This is a temporary fix until I feel like spending the cash on a Lokar cable setup.

The throttle linkage was a bigger headache for certain. I started with a 1/4" all threaded rod.

Then I started to bend it into shape. One problem with the all thread was that when bend 90 degreees, it would snap in two. I used a stock-style linkage clip, and after several methods to hold it, I brazed the clip to the rod. I also tapped the carb end to 1/4"-20. The end is tapped 12-32 original, but I could not find a rod that size. The end result is a little redneck for sure, but I'm into it for about $1.75.
After brazing:


And after some Eastwood Detail Gray

And installed:

Feel free to criticize LOL This is a temporary fix until I feel like spending the cash on a Lokar cable setup.
