


Project TGM
Thread Starter
|
Post Fiend
Joined: Nov 2011
Posts: 8,908
Likes: 1
From: Algona, Washington
The bigger issue i am having is lack of space, i have a bolt for the lower shock mount which i could back out a bit to get a socket on the castle nut, then i could use a makeshift breaker bar but on the rear side on the bolt head, there isn't room to slide a socket on the bolt head, and i can't get a wrench on it I don't want to lube the sucker up then find that the whole set (bolt and nut) just spins. And i still need to go get a longer bolt for the axle side, Or try to reuse the old one and just clean it up and get a new cotter pin. Right now we are getting a light dusting of snow so it is pretty cold out and i can't really go crawling around on the ground so it might wait. I put the new bolt in the frame side bracket so that isn't flopping around when the steering wheel is moved. The old one was about 1 size smaller than 9/16 so it had a little movement.
Thread Starter
|
Post Fiend
Joined: Nov 2011
Posts: 8,908
Likes: 1
From: Algona, Washington
for those of you who know my video here is my exhaust again from further away so you can really hear what it sounds like.
<iframe width="560" height="315" src="http://www.youtube.com/embed/HU9y84OjU_8" frameborder="0" allowfullscreen></iframe>
Don't mind the voice, i recorded this for a friend in cali so brag about the snow
<iframe width="560" height="315" src="http://www.youtube.com/embed/HU9y84OjU_8" frameborder="0" allowfullscreen></iframe>
Don't mind the voice, i recorded this for a friend in cali so brag about the snow
Lead Driver


Joined: May 2009
Posts: 6,815
Likes: 708
From: Tobyhanma, PA
That isn't snow thats just frost. 
You can spray the bolts down without crawling on the ground too much. That'll really help. Use a breaker bar on a cresent wrench if a socket wont fit. Turn it and brace the nut on the other side with a wrench/socket then give her hell. The bolt will either break loose or snap either way its coming off.
You can spray the bolts down without crawling on the ground too much. That'll really help. Use a breaker bar on a cresent wrench if a socket wont fit. Turn it and brace the nut on the other side with a wrench/socket then give her hell. The bolt will either break loose or snap either way its coming off.
Thread Starter
|
Post Fiend
Joined: Nov 2011
Posts: 8,908
Likes: 1
From: Algona, Washington
ya spraying isn't an issue it's getting down to turn wrenches. Ya the snow is very little around here but it's more than i thought we would get. And it is supposed to continue all week i hope we get more. As for the bolt, i don't have a bar to fit the crescent wrench, i could get a socket and use a jack handle like i usually do but i would need to back the shock mount bolt up a bit. Not an issue, the other issue is getting a socket to fit on the bolt head. It is so close to the axle nothing will fit around it, and there isn't room to get an open end wrench onto it. I will try to get a picture eventually
Thread Starter
|
Post Fiend
Joined: Nov 2011
Posts: 8,908
Likes: 1
From: Algona, Washington
Well it doesn't appear i will get much done with my truck for a while due to snow and rain and ice, and not having money to buy parts. I still need to do the bushings for the Trac-bar but i am getting there. *Maybe* this weekend i can get it don but i am not counting on it, my parents have their cars in the garage and i don't want to try laying in the snow..
Thread Starter
|
Post Fiend
Joined: Nov 2011
Posts: 8,908
Likes: 1
From: Algona, Washington
Ya i bought a Snap-On creeper a while ago before i had the bronco. The sucky things are little rocks and working in the drive way cause it has a big slope so i roll down to the garage... Today i decided to use my Deep Creep and take a whack at the trac-Bar again, so i prayed it and went with my little sister on a bike ride for about an hour or so. saw all the people running generators due to the recent power outage. Came back sprayed it again and got under it to try to loosen it and got no where. Backed the lower shock mount bolt out enough to get my socket on and still nothing. here me pics.
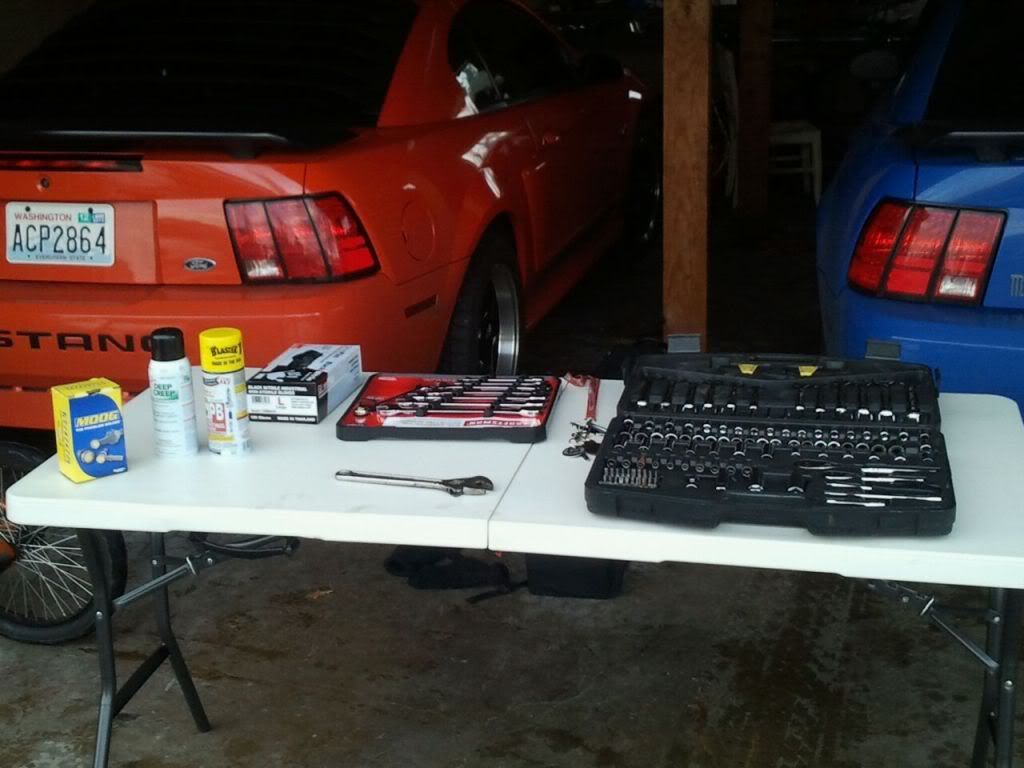
The start, nice clean organized:
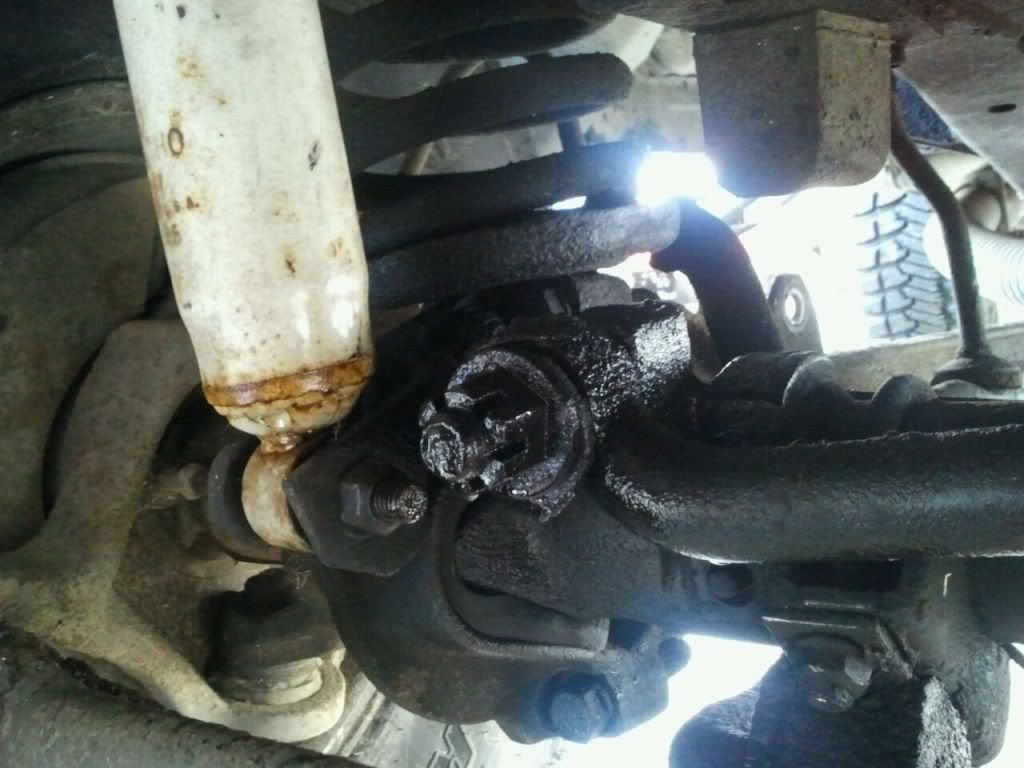
The bolt i am fighting with:
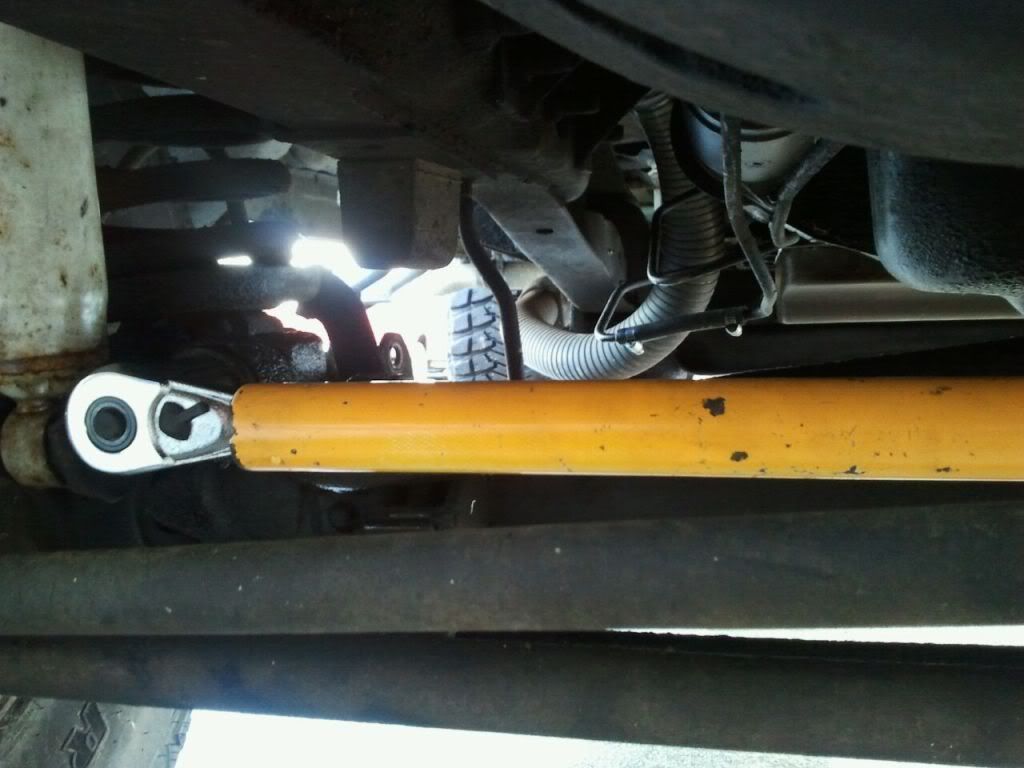
My *improvised* breaker bar from out 3 ton floor jack:
Unfortunately the bar was too long to move it enough to get any real force behind it. It may have helped if i had a long extension for the ratchet but my family doesn't keep track of tools very well... So i tried getting right under the ratchet and pushing up and i tried bracing myself in the tire and pulling. Sucker wouldn't budge so I went ahead and sprayed it again and took a break. Went back again and no luck so i did one final spray and then had to wait around while the Comcast guy fixed our wires and have come to the conclusion that i will most likely have to do this next weekend and just soak it though out the week. I will get it eventually i just have to coax it and make it feel like it can be my friend
The start, nice clean organized:
The bolt i am fighting with:
My *improvised* breaker bar from out 3 ton floor jack:
Unfortunately the bar was too long to move it enough to get any real force behind it. It may have helped if i had a long extension for the ratchet but my family doesn't keep track of tools very well... So i tried getting right under the ratchet and pushing up and i tried bracing myself in the tire and pulling. Sucker wouldn't budge so I went ahead and sprayed it again and took a break. Went back again and no luck so i did one final spray and then had to wait around while the Comcast guy fixed our wires and have come to the conclusion that i will most likely have to do this next weekend and just soak it though out the week. I will get it eventually i just have to coax it and make it feel like it can be my friend
Last edited by GruesomeJeans; Jan 21, 2012 at 08:33 PM. Reason: Broked picture link
Lead Driver
Joined: May 2009
Posts: 6,815
Likes: 708
From: Tobyhanma, PA
You'll get it. I soaked my header bolts and the bolts on my power steering bracket for a week before working on em. They came off super easy the day of. You have to break the initial rust seal, then its all cake after that.
Nice Looking stable you have there.
Nice Looking stable you have there.
FTE Stories
Ford Trucks for Ford Truck Enthusiasts

Top 6 Best Deals Available on New Fords & Lincolns Right Now
Brett Foote
This Hennessey Takes the Expedition Tremor's Off-Roading Capability to the Next Level
Verdad Gallardo
Top 10 Fords at 2026 Carlisle Ford Nationals
Joe Kucinski
3 Best / 3 Worst Parts of Modern Ford Ownership
Brett Foote
10 Amazing Upgrades That Solve Common Ford Truck Owner Headaches
Pouria Savadkouei
Every 2026 Ford Engine Explained
Brett Foote
10 Ugly Ford Trucks That We Still Kinda Love
Joe Kucinski
10 Things Every Truck Owner NEEDS (2026 Edition)
Michael S. Palmer
Rezvani's Latest Post-Apocalyptic Monster Is a Ford F-150 Raptor Underneath
Verdad GallardoThread Starter
|
Post Fiend
Joined: Nov 2011
Posts: 8,908
Likes: 1
From: Algona, Washington
Thanks, ya i will need to remember to spray them though... The blue stang is my step dads DD and the orange is my moms garage queen. She drives i but not often with our unpredictable weather. They are both Mach1s and the orange is stock to the bone save for the wheels and tires the exhaust and the louver, the blue one has mods but i am not sure what other than some tacky billet trim that the PO put on. The orange was bought right off the showroom floor with 1 mile on from loading on and off the trucks and moving it into the showroom. They are both 5 spd with short throw shifters. Very fun to drive.
Thread Starter
|
Post Fiend
Joined: Nov 2011
Posts: 8,908
Likes: 1
From: Algona, Washington
Ok well i did some work tonight, I finally got my Trac-Bar off, it was a pain in the butt but i did it. Turns out though even though i sprayed that sucker all week with Deep Creep it didn't get into the threads of the bolt. Those were sealed shut. I took lots of pictures so i will post them and explain what is in them and how i got the bolt out. First off the bolt in question was the Axle side bolt for the bar, it was covered in oily grim and rust so it was a pain in the butt to get off. I was working my 2nd job at a gas station and decided to go out and spray the bolt to make sure it got sprayed and discovered there was something on the nut for that bolt. I didn't take a picture but from what i could tell of the remains it was the old bushing... This surprised me but i threw it away without thinking about getting a picture. Anyways so this is the nut and bolt i am talking about, The lower shock bolt was in the way of slipping a socket onto it so i had to almost remove that to be able to have the room required:

So after about an hour of trying to break this sucker loose with a few different breaker style things including the big yellow jack handle (too long) and a big combo wrench on the handle of the socket (not long enough) I finally resorted to my own method of a breaker bar:

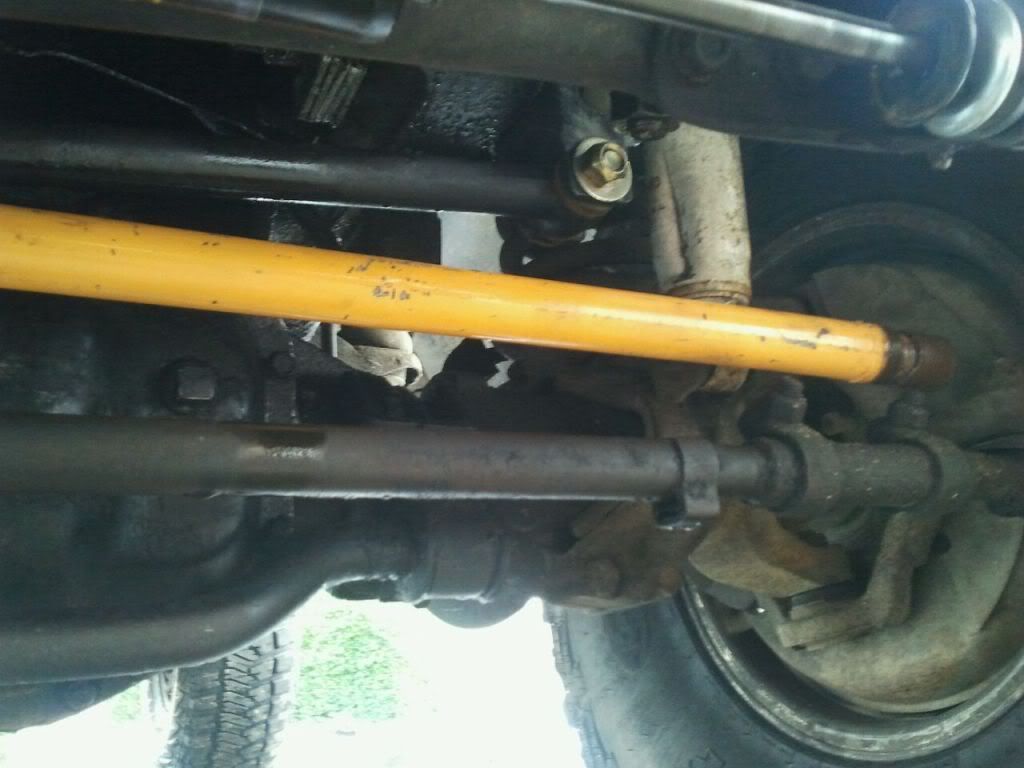
Here is a better view:
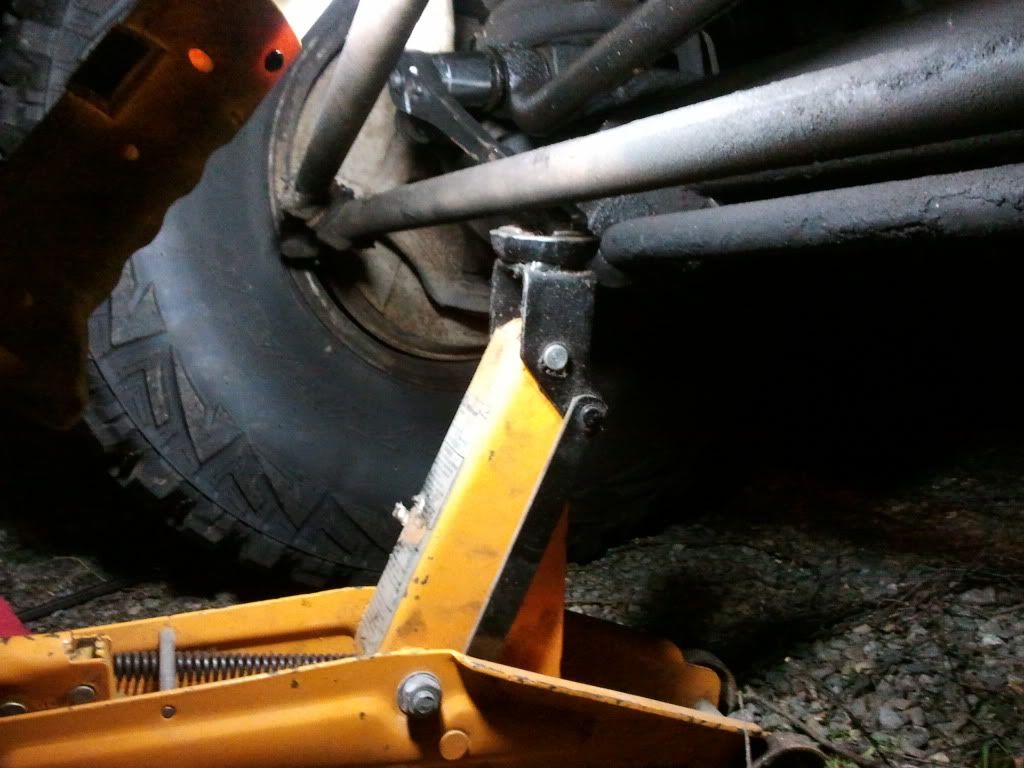
Turns out this worked pretty well. At first i was worried about breaking something but i was getting angry and went for it. As soon as i saw the socket turning i was happy and went for it. I got the nut off and the one washer that was on there, and loosened the other end to pull the bar off. There was no bushing only the metal sleeve, and the bolt was rusty where the nut had been showing that no Deep Creep was getting in. So since i got the bar off i went to get the bolt out and ran into this:
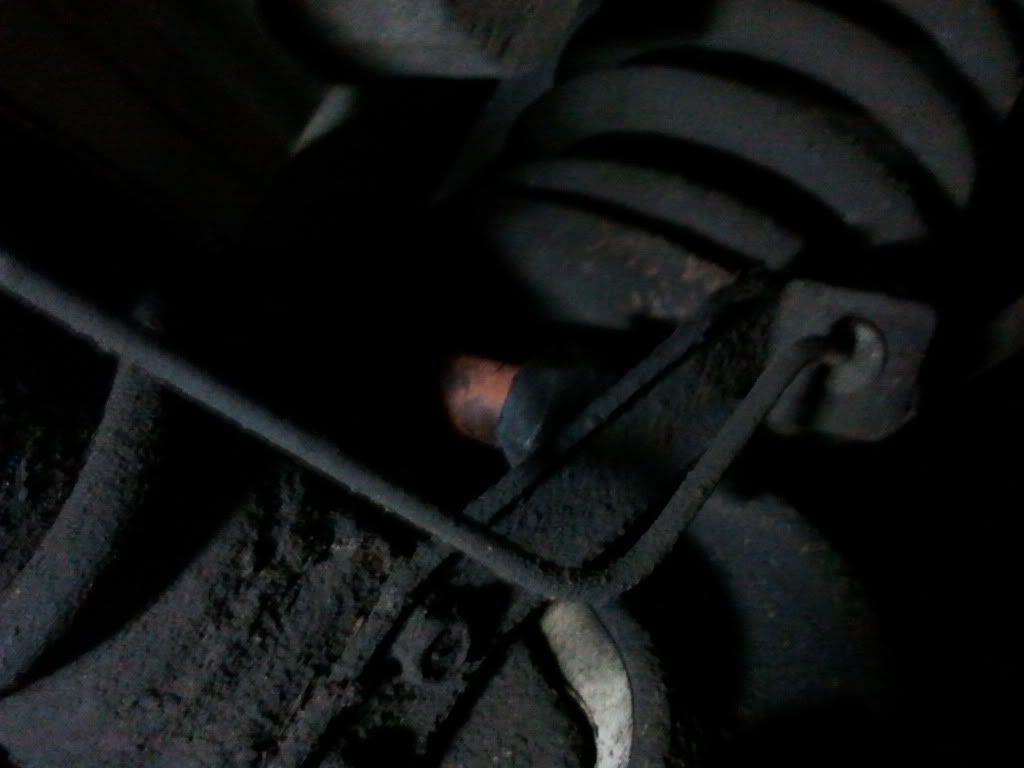
Behind the bolt was a bracket for the brake line making it impossible to get the bolt all the way out. So i had to pull both bolts out and move that bracket.
Ok so here is the bar the nut, the washer, and the metal sleeve. This was all i got from that side, that was all that was holding my bar on:
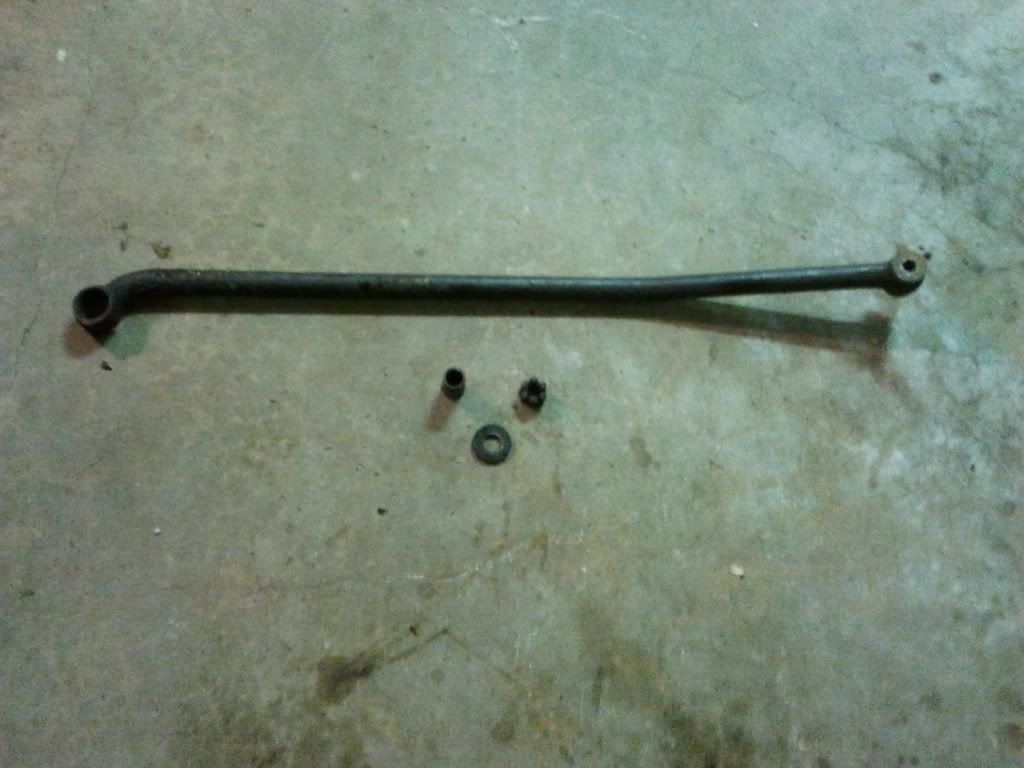
So here is the one end that did have a newer bushing and guess what! The PO go something right and used Moog bushings for this side. But since i have new ones those are garbooge.
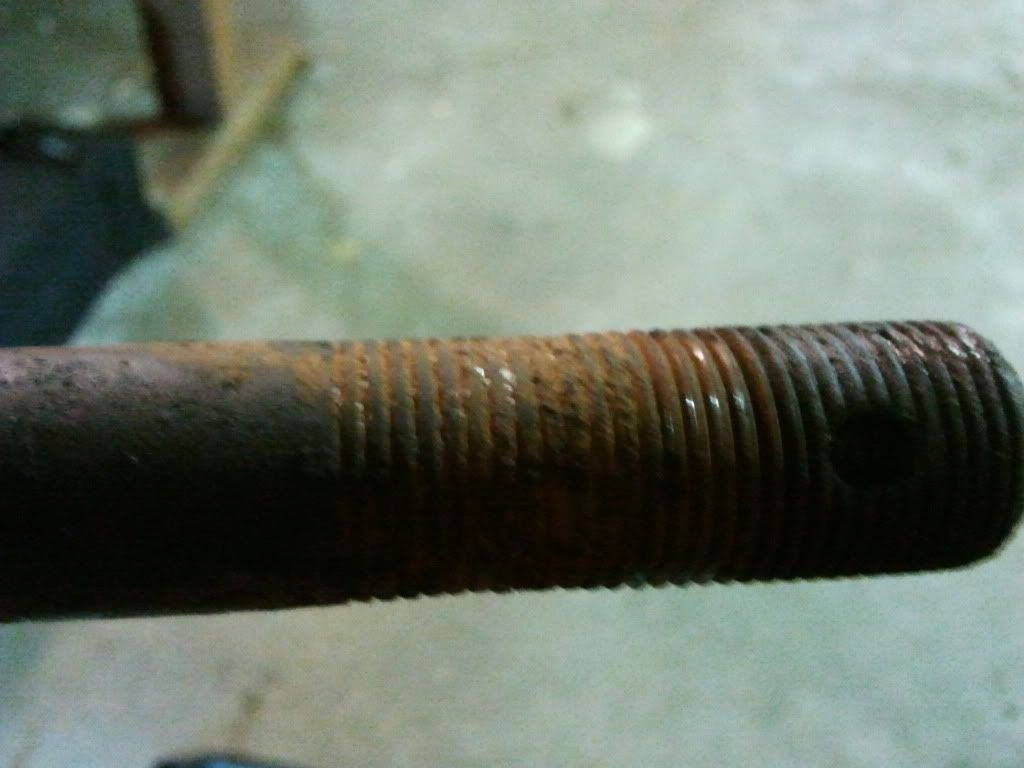
This is the bigger axle side, Nice and greasy It was caked in an oily grimy nastyness:

So this is the bolt, the nut, sleeve, and the new bolt for the frame side of the bar. The old bolt for that side was too small causing it to move around:
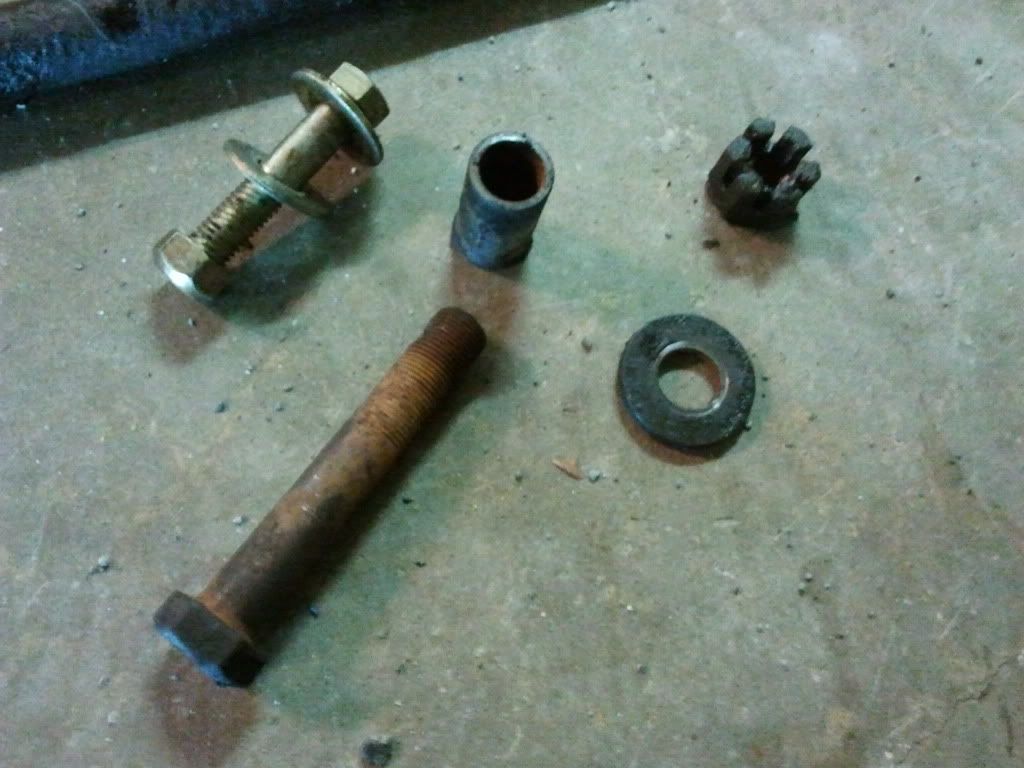
In this pic you can see the old bolt is pretty dang worn, i don't even know if it has ever been removed before, i am going to have to search for a new one:
And this is the final one, After i took some Simple Green and the green side of a scotch brite sponge to it, cleaned up well, i just need to sand it a bit cause it has some pitting then paint it:
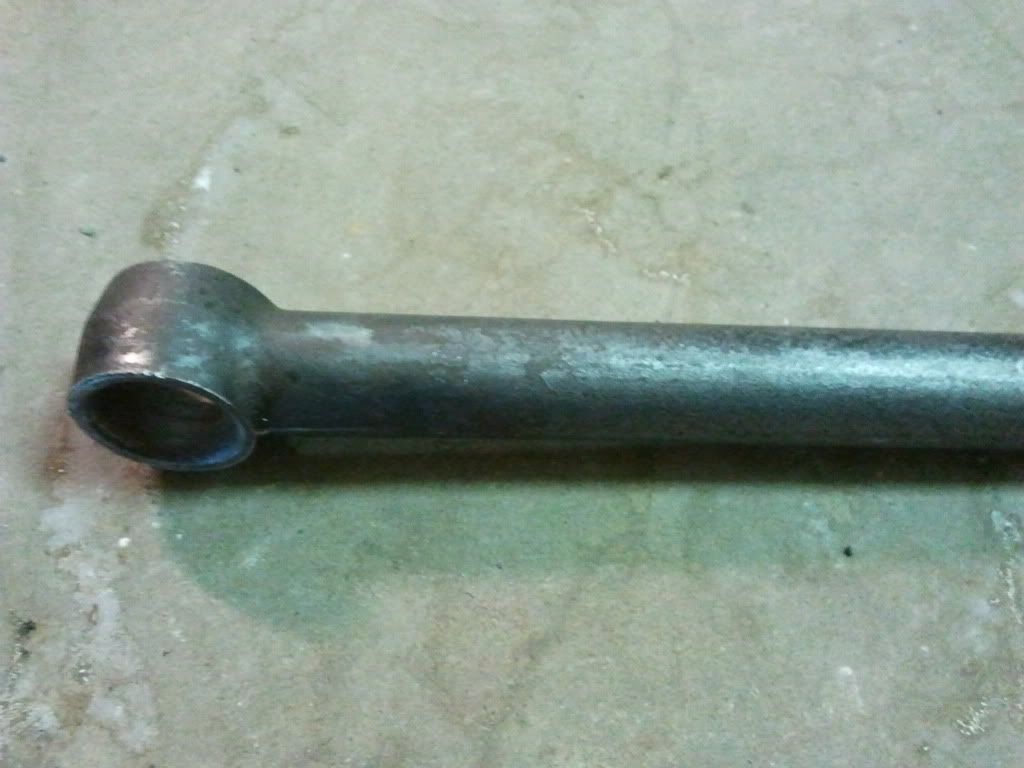
Once the paint is done i have to install my new bushings and sleeves then if i have time tomorrow re-instal the bar, if not sunday it will be. So that pretty much concludes my story and my update...
So after about an hour of trying to break this sucker loose with a few different breaker style things including the big yellow jack handle (too long) and a big combo wrench on the handle of the socket (not long enough) I finally resorted to my own method of a breaker bar:
Here is a better view:
Turns out this worked pretty well. At first i was worried about breaking something but i was getting angry and went for it. As soon as i saw the socket turning i was happy and went for it. I got the nut off and the one washer that was on there, and loosened the other end to pull the bar off. There was no bushing only the metal sleeve, and the bolt was rusty where the nut had been showing that no Deep Creep was getting in. So since i got the bar off i went to get the bolt out and ran into this:
Behind the bolt was a bracket for the brake line making it impossible to get the bolt all the way out. So i had to pull both bolts out and move that bracket.
Ok so here is the bar the nut, the washer, and the metal sleeve. This was all i got from that side, that was all that was holding my bar on:
So here is the one end that did have a newer bushing and guess what! The PO go something right and used Moog bushings for this side. But since i have new ones those are garbooge.
This is the bigger axle side, Nice and greasy It was caked in an oily grimy nastyness:
So this is the bolt, the nut, sleeve, and the new bolt for the frame side of the bar. The old bolt for that side was too small causing it to move around:
In this pic you can see the old bolt is pretty dang worn, i don't even know if it has ever been removed before, i am going to have to search for a new one:
And this is the final one, After i took some Simple Green and the green side of a scotch brite sponge to it, cleaned up well, i just need to sand it a bit cause it has some pitting then paint it:
Once the paint is done i have to install my new bushings and sleeves then if i have time tomorrow re-instal the bar, if not sunday it will be. So that pretty much concludes my story and my update...
Thread Starter
|
Post Fiend
Joined: Nov 2011
Posts: 8,908
Likes: 1
From: Algona, Washington
Thanks Brett, it does feel real good when you get that bolt loose and you know that you did it instead of paying someone to do it. So as an update, i got the bar cleaned i didn't have any sandpaper so i just made sure everything was off of it. I got all the paint done and and it looks great so once it is dried enough i will get it re installed and take some pictures. I might even be ale to put it back in tonight. If i can't tonight i can in the morning so hopefully it will get done soon.
As for the jack idea. i tried it once before with out bigger floor jack and a block of wood while my friend slowly jacked it up but that wasn't going to work. So i grabbed out smaller one and took a whack at it. I was skeptical but it worked pretty well. One of my bigger worries is the one bolt on the axle side spinning while trying to tighten it so i might run into an issue but we shall see. Pictures will be posted once i finish putting it in so there is no spoilers.
As for the jack idea. i tried it once before with out bigger floor jack and a block of wood while my friend slowly jacked it up but that wasn't going to work. So i grabbed out smaller one and took a whack at it. I was skeptical but it worked pretty well. One of my bigger worries is the one bolt on the axle side spinning while trying to tighten it so i might run into an issue but we shall see. Pictures will be posted once i finish putting it in so there is no spoilers.
Thread Starter
|
Post Fiend
Joined: Nov 2011
Posts: 8,908
Likes: 1
From: Algona, Washington
You and me both, i think i need to sit around for a little while before i go back and instal it i am hoping my drop light will be able to provide the light to get a nice picture.
Thread Starter
|
Post Fiend
Joined: Nov 2011
Posts: 8,908
Likes: 1
From: Algona, Washington
Okie dokie, got the bar painted and installed now, it was a pain in the butt getting the axle side bolt tight. I had to brace my feet on the ratchet and push with all i had to tighten it. I am about 220 lbs myself so i know my legs can push over 300 so i think i got it plenty tight. OK anywho onto the pictures, i do have a lot so bear with me.
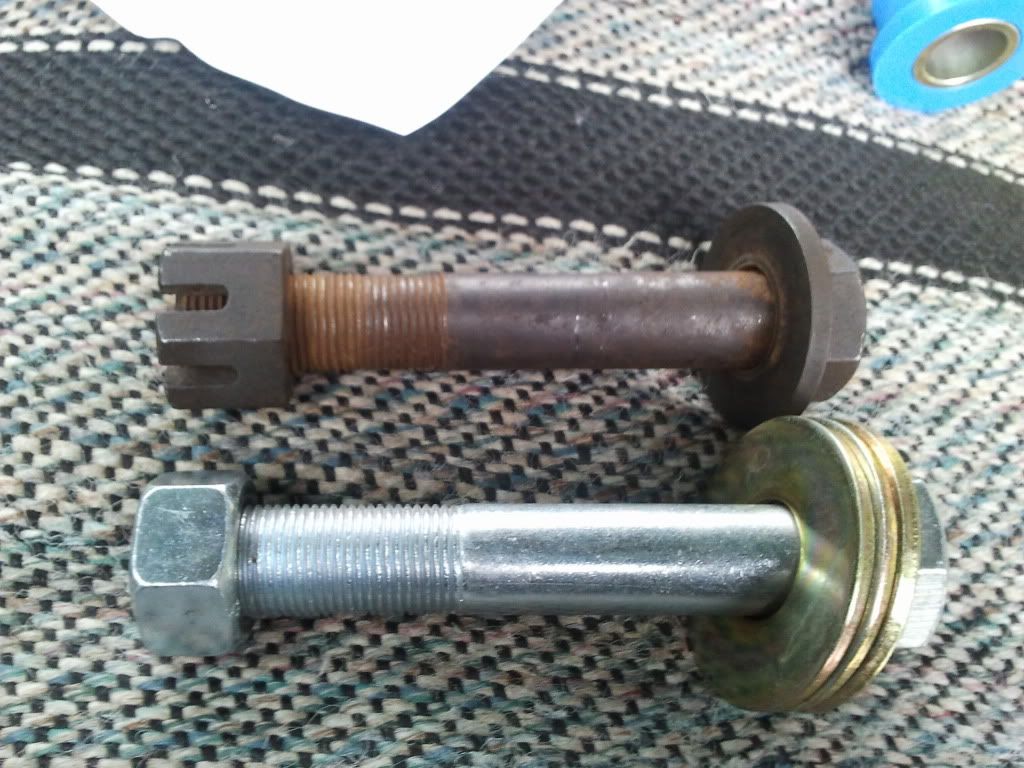
So this first one is of the old bolt and the new one, i got 3 washers but forgot the side of the bolt where the head is there isn't enough room for a washer so i stuck with 2:
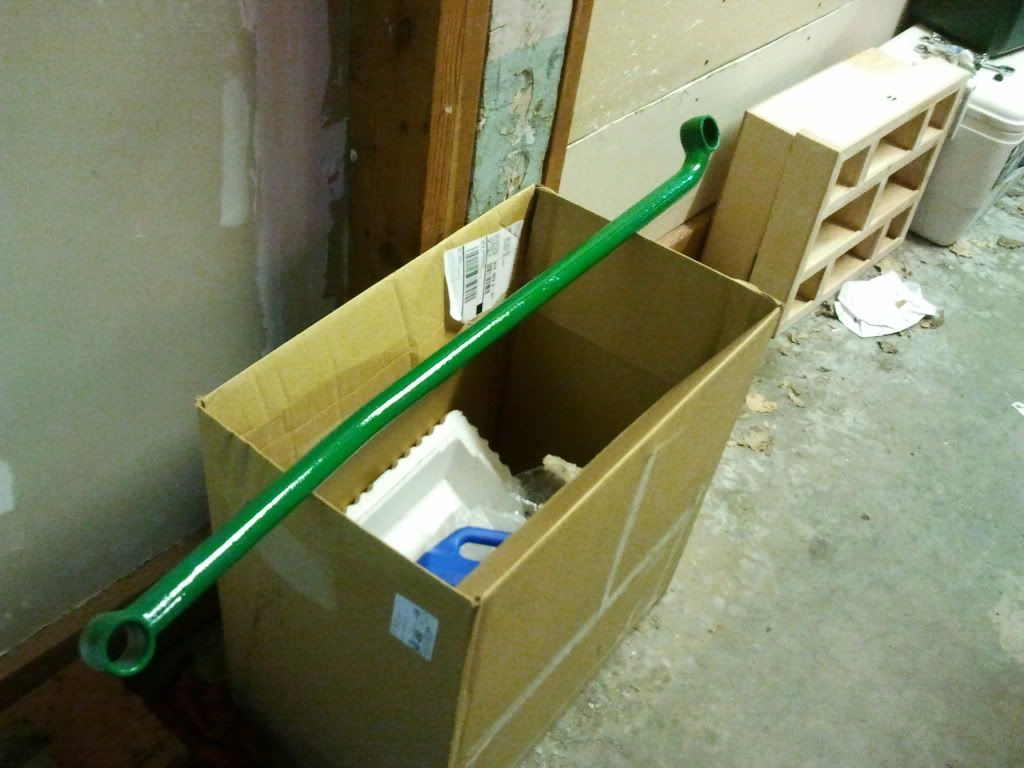
So this is the bar after i did a few coats of primer it is sideways and probably upside down but it is hanging from a nail on the wall of my garage:
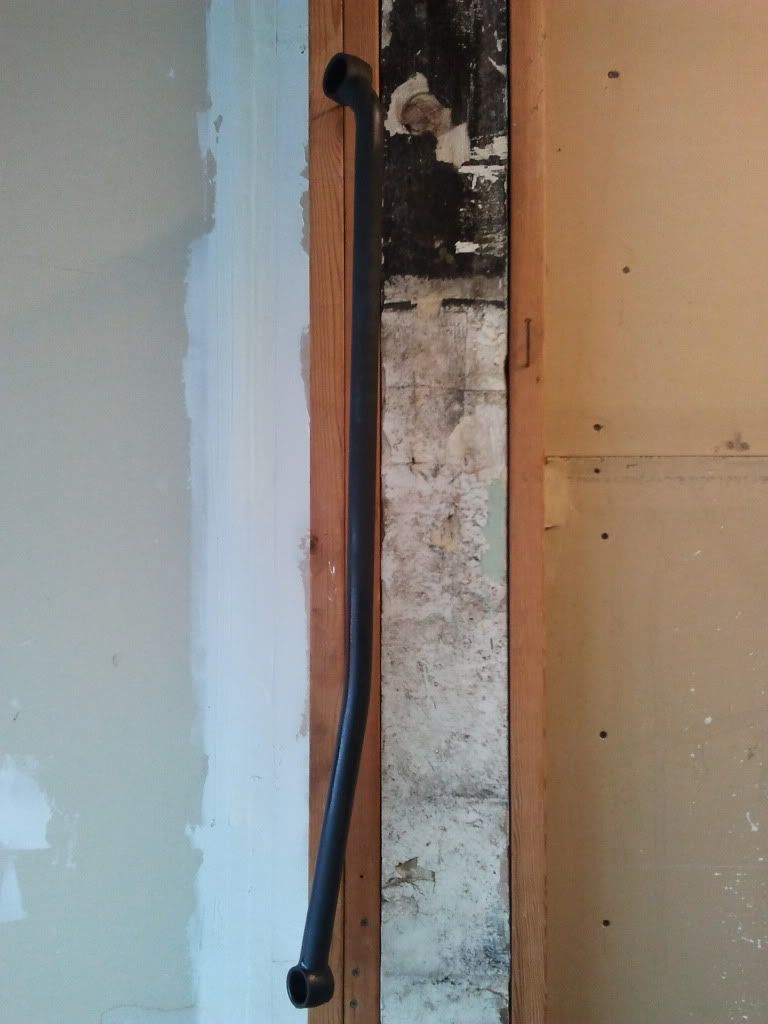
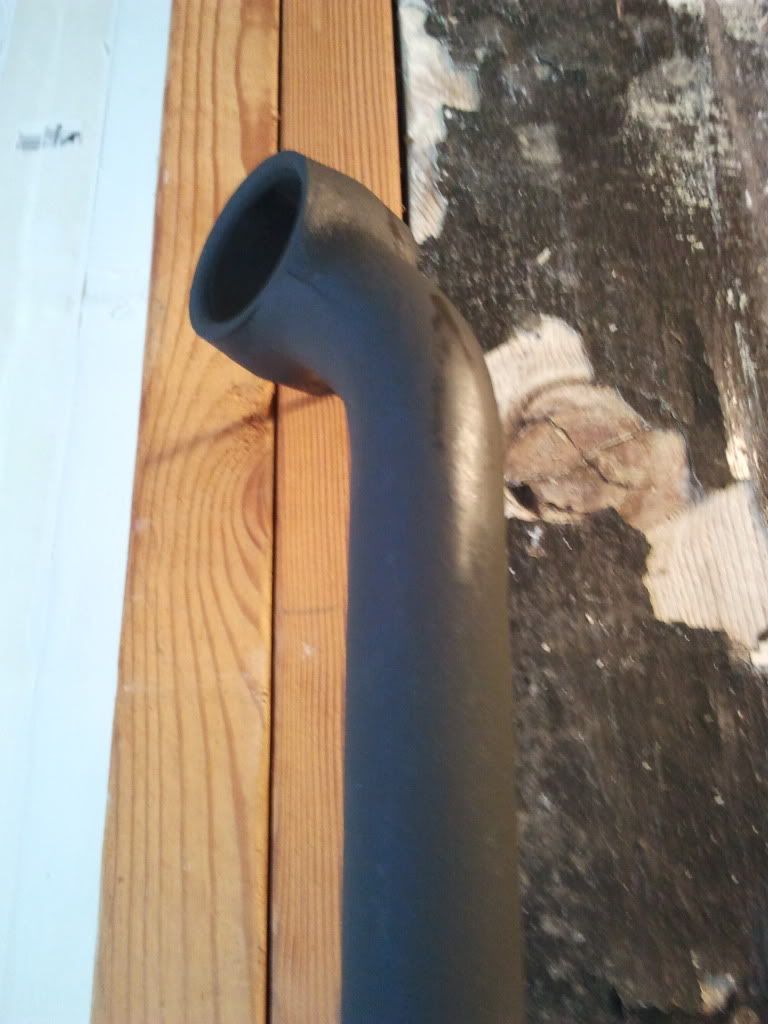
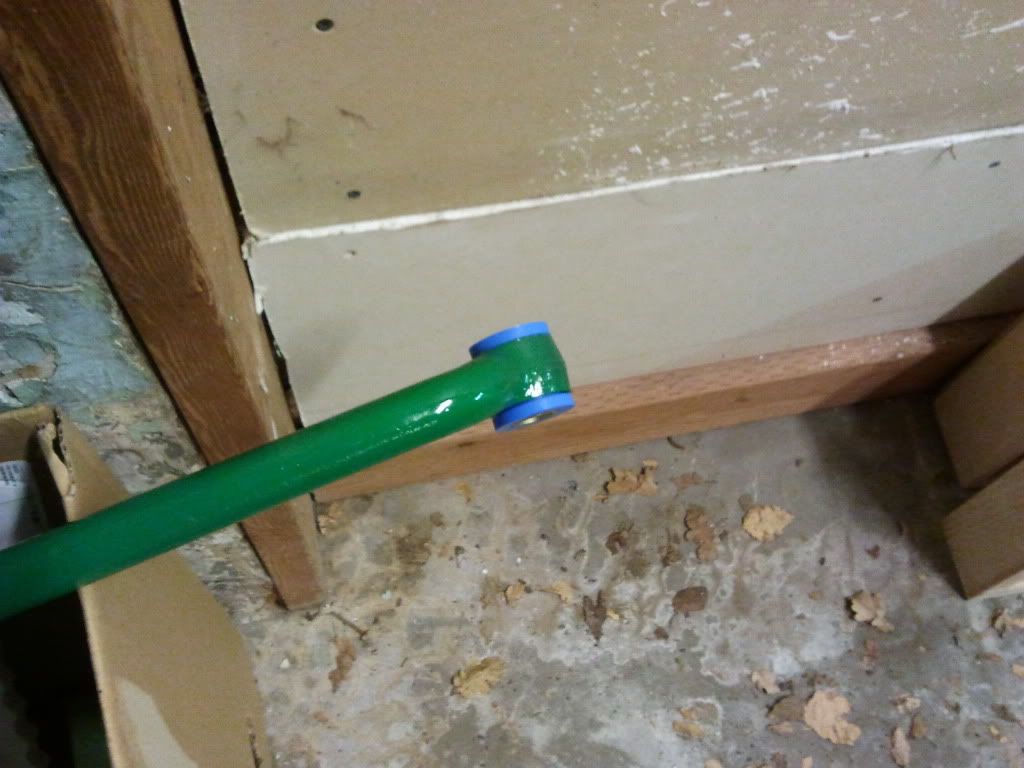
This is one end of it:
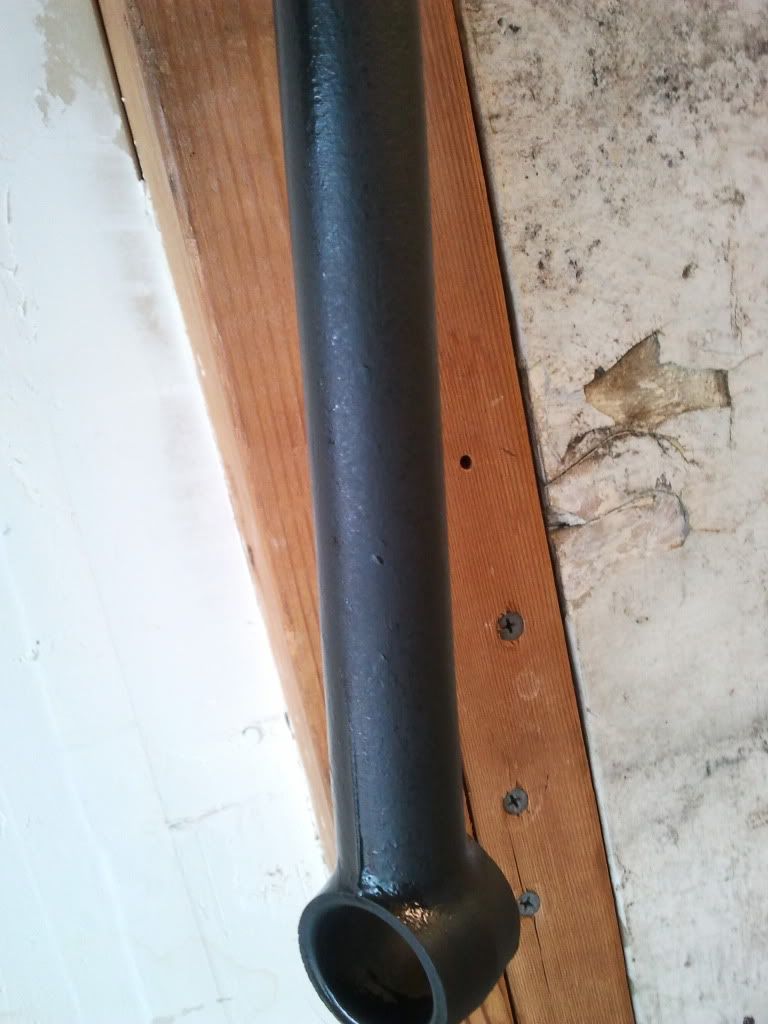
Here is the other end that goes to the axle bracket:
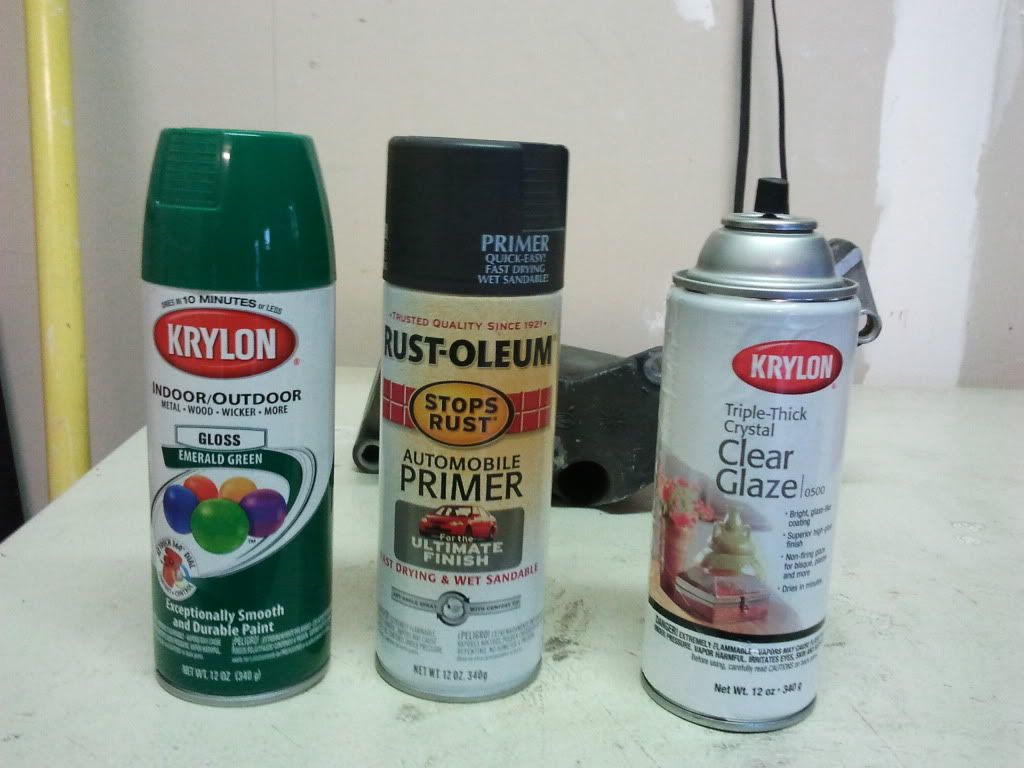
Ok so this is where i finished the primer and started with the green paint:

Well while the green was drying i decided to take a well deserved lunch

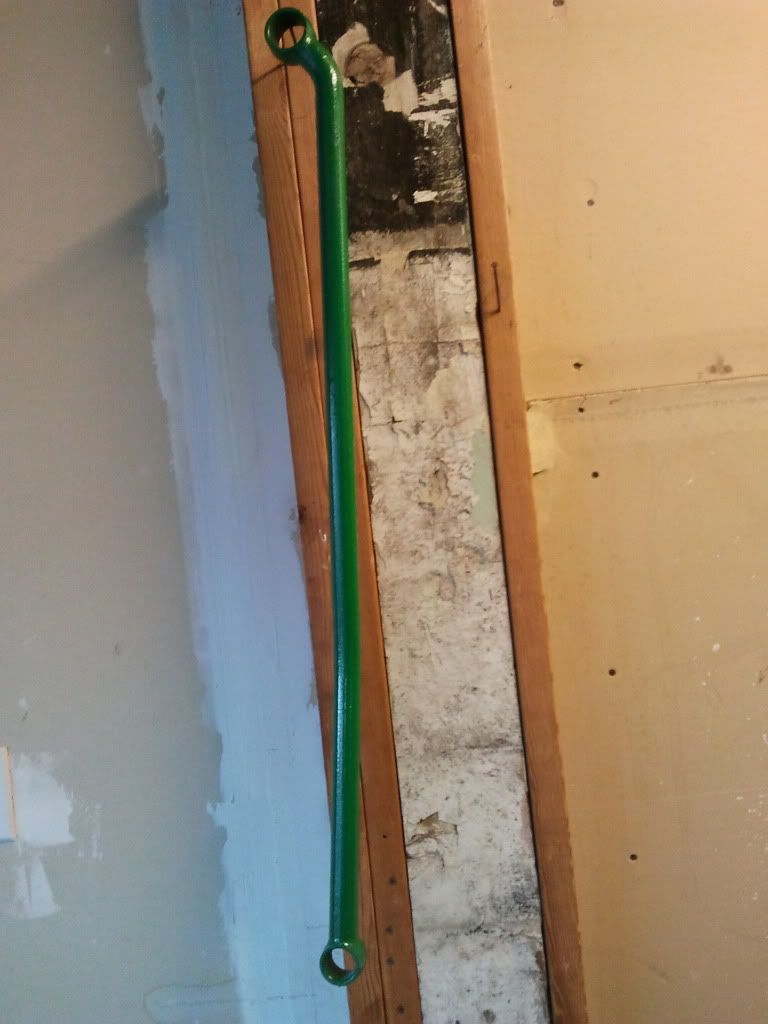
Well The green is done and i had just done a coat of Clear Glaze which is like clear coat:
here are the tools on construction:
Dried and ready to be put together and installed:
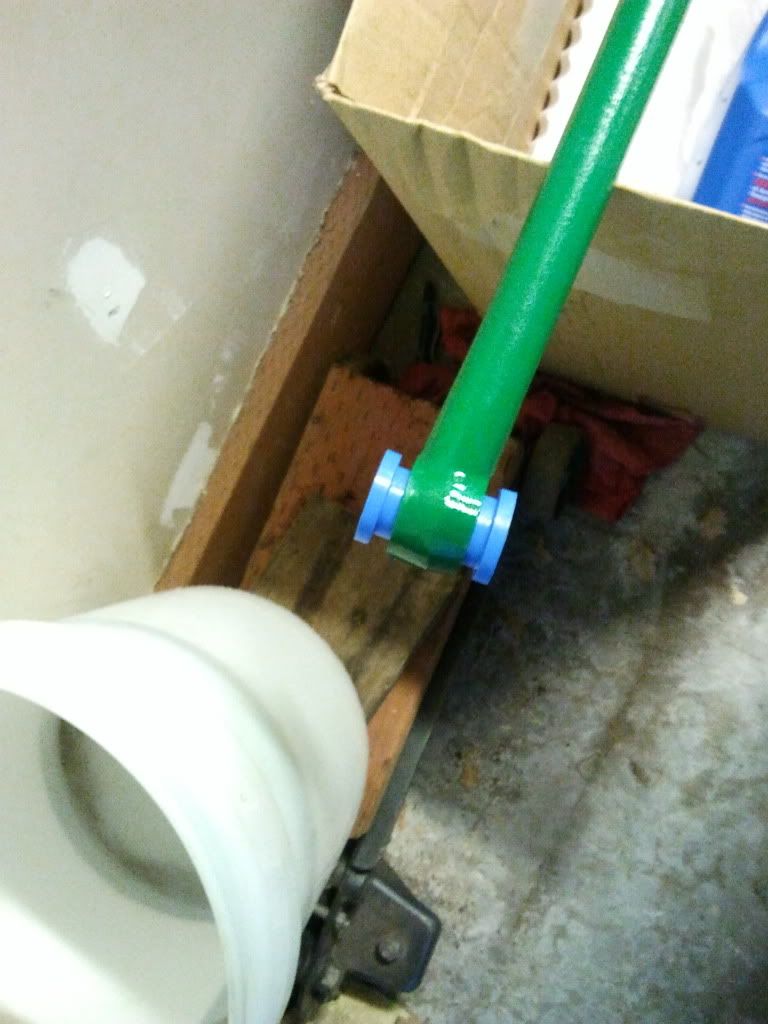
This side went pretty easily, didn't have to fight with it much:
This side however is the frame side with the smaller bushings and i had to fight these to get them seated, of course i didn't bother to put any soapy water or anything on them mainly cause i didn't think about it...
Ok so after a little time i got this side up and loosely bolted on to hold it up. Unfortunately since i was on gravel when i set the bar down to get the tools and such it did scratch and chip the paint a little but i have a feeling it will get chipped a lot more
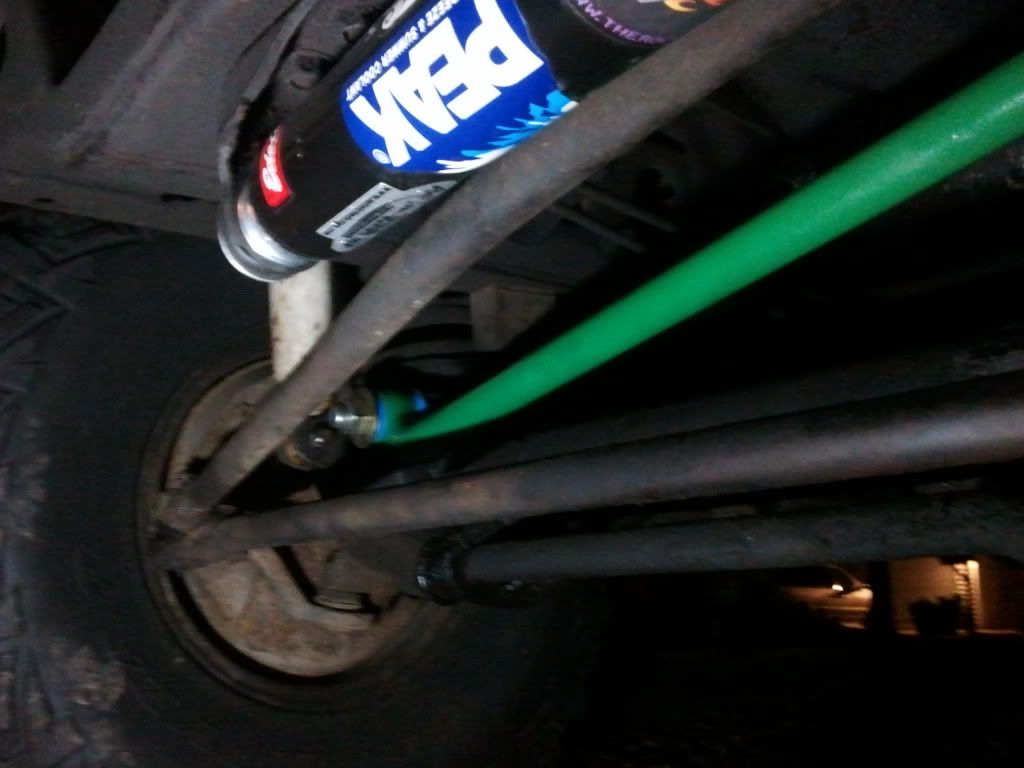
And last but not least the frame side, this side was a lot harder to get into the bracket and lined up to put the bolt through but i got it:

So all in all it looks pretty good, the paint doesn't really match but thats ok it looks better than black. Tomorrow i will do a drive test to see if it feels better and i had my step-dad shake the wheel while i watched and so far it is snug and not shifting around so it seems i did something right. I will also get a picture tomorrow in the light and see what it looks like.
So this first one is of the old bolt and the new one, i got 3 washers but forgot the side of the bolt where the head is there isn't enough room for a washer so i stuck with 2:
So this is the bar after i did a few coats of primer it is sideways and probably upside down but it is hanging from a nail on the wall of my garage:
This is one end of it:
Here is the other end that goes to the axle bracket:
Ok so this is where i finished the primer and started with the green paint:
Well while the green was drying i decided to take a well deserved lunch
Well The green is done and i had just done a coat of Clear Glaze which is like clear coat:
here are the tools on construction:
Dried and ready to be put together and installed:
This side went pretty easily, didn't have to fight with it much:
This side however is the frame side with the smaller bushings and i had to fight these to get them seated, of course i didn't bother to put any soapy water or anything on them mainly cause i didn't think about it...
Ok so after a little time i got this side up and loosely bolted on to hold it up. Unfortunately since i was on gravel when i set the bar down to get the tools and such it did scratch and chip the paint a little but i have a feeling it will get chipped a lot more
And last but not least the frame side, this side was a lot harder to get into the bracket and lined up to put the bolt through but i got it:
So all in all it looks pretty good, the paint doesn't really match but thats ok it looks better than black. Tomorrow i will do a drive test to see if it feels better and i had my step-dad shake the wheel while i watched and so far it is snug and not shifting around so it seems i did something right. I will also get a picture tomorrow in the light and see what it looks like.