When you click on links to various merchants on this site and make a purchase, this can result in this site earning a commission. Affiliate programs and affiliations include, but are not limited to, the eBay Partner Network.
I moved on to installing my new Power Cowl Vent from Millstone Automotive.
The ad states....
1956 Ford Power Cowl Air Vent Kit
This is a complete kit that motorizes the cowl air vent on 1956' Ford classic trucks, by eliminating the manual handle and linkage and replacing it with a 12-volt actuator.
Perfect for use with center mount a/c units. Easy to install, Direct Bolt-On, Pre-wired and water proof.
lets just say... nothing is perfect...
first... this thing didn't "direct bolt-on"
The lower hole was off a solid 3/16-1/4".
Then once you get it all mounted and test it out....
the cowl only opens 3/4 at best and it doesn't close tight. It will require some re-engineering on my part.
Now I know what your saying... maybe my truck has been messed with. Nope... all original brackets, correct 1956 arm, and handle as well as stock hardware...
ohh... and as I already knew this thing is as slow as fresh maple syrup. Maybe the fact that the motor says it is a 24v setup has something to do with it slow speed.
What AC setup is that? I know you said Vintage Air, but is it their generic one or what? Does it have a heater core & fan in it too, or is it just the AC?
I need to figure out something for my '74 crew pretty soon so looking at options.
no problem! I've been "ready" to do this AC for my crew for about 2 years now. My "1 year" crew project is now in it's 5th year with little to no work done in the last year or more. I have a 4 month old daughter now so the progress has REALLY gotten slow...
what factory setup? If you mean the whole AC box, that big, stupid thing they put in the engine compartment on the 70's stuff, then no, it won't. Got the exhaust pipe coming out of the turbo sitting right there
what factory setup? If you mean the whole AC box, that big, stupid thing they put in the engine compartment on the 70's stuff, then no, it won't. Got the exhaust pipe coming out of the turbo sitting right there
yeah. Looked at "dealer" air (under the dash) stuff and then went toward NAP (Nostolgia Air products) kit for the 73-79 that is a heater & AC in one, but seen a negative review or 2 on here for it recently so a little uncertain at this point.
yeah. Looked at "dealer" air (under the dash) stuff and then went toward NAP (Nostolgia Air products) kit for the 73-79 that is a heater & AC in one, but seen a negative review or 2 on here for it recently so a little uncertain at this point.
I know they make kits that allow u to use the factory cable controls in older cars. I would contact them when u are ready, they should be able to help u out.
Here is a picture of the crown vic booster vs the old corvette style booster that came with the pedal box.
you can see why switching to the crown vic unit will equal better vacuum for stopping.
After gathering a few pedal boxes for parts and putting much thought into my clutch pedal modification, I started mocking things up....
The kit gives you a long bolt with a tube which the brake pedal and booster push bracket is attached to.
I needed to come up with a way to add a clutch pedal to this setup.
So....I ended up buying a double threaded stud from Grainger to use as my pedal pivot assy. 1/2-13 x 10" long.
And then cut off all the extra tube from the soon to be clutch side of the pedal setup.
I reinstalled the plastic busing in the cut off tube.
Then I took apart the pedal box I grabbed from a 1996 f250 pickup for the clutch pedal. I removed the spring bar that was welded to the pedal.
And then grabbed the mustang clutch pedal kit and stripped out the rod for the quadrant parts.
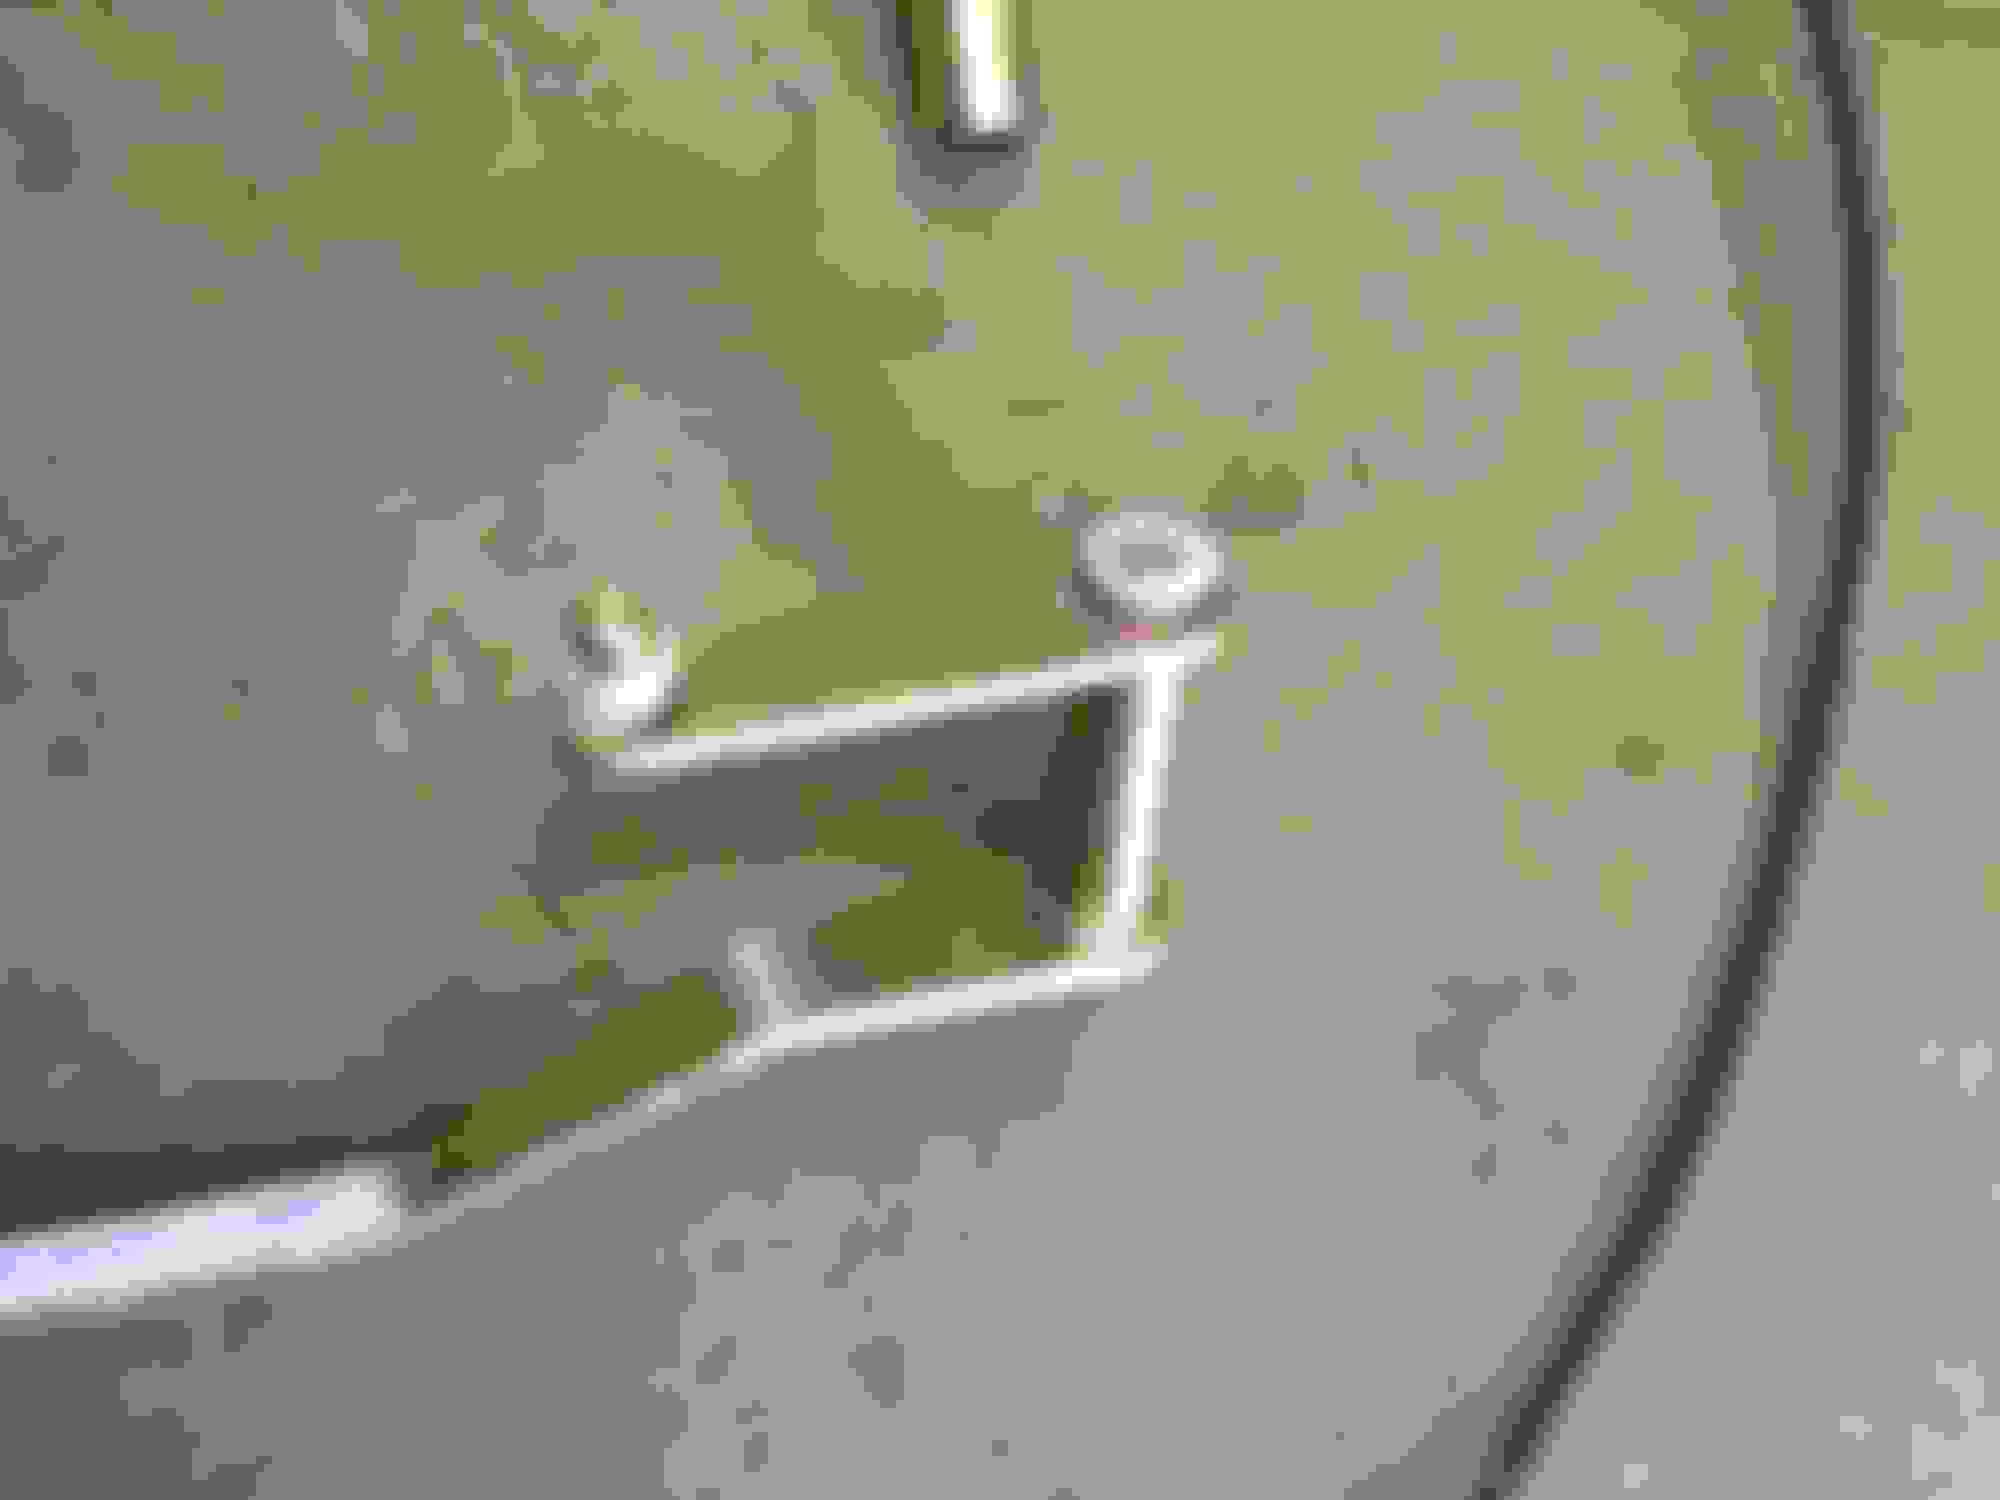
And started bolting things together to see if things will fit.
There is no clearance to use the stock plastic adjusting quadrant (not that I intended on doing so) so I will be using a firewall adjuster and a metal/aluminum quadrant.
I need to pull the pedal box out of the truck and weld all the nuts in their places and lock down the clutch pedal so it will rotate the quadrant.
I will also be adding a brace between the brake pedal and the clutch pedal to add some strength to the setup, after all it is a mustang/crown vic drive train....
Im sure I will never spin the tires or drop the cutch....
 06-10-2014, 07:52 PM