


Project S
Thread Starter
|
FTE Legend


Joined: Aug 2004
Posts: 37,887
Likes: 20
From: North Central Rural Sask.
Project S
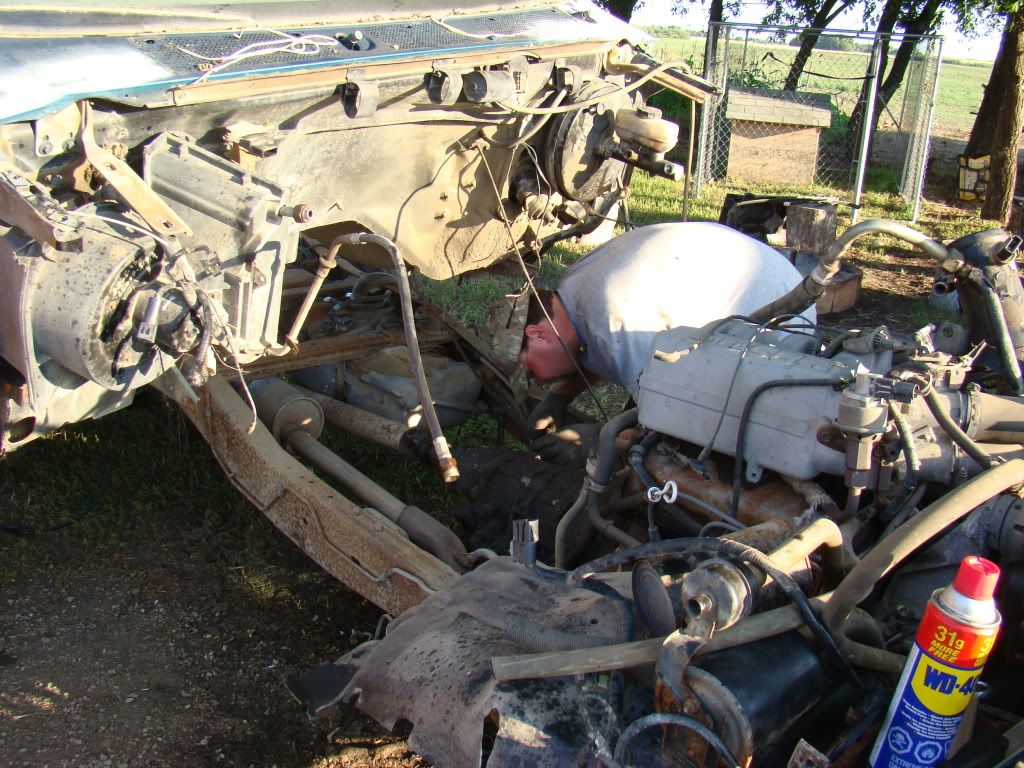
Thought I would add a few pics to my project, Project S. Its not much of a project, and I'll update it as I go!
Project plans. Take shortbox frame, slap 4 wheel drive under it (parts from blue and white truck), throw on cab from grey truck, install the black rust free box, install the m5od tranny (bought cheap from kijiji). Possible paint job as I go, fenders/doors/ interior stuff will be chosen as I go, and will be as rust free as possible.
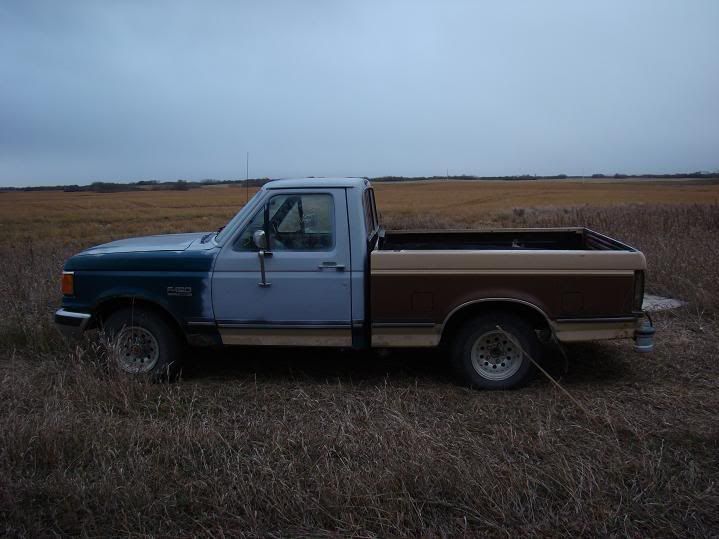
Engine is going to be from the blue and white truck, have to sort out some issues before final decision, very low miles on that 302.
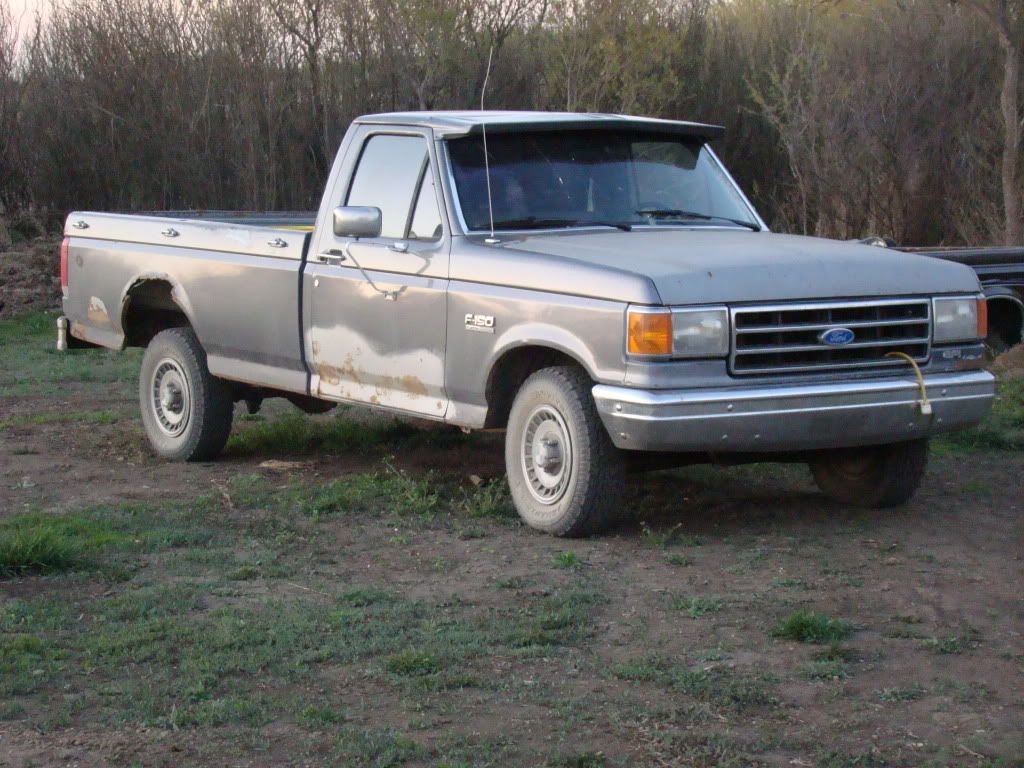
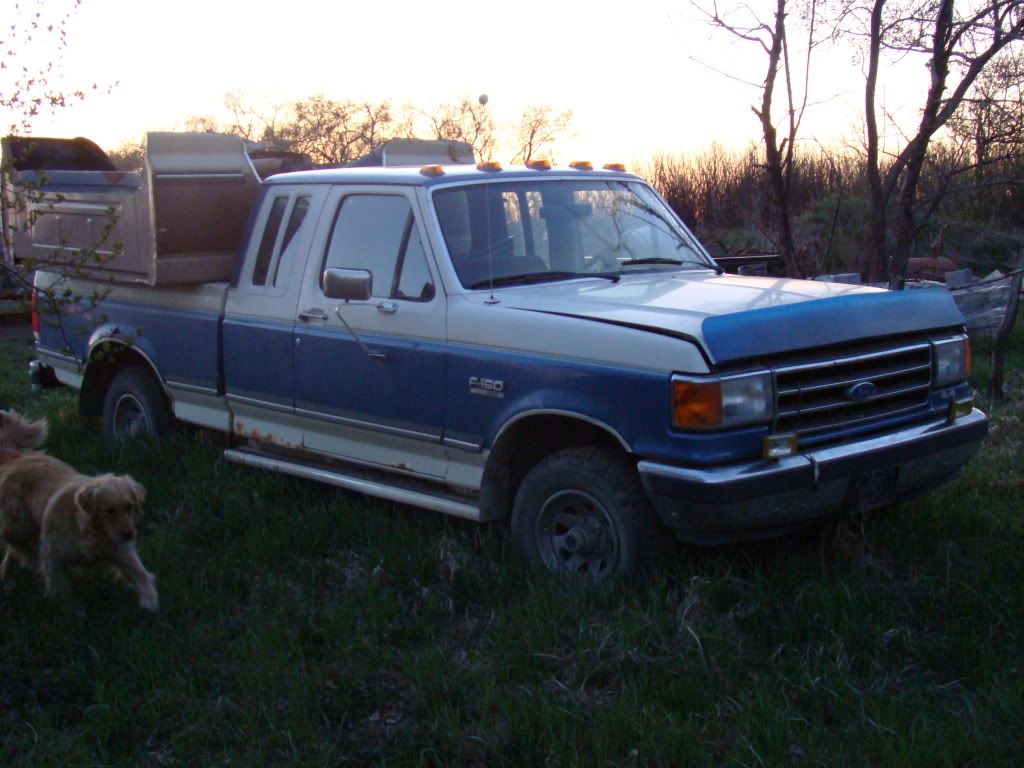
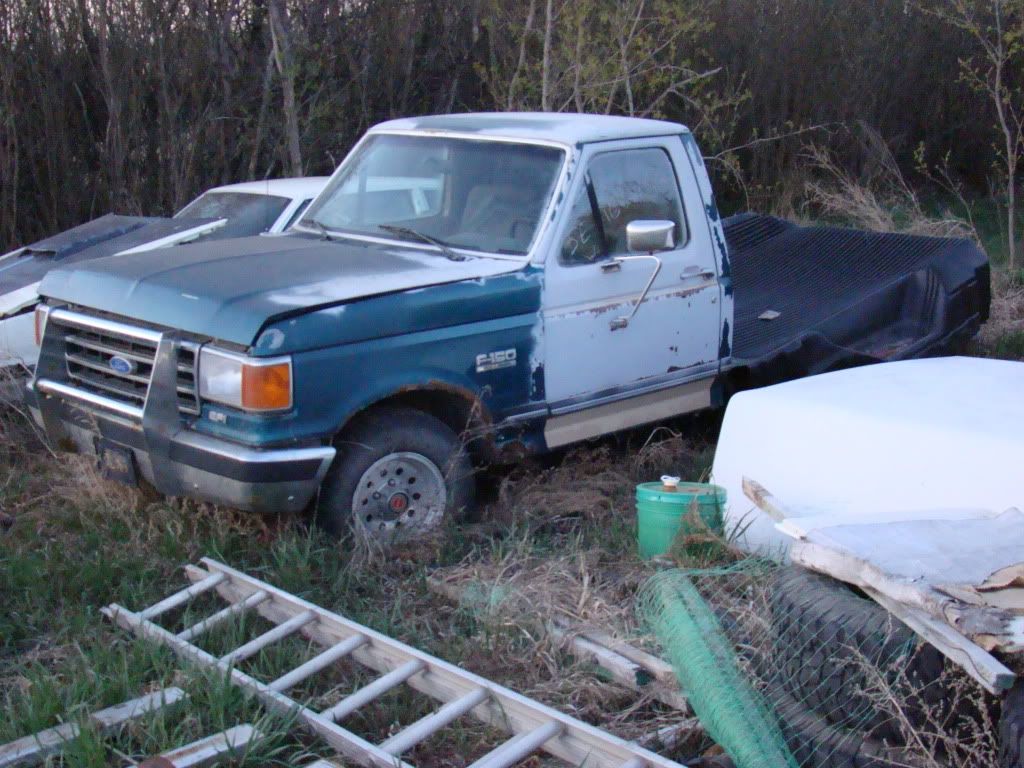
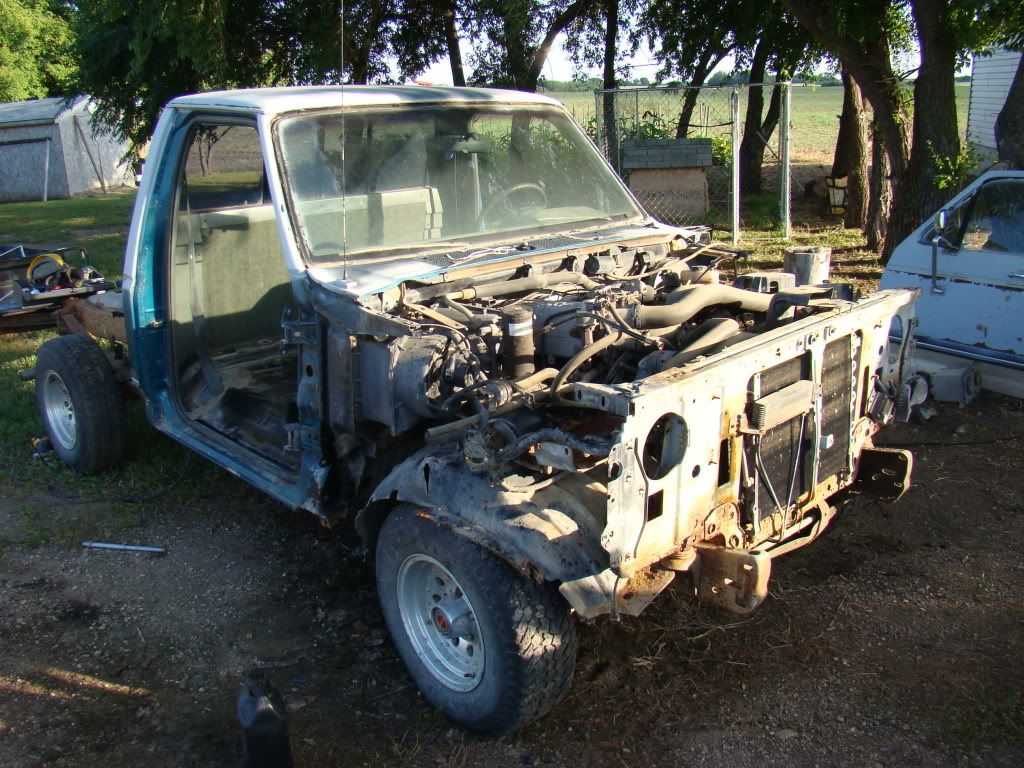
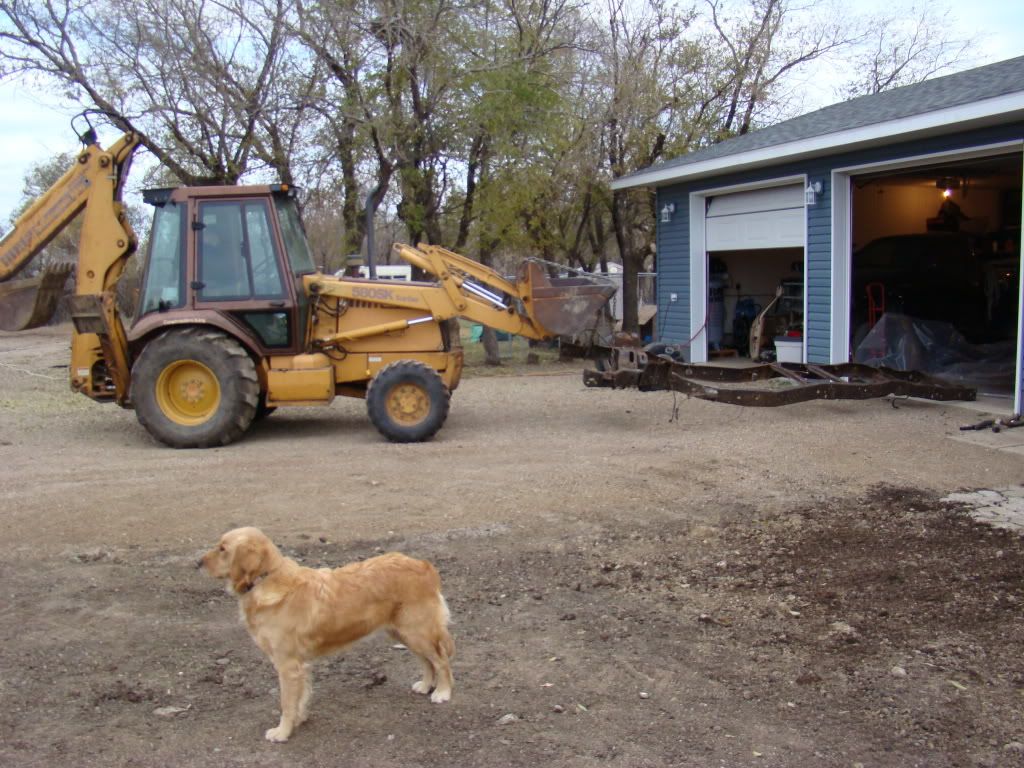
Starting with 3 trucks,
Started with this, this morning
As the day progressed
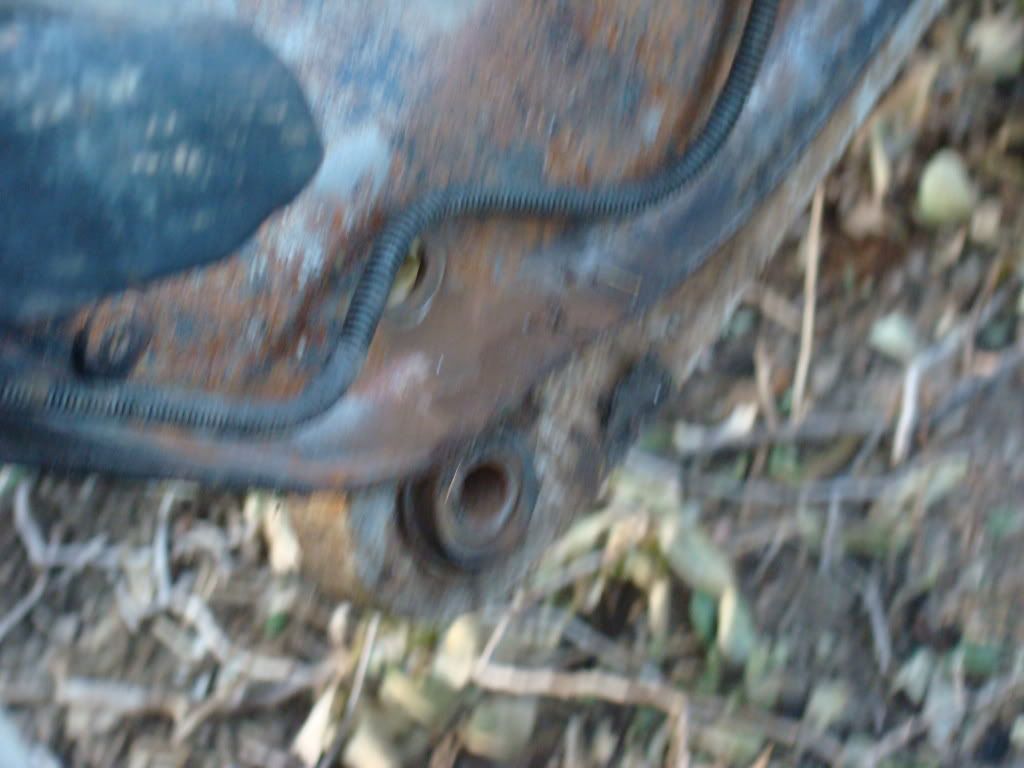
Stubborn body mounts
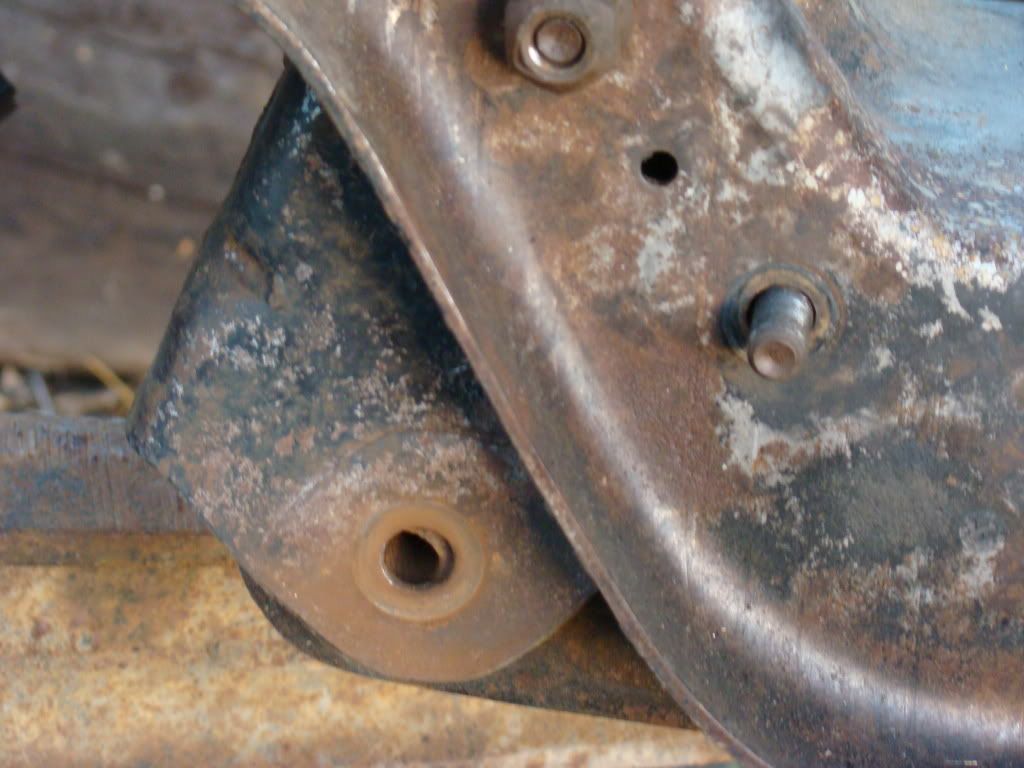
Cab ready to come off
Starting to lift it off
Forgot to unhook the speedo cable
Cab off!
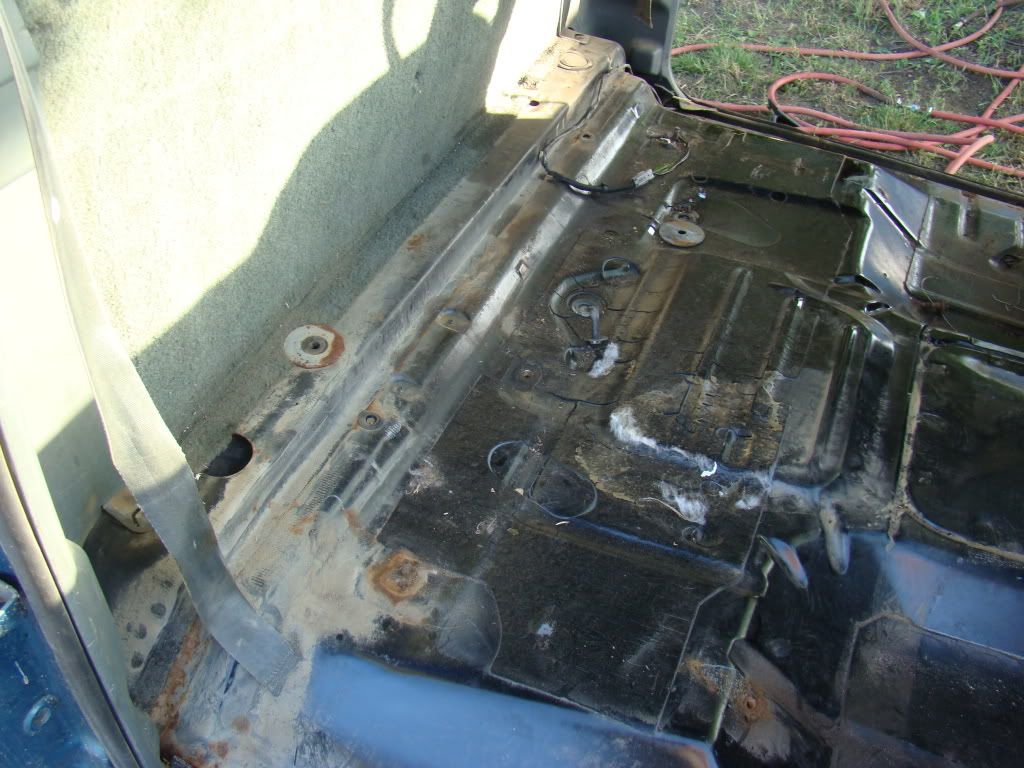
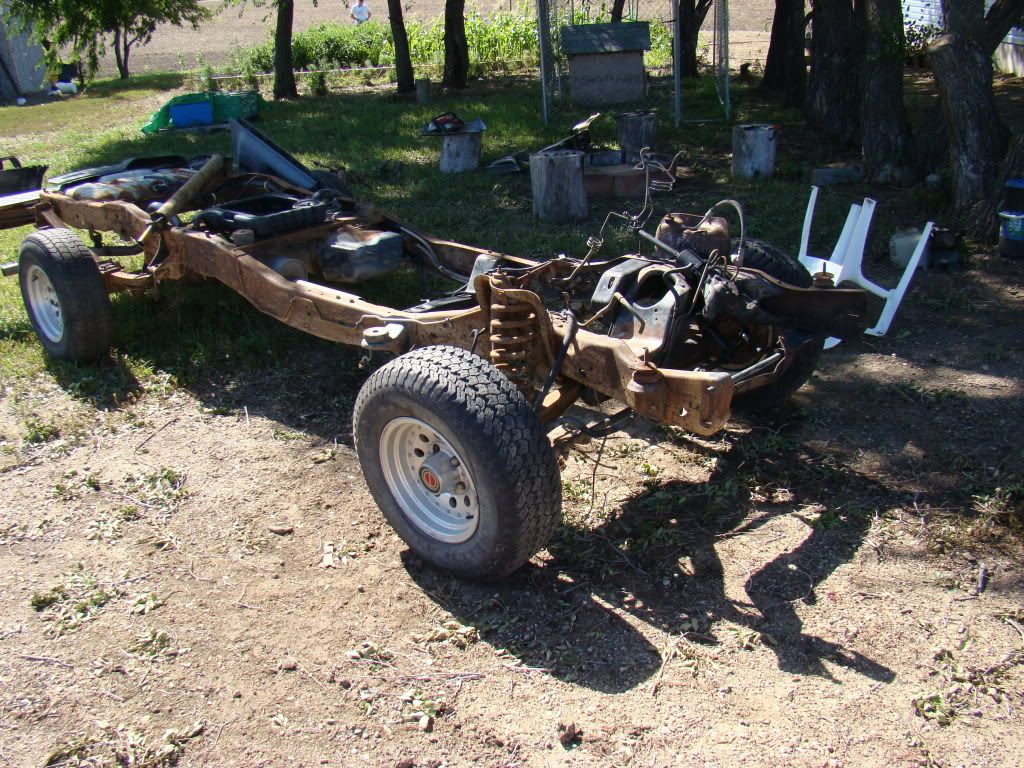
So after day 1 Im left with a rolling frame with the engine, tranny, front end, and rear diff that all has to get yanked. Was too dark to take pics when I finally got all the tools and crap cleaned up.
Project plans. Take shortbox frame, slap 4 wheel drive under it (parts from blue and white truck), throw on cab from grey truck, install the black rust free box, install the m5od tranny (bought cheap from kijiji). Possible paint job as I go, fenders/doors/ interior stuff will be chosen as I go, and will be as rust free as possible.
Engine is going to be from the blue and white truck, have to sort out some issues before final decision, very low miles on that 302.
Starting with 3 trucks,
Started with this, this morning
As the day progressed
Stubborn body mounts
Cab ready to come off
Starting to lift it off
Forgot to unhook the speedo cable
Cab off!
So after day 1 Im left with a rolling frame with the engine, tranny, front end, and rear diff that all has to get yanked. Was too dark to take pics when I finally got all the tools and crap cleaned up.
Thread Starter
|
FTE Legend
Joined: Aug 2004
Posts: 37,887
Likes: 20
From: North Central Rural Sask.
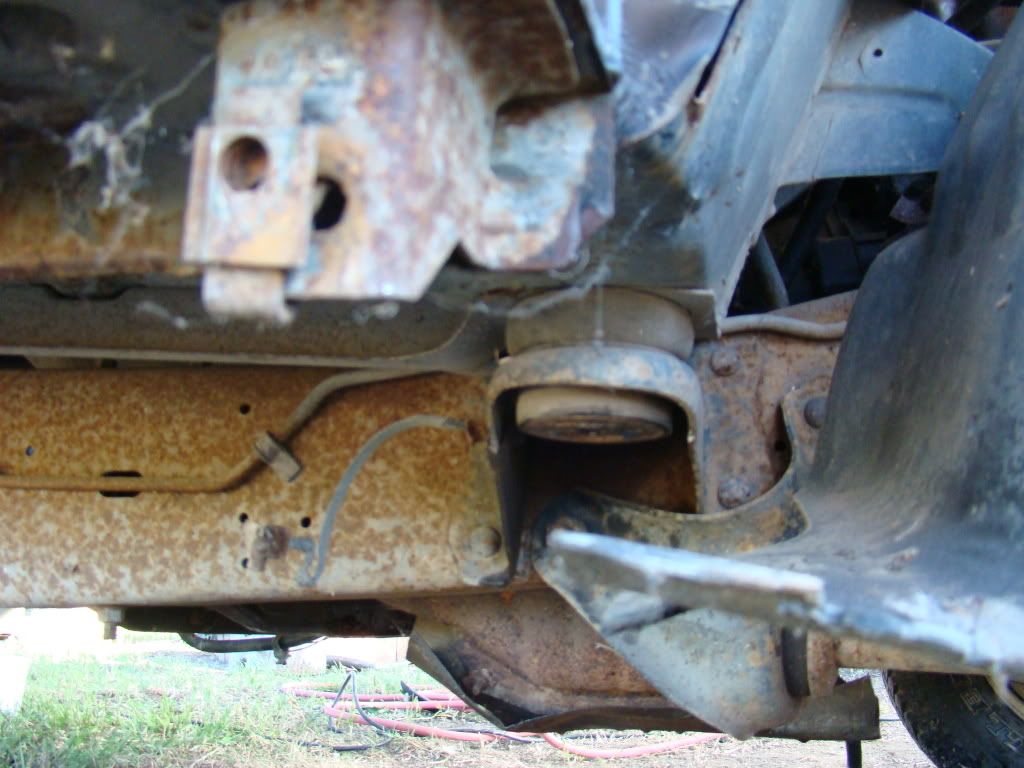
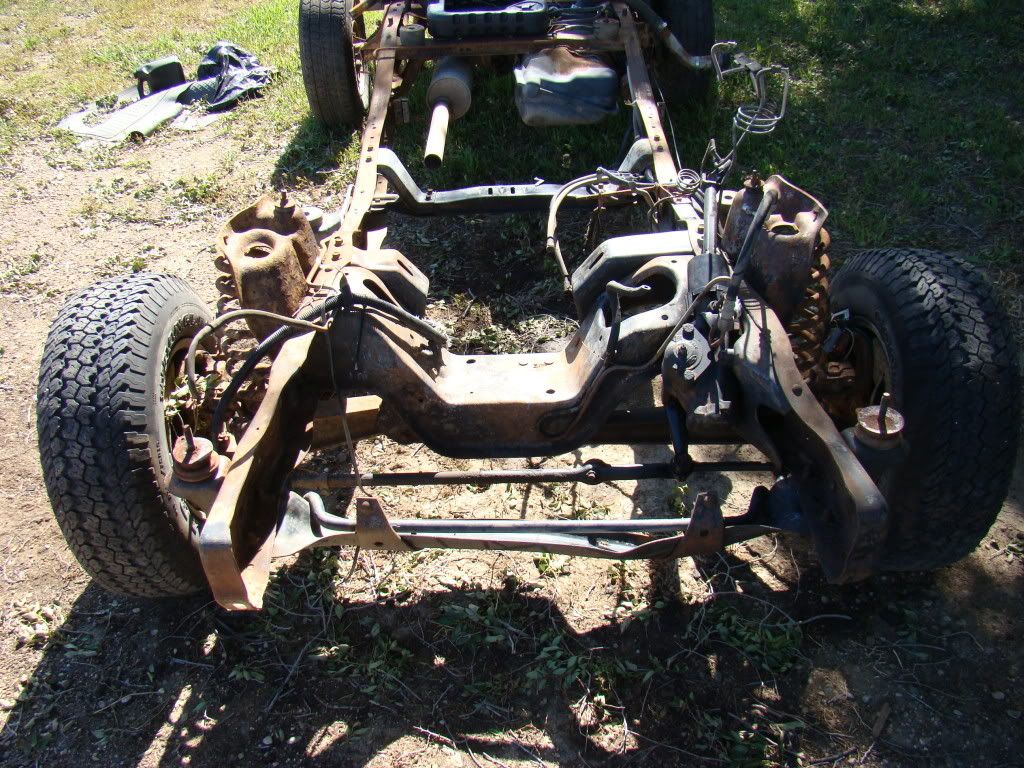
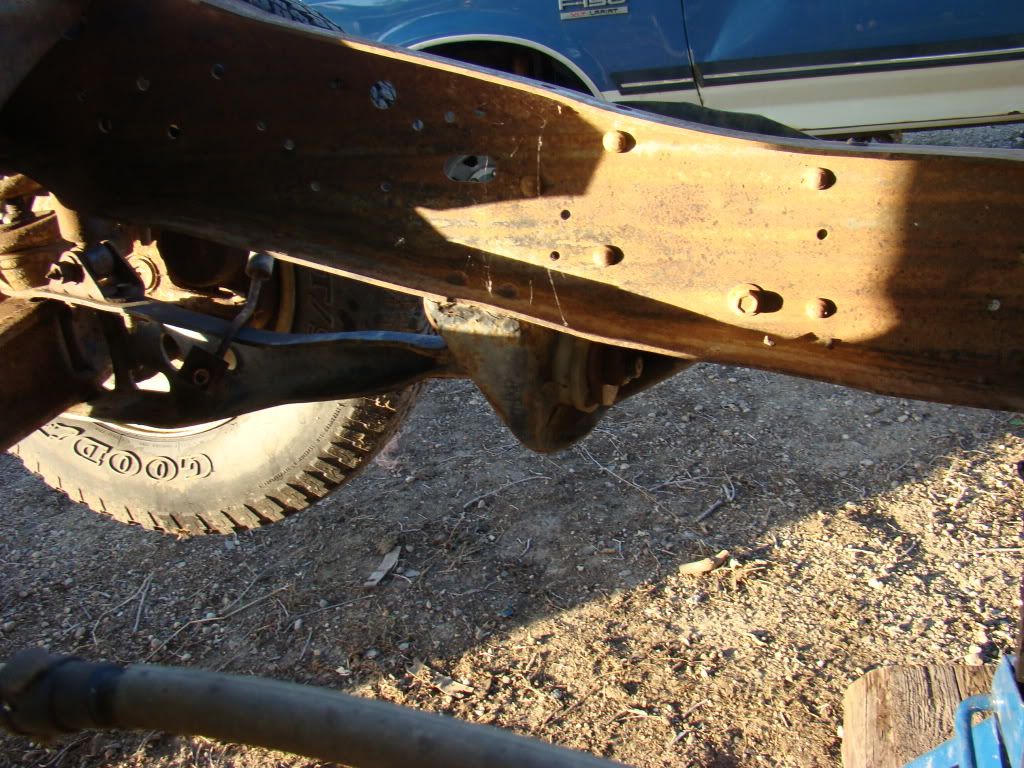
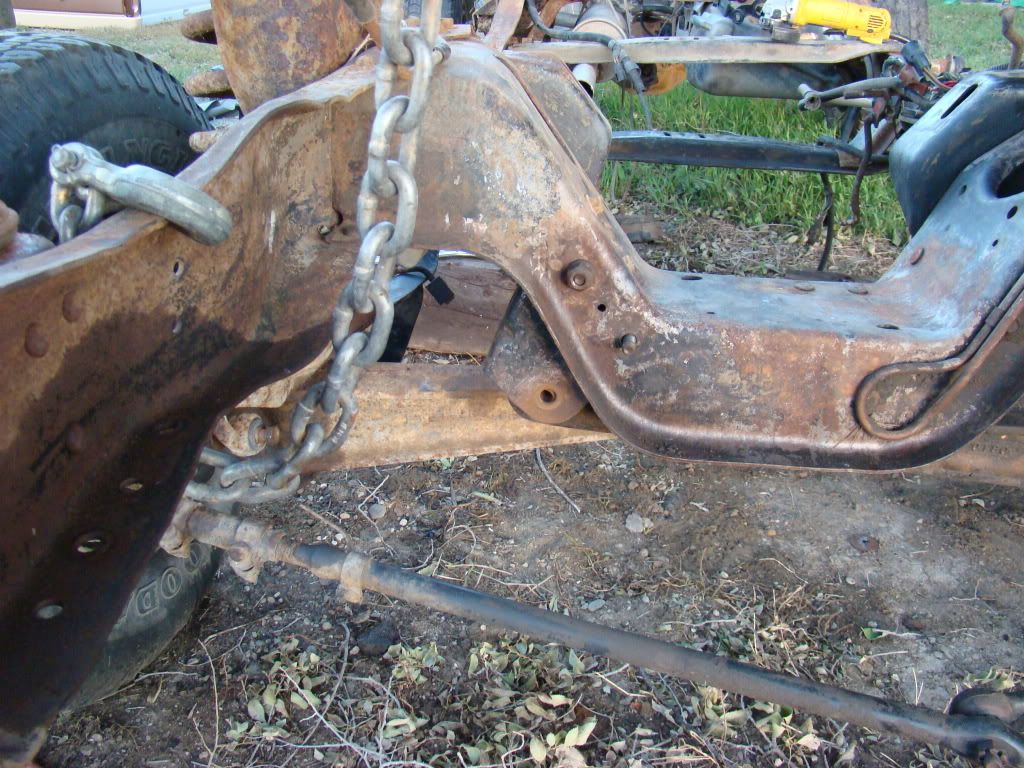
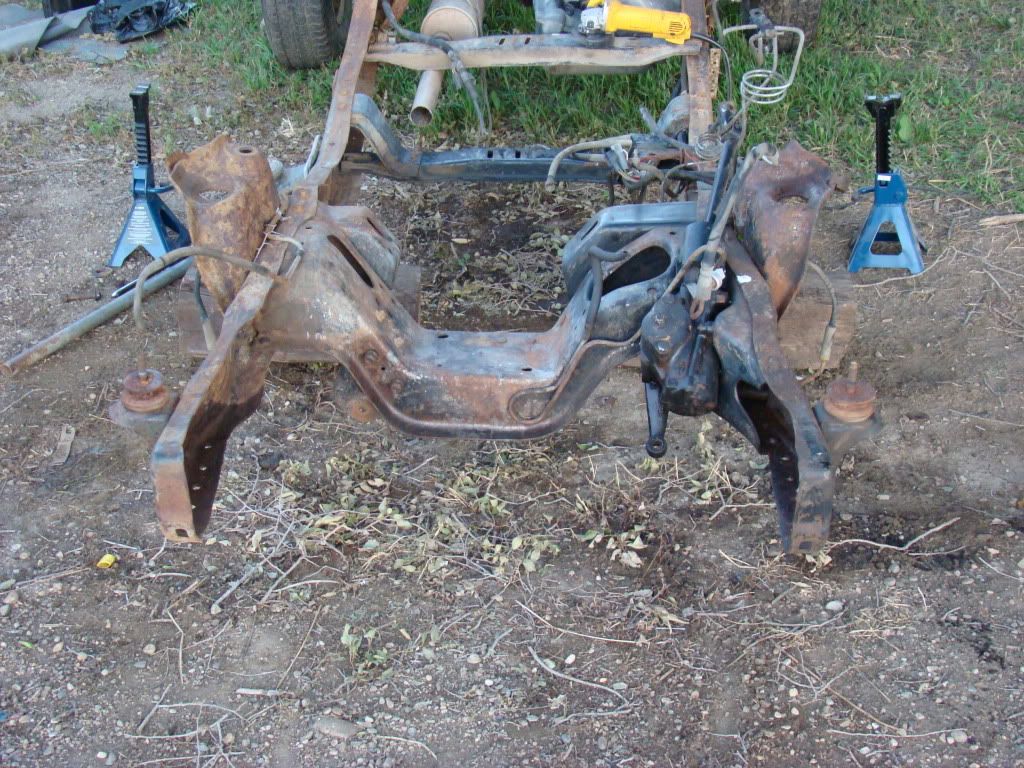
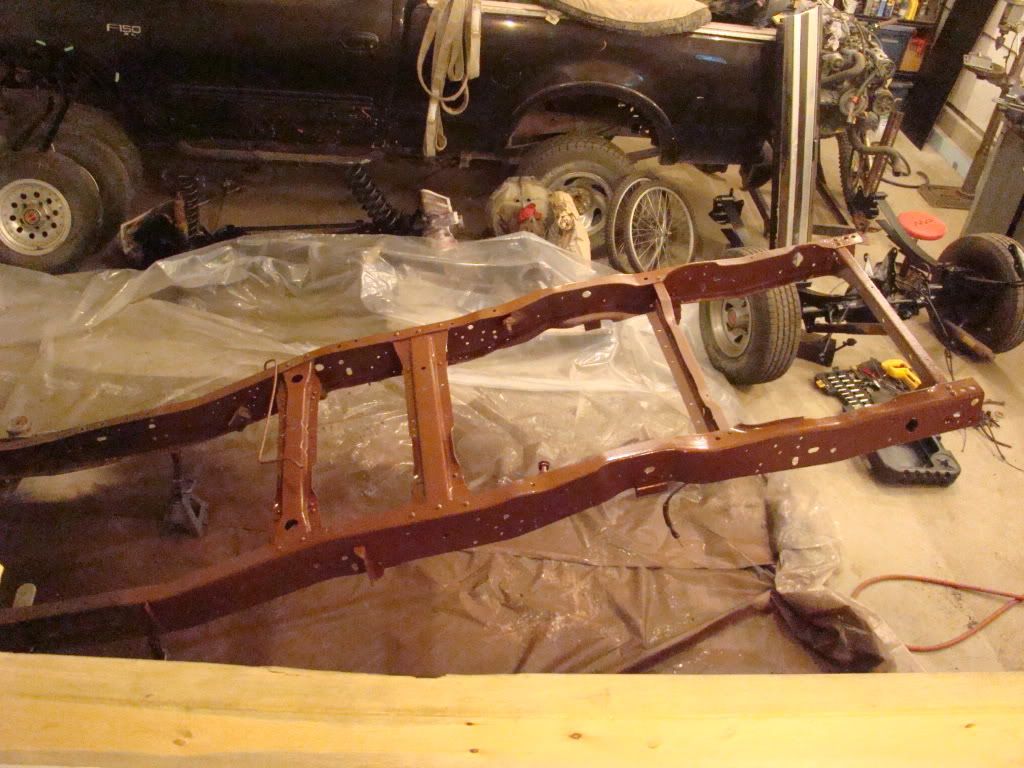
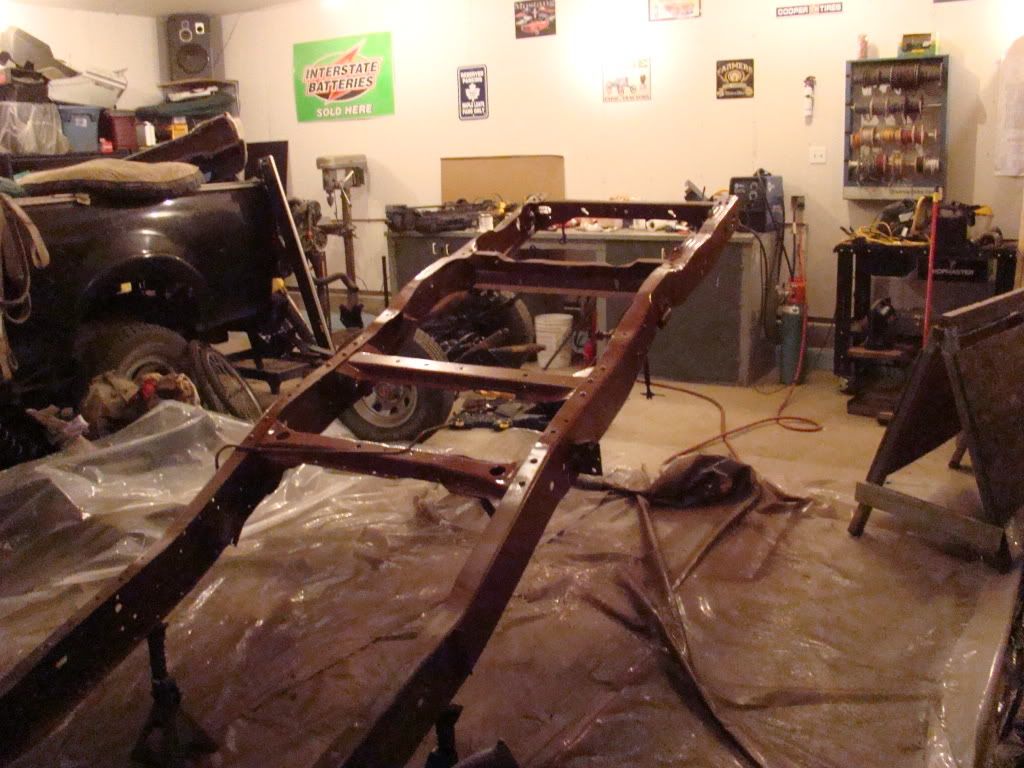
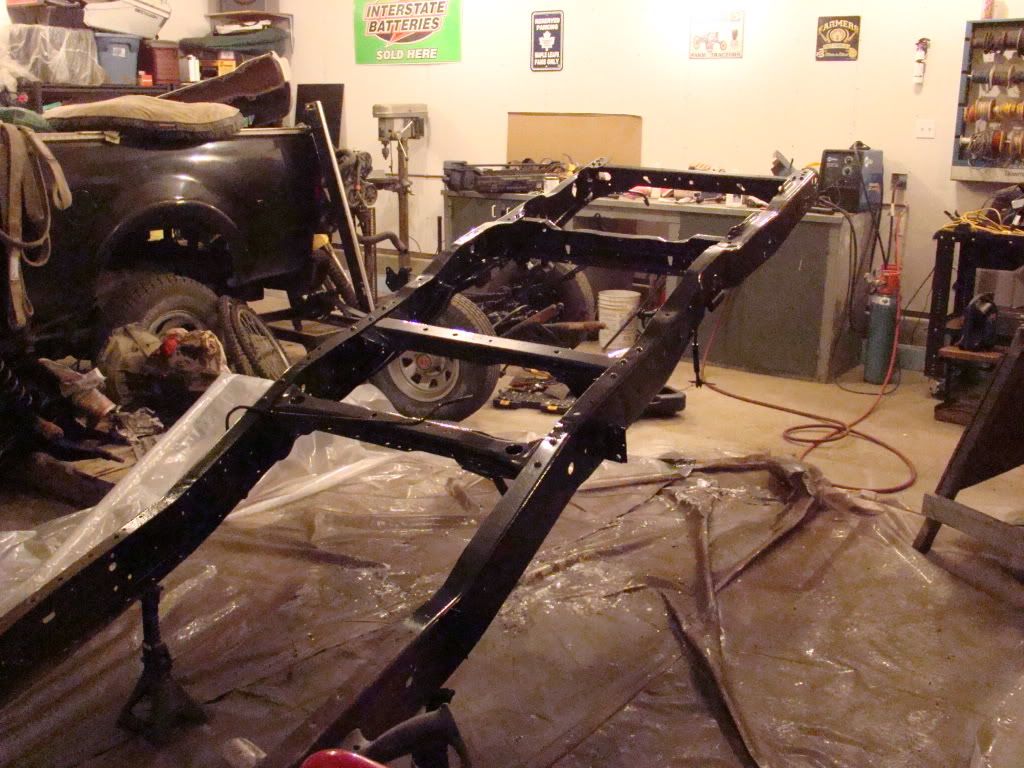
After a week in Jasper Alberta, here is a frame pic, ready to yank the front end out, and then start getting the 4x4 front end ready to yank out of the blue and white donor truck.
Thread Starter
|
FTE Legend
Joined: Aug 2004
Posts: 37,887
Likes: 20
From: North Central Rural Sask.
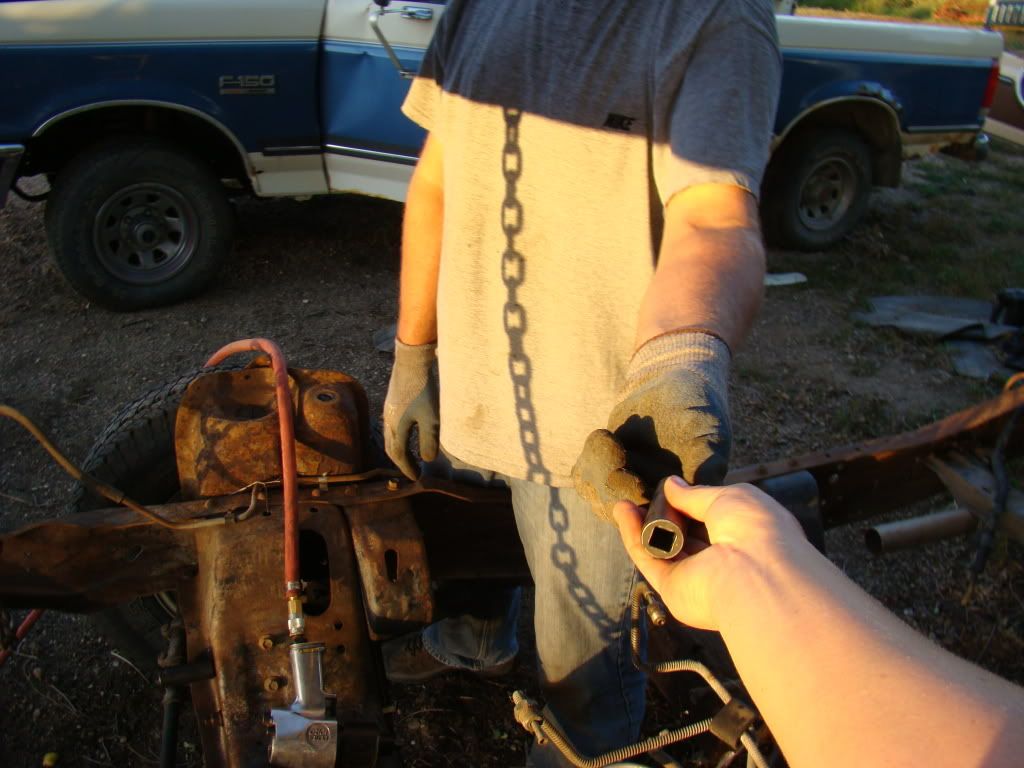
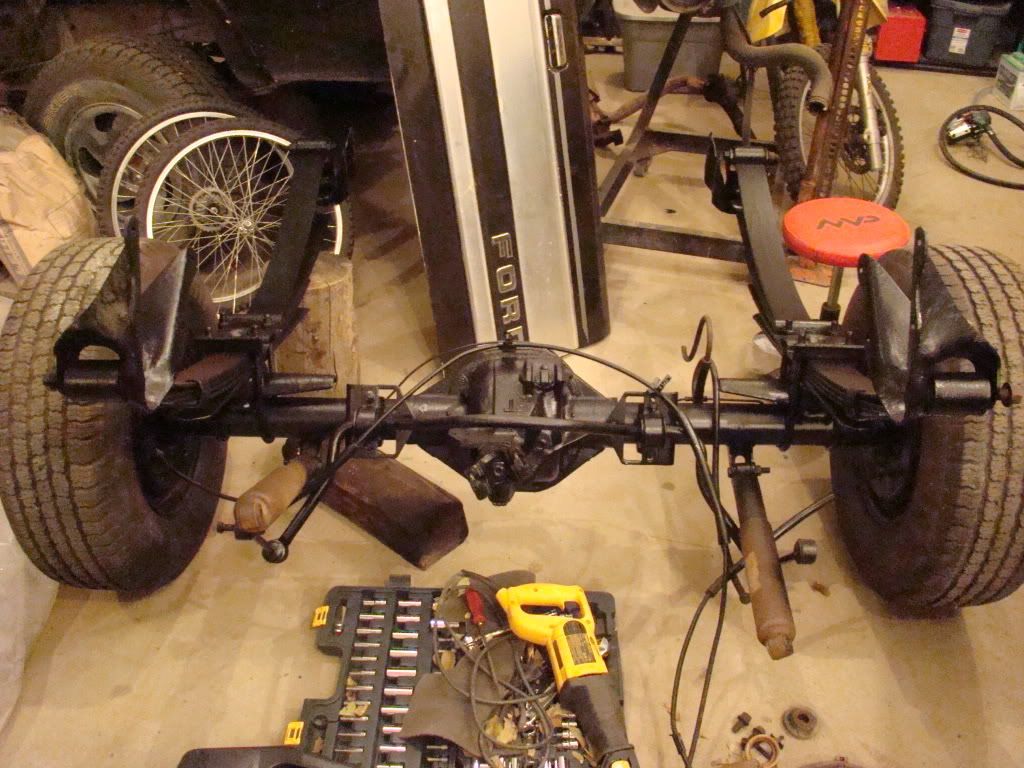
Ok so I had a hour or so to spare tonight so I ripped the front end out. it was extremely easy. First pics are my helpers.
My wife offered to help so she passed me a socket haha (took her twice as long to pass me the socket while trying to take a damn pic!)
First I undid the brake lines from both sides
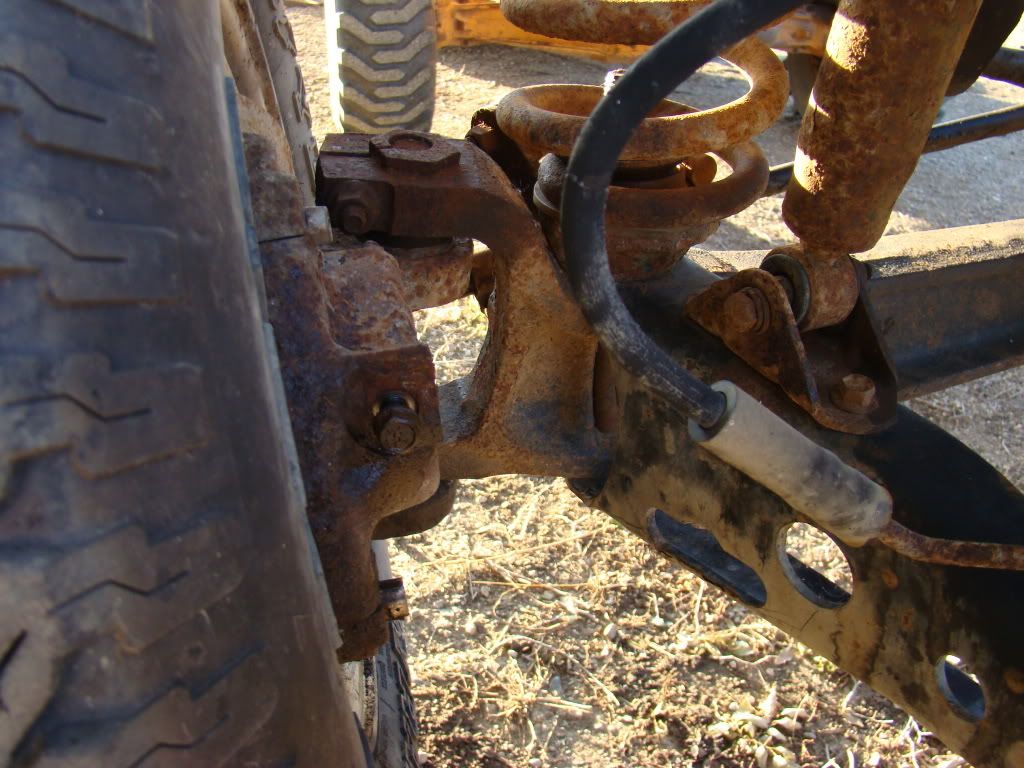
Second I undid the radius arm nuts. The first side came fairly easy with a 3/4 inch socket set, I had soaked the nuts with penetrating fluid, and i am a pretty strong guy, and i had to use some muscle. The second side I twisted the radius arm up, and the nut didnt budge, so i just grinded it off with my trusty dewalt grinder.
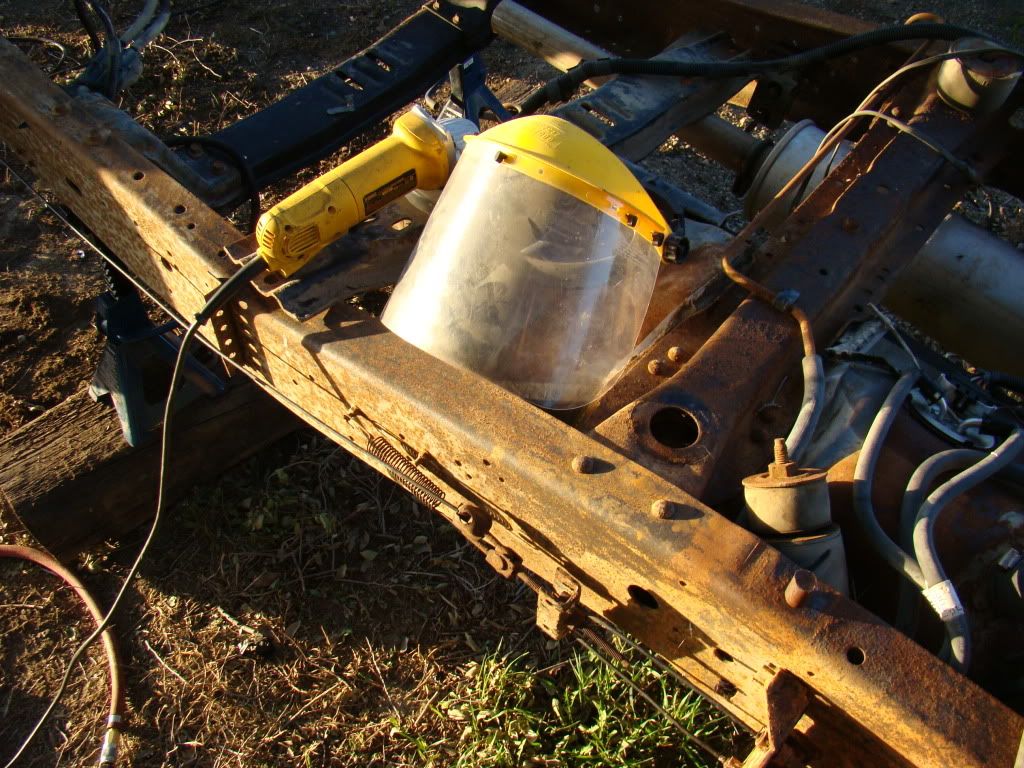
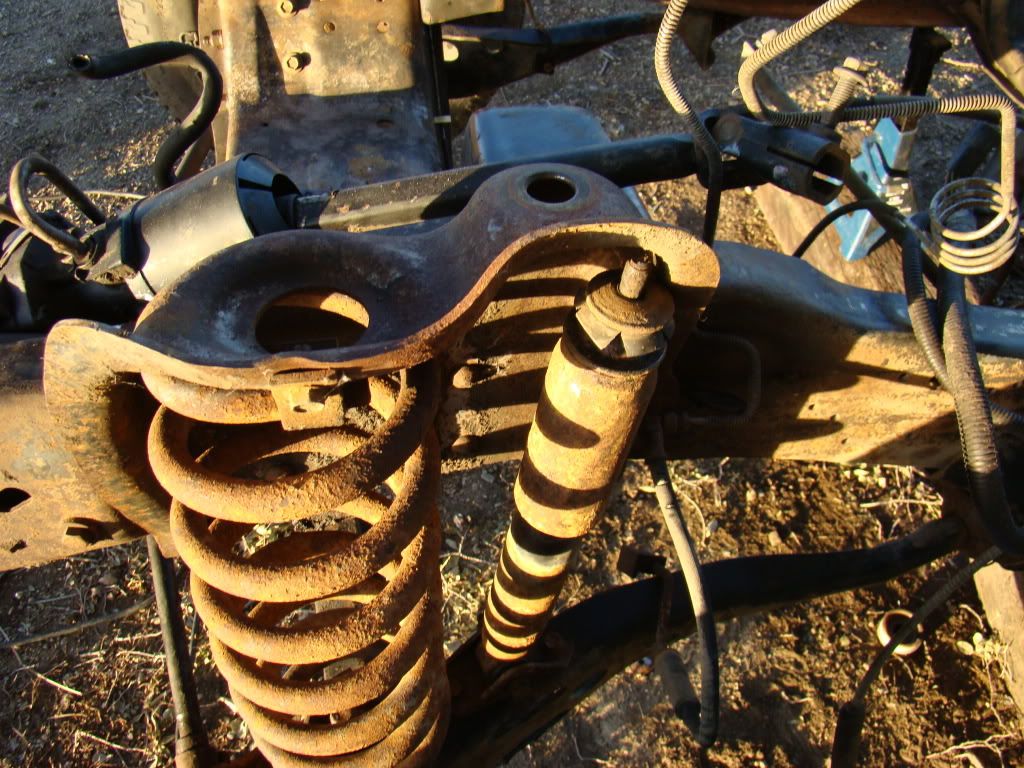
Next I removed the shocks. Since I had the grinder out, and the shocks were no good anyways, I simply ground the nut off. I forgot to take a picture of the spring holder loose, but I just undid the top nut with my impact at the same time.
Next was the steering. I just undid the bolt, took out my trusty BFH, gave the shaft a whack, and it popped off. Since this is the 2wd front end, Im not concerned about keeping much, but if you are, ya might want to get out a puller instead to take this apart.
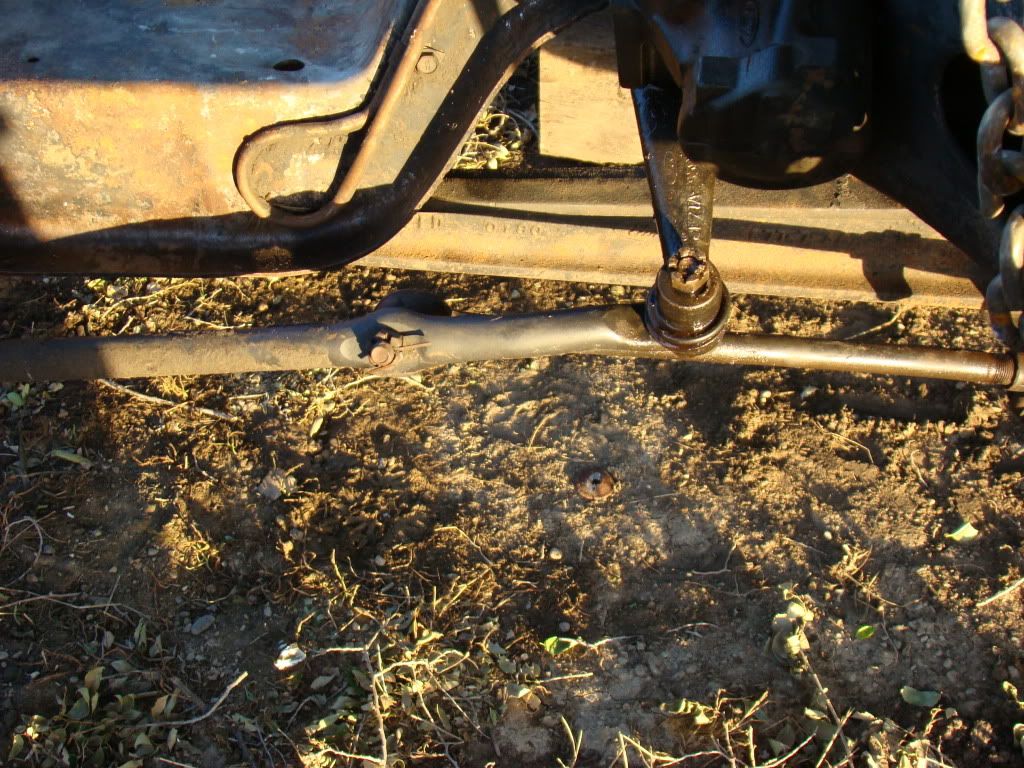
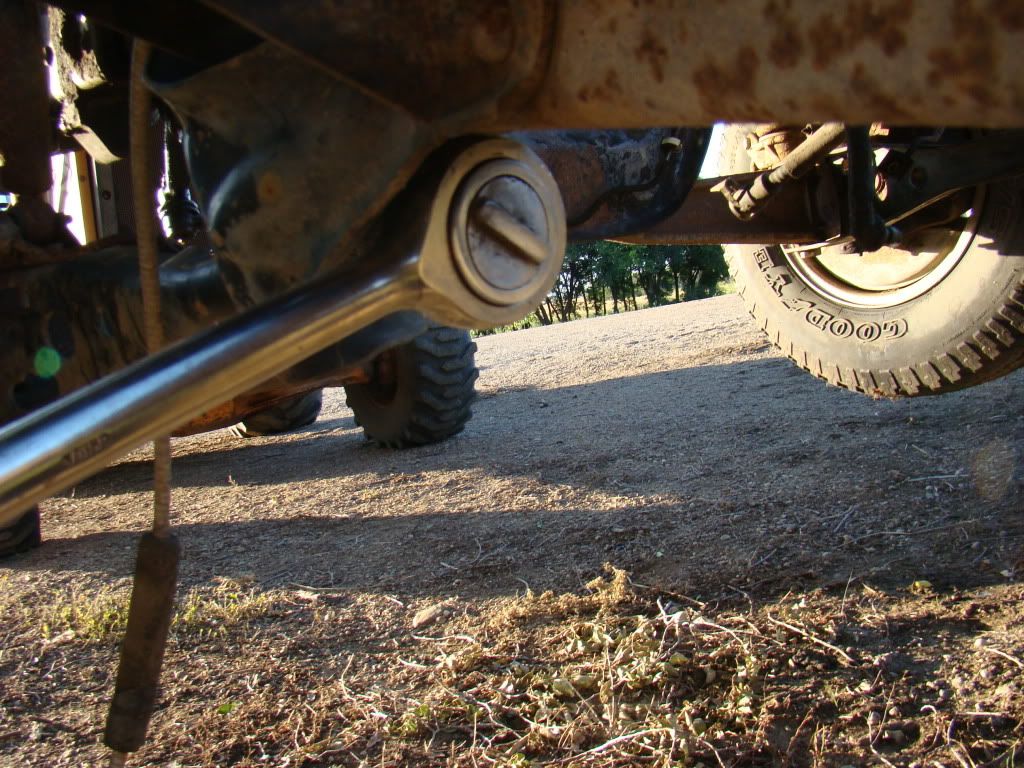
Next I took my impact, and loosened the nuts and bolts that holds the beams(is that the correct term?) on, and once I took the bolts out, everything was loose.
Passenger side, you DON'T have to remove the two nuts on the front, just the one below, on the bracket.
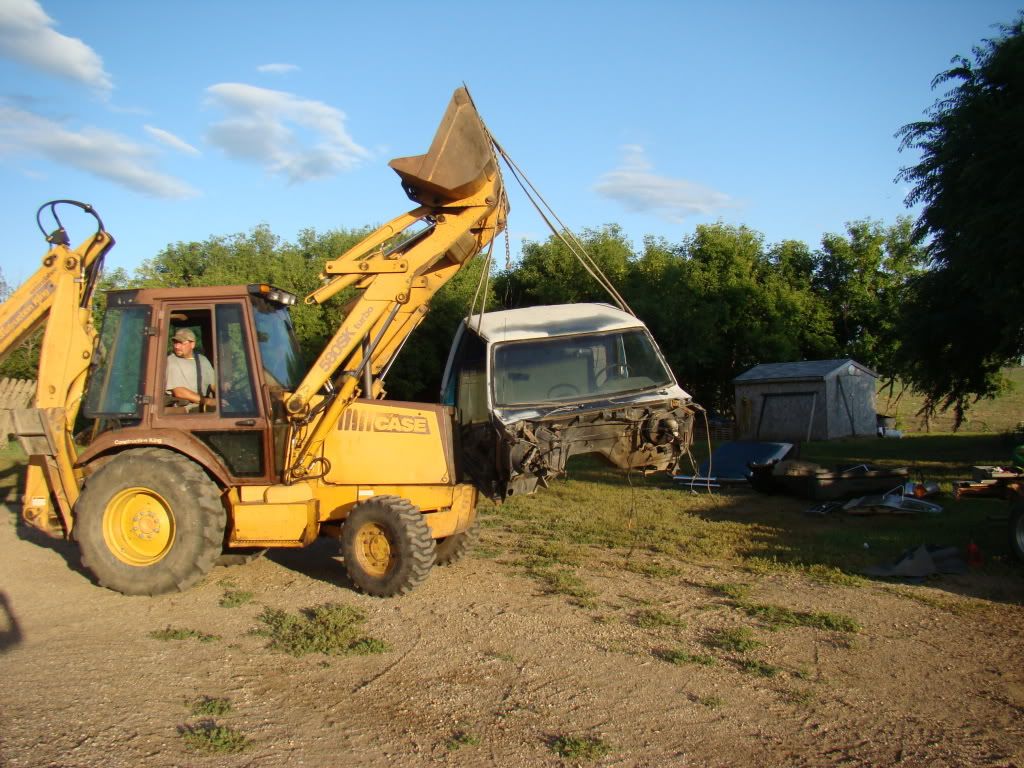
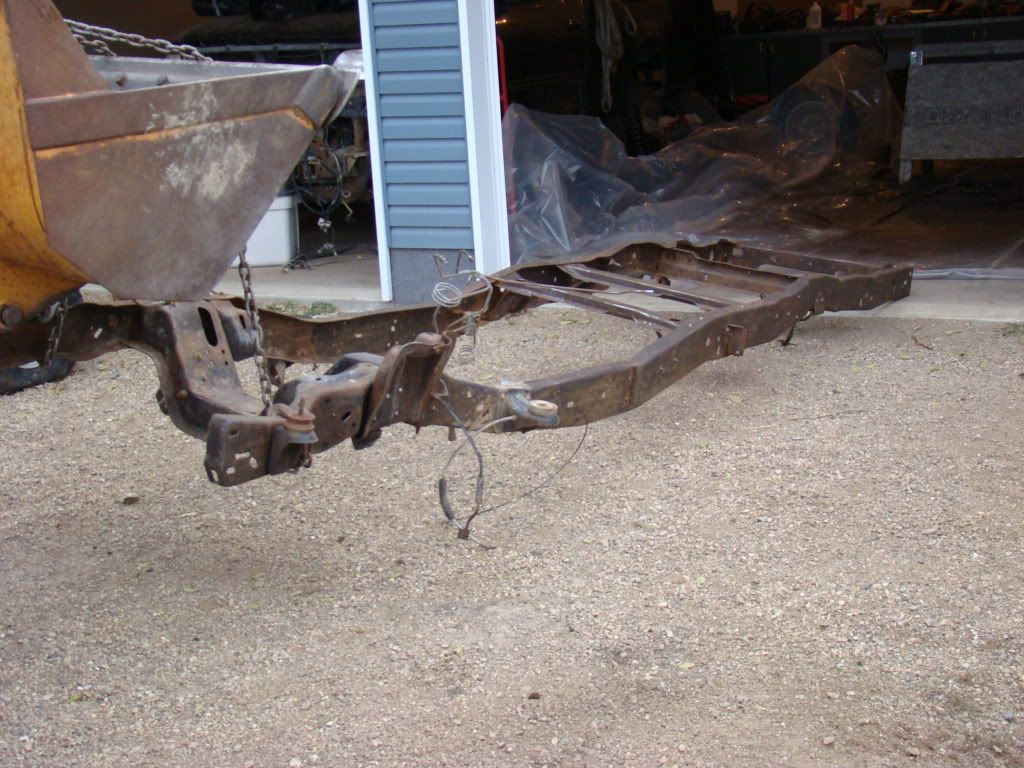
There are many ways to do the next part, I chose my Case 580 and a chain!
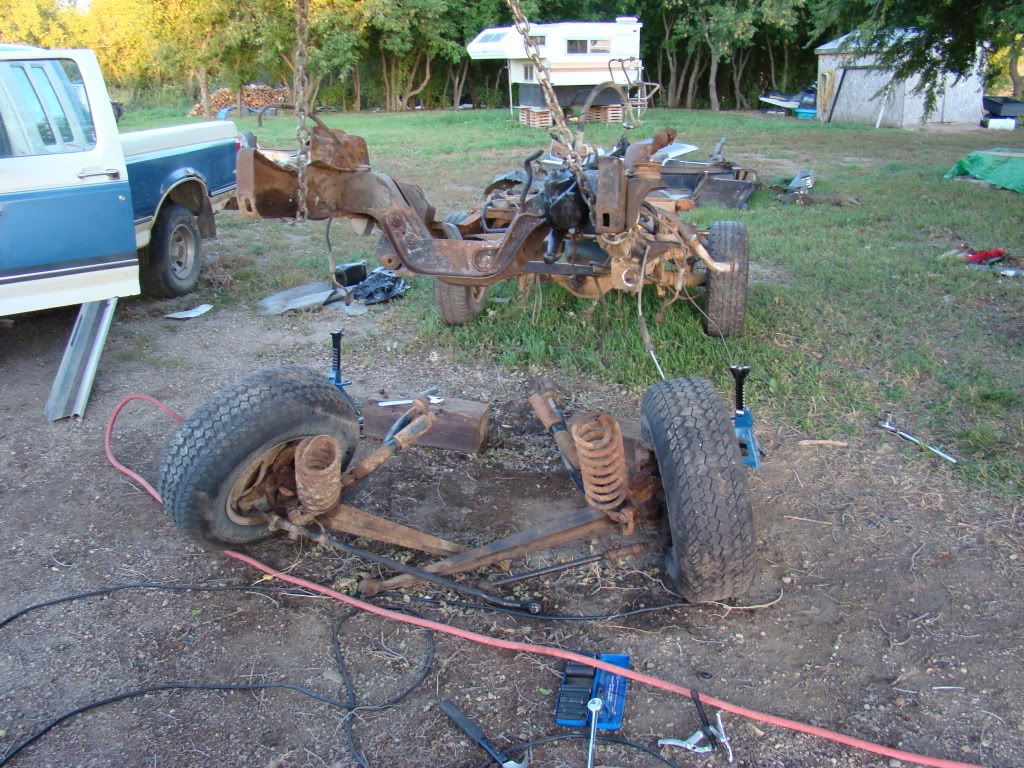
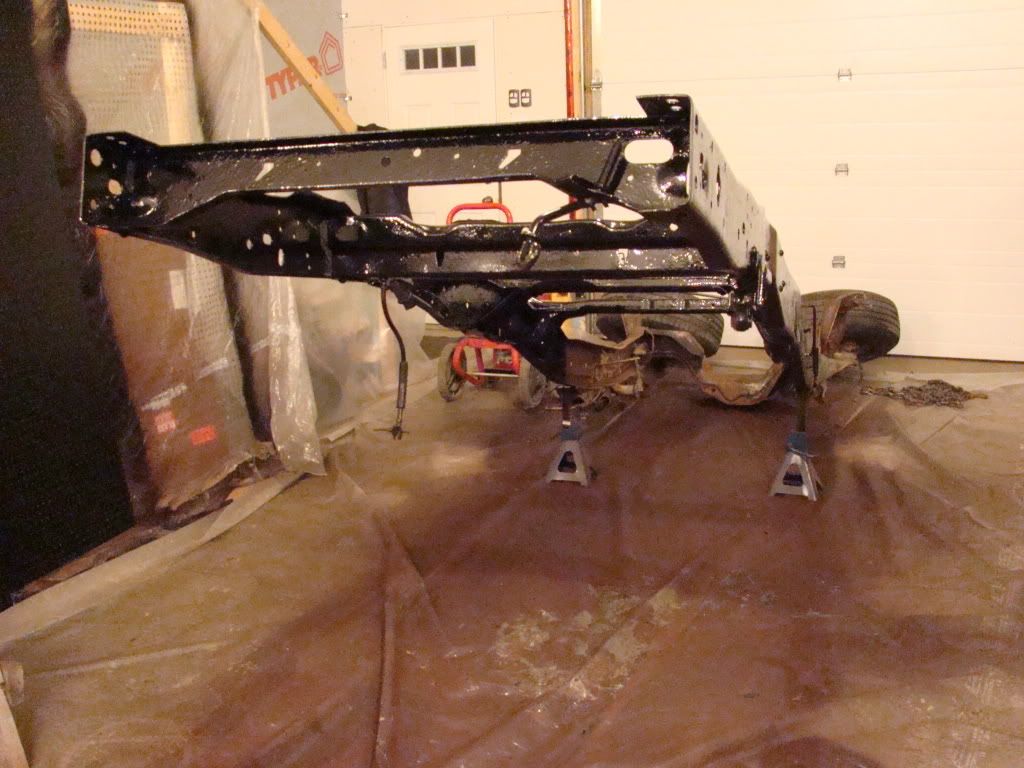
And voila, front end removed, only cutting was with my angle grinder for the one radius arm nut!
So far, I MAYBE have 10 hours into this project. Looking back Im actually pretty amazed at how simple everything has been to dismantle so far.
My wife offered to help so she passed me a socket haha (took her twice as long to pass me the socket while trying to take a damn pic!)
First I undid the brake lines from both sides
Second I undid the radius arm nuts. The first side came fairly easy with a 3/4 inch socket set, I had soaked the nuts with penetrating fluid, and i am a pretty strong guy, and i had to use some muscle. The second side I twisted the radius arm up, and the nut didnt budge, so i just grinded it off with my trusty dewalt grinder.
Next I removed the shocks. Since I had the grinder out, and the shocks were no good anyways, I simply ground the nut off. I forgot to take a picture of the spring holder loose, but I just undid the top nut with my impact at the same time.
Next was the steering. I just undid the bolt, took out my trusty BFH, gave the shaft a whack, and it popped off. Since this is the 2wd front end, Im not concerned about keeping much, but if you are, ya might want to get out a puller instead to take this apart.
Next I took my impact, and loosened the nuts and bolts that holds the beams(is that the correct term?) on, and once I took the bolts out, everything was loose.
Passenger side, you DON'T have to remove the two nuts on the front, just the one below, on the bracket.
There are many ways to do the next part, I chose my Case 580 and a chain!
And voila, front end removed, only cutting was with my angle grinder for the one radius arm nut!
So far, I MAYBE have 10 hours into this project. Looking back Im actually pretty amazed at how simple everything has been to dismantle so far.
Thread Starter
|
FTE Legend
Joined: Aug 2004
Posts: 37,887
Likes: 20
From: North Central Rural Sask.
You have that right on the 100 hours to assemble haha. It actually should be pretty easy though. Im not doing anything super fancy to it, basically putting it back together.
As for teh frame painting, I know alot of people are going to disagree, but Im not going to paint it. It has minor cosmetic surface rusting, and to be honest the gravel where I live will knock the paint off in about a year, so its really not worth it to me.
I am going to paint pieces and parts that need it however, like the fuel tanks, etc.
I would love to paint the frame, and everything all up and make it look nice, but the reality of this truck is, its going to be a farm/winter/seconf 4 wheel drive.
My goal is to paint the body, detail the engine a little, small stuff like that.
Logistics Pro
Joined: Apr 2011
Posts: 4,744
Likes: 5
From: Earth
You have that right on the 100 hours to assemble haha. It actually should be pretty easy though. Im not doing anything super fancy to it, basically putting it back together.
As for teh frame painting, I know alot of people are going to disagree, but Im not going to paint it. It has minor cosmetic surface rusting, and to be honest the gravel where I live will knock the paint off in about a year, so its really not worth it to me.
I am going to paint pieces and parts that need it however, like the fuel tanks, etc.
I would love to paint the frame, and everything all up and make it look nice, but the reality of this truck is, its going to be a farm/winter/seconf 4 wheel drive.
My goal is to paint the body, detail the engine a little, small stuff like that.
As for teh frame painting, I know alot of people are going to disagree, but Im not going to paint it. It has minor cosmetic surface rusting, and to be honest the gravel where I live will knock the paint off in about a year, so its really not worth it to me.
I am going to paint pieces and parts that need it however, like the fuel tanks, etc.
I would love to paint the frame, and everything all up and make it look nice, but the reality of this truck is, its going to be a farm/winter/seconf 4 wheel drive.
My goal is to paint the body, detail the engine a little, small stuff like that.

Trending Topics
Thread Starter
|
FTE Legend
Joined: Aug 2004
Posts: 37,887
Likes: 20
From: North Central Rural Sask.
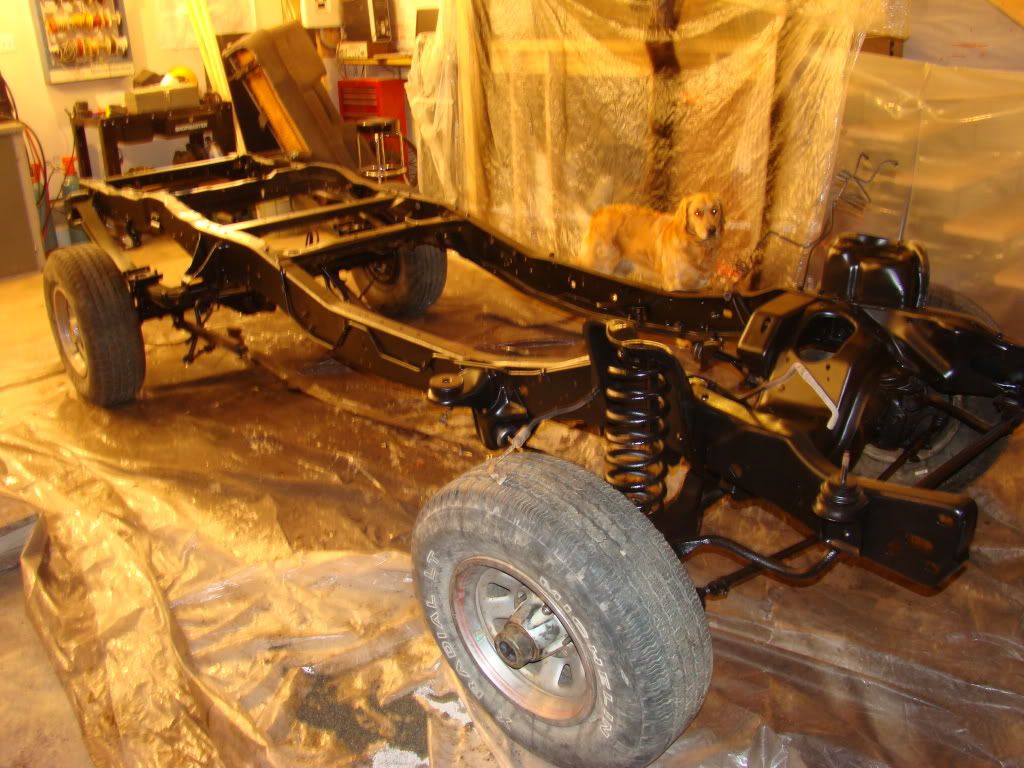
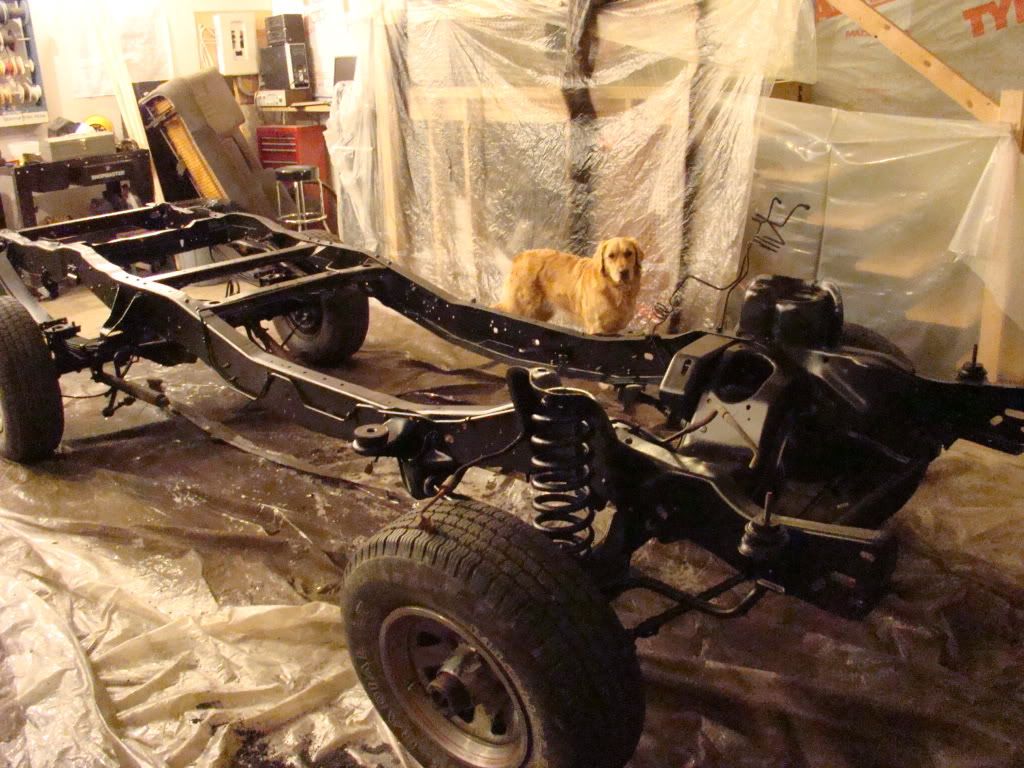
Ok so I realize I havent updated my build in a while so I snapped a few pictures today. Life gets pretty busy around here for me, projects dont get done fast, unless they are the old lady's projects haha.
I actually stripped my frame right down, and decided to paint it with tremclad. I stripped the front and rear diffs the best I could (the rear diff had quite a bit of flaky rust that was hard to get to, to remove) and shot some primer on everything. I wire wheeled the fuel tank straps, and some other parts as well, and shot everything with primer, then semi gloss black tremclad. I don't have any pictures right now of the parts I painted, but Im very pleased with how they all turned out, look very nice!
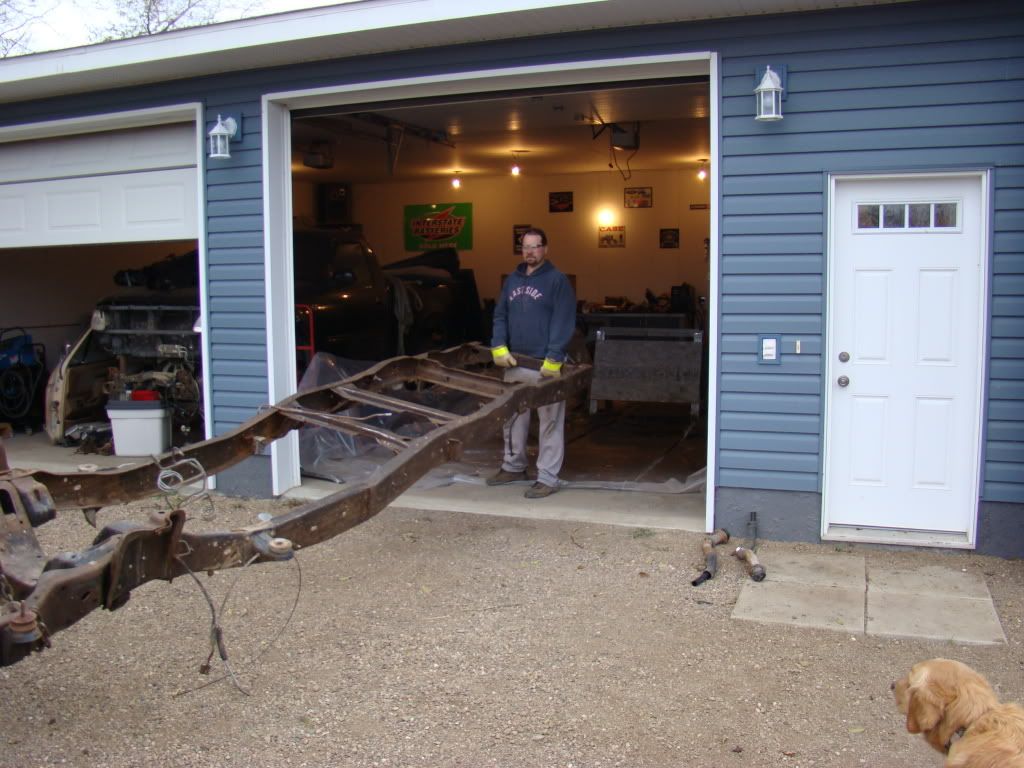
So this picture is the frame stripped, my wife is driving the backhoe, helping me get the frame into the shop
The frame
The way we moved the frame, one end lifted with the backhoe, myself on the other end.
I figure with all the stripping and painting of the parts, and wire wheeling the frame so far, I have another 5 hours into this project (I am trying to keep track of everything, so i can determine how many hours approx in total I spend on this project)
This week I would like to prime and paint the back half of the frame, install the rear diff, roll it outside and finish wire wheeling the front (about another 30 minutes of wire wheeling needed), roll it back inside then finish priming and painting the frame, then reinstall the front diff. Shouldnt take too long, as along as my university studies don't get in the way!
Its funny too, when I started this project, I didnt want to do a "frame off" resto, on a 90s ford truck. Time will tell whether it was a good idea or a waste of time!
I actually stripped my frame right down, and decided to paint it with tremclad. I stripped the front and rear diffs the best I could (the rear diff had quite a bit of flaky rust that was hard to get to, to remove) and shot some primer on everything. I wire wheeled the fuel tank straps, and some other parts as well, and shot everything with primer, then semi gloss black tremclad. I don't have any pictures right now of the parts I painted, but Im very pleased with how they all turned out, look very nice!
So this picture is the frame stripped, my wife is driving the backhoe, helping me get the frame into the shop
The frame
The way we moved the frame, one end lifted with the backhoe, myself on the other end.
I figure with all the stripping and painting of the parts, and wire wheeling the frame so far, I have another 5 hours into this project (I am trying to keep track of everything, so i can determine how many hours approx in total I spend on this project)
This week I would like to prime and paint the back half of the frame, install the rear diff, roll it outside and finish wire wheeling the front (about another 30 minutes of wire wheeling needed), roll it back inside then finish priming and painting the frame, then reinstall the front diff. Shouldnt take too long, as along as my university studies don't get in the way!
Its funny too, when I started this project, I didnt want to do a "frame off" resto, on a 90s ford truck. Time will tell whether it was a good idea or a waste of time!
FTE Stories
Ford Trucks for Ford Truck Enthusiasts

3 Best / 3 Worst Parts of Modern Ford Ownership
Brett Foote
10 Amazing Upgrades That Solve Common Ford Truck Owner Headaches
Pouria Savadkouei
Every 2026 Ford Engine Explained
Brett Foote
10 Ugly Ford Trucks That We Still Kinda Love
Joe Kucinski
10 Things Every Truck Owner NEEDS (2026 Edition)
Michael S. Palmer
Rezvani's Latest Post-Apocalyptic Monster Is a Ford F-150 Raptor Underneath
Verdad Gallardo
Top 10 Most Expensive Ford Trucks Ever Sold on Bring a Trailer
Joe Kucinski
2027 Ford Super Duty Buyer's Guide (Every Model, Engine, & Package)
Brett Foote
Top 10 Ford Truck Tragedies
Joe Kucinski
Posting Guru
Joined: Oct 2011
Posts: 1,179
Likes: 1
From: Pueblo, CO
I love the '87-91 "brick nose", you're not going to swap the nose are you? I wish I had the workspace to do this kind of stuff. I got the time and most of the skills and most of the tools. one of the many downsides of apartment living.
Thread Starter
|
FTE Legend
Joined: Aug 2004
Posts: 37,887
Likes: 20
From: North Central Rural Sask.
I hear ya on the apartment living man!! I grew up on a farm, lived in small towns till I was 20ish, moved to a big city, then lived in bigish cities (one resort hot springs town, migth as well have been a big city) till 07. Bought a farm in 07 and loved it ever since!
I will be honest, I really wanted to change the nose to the newer style, but in the end I dont think Im going to. I like both styles, with the newer one being slighly better looking to me, but I have 3 complete "brick nose" front ends, that it just makes sense that I pick the components that are in the best shape, and use those parts, which is what I will most likely end up doing.
I will be honest, I really wanted to change the nose to the newer style, but in the end I dont think Im going to. I like both styles, with the newer one being slighly better looking to me, but I have 3 complete "brick nose" front ends, that it just makes sense that I pick the components that are in the best shape, and use those parts, which is what I will most likely end up doing.
Thread Starter
|
FTE Legend
Joined: Aug 2004
Posts: 37,887
Likes: 20
From: North Central Rural Sask.
Ok, So I primed the back half of my frame. The idea behind priming/painting half of the frame at a time, is so I can install the rear diff, then "pivot" the frame so the front end sits higher, and I can get underneath, and in all the nooks and crannies.
The rear diff, after priming and painting (forgive my messy shop floor)
And the front diff all primed and painted.
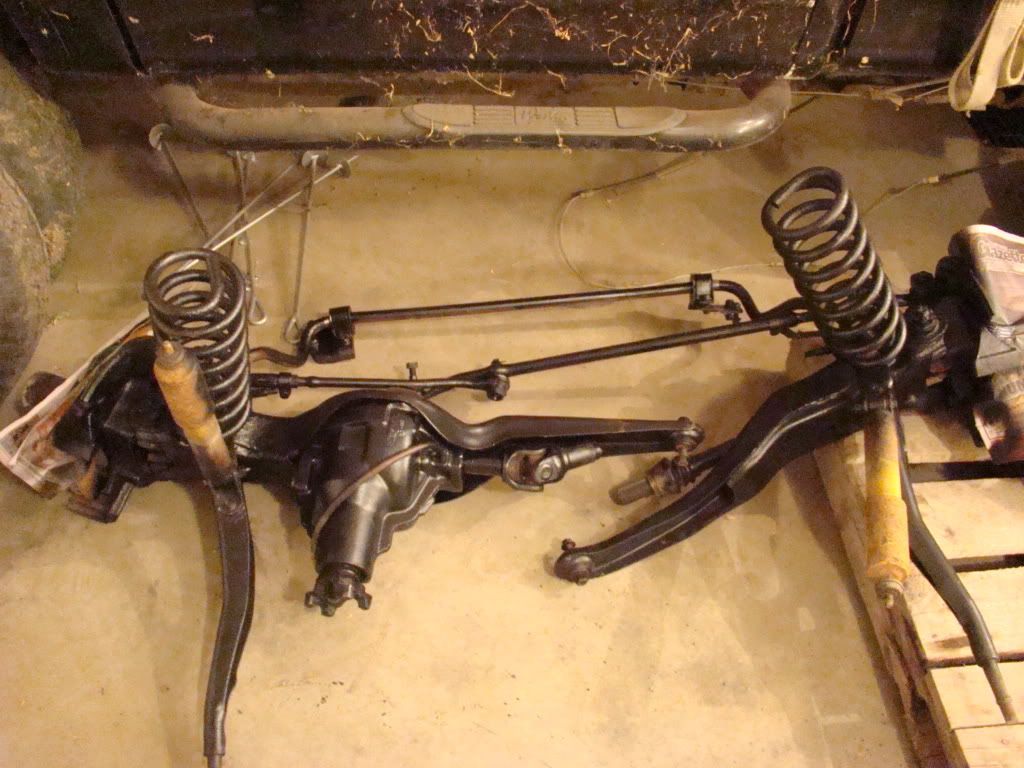
The rear diff, after priming and painting (forgive my messy shop floor)
And the front diff all primed and painted.
Thread Starter
|
FTE Legend
Joined: Aug 2004
Posts: 37,887
Likes: 20
From: North Central Rural Sask.
Back half of frame painted, tremclad semi gloss black, I think it looks awesome. Another 1, 1.5 hours priming and painting. Pictures don't do the frame justice!
Thread Starter
|
FTE Legend
Joined: Aug 2004
Posts: 37,887
Likes: 20
From: North Central Rural Sask.
Update time again. I FINALLY got the rest of the frame stripped, and painted, as well as I installed the front diff, radius arms, bushings and brackets. I didnt take step by step pictures of the installation of the front diff, I just reversed my steps for taking the old diff out.
For future reference, take the sway bar off before you reinstall the diff, it will make things much easier. I didnt, and it was a pain, and I had to undo one side of the sway bar, then it took minutes to reinstall! I tightened everything up with an impact, and will check torque specs later on (its starting to get cold out here, so Im yanking the frame outside so we can park in one stall of our garage)
The radius arm bushings and brackets really dont need any explanation either. They just bolt back into place, where you unbolted them. All ina ll about another 6 hours of stripping, painting, installing the front end, and touching up. Im really impressed with how good everything turned out, lookwise. I will probably regret not por15, or chassis saver'ing the frame, but such is life. I hadnt planned on stripping and painting the frame at all, so i guess this is an improvement over my original plans.
Also I gotta give my wife props for helping me, and coming up with some really good ideas on where/how to get a ratchet strap to make this install a breeze! Shes been a real help so far.. except for complaining that she needs to park in the garage in the cold haha.
Thread Starter
|
FTE Legend
Joined: Aug 2004
Posts: 37,887
Likes: 20
From: North Central Rural Sask.
Thanks man!
I hear ya Wes, time is a huge issue for me. I work full time, I run an excavating business (backhoe/dumptruck) part time, I am taking part time classes (about 10 hours a week, nights) working on my bach of Ed degree, I run 5km 3 nights a week and train in brazillian jiu jitsu one night a week! Plus my wife is trying to talk me into going to the gym at our university for a couple additional evenings as well.
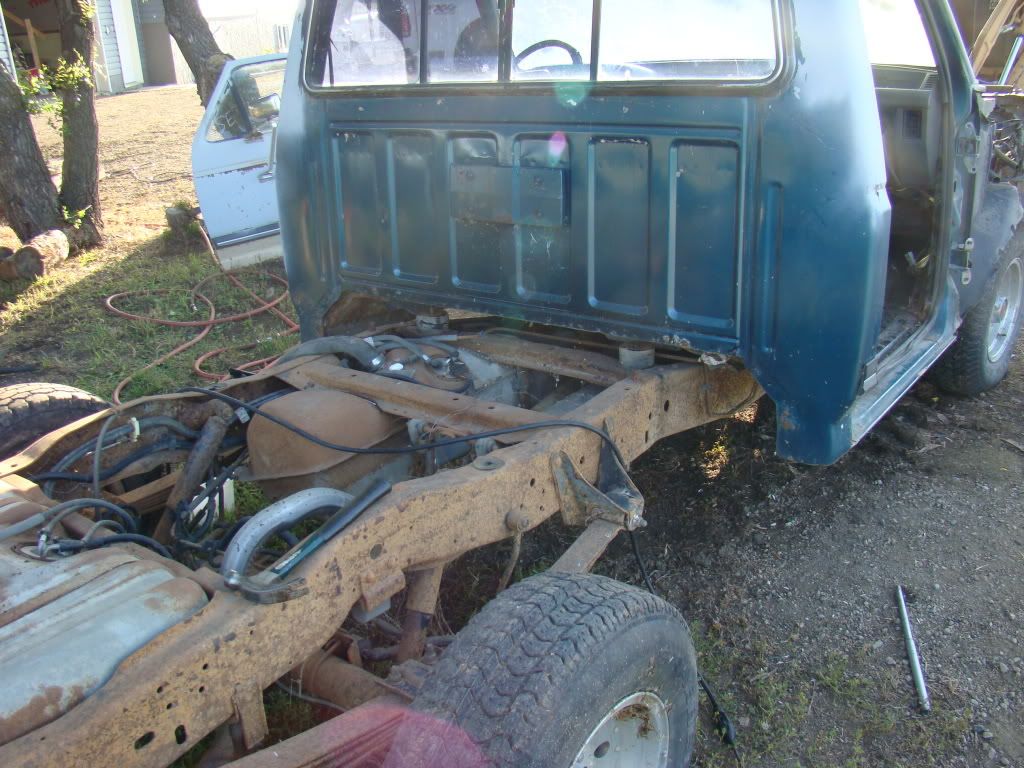
I do have a couple of daily drivers as well (03 f250 diesel and a 07 jeep grand cherokee diesel) so this truck can sit for periods of time without being worked on! Also, the frame and axles pictured here, are out of the two parts trucks I bought, and the truck cab that I am using is still a whole truck, the clutch is just screwed in it.
I hear ya Wes, time is a huge issue for me. I work full time, I run an excavating business (backhoe/dumptruck) part time, I am taking part time classes (about 10 hours a week, nights) working on my bach of Ed degree, I run 5km 3 nights a week and train in brazillian jiu jitsu one night a week! Plus my wife is trying to talk me into going to the gym at our university for a couple additional evenings as well.
I do have a couple of daily drivers as well (03 f250 diesel and a 07 jeep grand cherokee diesel) so this truck can sit for periods of time without being worked on! Also, the frame and axles pictured here, are out of the two parts trucks I bought, and the truck cab that I am using is still a whole truck, the clutch is just screwed in it.