Interior Before and After
#1
 04-16-2011, 06:02 PM

Join Date: Dec 2010
Location: Southwest Iowa
Posts: 174
Likes: 0
Received 0 Likes
on
0 Posts
Interior Before and After
I did a "budget" restoration on my interior over the past few weeks. Using what I learned on here and some elbow grease I cleaned the old girl up some.
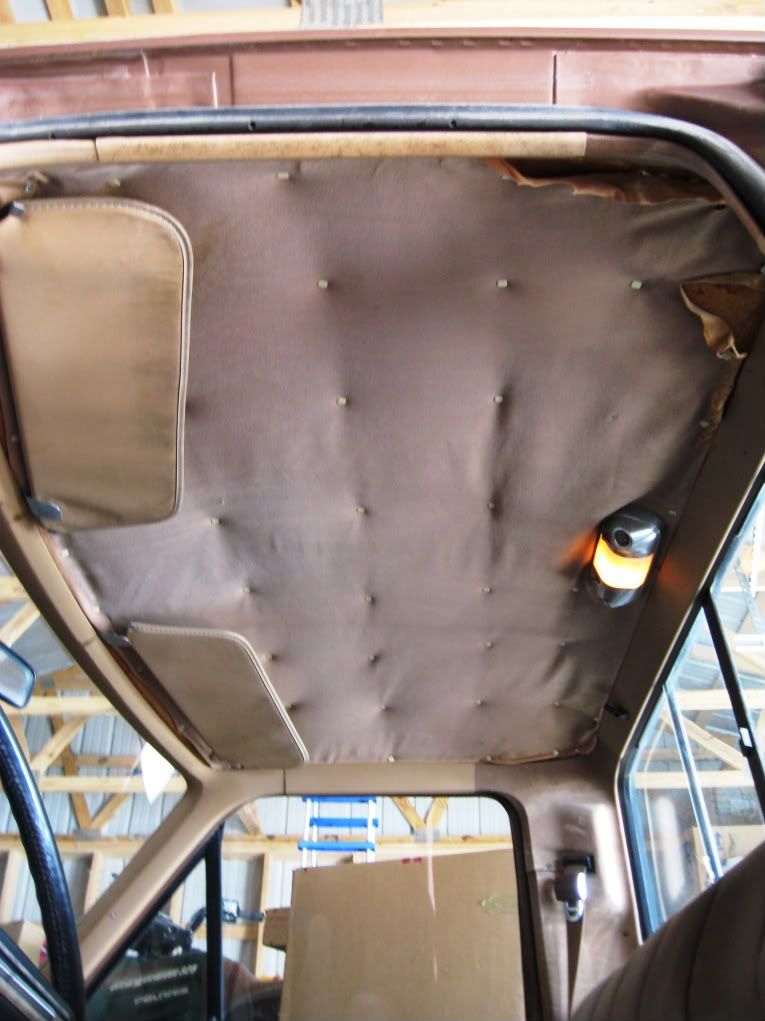
Headliner before:
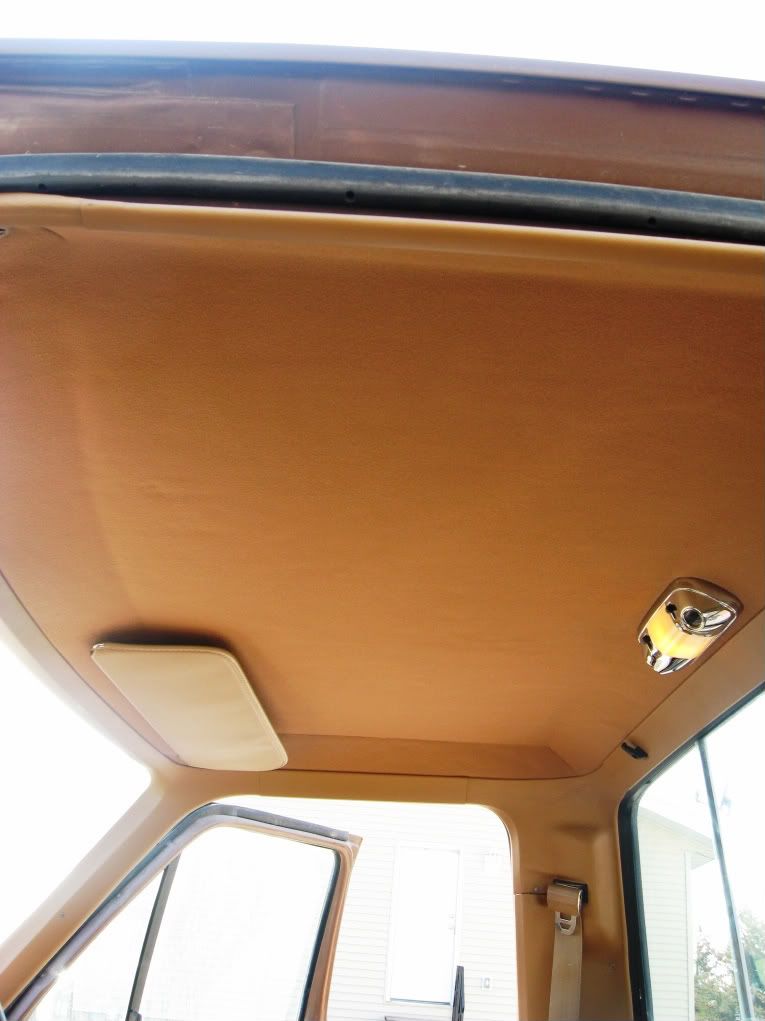
Headliner after:
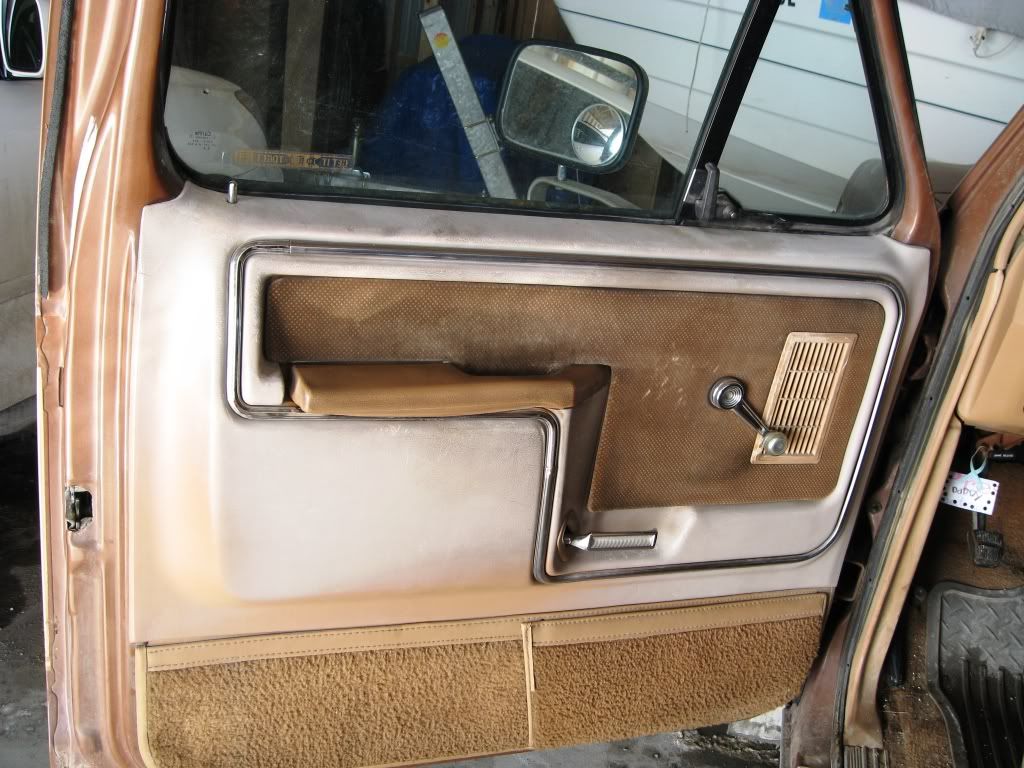
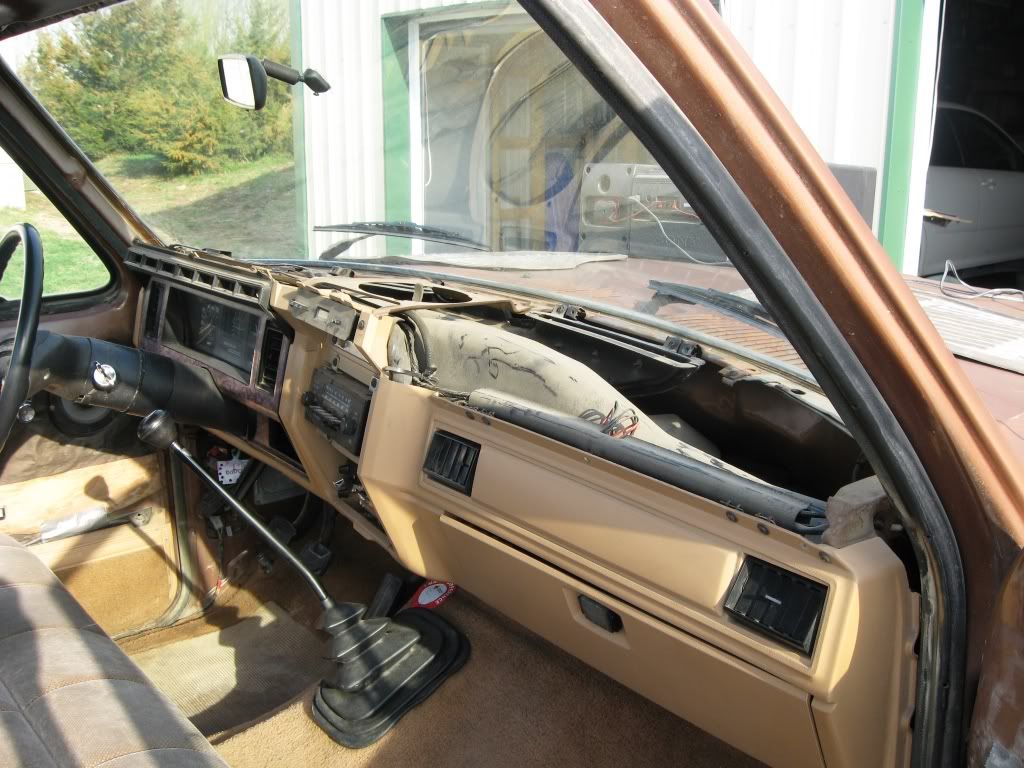
Interior before (not the best shots but the plastic was chalky and faded).
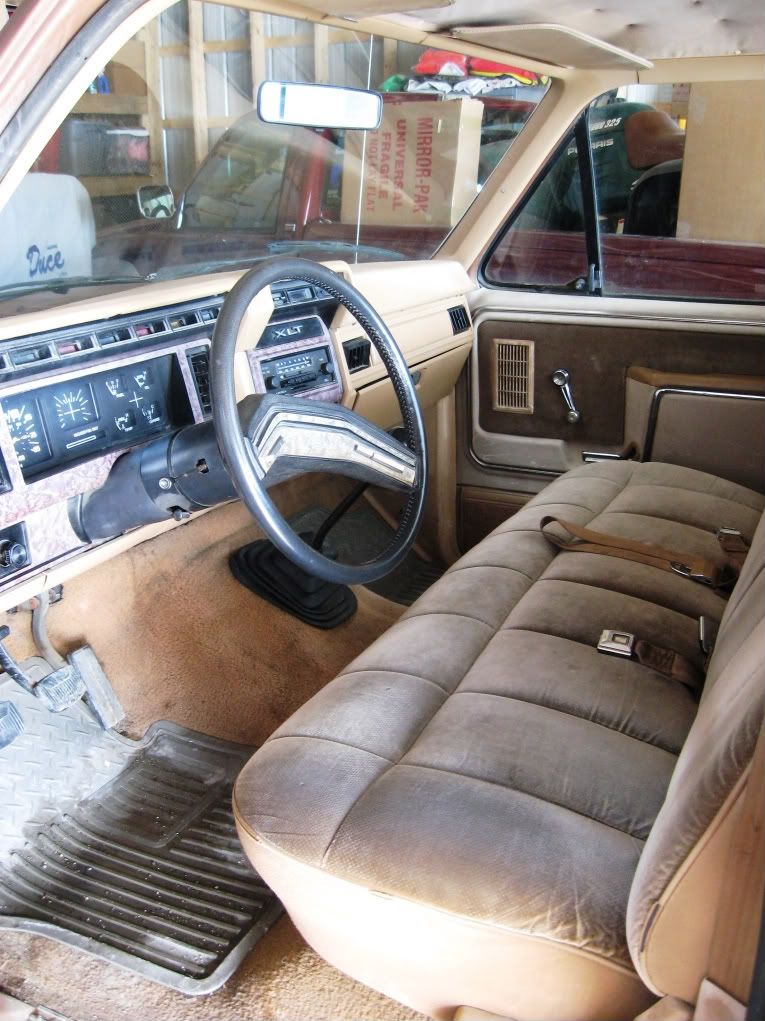
During (had to drive it like this for a couple of weeks):
After:
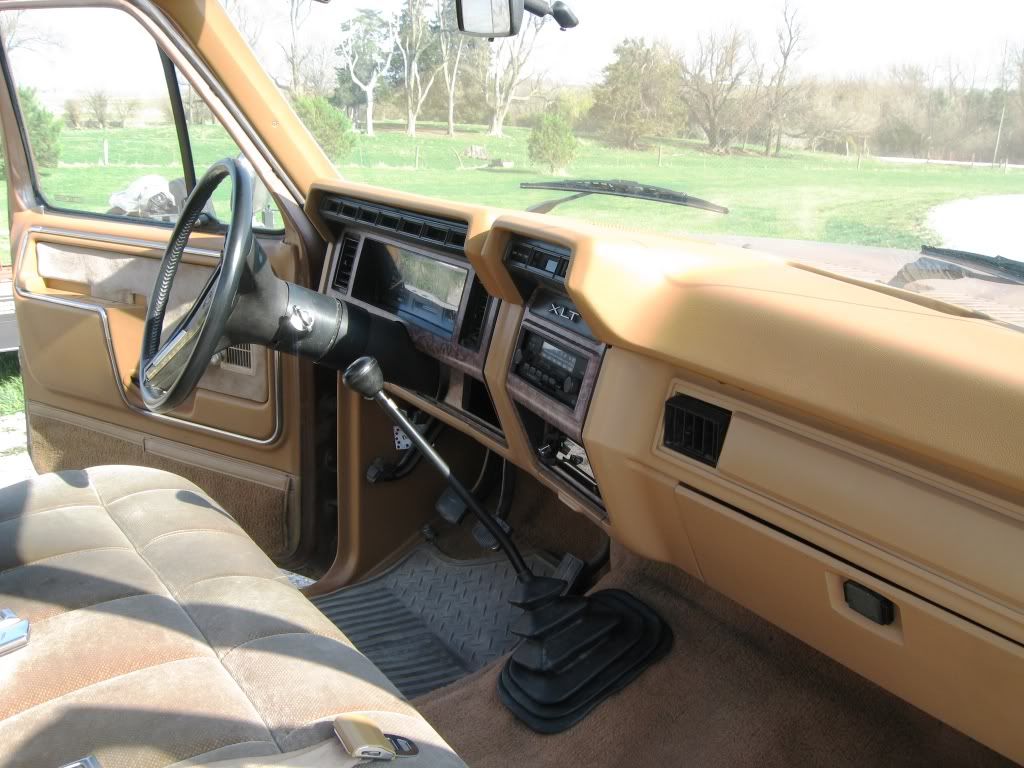
I spent about $65 and 6 hours of my time to get it cleaned up. It is not a good as many of the restorations on this site but considering I started with a $600 truck it does not look too bad. I removed and sanded all of the interior plastic down and painted it all with SEM interior paint. Overall it was a fairly easy project, just took time. I had to drive the truck for a couple of weeks with the interior in various stages of disassembly as it is my daily driver.
Supplies:
2 cans of SEM "Camel" - $20.00 (Eastwood, free shipping)
Headliner Kit - $40.00 (Stockinteriors.com, includes shipping)
Drivers side "B" pillar trim panel - $5.00 (JY, mine was oxidized to the point when I sanded it down I poked holes through it)
I still need to get an armrest and visor for the driver's side but I found a new JY that has 20+ Bullnose trucks ripe for the picking.
Headliner before:
Headliner after:
Interior before (not the best shots but the plastic was chalky and faded).
During (had to drive it like this for a couple of weeks):
After:
I spent about $65 and 6 hours of my time to get it cleaned up. It is not a good as many of the restorations on this site but considering I started with a $600 truck it does not look too bad. I removed and sanded all of the interior plastic down and painted it all with SEM interior paint. Overall it was a fairly easy project, just took time. I had to drive the truck for a couple of weeks with the interior in various stages of disassembly as it is my daily driver.
Supplies:
2 cans of SEM "Camel" - $20.00 (Eastwood, free shipping)
Headliner Kit - $40.00 (Stockinteriors.com, includes shipping)
Drivers side "B" pillar trim panel - $5.00 (JY, mine was oxidized to the point when I sanded it down I poked holes through it)
I still need to get an armrest and visor for the driver's side but I found a new JY that has 20+ Bullnose trucks ripe for the picking.
#2
04-16-2011, 06:40 PM

Elder User
Join Date: Apr 2010
Location: South Jersey
Posts: 901
Likes: 0
Received 0 Likes
on
0 Posts
#3
04-16-2011, 09:19 PM

 ! Your headliner looks new to me, and I love the tan-brown colors of your truck. Also looks like really pretty country you live in!
#5
04-16-2011, 09:37 PM
Join Date: Dec 2010
Location: Southwest Iowa
Posts: 174
Likes: 0
Received 0 Likes
on
0 Posts
Thanks for the comments Galendor and Smashclash,
As for the sunvisors; in all reality only my passenger side one stays up and straight. The spring in the driver's side visor is worn out so it "flops" down. For the "after" picture I cheated and moved it out of the way so you could not see it. In the "before" picture there were a couple of sheet metal tabs that the P.O. had installed to keep the visors up. A visor and armrest are on my list for the next JY trip.
We live outside of town on a few acres. It is kind of nice not having to deal with the in-town regulations regarding number of vehicles and having them running and registered and such. We have a neighbor across the road and that is about it. Our other neighbors are of the four legged variety (cattle) and they do not complain much. I only have to answer to the wife on the number of trucks I park on the property and I have a couple of friends with farms that I can "stash" vehicles at if the better half starts to question me (not that I would stoop to that level).
#6
04-16-2011, 09:43 PM
Post Fiend
#7
04-17-2011, 11:46 AM

Post Fiend
Join Date: Jul 2004
Location: Northern California
Posts: 8,786
Likes: 0
Received 18 Likes
on
17 Posts
Trending Topics
#8
04-19-2011, 12:26 PM

Looks great! Its amazing what a little paint and some time can do.
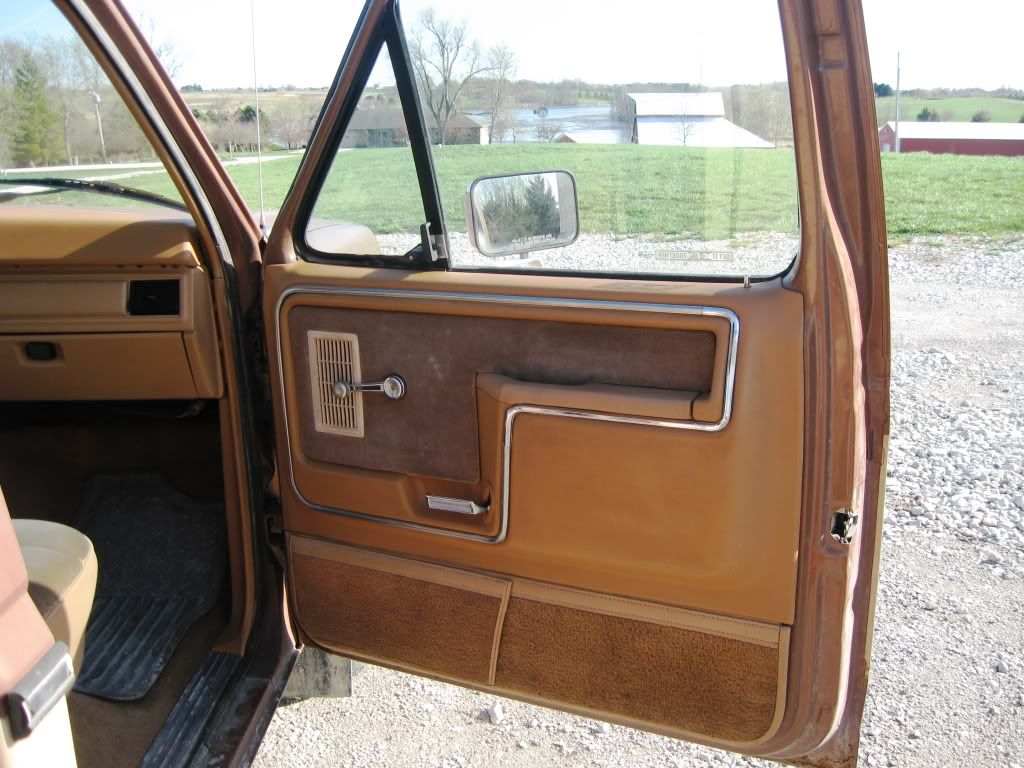
My 82 is in a similar state that yours was. My headliner is gone, visors are floppy, and my door panels are sun rotted on top so I can't even paint them up. Hoping the wife commander will let my buy some new door panels soon
My 82 is in a similar state that yours was. My headliner is gone, visors are floppy, and my door panels are sun rotted on top so I can't even paint them up. Hoping the wife commander will let my buy some new door panels soon
#9
04-19-2011, 01:10 PM
Senior User
Join Date: Nov 2002
Location: Cochranville, PA
Posts: 486
Likes: 0
Received 0 Likes
on
0 Posts
Nice work! Map pockets look nice and snug. I ended up 'tightening' them up by folding the elastic band over itself behind the pocket. As far as the door handle, short of buying a replacment, I removed the metal support / foam from an old one. Used it to trace a pattern in a block of wood, put some foam on top of it. Put it back in the the handle shell and reinstalled. Visors - you can go w/ the 87-91 style that use a center clip on each side of the rear view mirror.
#10
04-19-2011, 01:55 PM
Posting Guru
You'll have to make two holes per clip since the 80-86 trucks didn't come with them stock. I didn't have a drill so I broke off the little alignment tabs, and I used a nail and a hammer to start a hole for the mounting screws...lol it worked, but it wasn't the proper way.
#11
04-19-2011, 01:56 PM
Fleet Owner
#12
04-19-2011, 02:23 PM
Senior User
Join Date: Nov 2010
Location: Air Capitol, KS
Posts: 146
Likes: 0
Received 0 Likes
on
0 Posts
"Camel"--so that's what that color is called. I love the improvement in your interior, especially the headliner. I think someone got tired of the one in mine and just removed it; I have bare painted metal. Someone put in a cloth dashcover to cover the cracked dash. The doorpanels, however, could use the treatment you did. Thanks for publishing this. Maybe mine will only cost $40 and 4 hours of work!
#13
04-19-2011, 03:17 PM