
94 F350 semi-extreme Build with pics. *update 10-15-11* New Pro Comp Xtreme A/T Tires

#32
 11-28-2010, 06:53 PM
Just a quick update. Got the bed done and painted, also got the other door trimmed in and cleared on the inside.
Door primed and ready to be scuffed
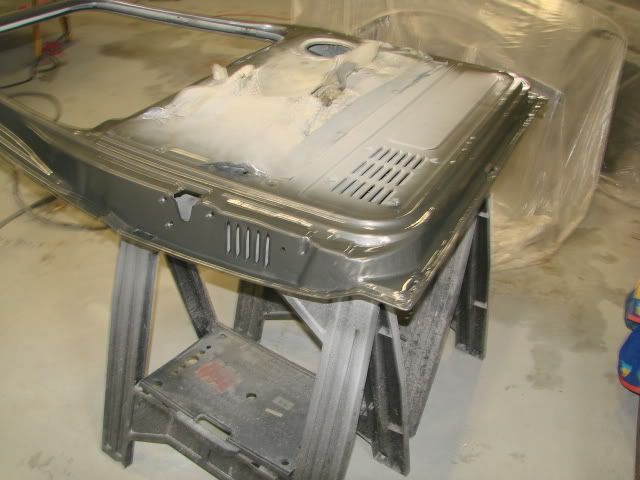
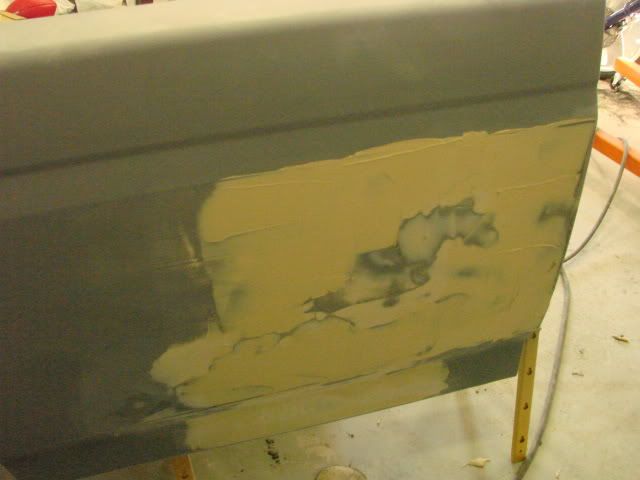
Finishing putty on the bed. There were a few spots like this. I kept a magic marker in my pocket to mark spots like this whenever I spotted them. Makes it easier to find them when you go to put this finishing putty on.
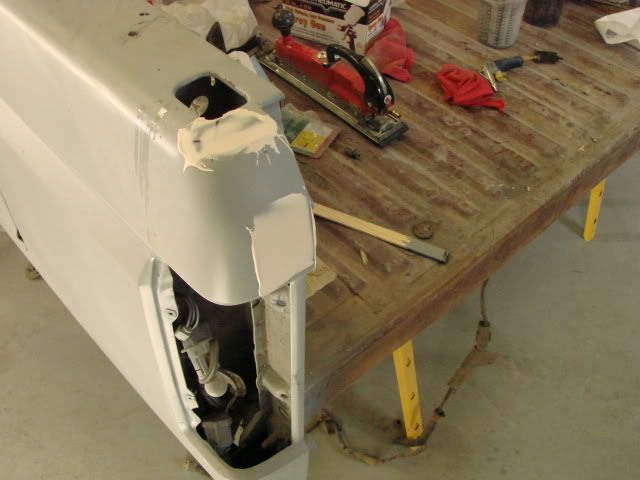
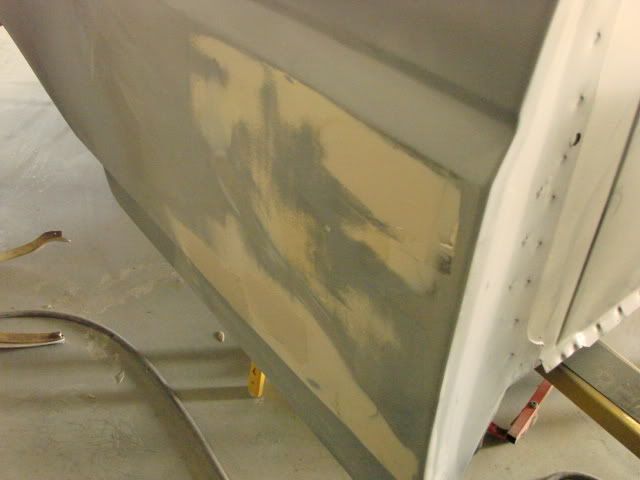
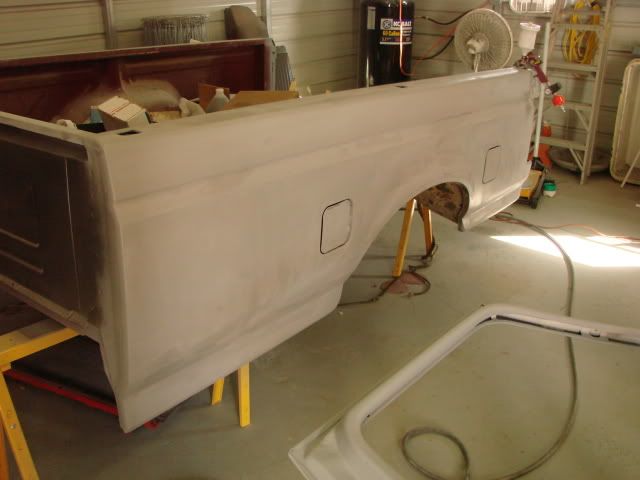
Passenger side with some finishing putty waiting to be sanded and primed
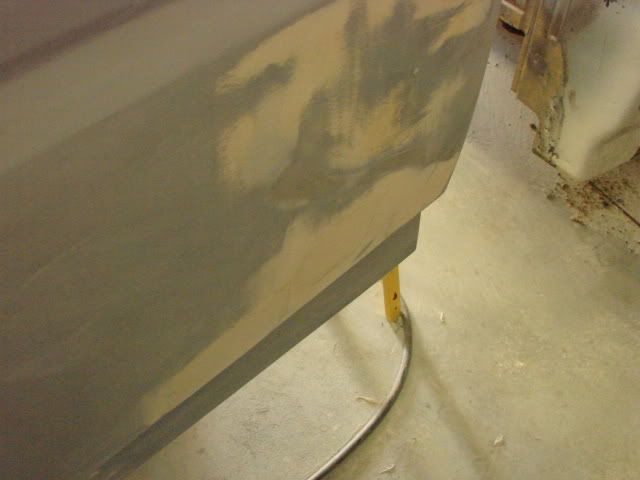
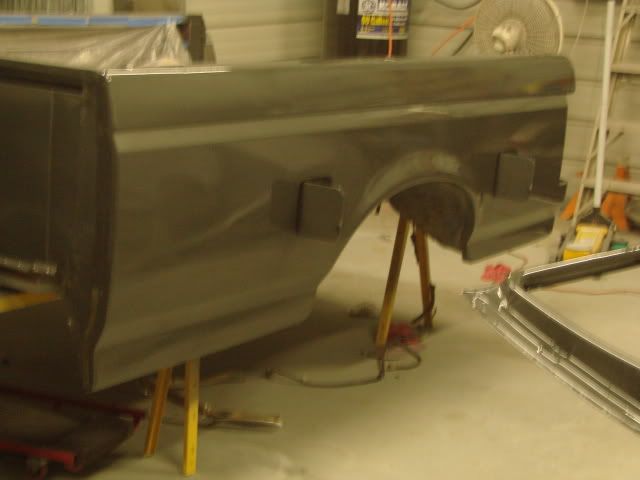
The primer wasn't as smooth as I would have liked, so I dressed it real quick with a DA sander with 120grit and then laid a fresh coat of primer down
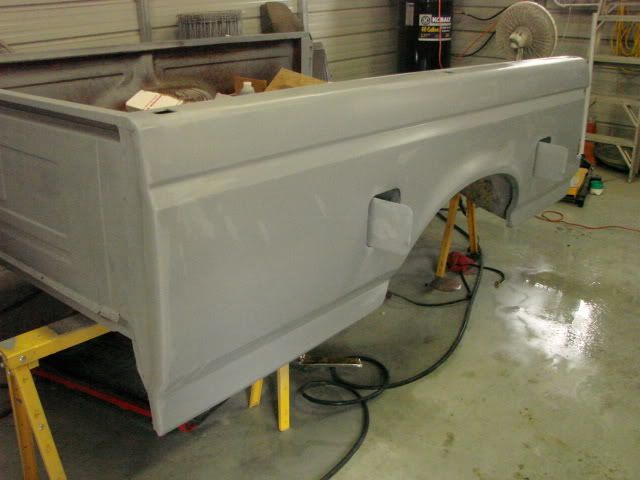
Fresh primer down and wet sanded
Wiped down with prep-solv to remove any grease, sanding residue etc before spraying
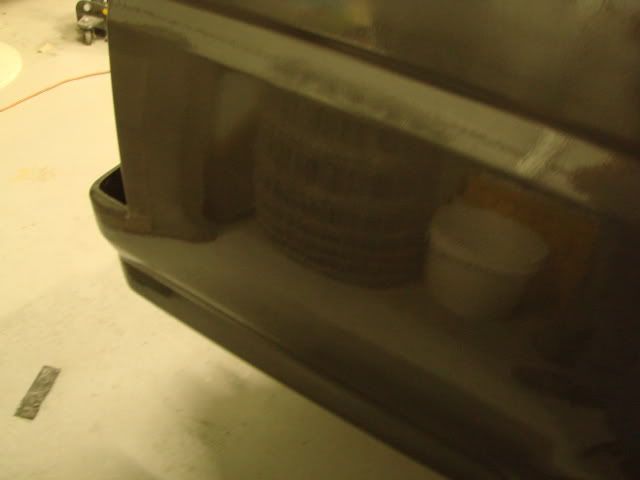
Inside of bed covered with plastic. Last step will be to wipe it down with a Tack Cloth to remove any dust, etc before spraying the paint. Later on I will be coating the inside of the bed with Raptor Bed Liner tinted the same color gray.

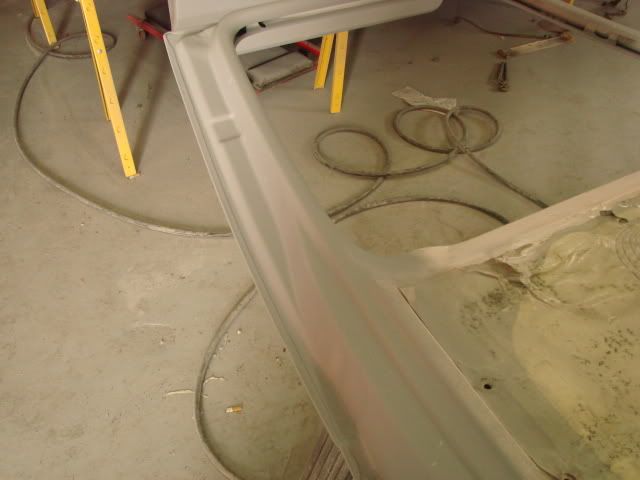
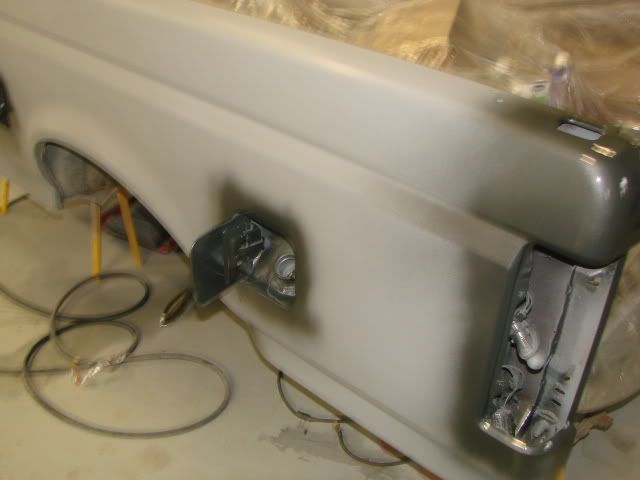
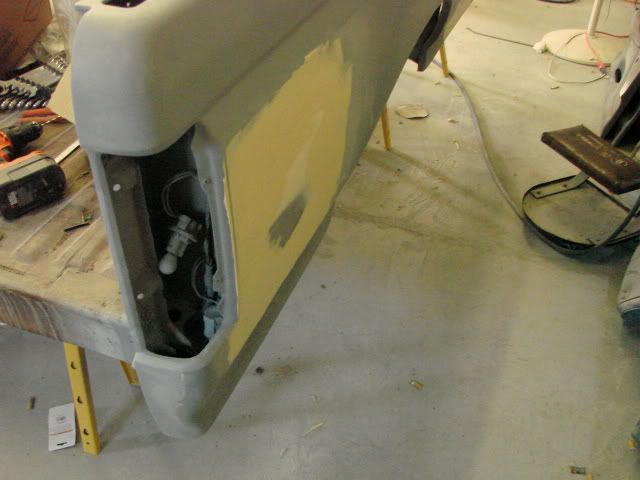
Bed trimmed in around the fuel fillers and the front
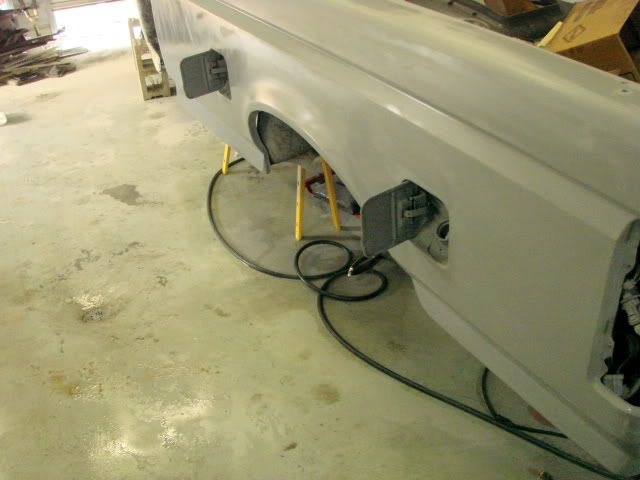
Rear fuel filler and taillight trimmed in
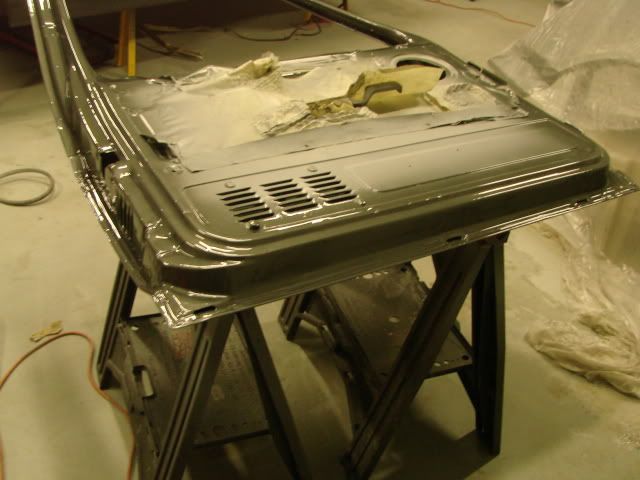
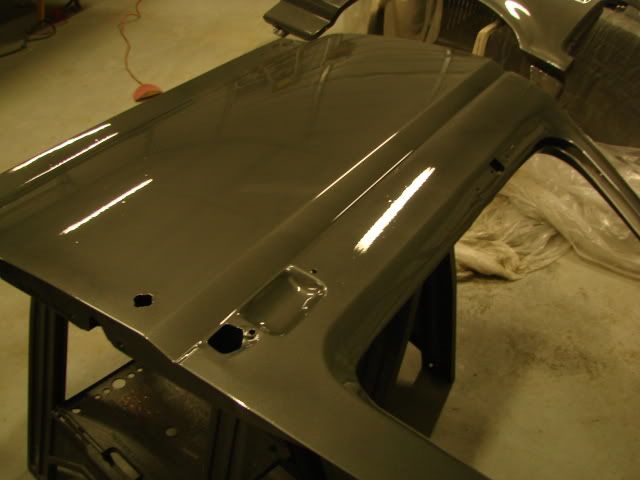
Door trimmed in, 2 coats base, 1 light coat, let tack, then 1 medium coat
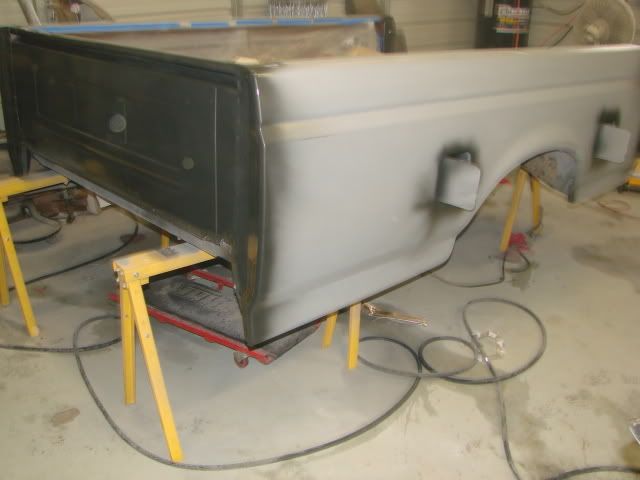
Bed, 2 coats base, 1 light, let tack, 1 medium
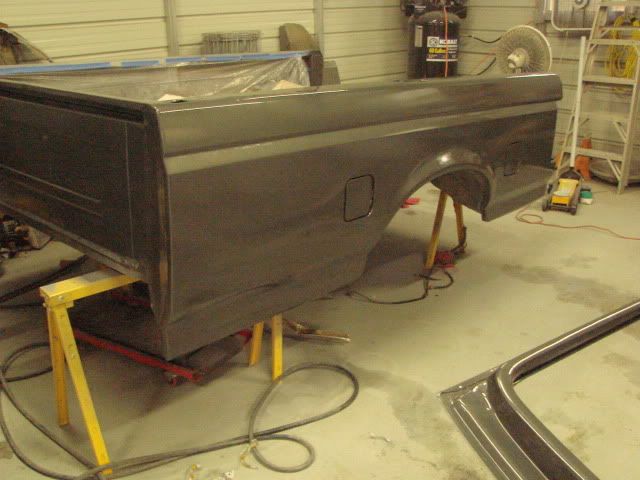
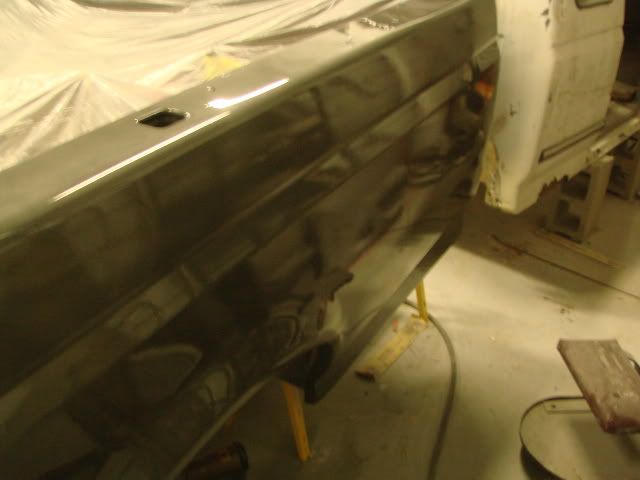
Drivers side bed, 2 coats clear, this will set overnite and will have a couple more coats clear added tomorrow
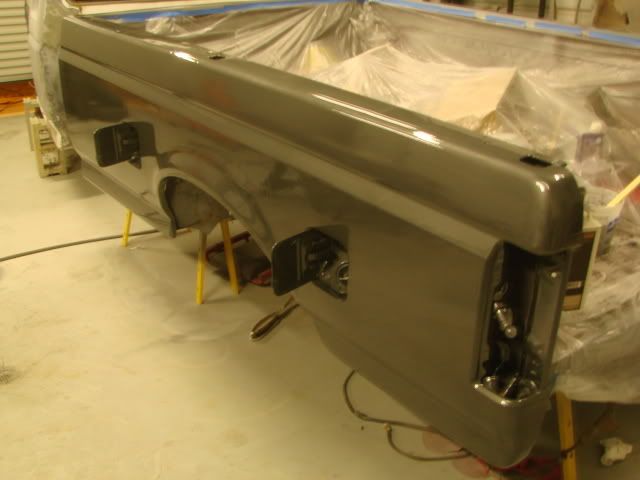
Passenger side of bed
Before
After
Before
After
Door, cleared and done
Door primed and ready to be scuffed
Finishing putty on the bed. There were a few spots like this. I kept a magic marker in my pocket to mark spots like this whenever I spotted them. Makes it easier to find them when you go to put this finishing putty on.
Passenger side with some finishing putty waiting to be sanded and primed
The primer wasn't as smooth as I would have liked, so I dressed it real quick with a DA sander with 120grit and then laid a fresh coat of primer down
Fresh primer down and wet sanded
Wiped down with prep-solv to remove any grease, sanding residue etc before spraying
Inside of bed covered with plastic. Last step will be to wipe it down with a Tack Cloth to remove any dust, etc before spraying the paint. Later on I will be coating the inside of the bed with Raptor Bed Liner tinted the same color gray.
Bed trimmed in around the fuel fillers and the front
Rear fuel filler and taillight trimmed in
Door trimmed in, 2 coats base, 1 light coat, let tack, then 1 medium coat
Bed, 2 coats base, 1 light, let tack, 1 medium
Drivers side bed, 2 coats clear, this will set overnite and will have a couple more coats clear added tomorrow
Passenger side of bed
Before
After
Before
After
Door, cleared and done
#33
11-28-2010, 10:21 PM
Elder User
Join Date: Apr 2008
Location: North Carolina
Posts: 841
Likes: 0
Received 0 Likes
on
0 Posts
#34
11-29-2010, 04:08 AM
Senior User
Join Date: Oct 2010
Location: Charleston SC
Posts: 150
Likes: 0
Received 0 Likes
on
0 Posts
I am impressed with the work that you have done. And I am not ashamed to say, I am jealous. You have the time and the workspace. Two things of which I am somewhat lacking. But you have inspired me, and when I finally get to 'restore' my truck to the best of my ability, I hope to be able to to do the same quality of work that you do, and maybe post my own thread on it.
#35
11-29-2010, 07:27 AM
I am impressed with the work that you have done. And I am not ashamed to say, I am jealous. You have the time and the workspace. Two things of which I am somewhat lacking. But you have inspired me, and when I finally get to 'restore' my truck to the best of my ability, I hope to be able to to do the same quality of work that you do, and maybe post my own thread on it.
I had originally planned to go with Black Imron, even had the paint in the closet for it from when I first started on the truck back in 03. Work and moving stopped it from getting done back then. When I retired from driving long haul this year I finally had the time, and found a bunch of good parts at the PAP and decided it was time to get the old girl looking good again, as there are times I am in it and not the Expedition when I meet clients. I thought again about going with black, since I still had the Imron, but decided against it, as the black is both a pain to keep clean, and also shows any imperfection under the paint. I also noticed that while you would see alot of the various colors from the factory on those models (black, two tone gray/sliver, red/white, blue/white, etc) I very rarely saw one that was solid dark gray metallic. Also a friend of mine bought a new Road Glide Harley a couple years back that was the dark gray metallic that really was a sharp color. The more I thought about it, the more I realized it was not that different from the dark gray that was factory on my truck originally (gray/silver 2 tone) so I decided to go with the dark gray that was original on my truck, but this time do it all that color instead of the 2 tone gray/silver.


#37
11-29-2010, 09:27 AM

Tuned
Join Date: Nov 2010
Location: amarillo TX
Posts: 256
Likes: 0
Received 0 Likes
on
0 Posts
#38
11-29-2010, 06:36 PM
Sorry, no road trips planned right now, LOL
and with apologies to Apocalypse Now, I LOVE the smell of paint in the afternoon!
Drivers door, painted and cleared
Bed, 3 more coats of clear
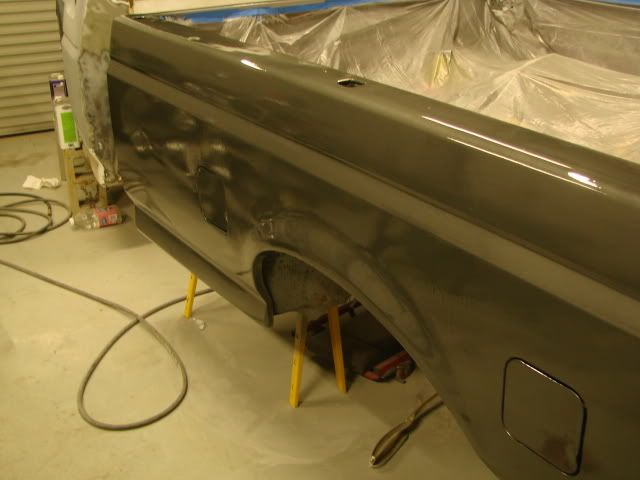
You can see the reflection of the Harley in the paint now
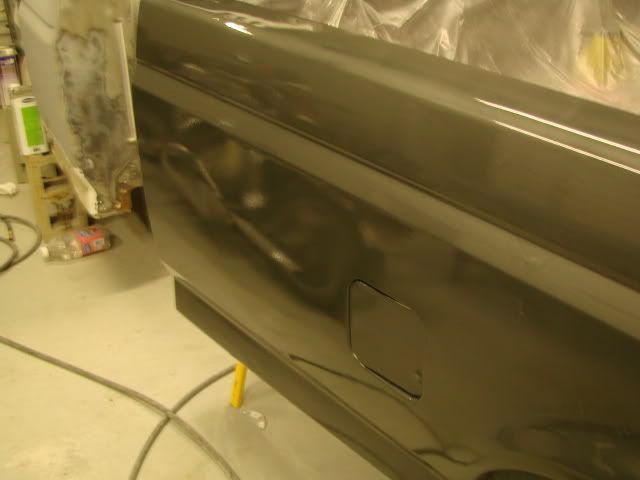
Now to let it cure for a while, then wet sand with 1200grit and polish it out to remove a couple sags in the clear and some dust specks that showed up.
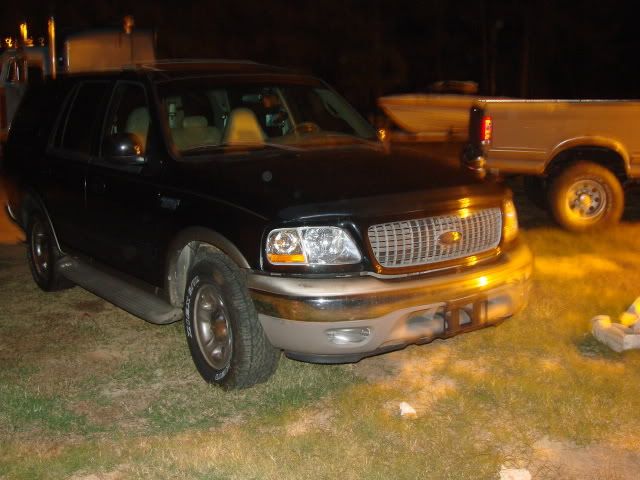
Also, you know you are a Ford person when you look in the yard and with the exception of the Peterbilt in the background everything you see is powered by Ford:
A 2002 Expedition
A 1990 F250,

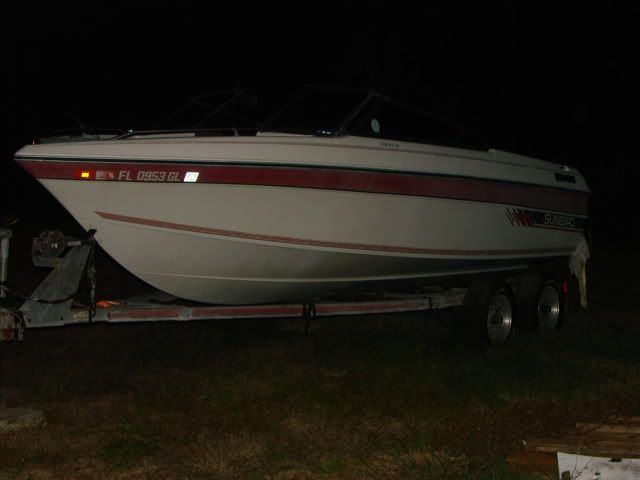
and a 20 ft Speed boat, with a 302 (Comp Cam, Dual Plane Intake, Holley 600cfm Marine Carb, and Custom through the transom exhaust with stainless tips)
and with apologies to Apocalypse Now, I LOVE the smell of paint in the afternoon!
Drivers door, painted and cleared
Bed, 3 more coats of clear
You can see the reflection of the Harley in the paint now
Now to let it cure for a while, then wet sand with 1200grit and polish it out to remove a couple sags in the clear and some dust specks that showed up.
Also, you know you are a Ford person when you look in the yard and with the exception of the Peterbilt in the background everything you see is powered by Ford:
A 2002 Expedition
A 1990 F250,
and a 20 ft Speed boat, with a 302 (Comp Cam, Dual Plane Intake, Holley 600cfm Marine Carb, and Custom through the transom exhaust with stainless tips)
#39
11-29-2010, 06:54 PM
Elder User
Join Date: Jan 2008
Location: NC
Posts: 751
Likes: 0
Received 0 Likes
on
0 Posts
#40
11-29-2010, 07:48 PM
Posting Guru
Join Date: Jun 2009
Location: Bastrop, Texas (Austin,TX
Posts: 1,443
Likes: 0
Received 0 Likes
on
0 Posts
#41
11-29-2010, 09:03 PM
Tuned
Join Date: Nov 2010
Location: amarillo TX
Posts: 256
Likes: 0
Received 0 Likes
on
0 Posts

#43
11-30-2010, 04:48 PM
Excellent Job! Love the Color! makes me want to stray from my factory gray and go with the darker gray.
I think I already asked but what sthe paint material your using, is it single stage, or base/clear? And did you say your using PPG? And what fluid tip size are you using and PSI..
Anyway, motivates me to keep stripping mine!! Oh and did I already say Excellent JOB!
I think I already asked but what sthe paint material your using, is it single stage, or base/clear? And did you say your using PPG? And what fluid tip size are you using and PSI..
Anyway, motivates me to keep stripping mine!! Oh and did I already say Excellent JOB!
#44
11-30-2010, 05:20 PM
Elder User
Join Date: Apr 2008
Location: North Carolina
Posts: 841
Likes: 0
Received 0 Likes
on
0 Posts
Excellent Job! Love the Color! makes me want to stray from my factory gray and go with the darker gray.
I think I already asked but what sthe paint material your using, is it single stage, or base/clear? And did you say your using PPG? And what fluid tip size are you using and PSI..
Anyway, motivates me to keep stripping mine!! Oh and did I already say Excellent JOB!
I think I already asked but what sthe paint material your using, is it single stage, or base/clear? And did you say your using PPG? And what fluid tip size are you using and PSI..
Anyway, motivates me to keep stripping mine!! Oh and did I already say Excellent JOB!