Ford F-150/F-250: How to Replace Your Alternator
If your electrical components are losing power, chances are your alternator is on the blink. We help you replace it... without leaving home!
This article applies to the Ford F-150 (2004-2014, and the F-250, F-350 Super Duty (2005-2014).
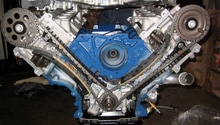
The alternator is located at the front of your engine. It works with your Ford F-150 or F-250 Super Duty's battery to generate power for your electrical components. Dim lights and flickering gauges are a sign of failing alternator. When the alternator completely fails, your truck could start slowly or not start at all.

Tools and Materials Needed
- Pry bar
- Serpentine belt tool or 1/2" breaker bar
- Socket and ratchets
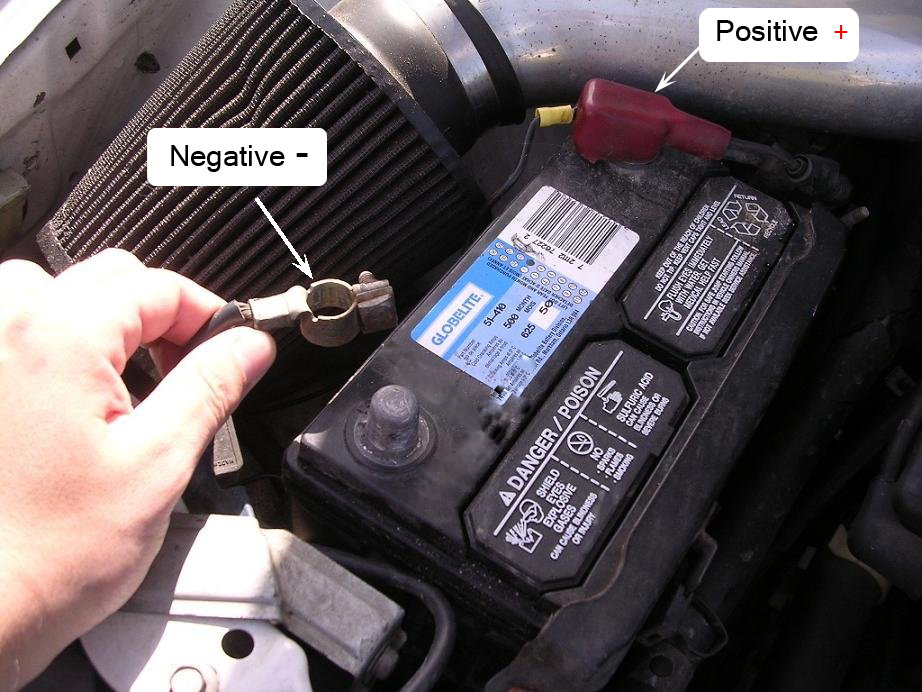
Step 1 - Disconnect the battery
Whenever working on the electrical system of your vehicle, you want to disconnect your battery first. Always disconnect the negative (black) cable before the positive one and wrap it in a clean rag so it doesn't ark against other metal.
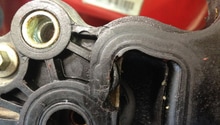
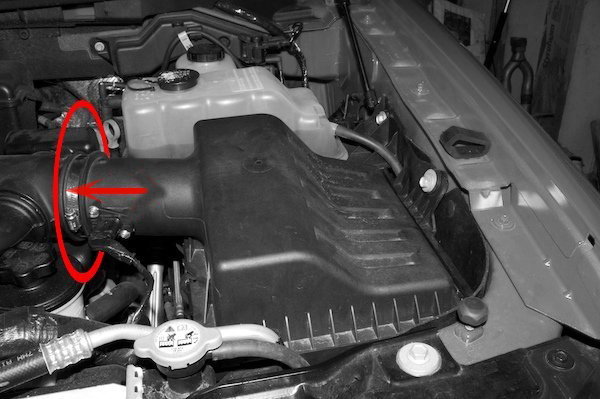
Step 2 - Disconnect the air intake snorkel
Remove the metal band connecting the snorkel to the metal upper intake manifold. Release the metal band, hold the snorkel connected to your air filter housing, and pull the rubber snorkel out as one unit.
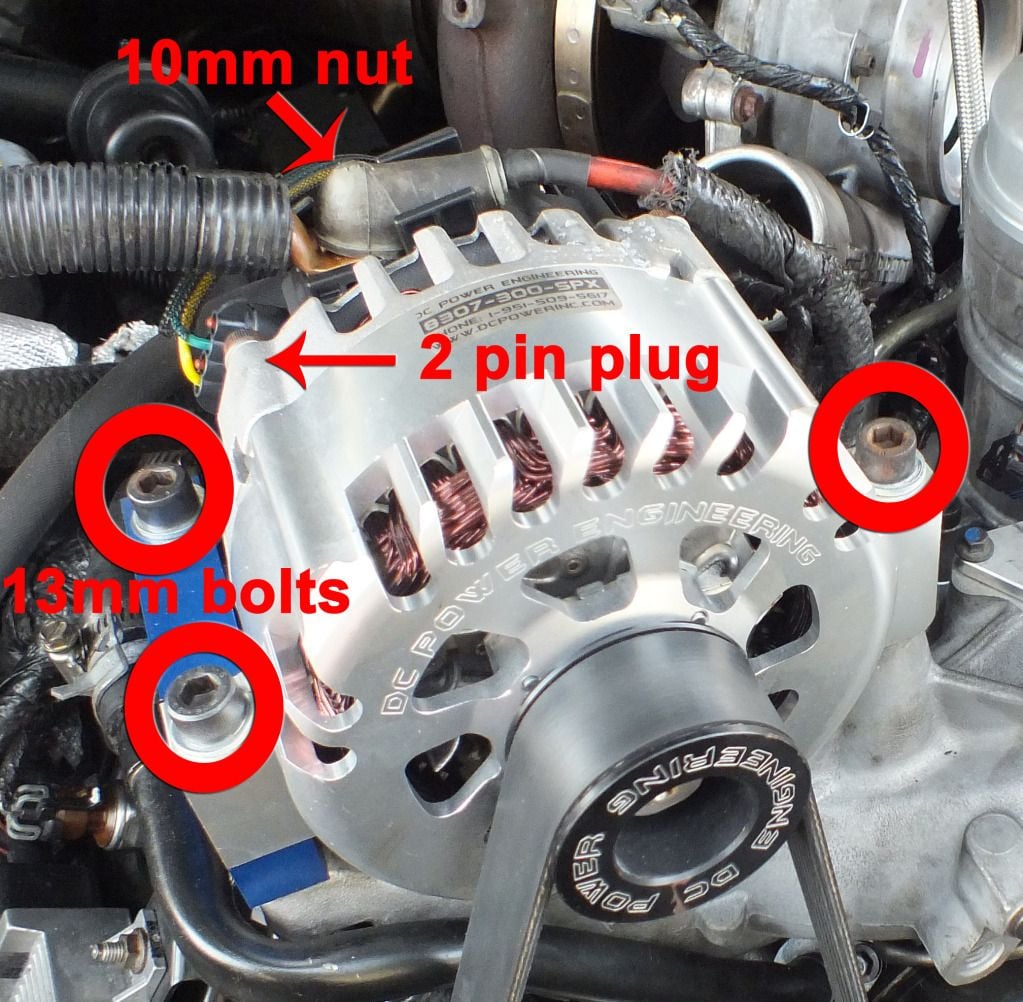
Step 3 - Remove the alternator bracket and wiring
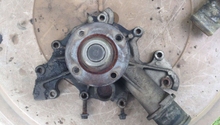
First remove the 10mm nut shown below in Figure 3. Next, use your 13mm socket to remove the four bolts on the top horseshoe shaped bracket holding the alternator. Lastly, unplug the black plug on the back of the alternator by pressing the tab in and pulling. This wiring will be in a loom that also holds the main power wire.
Step 4 - Remove the alternator
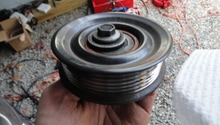
Remove tension from the serpentine belt with either your serpentine belt tool or 1/2” breaker bar. Place the end of the breaker bar or Serpentine belt tool in the square hole on the tensioner pulley, move the tensioner pulley toward the driver's side, and slide the belt off the alternator, placing it to the side.
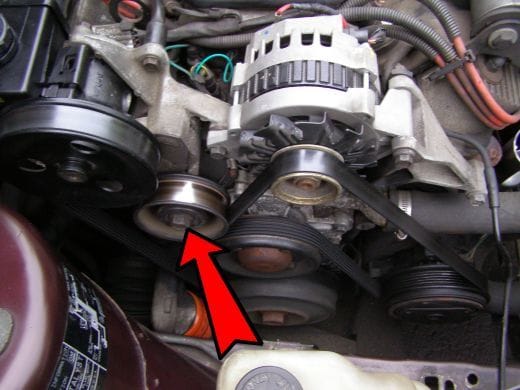
Pro Tip
Use a bungee cord to hold the belt with tension so it does not fall off. Place one hook on the belt and hook the other end at a convenient place on the front of the truck or grill.
Loosen or remove two 10mm bolts on the bottom of the alternator. You may not have to remove them if the mounting ears on the alternator are slotted, making removal and installation very simple. You can now lift the old alternator out and place the new alternator in.
Step 5 - Reverse previous steps
With your new alternator in, tighten or re-install your 10mm lower mounting bolts, then replace the serpentine belt as you control the tension of your tensioner pulley. Be sure to confirm that the belt is on all pulleys as it should be. Re-install your wiring plug at the rear of the alternator and reattach your upper bracket. Then connect your main power wire with the 10mm bolt. You can now connect your air intake snorkel and PVC hose. Finally, Reconnect the battery, start the vehicle, and check your voltmeter to see if your vehicle is now charging.
Pro Tip
Some auto stores like Autozone will check your truck with a voltmeter completely free.
Featured Video: How to Replace Alternator in F-150/F-250
Related Discussion
- Alternator Removal - Ford-trucks.com