When you click on links to various merchants on this site and make a purchase, this can result in this site earning a commission. Affiliate programs and affiliations include, but are not limited to, the eBay Partner Network.
Hello everyone. Here's to my first post ... TL;DR: The roof channels and my top were rusting so I painted my roof with Raptor Liner.
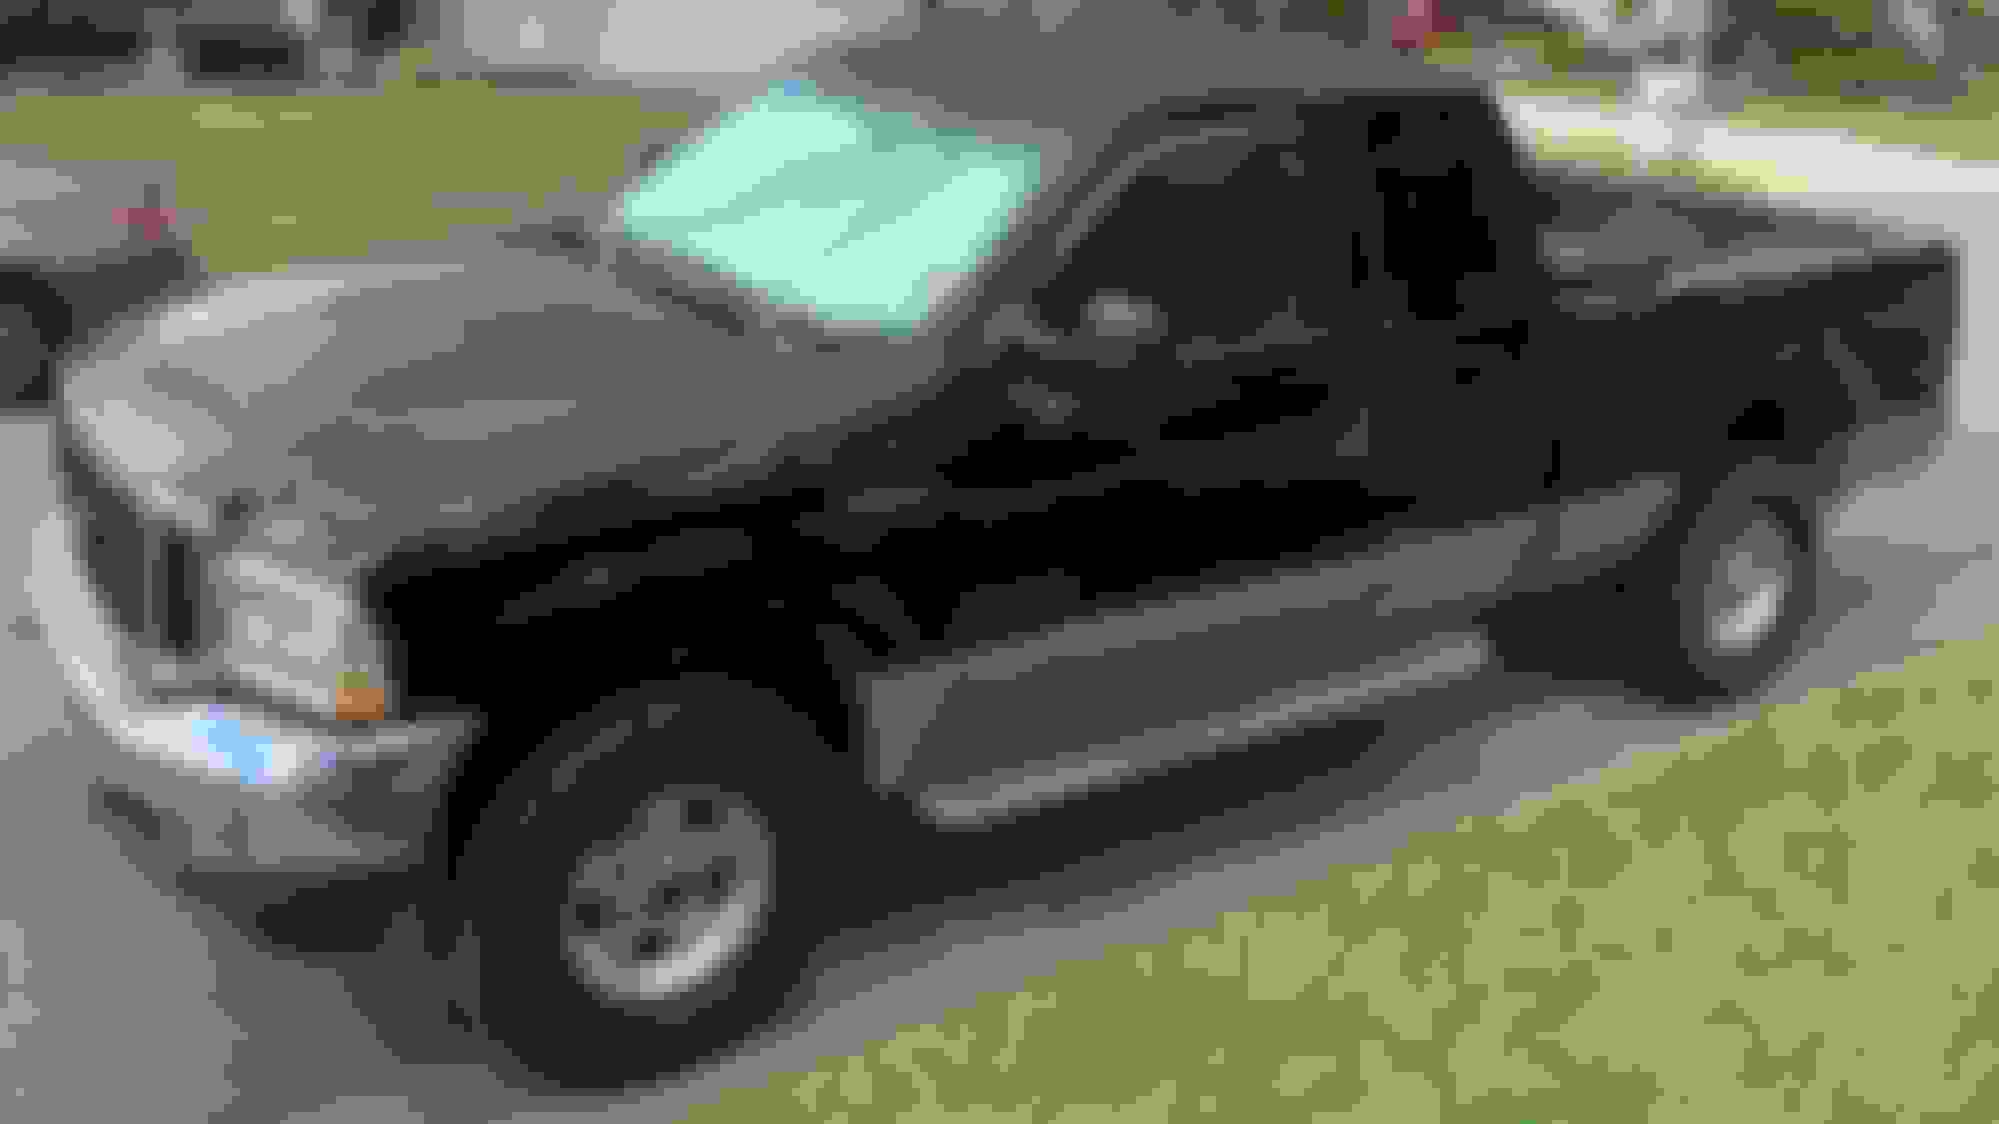
I have a 2001 F-250 Super Duty Super Cab Lariat 4WD SB 7.3L 4 speed auto. This truck was purchased new in 2000 by my grandfather and was meticulously maintained until 2008 (~100k miles). From 2008 to 2016 it was used as the work truck in his construction company and was heavily used (~180k miles). In 2016 it became my truck (currently ~210k miles). This is a Florida truck so it does not see snow and is not near the coast so it does not get "salty air".
I first started to notice the cracking and rust in the roof channels about two years ago. At that point, the ends of the "sealer strips" were slightly lifted at the ends but not enough of an issue for me to fix. About a year ago the "top" of my roof started to show significant signs of surface rust and that's when I started to look at everything a little closer. The roof channels had gotten noticeably worst and I decided that I needed to find a long-term solution for the entire roof. Although this project could have been delayed a year or two, the last thing I wanted was for the roof channels to rust through and start leaking as that would be a huge headache and costly.
Picture 1, before ... this picture was taken about a month before I started this project. The cracking along all sides of sealer strips can be seen, and the ends can be seen lifting up. The top of the roof was just surface rust, however, it had gotten a lot worst over the past year.
Picture 2, before ... same as Picture 1.
To remove the sealer strips I covered the entire strip with WD40 and used a flathead screwdriver and gently tapped with a hammer and lifted the strip inch by inch starting at the ends. I went slow, and it took about an hour per side. Then I used a wire brush to remove the rest of the adhesive, rust, and to clean the rest of the channel. Next, I taped off the roof and I used an orbital sander to sand the entire roof with 150 grit.
To tape off the roof, I used masking tape and followed the seal on the door so I could create a parallel line to the cab. For the front, I used a weed wacker string to pull the windshield molding back. To cover the molding, I slid tape (sticky side up) under the molding (long ways) and pressed down to get the tape to adhere to the molding, then I folded the tape back on the front of the molding. Next, I used tape to pull the molding back, pinching it underneath and then taping it to the windshield. Then I put a second weed wacker string, cut in half at the center, that way I could control the depth I sprayed (I pushed it in a little over 1/4 inch, this allowed me to use a toothpick and push the string deeper before pulling the string out after my final coat, to create a sharp edge). As for the back, as you can see in the pictures I went just above the 3rd brake light and rounded the edges to avoid having a sharp edge.
NOTE: I originally did not plan on going under the windshield molding, but I changed my mind at the last minute. If I had thought more about it I would have done a square edge under the molding rather than rounding the corners in the front because the square edge would be under the molding and not visible.
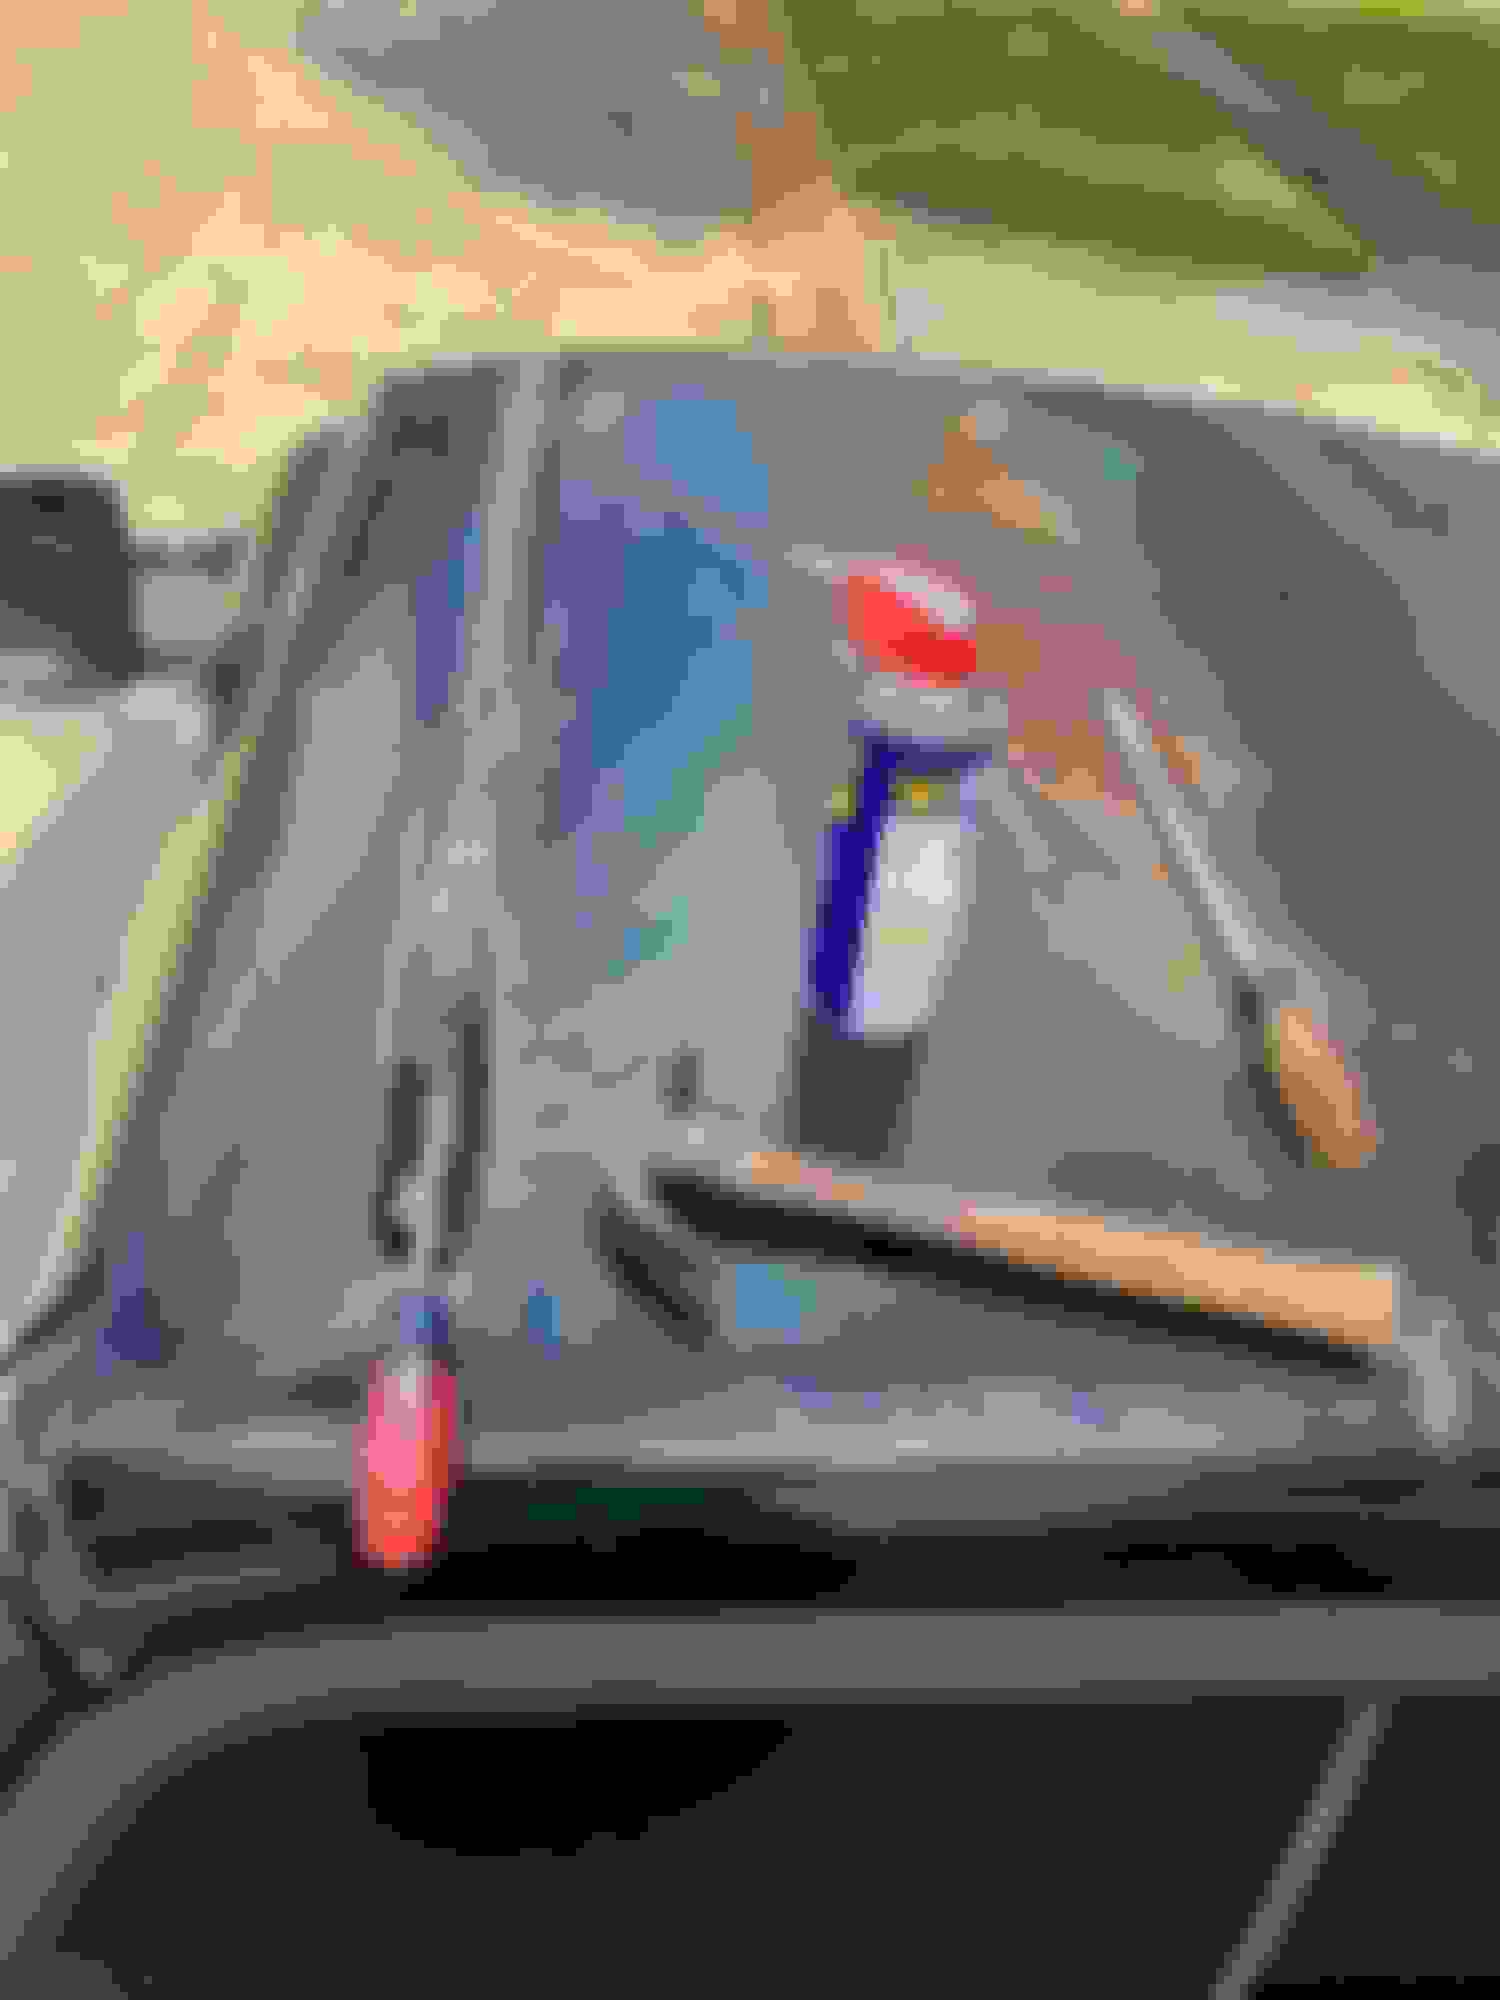
Picture 3, during ... caption after Picture 6.
Picture 4, during ... caption after Picture 6.
Picture 5, during ... caption after Picture 6.
Picture 6, during ... caption below.
Pictures 3, 4, 5, and 6: The sealer strip would crack every few inches. Notice the adhesive primarily along the center of the channel and on the center of the strip. I, unfortunately, did not take a picture after completely prepping the channels and rest of the roof. Also, I did not get any photos of how I taped off the front windshield. Be sure to sand the edges all the way to the tape, otherwise, the raptor liner will not properly adhere to the edges. I sanded the edges by hand.
To prepare to paint, I used a plastic drop cloth around the entire truck and put a sheet on the ground to prevent getting overspray on the driveway. I used two cans of Raptor Acid Etch Primer. I waited 30 minutes for the primer to dry before spraying my first coat of Raptor Liner and applied two coats total with a 60 minute flash time between coats. I used a bottle (1 liter) for each coat, mixed as instructed, and sprayed at ~50 psi.
Note: I did this outside in the driveway and it was ~ 90F, 70% humidity, and a little breezy. Not ideal to say the least. All said and done, I am happy with how it came out considering this is the first time I have ever touched a paint gun. Looking back, I held the gun a little too close when spraying, because when looking at the finished product spray lines can be faintly seen. However, this is only really seen when you are standing in the bed looking down on the roof. From the street height, I think it looks pretty good.
As for cost, I had a cheap body shop quote me $400 to prepare and spray normal paint on the top. I also had a bed liner shop quote me $500 to prepare and bed liner the top. This cost me $130 for a 4 Liter Raptor Bed Liner Kit on Amazon (I only used 2, so I may use the other 2 on the hood at a later time), and $32 for two Raptor Acid Etch Primer Spray Cans, and another ~$40 in prep material ($5 set of 6 wire wheels at Harbor Freight, sandpaper, tape, etc.)
Picture 7, during ... after spraying the primer.
Picture 8, during ... after the first layer of Raptor Liner.
Picture 9, after ... the final product, after two layers of Raptor Liner and all masking tape was removed. NOTE: I started to remove the tape after 45 minutes (instructed to do after 60-90 minutes), although it was fine, I would consider removing it sooner next time.
Picture 10, after ... the final product from a street height view.
All said and done, I am happy with how this project turned out. I saved some money and learned a new skill. If I do the hood I will keep a better distance with the paint gun.
I see that you are missing your upper roof edges. You can get those from the Ford Dealers. You will have to repaint them. There is a write up in the 99-2003 7.3 diesel section.
Type in:
'How to repair roof molding'
in the 'search this forum'
Nice work. Did you spray the primer on the entire surface? If you had sprayed the same color polyurethane paint, would it have needed more prep? Thank you.
That�s pretty sharp. Might have to try something similar for mine since my sealant looks similar to yours.
Thanks!
Originally Posted by Brother Les
I see that you are missing your upper roof edges. You can get those from the Ford Dealers. You will have to repaint them. There is a write up in the 99-2003 7.3 diesel section.
Type in:
'How to repair roof molding'
in the 'search this forum'
Sweet, I just skimmed that post and it looks fairly simple. That will be a future project, thanks!
Originally Posted by Y2KW57
Awesome work. Awesome write up. Awesome first post.
Yup, I guess that makes you an Awesome New Member!
Reps sent! Welcome to FTE!
Thanks!
Originally Posted by paker
Nice work. Did you spray the primer on the entire surface? If you had sprayed the same color polyurethane paint, would it have needed more prep? Thank you.
Yes, I sprayed primer on the entire surface. From my understanding, for this application, both standard polyurethane paint and Raptor Liner are going to require more-or-less the same prep. Due to the fact that I had to remove rust in the channels and on the top of the roof, I sanded down to the metal in most spots. There were a few patches of OEM primer that I didn't take down to the metal because there was no rust in those areas. Then I sprayed primer on the entire surface. After that, I could have gone the "standard polyurethane paint route" but I believe that polyurethane paint is going to require a little more skill to achieve the same quality as you would using Raptor Liner. That is, Raptor Liner is a bed liner, it is going to hide a lot more of your mistakes (e.g., runs, sags, and fish eyes (painting terms) will be more hidden in the texture of bed liner, whereas standard polyurethane paint is not going to hide them. The beauty of this project is that most people will not be able to see it, especially if you have a lifted truck, so if you are going to paint a truck for the first time the roof is the place to start. ... Again, I have limited experience in painting, so I want to be clear and emphasize, this is all "from my understanding"
You did good. Removing that seam sealer and sanding the "roof ditches" down to bare metal was a key step. In the factory they use a 2 part epoxy primer to seal the "ditches", then seam sealer is flowed on. Then primer and base coat clear coat. Don't let any moisture get under that raptor liner.
My ext cab roof sealer is slowly cracking at the edges and I've been wanting to do this for two years now. I was quoted 650 by the local line-x shop!!!!! I'm just afraid if I do raptor liner it won't last and allow water and salt foray during winter under it self and rot my roof away
That roof indent is a panel overlap and should have been seam sealed before being painted. Now instead of having a1/16"+ thick bead of sealer to cover the seam you only have a few mm of coverage from the raptor liner. I wouldn't trust that as a lasting fix. It'd be easy enough to go back and just strip those areas, seal and repaint. If you don't plan on keeping it more than a few years..it'll probably be fine?
I don't know about the lifespan of raptor but Line-x or rhino liner would be a 100% waterproof seal that would outlast the entire vehicle. This is why I'm personally gonna just spend the money and go color match linex premium on my f350's roof
I don't know about the lifespan of raptor but ... rhino liner would be a 100% waterproof seal that would outlast the entire vehicle.
I just spent the last couple of days wire cup brushing off what remained of a Rhino Liner that hadn't already UV baked and disintegrated itself away over the last 20 years... leaving behind deep and craggy rust pits on the surface it was supposed to "waterproof seal".
The Rhino Liner developed micro fissures that allowed water to permeate and penetrate the coating.
Because the coating is thick, the water penetration cannot be seen when it reaches and rusts the steel substrate beneath.
The coating conceals the rust.
The water is forced into the unseen sponge of the Rhino Liner coating from rain, in steady volume, hurled down from the sky by gravity, with steady pressure.
Once it saturates the "sponge" of the coating, the water that penetrated all the way down to the steel does not evaporate as easily, so moisture is retained between the coating and the steel longer than if the coating were not there. The sponge also provides a conduit for oxygen sufficient to support corrosion that wicks deeper into the steel, forming pits and craters that are all covered up by the Rhino Liner.
I wouldn't recommend Rhino Liner on a highly exposed roof that constantly flexes from both the vehicle articulating into driveways, as well as from thermal expansion and contraction. The flexing and expansion cycles contribute to the creation of the micro fissures in the coating.
Visualize a desert...
Now look at Rhino Liner after 16 years, when I took the following photos. 4 years later, the situation with corrosion became much more widespread than what is shown below, which is why the other day I mechanically stripped the entire coating, and treated the steel with Phosphoric Acid for 24 hours, applied Self Etching Primer, and will have to start over next year by removing the service body lids that the Rhino Liner pretended to protect, and have them shot blasted, and possibly hot dip galvanized, before re-coating again with something other than Rhino Liner.
In any event, since the truck still works and runs great, I did not find that Rhino Liner outlasted the entire vehicle.
My ext cab roof sealer is slowly cracking at the edges and I've been wanting to do this for two years now. I was quoted 650 by the local line-x shop!!!!! I'm just afraid if I do raptor liner it won't last and allow water and salt foray during winter under it self and rot my roof away
So far it is lasting great, but obviously, time will tell.
That roof indent is a panel overlap and should have been seam sealed before being painted. Now instead of having a1/16"+ thick bead of sealer to cover the seam you only have a few mm of coverage from the raptor liner. I wouldn't trust that as a lasting fix. It'd be easy enough to go back and just strip those areas, seal and repaint. If you don't plan on keeping it more than a few years..it'll probably be fine?
I considered adding a sealer however I decided to not go down that path.
As bluovl said "In the factory they use a 2 part epoxy primer to seal the "ditches", then seam sealer is flowed on." The reality is that Ford from the factory used sealer and how long did that last? It was 20 years by the time I replaced it, but I suspect it only lasted 10-15 years before it started to leak. It could have been a lot shorter as I have read a few post of "younger" trucks having this issue (i.e., less than 10 years). With that said, I decided that I was happy with the Raptor Liner option.
I will be keeping the truck for a very long time. I only painted the roof that time. I will be painting the hood tomorrow. I plan on painting the entire truck in 4-10 years, at that time when I have everything set up to paint I will look at the condition of the roof and hood and consider preparing and spraying these sections again (if the roof does show any signs of leaking then I will consider a different approach for sealing the channels).
Last edited by FL-Redhead; 12-28-2021 at 08:39 PM.
After how many years would you guess that the water started to penetrate the coating? How many years did it take for the coating to start flaking (or showing any noticeable signs of wear)?
Is this a common problem with Rhino Liner? It has been a year since I have looked into Raptor, Rhino, LineX, etc., but I would assume they are all technique sensitive (i.e., must strictly follow manufacture instructions). How did you prepare the surface, and in what conditions did you spray the coating? I know that I did not spray the coating in an ideal setting (i.e., it was outdoors, rather than being sprayed in a temperature and humidity-controlled paint booth) but I believe that I will be happy with the results (again, only time will tell). Additionally, beyond the conditions in which the coating was applied, I also do not live in snow nor near saltwater, so you all might be in more harsh conditions.
Also, for sake of conversation, how long do you all think this "fix" should last to be considered permanent rather than temporary? To talk about a fix that will "outlast the vehicle" is tricky when it comes to these diesel trucks because they last a long time ... I mean, with a truck that is 20+ years old I am happy if I have to paint it once every 10 years. This truck will become my "farm truck" in 4-10 years and I'll let it rust on the property before I sell it but I hope to get another 20 years out of the truck before it quits on me.
Great job and WOW, what an outstanding first post. I have a 99 F250 7.3 2wd. It’s ok but the previous owner gave it a MACO paint job several years ago. It runs great, body ok and interior is ok, so I call it my 50 footer. It looks great from about 50’ away. 🤪 Since I live in Tennessee on 5 acres in the middle of 250 it’s my farm truck, trailer puller and toy. Again thanks for a great article packed with great info.

 08-05-2020, 06:05 PM