When you click on links to various merchants on this site and make a purchase, this can result in this site earning a commission. Affiliate programs and affiliations include, but are not limited to, the eBay Partner Network.
Pretty cool, Pete! Will welding the cut-out bottom to top of the main piece be deep enough for the spring?
Yes. I think so Ross. It is deeper than the stamped groove. I'll add more pictures when it is done. It took the plasma cutter less than a minute to cut out the part from 3/16" steel. The hard part was making the CAD drawing and setting up the machine. More pictures after I finish cleaning up the part.
The nice thing is that the same part can be left or right. It just depends upon which side you weld the cutout.
Pete, Is the smaller piece just the cutout from the larger one or did you cut a separate piece slightly larger than the opening so it would sit on top for welding?
Pete, Is the smaller piece just the cutout from the larger one or did you cut a separate piece slightly larger than the opening so it would sit on top for welding?
It is just the cutout Chuck. The plasma cutter is pretty precise. Then tig welded from the back side. Ross, as you can see there is plenty of room for the spring.
There's probably many ways to install new glass in the lifting channel, but when I was doing this on my '48 I found it at best extremely difficult to impossible to get the glass to sit at the bottom of the channel along with the rubber with how tight the channels are when you receive them.
Rather than try to force down on the glass I pried the channel open enough for the glass and the rubber to easily fit into place, then I squeezed the channel shut in a bench vise.
This takes some caution and "feel" for pressure so you don't shatter your new glass, but when I was done it was tight as can be and saved a lot of time on the other door.
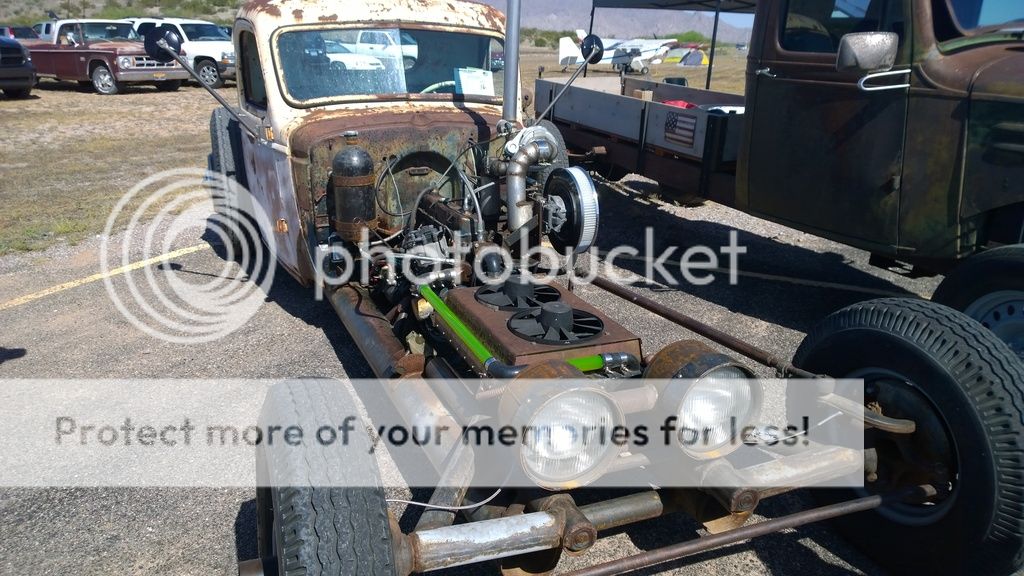
Hey guys, I just thought of a cool thread. I thought we all could share cool tricks and tips of the trade? Like using S.O.S. pads for cleaning minor surface rust off from chrome. Using coat hangers and bending them to the shape you need for a pattern for brake or fuel lines. We also could tell each other about some of the cool tools out there, either homemade or bought? I have a test light called a power probe, it connects to the pos and neg post of the batt, then you have a short wire from the test light. You are able to put either power to the tip or neg to the tip.With the short neg wire from the test light and puttin power to the tip you can energize a circuit. This is an excellent tool for electrical work!! There are all sorts of tools, in my shop that I've either made or bought. As I'm typin this, I can't think of anything?? Your turn
I ordered a new tailgate as mine was a mess with dings, dents, cracks, creases and rustouts. After some research I found that Midwest Early Ford had a price $50-100 less than the others. I ordered it with some concern about quality but as you can see the contours are sharp and crisp with no washouts like you get from poorly maintained dies.
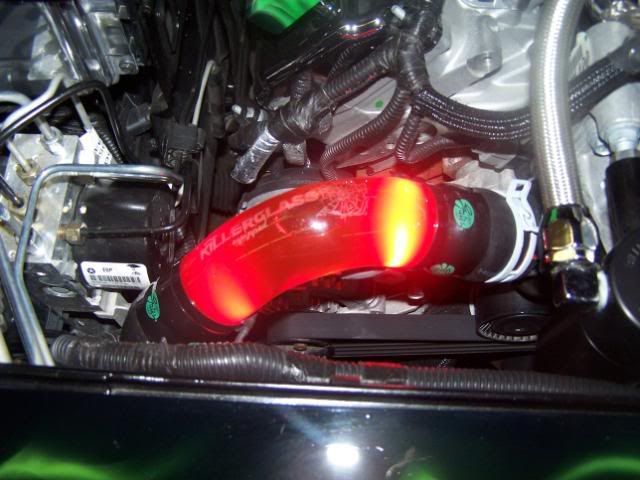
Alright, I haven't seen anyone on this forum do this yet, but for the metal pipe that is the upper radiator "hose" on the '56 (not sure what other years use the metal pipe), I replaced mine with a Pyrex glass tube and used silicone couplers to connect to the radiator and thermostat housing. I'd post pics, but my engine is in the middle of a rebuild right now. I can hardly wait to put it back together with my glass "hoses".
Alright, I haven't seen anyone on this forum do this yet, but for the metal pipe that is the upper radiator "hose" on the '56 (not sure what other years use the metal pipe), I replaced mine with a Pyrex glass tube and used silicone couplers to connect to the radiator and thermostat housing. I'd post pics, but my engine is in the middle of a rebuild right now. I can hardly wait to put it back together with my glass "hoses".
Hope the connections don't blow apart under pressure, silicone and glass are slippery when wet, and antifreeze is a good lubricant for both.
When I worked in a chem lab we had a glassblower that worked there that would make special glassware for us. Pyrex tubing can't be bent by hand, soft soda glass (what most glassblowers use) would be quite fragile. You know you can buy clear PVC pipe and fittings?
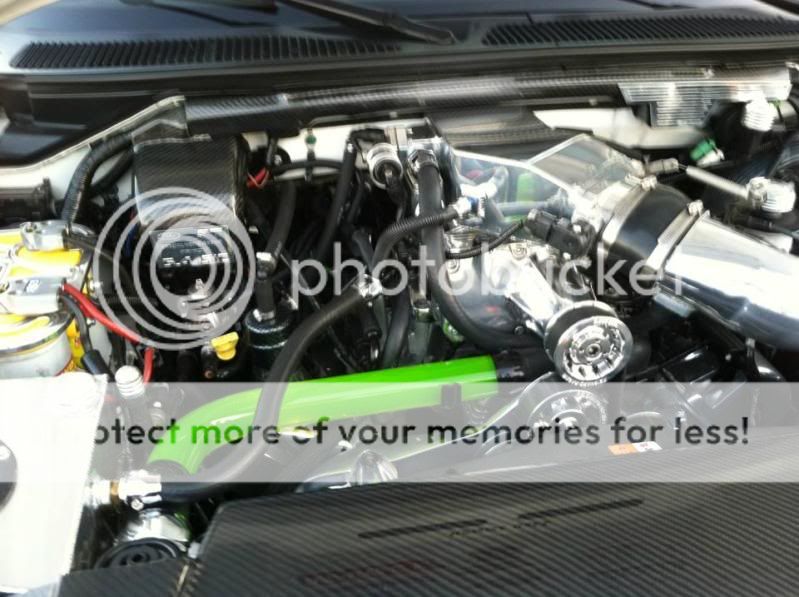
Glass radiator hose is a super common thing over last 6 or 7 years. Killer Glass being the heavy player in that space since inception. Lots of vouching for their product out there.
Here's a number of shots in several offered configurations:

 05-21-2015, 11:37 AM