When you click on links to various merchants on this site and make a purchase, this can result in this site earning a commission. Affiliate programs and affiliations include, but are not limited to, the eBay Partner Network.
I apologize in advance...
I know this has been covered many times, but before I start buying parts I just want to make sure that the parts I'm trying to put together will work well together.
Ultraranger,
I like your setup, but I would prefer to use a master cylinder that uses standard fittings, so I can buy hard lines at Napa that already have ends on them (same fitting on both ends) and just bend them to the shape I need. That being said, I would like to still use a master cylinder with a 1 1/16" bore since that has worked well for you.
Having said all of that, these are the parts I am considering purchasing. Please let me know if they should work well together or if you see a problem.
No, that's why I would like to use the MC with 7/16 and 3/8 ports so I can just buy straight sections of brake lines at Napa that already have the ends on them and then just bend them to the shape I need.
Using the existing lengths of straight tubing will result in less than professional looking lines, due to having to put extra bends/loops in the line to take up its length.
The only way you will get a clean, professional looking installation is to cut the lines to length and reflare the ends.
Most major parts store chains have tool rental programs.
IF you were to install a 'modern' MC like I'm using, you could get a long stick of 4.75mm brake tubing and cut it to length, install the SAE inverted flare fitting on the other end and then double flare the cut off end of the metric tubing to connect to the brake valve. --at least this would work on the primary port on the MC, since the metric tubing would come with an M10 x 1.0 bubble flare fitting to fit the port of the '95 Explorer MC. --metric 4.75mm brake tubing is the same diameter as 3/16" brake tubing.
I'm not sure what diameter the metric tubing would be for an M12 x 1.0 fitting but, I suspect the tubing diameter for this size fitting would be the equivalent of 1/4" tubing. The secondary port on the Explorer MC requires an M12 x 1.0 bubble flare fitting. IF the parts store has M12 x 1.0 fittings for 4.75mm tubing avaible, you could get it, remove the M10 x 1.0 fitting, slide the M12 x 1.0 fitting on then put the SAE fitting on the other end and double flare the line to connect to the brake valve for the secondary circuit from the MC to the brake valve.
The standard bubble flare fitting size for 4.75mm tubing is M10 x 1.0. The standard fitting size for 3/16" tubing is 3/8"-24.
IF the parts store doesn't have an M12 x 1.0 bubble flare fitting for 4.75mm brake tubing, you can get this fitting through Classic Tube. It's p/n ST8040.
(Classic Tube p/n for the M10 X 1.0 fitting is ST8036).
P/N for a 7/16"-24 fitting for 3/16" tubing is ST8006.
P/N for a 1/2"-20 fitting for 3/16" tubing is ST8007.
P/N for a 9/16"-18 fitting for 3/16" tubing is ST8010.
Ultra,
As always I appreciate your help, but even if I cut/bend/flare my own lines I would really prefer to stick to a stock looking, cast iron master cylinder as well as only having to learn how to do 1 type of flare (double flare) instead of 2 (double flare and bubble flare).
I just want to make sure that the MC/Booster/Booster Brackets/Combo Valve I posted will all work together correctly.
If you bought a long stick of 4.75mm brake tubing, it would have a bubble flare already made at each end of the tubing. From there, you would bend the line to shape/length, cut it then slide the SAE inverted flare onto the end that was cut and you would only have to contend with making one type of flare --a 45� SAE double flare on the end that was cut.
In the case of running a conventional cast iron MC with SAE inverted flare ports, not cutting the line to length will result in having to put extra bends/loops in the tubing to take up the excess length, if the lines aren't cut to length to fit between point A and point B.
I never had anyone show me how to bend or bubble flare or double flare brake tubing. --You have a distinct advantage over me with the internet. The internet didn't exist when I figured out how to fabricate brake lines. It was just something I had to figure out on my own.
It's really not that hard to do and the only way I learned was to buy some 3/16" brake tubing (which is cheap) and just start fooling with it. You'll soon get a feel for what to do or what not to do.
The biggest factor to making leak-free flares in brake/fuel line tubing lies in the line prep prior to flaring them. Deburr (bevel) the inner and out diameters of the end that's cut before you flare them. Make sure the flaring yoke is squarely over the end of the tube and not off to one side or the other. If the flaring yoke isn't square to the tubing, you'll end up with oblong flares that will be difficult to seal off or they won't seal off at all when you go to tighten the fitting.
When making the 1st stage of the double flare, it's OK to crank down with plenty of force of the yoke onto the flare. On the 2nd stage of making the double flare, DON'T crank down with a lot of force. You just want the 2nd stage of the double flare to be well-formed. You don't want to crush the second stage of the flare flat against the first stage. The 'crush'' of the flare should come when you install the line into the port and tighten the fitting down.
The threads of the inverted flare fitting does not seal the line. The (double) flare on the end of the tubing is what seals. The only purpose of the fitting is to push the tubing flare tightly to the conical seat of the port the line is being installed into.
As far as the brake components you've selected goes, they should be fine.
Thank you UltraRanger! You have inspired me to see if I can find brake flaring tools locally as a loan-a-tool at one of the local auto part stores and fabricate my own lines.
What is best to use to deburr the inner and outer diameters of the cut ends?... a small file?
Video on making double flares. --however, in my opinion, he put too much chamfer on the O.D. of the tube with the grinding wheel. I just use a flat file at about a 45� angle to the tip of the tube and roll the tube while I run the face of the file across the end.
Another video (potty-mouth warning) --but I did get a chuckle out of it. I also totally agree about line fabrication tools. The better the tool, the better your results will be and the ease with fabricating the lines.
Awesome videos! I had it built up in my mind as being much harder than that...actually doesn't look bad at all. I just hope the local auto part store loan-a-tool is decent quality so I don't have trouble with it.
Maybe I should just buy this. It's inexpensive and the only negative reviews on it were because it didn't come with instructions. What are your thoughts? https://www.summitracing.com/parts/kti-70060
This is the Gould-Imperial 45� flaring bar/yoke I've had since my junior year in high school (1984). It's not top-shelf but it's better than a cheap, bottom of the barrel flaring bar.
In 2009, I finally stepped up to the big leagues and ponied up the money for a real line flaring set. It's hydraulic. Mastercool Hydraulic flaring set P/N 71475. This set was just under $300.00 dollars.
It makes production quality flares each and every time ....in about 60 seconds.
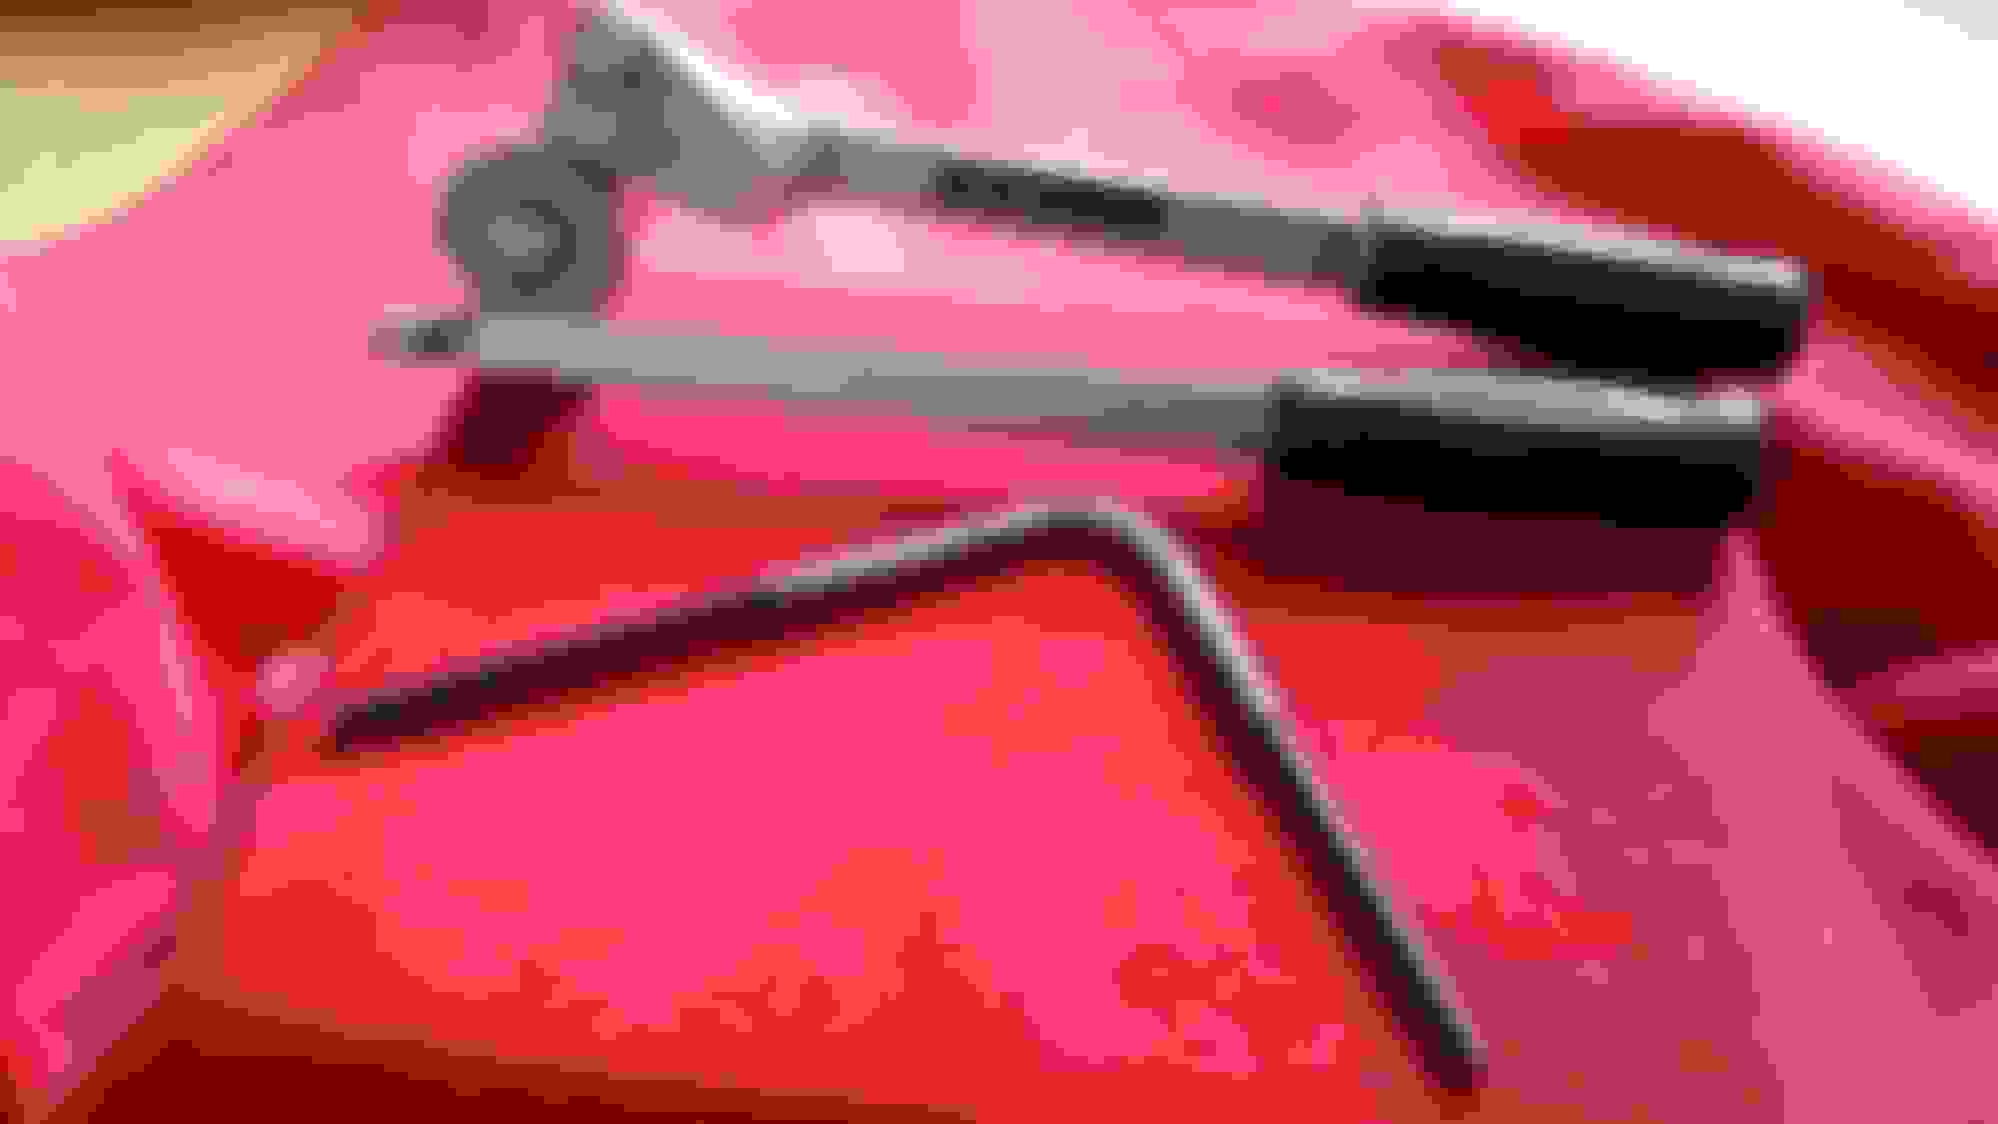
This is just a scrap piece of 3/16" brake tubing left over from some lines I had fabricated. You can see that the end is pushed inward where the tubing cutter was used to cut this line in two.
There's a trimming tool on my tubing cutter for the purpose of reaming the burr from the I.D. of the tubing.
Once you ream the I.D. of the tubing end, take a flat file and with it perpendicular to the tubing end, file the tube to remove any burrs and so the tubing end is square.
I'm predominantly right handed. With the file in my right hand and the tubing in my left hand, I roll the tubing towards me while I run the flat file (at about a 45� angle) away from me, over the tip of the tubing to chamfer the O.D.
The chamfer of the O.D. should look like this.
These are the steps to prep the tube for double flaring (or bubble flaring) the end.
BEFORE you go to flare the tubing, be sure to install your fitting FIRST.
If you're going to add Spring Wrap (also known as Armor Guard or Spiral Wrap), you'll need to install it before you put your fitting on and before the tubing end is flared.
If you have a run of tubing that's going to be in contact with the frame/chassis or going through a hole in the frame, for example, and want it to be highly protected from chaffing, you can slide a larger diameter piece of tubing over the smaller tubing. This is the 3/16" diameter piece of brake tubing with a 1/4" piece of tubing slid over it.
Using a cheap manual flaring bar/yoke will do either one of two things: either it will make a master tube flarer out of you or, it will make a mad man out of you. If you can make quality flares with junk tools, you'll be able to use any flaring set (however, if using a manual flaring bar/yoke, I would advise to get/borrow/rent a quality set). If the parts store has a hydraulic set to rent out though, this would be the best and easiest way to go. --same tubing prep procedures also applies when using a hydraulic flaring set.
As always, great info. Great idea about using the second tubing piece as armor plating.
Thanks, Gary.
1/4" tubing will fit over 3/16" tubing.
5/16" will fit over 1/4".
3/8" will fit over 5/16".
1/2" will fit over 3/8".
If you're going to 'double wall' portions of a tubing run, you really need to put some sort of bend in it to keep the larger diameter piece from sliding around on the smaller diameter tubing. Whatever is the larger diameter tubing you're using is the size bender you would need to use to bend both pieces with.
I wouldn't use larger than 3/16" diameter hard line for the brakes but in the case of fuel or transmission lines, this would be on the order of 5/16" or 3/8" diameter lines.
You can certainly use the cast iron master cylinder. I did. But the stick of line from NAPA will not have the correct fitting ends on them anyway. At least 1 will have different fittings on each end. If you can rent, borrow, or buy a simple double flaring tool, you can do it. Buy a 25 ft roll of line and the fittings you need, and get after it. If you mess up a piece, the line is cheap. I haven't filled and tested my brake lines yet (this weekend), but my transmission lines are working great. I had 1 small drip from 1 fitting on the whole fabricated set. A turn of the wrench, and thats fixed.
You can certainly use the cast iron master cylinder. I did. But the stick of line from NAPA will not have the correct fitting ends on them anyway. At least 1 will have different fittings on each end. If you can rent, borrow, or buy a simple double flaring tool, you can do it. Buy a 25 ft roll of line and the fittings you need, and get after it. If you mess up a piece, the line is cheap. I haven't filled and tested my brake lines yet (this weekend), but my transmission lines are working great. I had 1 small drip from 1 fitting on the whole fabricated set. A turn of the wrench, and thats fixed.
The cast iron MC will work. There are just a number of advantages with using a more modern MC --primarily less debris and moisture introduced into the brake fluid because the MC body isn't cast iron and the cap doesn't have to be removed to check the fluid level inside the reservoir.
The two different sized port fittings on the MC are designed to keep you from switching the lines to the wrong ports on the brake valve.
Earlier in this thread (post #5), I gave a list of direct connection specialty sized inverted flare fittings, designed for 3/16" tubing, so that using ugly adapters would not be necessary.
 07-28-2016, 09:53 AM