
My 3g Alternator Install
#31
 12-13-2015, 05:14 PM

Made a bit of progress today... Between work and all the holidays and social events I haven't had time to monkey around with it for a couple weeks.
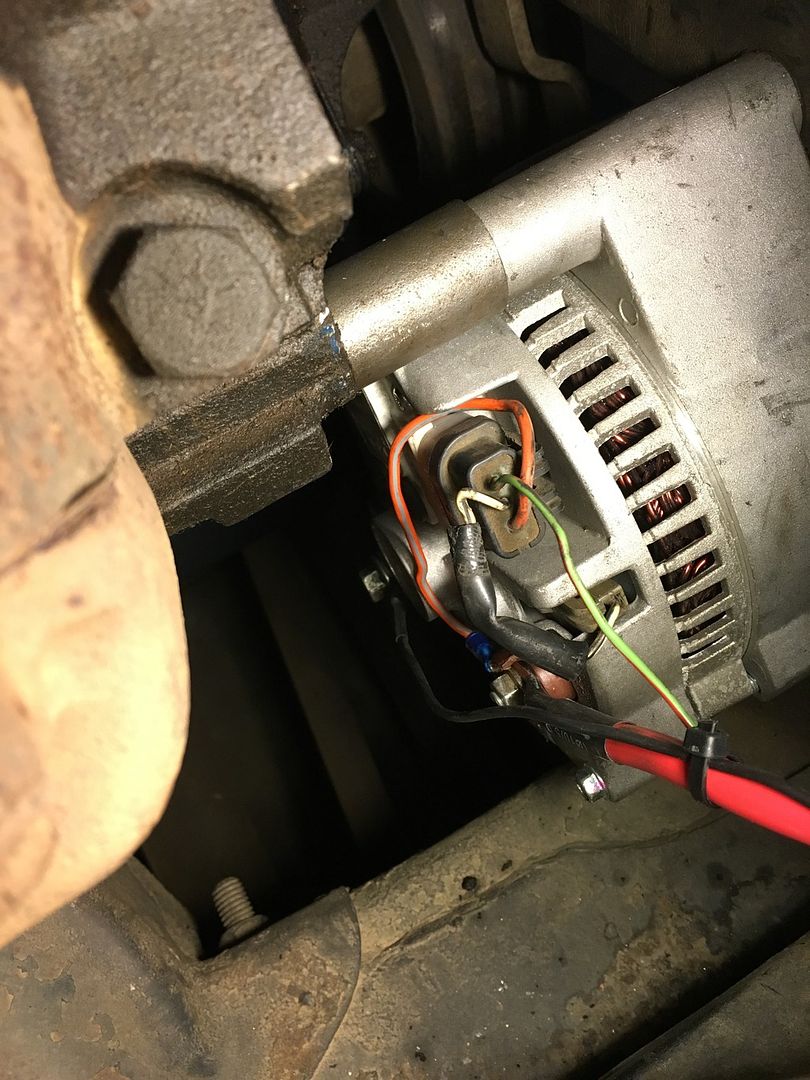
I basically got the belt tight enough using the pry-bar on the alternator method to keep it from squealing. In the process of doing this I added 4 7/16" flat washers between the adjustment bracket and the alternator to act as shims. The bracket naturally wanted to sit approximately 1/4" from the front face of the adjustment tab so I figured it was best to not force it together as this might throw the belt alignment off. I also decided to drill out the threads on the adjustment tab and run a bolt all the way through with a nut in the other end as it's going to take a lot of torque to hold the alternator in place once the belt is tight; I really don't think the threads in aluminum are up to this task. In either case better safe than sorry.
I think the shims are an important thing to consider here; if that bracket tweaked the alternator just a bit, it could have messed with the alignment causing slippage and premature belt wear. Possibly the belt could jump as well and we wouldn't want that.
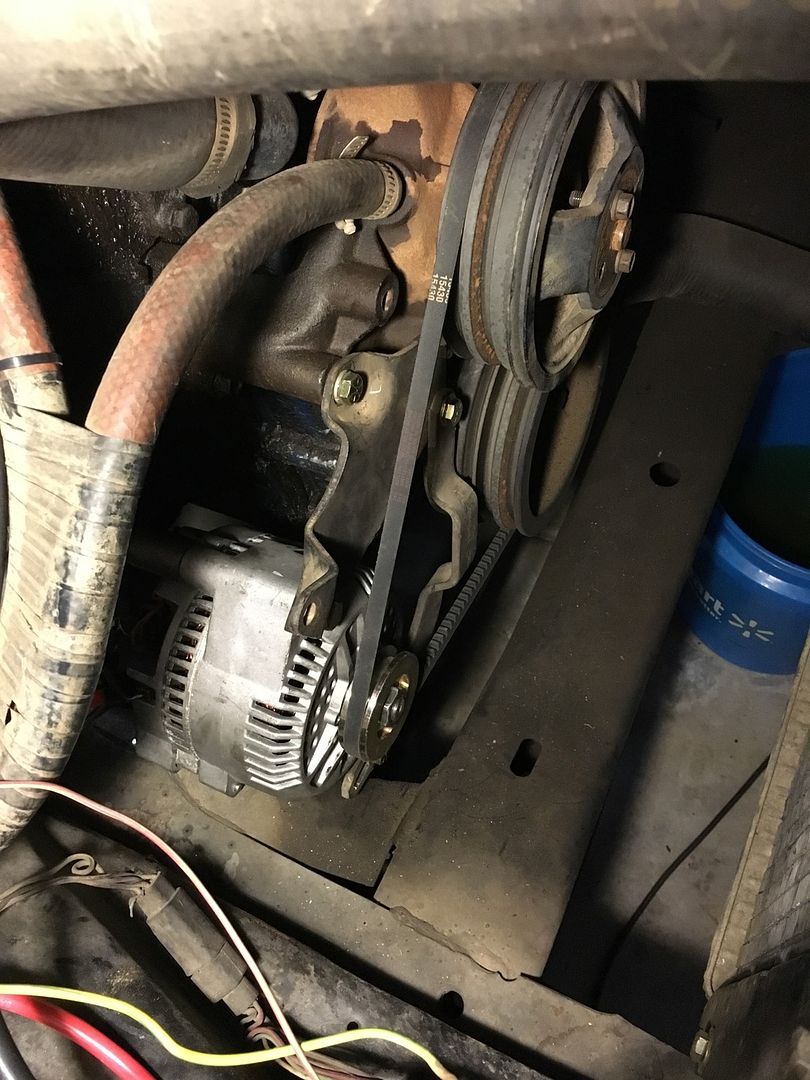
I tested the tension on the belt to see if I could get it to slip. With everything turned in that I could turn on, I couldn't create enough load to get it to slip so I think it's good for now anyway. If slippage ever becomes an issue I will address it then.
My next step is to install the fuse which I have yet to order. I figure a bit of real estate just became available on the core support so that's as good of a place for the fuse as any. With this I will sort out the wiring harness and make it pretty.
Stay tuned...
Shims
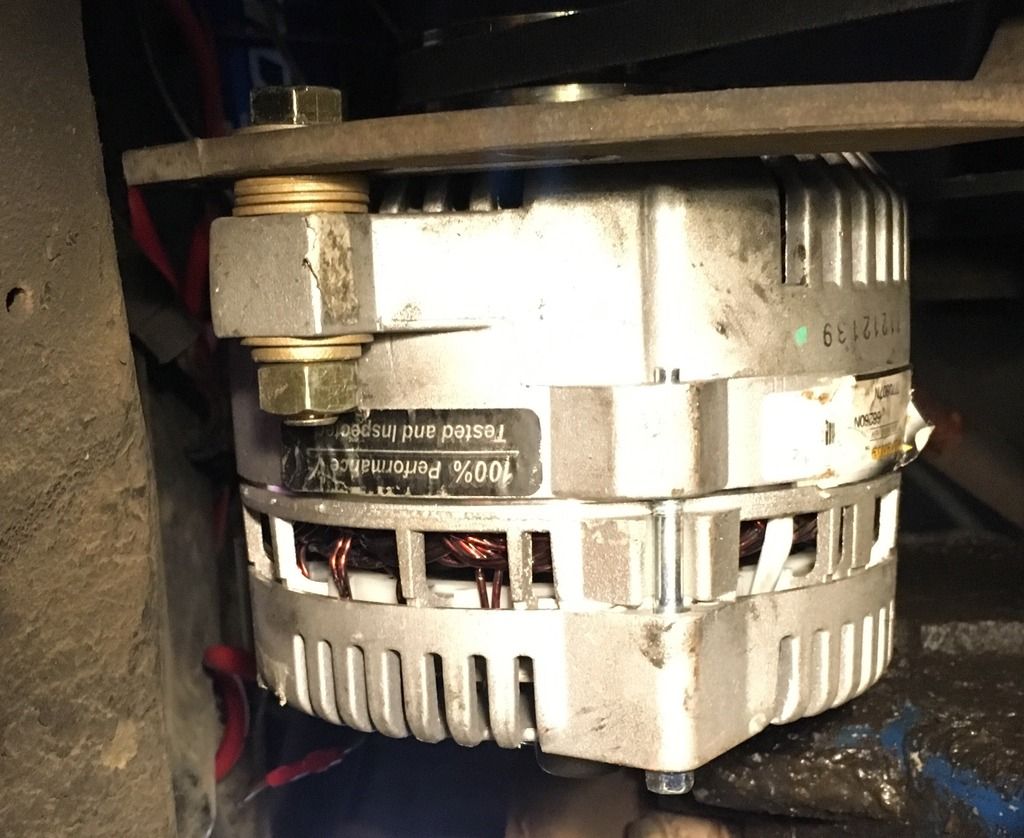
Tight belt
I basically got the belt tight enough using the pry-bar on the alternator method to keep it from squealing. In the process of doing this I added 4 7/16" flat washers between the adjustment bracket and the alternator to act as shims. The bracket naturally wanted to sit approximately 1/4" from the front face of the adjustment tab so I figured it was best to not force it together as this might throw the belt alignment off. I also decided to drill out the threads on the adjustment tab and run a bolt all the way through with a nut in the other end as it's going to take a lot of torque to hold the alternator in place once the belt is tight; I really don't think the threads in aluminum are up to this task. In either case better safe than sorry.
I think the shims are an important thing to consider here; if that bracket tweaked the alternator just a bit, it could have messed with the alignment causing slippage and premature belt wear. Possibly the belt could jump as well and we wouldn't want that.
I tested the tension on the belt to see if I could get it to slip. With everything turned in that I could turn on, I couldn't create enough load to get it to slip so I think it's good for now anyway. If slippage ever becomes an issue I will address it then.
My next step is to install the fuse which I have yet to order. I figure a bit of real estate just became available on the core support so that's as good of a place for the fuse as any. With this I will sort out the wiring harness and make it pretty.
Stay tuned...
Shims

Tight belt

#32
12-17-2015, 01:43 PM
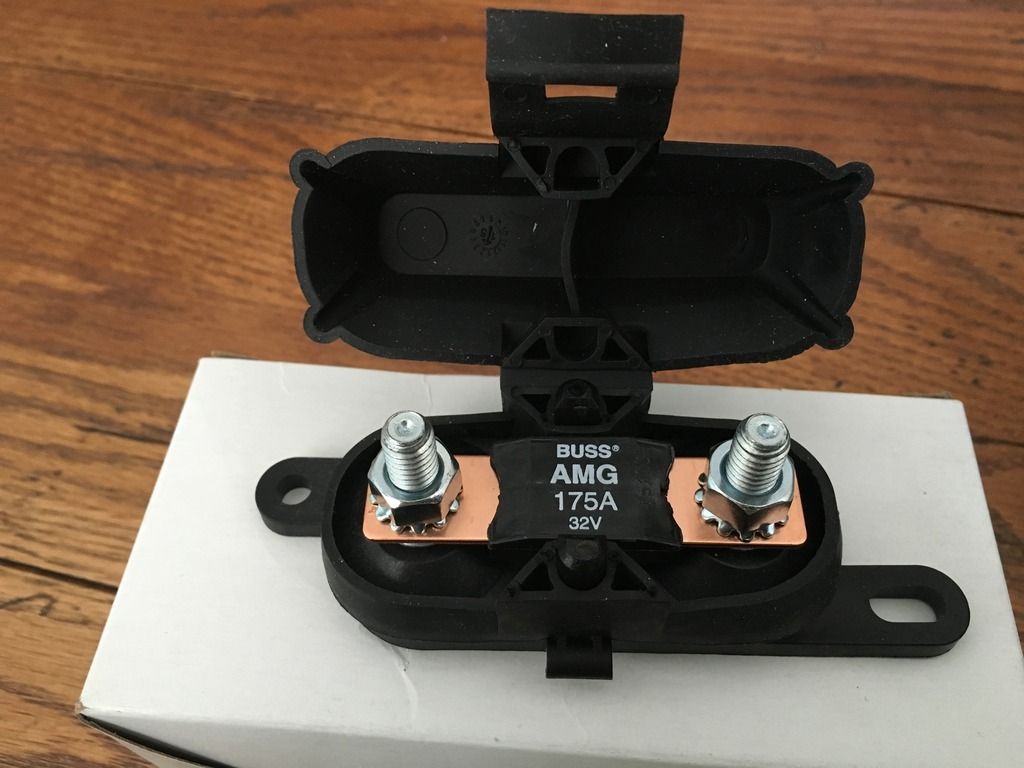
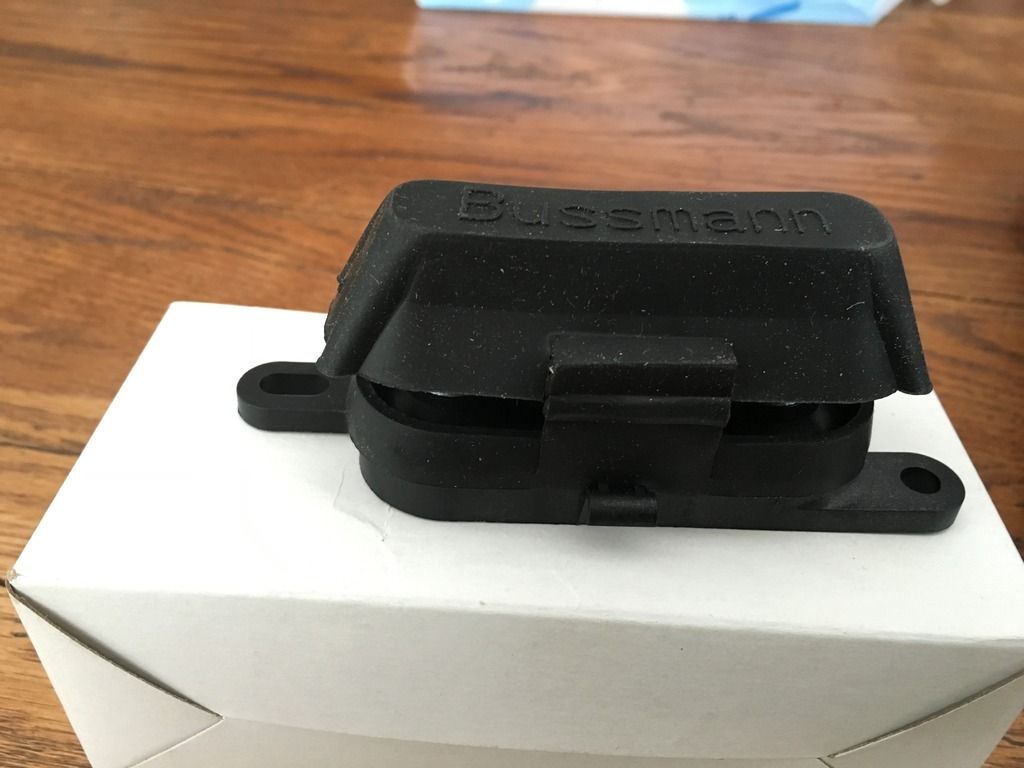
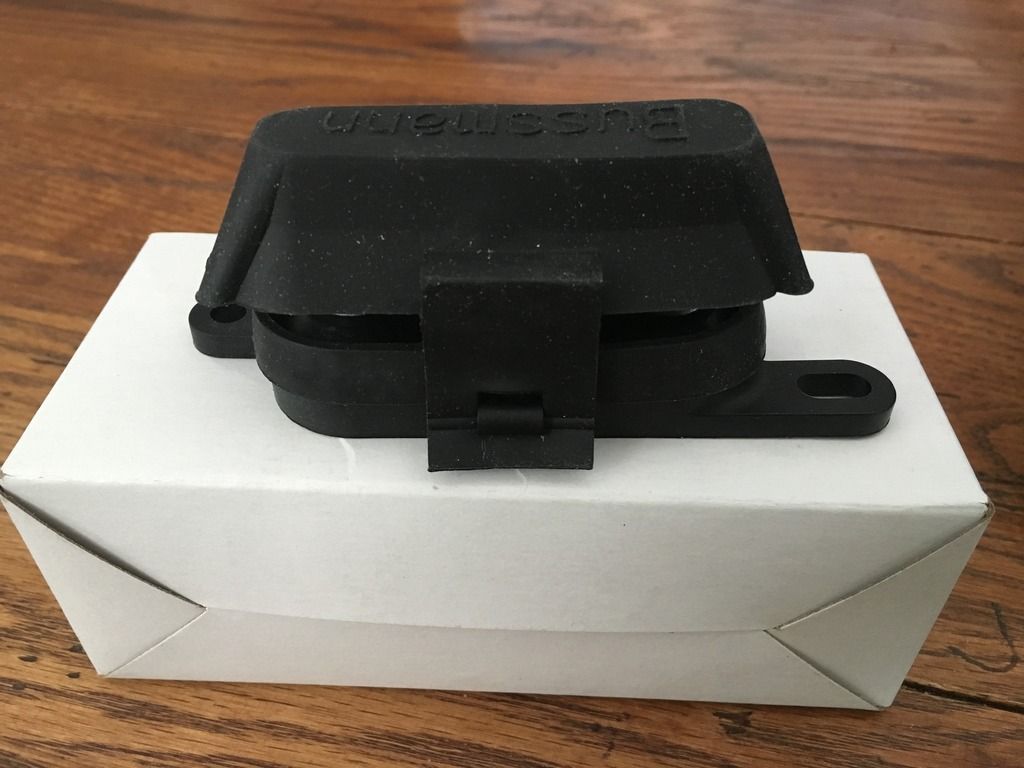
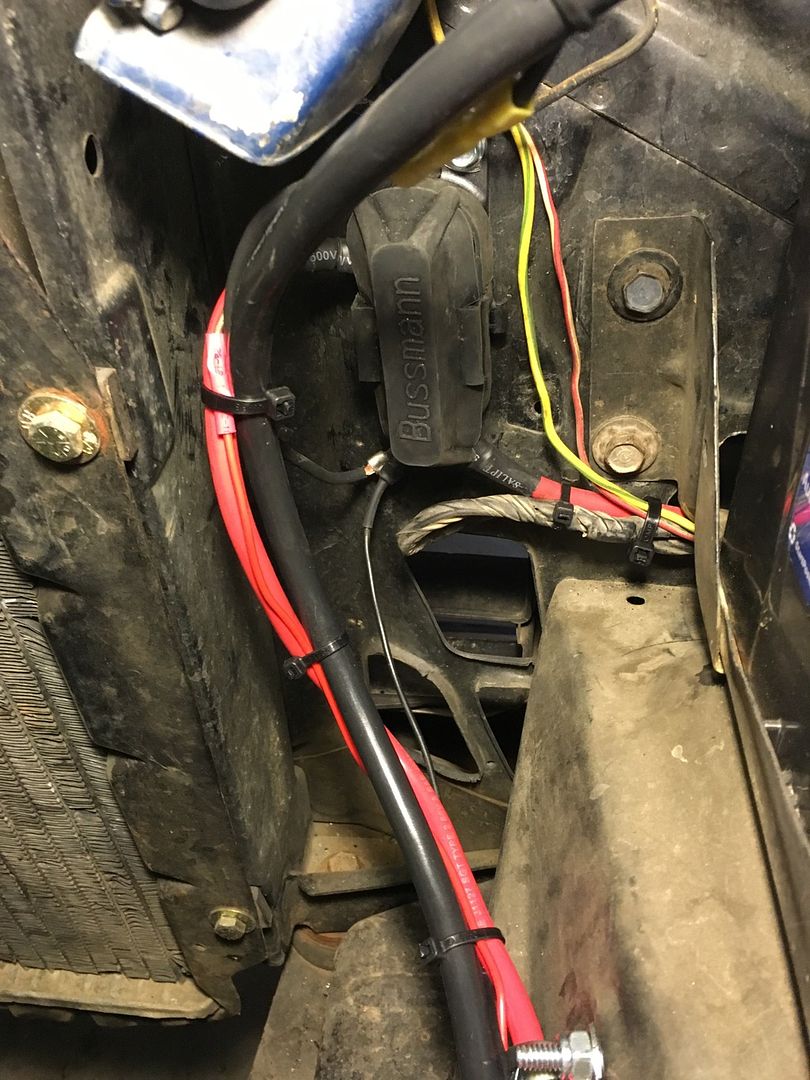
I finally got my fuse block... It seems pretty well designed; we will see how long the soft rubber cover lasts though. While a good idea, I don't think this is an absolute necessity as long as nothing else interferes with the block should the cover fail. This was the best priced block I could find sourced at rockauto.com; I suggest throwing this on to another order to save on shipping costs. Here are part numbers if anyone else wants to purchase this:
Bussman HMEG - Fuse Block ($5.47)
Bussman AMG175 - Bolt in fuse ($2.66)
Now I just need to find a good place to mount it.
Bussman HMEG - Fuse Block ($5.47)
Bussman AMG175 - Bolt in fuse ($2.66)


Now I just need to find a good place to mount it.
#33
12-17-2015, 02:35 PM

#34
12-17-2015, 04:45 PM
I used the same exact one when I did my swap.
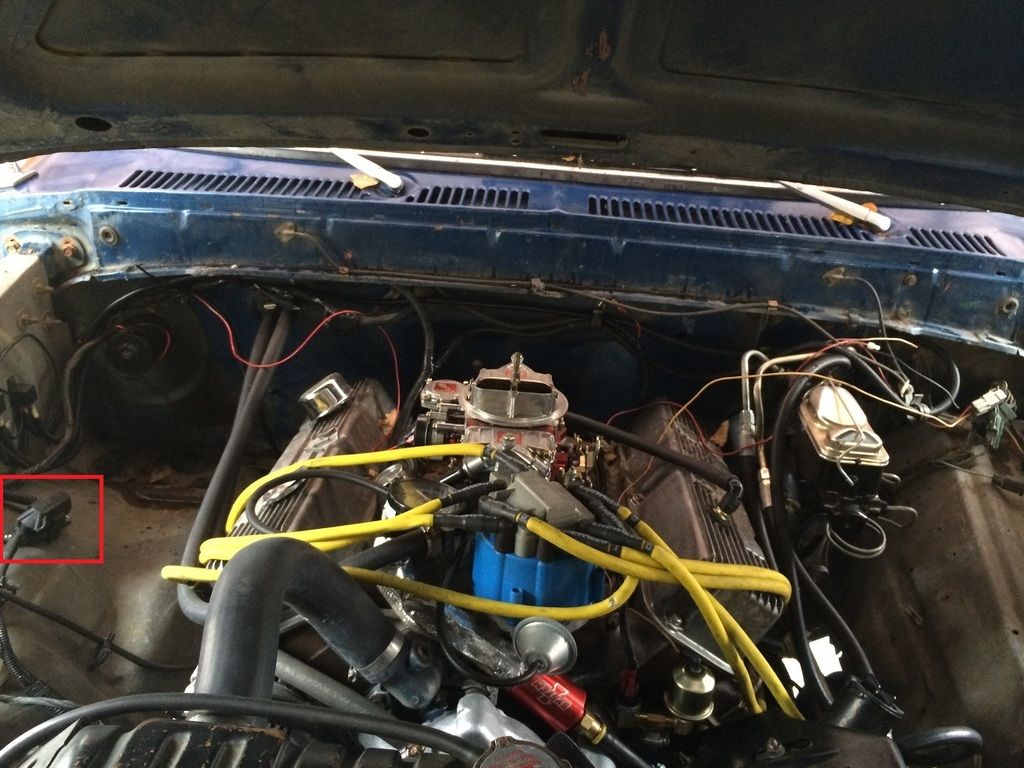
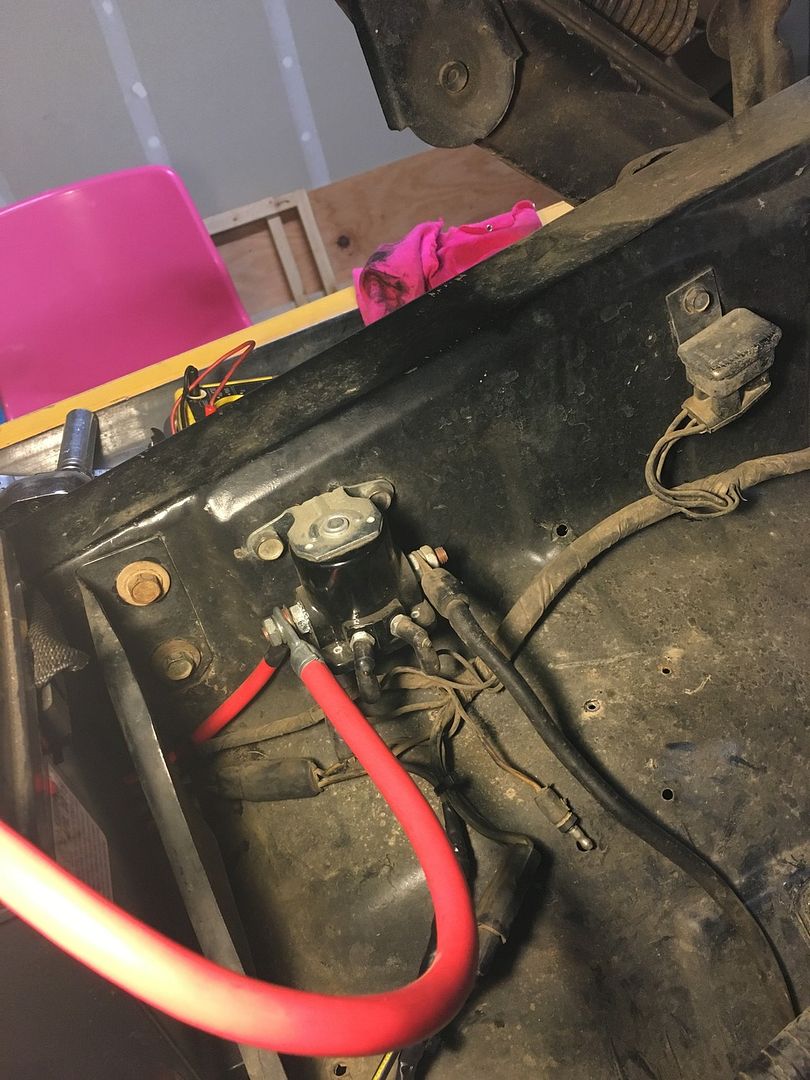
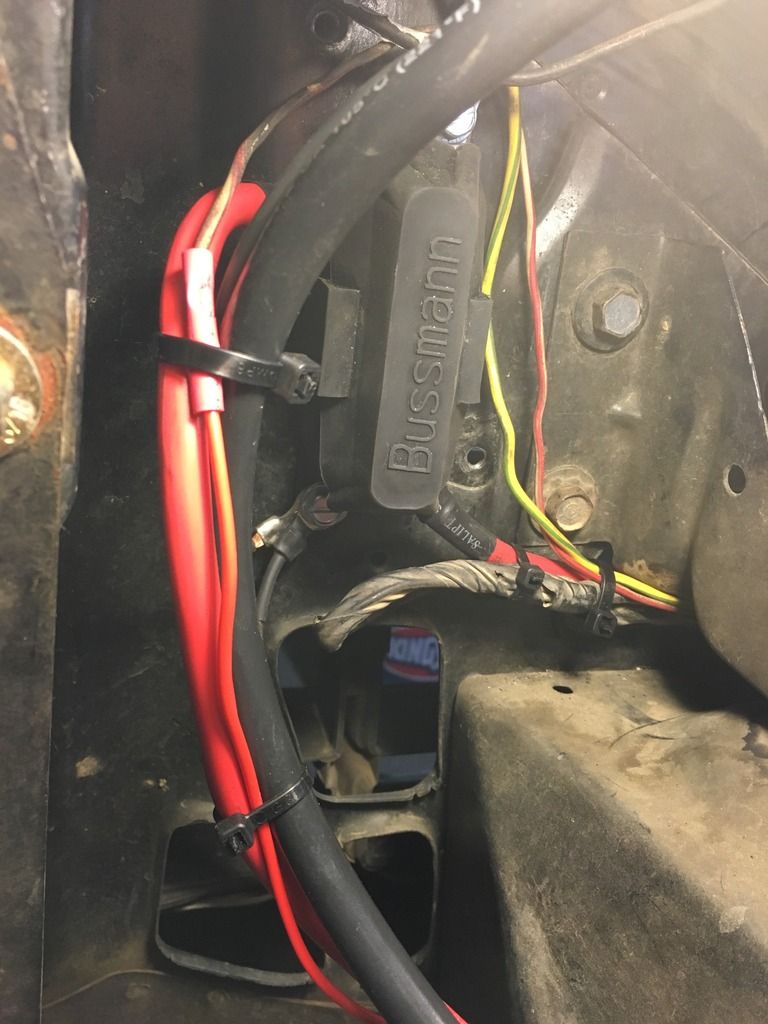
I put mine on the passenger side inner fender. Eventually once I get to cleaning everything up, I will probably do it a little different, but this works for now.
Not the best picture, but the best I could find while being away from home.
I put mine on the passenger side inner fender. Eventually once I get to cleaning everything up, I will probably do it a little different, but this works for now.
Not the best picture, but the best I could find while being away from home.

Btw Do your heater hoses have enough slack?
#35
12-17-2015, 05:14 PM

#36
12-20-2015, 07:00 PM
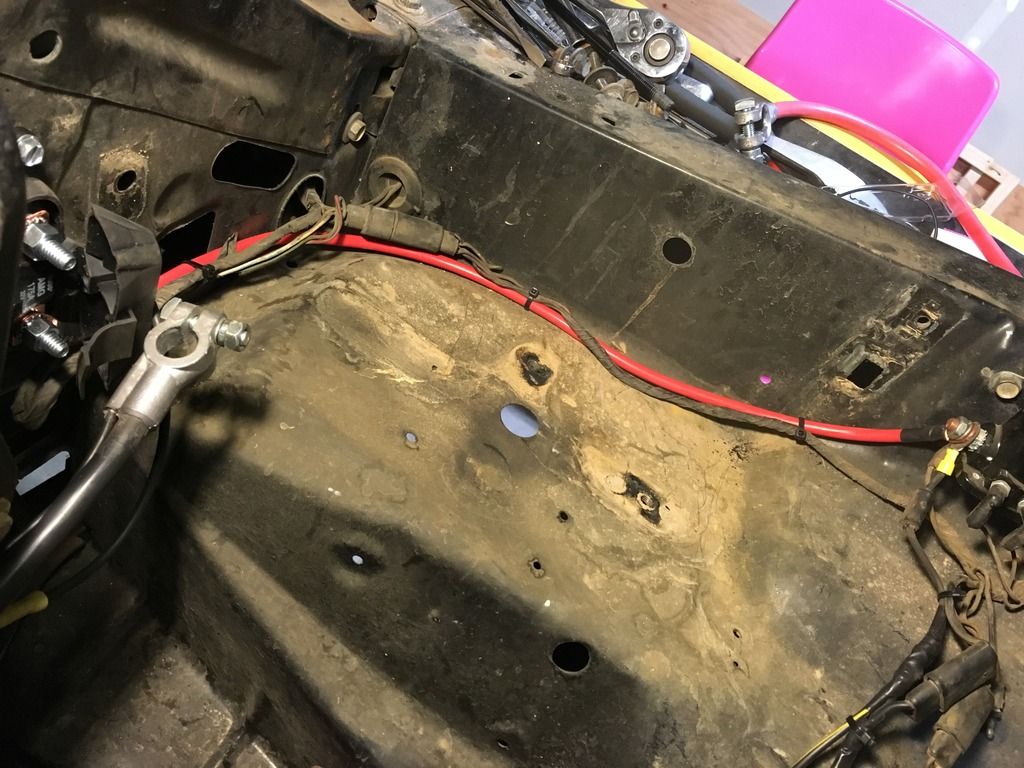
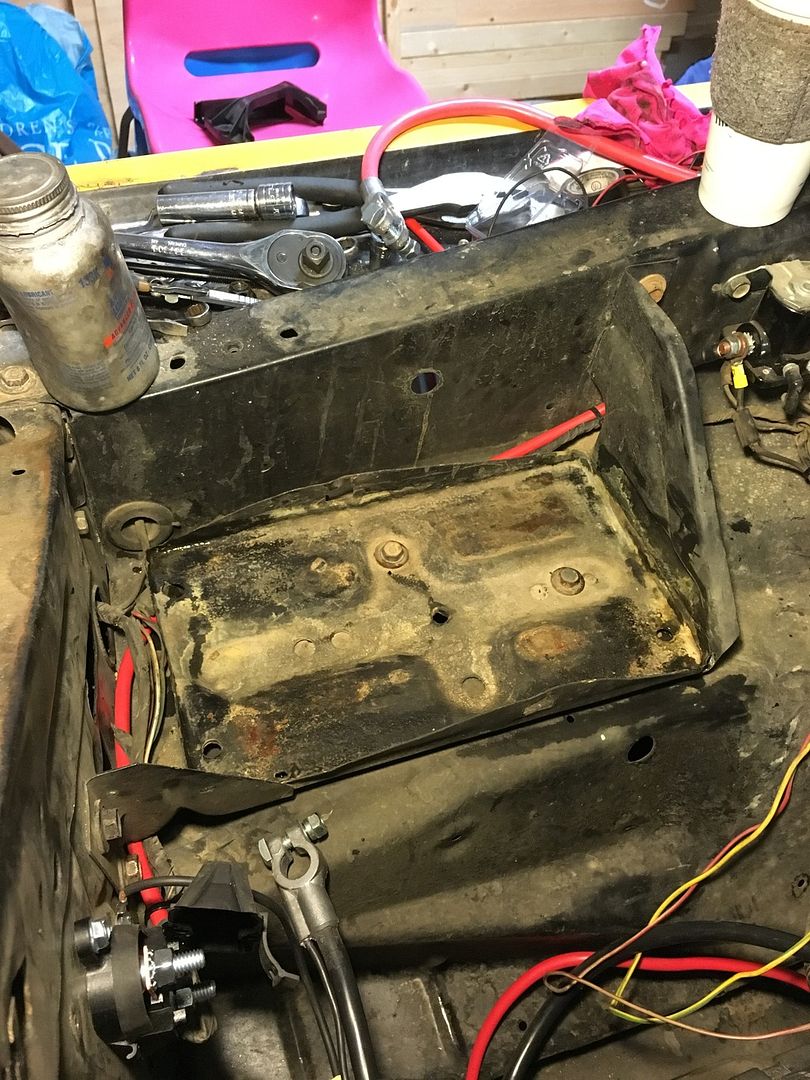
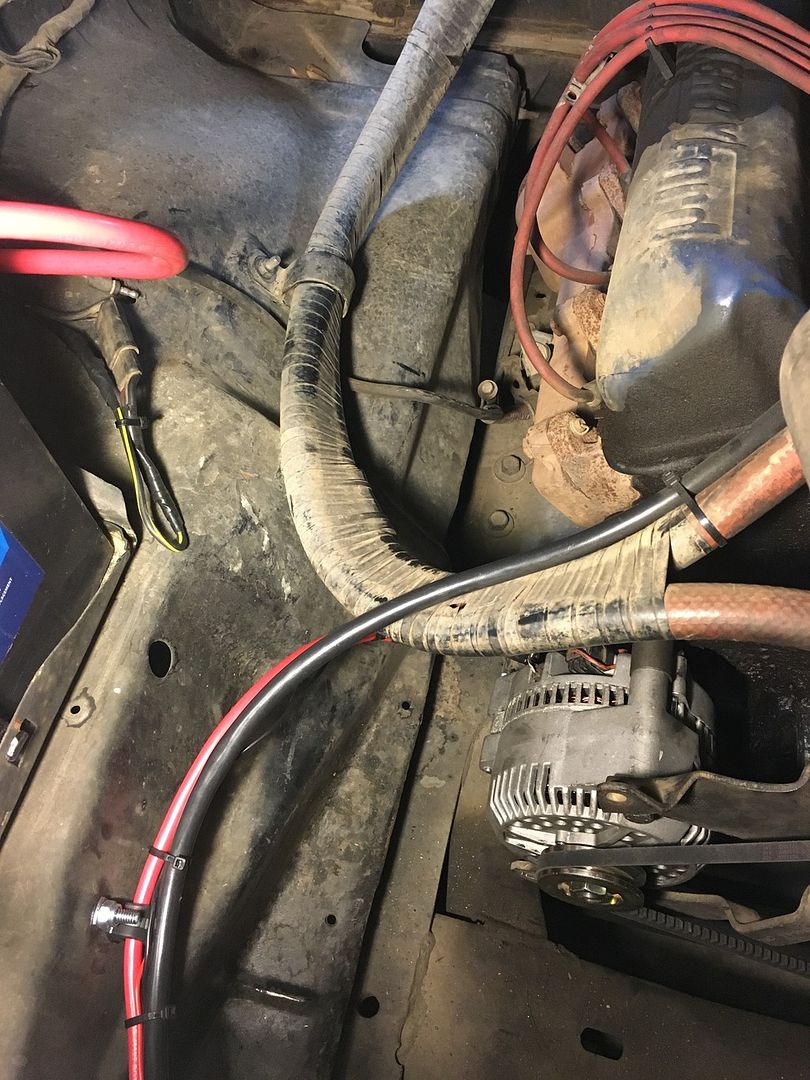
Well the 3G alternator upgrade is complete. I ended up deciding to mount the mega fuse block on the core support where the regulator was. I then ran the wires behind the battery tray which resulted in a really clean look. I still have some unrelated wiring near the solenoid to clean up but all in all I am really happy with the results of this project. I will be addressing the starter wire next.


#37
12-20-2015, 07:03 PM
#38
12-20-2015, 07:07 PM

Thread
Thread Starter
Forum
Replies
Last Post
loksoff
1980 - 1986 Bullnose F100, F150 & Larger F-Series Trucks
12
02-21-2014 01:33 PM
joshofalltrades
Electrical Systems/Wiring
2
12-04-2011 12:08 PM