When you click on links to various merchants on this site and make a purchase, this can result in this site earning a commission. Affiliate programs and affiliations include, but are not limited to, the eBay Partner Network.
Posting this as a separate post instead of inside one of my build threads so it can be found with a search.
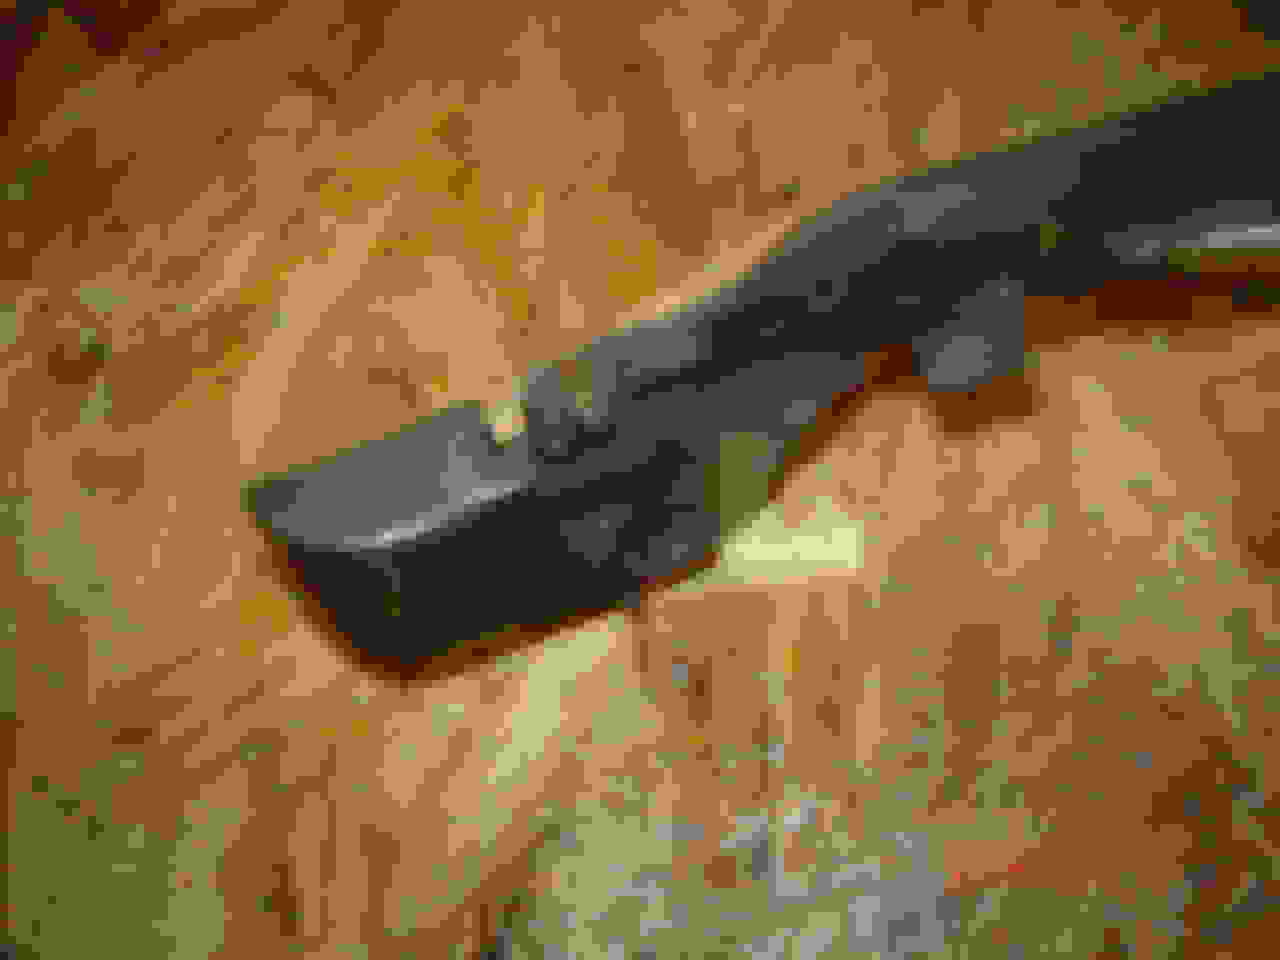
Started on putting the doors back together on truck #2, on that truck neither door would open when I got it so I knew I had latch issues to deal with.
I checked the passenger side latch by putting a door handle in it, turning the handle did nothing, no movement at all at the latch. There was no wear in the square hole, the handle fit well so that was not the problem. Time to take it apart.
First I removed the cover by bending back the green circled tabs.
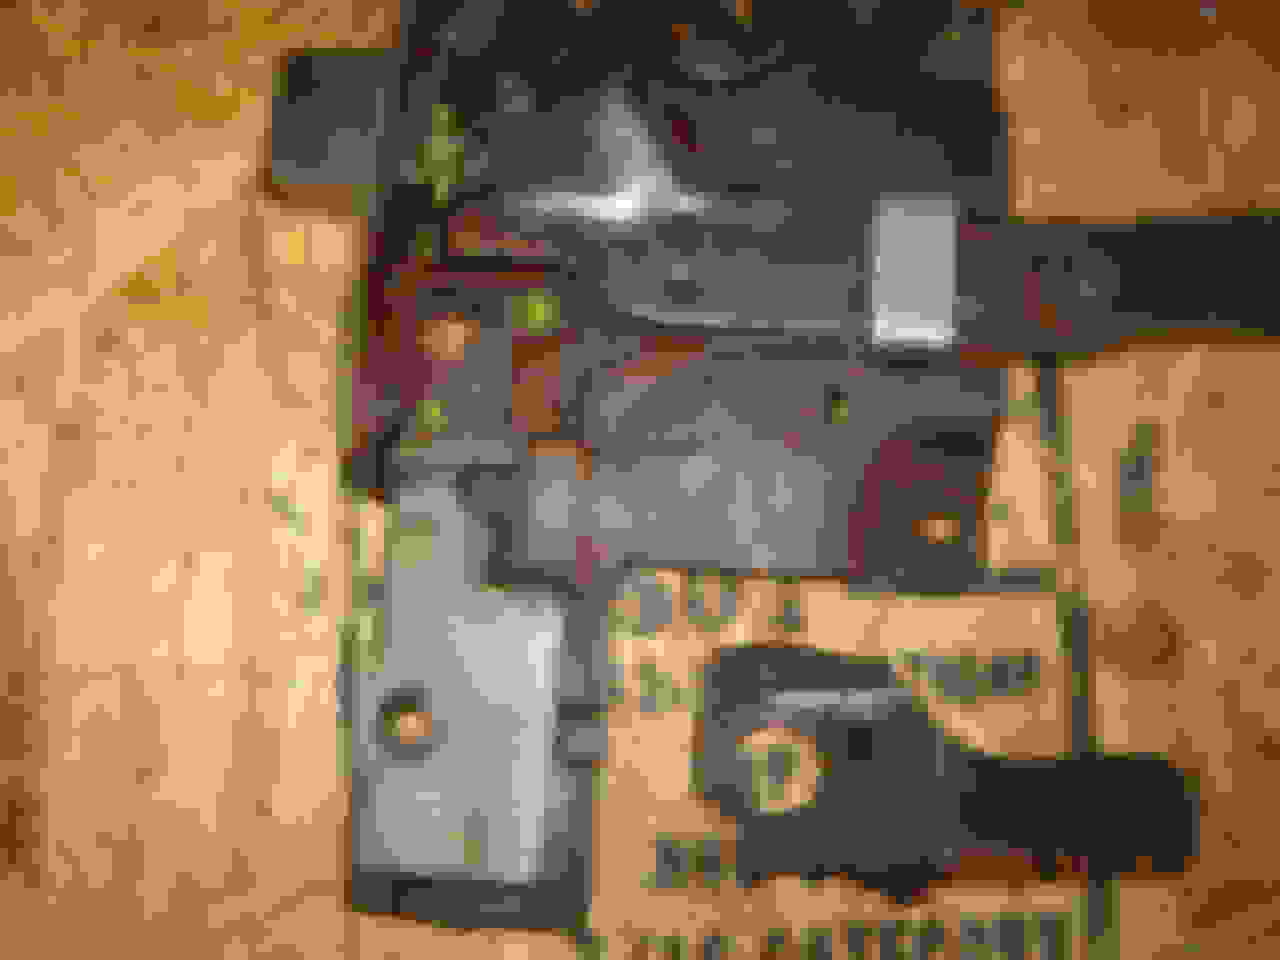
This opened up the area that had the problem.
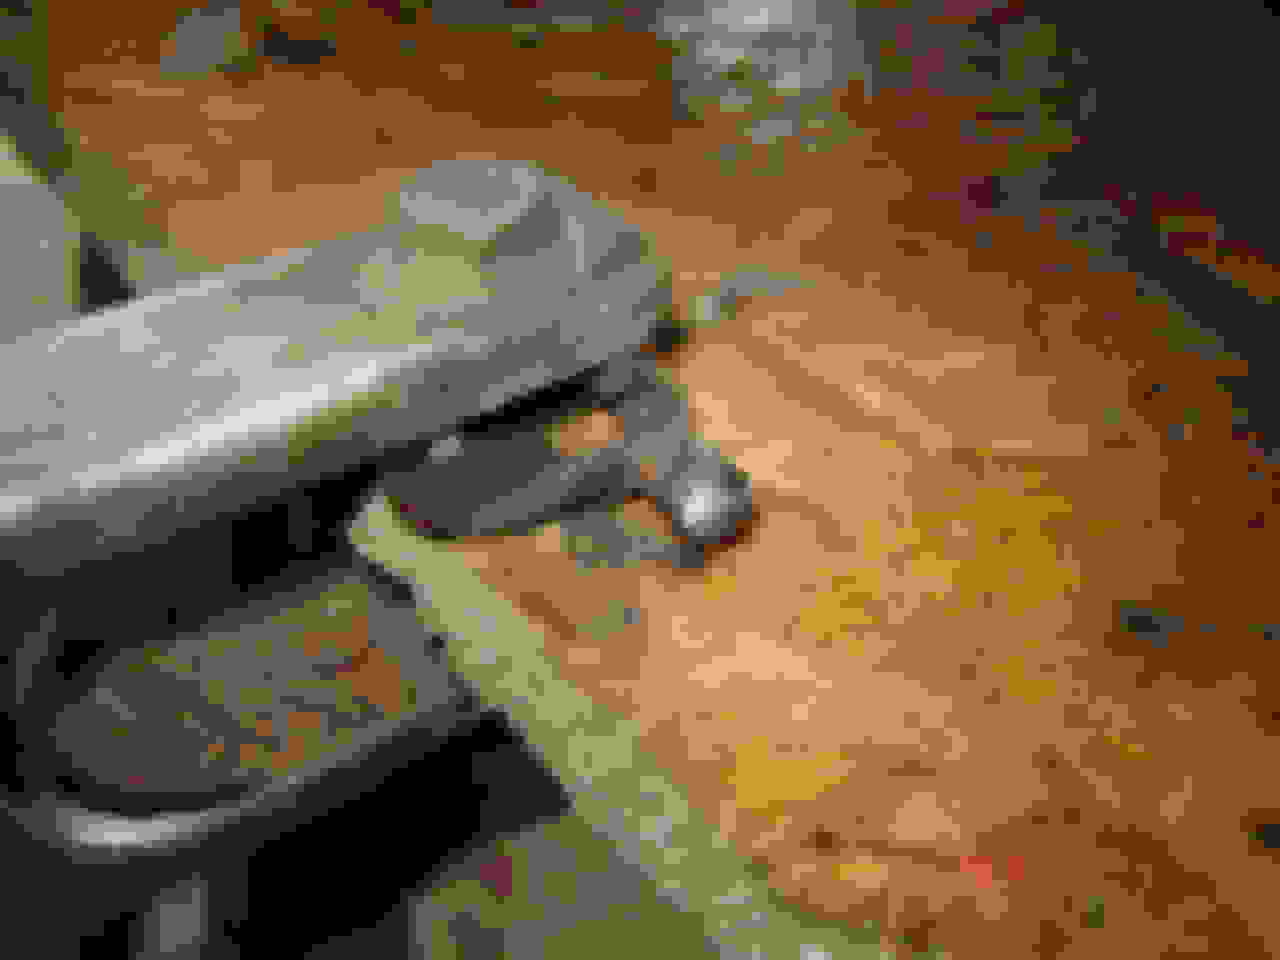
In this picture the part labeled #2 rotates and pushes on the latch to slide it open. The arrow points to the point where part #2 and the latch touch. Part #1 just seems to be a filler piece. Lets call part #1 the spacer and part #2 the cam.
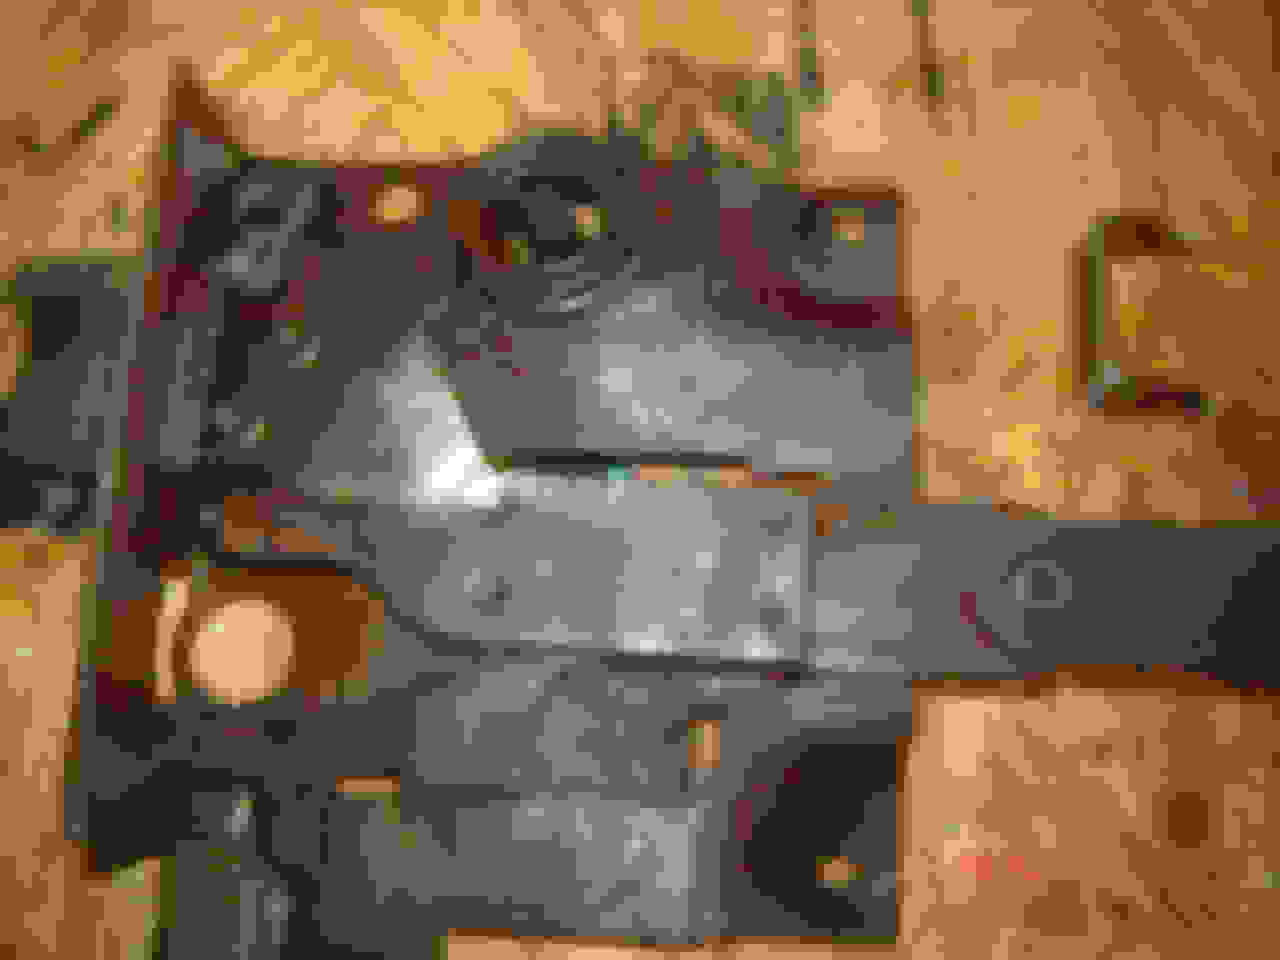
Here are the spacer and cam removed, first problem is that the contact point on the cam is heavily worn.
Next problem the contact point on the latch is completely gone. You can see the marks on the latch body where the cam was rotating, but there is nothing for it to push on. That tab on the latch should be extending all the way down to the latch body, it is about 1/8' short.
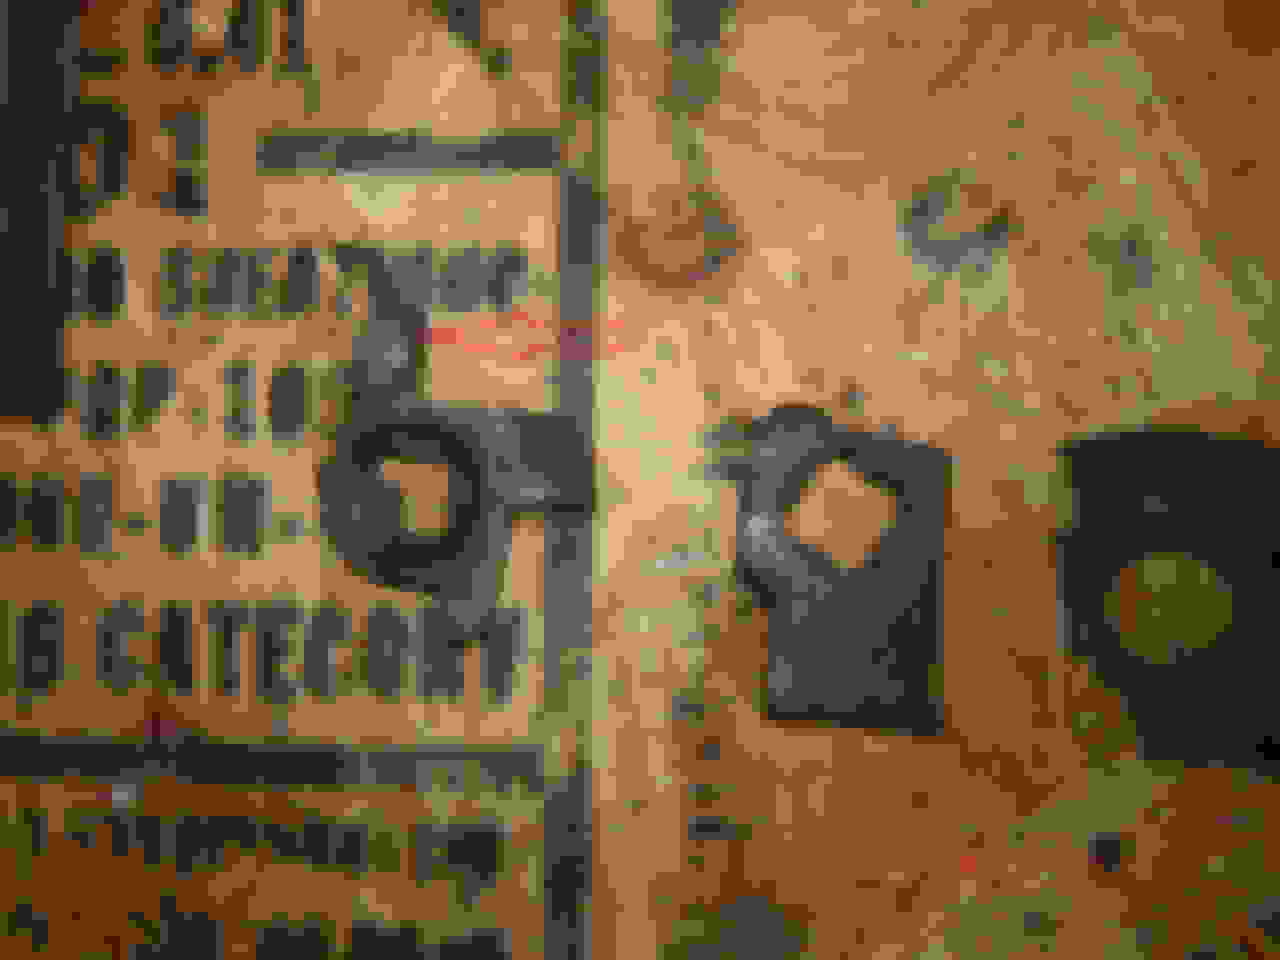
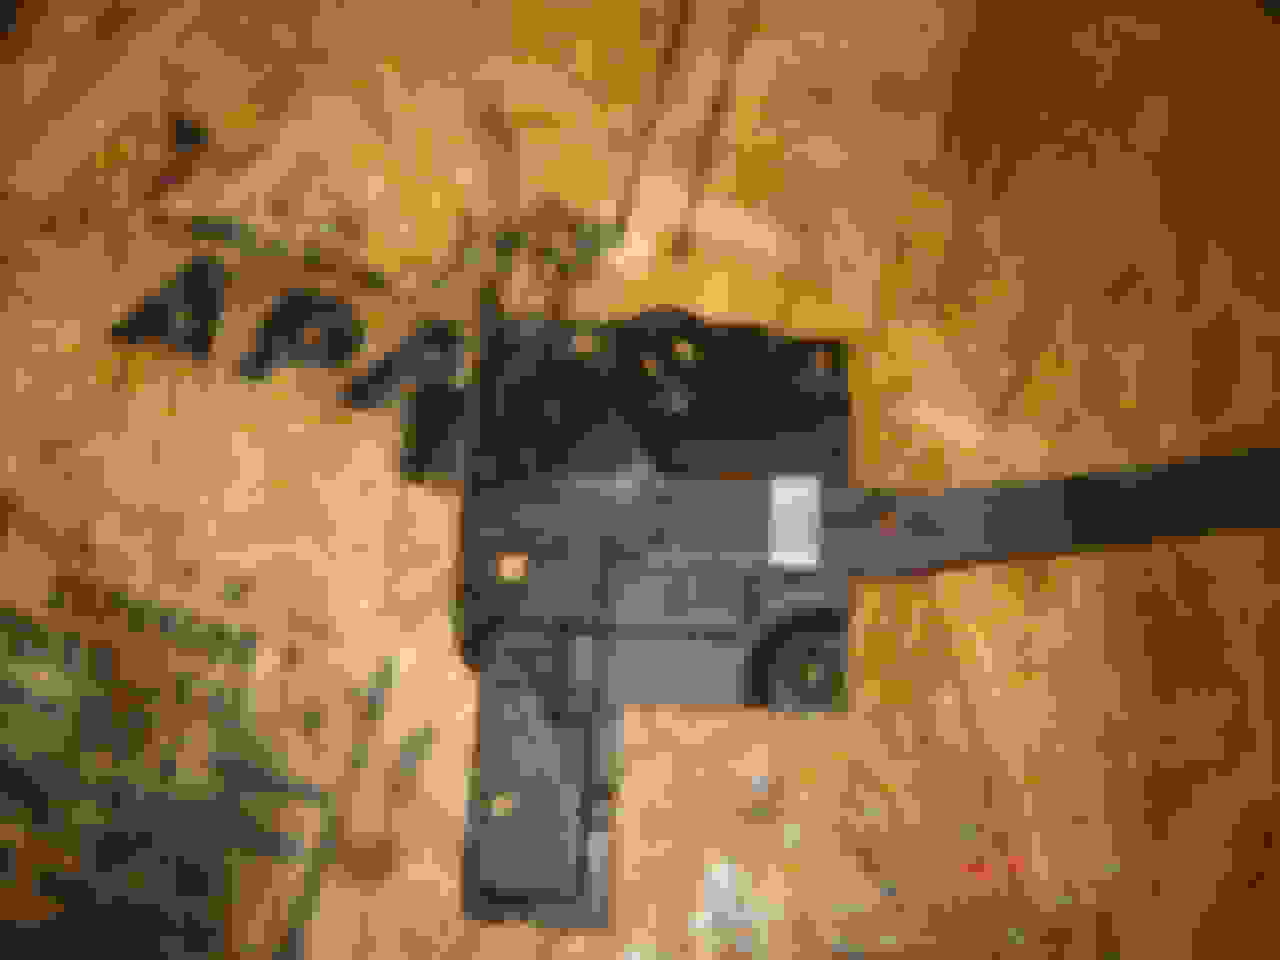
So to remove the latch the tabs marked with red circles are pried back and the clamp removed.
Another look at the tab on the latch which is much shorter than it should be.
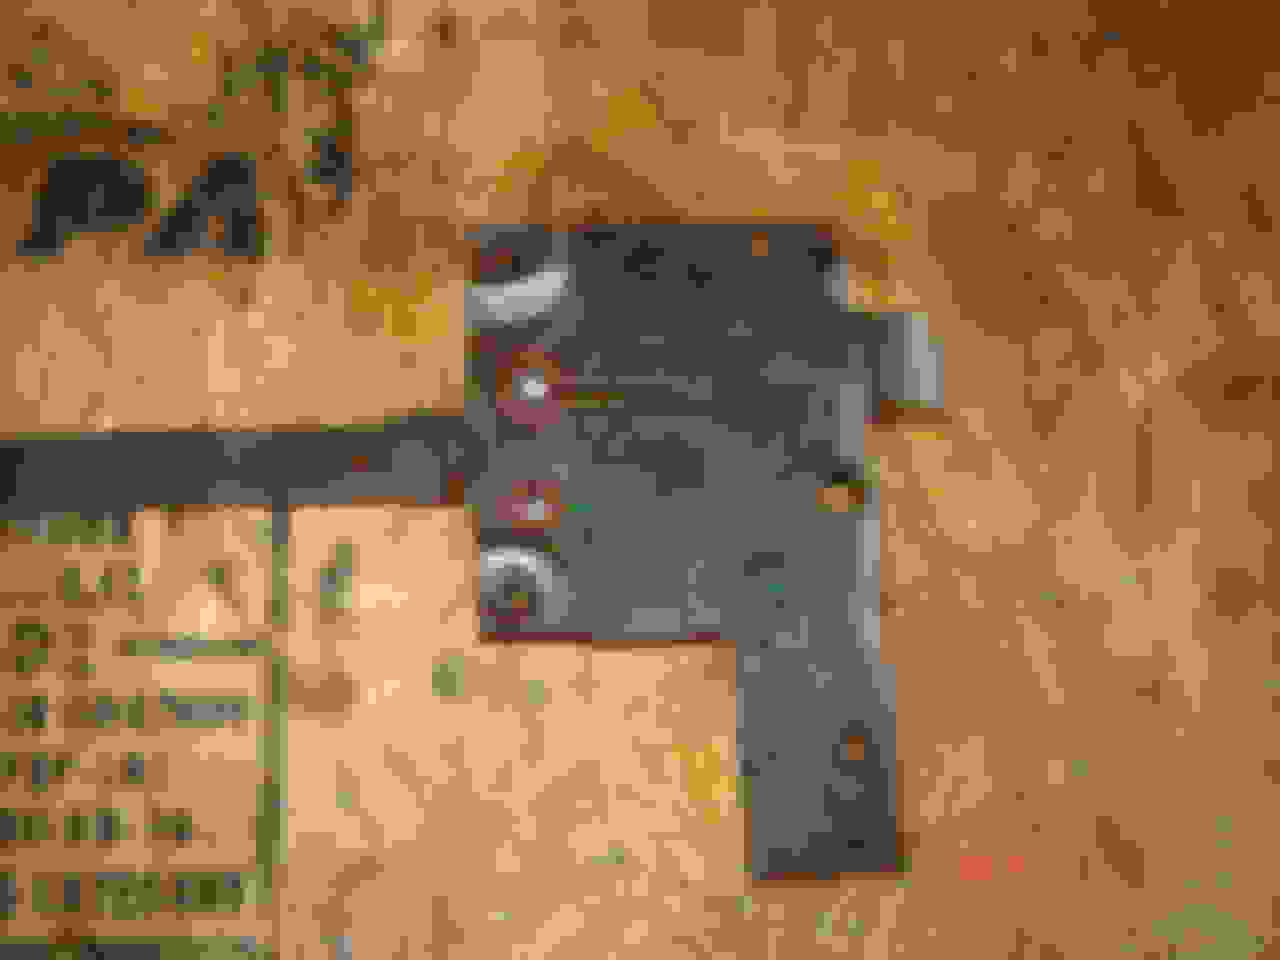
Latch welded up
Contact point on the cam welded up
Welds were cleaned up and now the dimensions were back to normal. Pieces reassembled and tested. Also sprayed with lithium grease after the picture was taken.
By welding up the wear on the cam and latch there is now no slop at all in the latch, turning the handle immediately moves the latch. An no more slop means no more sagging handles either!
Still have to do the drivers side, I will get more detailed pics if needed with that rebuild.
Good work and post! Interesting that Ford used a screen door type door latch and assembled it with tabs like a prewar tin toy. Ol Henry wasn't into high tech.
Great how to thread. the locks have always scared me and I was afraid to dis assemble mine, so I did the heat and twist thing to take up the slop which worked but is only a band aid. With this step by step, I think I can actually repair mine and replace the now twisted handle shafts. Thank you for taking the time to document each step in a way I can understand.
Dave, if I send a box to your address 'in a barn', do you think the postal service will find you?
Will trade moose meat and fresh honey from my bees for a little welding repair on my latches. Just need to know how to find you.
Thanks guys, hope this helps! I know it is a common issue, and I wouldn't be surprised if the used ones for sale would need similar repairs anyway. May as well fix what you have if possible.
The tabs are tough and need some muscle to bend back. To get them moving I set the latch on a 6x6 block of wood and bent them back by wedging a cheap sharp screwdriver behind them. Hitting the screw driver with a 5lb hand held sledge hammer got them started and then I used a punch and the sledge to get them straight.
Harbor freight screwdrivers do have a purpose
Tom I am sure the PO will find me, just address it to the hoarder in NY
I completely missed this thread and just posted in another. I thought my problem was the cross shaped filler piece.. Looks like I'm missing a good bit of metal on my pawl. Time to break out the welder
Thanks guys, just glad to help out, I have gotten a ton of help from the group so it feels good to at least contribute something.<p>
Just as a followup I installed the latch today, works great, no handle sag and the door opens and closes nicely. <p>
Next will be the drivers side, but today I am doing more sheetrock on the ceiling in the shop.
 11-01-2015, 02:31 PM