Replacing the front shocks
#1
 07-24-2015, 11:06 AM


Replacing the front shocks
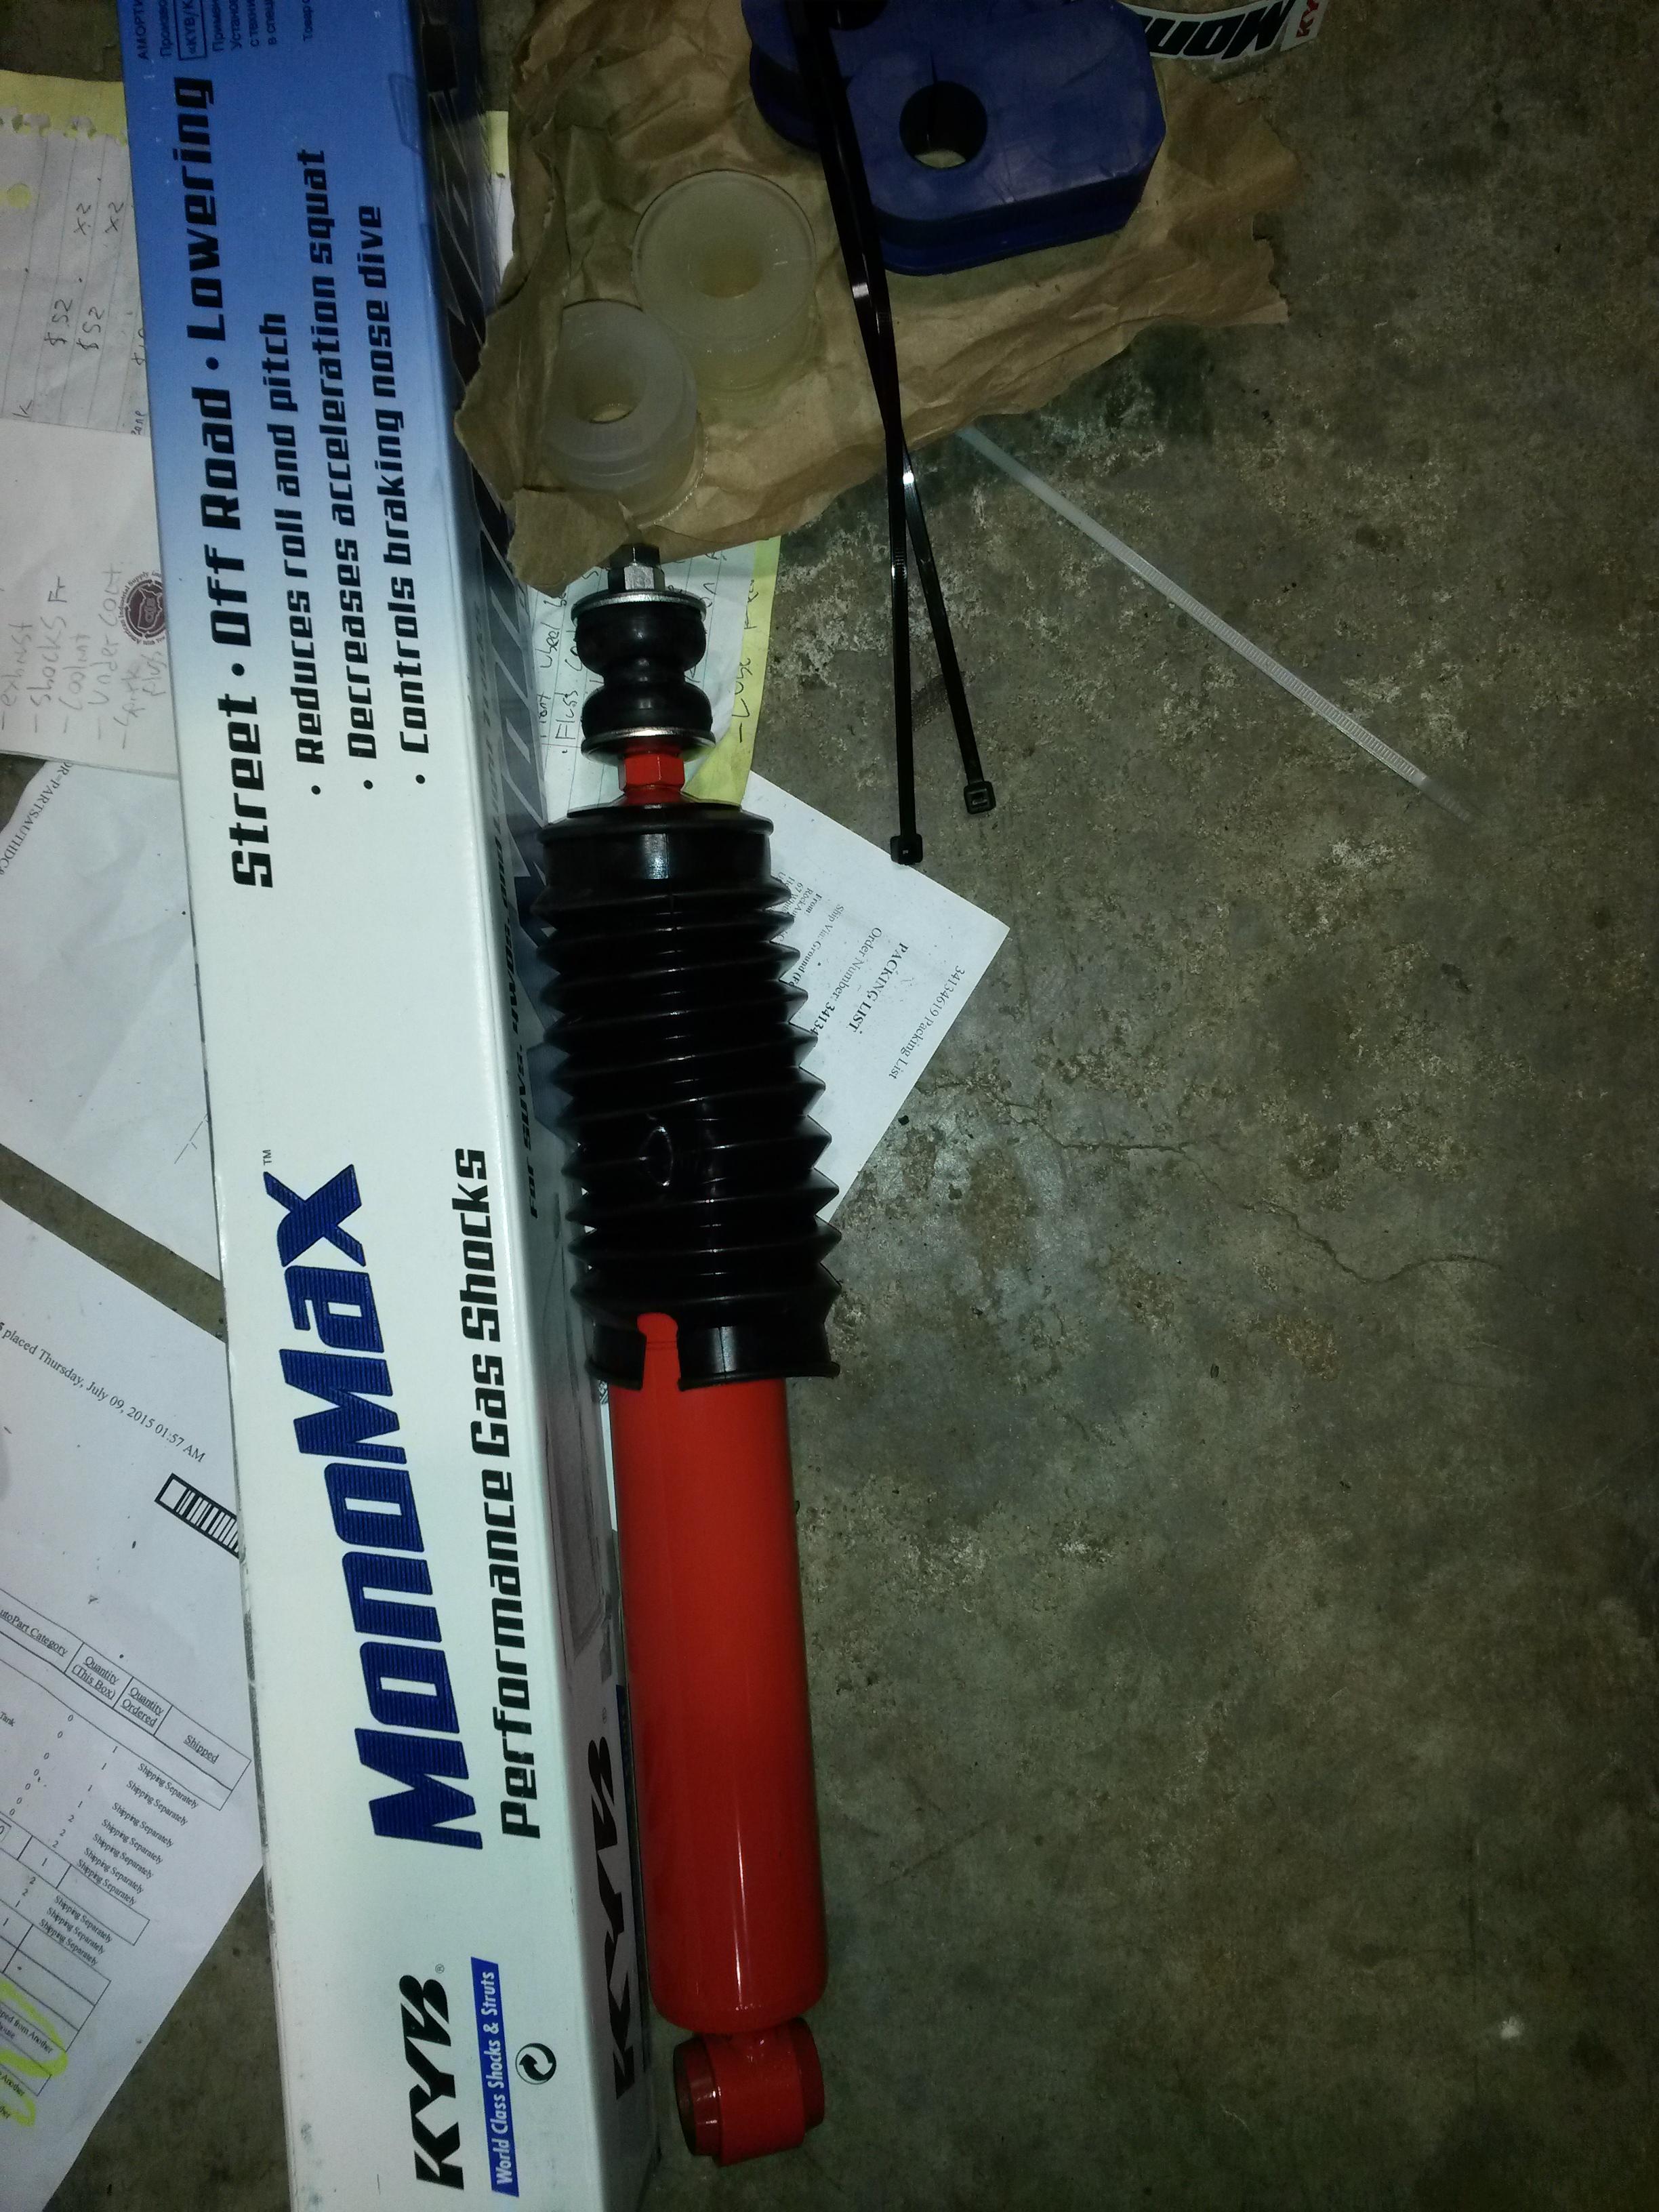
Hey I am in the process of doing the front shocks on a 1999 E350. First of all, this is my first time buying KYB shocks, wanted to say they look alot like a Bilstein for half the price.
Anyways, the driver shock is alot tougher to get to the top nut. Is something wrong here? Passenger side is easy.
Can reach in and grab the not nut no issues:
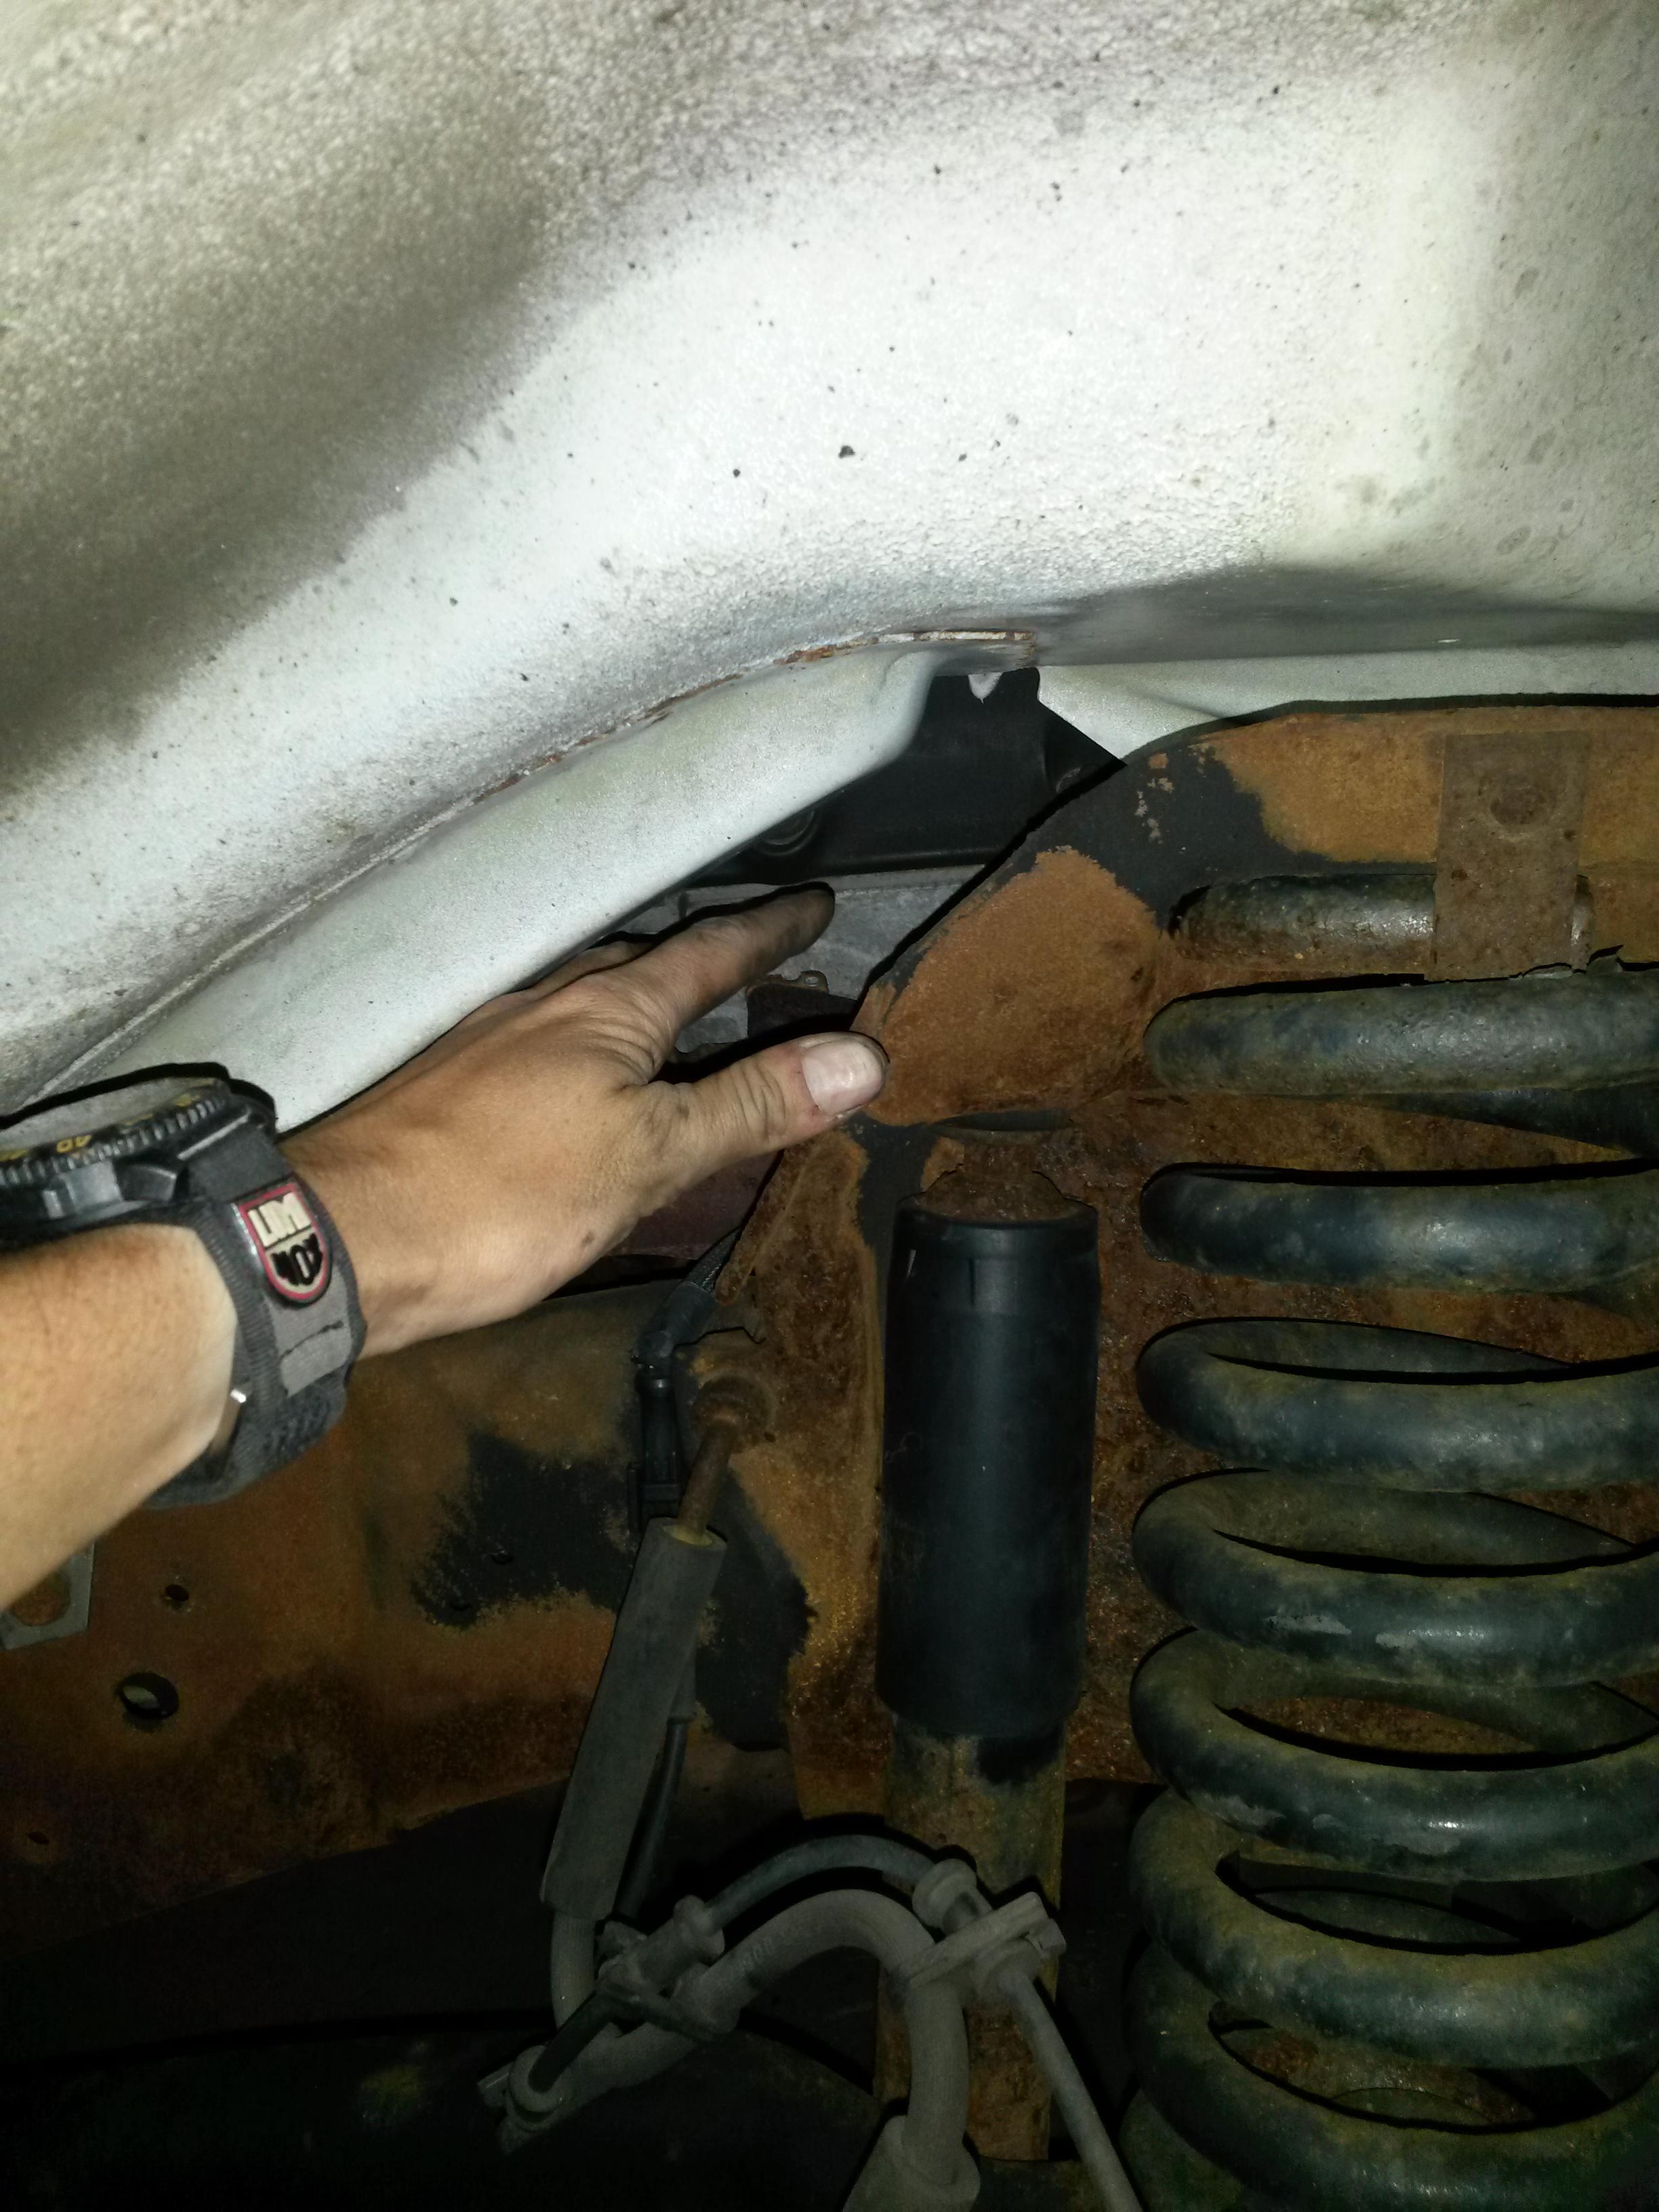
What to do on the driver side? I may just sawzall it because there is no way to get leverage.

Also, first time I have ever seen post mount shocks on a solid rear axle vehicle!
Thanks for any tips.
Anyways, the driver shock is alot tougher to get to the top nut. Is something wrong here? Passenger side is easy.
Can reach in and grab the not nut no issues:
What to do on the driver side? I may just sawzall it because there is no way to get leverage.
Also, first time I have ever seen post mount shocks on a solid rear axle vehicle!
Thanks for any tips.

#3
07-24-2015, 02:27 PM
Austin,
Front shock replacement is a pain on the driver's side. I was able to sneak a flex head ratchet with a deep socket onto the stem nut and use an open end wrench on the visible fixed nut flats on the bottom of the rubber isolator to loosen/tighten the shock. It looks like the KYB units have the same setup so you should be good to go. Once loose, grab the upper sleeve of the shock and loosen them by hand. I have also seen people relieve the ear on the tower around the upper bolt for wrench access, but it isn't necessary in my opinion.
Scott
#4
07-24-2015, 02:52 PM

KYB's have traditionally been a Japanese copy of Bilstein shocks in terms of construction. I put some on an FJ40 Land Crusher back in 1987 and they were really well made and firm. They do make different model shocks; the old high end ones where white with red stripes and were called Gas-A-Just or something like that....
My van got Monroe Reflex shocks when Sears was having a free installation special. I don't work on heavy stuff any more since I got 8 screws and 3 rods in my spine in 2011.
Hope it goes well for you,
George
My van got Monroe Reflex shocks when Sears was having a free installation special. I don't work on heavy stuff any more since I got 8 screws and 3 rods in my spine in 2011.
Hope it goes well for you,
George
#5
07-24-2015, 10:40 PM
Thanks for the tips. I do have a 1/2" Williams flex head, Ill see if it will fit. Did not even see the lower nut! These are definitely the factory shocks, neither the F250 nor the Jeep Cherokee I did shocks on last had those lower nuts factory.
My usually HD go to replacement shock is the Monroe Gas Magnum. Made in USA, but they do start to rust at the seems pretty quick. These seem to be more durable. Got them because I heard they are pretty stiff and I am trying to reduce sway. They are made in Japan. $51 each.
Front:
More Information for KYB 565014
Rear:
More Information for KYB 565010
Seems that the gas-a-just are also monotube, but they are cheaper. Probably better for a half ton. Says the shocks fit 92-07 Econolines, but double check.
#6
07-25-2015, 06:17 AM


When switching front shocks us DIY's would be best advised looking for the mono tube design that includes large wrench flats just below the upper stud, like Bilstein for example. Those are extremely handy when swapping them out as its vastly easy grabbing those flats with a suitable open end wrench to remove the upper nut without contorting oneself needlessly.
At least that's my approach.................
#7
07-25-2015, 02:26 PM
The Red KYBs are monotube. I have bilsteins on my jacked up Jeep Cherokee, and the construction is very similar.
Today was not a very good day. This van is in the salt belt, but it is not driven much at all in the winter. STILL I had to cut the top stem of the shock with a sawzall. Got the nut half way it it became very difficult. Soaked everything with PB starting last week. Also, snapped the bottom stud. Even heated it up with a MAP torch.
And dont even get me started on the inner sway bushings. I think I am going to pull the steering tie rods to get a straight shot them. Tried prying, heating, drilling and the still come out in small chunks. Going to try pounding a socket through.
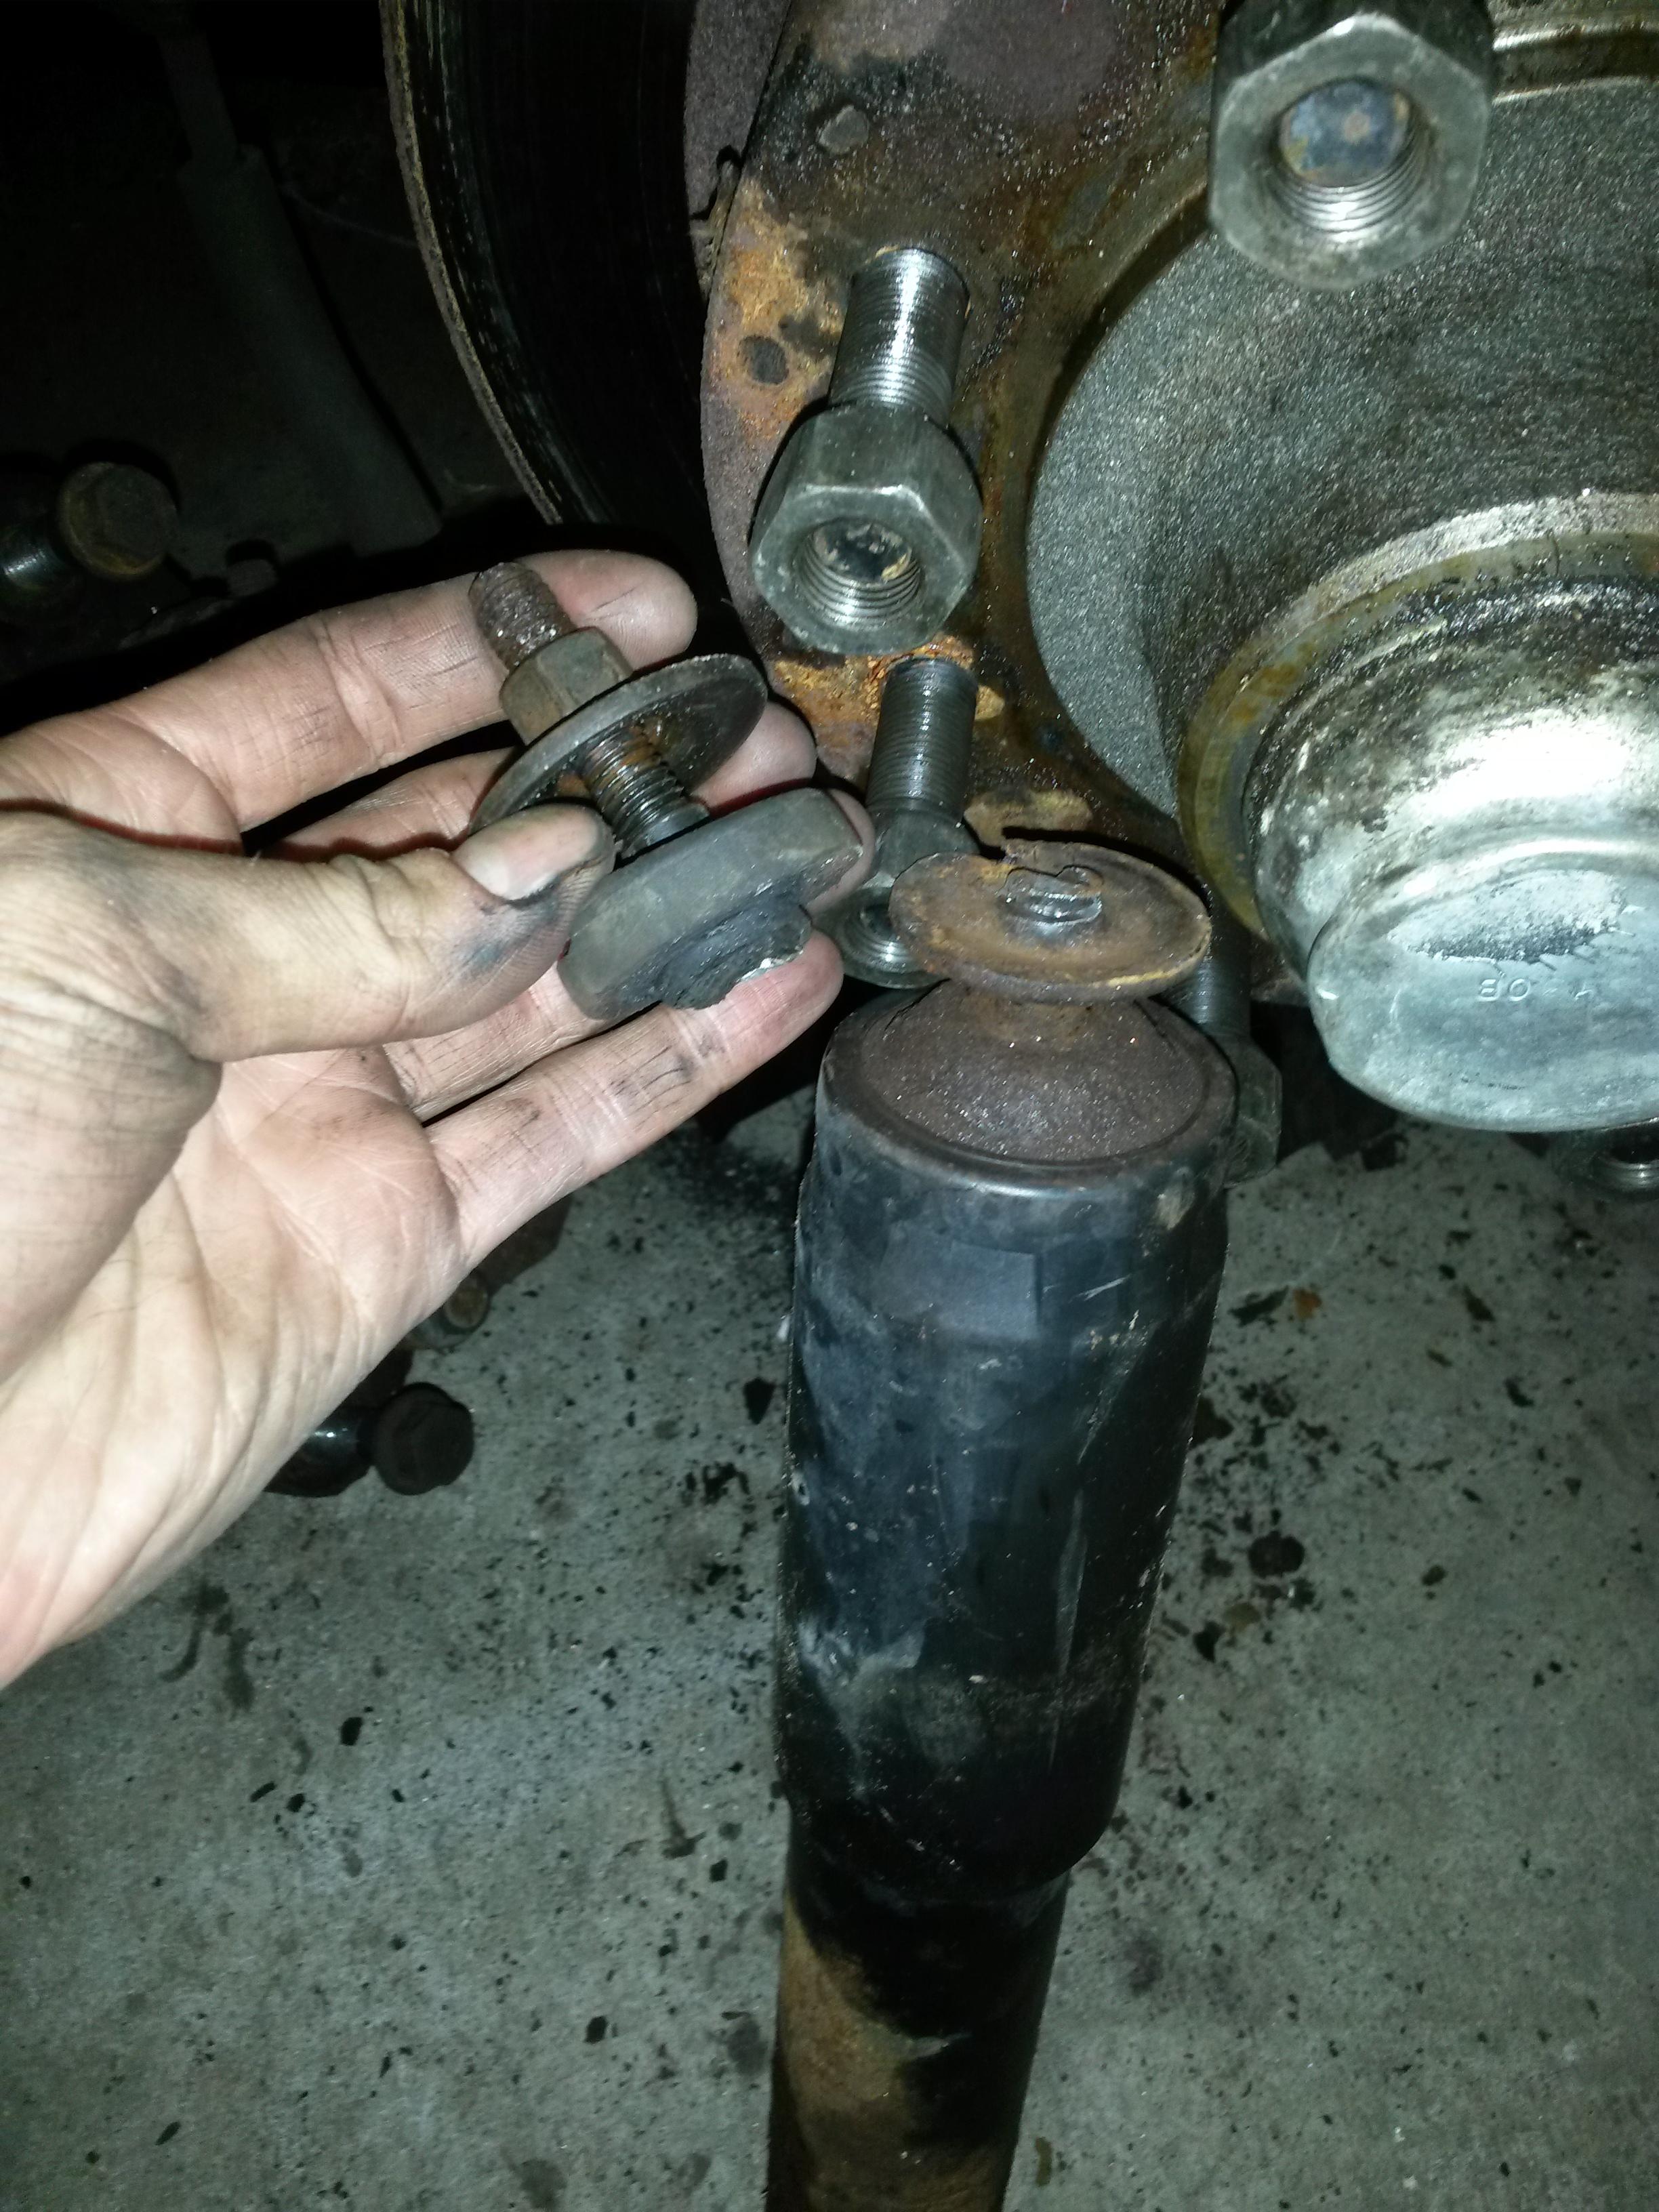
SO, is that stud pressed in, or screwed in? Im thinking my best option would be to drill it out and put in a 10.9 grade bolt with a few washers on either side of the shock bushing.
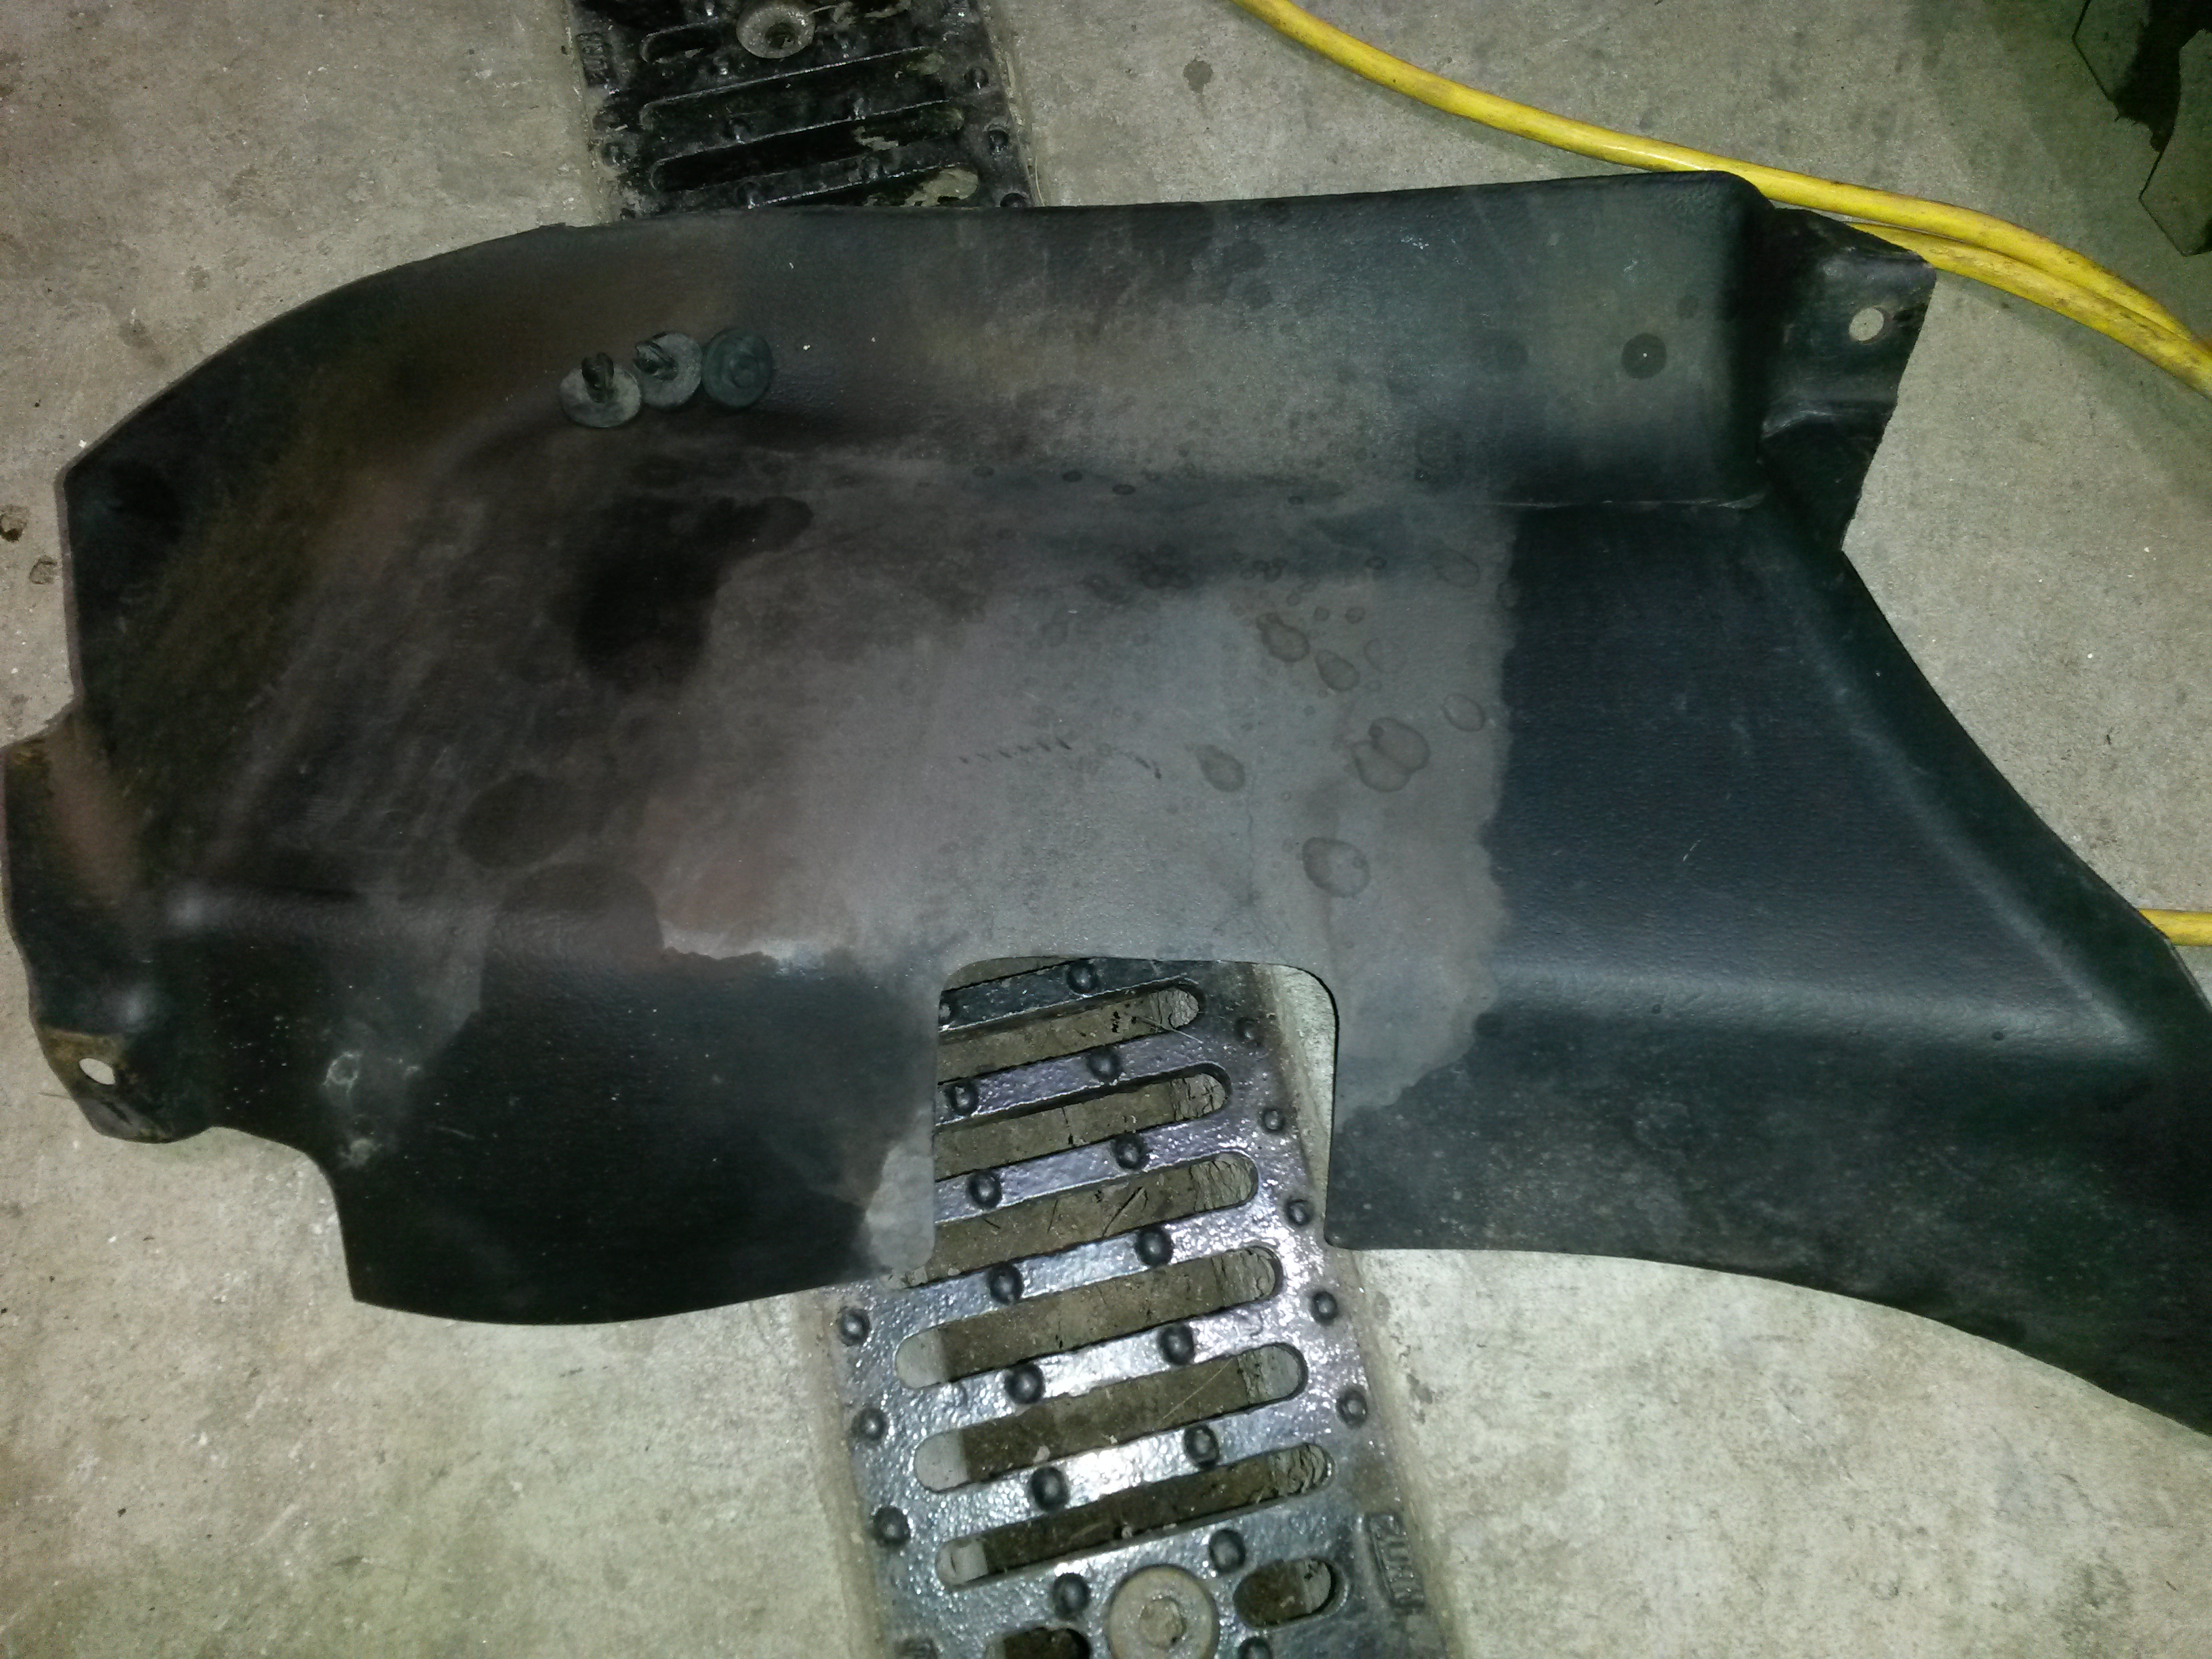
Also, does this cover do anything? Im trashing it.
THANKS
Today was not a very good day. This van is in the salt belt, but it is not driven much at all in the winter. STILL I had to cut the top stem of the shock with a sawzall. Got the nut half way it it became very difficult. Soaked everything with PB starting last week. Also, snapped the bottom stud. Even heated it up with a MAP torch.
And dont even get me started on the inner sway bushings. I think I am going to pull the steering tie rods to get a straight shot them. Tried prying, heating, drilling and the still come out in small chunks. Going to try pounding a socket through.
SO, is that stud pressed in, or screwed in? Im thinking my best option would be to drill it out and put in a 10.9 grade bolt with a few washers on either side of the shock bushing.
Also, does this cover do anything? Im trashing it.
THANKS
Trending Topics
#8
07-25-2015, 02:42 PM
#9
07-25-2015, 07:08 PM

Been there.......done that.......
Drilling out the control arm for a new 5/8" bolt, grade 8, is the easy way to solve that snapped off bottom stud.
New bolt, spacer (couple of nuts) and attach the shock, with couple washers, and final nut.
Also, one of the reasons I use Gabriel shocks is to get the nut below the rubber bushings to get a wrench on the body and have a wrench just "holding" the top nut.
And totally agree that the drivers side shock it a Pita to get change out.....
Your sway bar bushing are pressed in, if you can, torch them out, if not, cut into one side, and take a cold chisel and fold it in for removal.
There are some write ups here on how to "press" in the new bushings, with some large sockets and some all-thread rod (which is how I've done them)
#10
07-25-2015, 07:14 PM
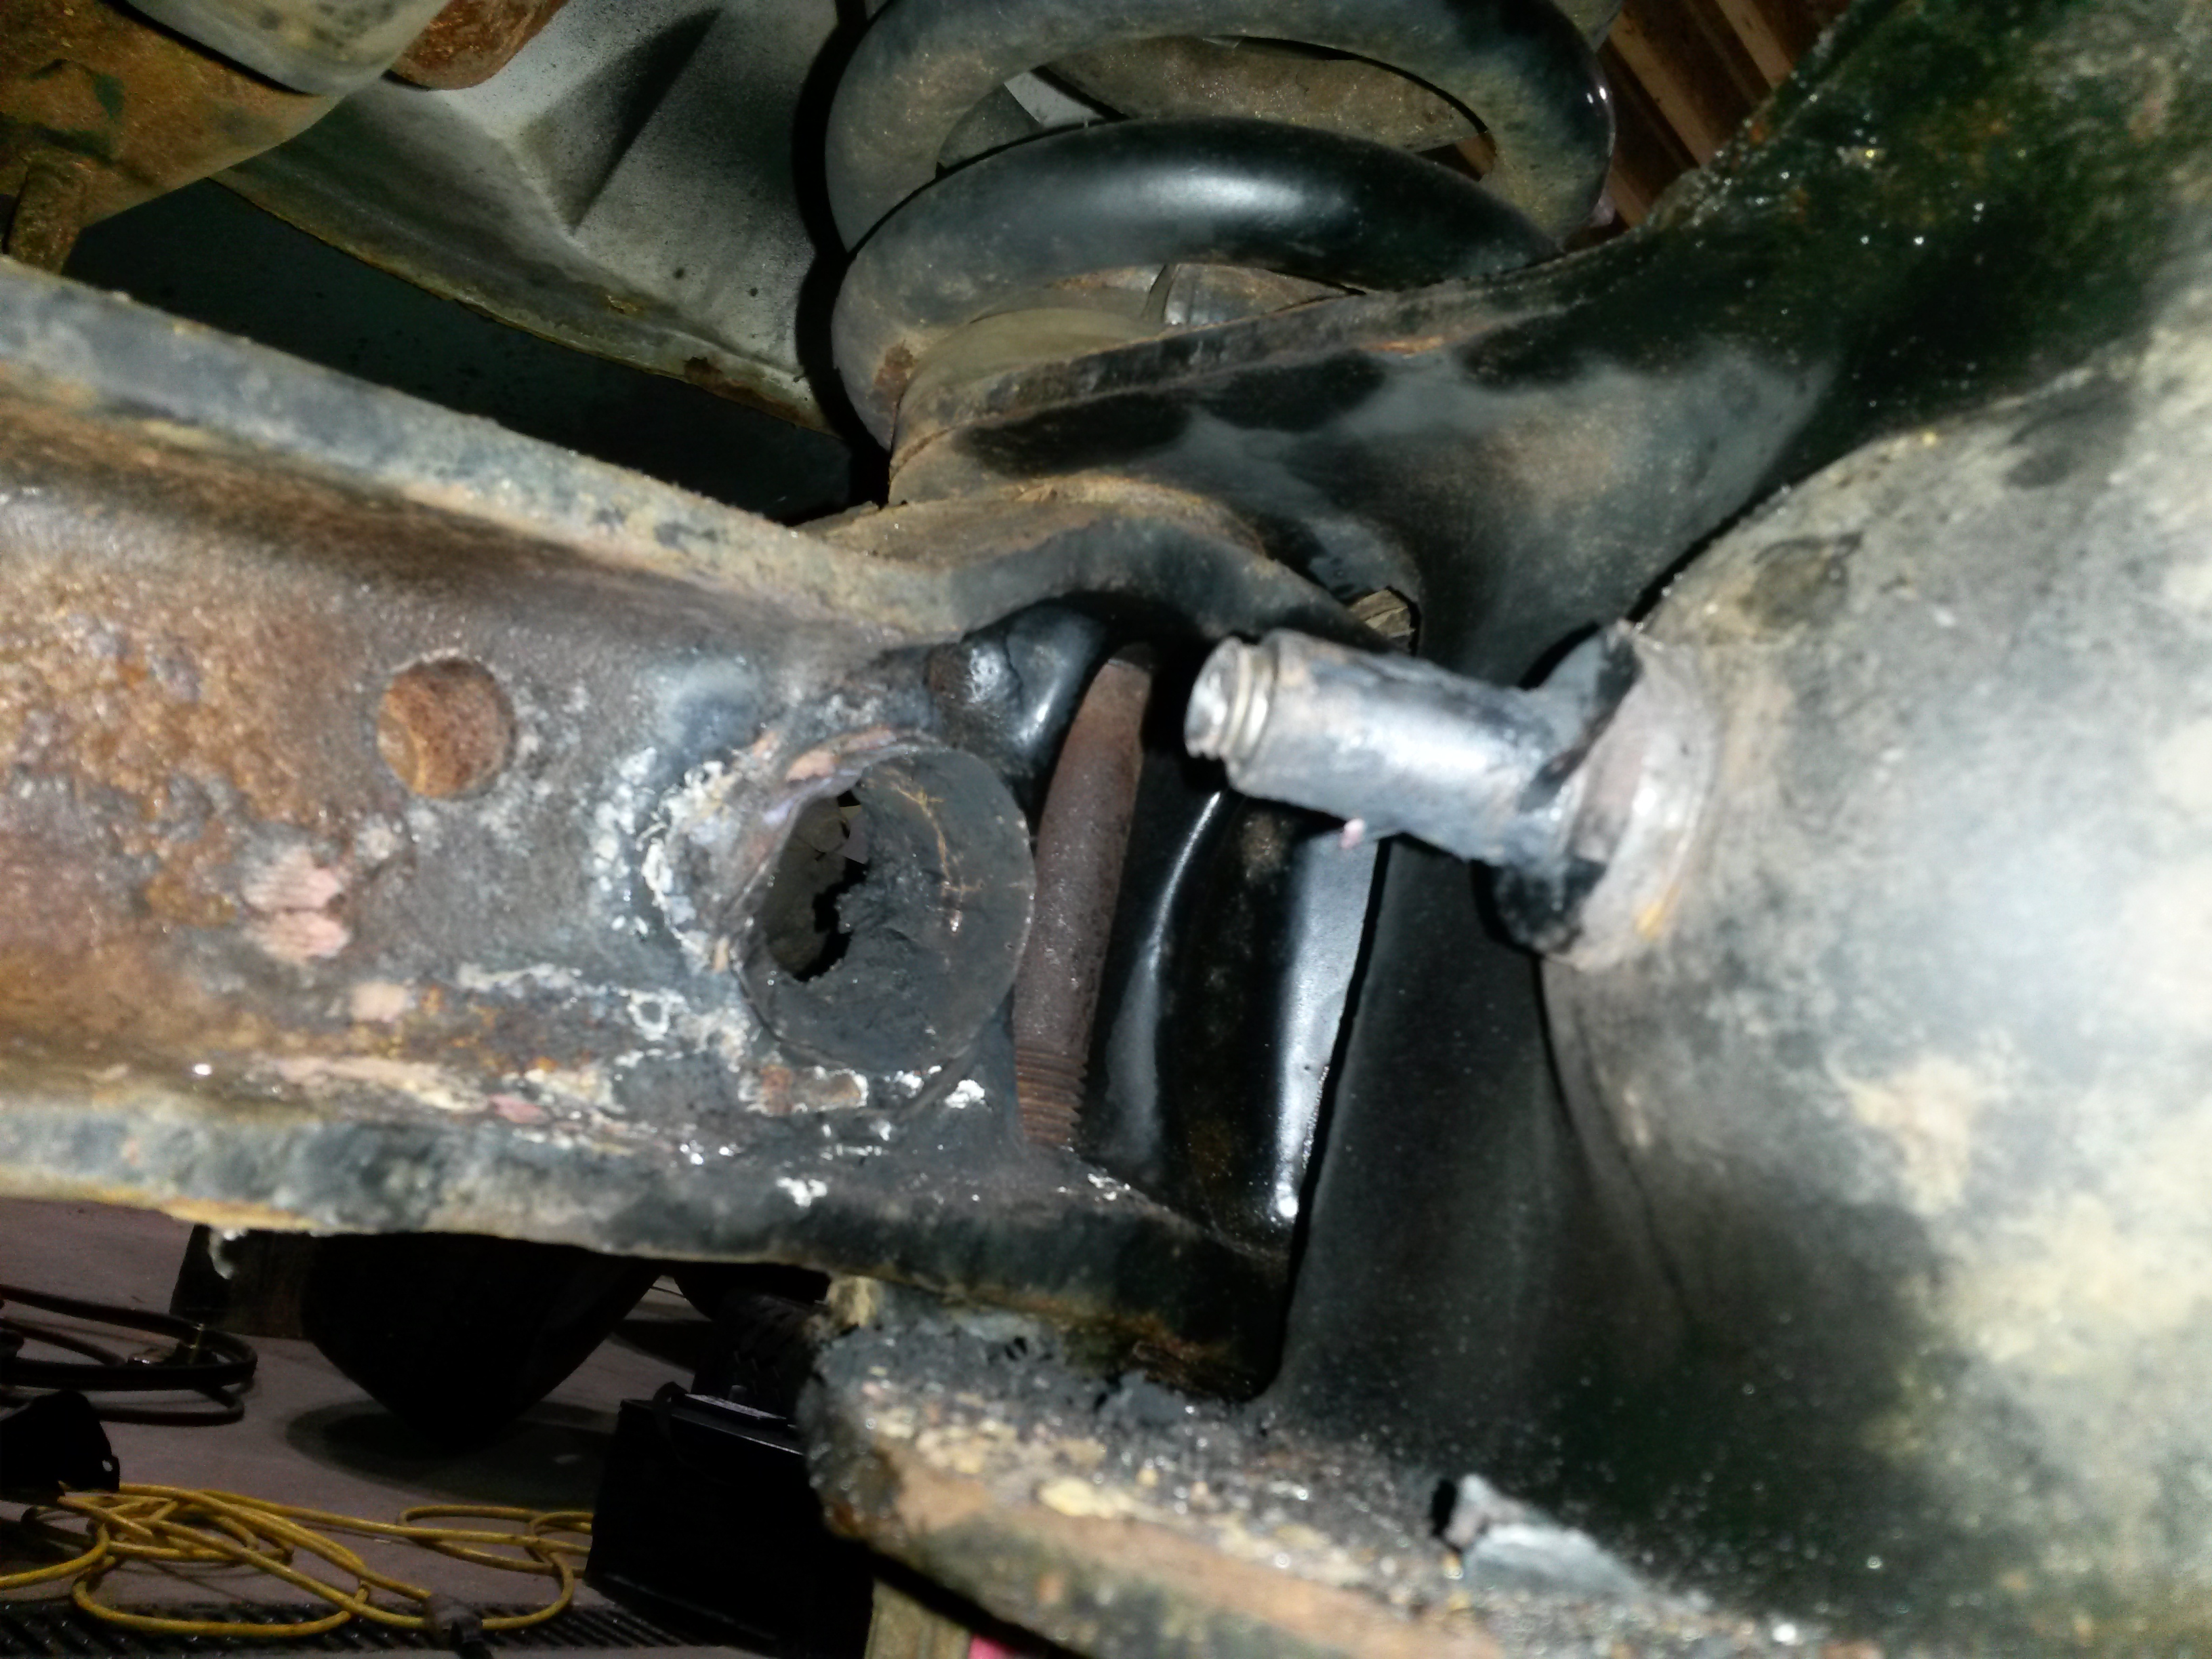
Well then, after breaking 2 bits trying to drill the stud out, I tried to heat it up and pop it out with an air hammer. No go, its on there very tight. Ended up slicing the stud off with an Oxy- Acetylene torch and then punching out the remainder carefully. I then drilled it with a 5/8" bit and ground it smooth.
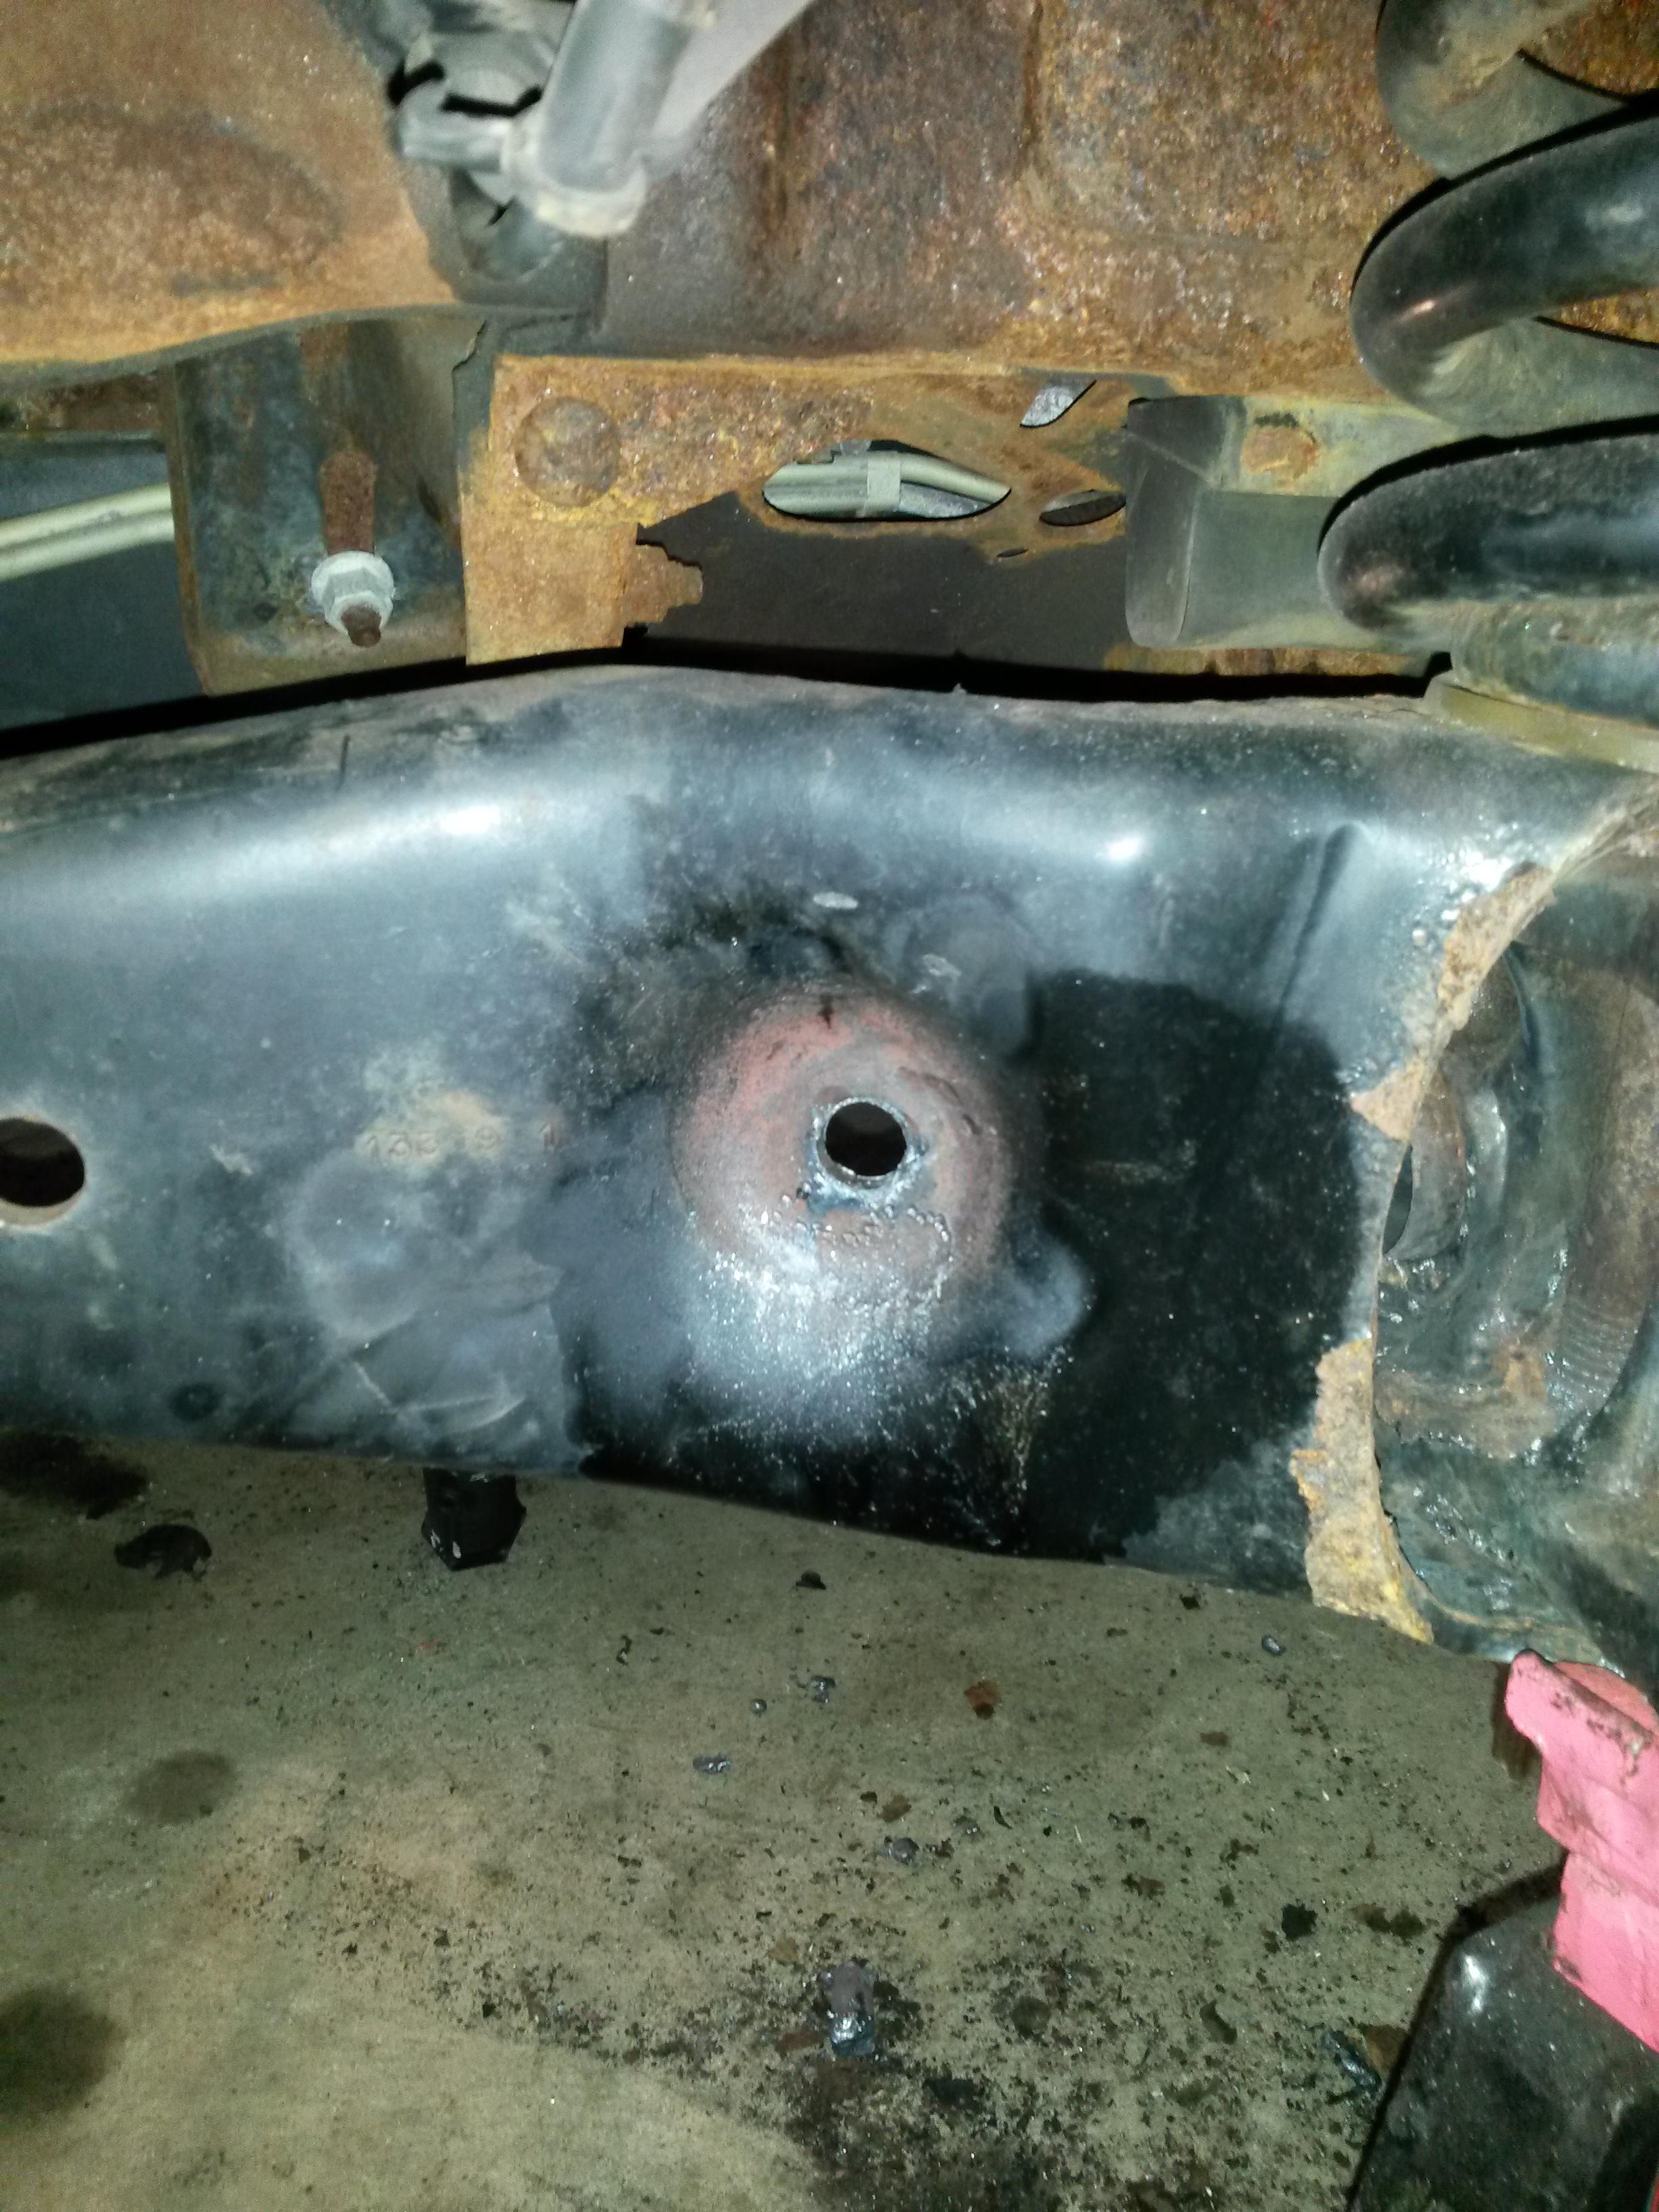
Backside:
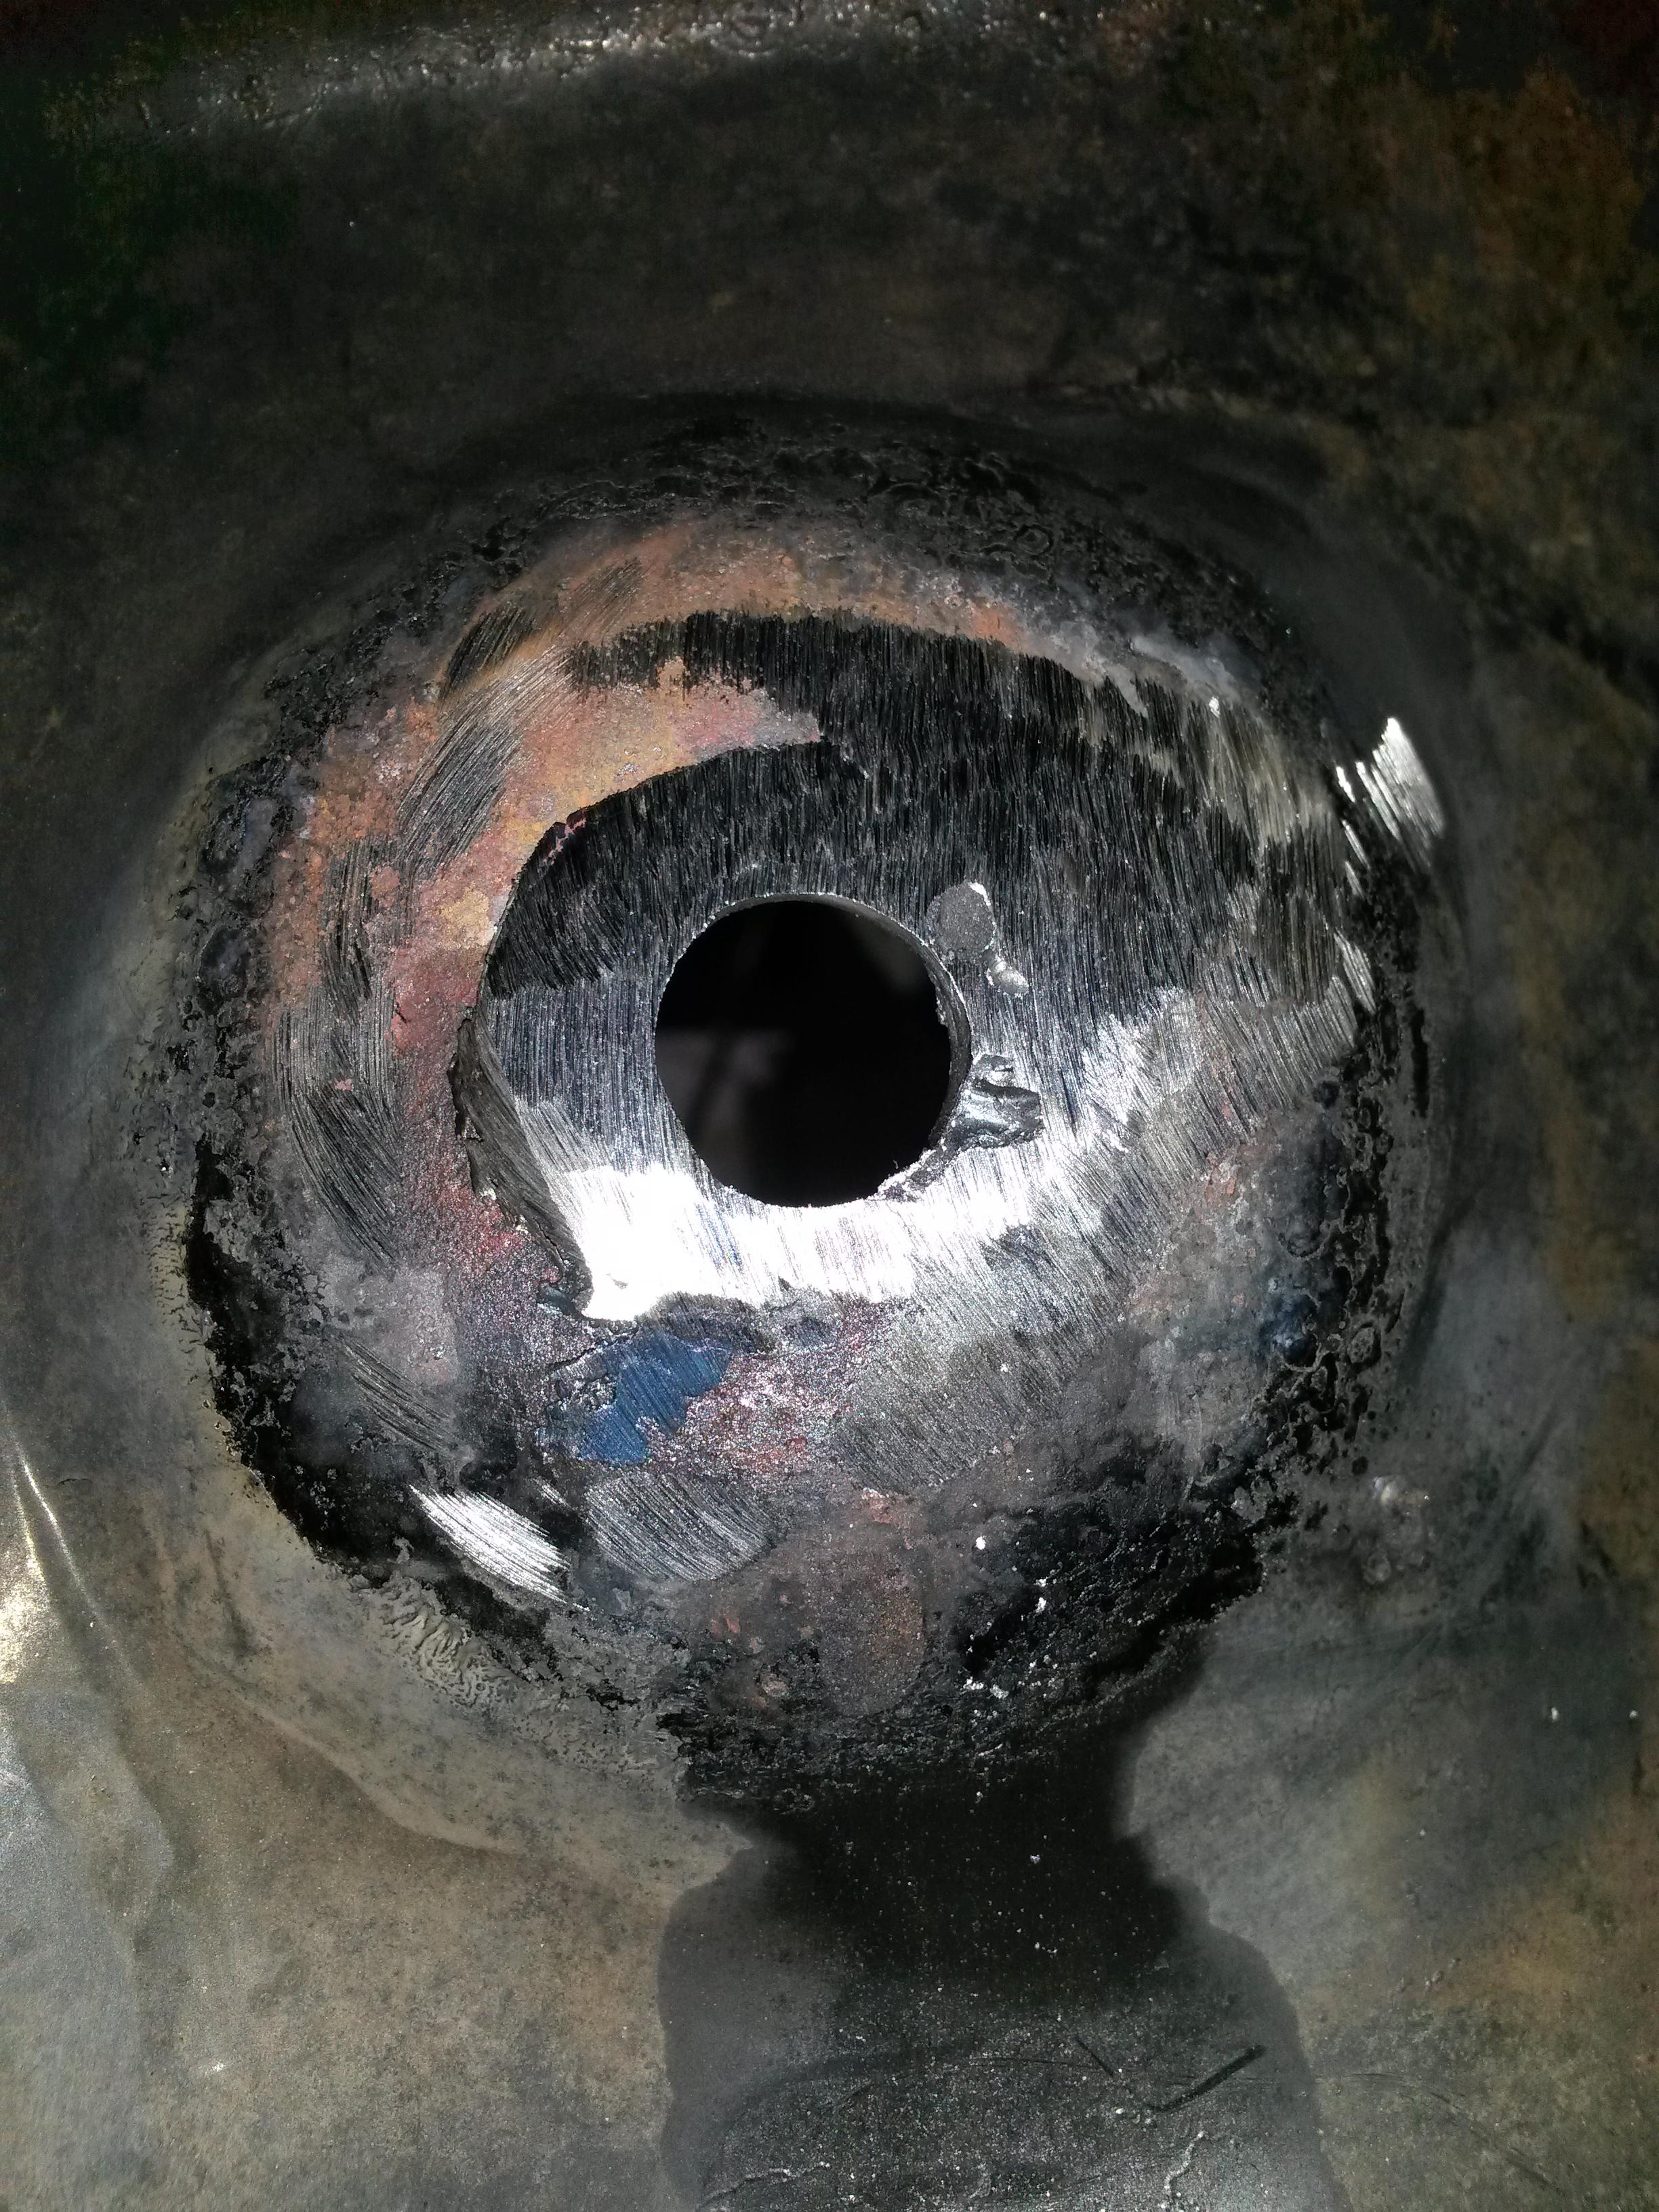
5/8" is a snug fit
The driver side lower came out no problem. You really need to heat that nut up hot, and hit it with some PB blaster a few times. Then work it back in forth as you remove it. The top nut is 15mm, the bottom nut (and lower nut at the top) are 18mm. Ended up cutting the driver side off too as there is just no damn room at all.
http://www.justanswer.com/ford/28y73...ide-front.html
The OEM procedure is a joke, medium depth socket? They could have easily given another 1.5" of clearance stamped into the inner fender. Like I have read many times, short is too short, and long does not give you enough room to install a ratchet. To put the new one on the plan is to install the upper stem first and hand tighten the nut. Then get a 15mm box wrench on it. Then tighten it using the bottom nut. The last step will be to bolt it to the control arm.
Anyways hope this helps somebody.
Backside:
5/8" is a snug fit
The driver side lower came out no problem. You really need to heat that nut up hot, and hit it with some PB blaster a few times. Then work it back in forth as you remove it. The top nut is 15mm, the bottom nut (and lower nut at the top) are 18mm. Ended up cutting the driver side off too as there is just no damn room at all.
http://www.justanswer.com/ford/28y73...ide-front.html
The OEM procedure is a joke, medium depth socket? They could have easily given another 1.5" of clearance stamped into the inner fender. Like I have read many times, short is too short, and long does not give you enough room to install a ratchet. To put the new one on the plan is to install the upper stem first and hand tighten the nut. Then get a 15mm box wrench on it. Then tighten it using the bottom nut. The last step will be to bolt it to the control arm.
Anyways hope this helps somebody.
#11
07-25-2015, 07:19 PM
Been there.......done that.......
Drilling out the control arm for a new 5/8" bolt, grade 8, is the easy way to solve that snapped off bottom stud.
New bolt, spacer (couple of nuts) and attach the shock, with couple washers, and final nut.
Also, one of the reasons I use Gabriel shocks is to get the nut below the rubber bushings to get a wrench on the body and have a wrench just "holding" the top nut.
And totally agree that the drivers side shock it a Pita to get change out.....
Your sway bar bushing are pressed in, if you can, torch them out, if not, cut into one side, and take a cold chisel and fold it in for removal.
There are some write ups here on how to "press" in the new bushings, with some large sockets and some all-thread rod (which is how I've done them)
Drilling out the control arm for a new 5/8" bolt, grade 8, is the easy way to solve that snapped off bottom stud.
New bolt, spacer (couple of nuts) and attach the shock, with couple washers, and final nut.
Also, one of the reasons I use Gabriel shocks is to get the nut below the rubber bushings to get a wrench on the body and have a wrench just "holding" the top nut.
And totally agree that the drivers side shock it a Pita to get change out.....
Your sway bar bushing are pressed in, if you can, torch them out, if not, cut into one side, and take a cold chisel and fold it in for removal.
There are some write ups here on how to "press" in the new bushings, with some large sockets and some all-thread rod (which is how I've done them)
Going to torch them! Did not even think about the spacer. Would probably make it a bit stronger too: Bolt through control arm, then a nut, then a wide washer, then the shock, then another wide washer, and finally and external nut. Was a 3" bolt long enough? (if you can remember, i think it is).
OH and I can totally see why any dealership would demand the whole arm be replaced. If I was a trained ford tech I could probably do the arm quicker then go through all of this!
#12
07-25-2015, 07:52 PM
A 3" bolt would be more than long enough.
Been a few years, but I think I used a 2-1/2" long bolt.
And replacing the radius arm, NO, just getting to the front bolt, under the coil spring, and hoping that comes out..........I thing any good Ford tech would opt out for the drilling before pulling the whole radius arm off.......
Your way of torching out the stud is the best way, and while you had the torch out, you should have hit the stabilizer bushing too.......
I know, all this work for something simple.........well, welcome to the Van World
Been a few years, but I think I used a 2-1/2" long bolt.
And replacing the radius arm, NO, just getting to the front bolt, under the coil spring, and hoping that comes out..........I thing any good Ford tech would opt out for the drilling before pulling the whole radius arm off.......
Your way of torching out the stud is the best way, and while you had the torch out, you should have hit the stabilizer bushing too.......
I know, all this work for something simple.........well, welcome to the
Van World
#13
07-25-2015, 08:01 PM
A 3" bolt would be more than long enough.
Been a few years, but I think I used a 2-1/2" long bolt.
And replacing the radius arm, NO, just getting to the front bolt, under the coil spring, and hoping that comes out..........I thing any good Ford tech would opt out for the drilling before pulling the whole radius arm off.......
Your way of torching out the stud is the best way, and while you had the torch out, you should have hit the stabilizer bushing too.......
I know, all this work for something simple.........well, welcome to the Van World
Been a few years, but I think I used a 2-1/2" long bolt.
And replacing the radius arm, NO, just getting to the front bolt, under the coil spring, and hoping that comes out..........I thing any good Ford tech would opt out for the drilling before pulling the whole radius arm off.......
Your way of torching out the stud is the best way, and while you had the torch out, you should have hit the stabilizer bushing too.......
I know, all this work for something simple.........well, welcome to the
Van World
#14
07-25-2015, 08:10 PM

#15
07-26-2015, 01:55 AM
cool man, got a few Jeeps. Currently restoring a 1955 ****** pickup.
Got the rubber out of the I beam.
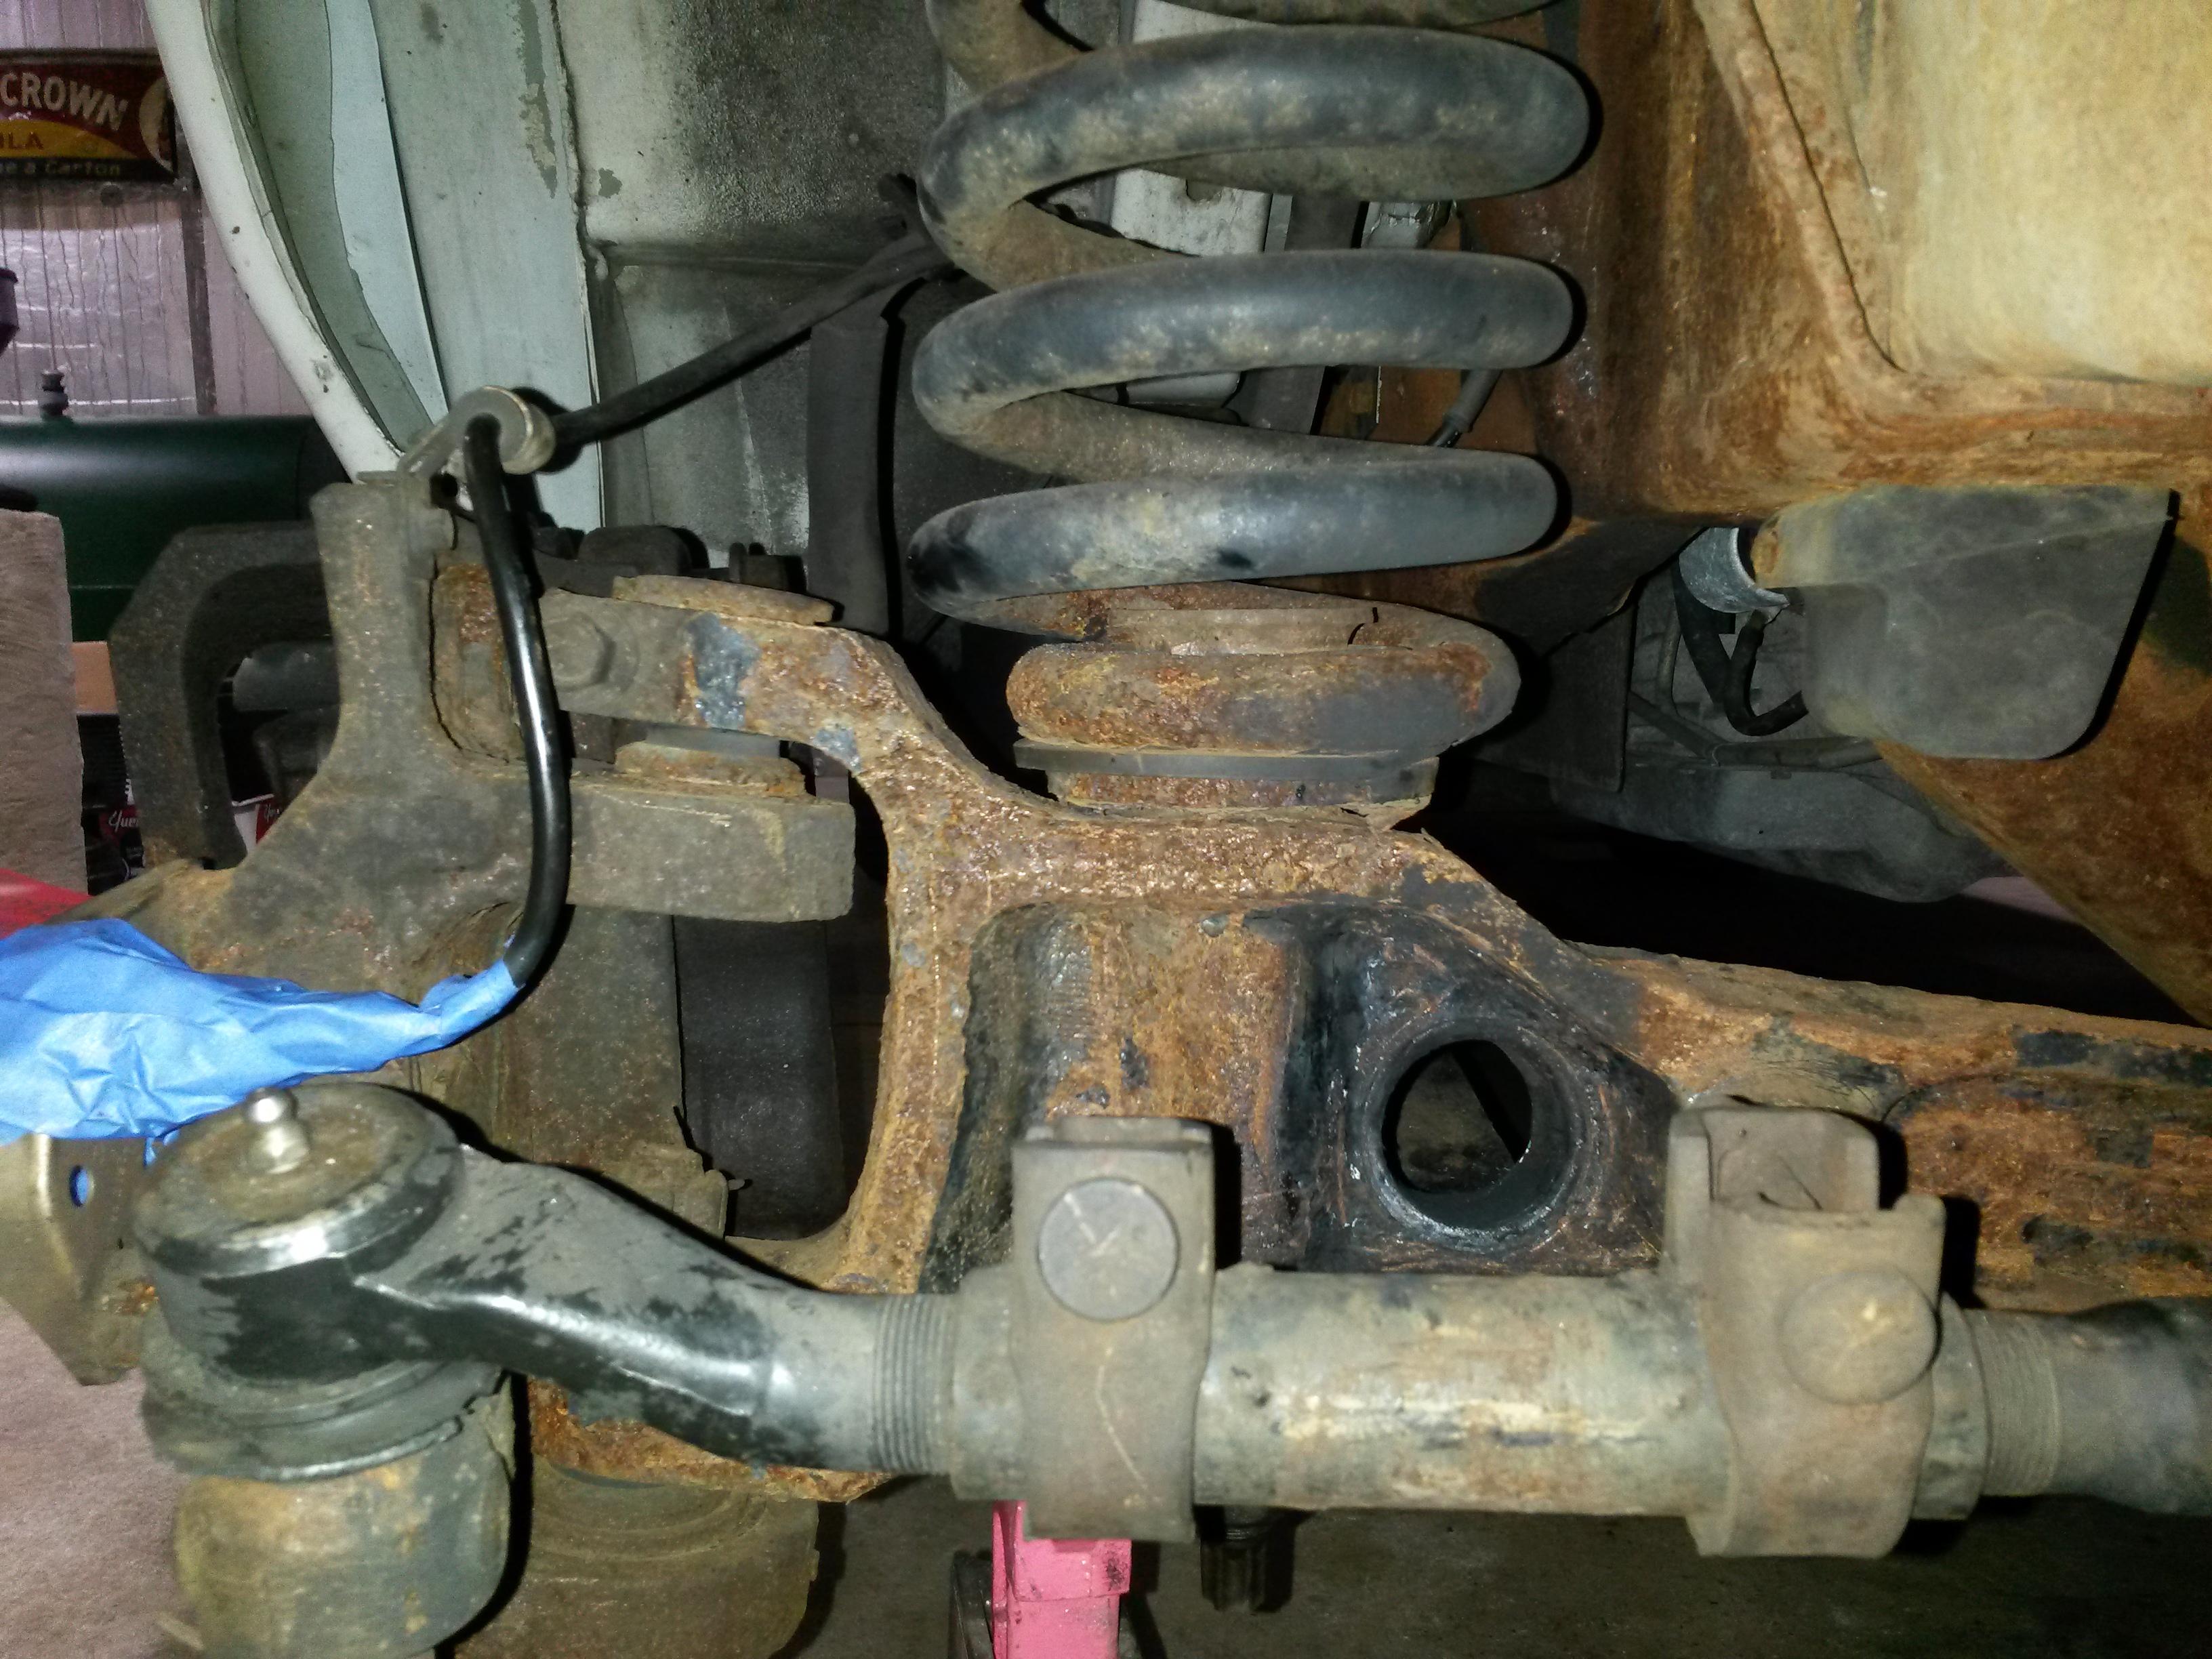
These are the moog poly bushings I have:
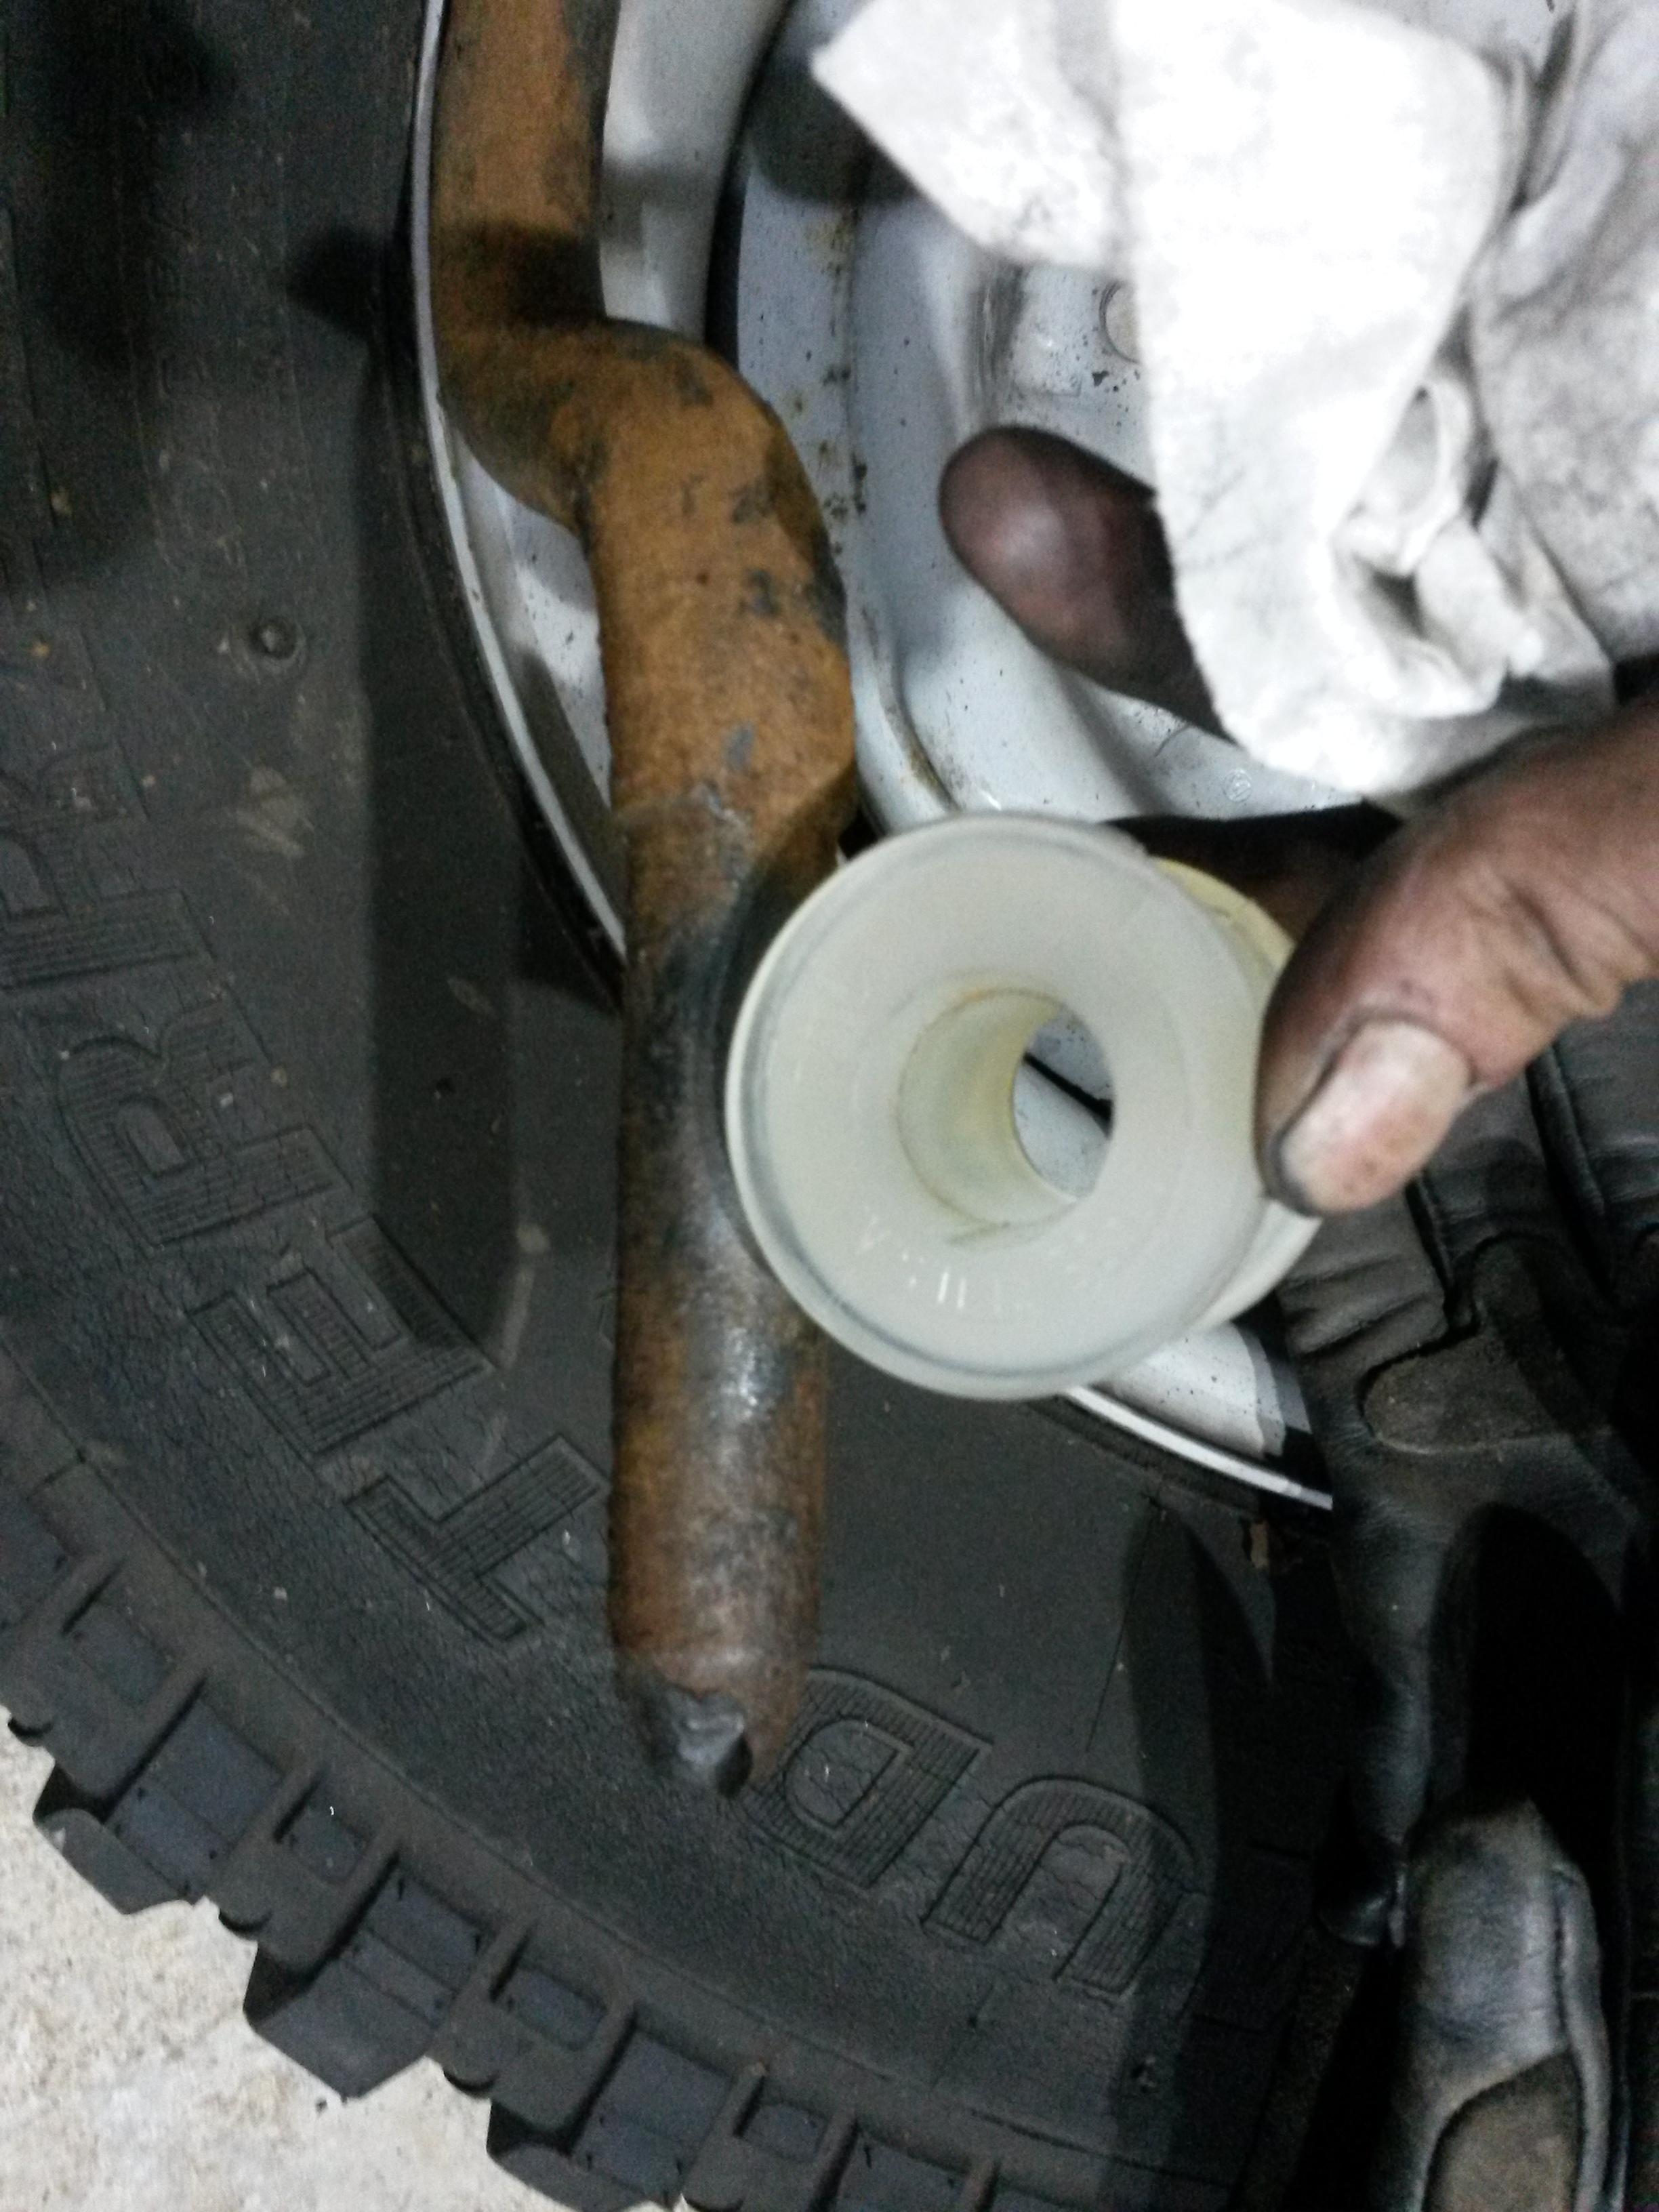
Seems I was supposed to take out this metal sleeve as well?

The blue tape is where I taped off the spindle and ABS sensor so I can coat the front end with chassis saver. BUT turns out the driver upper ball joint is bad, so just ordered 4 moogs. Plus would you believe I am putting the 3rd set of rotors on this van! (50k miles) rust just eats them. AND I need to go get an alignment after ball joints so I might aswell replace the questionable and original Tie rod ends beforehand.
I originally started working on the van to replace that stolen catalytic converter and patch 2 holes in the roof! Oh well it keeps me busy and saves my dad money.
Got the rubber out of the I beam.
These are the moog poly bushings I have:
Seems I was supposed to take out this metal sleeve as well?
The blue tape is where I taped off the spindle and ABS sensor so I can coat the front end with chassis saver. BUT turns out the driver upper ball joint is bad, so just ordered 4 moogs. Plus would you believe I am putting the 3rd set of rotors on this van! (50k miles) rust just eats them. AND I need to go get an alignment after ball joints so I might aswell replace the questionable and original Tie rod ends beforehand.
I originally started working on the van to replace that stolen catalytic converter and patch 2 holes in the roof! Oh well it keeps me busy and saves my dad money.