When you click on links to various merchants on this site and make a purchase, this can result in this site earning a commission. Affiliate programs and affiliations include, but are not limited to, the eBay Partner Network.
The #1 cylinder designation on the distributor cap is basically arbitrary, any one terminal can be the first so long as the firing order is maintained. It's easier to move plug wires around than pull and reinstall distributor to get everything lined up correctly. So guess what happens? This will be very confusing to anyone coming along later though.
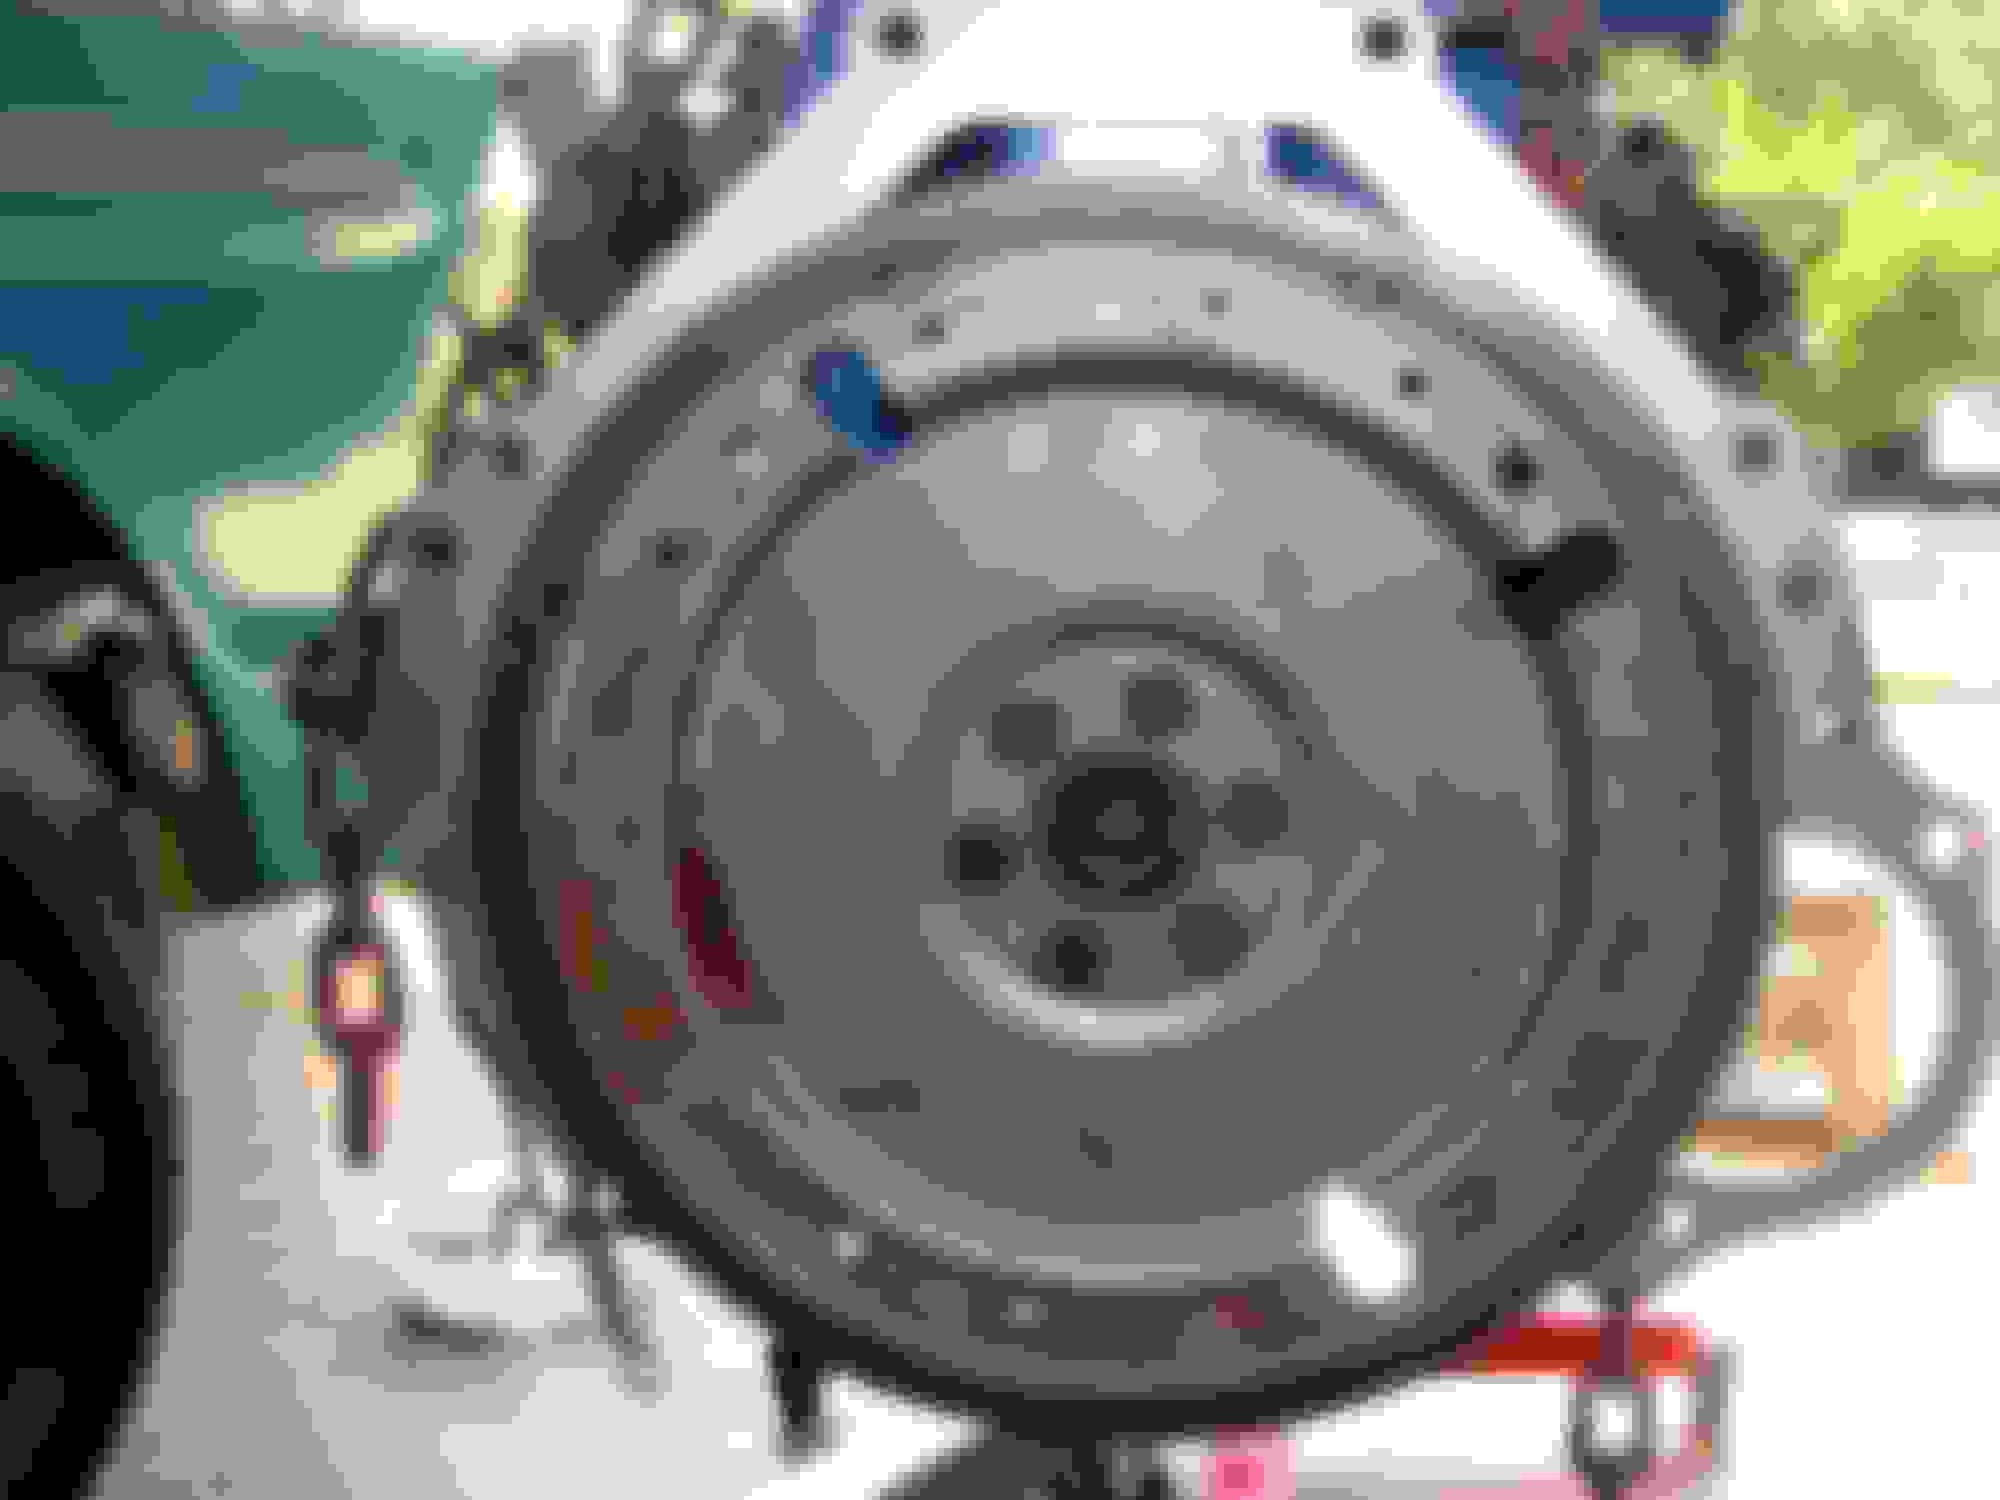
Did not get that far today. Worked on getting my engine lift set up and while toying with that installed the block plate (think that is correct) and the flexplate. I had ordered an extra reinforcing plate as well. Like the fact that one can only install the flexplate one way because of the bolt pattern. means dummies like me have a chance. And I am surmising I can still use the bolts from the flywheel with the flexplate. They seemed to be exactly the correct length (thanks to the spacer/reinforcing plate.
Not sure if anyone has any desire to see this stuff, but heck any of the thousands smarter than I might see I did something wrong. I did not have the old flywheel handy to compare, but the bolts did not appear to have any room to spare.
If you remove the flexplate bolts use sealer when you reinstall them as the back of the crank flange is open to the crankcase. Oil will wick out otherwise.
Well gonna try to mate up tranny and engine and load into the truck Saturday.
Between hot, vacation, etc. just have had no time/little desire to work on it much. Temps have dropped off of a 100+ and hanging out at 92 or so. Cold front.
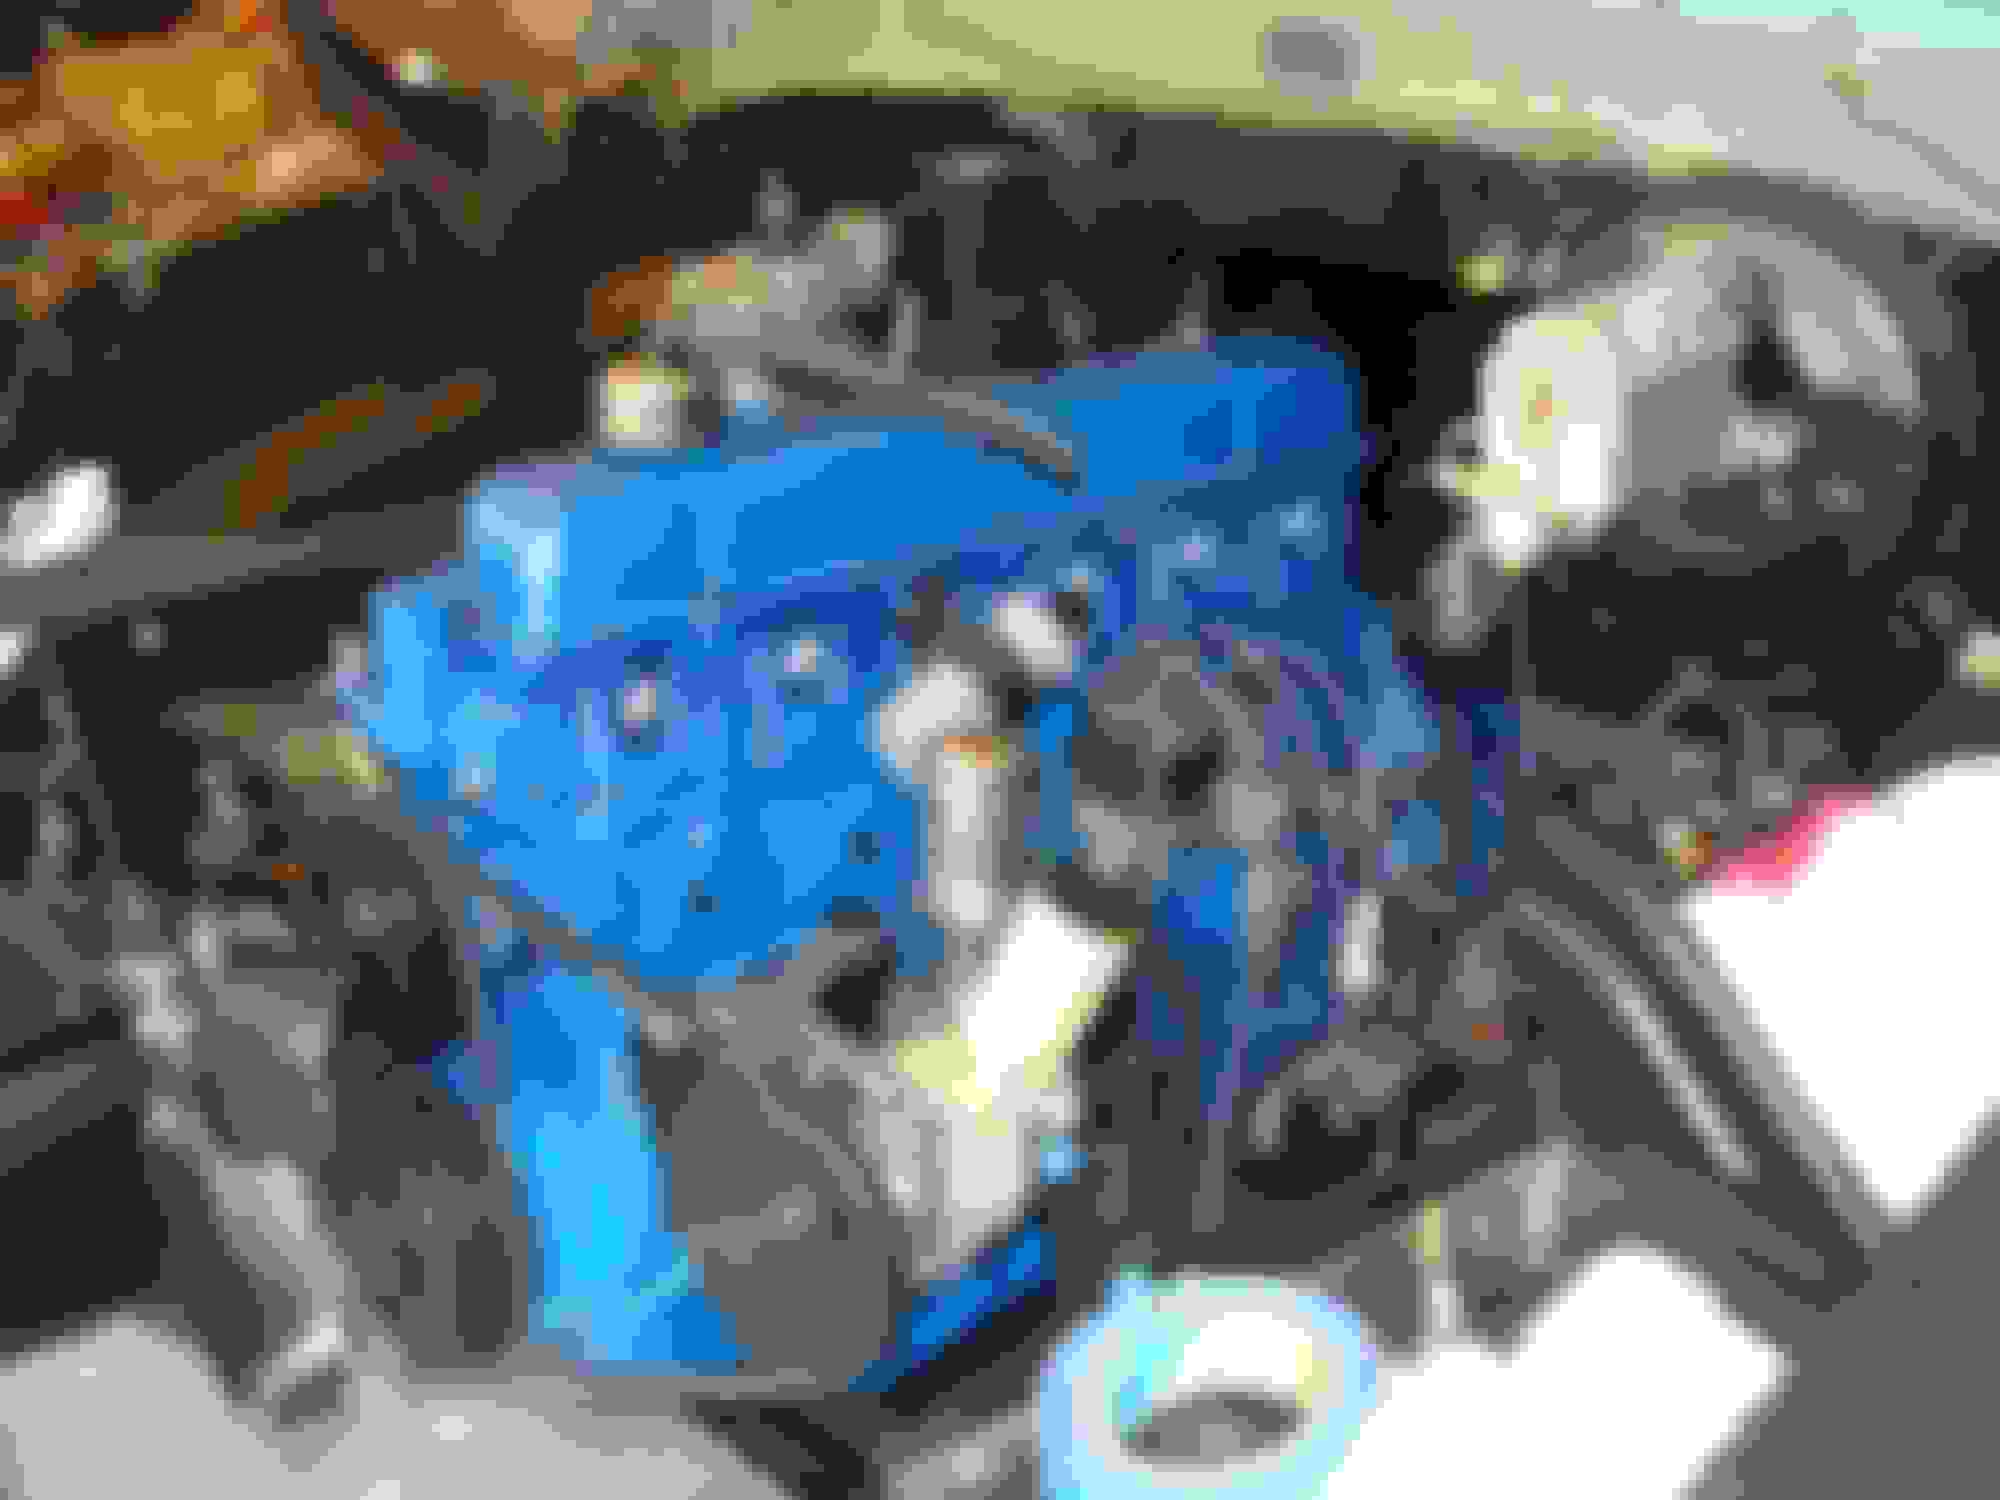
I did lift the engine off of the stand last night and had it mated with the C4, then realized I was missing most of my bolts.
Did pull the flexplate mounting bolts one at a time and coated with thread sealer.
engine mated to tranny awfully easy. I noted that protrusions from the torque converter did match up with the flex plate openings, which I am surmising is the big issue.
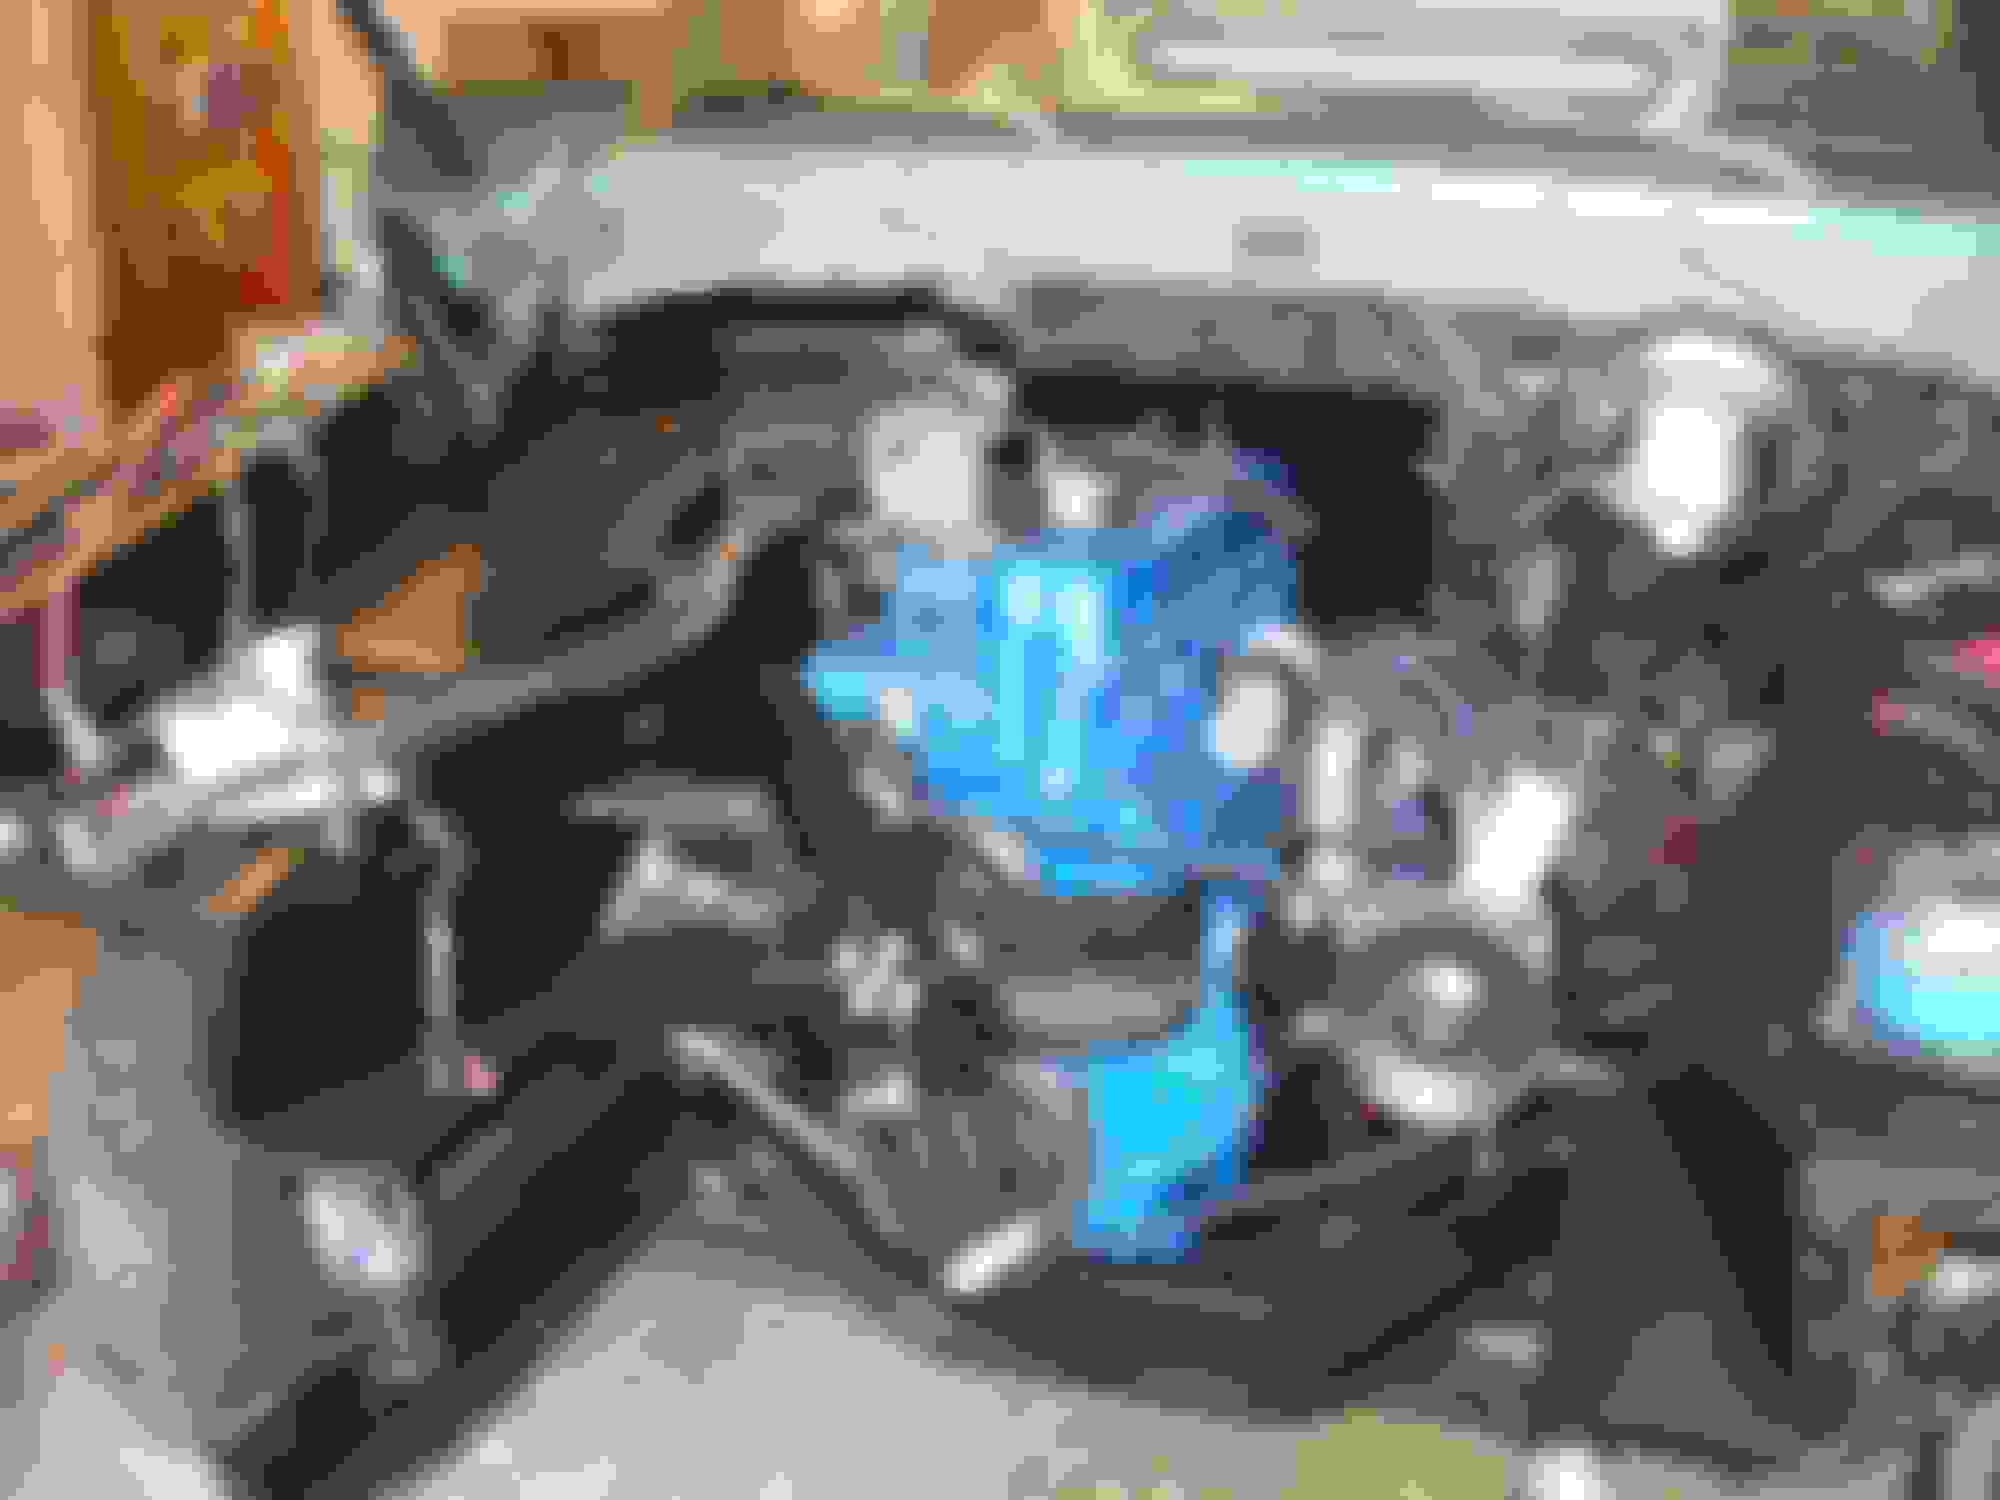
Got the engine in the truck today.
Had to fix a messed up thread on a starter motor mount with a helicoil. Tried something different. Once fixed, I used a stud instead of a bolt.
Surpisingly few issues putting in by myself.
Plan to start on hooking things up and getting the efi exhaust manifold installed tomorrow.
One of those - maybe that was not a great ideas is the black firewall. Perhaps I went overboard withe gloss black. Should be the cab color, but I am not sure what color the cab will be in a year or two - either Ford Mallard Green or the Harley orangeish/reddish color. Like my first Harley.
A color combination I am considering when I get to that point for this truck. Grill and cab roof would be the cream color. Rest of truck the red/orange.
A member of one of the other forum's I frequent said he had the pictured bracket which came off of a 1976 F150 with the 300 and auto trans. Should it work for my application?
...A color combination I am considering when I get to that point for this truck. Grill and cab roof would be the cream color. Rest of truck the red/orange.
Regarding the gear selector portion located on the c4. how does one adjust its orientation? at present it is set so it is at the top side of tranny. I need it more towards lower front to attach to the rod from the steering column.
Also, can one buy just the transmission fill tube for one of these. My C4 has the fill tube going into the pan, not the case.
Installed an aftermarket a/t cooler. Then started filling radiator. Put in two gallons. Let it sit. Water started dripping from lower right water pump mounting bolt. Drained it. Pulled fan. Retorqued bolts. Continued to leak.
I found a 240 that came out of a 69 f100. Talked to the owner. Will cost me $200 plus cost of fuel to pick it up. Rear main leaks as does about every gasket but owner said it ran fine. Pulled it out of customers car to swap in a 302.
Heading out in the morning to retrieve it.
So will be transferring some of my work to the new engine. Wasted $1300 on the rebuild earlier in the summer. Wonder if the 300 cam could easily be swapped out. Probably not.
Heck even rethinking the efi exhaust.
 08-02-2015, 04:19 PM