When you click on links to various merchants on this site and make a purchase, this can result in this site earning a commission. Affiliate programs and affiliations include, but are not limited to, the eBay Partner Network.
I've noticed that the general consensus about the door chimes is that they are annoying, and while I've found a bunch of threads about how to find and disable them, I haven't seen one detailing how to fix one that's gotten quiet.
It may be an annoyance sometimes, but so is coming out to find your battery dead because you didn't notice you left the lights on and couldn't hear the warning chime. Mine had got to the point where you could barely hear it even in complete quiet, so I dug it out and tweaked it, and ended up with a huge volume difference that was still tolerable. Here's how I did it:
(this is specifically for the 1990 f-150, but I think it should apply to most models in the 87-96 range)
Remove the module:
(Mine was white and located on the right hand side of the steering column. Its a tight fit, and a pivoting socket or flexible extension helps to remove it)
Open the module:
(2 clips on the side with the connector pins, then it swings open)
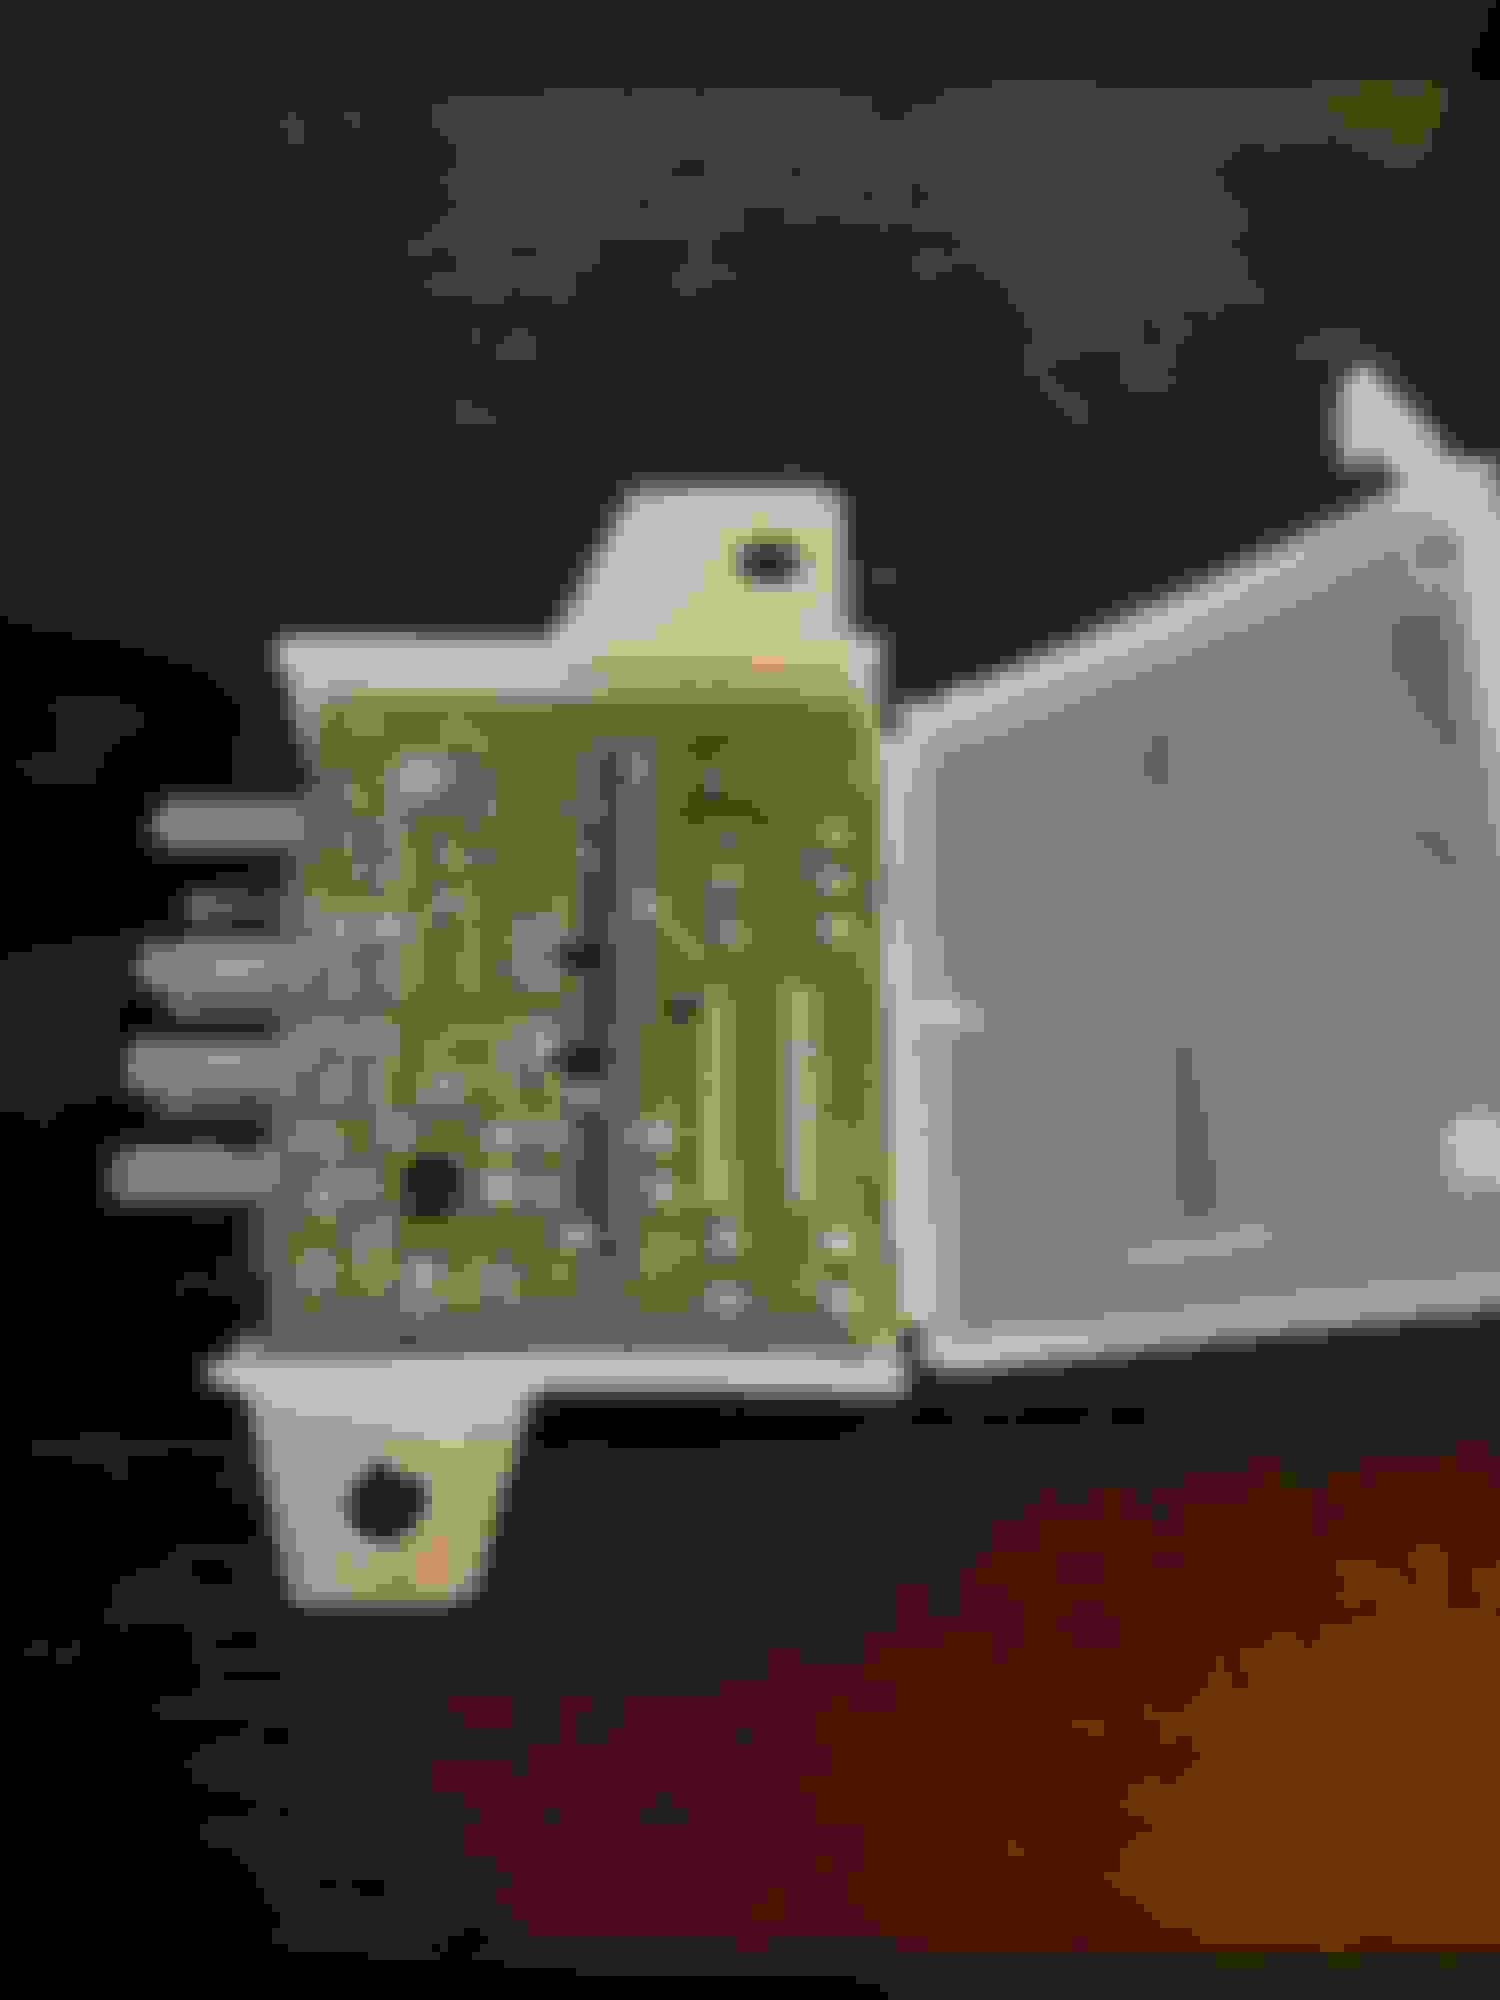
Remove the metal bar, then carefully remove the circuit board by pulling up and out. DO NOT FORCE!
(in case you're wondering, this module makes the chime by charging the small coil you can see on the underside of the board, and causing the metal "E" shaped bar to move and strike the metal disc)
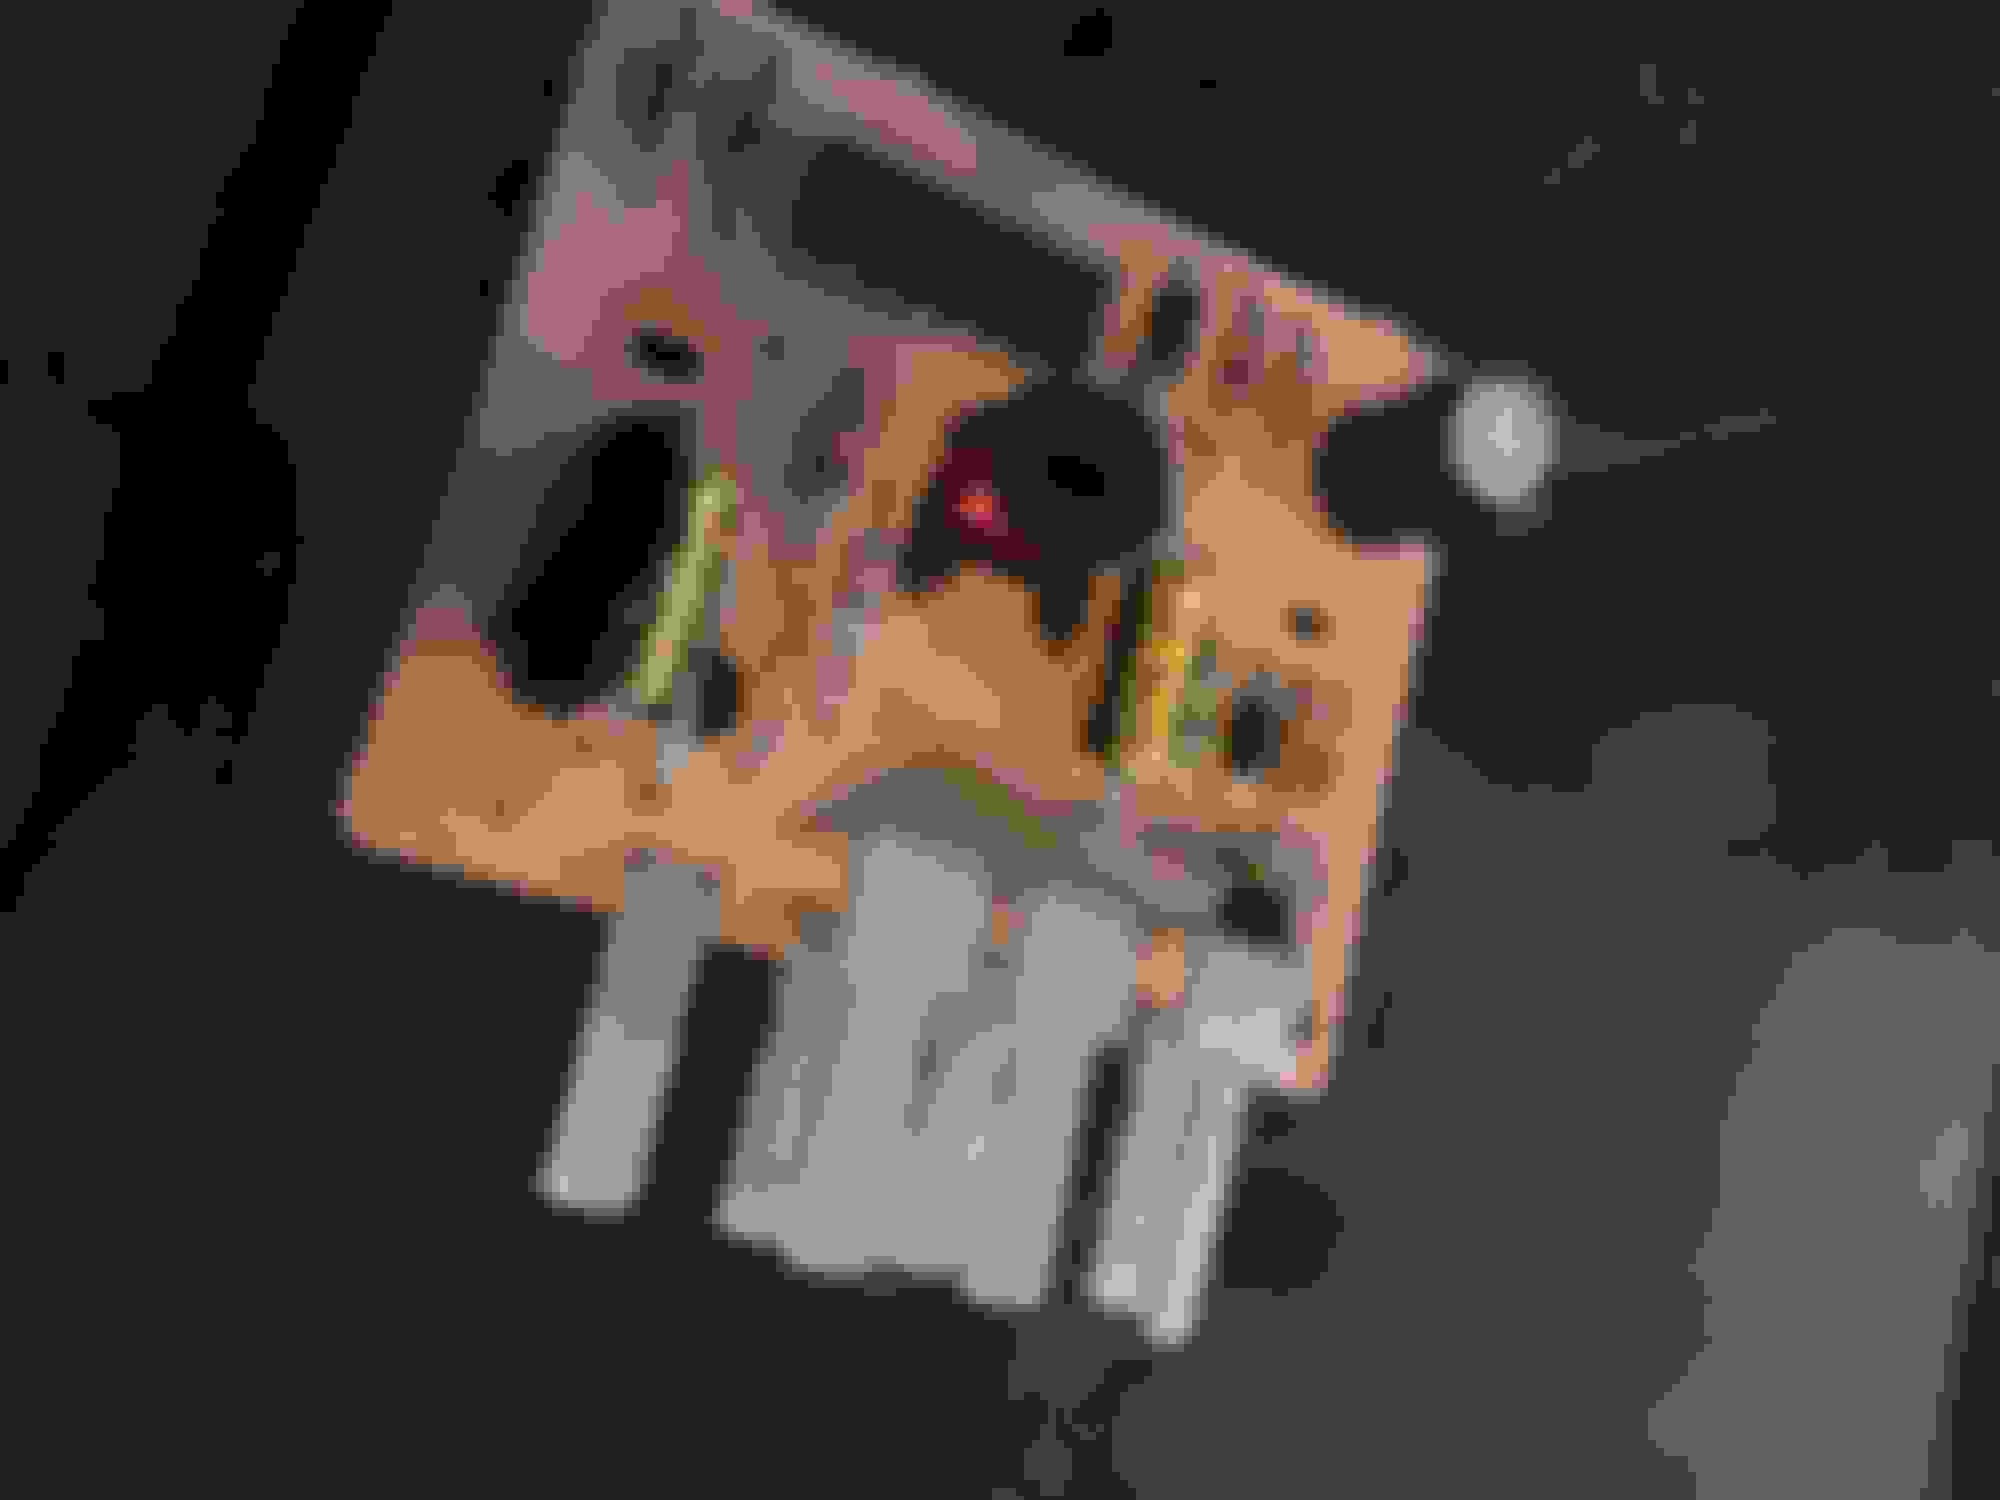
Next remove the metal disc, it's held in place by the black ring which can be removed by moving the 4 clips accessible from the slots on the outside of the case.
The foam between the disc and the case gets old and deteriorates, and that is what causes the volume to get lower over time. You need to scrape the old foam off the disc and clean off any rust/corrosion.
Next replace the foam. I used 2 pieces of adhesive backed foam, each about 1-2mm thick. One i stuck to the underside of the black plastic piece, around the raised inner edge, and the other to the metal disc. You could also use a single piece if you have one thick enough. The disc needs to NOT be touching the black piece when re-installed.
(an easy way to cut the foam is to hold it against the disc and use it as a template, then hold the disc with the foam still attached against the black piece, and use a razorblade or exacto to cut around the inside of the black piece. You're then left with a foam ring.)
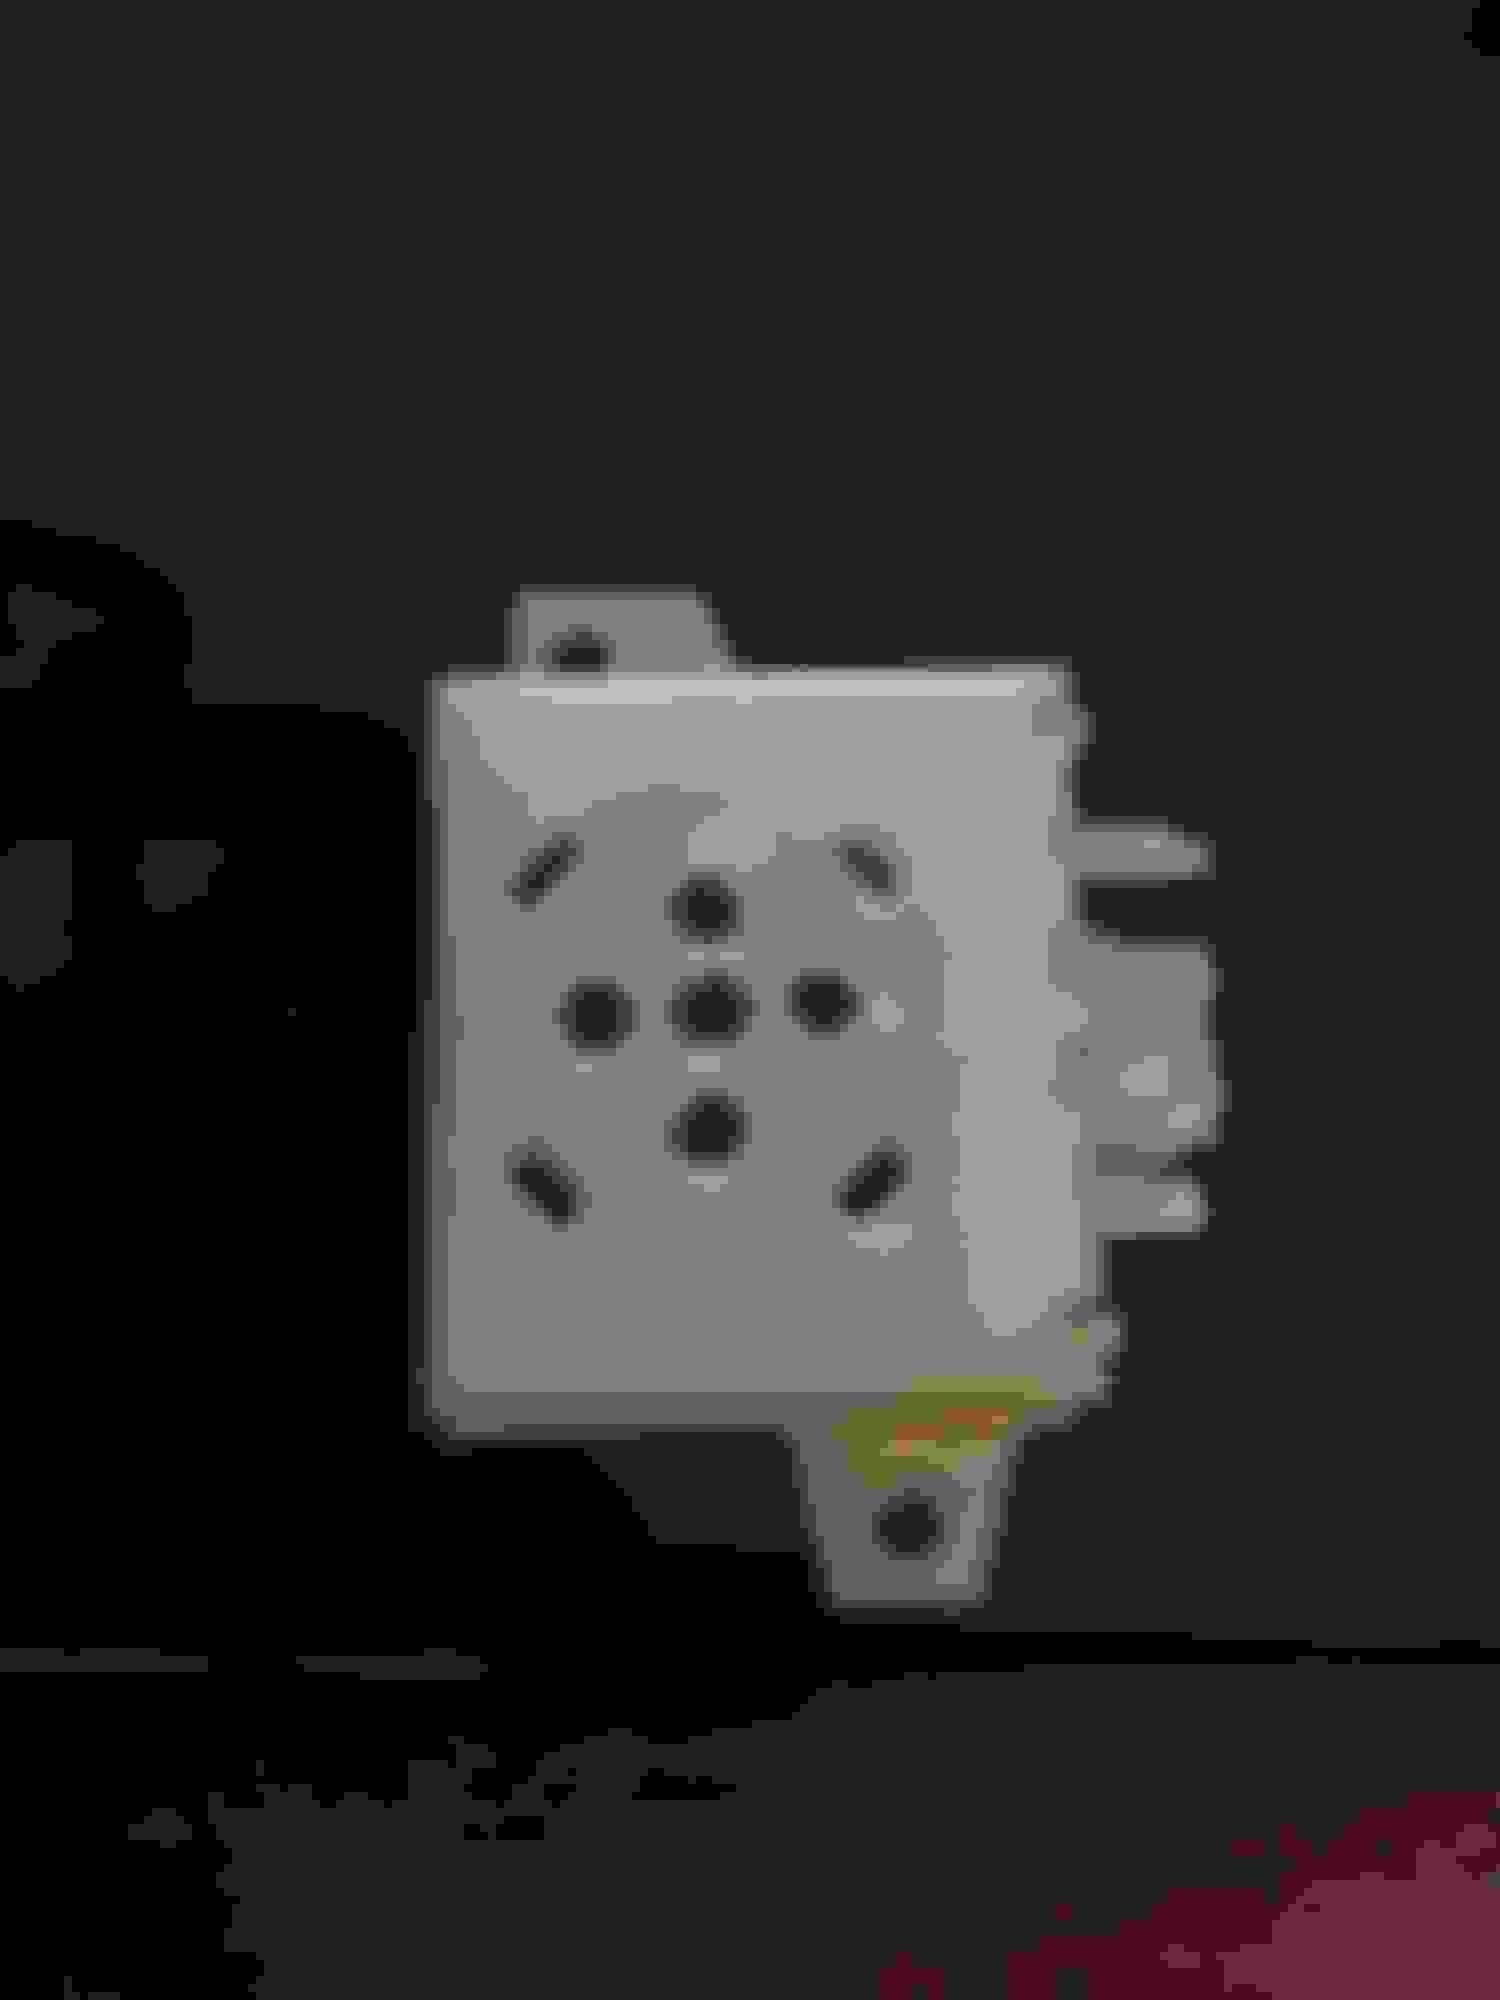
Now you want to drill some holes in the case, where the disc goes. I went for 5 in a + shape, but you can do varying size/pattern and still achieve the same effect. Clean up the edges of the holes with a file or sandpaper. Reassembly is the reverse of disassembly.
Hook up your chime module and test.
Hopefully this helps some of the few people who actually want a functioning warning chime. Let me know if you have any questions, and if you found this useful!
nice post, you are a lot like me, I to would of pulled it out to tried to fix it instead of getting a new one....if I couldn't fix it, at least I would of known how it ticked.
nice post, you are a lot like me, I to would of pulled it out to tried to fix it instead of getting a new one....if I couldn't fix it, at least I would of known how it ticked.
Thanks! I try and do that with as many parts as i can, its almost always cheaper to repair than to replace, and I like knowing how things work. Plus I looked around, and i so far i haven't been able to find a replacement for these except used ones
Some days I would love to hear the chime just for the sake of old childhood memory's in my truck then other days I'd want to rip the column apart and cut that turd out and chuck it as far as I could because of my low tolerance of dingers of any type.
too bad there isnt a way to actually reprogramme the electronic chime from a bell to something better...or is there??
You could, but since the module thats in it now is partially mechanical, you'd probably need some extra circuitry.
Theres definitely room though, the metal disc could be replaced with a small speaker, and the board has plenty of room for additions, it'd just take someone with some know-how in that area to figure out the details.
I'm just glad mine has the bell and not the buzzer. I think XLT was bell and XL was buzzer. Good post.
That noise makes you want to just smash the thing lol . The bell isn't that bad considering I run my lights a lot during the day and since I'm human I forget.
Nice write up!
In my 94 F150 my "dinger" would go off anytime the door was open. It didn't matter if the lights were on or off, if the key was in the ignition or not. Sometimes it was silent when it should have been on and sometimes it was on when it should have been off. It was frustrating and very annoying, especially during hunting season.
Two years ago, because of the noise, I lost a very good shot opportunity at a nice bear. I had been hunting for a week and this was the last day and the only bear I had seen! I wanted to tear my dash apart to find and kill the thing. I crawled around under the dash until I found the offending part and I unplugged it (what beautiful silent bliss LOL.) I almost threw it into the bush, however common sense prevailed and I decided to hang on to it. Now I use it during the off season and unplug it while hunting. Mine is situated on a bracket under the dash and not on the steering column so it's easy to get to. It is definitely NOT getting quieter as it gets older. LOL
It works more consistently now for some reason too. Go figure.

 03-09-2015, 06:19 PM


 . The bell isn't that bad considering I run my lights a lot during the day and since I'm human I forget.


