When you click on links to various merchants on this site and make a purchase, this can result in this site earning a commission. Affiliate programs and affiliations include, but are not limited to, the eBay Partner Network.
Heavy Duty H4 Headlight Harness (install tutorial)
Just though I do a little write up on this headlight harness I bought from LMC.
It draws power from your battery as apposed to through your light switch and runs relays for high/low beam. A normal install would call for you to plug this end into your driver's side female headlamp connector
Then you would run the 2 female ends to either side in your headlight bucket and plug your desired light into it.
My wiring for the headlamps was all original bare wire, so I just modified this to become my new headlight harness after I removed the old wiring.
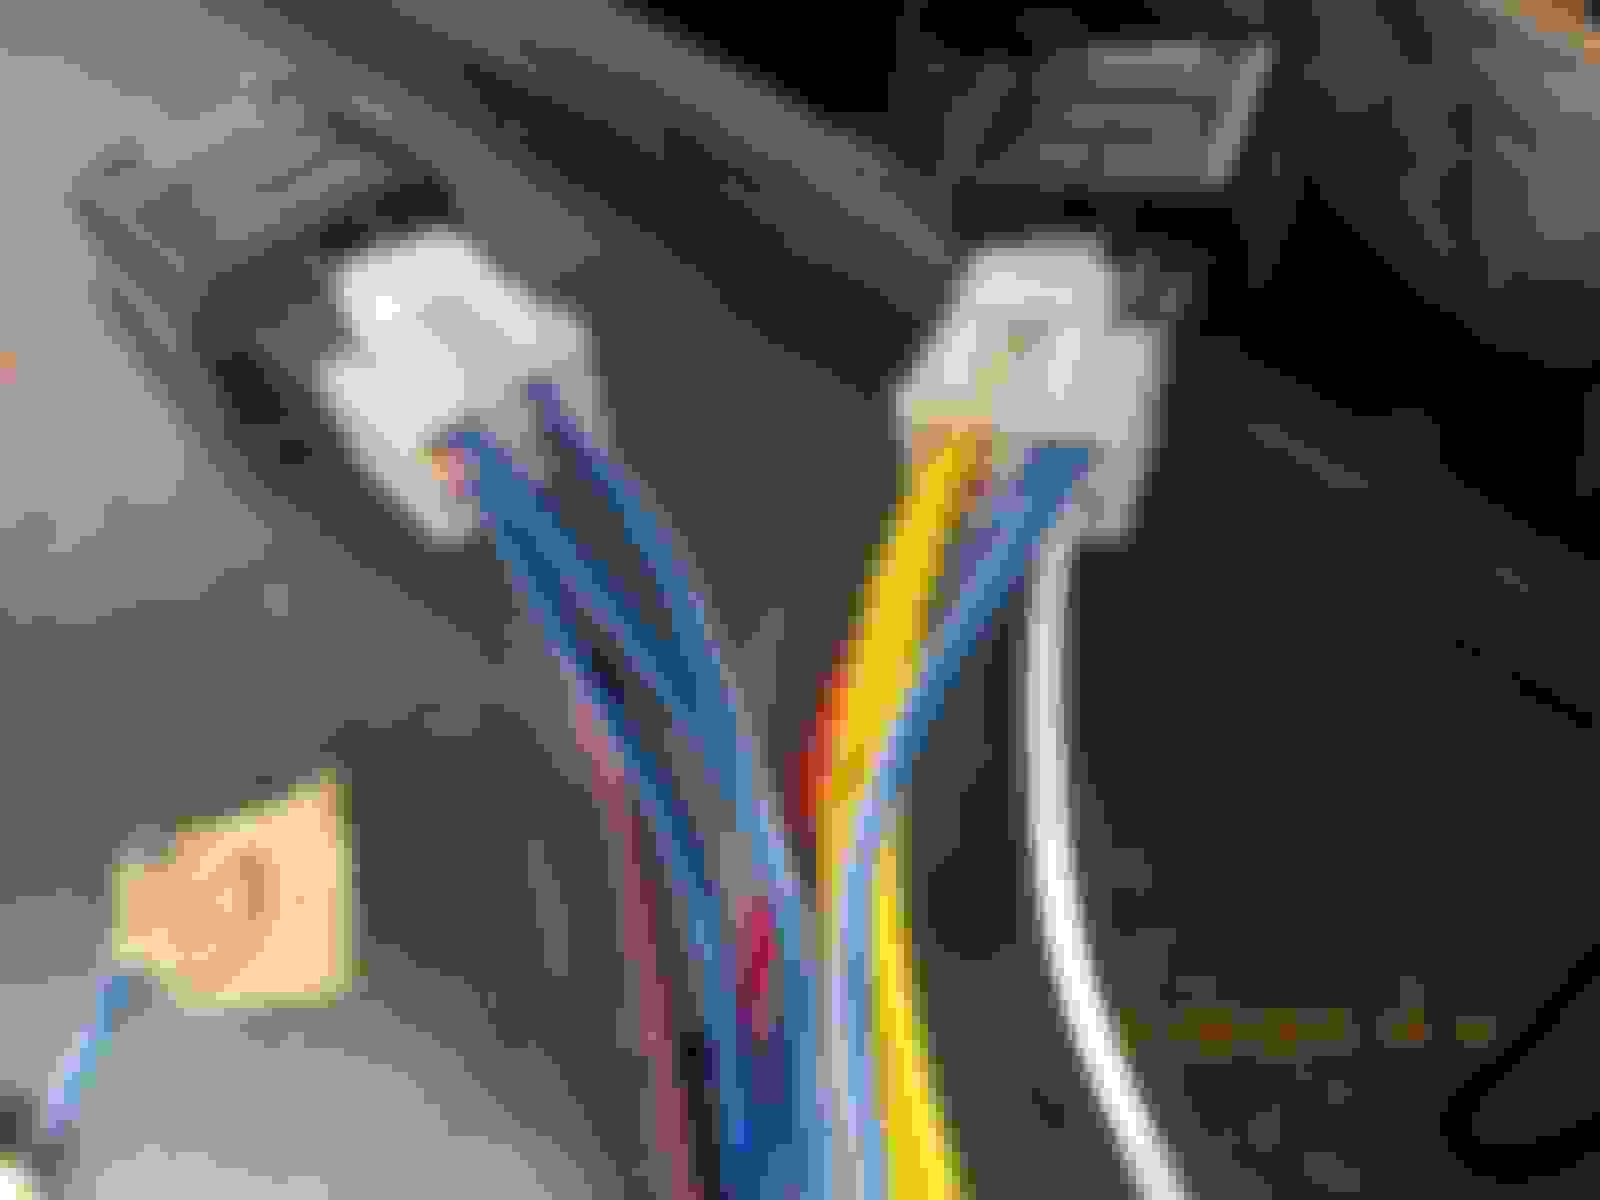
I first had to cut off the male connector that would normally plug into your existing harness (picture shown above). I then had to figure out where the 3 wires should go. Using this chart from Speedway's website I was able to figure out which was high and which was low beam:
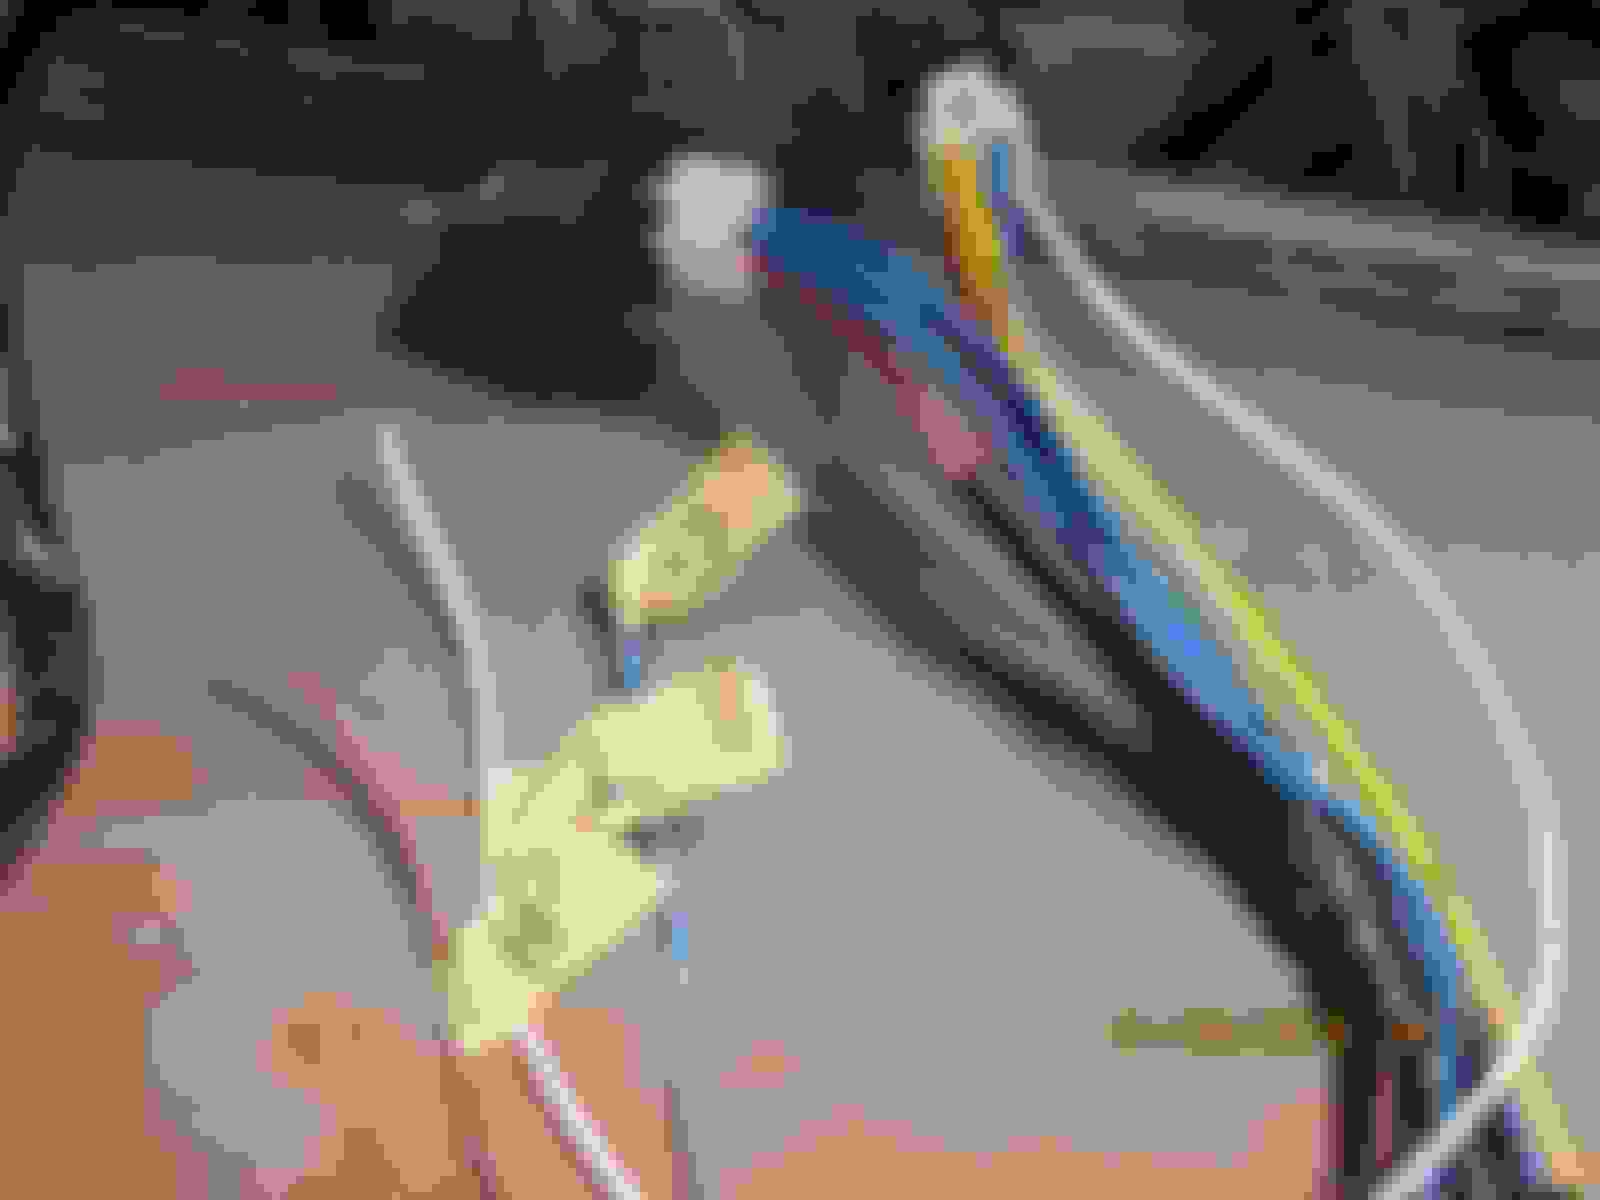
I was able to trace the wires to the relays and determine which relay was high and which was low
The blue/white had to be ground because it was tied into both sides.
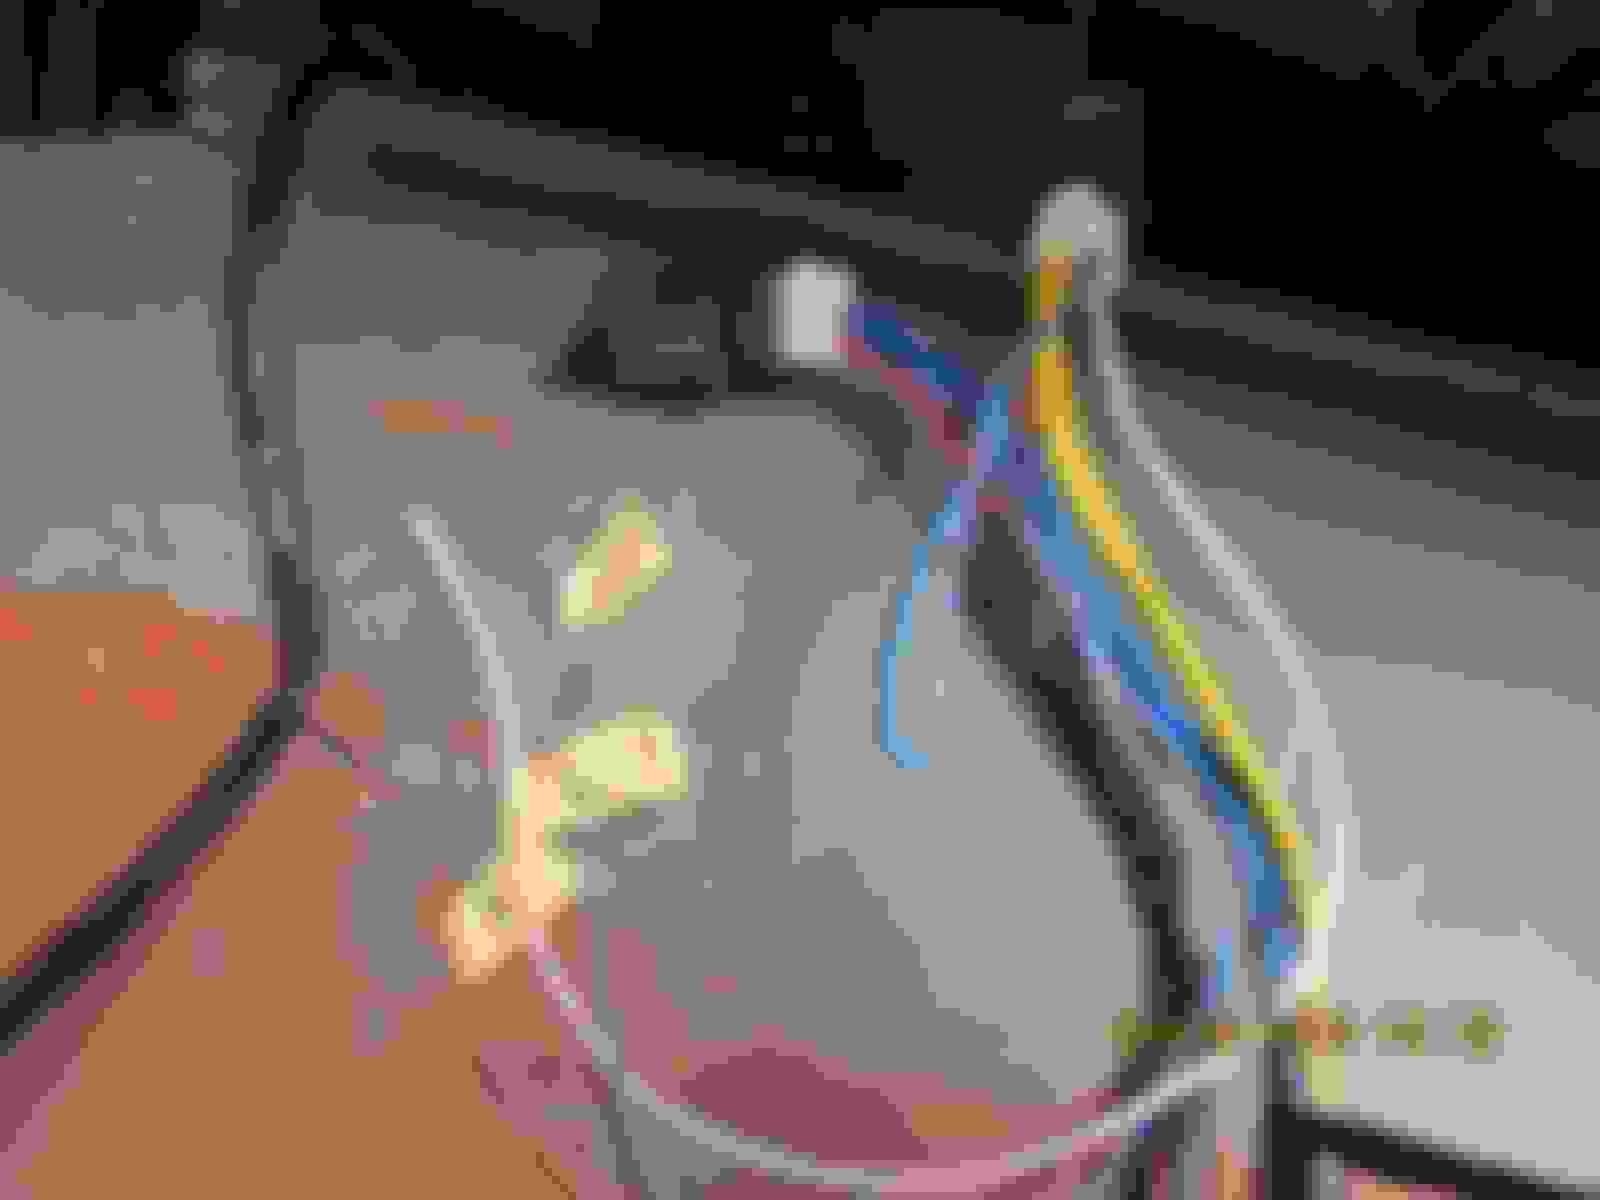
I mounted the relays in a location that I could reach the solenoid with the power wires. The other wires needed lengthened anyway and I had to cut them to get the female connectors through the buckets.
I ran the ground wire back through and grounded it to this:
Picked up new headlamp grommets
And found an assortment pack on Amazon to use in various places
Dennis Carpenter headlamp grommet already cracked!
I picked up these from So-Cal Speed shop in AZ
They have a socket in the bottom for a turn signal bulb, but I could not find an amber bulb that would fit in there!!!
Installed new gaskets as well. Super happy that they're made in China.....
The 3 wires that are left after I cut off the male connector were simply run to the headlight switch at their perspective posts. I'm using the 4 position switch from Painless and eliminating the floor mounted high beam switch.
Just testing it at this point
Here's where I grounded the other side (after the relays)
It's all installed now and everything is working good so far. Will update this if I see any problems with it. Enjoy!
Thanks Doug, I know I learn a lot from seeing what other people are into. And the more pictures the better!
Ray, it seems like a great upgrade so far. Did you run inline fuses between the battery and relays? I'm running a fuse box, and have a 30 amp going to my switch, but I'm wondering if that's enough since it isn't drawing the majority of the power from the switch anymore. Any input? Thanks,
I had pretty much the same thing to my 88 tbird. The headlights actually started to shut off at times before i added two relays in. Kind of scary when your driving down a dark back road and your lights randomly turn off.
I installed a circuit breaker on the battery side, protecting the std Bosch relays to the lights. My headlight switching circuit is fused protected at the fuse panel so both circuits protected.
Not pretty, but here is my relay rack for the lights and fan. The truck has been on the road eleven months and several thousand miles and the electrics have worked well.
Edit: Yes, Jim, the major current is now through the relay contacts, no longer the headlight switch.
sere0501 - thank you so much for this tutorial. I'm installing this same harness and had wrongly assumed that the brown wire was the ground. You saved me from hours of trouble shooting.
Glad you got something from it Tilleyman. I know I've received a ton of help on here, so I try to pay it forward a bit. Enjoy your upgrade, you won't be disappointed.
 01-24-2015, 08:11 PM