When you click on links to various merchants on this site and make a purchase, this can result in this site earning a commission. Affiliate programs and affiliations include, but are not limited to, the eBay Partner Network.
Made a little progress today. Got a few odds and ends buttoned up and have everything except the dome light and switch wired. Put some fuses in and put power to it. Everything worked! I even bumped the starter to see if it would turn, and it did. Then I went through and started to clean things up a bit. I had run this conduit across the back because I will be adding a Mustang tank at some point and I wanted to be sure I wouldn't have to move it.
Of course I didn't want the wires touching the metal, so once everything tested out fine I finished it up.
Down here I ended up using liquid tape and then running some lume.
Not quit finished
I needed to get my horn out and this front piece needed to come off in order to get it out. The screws hadn't moved in 65 years or so, so they fought me tooth and nail. They didn't break or strip out, but I wanted to cleanup the threads a bit. I plan on having a look at the horn sometime in the near future and see if I can get it to work.
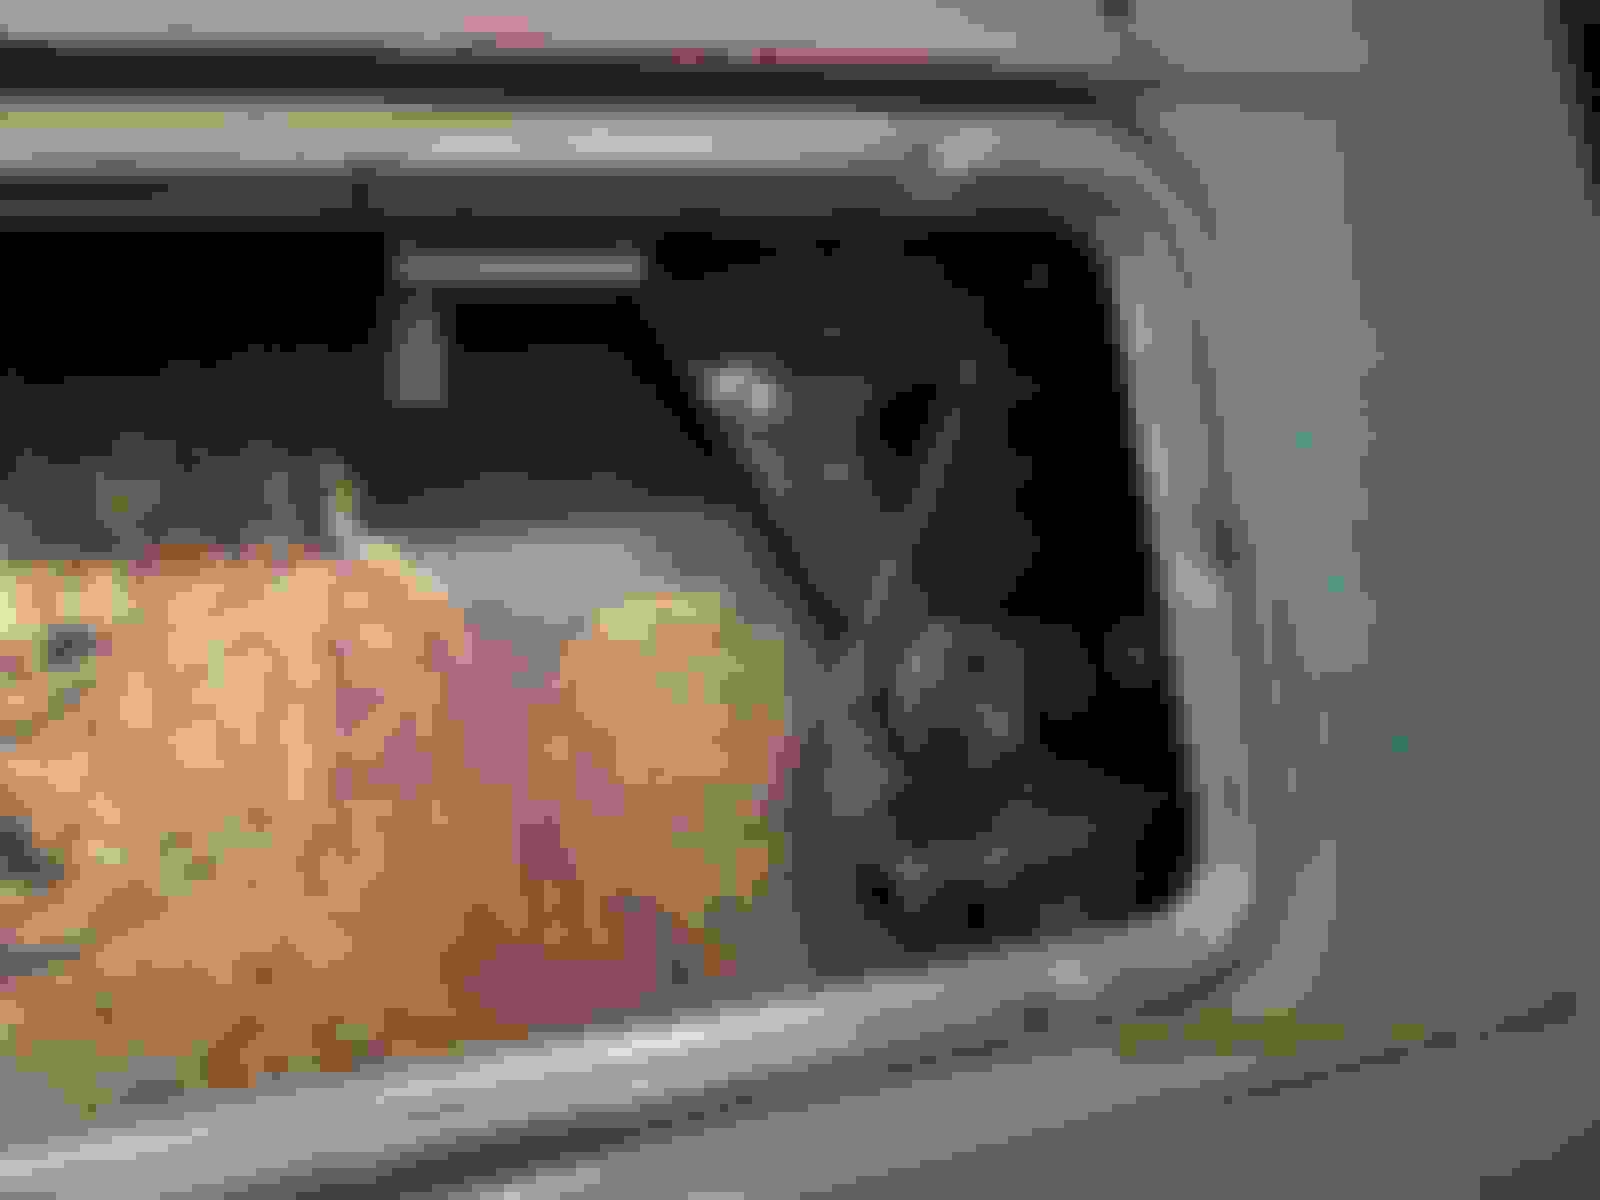
After that I sorted out all the wires under the hood and now I can sleep a little better:
But I don't understand the comment about using conduit to keep the wires away from the metal. The conduit is metal.
Thanks Joe. I just meant that I didn't want the wires touching the rough edges of the conduit, so I ran the plastic lume inside the medal conduit and taped it together so there is a barrier between the wires and the sharp conduit edges.
Over time the metal would rub away at the insulation.
The plastic lume is inside the metal conduit to provide a barrier.
I wasn't very clear in my description Joe, my bad. I just didn't like the idea of the wires rubbing on the edges of the medal conduit. So the plastic lume is run in only a inch or 2 and then taped up. Like this:
It has to be compressed a bit to fit in
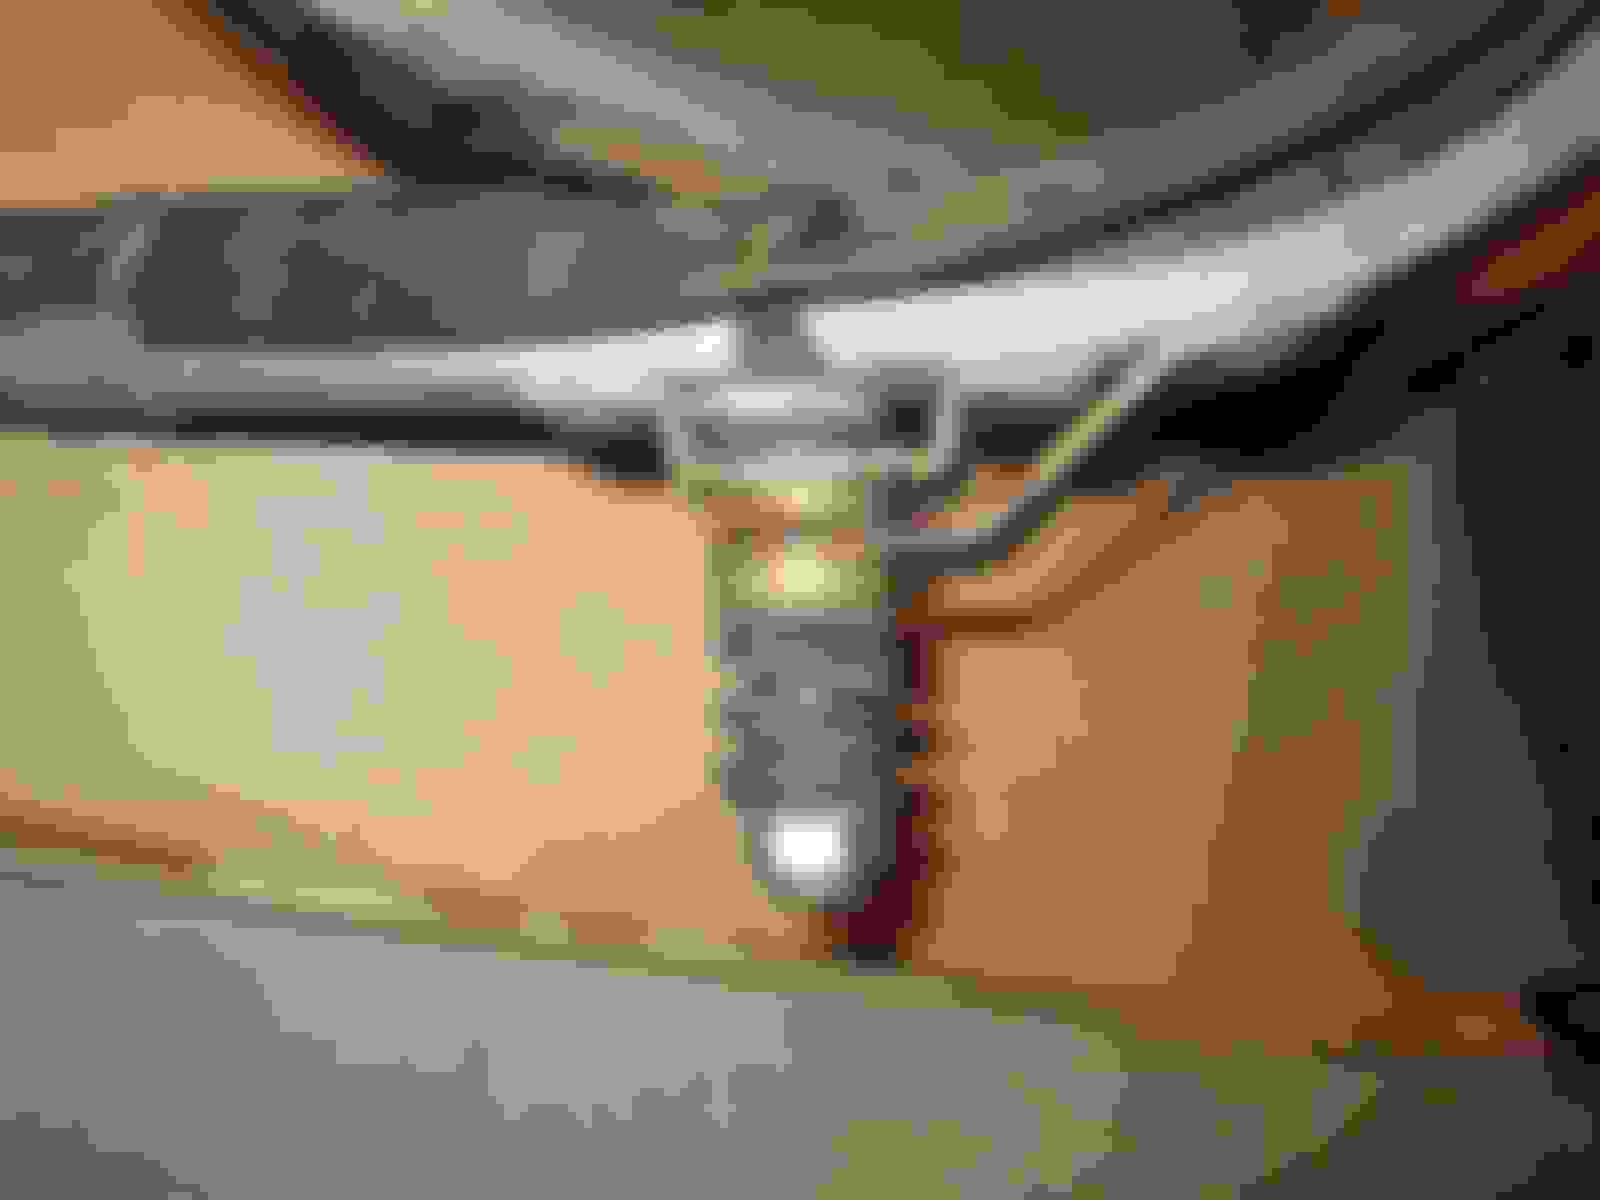
Here is a better shot of where I ran the conduit in the rear:
In the channel right by the tailgate.
With the conduit set up the way it is I will still be able to access and run wires in and out if needed without pulling up the bed (after I actually put it in).
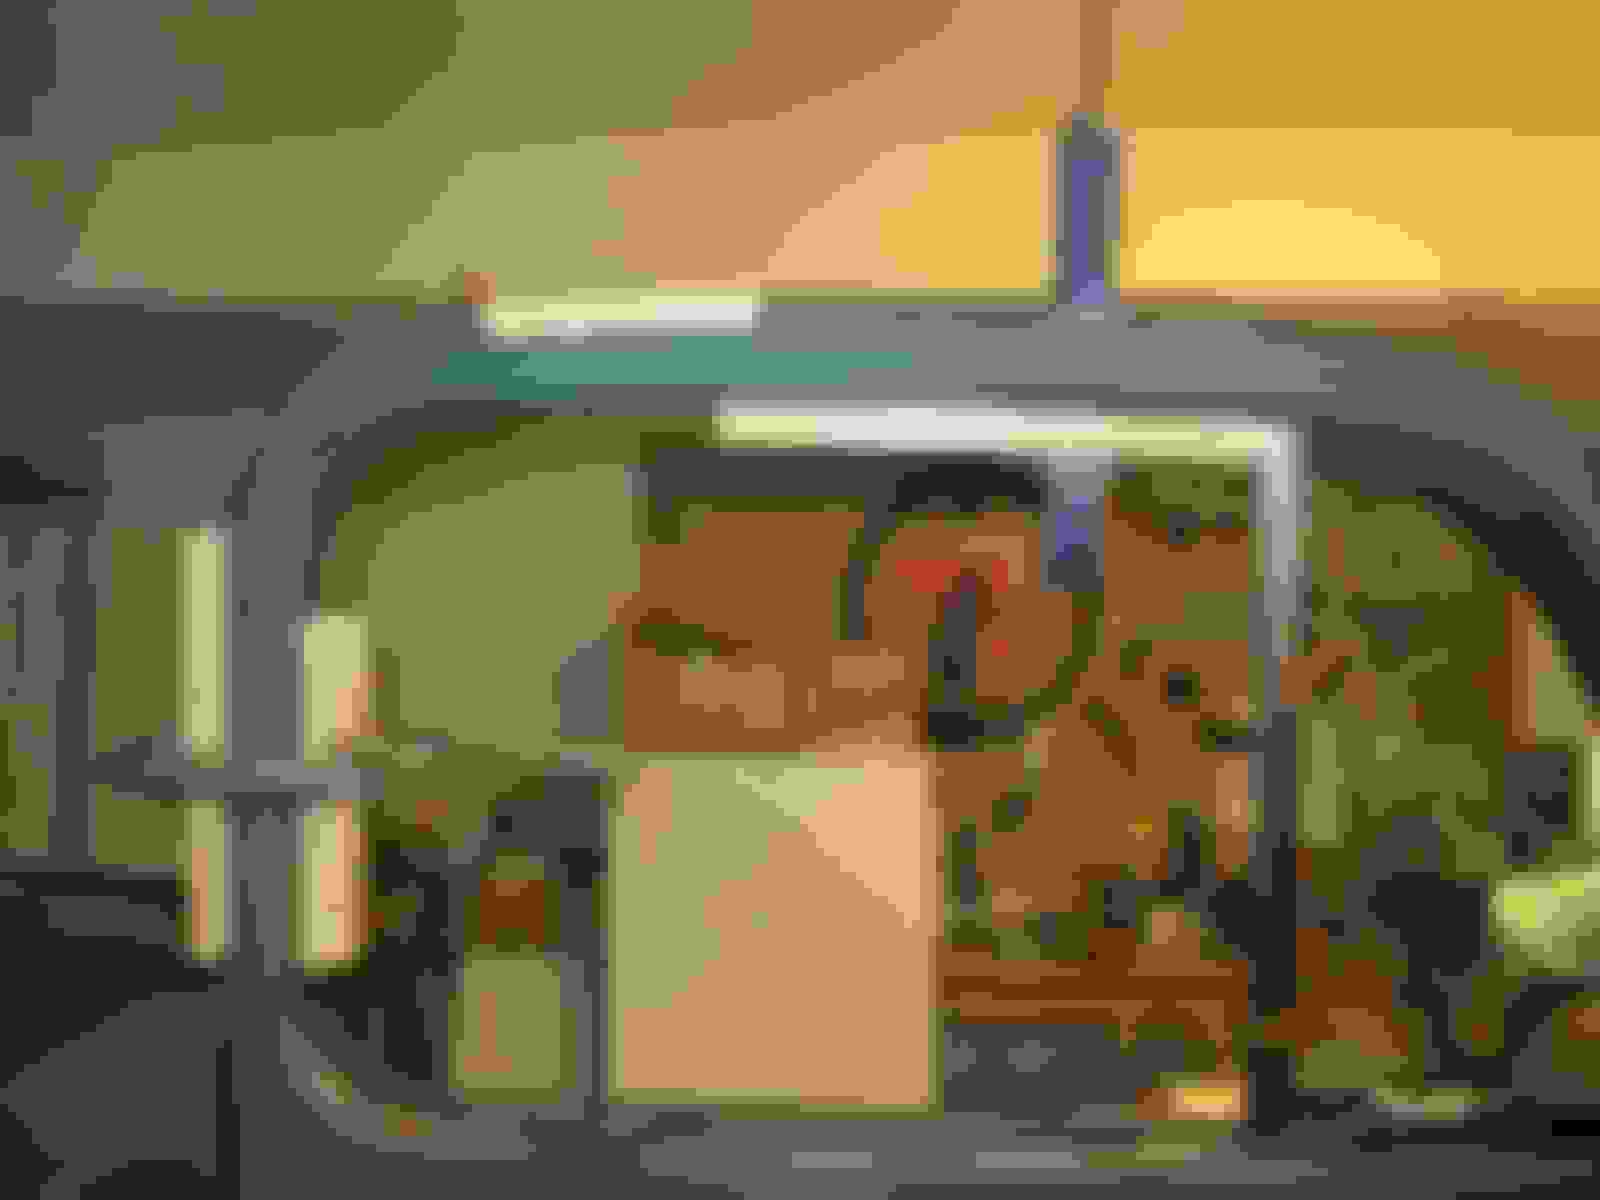
I also used conduit on my main run front to back. I used an 8' section and it went from just in front of the master cylinder to about where the rear end sits. Here's some shots of that:
I'll use some conduit hangers to secure them soon.
Again, plastic lume inside the medal about an inch and taped. This is just in front of the MC and cross member.
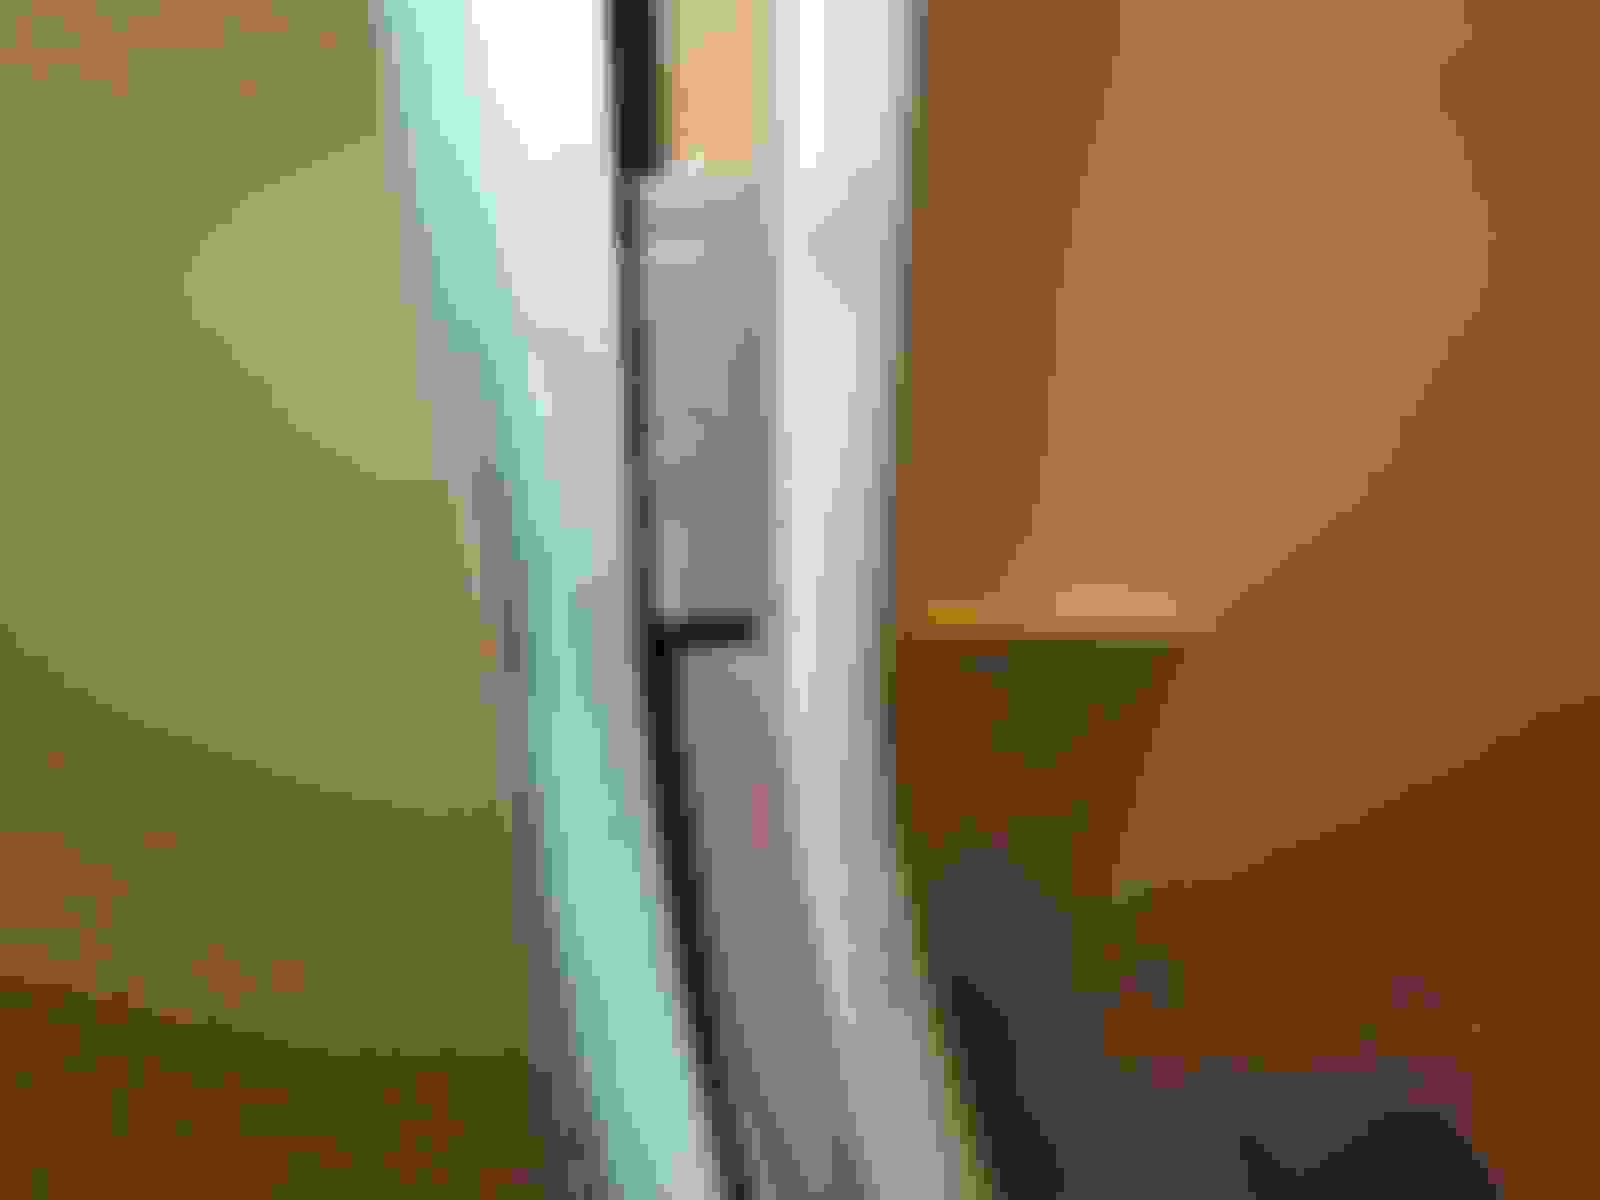
I took the lume through the frame to get a clean run up to the engine bay.
Kind of hard to see but it pops out here and goes up.
The other piece of lume holds my wire going to the brake light switch. The 2 small holes and 1 large hole on the left are where the foot mounted high beam switch was.
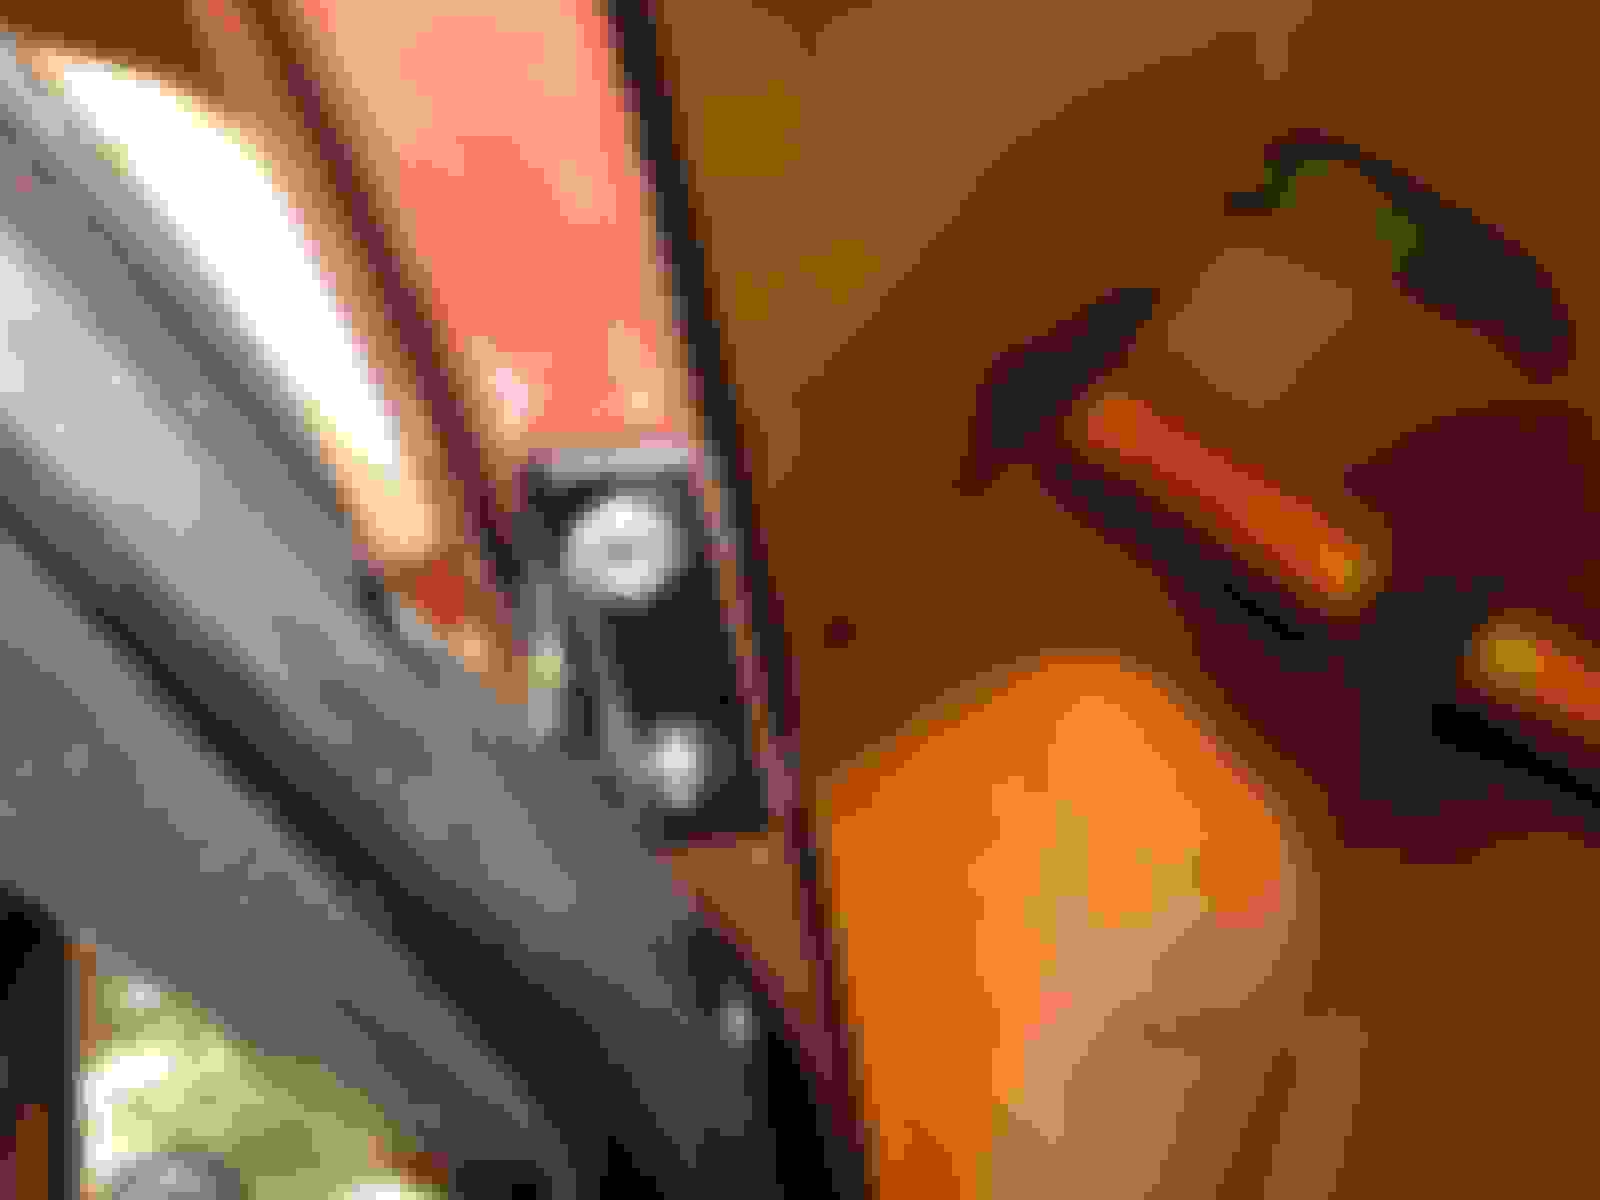
Here is where the 8' conduit terminates in the rear:
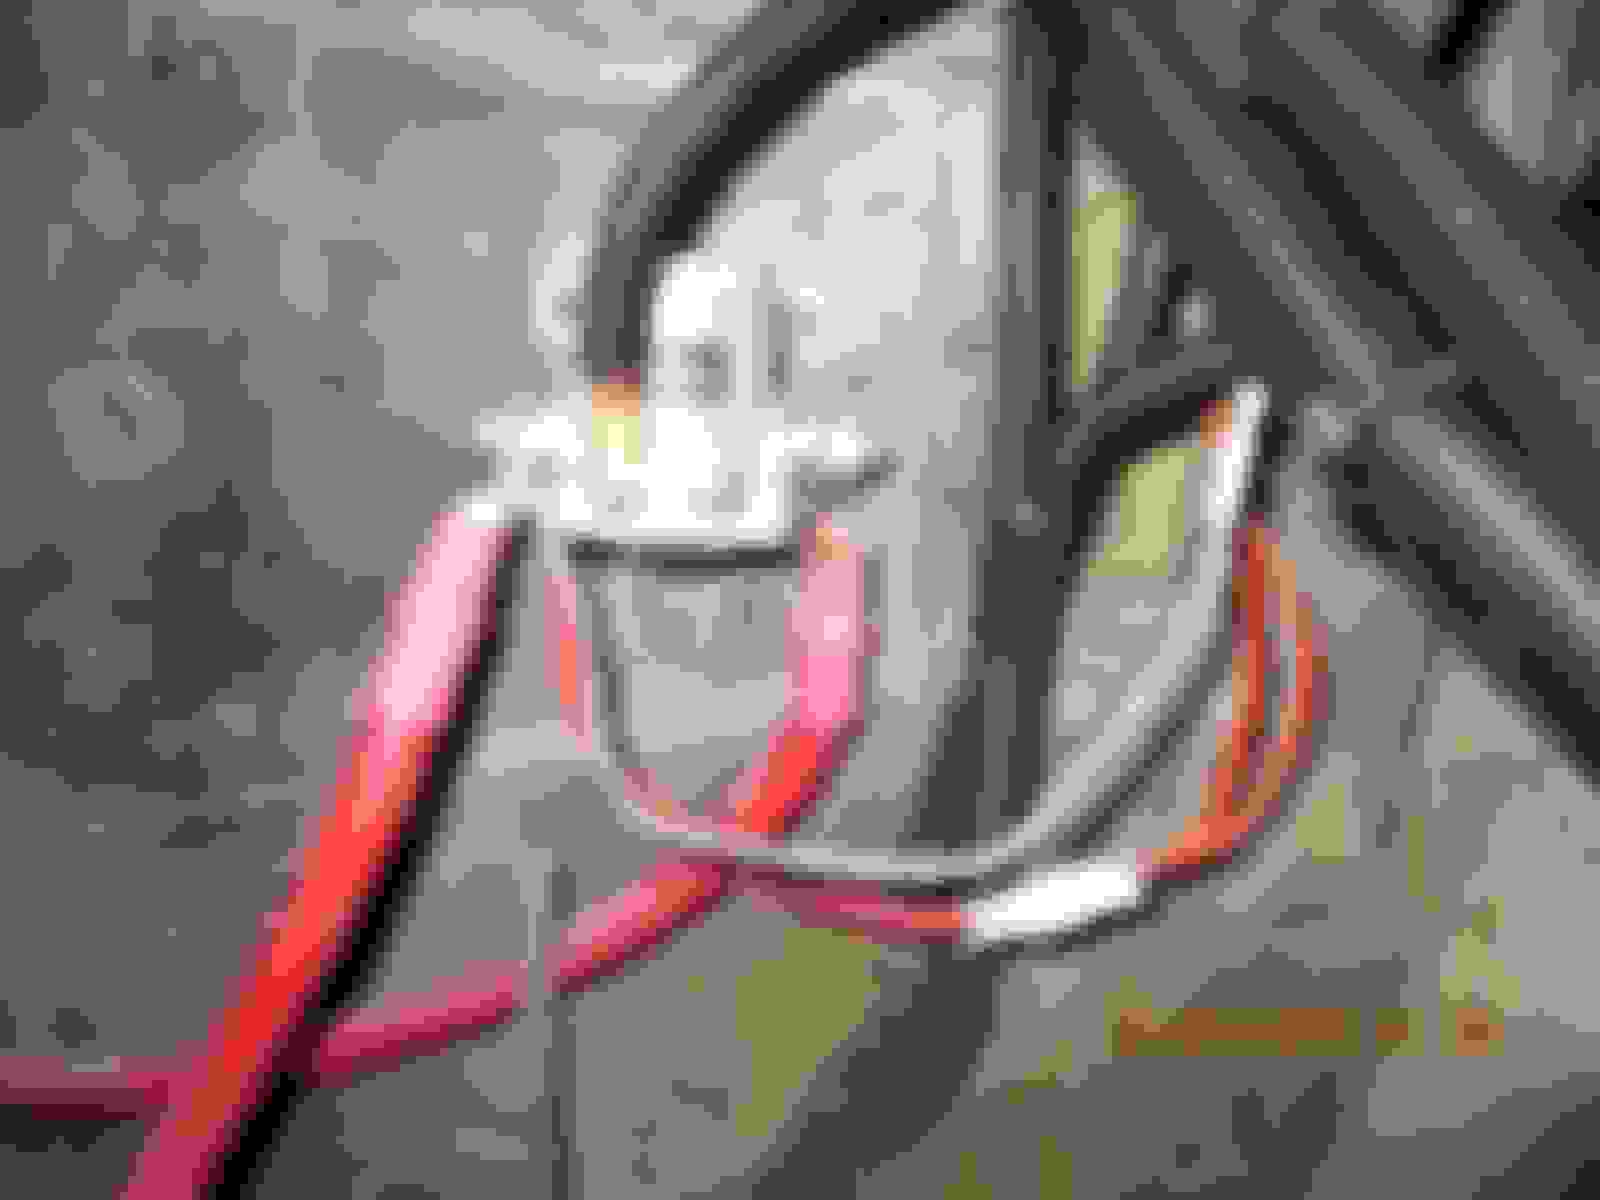
I also think it's worth mentioning that up in the engine bay, if you are running all the plastic lume like I did you have to leave any fusible links exposed.
Notice the grey wire next to the red running from the Alt:
And also the grey wire coming from the starter solenoid:
The 2 small red wires with the white plug power my headlight harness.
Gotta go get a few things done before church. Happy Sunday!
A little progress so far this week. We've been tearing out glass and putting in glass. I only have time to show the tearing out of the front/back glass, so here goes:
I knew the rubber had to be replaced on both the front and rear, and I just figured on replacing the glass whiled I was at it. The back was original Ford script, but had a few BB gun holes in it . Wish I could have kept it, but I do have plans for the script I'll tell you about later. On to the picture show:
The front rubber was so hard I could not even cut it with a razor blade so I started trying to use a hammer/screwdriver........
I think it might need replaced......
Then I realized that the top shouldn't have seen as much sun and should be more pliable. I was right, and was able to actually cut it away.
OOppps
The front window installs from the outside in, so you have to cut away from the inside out to get it out.
Once the top was cut away I could push it out.
Then just pull up and out.
Next was accessing the rust and removing the tabs that might get in the way of installation.
The rust was all on the driver's side. No holes, but some pitting.
Tabs were already bent down
I won't be using any chrome trim so I will cut them out.
Tabs are cut
A little prep and primer so it'll last at least until the rubber goes bad ( I hope)
The primer matches the original pretty close, so I will wait and see what it looks like after the new rubber/window is in before I touch up with any paint.
No more rust!
Ford script on back.
Bullet holes on back.
Cut the back window from the outside, and install from the inside.
Nice and clean here, no rust.
Don't push too hard or this will happen....... Thankfully my Ford script is in tact!
Hope you enjoyed the photos,and have a happy Friday! Off to work
In other news; I started the task of rebuilding the wing windows while Old George was in the shop. Now he's back, so my youngest and I started putting one side together. I didn't document the tear down very well, but here's what the install looks like:
I started with tearing everything down and getting things cleaned/painted.
Drilled these out with 1/8" bit
Took a picture so I could remember how it goes back together.
I didn't realize these were brass, so I shined'em up a bit:
Gotta love the Dremel!
Before
Prepped
Primed/painted
Ready for rubber
Been looking for a reason to get a rivet gun:
Couldn't get the rivet gun on the inside one so I had to get it from the back
Dennis Carpenter seal, ready to go
Now to the install: Vintique Anti rattle kit
Nice kit!
I sprayed the inside of the door with WD40 to give it a little protection:
Dry rust....
Wet rust.....
Need to clean off the old sealant or it will interfere with the new felt
That's better
hard to get to this one, but the WD40 helped loosen it up I think. Hit it with Acetone so the new sealant could have something to stick to.
Trial fit:
Make sure this lines up before you tighten everything down
Top felt in
New on left, old on right
I used both,and the old held a bit better (I think because the corrosion helped it hold better.
Window in
Now the regulator
Not too bad
One side done!
I plan on doing up a more detailed tutorial in the near future on the anti rattle kit I used. Enjoy your weekend!
 01-23-2015, 11:10 PM


 . Wish I could have kept it, but I do have plans for the script I'll tell you about later. On to the picture show: