When you click on links to various merchants on this site and make a purchase, this can result in this site earning a commission. Affiliate programs and affiliations include, but are not limited to, the eBay Partner Network.
Painted black were the rim will come in contact with the drum because the black paint is more durable
My friend at B&B machine shop relined these shoes for me. I called and asked him if he could and the first thing he said was "I haven't touched that machine in 4 of 5 years" What an amazing machine it was, it stood on the floor upright had an area on top with a punch and such just for relining shoes
The ends were painted before too so it will help prevent some rust
Packing the new bearings
Got all four drums machined down smooth, turned out they all had plenty of meat left on them
Painted the insides too can't hurt
Put floor wax around the backing plates bolt circle to keep road water and such out of the drum brakes, also applied a nice bead around it at the axle ends where they bolt flush
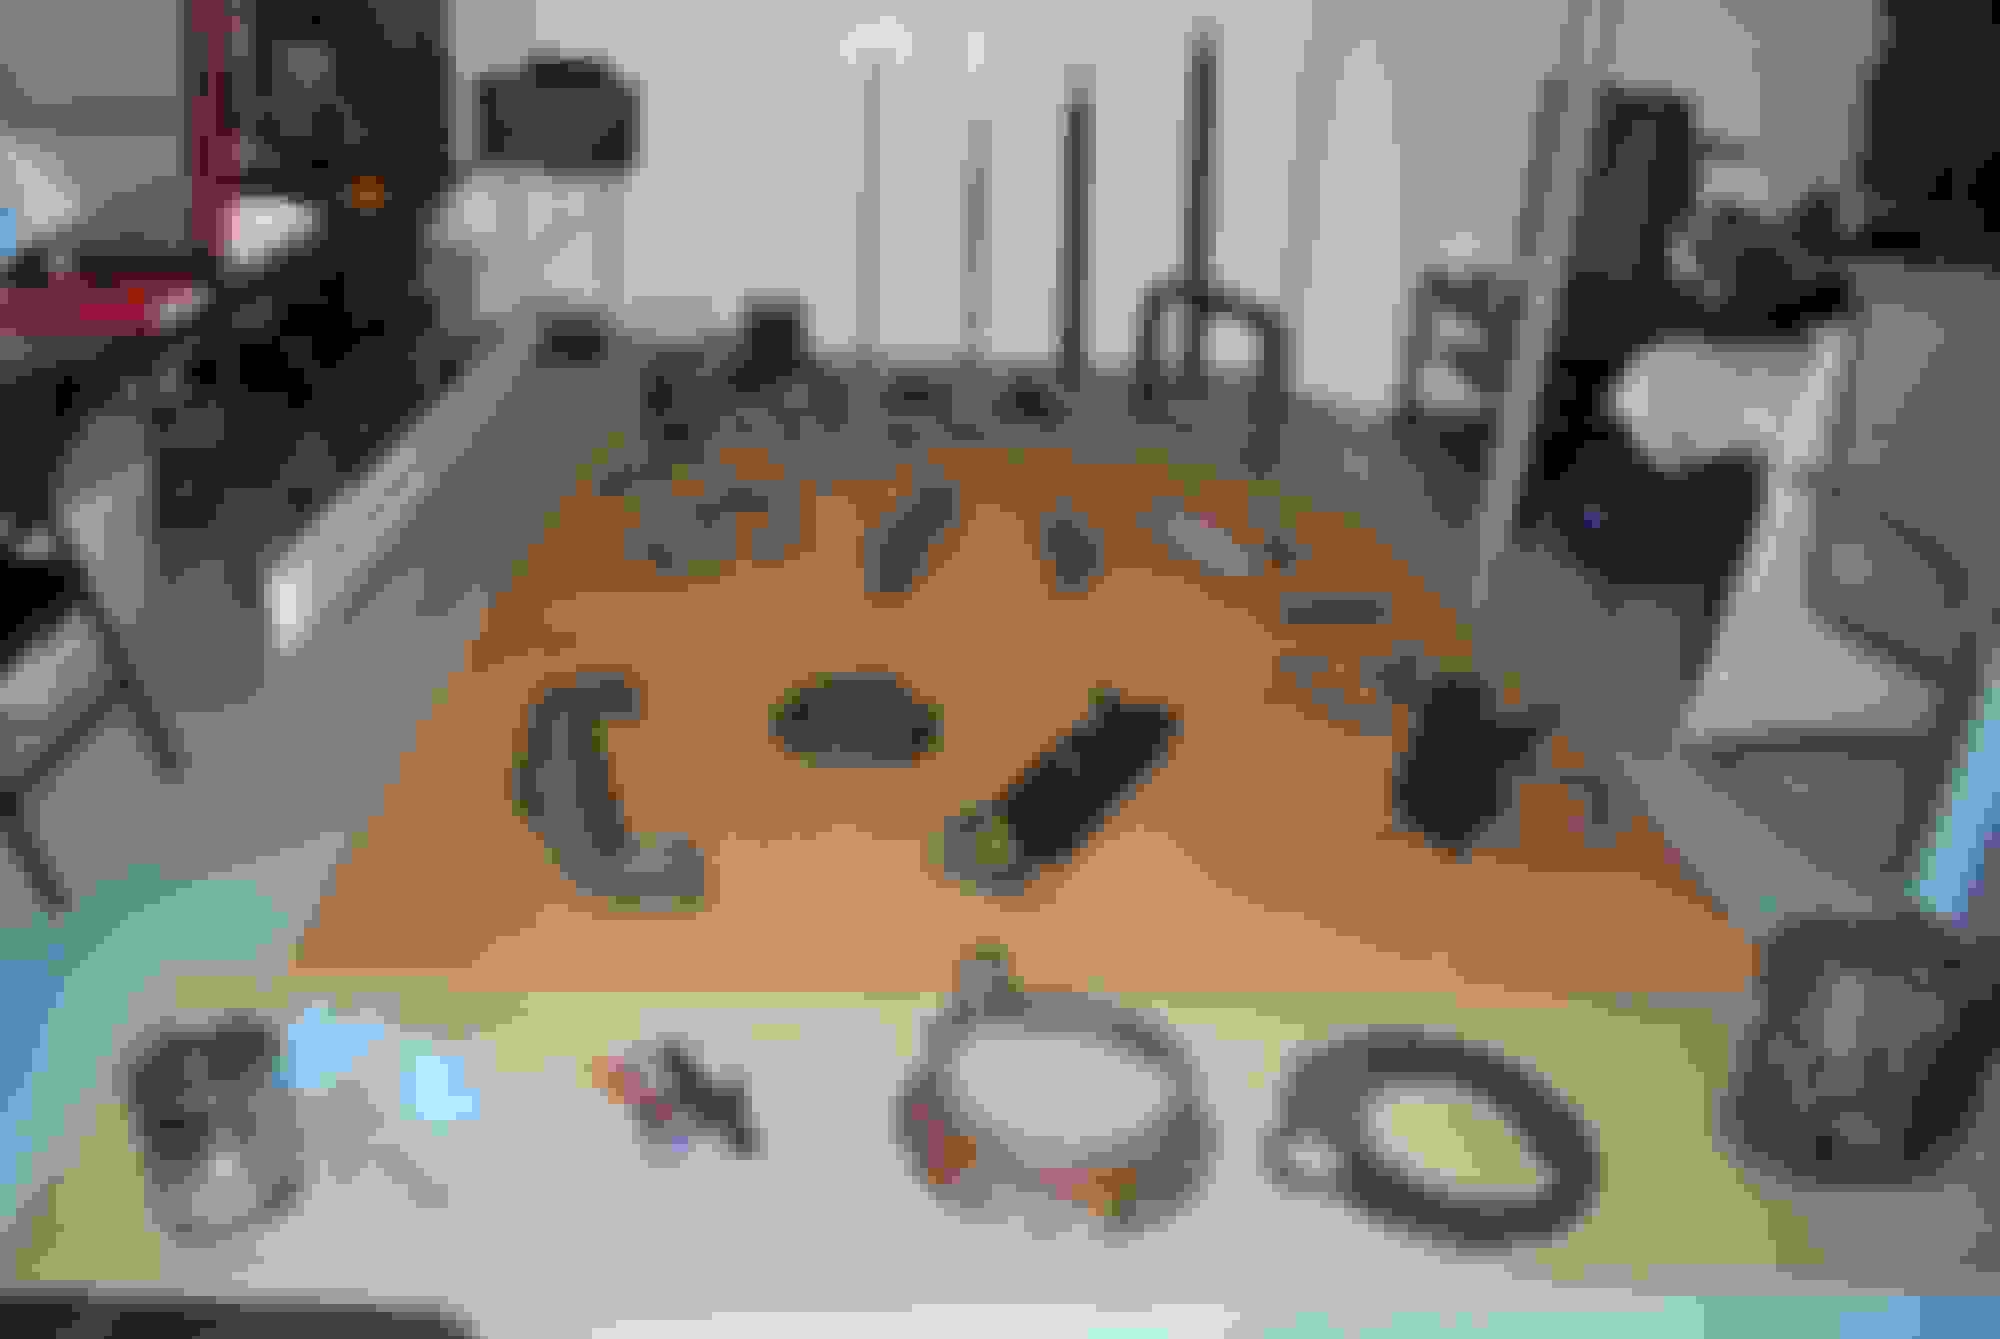
I cleaned up for the photos when i should have just left it looking like work in progress
Went through 4 tubs all said and done up to this point, but i still need to fill the front caps i got new and put them on
3" socket for the rear locking nuts
I used sort of a pastry bag full of grease to inject it full after the installation. Prior i took a plastic spoon and paint stick to coat the inside walls full and smooth, got air bubbles out and on the axle it went making sure as we went none got past the seal before it made contact in the back, then finishing it off with the bag. I estimate 95% of the cavity is filled
Packed the front drums full too using the same method. Also adjusted each pair of break shoes prior to doing the grease and mess so breaks are all around perfect and ready to go
The new tires squeegeed along the floor as we got them into place putting them on
My whole garage smells of new tires
34" tall to 38"
Awesome tread depth on theses all position highway tires!
They knew it was coming, had it coming, and their time should have came, much sooner... before someone got hurt!
The lip was gone in some areas for most of these old rims
Step 1: Making sure it's safe
Step 2: Finding a good spot (this step is important!)
Step 3: Laying down
Step 4: Look around some more
Step 5: Well there is no step five, I'm just glad Toby likes my new tires!
Got this manufacturer rebuilt (2005) Hy Power 1956 ford part to modify only the mounting bracket to work for my 1950 ford
Picked this up off Ebay for $80 hope it don't leak, guy said he tested it and also the fan motor and defrosters work
Had to get this part new as it turned out they were using the parking break band to stop the truck, the front break lines were cut when i got it
Picked this up as partial payment for some work I did on a truck I also got another one for parts out of it
B&B also machined these down for me. Now i will show you my part shelves in the basement
Everything under the truck looked like this and still does under the dump bed which will be a summer project as i started cleaning some of it but it's too much work right now
Well i can't stop there! Into the tyranny we go!!!
Everything was perfect and good until this next picture
Seems they were not engaging the PTO properly or not bringing everything to a full stop in the transmission? It's not terrible though
Had to plasma cut the ball bearings out of one bearing to remove the main shaft out of the case as the inner race of the bearing was not going to come off (needed the special ford bearing puller tool and main driveshaft gear puller)
Got to get rid of the safe
Got me some big new tools! "Go big or get hurt" is how the saying goes right?
Well i need to tackle this next and I'm not too confident in doing so, but i do have the whole overhaul gasket kit and wish to do that, clean it out, and adjust/tuneup this flat 6 to run great!
Now thats some serious progress my friend. It looks like the truck is going to be a real beauty. I feel you on all the work and getting small jobs where you can. I am 19 and graduated high school last spring as well. I really dig your red differential housing, I may paint my F6's diff up like that if you don't mind. Looking forward to more and to see how the 254 M series turns out, my F6 has the M series as well.
Everything is looking really good! It looks like the PTO is only engaging about halfway by the looks of the PTO gear and cluster. When you reassemble the syncronizer assemblies there are marks that need to be lined up similar to timing marks. If you have a Motors truck repair manual it shows the marks and the assembly sequence. Joblot did have quite a few of the internal parts and gaskets for the T98 when I rebuilt mine.
Mark
Now thats some serious progress my friend. It looks like the truck is going to be a real beauty. I feel you on all the work and getting small jobs where you can. I am 19 and graduated high school last spring as well. I really dig your red differential housing, I may paint my F6's diff up like that if you don't mind. Looking forward to more and to see how the 254 M series turns out, my F6 has the M series as well.
Sam
I don't mind at all Sam I think originally they were some shade of red but I went with Ford Thunderbird red to have contrast against my black frame which is chassis coat black. As for the flat 6 (M series) it will be painted red too but the oil pan, clutch housing and transmission all black).
I don't mind at all Sam I think originally they were some shade of red but I went with Ford Thunderbird red to have contrast against my black frame which is chassis coat black. As for the flat 6 (M series) it will be painted red too but the oil pan, clutch housing and transmission all black).
Many castings of the era, such as the center section housing, were painted inside and out with a red oxide paint. The stamped and formed pieces were usually black or void of paint. The red oxide on the castings was to minimize the problems with casting porosity.
Made progress back a few days ago, washed up the transmission case and a few other items I've been meaning to get to. Now I can reassemble the transmission once the case is panted up. But I'm still not certain of what oil i'll put in it.
In another thread I started I was told Valvoline High Performance gear oil with the non-active phosphates will be safe (apparently it is the active phosphates that corrode the brass yellowish metals). So I have that which is expensive, mineral oil, and possibly 50w diesel motor oil which is what other people use?
Then their are sites that compare gear oil weights to motor oil weights and say that they are not the same 50w to 50w. A 50w motor oil is the equivalent to a 90w gear oil. So all I want to know is what type of oil (and i think 80w90) should i put in the transmission, I have the Syncro-Silent 4 speed with PTO as you can see.
Wow Dan, you are a phenom to accomplish what you have so far!
There is nothing like the feeling of cleaned, painted parts going back in place.
Keep the energy going; luckily there are FTE'rs here that are a priceless resource.
Will be following your build to finish.
Made progress back a few days ago, washed up the transmission case and a few other items I've been meaning to get to. Now I can reassemble the transmission once the case is panted up. But I'm still not certain of what oil i'll put in it.
In another thread I started I was told Valvoline High Performance gear oil with the non-active phosphates will be safe (apparently it is the active phosphates that corrode the brass yellowish metals). So I have that which is expensive, mineral oil, and possibly 50w diesel motor oil which is what other people use?
Then their are sites that compare gear oil weights to motor oil weights and say that they are not the same 50w to 50w. A 50w motor oil is the equivalent to a 90w gear oil. So all I want to know is what type of oil (and i think 80w90) should i put in the transmission, I have the Syncro-Silent 4 speed with PTO as you can see.
Best bet is StaLube 140 GL-3, available on Amazon and can be ordered thru NAPA.
I've been using the Valvoline and other brands of oil that are "safe for manual transmissions" with no apparent trouble, but StaLube is the "no-questions" way to go. It's also what Mac VanPelt recommends.
I decided on Valvoline high performance 80w90 gear oil that could only be ordered online as the gallon jugs are not available in stores around me, also very little selection on the M-1 rated gear oils. I could only find one other product that was M-1 and it had the friction modifier additive for limited slip differential use, so no for sure on that one. Finding a safe modern gear oil has been one of my worries for a time now, Glad to be moving on!
Another big concern is drilling out these manifold bolts rusted stuck in my intake. They bolt through the exhaust going into the intake threading at the bottom (got new replacement bolts online). Will be putting that in the drill press and trying my best to save it and clean it up. Then have both painted manifold grey and baked in an oven.
So now a question, can I paint the insides of my clutch housing and such? Here's the rest of the parts being painted.
I have yet to paint the most important part the "transmission case" which when something is meant to be greasy it's whole life, proves very difficult to get degreased and paintable. One of my hardest pieces so far!

 02-07-2016, 03:44 AM