Home Brewed 70 Short Bed Build
#121
 12-30-2014, 07:28 PM

Thanks Guys
blue04.5 - It will be the primary for now, although I am thinking about adding a Mustang tank to. I ran that tank in the back of a 76 I rebuilt and really liked the 30 gallon tank, but hopefully this one will be a little easier on gas then the 76 with a 460.
I never thought about taking any pictures under the inner fender , but I will try to get some tomorrow and get them posted.
#122
12-31-2014, 07:32 PM
Couldn't get pictures showing it all but I think it might be enough to get the big picture.
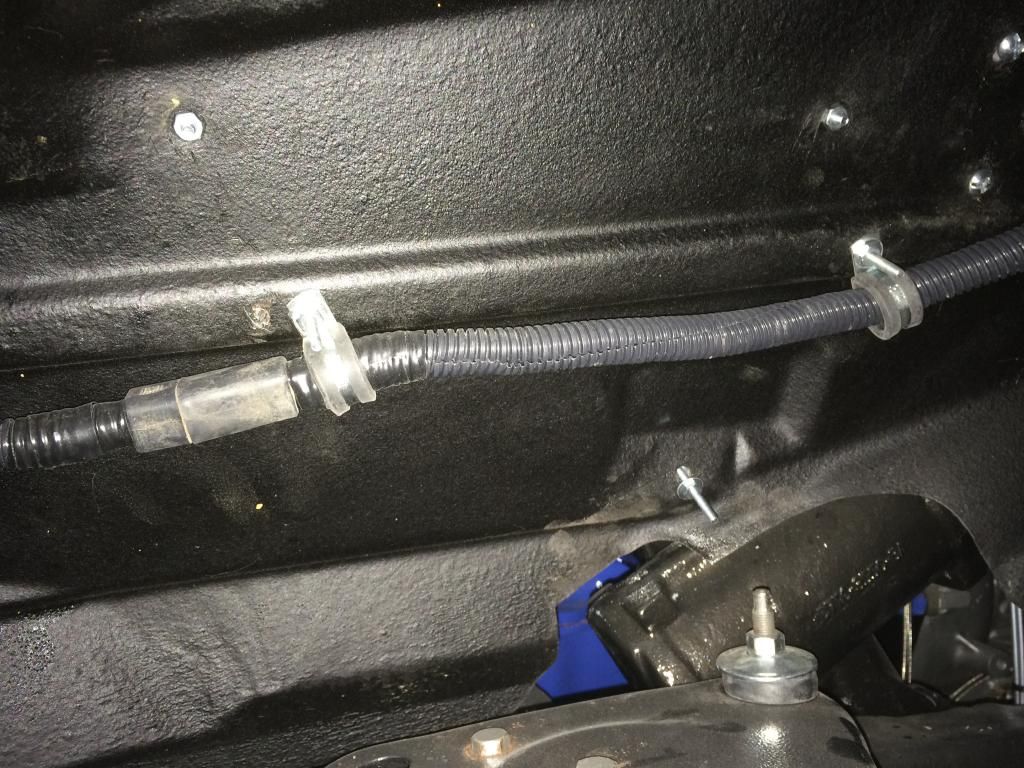
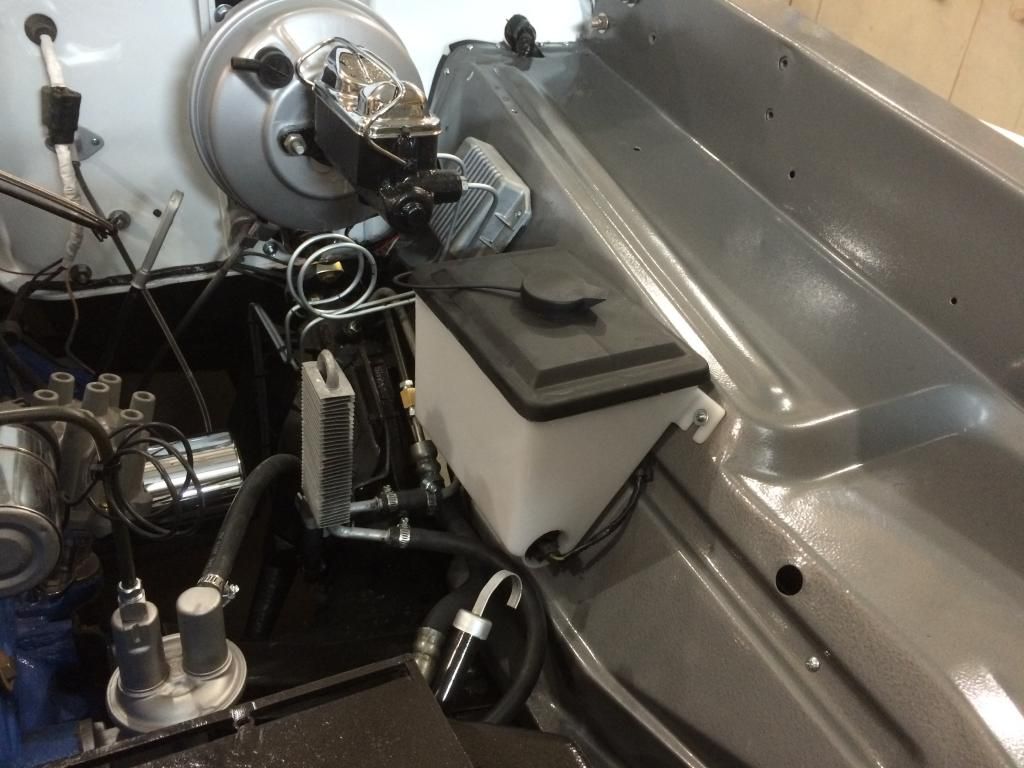
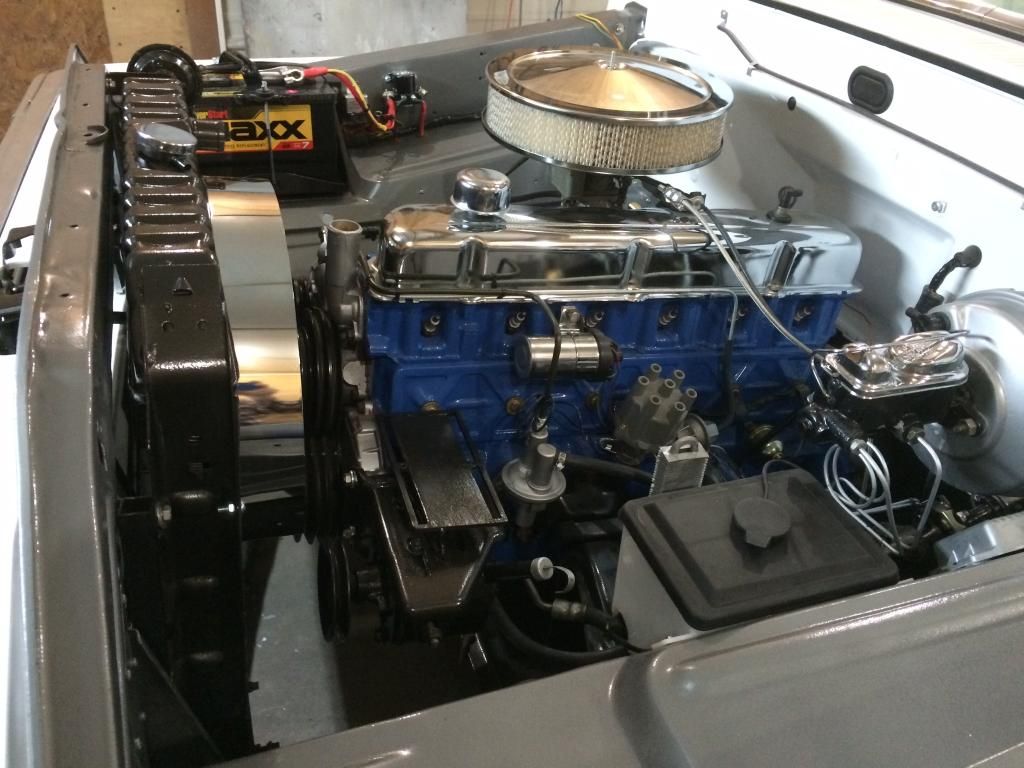
The first picture is under the drivers side inner fender the only wire run here is for the parking lights. I separated the bundle and pulled the wires for the windshield washer and headlights. The headlights are run through relays and the wires are pulled through the top of the core support. The windshield washer wires are run in the grove under the washer tank ( you can see this in the second picture ). I picked up some more clamps today to put on the bundles to hold them a little better, and I still need to cut the screws off.
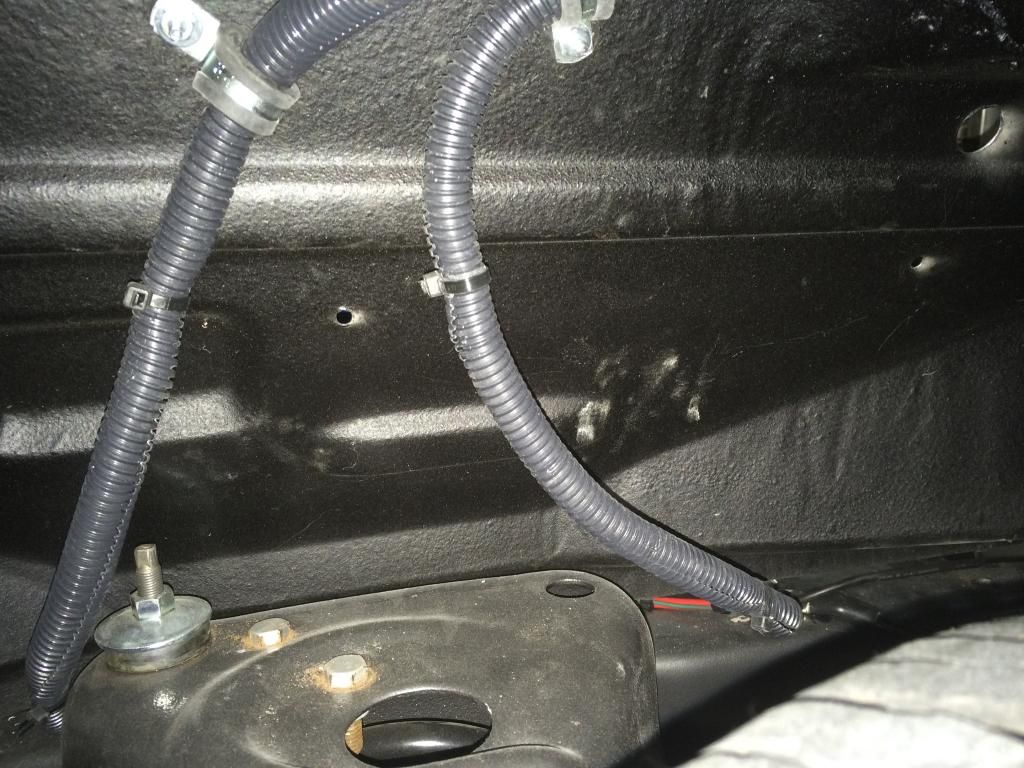
Here is pictures of the passenger side inner fender, I am also adding more clamps on this side. The only wires run under this inner fender is from the solenoid to the starter and to the alternator. I'm not sure if I will cover the bundle from the solenoid to the firewall with Convoluted Tubing and pull it up in the corner or make a cover to go over it.

The first picture is under the drivers side inner fender the only wire run here is for the parking lights. I separated the bundle and pulled the wires for the windshield washer and headlights. The headlights are run through relays and the wires are pulled through the top of the core support. The windshield washer wires are run in the grove under the washer tank ( you can see this in the second picture ). I picked up some more clamps today to put on the bundles to hold them a little better, and I still need to cut the screws off.
Here is pictures of the passenger side inner fender, I am also adding more clamps on this side. The only wires run under this inner fender is from the solenoid to the starter and to the alternator. I'm not sure if I will cover the bundle from the solenoid to the firewall with Convoluted Tubing and pull it up in the corner or make a cover to go over it.
#124
12-31-2014, 08:43 PM
Post Fiend
#125
12-31-2014, 09:06 PM
Thank you Randle, those pictures are perfect. Nicely done. I have been wanting to do something similar and was curious how you mounted or fastened your wires. I didn't even notice the screw heads in the first set of pictures, I guess I need to pay a little closer attention. Then again I think that's what you're after, trying to make them disappear.
As soon as I can find a battery small enough and enough cranking power to mount to the frame rail I will have to borrow your idea on wire routing for the battery cables coming through the inner fenders.
As soon as I can find a battery small enough and enough cranking power to mount to the frame rail I will have to borrow your idea on wire routing for the battery cables coming through the inner fenders.
#126
12-31-2014, 09:54 PM
Thanks for the good comments Guys I sure appreciate it.
Blue04.5
The reason you don't see the screws on the drivers side, they are on the back of the grove under the windshield washer tank, you can still see one of them in the front of the grove.
Another thing I did sense the wire is under the fender I double wrapped all of it with tape before I put the Convoluted Tubing on.
HIO Silver
I guess me biggest surprise is my front end is still not seating where I thought it would be, starting to wonder if the new springs were miss labeled., it still has 3 1/2 degree pos. camber. And finding the parts, I have been gathering the main truck parts for several years and thought I had all the hard to find stuff. But it is the things I thought would be easy that has been the hardest. One example I got new dome light switches and connectors in today, but guess what no bullet connectors to hook them up. I have said before it is easy to overlook the easy things, looking for the hard things.
#127
01-10-2015, 07:13 PM
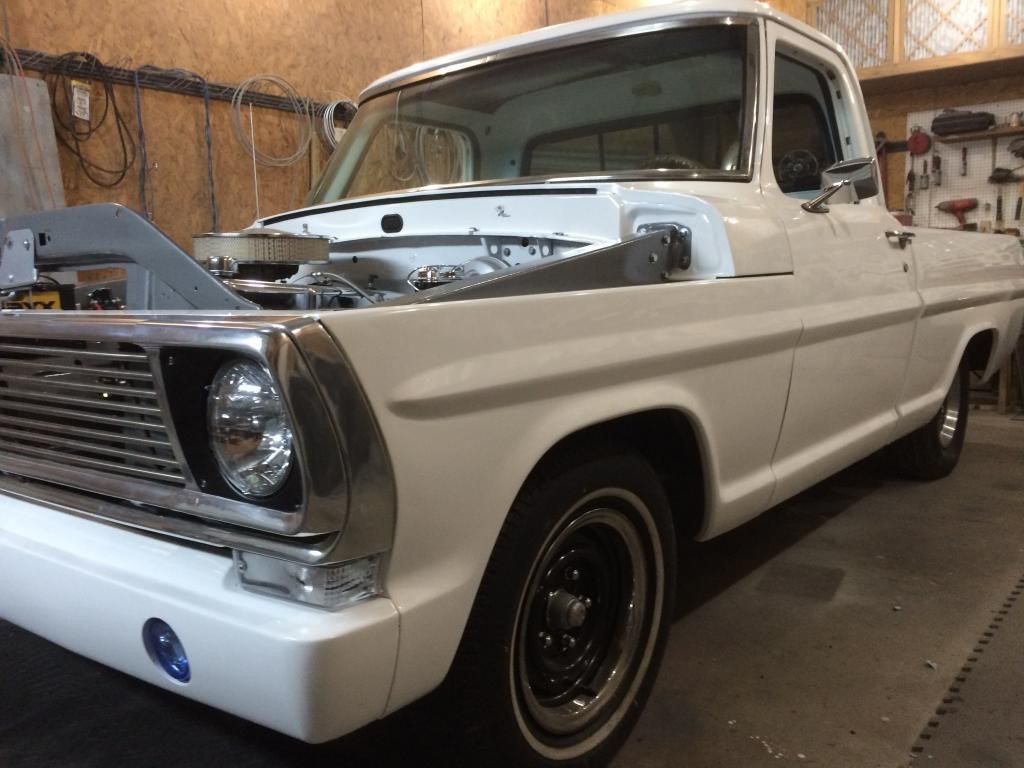
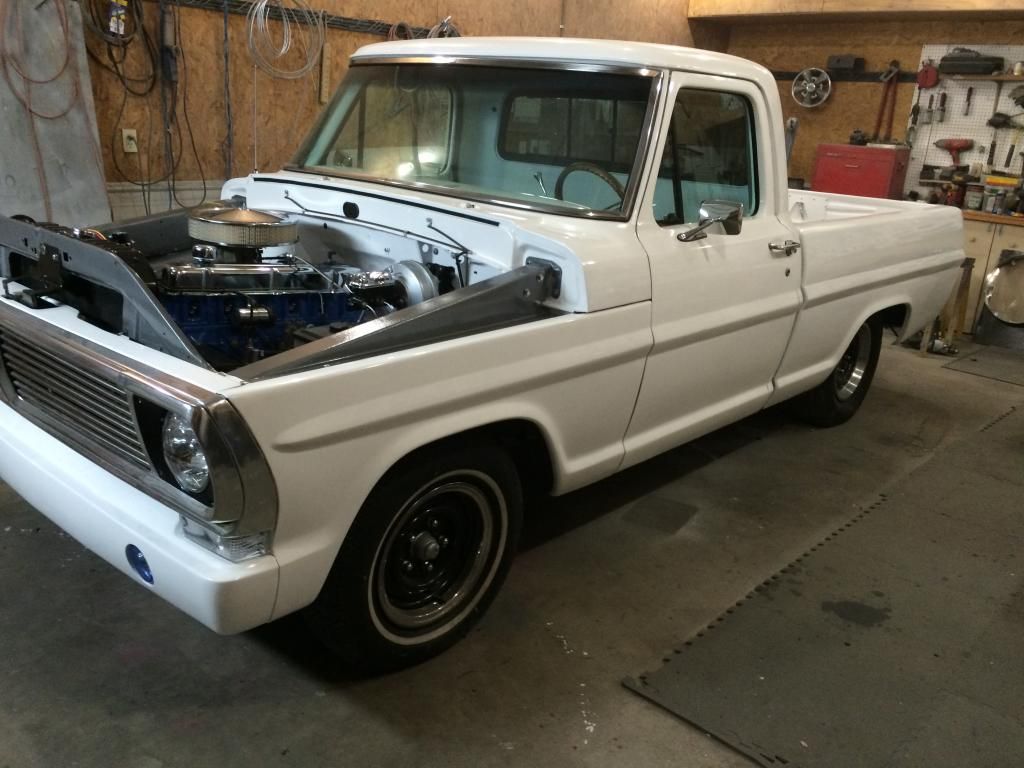
It's been a couple weeks so I thought I'd do a little catch up. I've been trying to get a lot of the little jobs caught up, and it seems like it is finally starting to really come together.
I ordered the Perfect Fit heat and air system from Classic Auto Air this week, so looking forward to getting it in and installed.
Also got the door glass in and power locks working and window motors installed, will try to get the switches hooked up tomorrow.
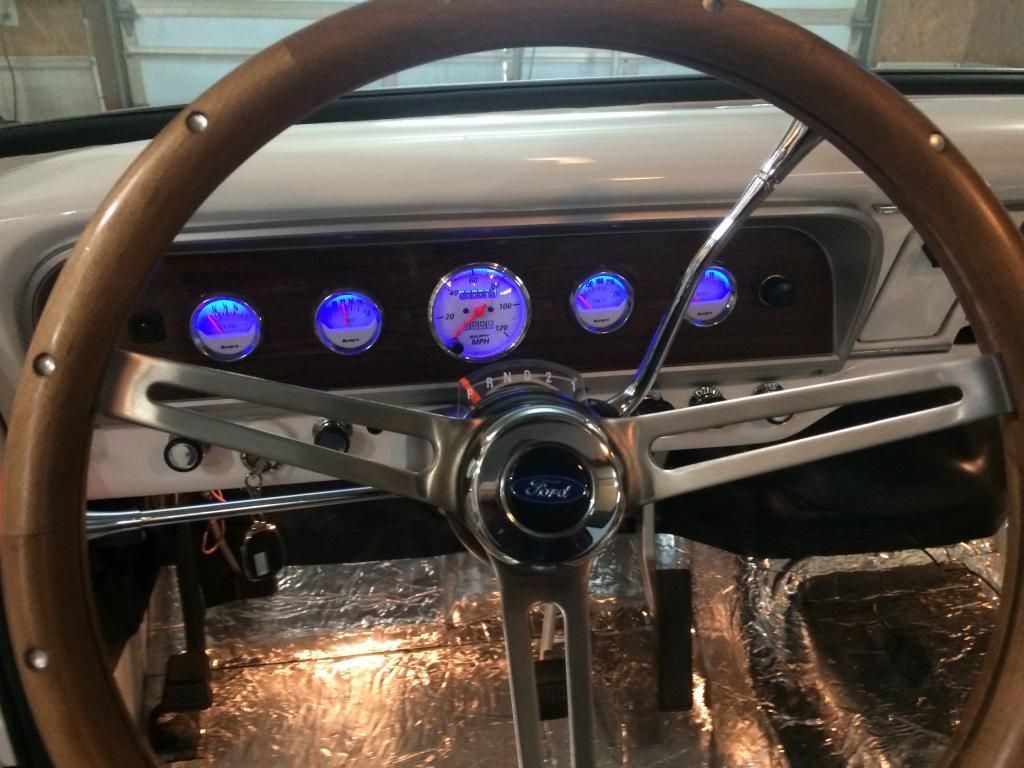
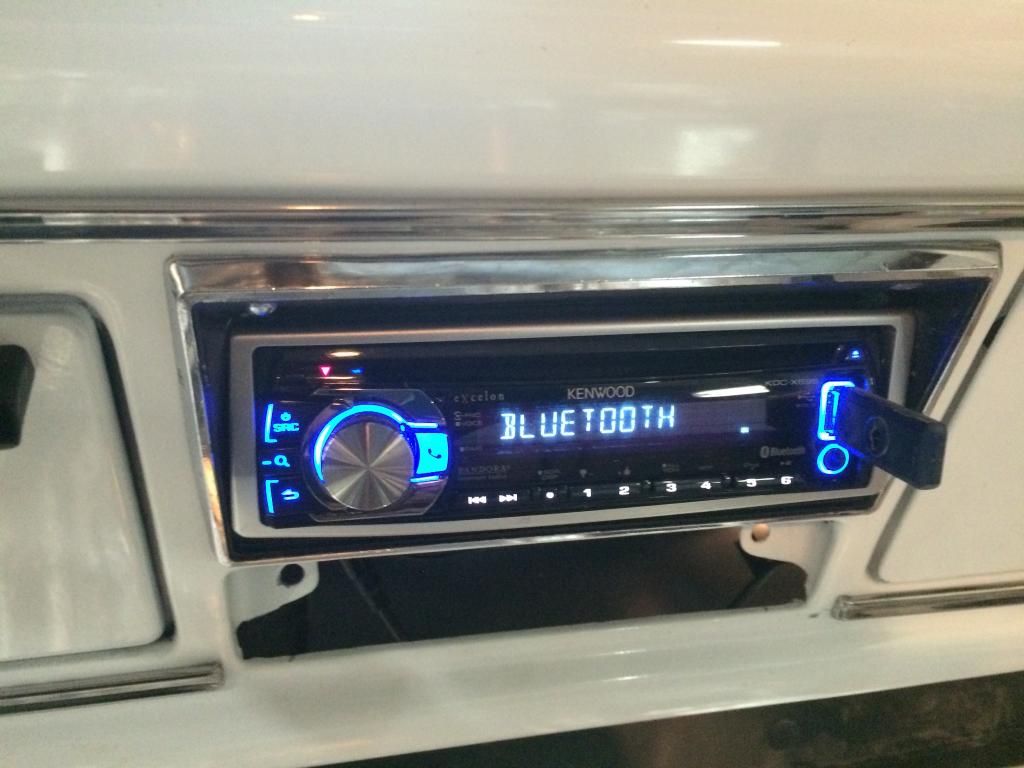
Got my blue led's in the instrument panel to match the lights in the radio.
And several odds and ends under the hood that's not on yet.
#128
01-10-2015, 07:24 PM
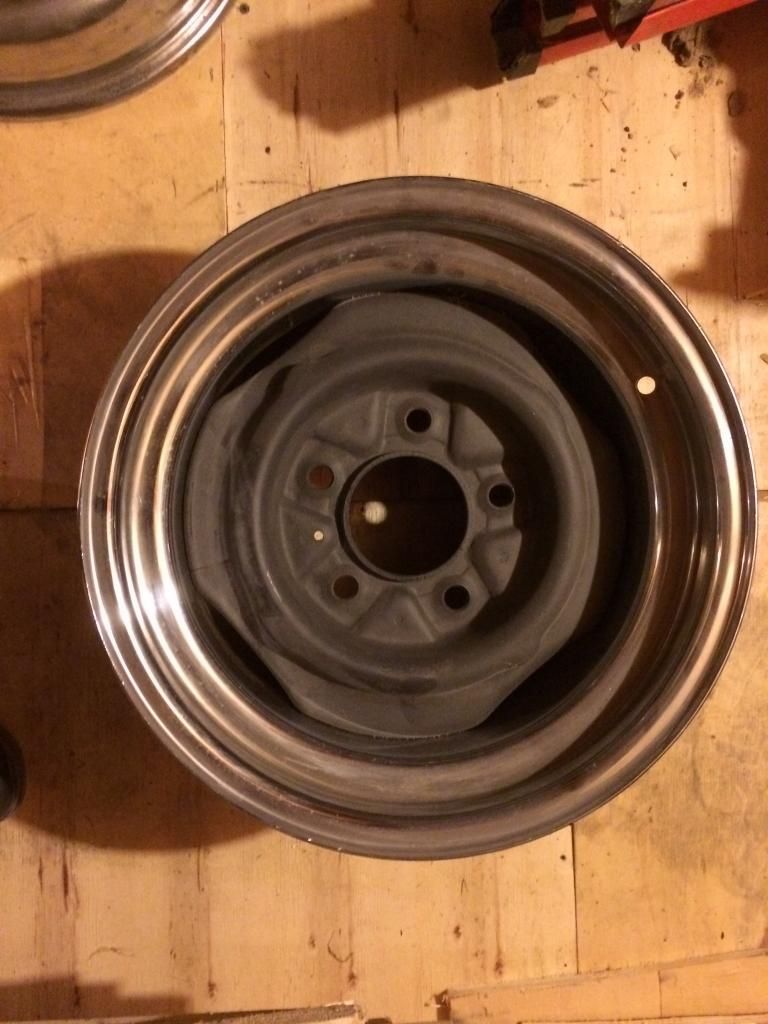
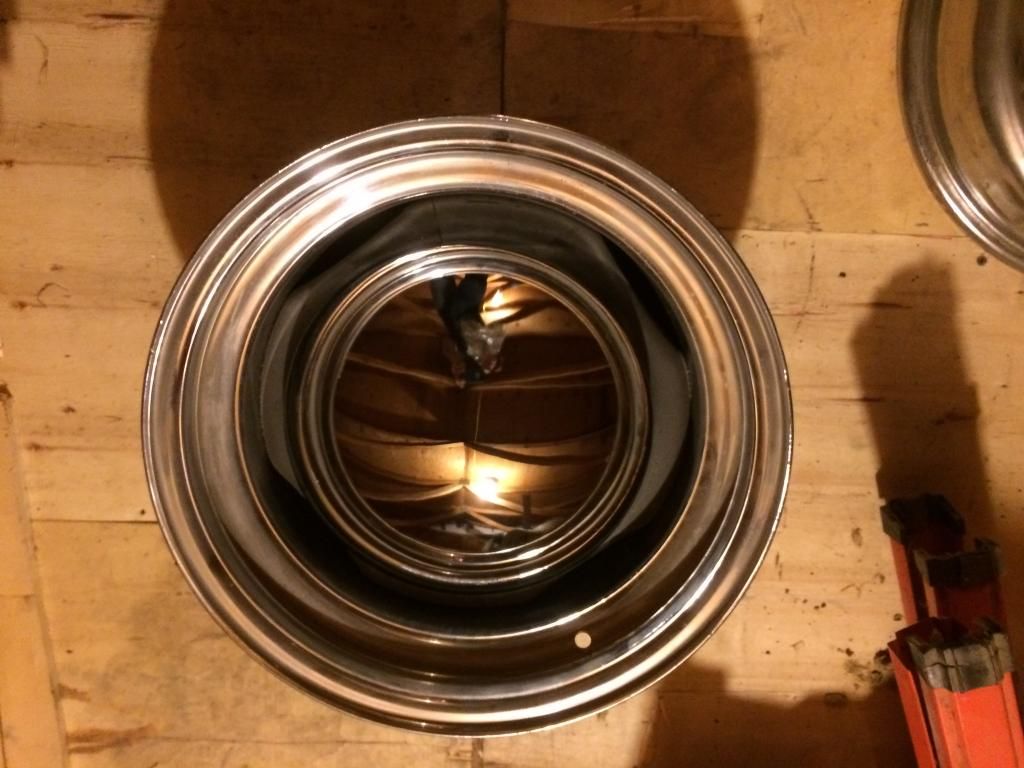
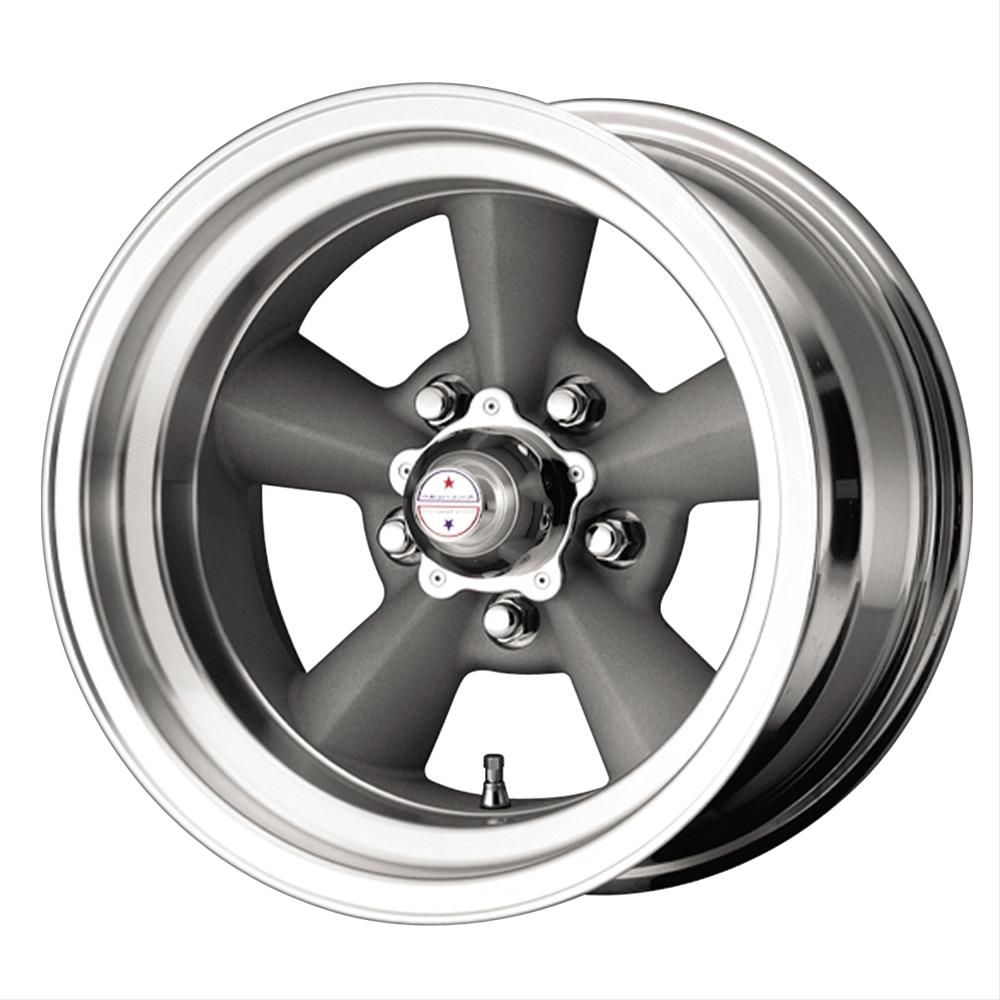
I guess one of the next things I'm getting close to is needing to decide on a set of wheels. I've got a set of 8" steel wheels I had on another truck I thought about using, but I've about talked myself into buying a set of American Racing Torq-Thrust. 7" for the front and 8.5" for the back.
#130
01-10-2015, 07:58 PM
Senior User
Join Date: Oct 2014
Location: San Antonio, TX
Posts: 129
Likes: 0
Received 0 Likes
on
0 Posts
It's been a couple weeks so I thought I'd do a little catch up. I've been trying to get a lot of the little jobs caught up, and it seems like it is finally starting to really come together.
I ordered the Perfect Fit heat and air system from Classic Auto Air this week, so looking forward to getting it in and installed.
Also got the door glass in and power locks working and window motors installed, will try to get the switches hooked up tomorrow.
Got my blue led's in the instrument panel to match the lights in the radio.
And several odds and ends under the hood that's not on yet.
That is one bad@$$ truck!!
#131
01-10-2015, 08:31 PM
Post Fiend
I guess me biggest surprise is my front end is still not seating where I thought it would be, starting to wonder if the new springs were miss labeled., it still has 3 1/2 degree pos. camber. And finding the parts, I have been gathering the main truck parts for several years and thought I had all the hard to find stuff. But it is the things I thought would be easy that has been the hardest. One example I got new dome light switches and connectors in today, but guess what no bullet connectors to hook them up. I have said before it is easy to overlook the easy things, looking for the hard things.
.. The LBB was missing a couple of U-nuts for the trans tunnel cover and it has totally slipped my mind to grab some at the JY... Unless I make a trip to the 'yard then I'm almost dead in the water unless I come up with a work-around.
Keep plugging away... it's looking good.
#132
01-10-2015, 08:38 PM

#134
01-10-2015, 09:01 PM
Post Fiend
Thank You all Kind Sirs.
Hio Silver The little things do take a lot of time and so easy to over look something. How many of the clips do you need, I have a extra cab just waiting for me to be sure I have everything I need before it go's to scrap and they are all still on it.
Hio Silver The little things do take a lot of time and so easy to over look something. How many of the clips do you need, I have a extra cab just waiting for me to be sure I have everything I need before it go's to scrap and they are all still on it.
Before sending that cab to scrap, I'd pull every piece of hardware and put them in one of these organizers from HF. It's saved my butt a couple of times.

#135
01-10-2015, 09:08 PM