Home Brewed 70 Short Bed Build
#1
 07-26-2014, 08:18 PM

Home Brewed 70 Short Bed Build
After a few people ask if I had a build thread I decided to do one. I'm not the best at writing so bear with me.
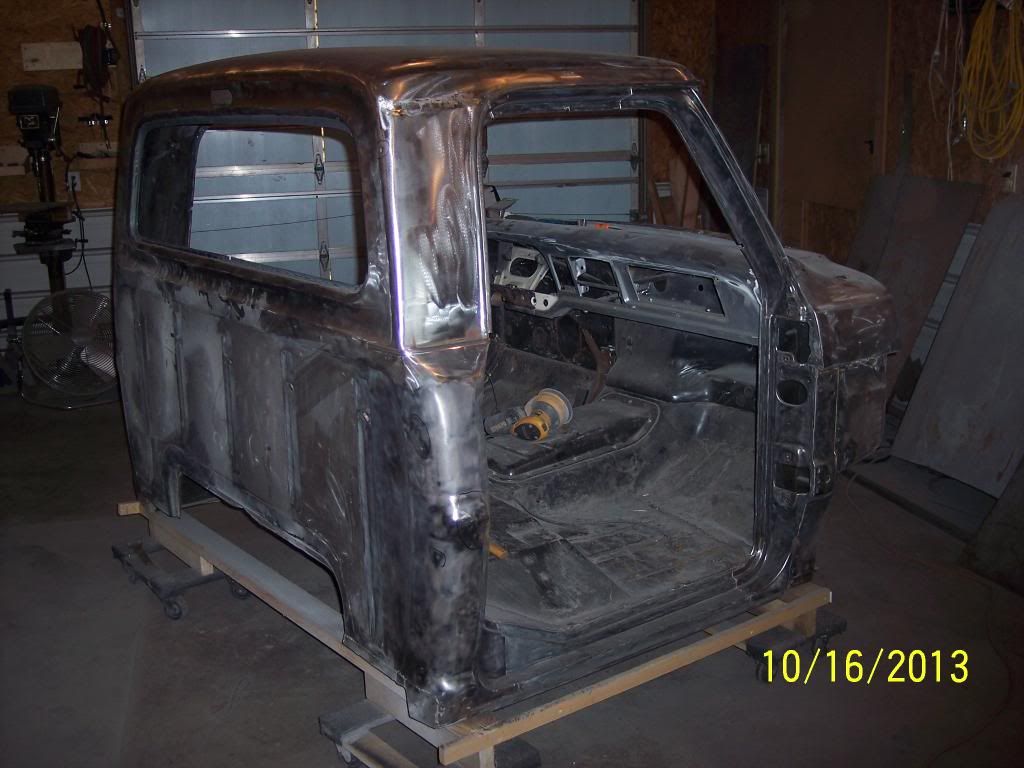
To give you a little history I drove my first bump, a 67 back in the late 60's and 70's. That was the truck I always wished I had kelp. About 15 years ago I bought a 70 and used it as a farm truck for awhile, and started gathering parts thinking one day I would restore the truck. Anyway probably a year are so ago I started building my bump. Enough for now I know all you guys like to see pictures, so I will try to give you a quick run though on my build up to now.
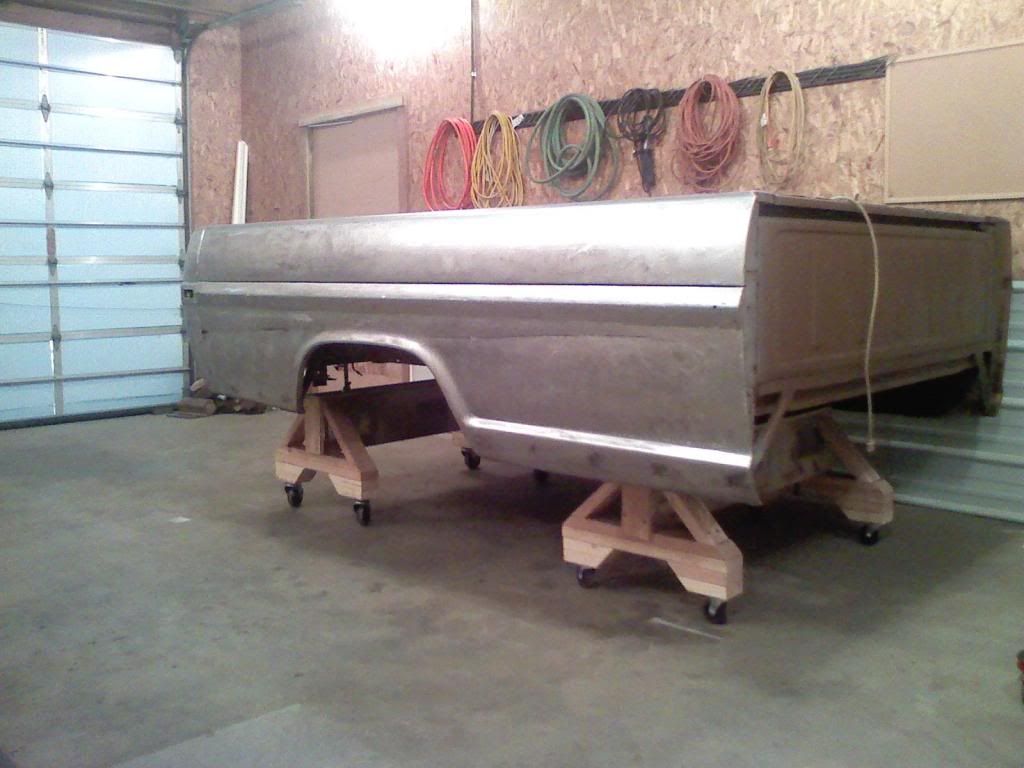
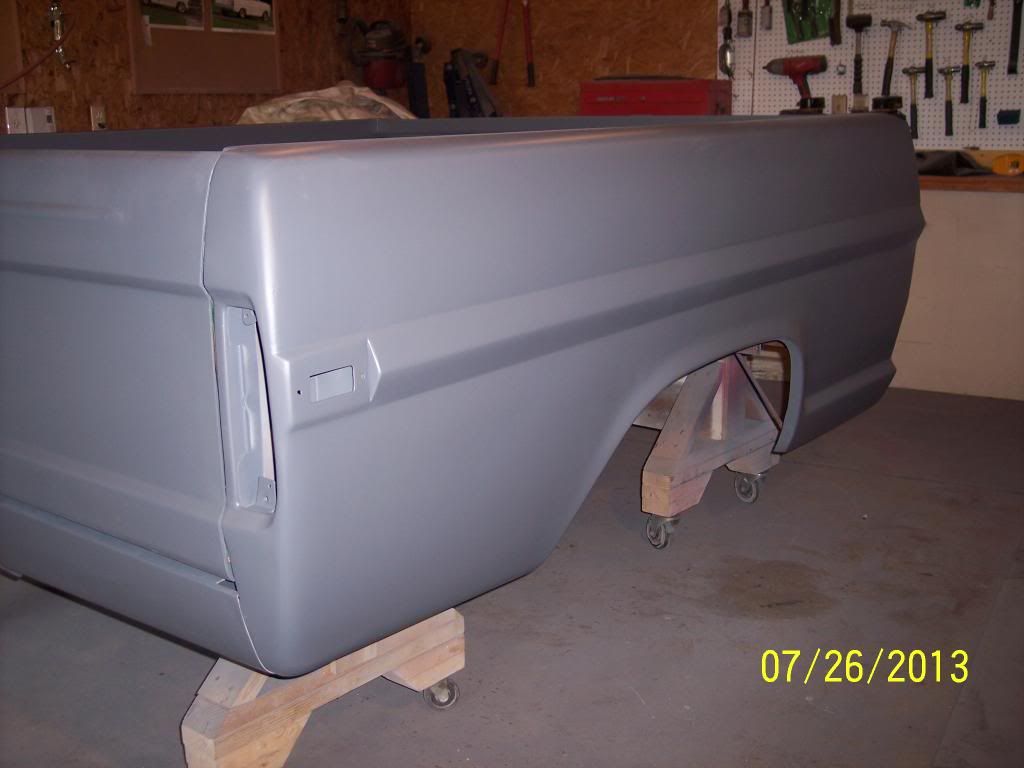
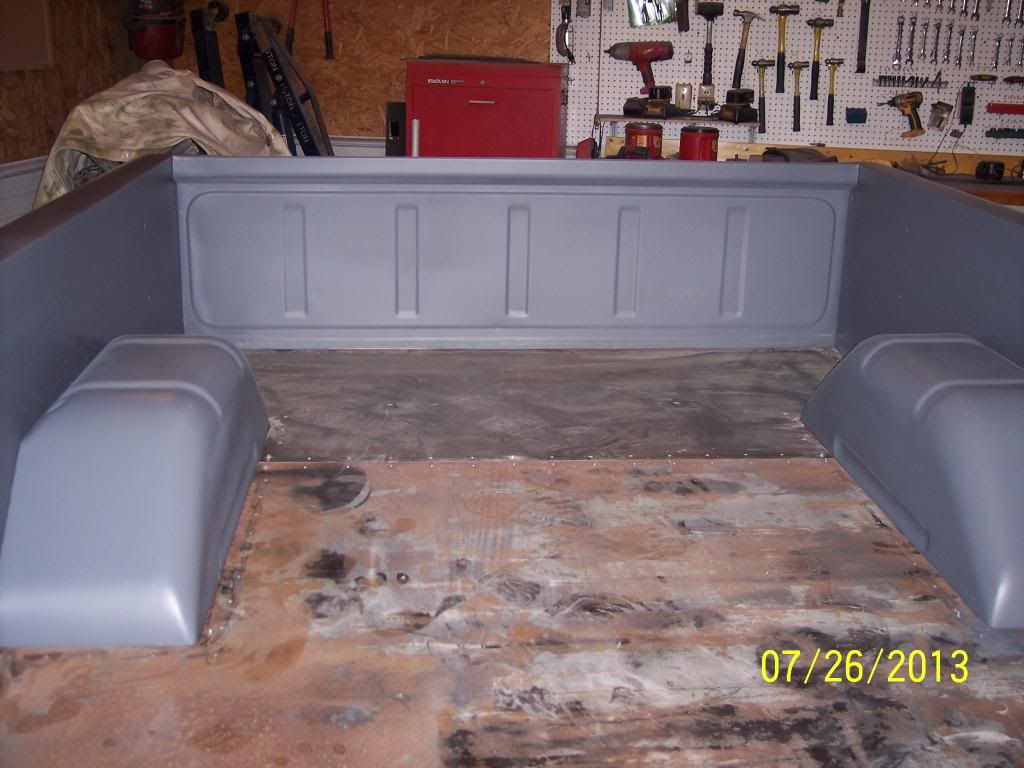
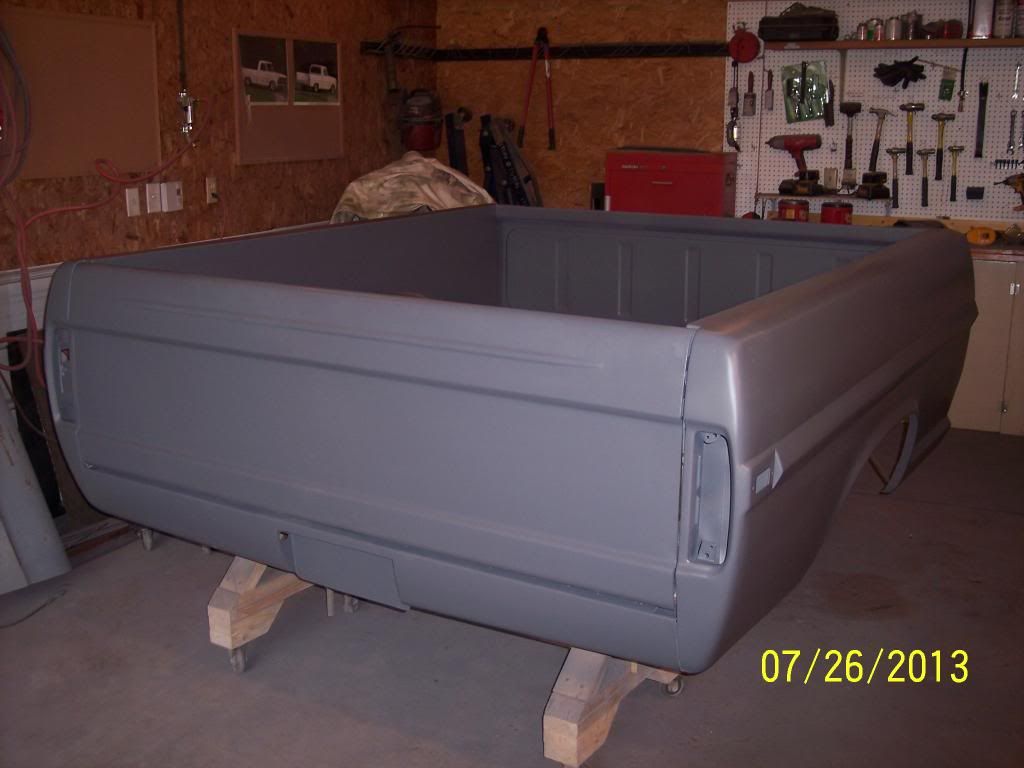
The first thing I worked on was the bed. The best I had was a long bed, so I shortened it welded all the seams, and smoothed the inside.
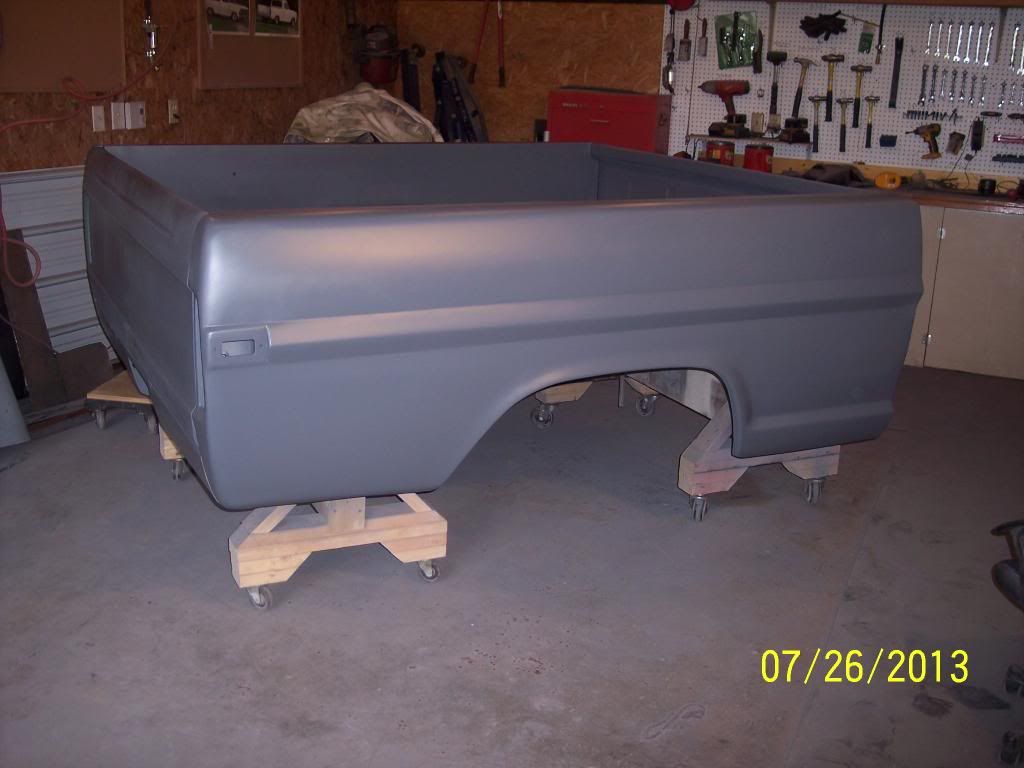
I'm thinking about filling the side marker light before paint.
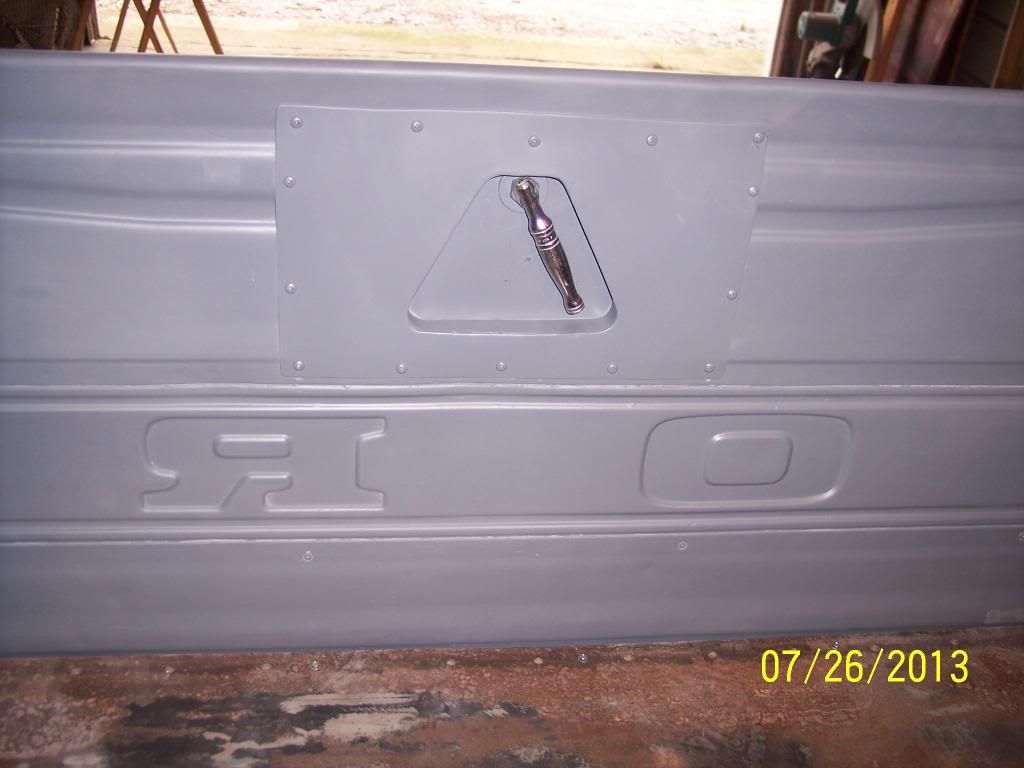
Next was the tailgate I smoothed outside and reversed the handle then built the roll pan.
I think I will probably smooth the inside of the tailgate before I paint it.
To give you a little history I drove my first bump, a 67 back in the late 60's and 70's. That was the truck I always wished I had kelp. About 15 years ago I bought a 70 and used it as a farm truck for awhile, and started gathering parts thinking one day I would restore the truck. Anyway probably a year are so ago I started building my bump. Enough for now I know all you guys like to see pictures, so I will try to give you a quick run though on my build up to now.
The first thing I worked on was the bed. The best I had was a long bed, so I shortened it welded all the seams, and smoothed the inside.


I'm thinking about filling the side marker light before paint.


Next was the tailgate I smoothed outside and reversed the handle then built the roll pan.

I think I will probably smooth the inside of the tailgate before I paint it.


#3
07-26-2014, 09:02 PM
 [/URL]
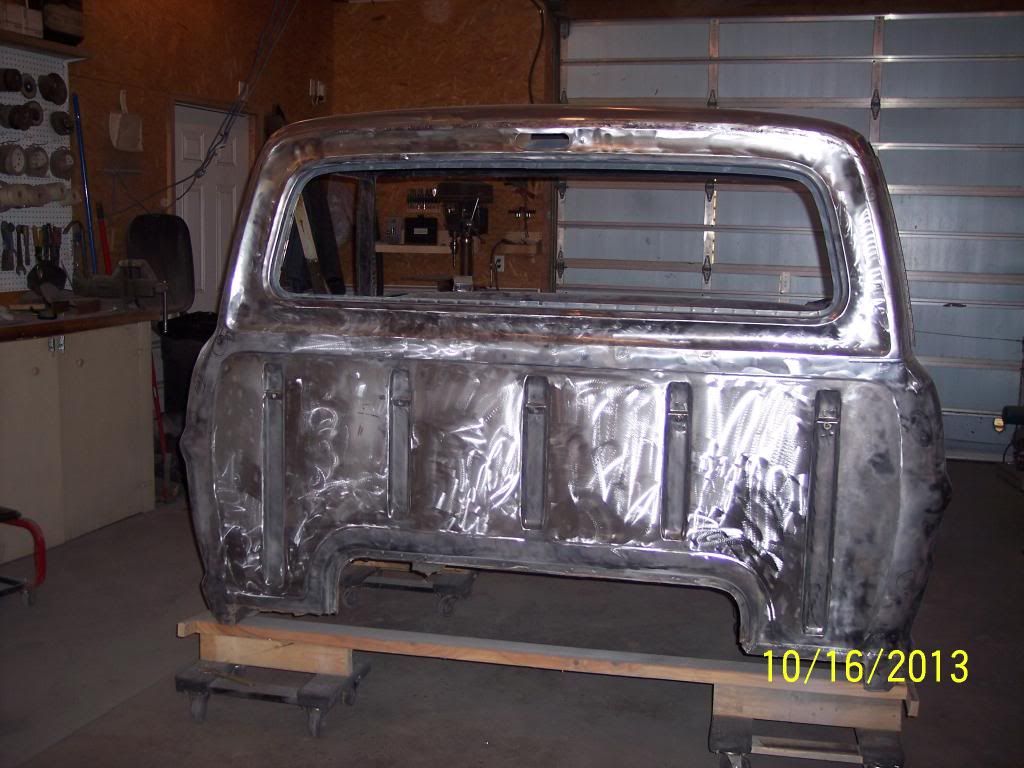 [/URL]
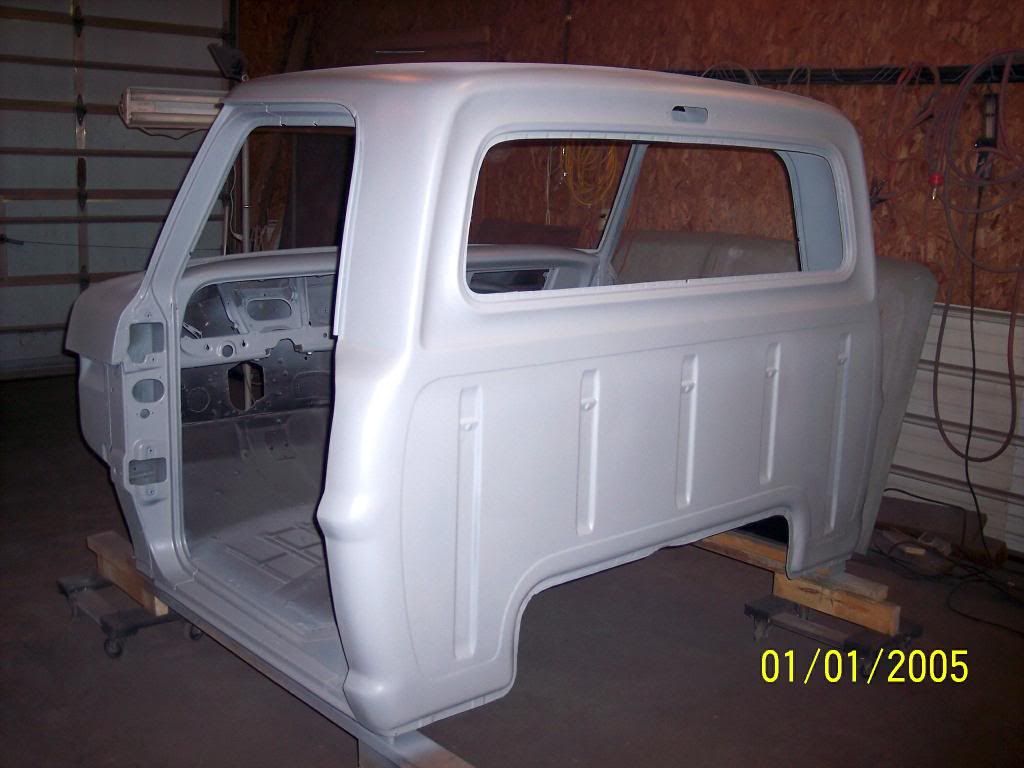 [/URL]
 [/URL]
 [/URL]
#4
07-26-2014, 09:20 PM
Posting Guru
#5
07-26-2014, 09:20 PM
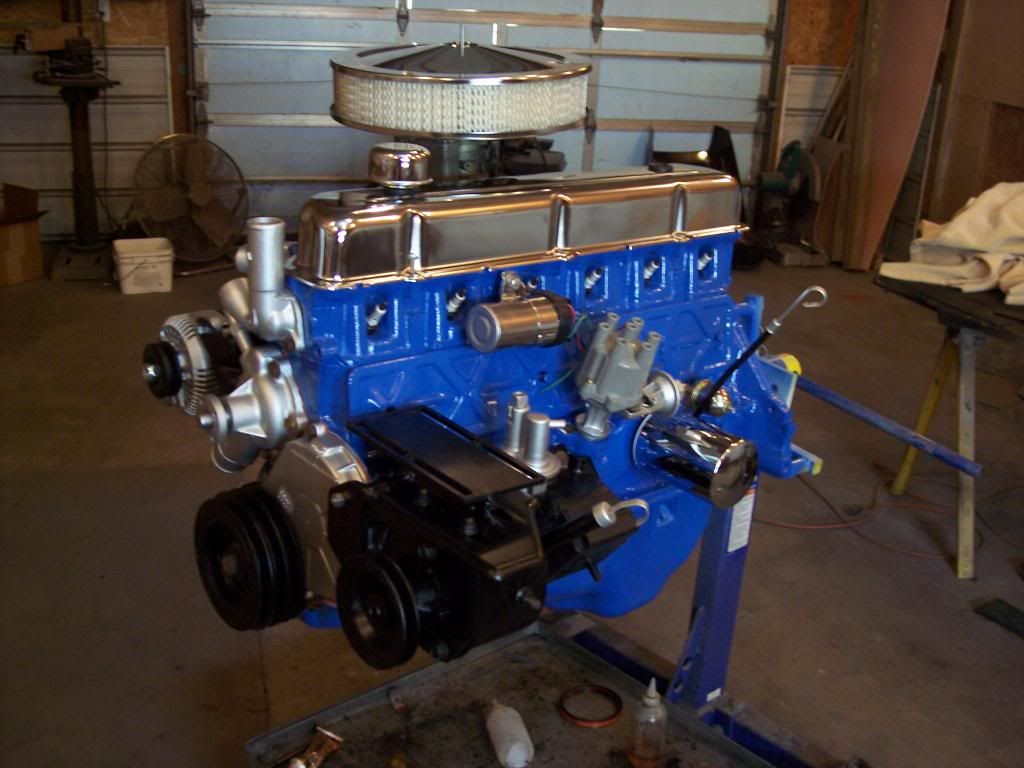
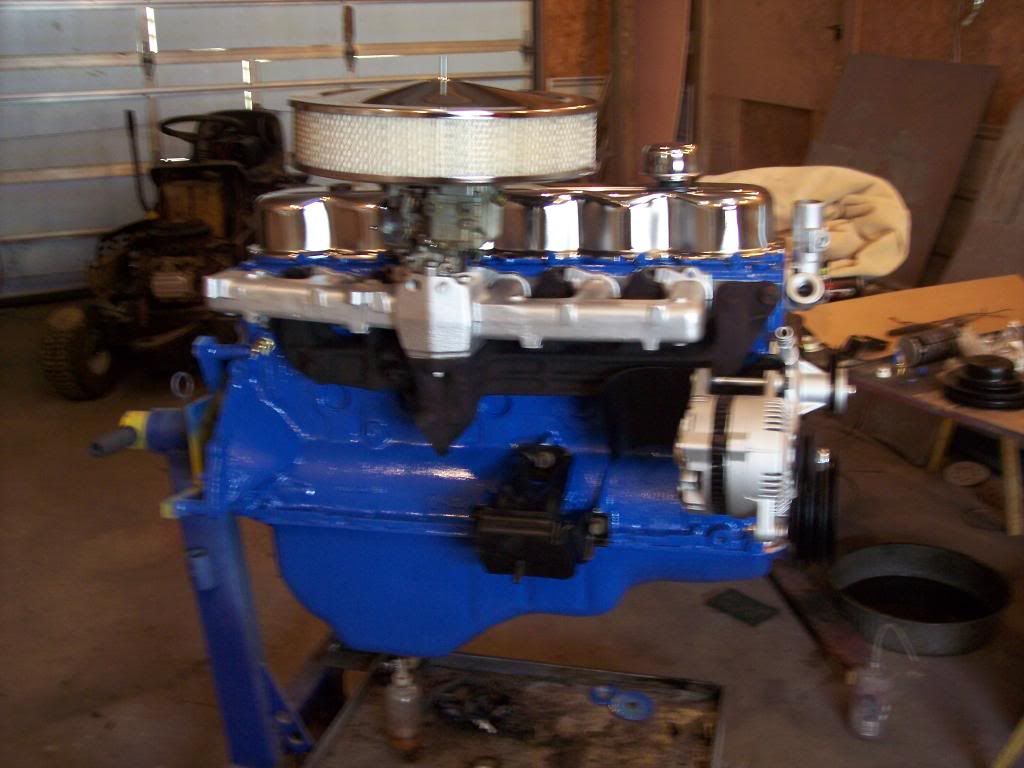
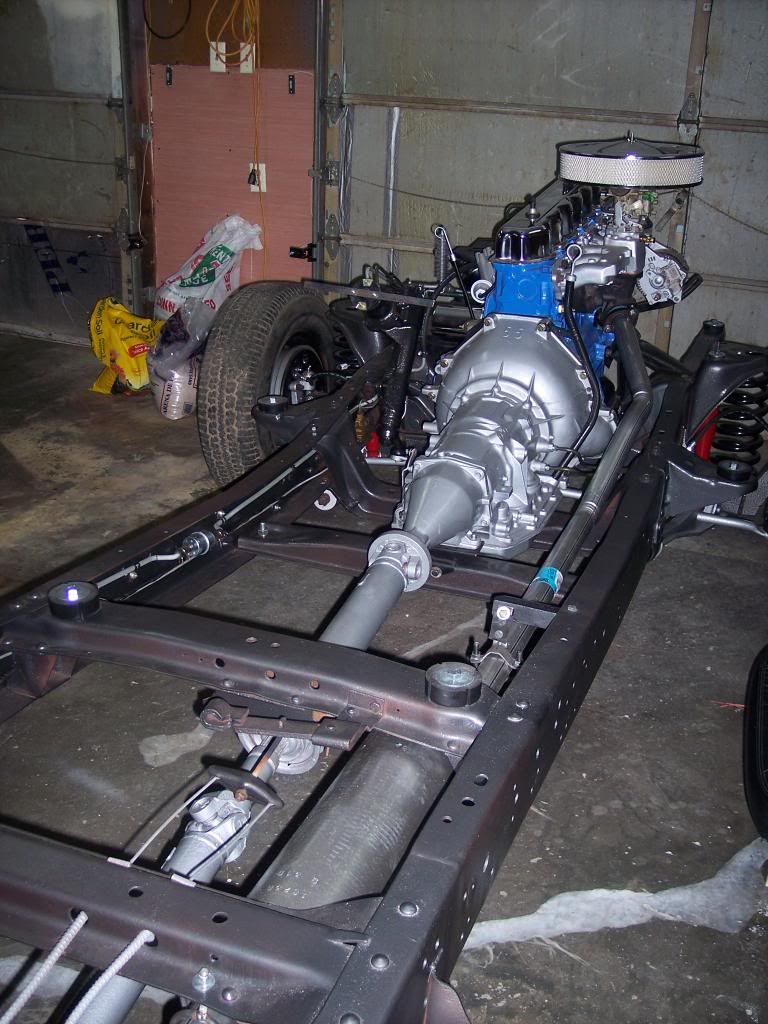
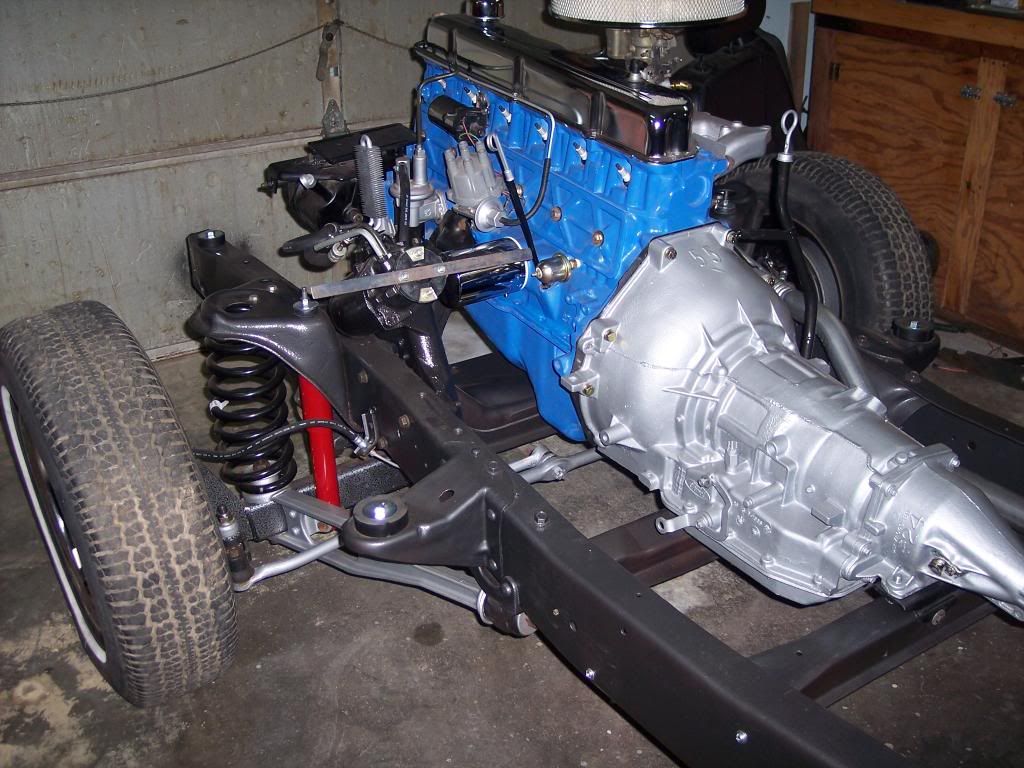
Next up was the motor. After having a couple trucks that set in the garage I wanted this truck to be one I could drive and enjoy. I just sold a 76 with a 460 and I didn't like that 8-9 MPG, and I have always liked the 300 so out came the 390 and and I built a 300. It's a 90 model with 75 manifolds, carb and duraspark. It will be backed up with a AOD transmission and 325 Gears.
 [/URL]
 [/URL]
[/URL][/URL]
#6
07-26-2014, 09:29 PM
#7
07-27-2014, 08:40 AM
Trending Topics
#8
07-27-2014, 09:23 AM
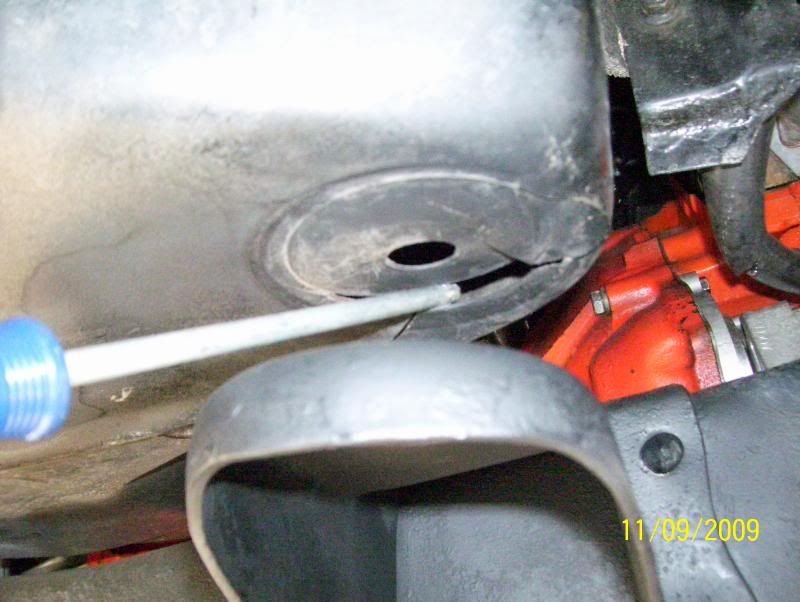
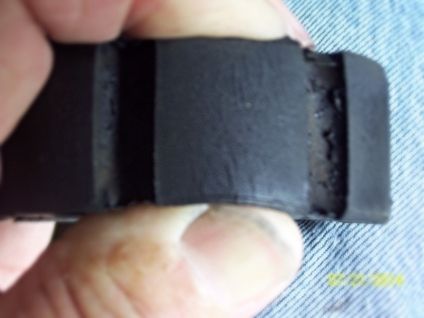
I hope you don't put it back together using any LMC rubber products as they are made with the cheapest rubber and crack from the ozone after a few yrs.
My 2cents as they got my money a few times. But now having to replace all cab rubber mounting cushions, window & door rubber seals, cab gas tank filler donut seal.
And lastly the metal thin crappy cab mounts as pictured below.
I had to remove these cheap ones & install the better ones DC sells for much more but they our more like the oem cab mounts..
Orich
THE MOUNTS
THE RUBBER CUSHIONS ABOUT 6 YRS. ON THEM
My 2cents as they got my money a few times. But now having to replace all cab rubber mounting cushions, window & door rubber seals, cab gas tank filler donut seal.
And lastly the metal thin crappy cab mounts as pictured below.
I had to remove these cheap ones & install the better ones DC sells for much more but they our more like the oem cab mounts..
Orich
THE MOUNTS

THE RUBBER CUSHIONS ABOUT 6 YRS. ON THEM

#9
07-27-2014, 09:27 AM
#11
07-27-2014, 02:52 PM
Posting Guru

#12
07-27-2014, 10:20 PM
Thanks for all the good works, it does mean a lot.
I will be glad to write up the air as I put it in. Looking at their instructions it looks like it is pretty straight forward to install.
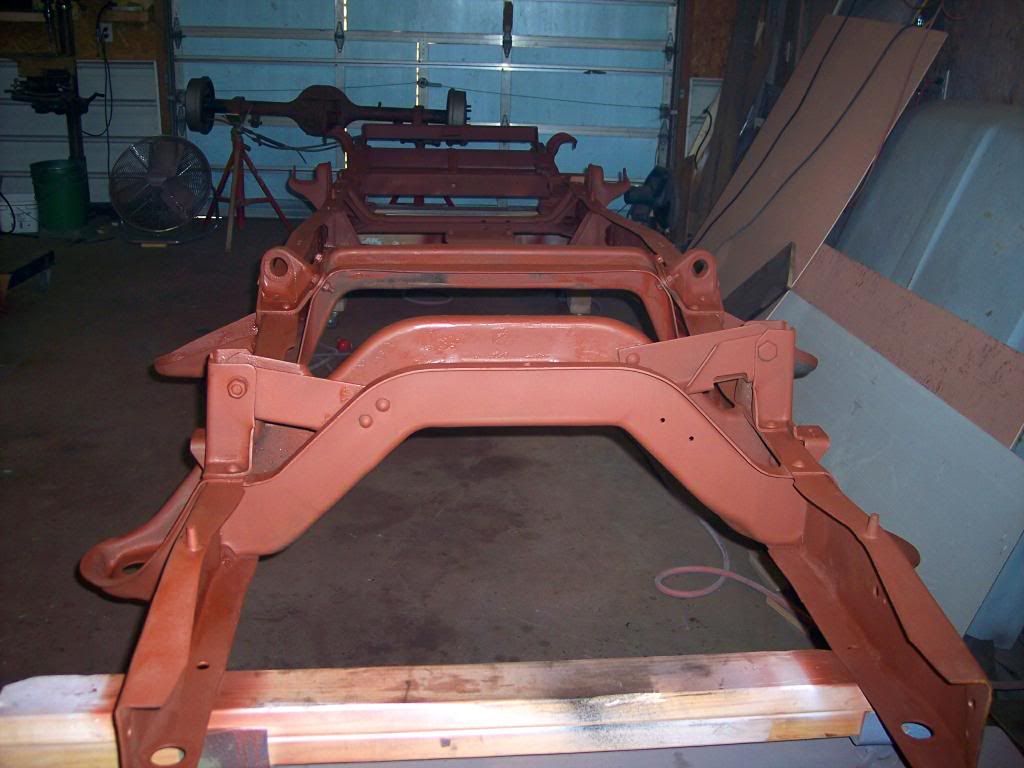
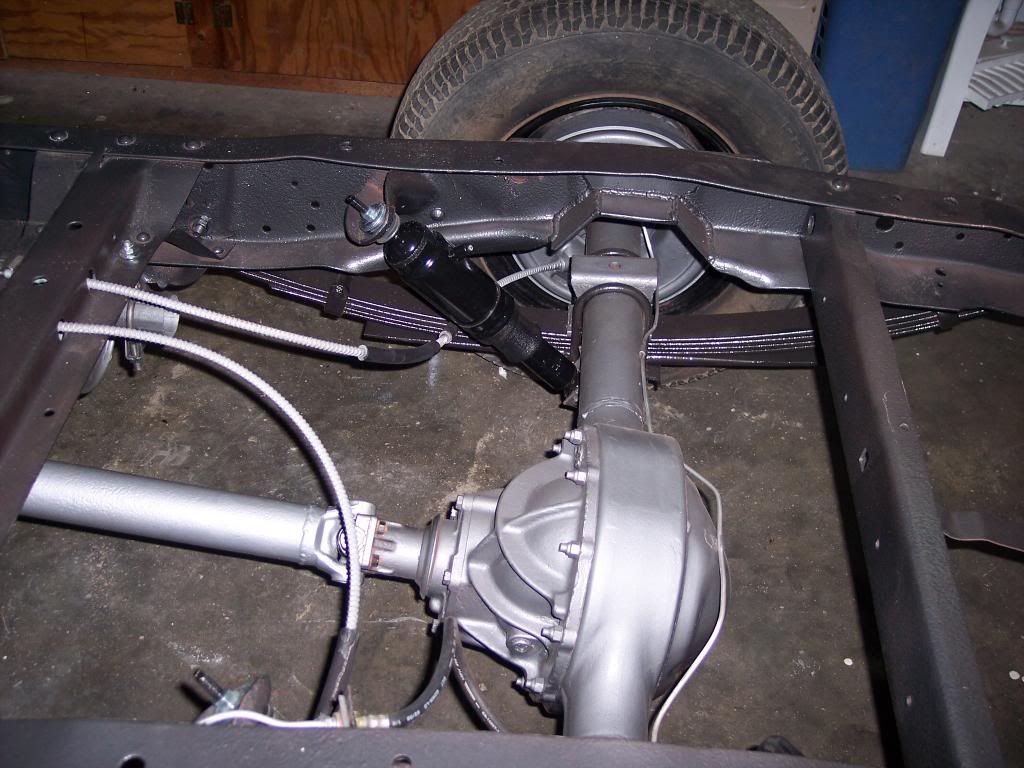
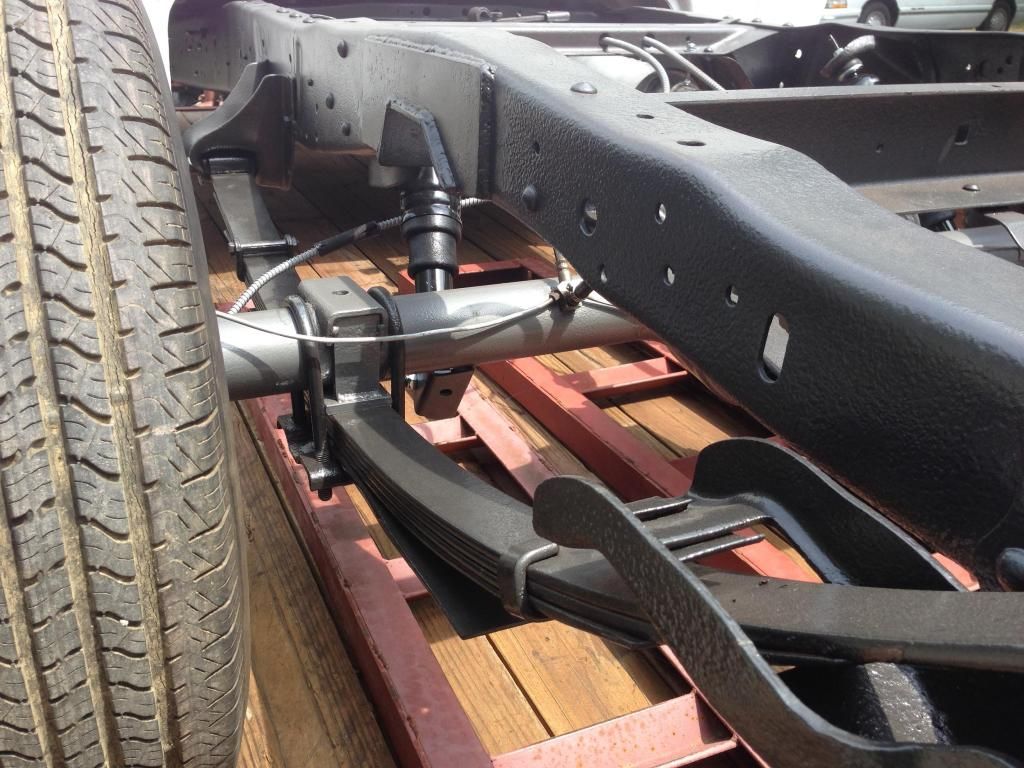
Anyway here is a few more pictures of my progress. I striped the frame and put a coat of epoxy primer on then painted it black.
 [/URL]
 [/URL]
I didn't get pictures of some of the steps.
 [/URL]
 [/URL]
 [/URL]
 [/URL]
I will try to post a little more tomorrow night.
I will be glad to write up the air as I put it in. Looking at their instructions it looks like it is pretty straight forward to install.
Anyway here is a few more pictures of my progress. I striped the frame and put a coat of epoxy primer on then painted it black.
[/URL][/URL]I didn't get pictures of some of the steps.
[/URL][/URL][/URL][/URL]I will try to post a little more tomorrow night.
#14
07-28-2014, 09:34 AM
Senior User
Join Date: Dec 2013
Location: New Harbour, NFLD
Posts: 160
Likes: 0
Received 0 Likes
on
0 Posts
#15
07-28-2014, 08:12 PM
Thanks for the comments.
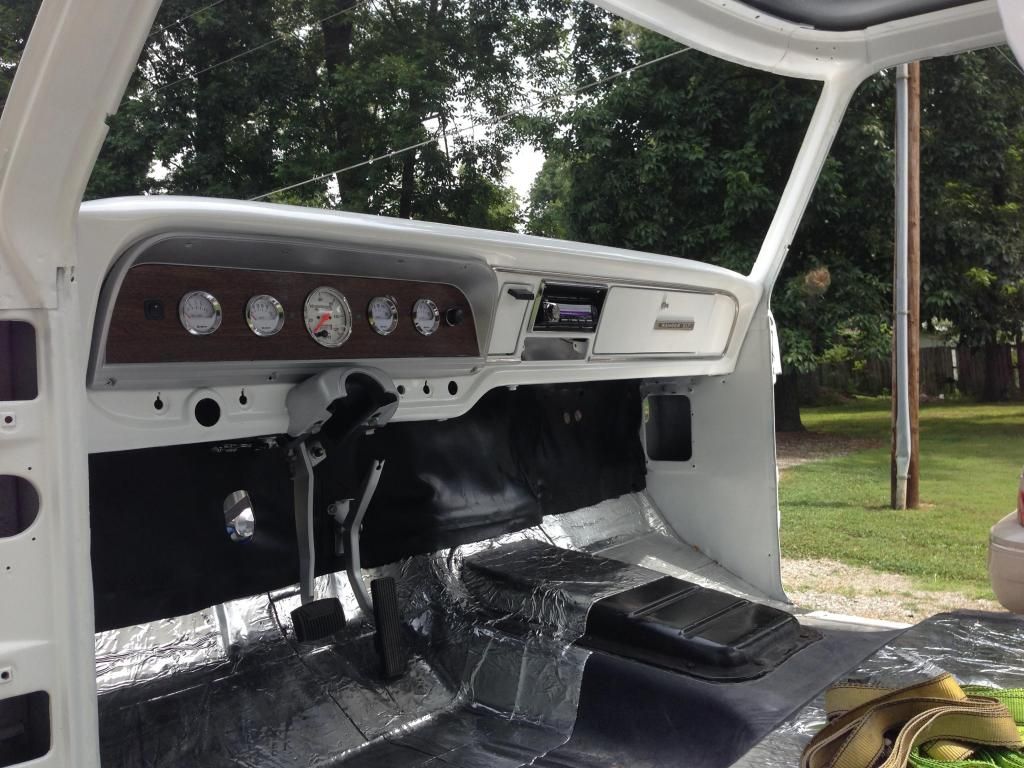
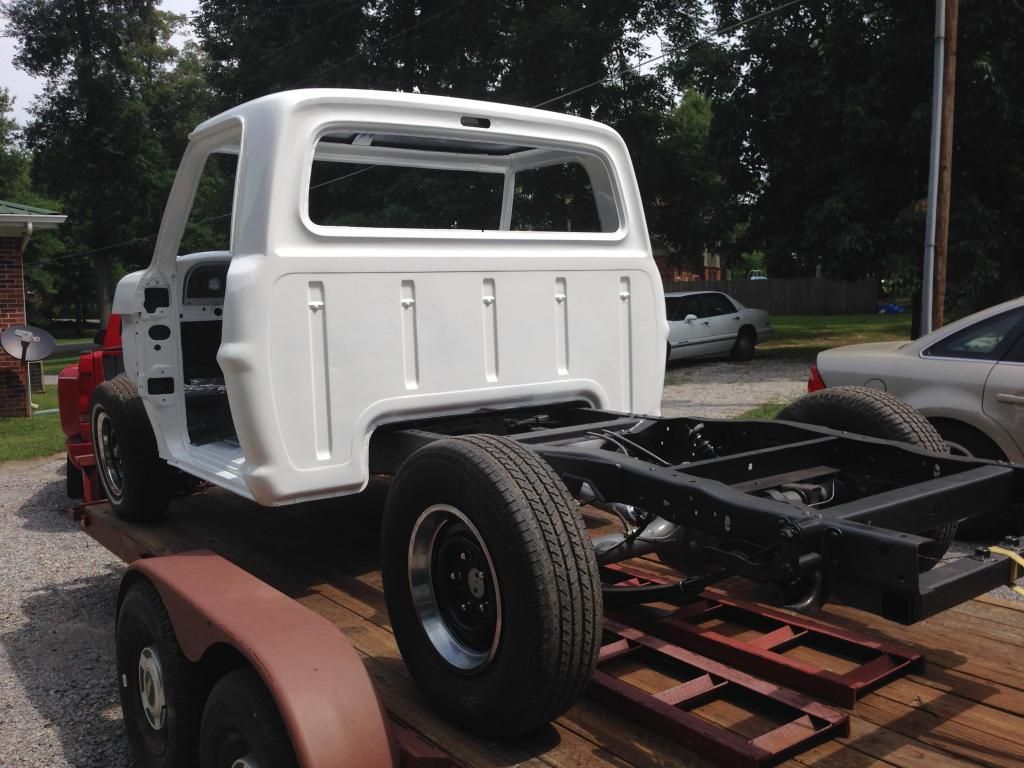
I will try to catch up to were I am on the build. I now have the cab setting on the frame. These pictures was taken when I loaded the truck on the trailer to bring it home to store it in the garage while I help paint a friends Bronco. I have sense finished the sound deadening, but it's on hold till the Bronco is finished, hopefully not to much longer.


I will try to catch up to were I am on the build. I now have the cab setting on the frame. These pictures was taken when I loaded the truck on the trailer to bring it home to store it in the garage while I help paint a friends Bronco. I have sense finished the sound deadening, but it's on hold till the Bronco is finished, hopefully not to much longer.