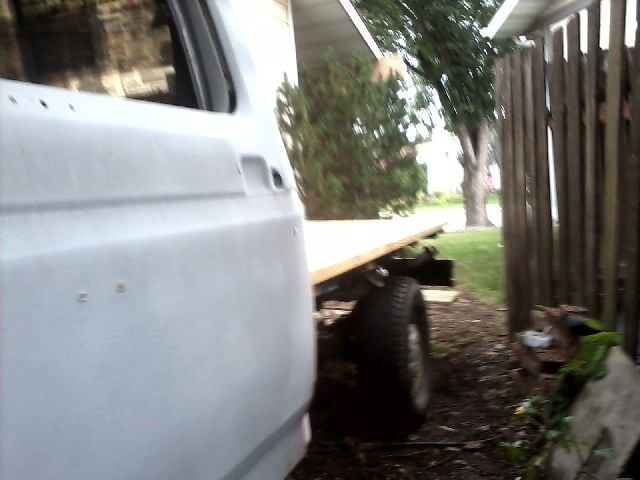
1980 - 1986 Bullnose F100, F150 & Larger F-Series Trucks Discuss the Early Eighties Bullnose Ford Truck

Stage II, finishing my project F-150

Thread Tools
 
Search this Thread
 
  #31  
Old 06-29-2015, 03:58 PM
Davetruck's Avatar
Davetruck
Davetruck is offline
Senior User
Thread Starter
Join Date: Apr 2014
Location: Sherwood Park, AB
Posts: 126
Likes: 0
Received 0 Likes on 0 Posts


I forgot to get after pics


will post after pics later hoses both back to gether now though


bolts cost 140 bucks


wood was about 70


steel 71 bucks


sleel is bolted down good


ready for the planks


Bought3, 6 foot pieces of 4" steel channel this morning, cleaned with solvent, and gave them a couple coats of spray paint. got them secured down good and hooked up the gas line filler hoses. For now, I plan on getting brand new hose and even brand new locking caps.
 
  #32  
Old 06-29-2015, 07:53 PM
Davetruck's Avatar
Davetruck
Davetruck is offline
Senior User
Thread Starter
Join Date: Apr 2014
Location: Sherwood Park, AB
Posts: 126
Likes: 0
Received 0 Likes on 0 Posts
got rained out


I ll scrub these in place with a green scrub pad, at least try to clean it up a bit.


this filler hose was originally the back one, reversing them made a pretty good fit
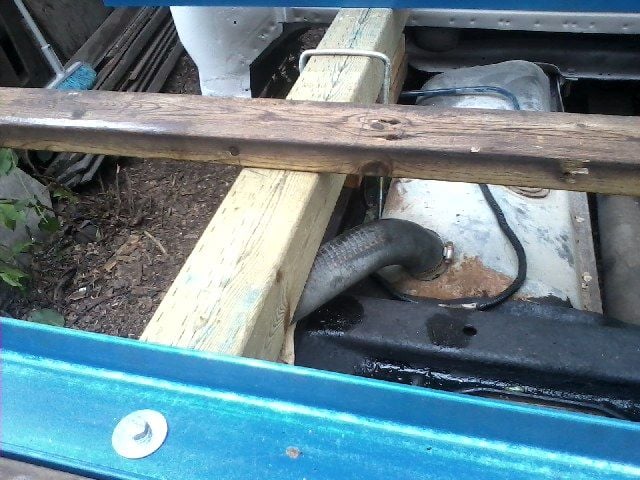


but got quite a few holes drilled . still have a lot to do. Some pics of how I hooked up up the gas tank filler hoses.
 
  #33  
Old 06-29-2015, 08:17 PM
billabongboy73's Avatar
billabongboy73
billabongboy73 is offline
Senior User
Join Date: Sep 2004
Location: North Carolina
Posts: 158
Likes: 0
Received 0 Likes on 0 Posts
That looks like it is going to turn out really nice and be able to support a good bit of weight with those steel beams added.
 
  #34  
Old 06-29-2015, 08:45 PM
Gary Lewis's Avatar
Gary Lewis
Gary Lewis is offline
Posting Legend
Join Date: Jul 2010
Location: Northeast, OK
Posts: 32,866
Likes: 0
Received 26 Likes on 24 Posts
I'm liking it.
 
  #35  
Old 06-29-2015, 10:10 PM
Davetruck's Avatar
Davetruck
Davetruck is offline
Senior User
Thread Starter
Join Date: Apr 2014
Location: Sherwood Park, AB
Posts: 126
Likes: 0
Received 0 Likes on 0 Posts
Thanks, I was hoping it would be strong enough for what I need. I have some ideas for making removable sides but thinking of bolting on a steel locking toolbox just behind the cab. Will think about it.
 
  #36  
Old 07-01-2015, 12:12 AM
Davetruck's Avatar
Davetruck
Davetruck is offline
Senior User
Thread Starter
Join Date: Apr 2014
Location: Sherwood Park, AB
Posts: 126
Likes: 0
Received 0 Likes on 0 Posts


cleaned the filler hoses before I started


this took a long time ,I started early in the day and took only a couple short breaks, lots of drilling but everything lined up good . I'm 13 bolts short or I would be done with the planks.
 
  #37  
Old 07-01-2015, 01:52 AM
billabongboy73's Avatar
billabongboy73
billabongboy73 is offline
Senior User
Join Date: Sep 2004
Location: North Carolina
Posts: 158
Likes: 0
Received 0 Likes on 0 Posts
Looking good. What color are you going with on the cab?
 
  #38  
Old 07-01-2015, 07:20 AM
Davetruck's Avatar
Davetruck
Davetruck is offline
Senior User
Thread Starter
Join Date: Apr 2014
Location: Sherwood Park, AB
Posts: 126
Likes: 0
Received 0 Likes on 0 Posts
thanks bro. going with white .
 
  #39  
Old 07-01-2015, 07:24 AM
Gary Lewis's Avatar
Gary Lewis
Gary Lewis is offline
Posting Legend
Join Date: Jul 2010
Location: Northeast, OK
Posts: 32,866
Likes: 0
Received 26 Likes on 24 Posts
Isn't it a bummer when you get soooo close and run out of parts!? But, it looks very good. Will there be any sides or stake pockets? Tie-down points?
 
  #40  
Old 07-01-2015, 09:51 AM
Franklin2's Avatar
Franklin2
Franklin2 is online now
Moderator
Join Date: Jan 2001
Location: Virginia
Posts: 53,706
Likes: 0
Received 1,717 Likes on 1,388 Posts
Originally Posted by Gary Lewis
Isn't it a bummer when you get soooo close and run out of parts!? But, it looks very good. Will there be any sides or stake pockets? Tie-down points?
I think it looks good too, but I would have done it a little bit different. I would have run some sort of metal all around the outsides and tied that into the metal channel cross beams. You would then have a place for stake pockets, tie downs, and a place for things to scoot and rub against when loading without tearing up your boards. Plus you can paint the metal to match or contrast the cab.

If you trim your outside boards a little bit you could still add some metal around the outside if you wanted later.
 
  #41  
Old 07-01-2015, 01:45 PM
Davetruck's Avatar
Davetruck
Davetruck is offline
Senior User
Thread Starter
Join Date: Apr 2014
Location: Sherwood Park, AB
Posts: 126
Likes: 0
Received 0 Likes on 0 Posts


Gary Lewis, you can sort of see the 1/2 inch hole in the channel for an anchor point for a strap hook for now


Filler hoses kinda look like they belong there.


Thanks guys ,
Franklin , that's pretty close to what I'm planning. lots of add ons but this is budget right now, this was close to 400 bucks so far.


Done, this part of it anyway, still need to go to princess auto and buy some tail lights. Going to back it out from beside the house later today when there is nobody home next door, wink emoticon

 
  #42  
Old 07-01-2015, 02:13 PM
Franklin2's Avatar
Franklin2
Franklin2 is online now
Moderator
Join Date: Jan 2001
Location: Virginia
Posts: 53,706
Likes: 0
Received 1,717 Likes on 1,388 Posts
I know it will be tough to do, but if you spend the money for taillights now, can you get ones that will work for you in the final version?

What I am thinking are the ones with the rubber around them that the 18 wheelers use. I just helped with a larger truck and a custom flatbed, and we used a piece of diamond plate in the rear, with holes cut out for the lights to fit inside.

I think in the final version yours would look better if you got rid of the stock bumper, put a piece of diamond plate, either aluminum or steel back there, and install a reciever hitch on the frame.
 
  #43  
Old 07-01-2015, 02:20 PM
Franklin2's Avatar
Franklin2
Franklin2 is online now
Moderator
Join Date: Jan 2001
Location: Virginia
Posts: 53,706
Likes: 0
Received 1,717 Likes on 1,388 Posts
We had a discussion awhile back about flatbeds, and this is what I think looks good for the rear of the truck.

 
  #44  
Old 07-01-2015, 09:10 PM
Davetruck's Avatar
Davetruck
Davetruck is offline
Senior User
Thread Starter
Join Date: Apr 2014
Location: Sherwood Park, AB
Posts: 126
Likes: 0
Received 0 Likes on 0 Posts
I bought the oval tail lights, need to be inset. No pics yet still mulling over if that's what I want to go with. LEDs .
 
  #45  
Old 07-02-2015, 11:09 PM
Davetruck's Avatar
Davetruck
Davetruck is offline
Senior User
Thread Starter
Join Date: Apr 2014
Location: Sherwood Park, AB
Posts: 126
Likes: 0
Received 0 Likes on 0 Posts


Wet sanded once over quick with 400 on the block sander. rinsed her down a bit and after another trip to princess auto I got everything I need for the tail lights, got two on will do the other two tomorrow, I have to carve out the wood a bit to make them inset.


Went with the LED's as you can see.


Quick Reply: Stage II, finishing my project F-150


All times are GMT -5. The time now is 04:04 PM.