1969 F100 meets Police Interceptor (Thats the plan anyways....)
#61
 05-22-2014, 09:15 AM


Join Date: Feb 2014
Posts: 46
Likes: 0
Received 0 Likes
on
0 Posts
[IMG]<a href="http://s1172.photobucket.com/user/cccreations1/media/018_zpsb249d1b5.jpg.html" target="_blank"><img src="http://i1172.photobucket.com/albums/r567/cccreations1/018_zpsb249d1b5.jpg" border="0" alt=" photo 018_zpsb249d1b5.jpg"/></a>[/IMG]
[IMG]<a href="http://s1172.photobucket.com/user/cccreations1/media/019_zpsc287f185.jpg.html" target="_blank"><img src="http://i1172.photobucket.com/albums/r567/cccreations1/019_zpsc287f185.jpg" border="0" alt=" photo 019_zpsc287f185.jpg"/></a>[/IMG]
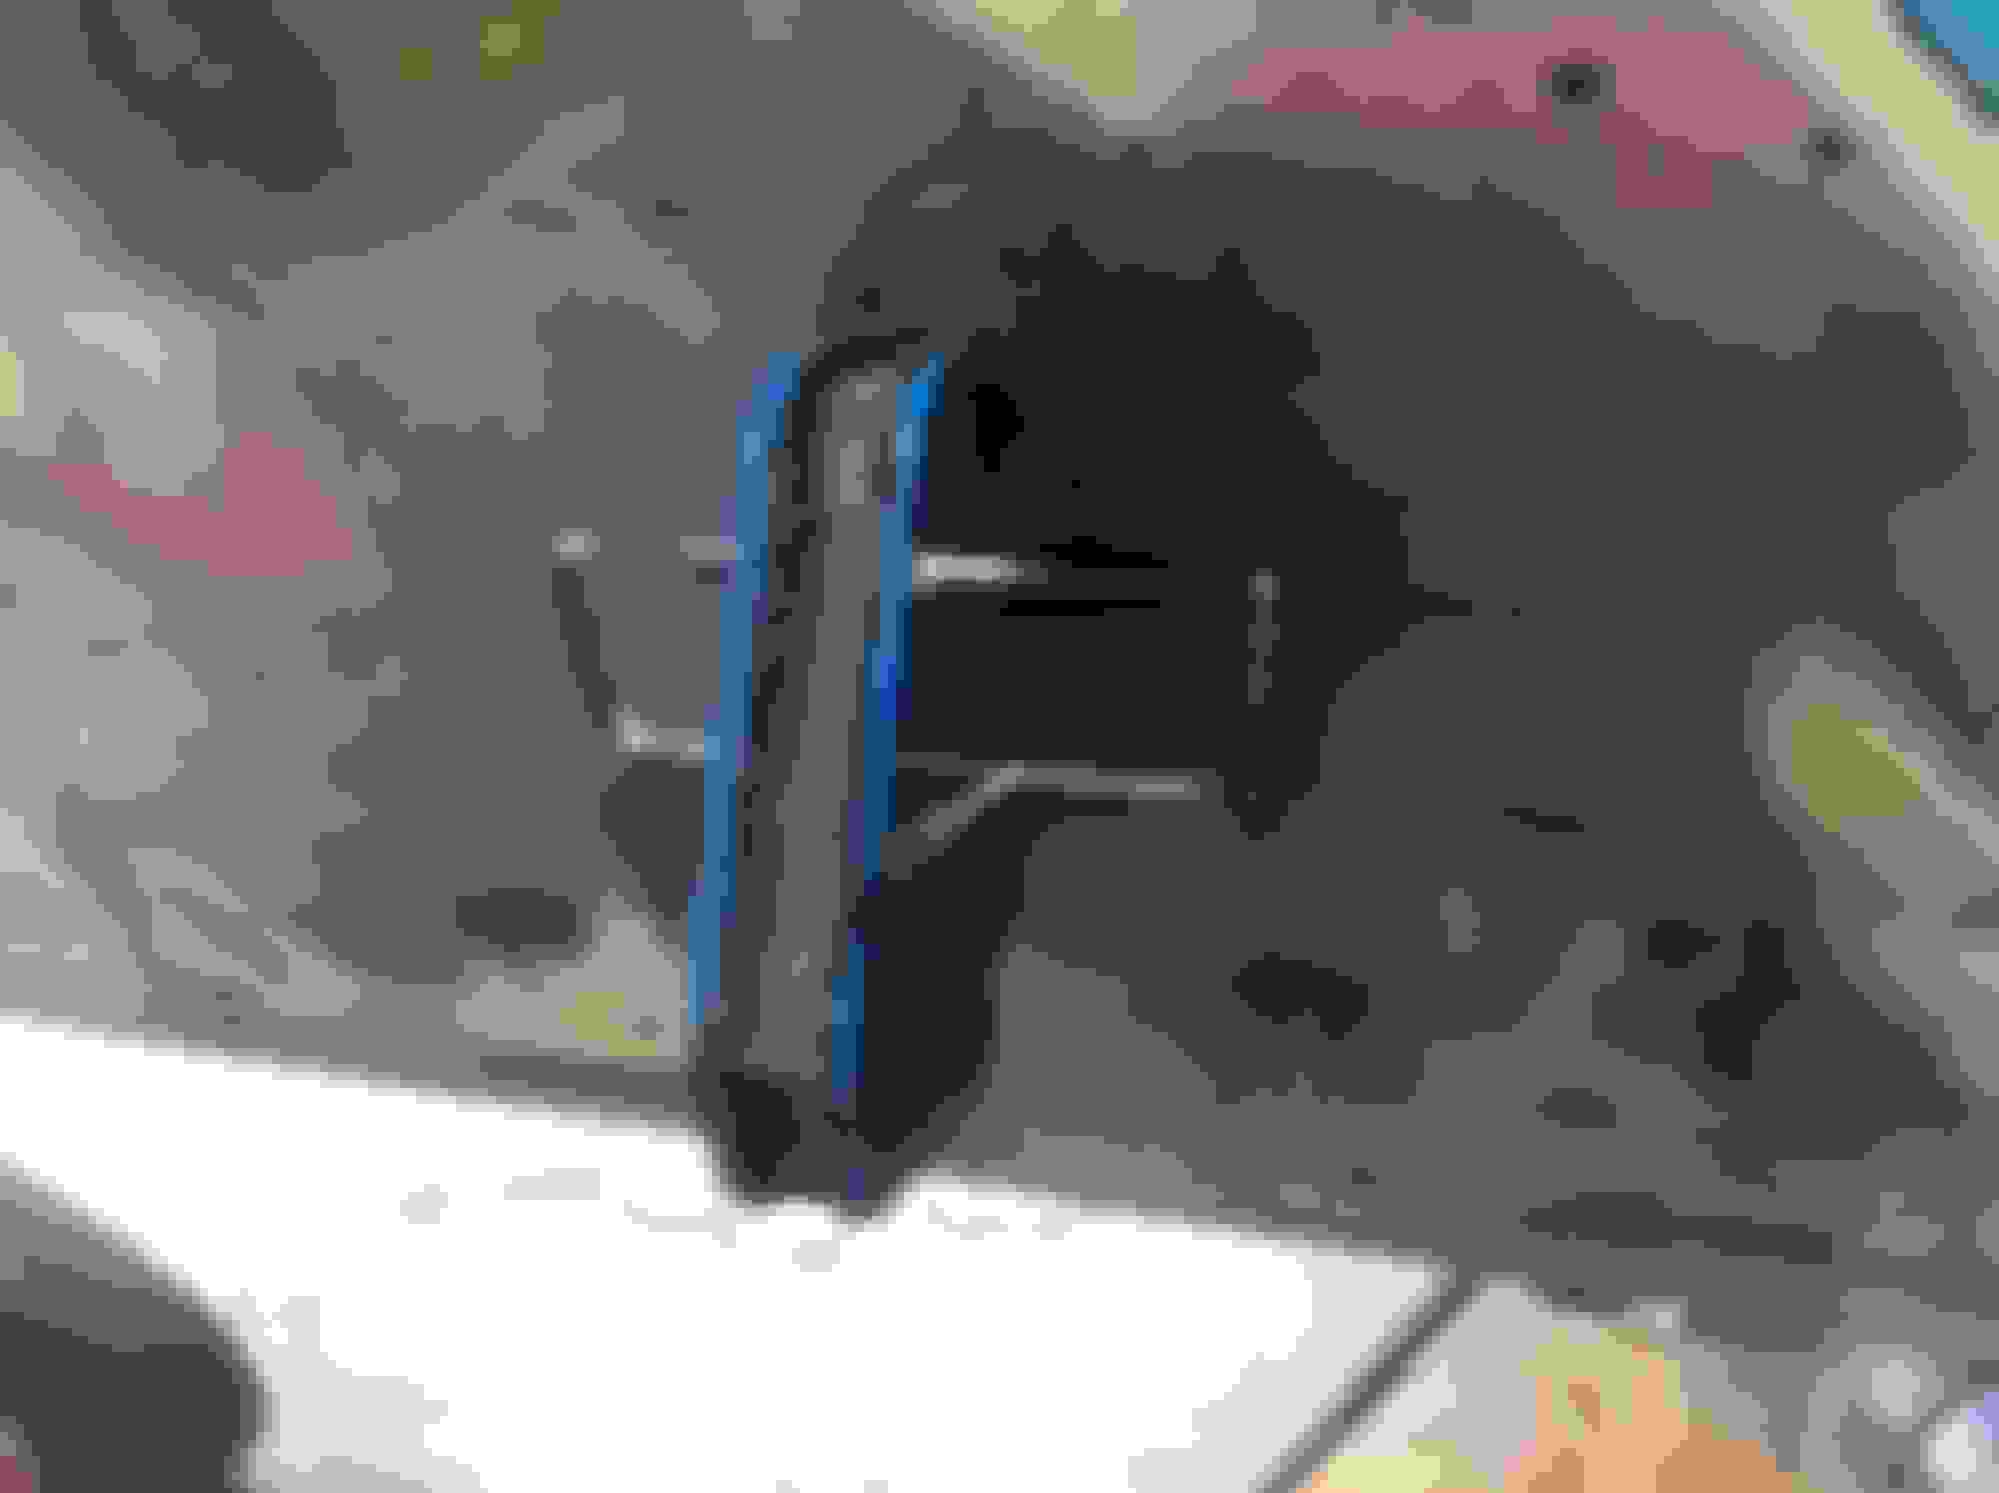
Also went and bolted the stock CV driveshaft in. Its a little tight to my way of thinking but Im a 4x4 guy and they flex alot
[IMG]<a href="http://s1172.photobucket.com/user/cccreations1/media/017_zps7ce7a9b2.jpg.html" target="_blank"><img src="http://i1172.photobucket.com/albums/r567/cccreations1/017_zps7ce7a9b2.jpg" border="0" alt=" photo 017_zps7ce7a9b2.jpg"/></a>[/IMG]
[IMG]<a href="http://s1172.photobucket.com/user/cccreations1/media/016_zpsee75ea82.jpg.html" target="_blank"><img src="http://i1172.photobucket.com/albums/r567/cccreations1/016_zpsee75ea82.jpg" border="0" alt=" photo 016_zpsee75ea82.jpg"/></a>[/IMG]
[IMG]<a href="http://s1172.photobucket.com/user/cccreations1/media/015_zps222851b7.jpg.html" target="_blank"><img src="http://i1172.photobucket.com/albums/r567/cccreations1/015_zps222851b7.jpg" border="0" alt=" photo 015_zps222851b7.jpg"/></a>[/IMG]
[IMG]<a href="http://s1172.photobucket.com/user/cccreations1/media/019_zpsc287f185.jpg.html" target="_blank"><img src="http://i1172.photobucket.com/albums/r567/cccreations1/019_zpsc287f185.jpg" border="0" alt=" photo 019_zpsc287f185.jpg"/></a>[/IMG]
Also went and bolted the stock CV driveshaft in. Its a little tight to my way of thinking but Im a 4x4 guy and they flex alot
[IMG]<a href="http://s1172.photobucket.com/user/cccreations1/media/017_zps7ce7a9b2.jpg.html" target="_blank"><img src="http://i1172.photobucket.com/albums/r567/cccreations1/017_zps7ce7a9b2.jpg" border="0" alt=" photo 017_zps7ce7a9b2.jpg"/></a>[/IMG]
[IMG]<a href="http://s1172.photobucket.com/user/cccreations1/media/016_zpsee75ea82.jpg.html" target="_blank"><img src="http://i1172.photobucket.com/albums/r567/cccreations1/016_zpsee75ea82.jpg" border="0" alt=" photo 016_zpsee75ea82.jpg"/></a>[/IMG]
[IMG]<a href="http://s1172.photobucket.com/user/cccreations1/media/015_zps222851b7.jpg.html" target="_blank"><img src="http://i1172.photobucket.com/albums/r567/cccreations1/015_zps222851b7.jpg" border="0" alt=" photo 015_zps222851b7.jpg"/></a>[/IMG]
#62
05-22-2014, 02:34 PM
Hotshot
#63
05-22-2014, 10:15 PM
Join Date: Feb 2014
Posts: 46
Likes: 0
Received 0 Likes
on
0 Posts
JEFFAFFA, Im pretty sure Im going to try moving the engine back 2-3" so the driveshaft will have to be shortened anyways.
So with not much else to work on at the moment, I decided to tackle some of the easier ( I hope ) metalworking. Started on the box
[IMG]<a href="http://s1172.photobucket.com/user/cccreations1/media/002_zps6b80d2db.jpg.html" target="_blank"><img src="http://i1172.photobucket.com/albums/r567/cccreations1/002_zps6b80d2db.jpg" border="0" alt=" photo 002_zps6b80d2db.jpg"/></a>[/IMG]
[IMG]<a href="http://s1172.photobucket.com/user/cccreations1/media/003_zpsf19a8eb4.jpg.html" target="_blank"><img src="http://i1172.photobucket.com/albums/r567/cccreations1/003_zpsf19a8eb4.jpg" border="0" alt=" photo 003_zpsf19a8eb4.jpg"/></a>[/IMG]
There were a couple of rough spots
[IMG]<a href="http://s1172.photobucket.com/user/cccreations1/media/011_zps0090025c.jpg.html" target="_blank"><img src="http://i1172.photobucket.com/albums/r567/cccreations1/011_zps0090025c.jpg" border="0" alt=" photo 011_zps0090025c.jpg"/></a>[/IMG]
Got to work removing the old seam sealer
[IMG]<a href="http://s1172.photobucket.com/user/cccreations1/media/007_zps442b8db0.jpg.html" target="_blank"><img src="http://i1172.photobucket.com/albums/r567/cccreations1/007_zps442b8db0.jpg" border="0" alt=" photo 007_zps442b8db0.jpg"/></a>[/IMG]
and sanding down the rusty part
[IMG]<a href="http://s1172.photobucket.com/user/cccreations1/media/012_zps2c2f0bc5.jpg.html" target="_blank"><img src="http://i1172.photobucket.com/albums/r567/cccreations1/012_zps2c2f0bc5.jpg" border="0" alt=" photo 012_zps2c2f0bc5.jpg"/></a>[/IMG]
[IMG]<a href="http://s1172.photobucket.com/user/cccreations1/media/015_zps799a9aa6.jpg.html" target="_blank"><img src="http://i1172.photobucket.com/albums/r567/cccreations1/015_zps799a9aa6.jpg" border="0" alt=" photo 015_zps799a9aa6.jpg"/></a>[/IMG]
[IMG]<a href="http://s1172.photobucket.com/user/cccreations1/media/014_zps97beb9ff.jpg.html" target="_blank"><img src="http://i1172.photobucket.com/albums/r567/cccreations1/014_zps97beb9ff.jpg" border="0" alt=" photo 014_zps97beb9ff.jpg"/></a>[/IMG]
[IMG]<a href="http://s1172.photobucket.com/user/cccreations1/media/016_zps4cde1bff.jpg.html" target="_blank"><img src="http://i1172.photobucket.com/albums/r567/cccreations1/016_zps4cde1bff.jpg" border="0" alt=" photo 016_zps4cde1bff.jpg"/></a>[/IMG]
Started filling in the old trim holes
[IMG]<a href="http://s1172.photobucket.com/user/cccreations1/media/018_zps2f9b33cd.jpg.html" target="_blank"><img src="http://i1172.photobucket.com/albums/r567/cccreations1/018_zps2f9b33cd.jpg" border="0" alt=" photo 018_zps2f9b33cd.jpg"/></a>[/IMG]
Decided to hit the front of the box with the wire wheel and then POR-15 it. I will be doing this entire body right this winter but for now just need it to run around and look decent for the summer
[IMG]<a href="http://s1172.photobucket.com/user/cccreations1/media/023_zps978ae5ec.jpg.html" target="_blank"><img src="http://i1172.photobucket.com/albums/r567/cccreations1/023_zps978ae5ec.jpg" border="0" alt=" photo 023_zps978ae5ec.jpg"/></a>[/IMG]
[IMG]<a href="http://s1172.photobucket.com/user/cccreations1/media/021_zpse90fed81.jpg.html" target="_blank"><img src="http://i1172.photobucket.com/albums/r567/cccreations1/021_zpse90fed81.jpg" border="0" alt=" photo 021_zpse90fed81.jpg"/></a>[/IMG]
[IMG]<a href="http://s1172.photobucket.com/user/cccreations1/media/019_zpsf54c3a23.jpg.html" target="_blank"><img src="http://i1172.photobucket.com/albums/r567/cccreations1/019_zpsf54c3a23.jpg" border="0" alt=" photo 019_zpsf54c3a23.jpg"/></a>[/IMG]
#64
05-22-2014, 10:21 PM
I used a hack saw blade to remove the plastic in the bed seam then used some acid to eat up the rust filled with a
seam sealer.
Yea the slip yoke is a bit close maybe it would just wipe out the boot lip part of the rear seal.
But maybe the springs would bottom out to the frame bumper pads first.
Well it's good enough for a test drive or two. Right!
Orich
seam sealer.
Yea the slip yoke is a bit close maybe it would just wipe out the boot lip part of the rear seal.
But maybe the springs would bottom out to the frame bumper pads first.
Well it's good enough for a test drive or two. Right!
Orich
#65
05-24-2014, 03:22 PM
On the drive shaft crown vics have two different length drive shafts the pi (cop car and the civilian are about 5/8" different in length I have one out of a PI in my short bed. I have a coyote motor that I set back 1.5". My shaft fits fine. As for that middle crossmember I cut that out and made a custom tube one to replace it. The front end height doesnt come down much even with all the sheet metal and motor 700lbs/inch coils on cop cars. You can cut a coil or buy drop springs. You can use the 73 inner fenders but have to use matchin hinges. I played with putting a bumpside hood on it, but to have to cut and narrow the back edge maybe later i'll switch.
#66
05-24-2014, 07:39 PM


Great work so far man! A question about the rear end - you've proven it's not too wide - but please tell me what you've done. Have you flipped the front hangers only? You've got the right drop I think. Looks good. Do you have enough clearance between the axle housing and box floor? I eagerly wait for more...
Eric
Eric
#67
05-25-2014, 11:31 PM

Junior User
Join Date: May 2014
Location: Grand Rapids, MI
Posts: 57
Likes: 0
Received 0 Likes
on
0 Posts
I'm working on accumulating parts for pretty much this same build. bought a 67 F100 last week and picked up a CVPI front clip and rear diff this week, I'm also looking for a Lincoln Mark VIII for the engine. just need to get my side yard cleared out and I'll get started. I'll be keeping an eye on this thread.
#68
05-27-2014, 08:52 AM

Senior User
#70
05-28-2014, 07:55 PM
Join Date: Feb 2014
Posts: 46
Likes: 0
Received 0 Likes
on
0 Posts
Great work so far man! A question about the rear end - you've proven it's not too wide - but please tell me what you've done. Have you flipped the front hangers only? You've got the right drop I think. Looks good. Do you have enough clearance between the axle housing and box floor? I eagerly wait for more...
Eric
Eric


#71
05-28-2014, 08:02 PM
Join Date: Feb 2014
Posts: 46
Likes: 0
Received 0 Likes
on
0 Posts


#73
05-29-2014, 08:32 PM
Join Date: Feb 2014
Posts: 46
Likes: 0
Received 0 Likes
on
0 Posts
have you connected your steering column yet Im looking for ideas for mine
seems there are half a dozen ways to do it
seems there are half a dozen ways to do it
Nice welding job, I hope mine turn out half as good.
#74
05-29-2014, 08:40 PM
Join Date: Feb 2014
Posts: 46
Likes: 0
Received 0 Likes
on
0 Posts
So I got back to that box side today. Felt alot more confident with my new found MIG knowledge. I used the tips/tricks and it went alot smoother today.


This one went in quite smooth. Had to burn it in twice to seal up pin holes


Spent a fair bit of time hammering the wheel arch nice and straight. Will post pics of the finished box tomorrow. Thats all folks !!


This one went in quite smooth. Had to burn it in twice to seal up pin holes


Spent a fair bit of time hammering the wheel arch nice and straight. Will post pics of the finished box tomorrow. Thats all folks !!