
Mamma's Sled '74 F450 CrewCab 6.7 Cummins P-Pump


#47
 11-26-2014, 03:22 PM
Update 11/25/14
So finally finished up the Passenger side motor mount. Made it 3 piece design with the final piece welded to the frame. The bracket will unbolt and drop out to remove the motor. Never want to do motor mounts again. Took forever, but I'm very happy with the setup. Now just transmission cross member and track bar, and she's a roller.


#48
11-27-2014, 12:31 AM
More Turbo
#49
11-27-2014, 02:53 AM
Same as the 24V, pretty sure it's all the same stuff, just that the head has to be set up for the 6.7.
#50
11-27-2014, 01:18 PM


#51
12-01-2014, 10:00 AM
UPDATE 12/1/14
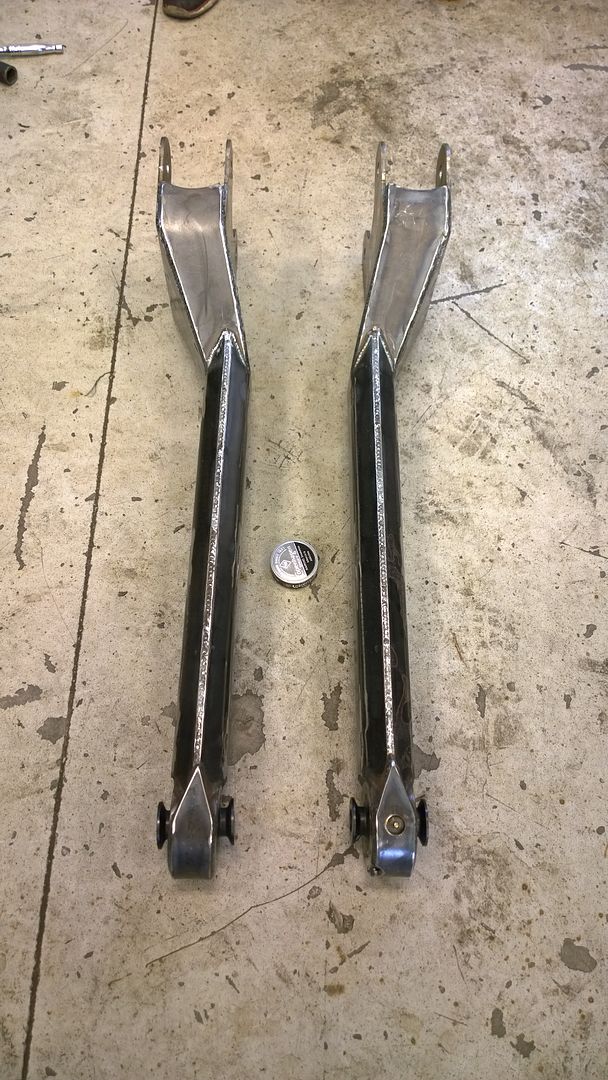
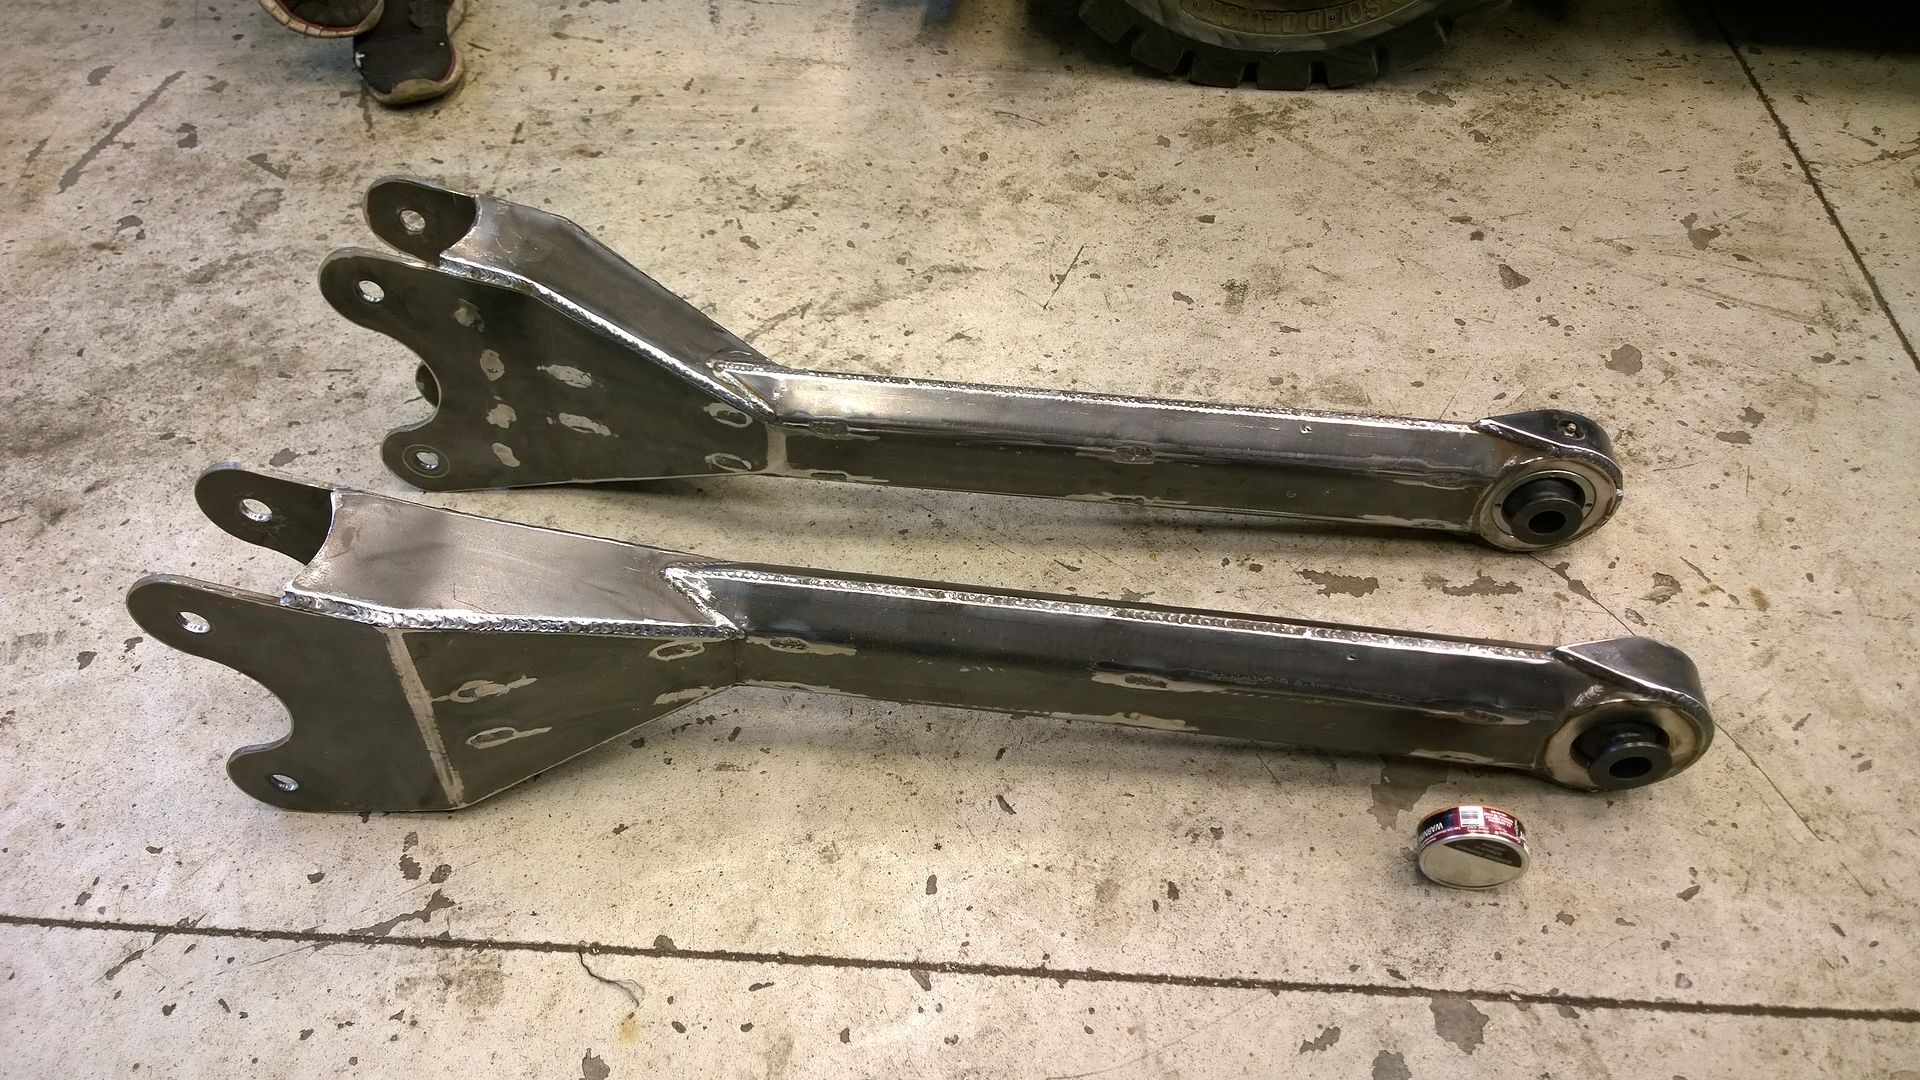
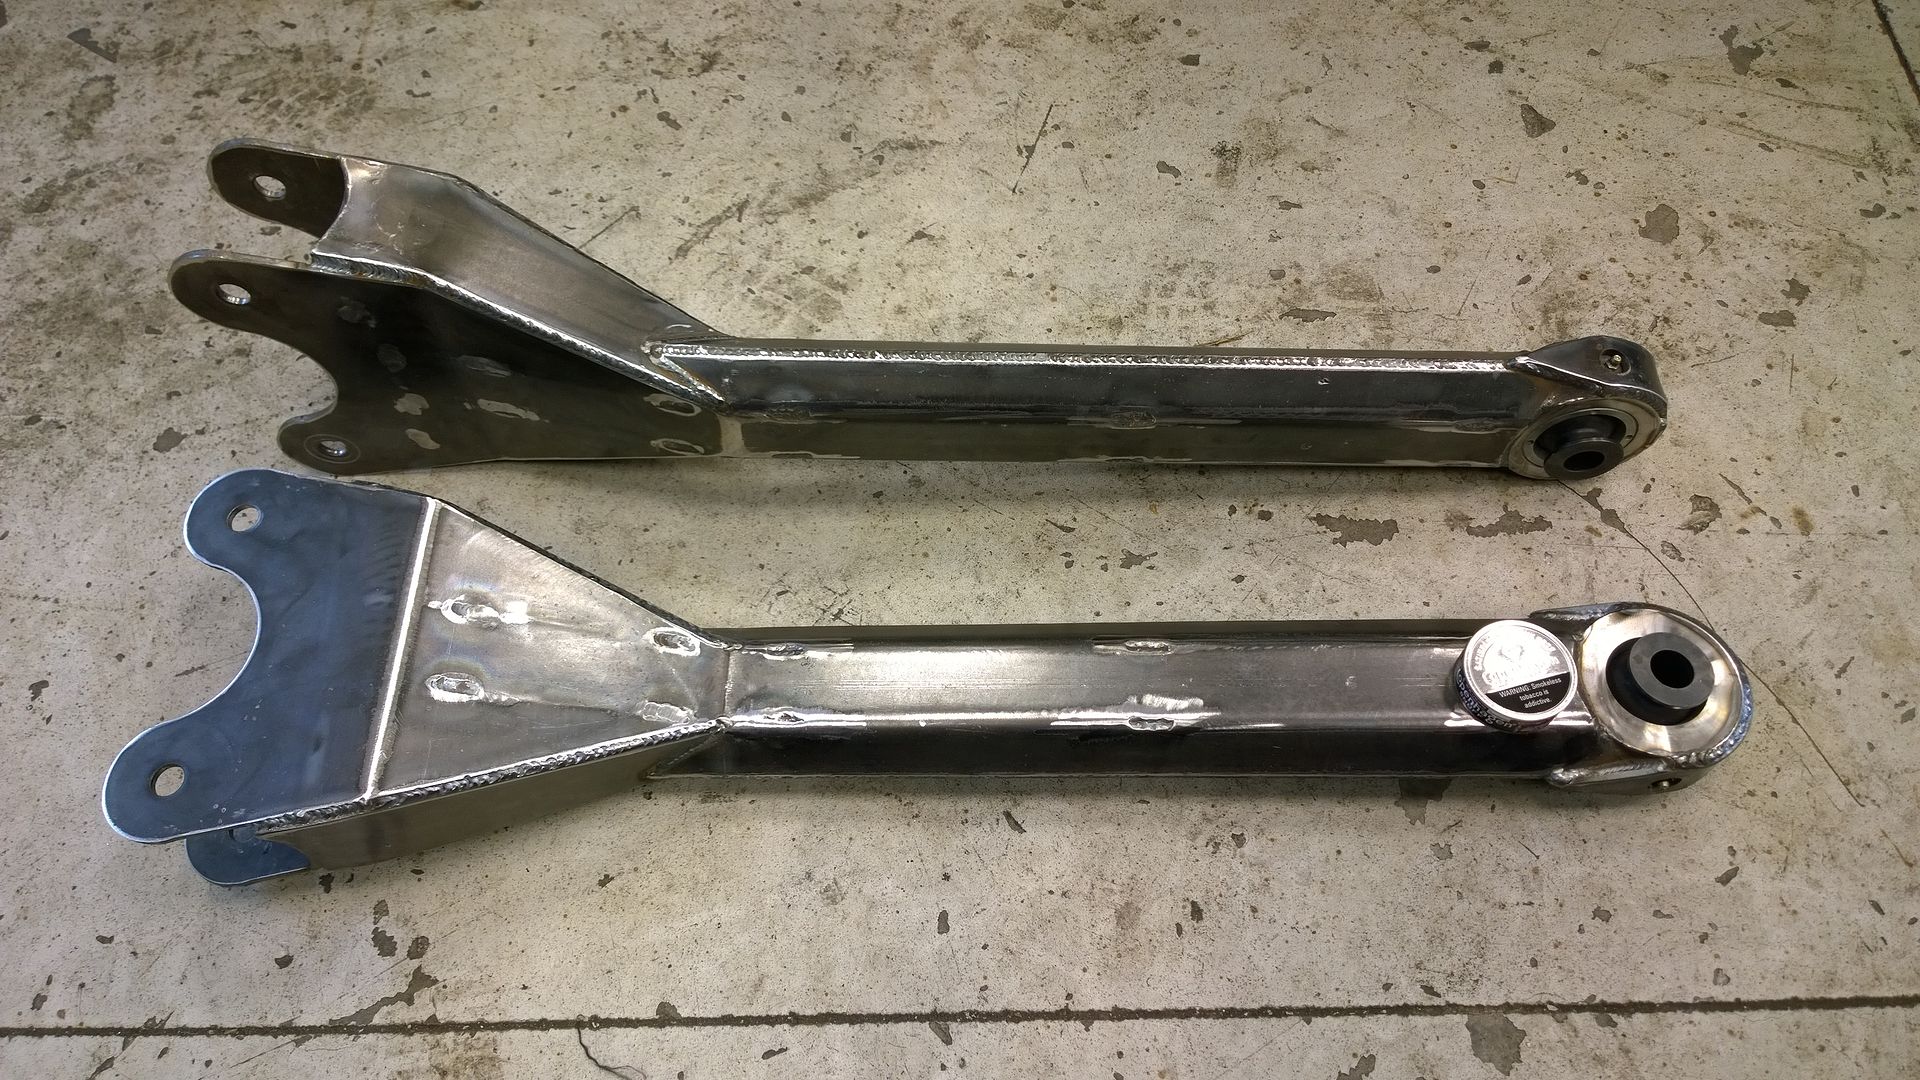
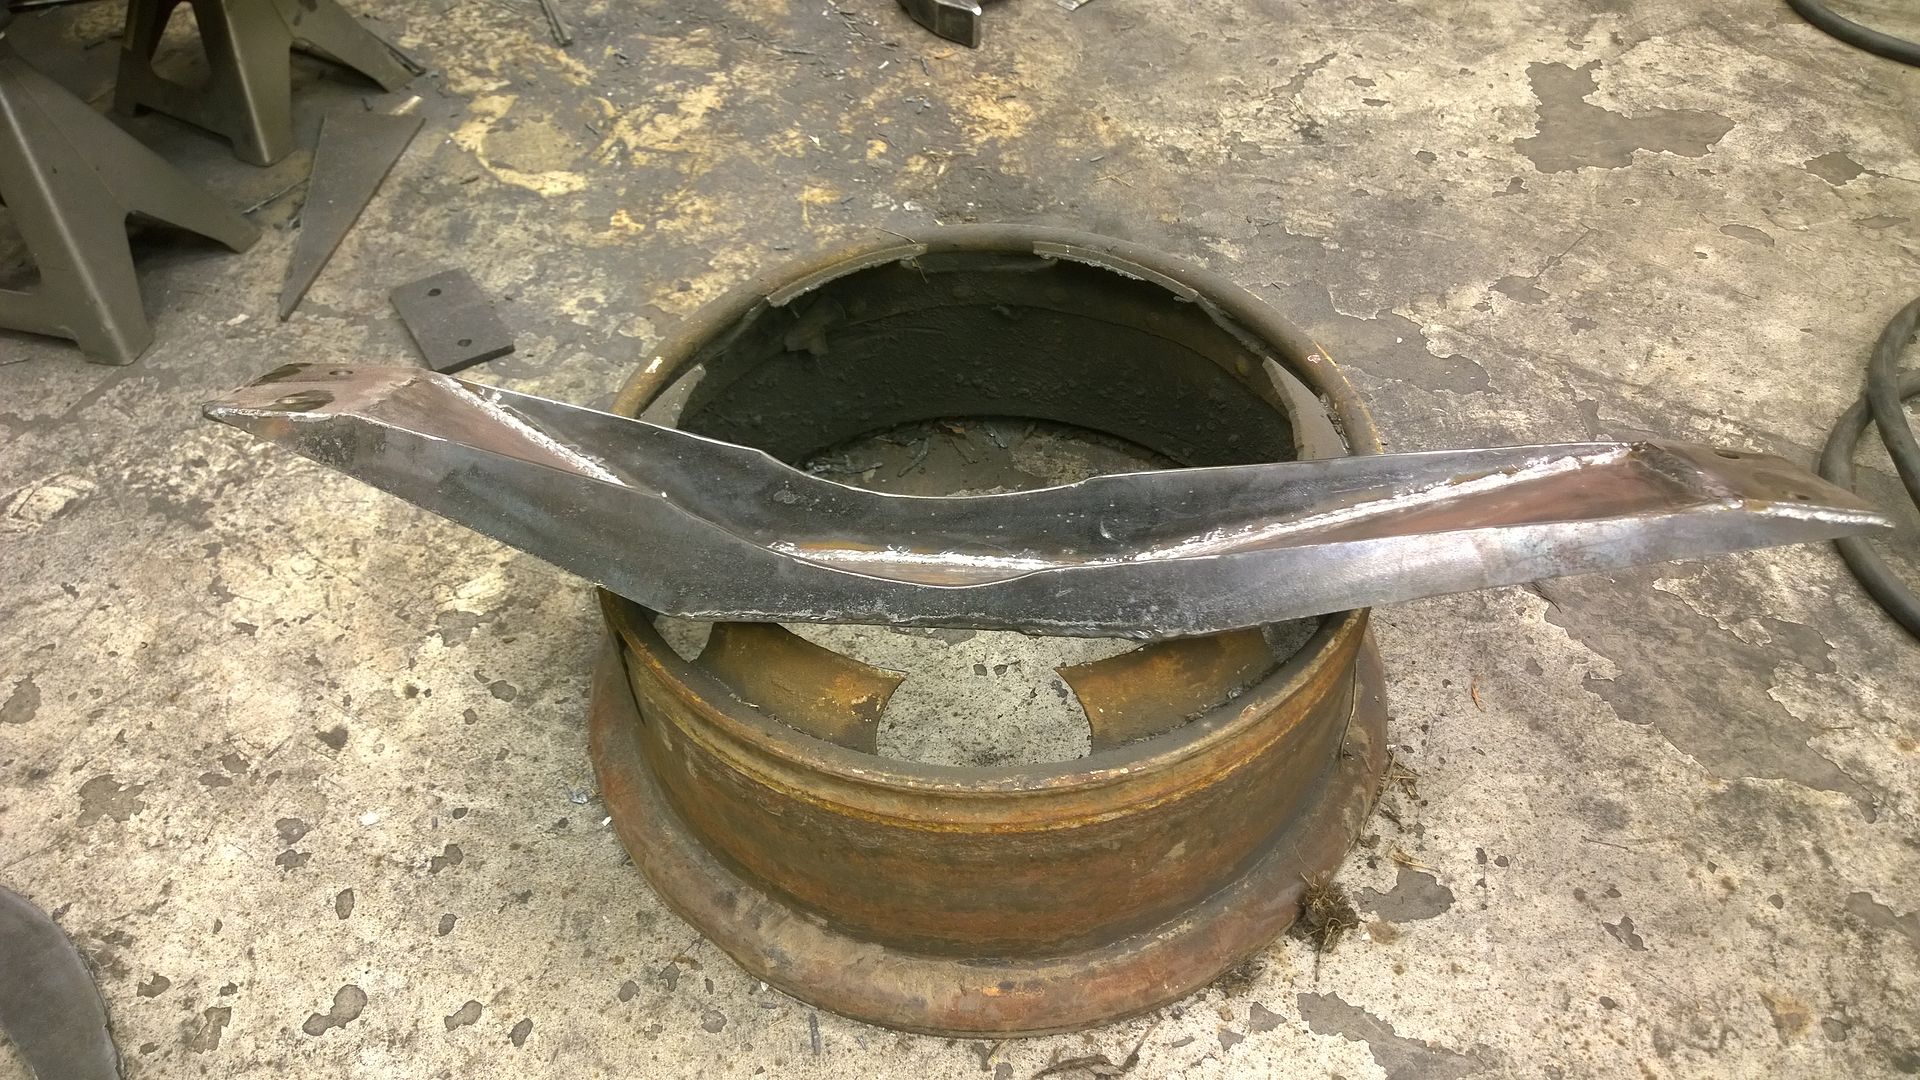
Time for some arm ****! I needed some custom arms for the front since the '74 frame is 4" more narrow. I wanted something like the Carli Arms made for the 6" Superduty lift. So I called up Pacific Fabrication to design and build me a set of arms with a 2" offset for the Superduty Dana 60 / Dana Super 60 swap. I soured the massive weldable rod ends from EMF Steering Components. Safe to say these are never bending or braking.
Also got the Batman inspired ZF6 transmission cross member built and welded up. Just gotta paint and it's on to the trac bar bracket to make her a roller.

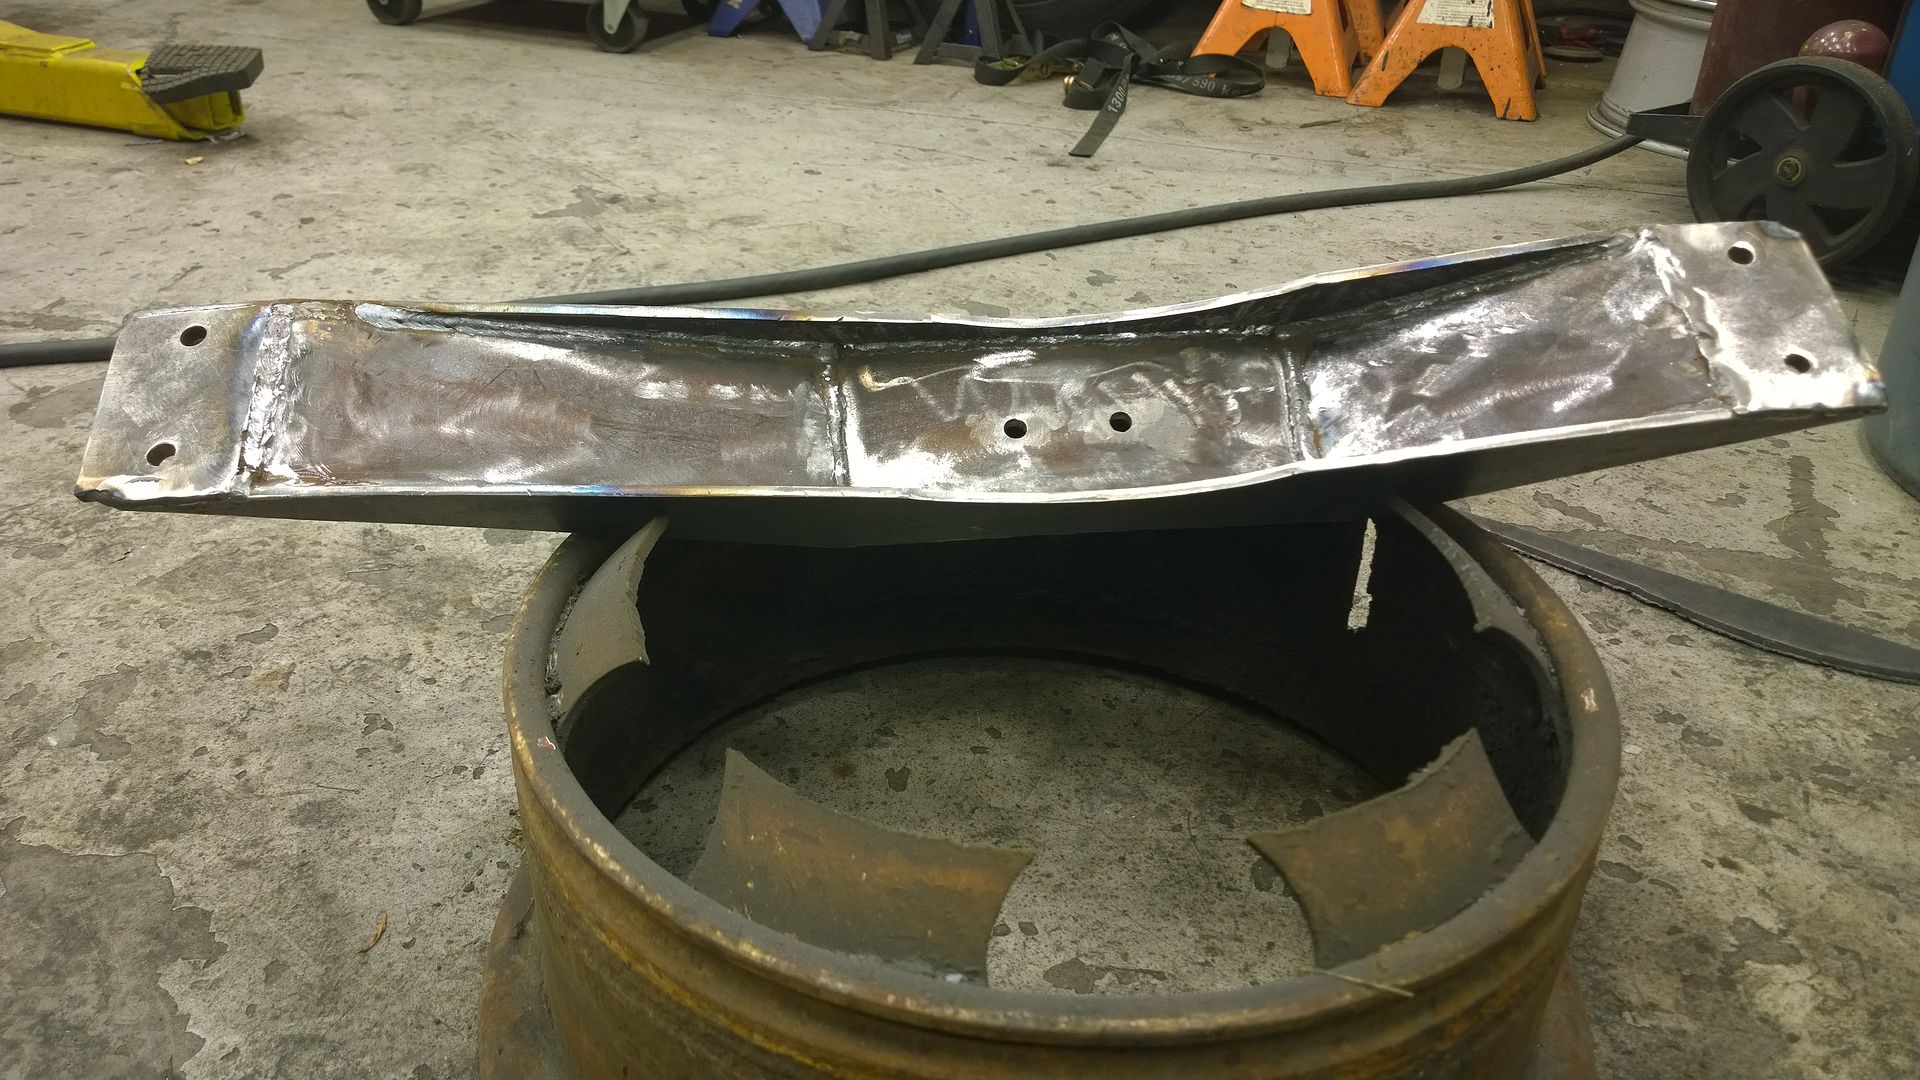
Also got the Batman inspired ZF6 transmission cross member built and welded up. Just gotta paint and it's on to the trac bar bracket to make her a roller.


#52
12-02-2014, 12:02 AM
UPDATE 12/1/14 NIGHT
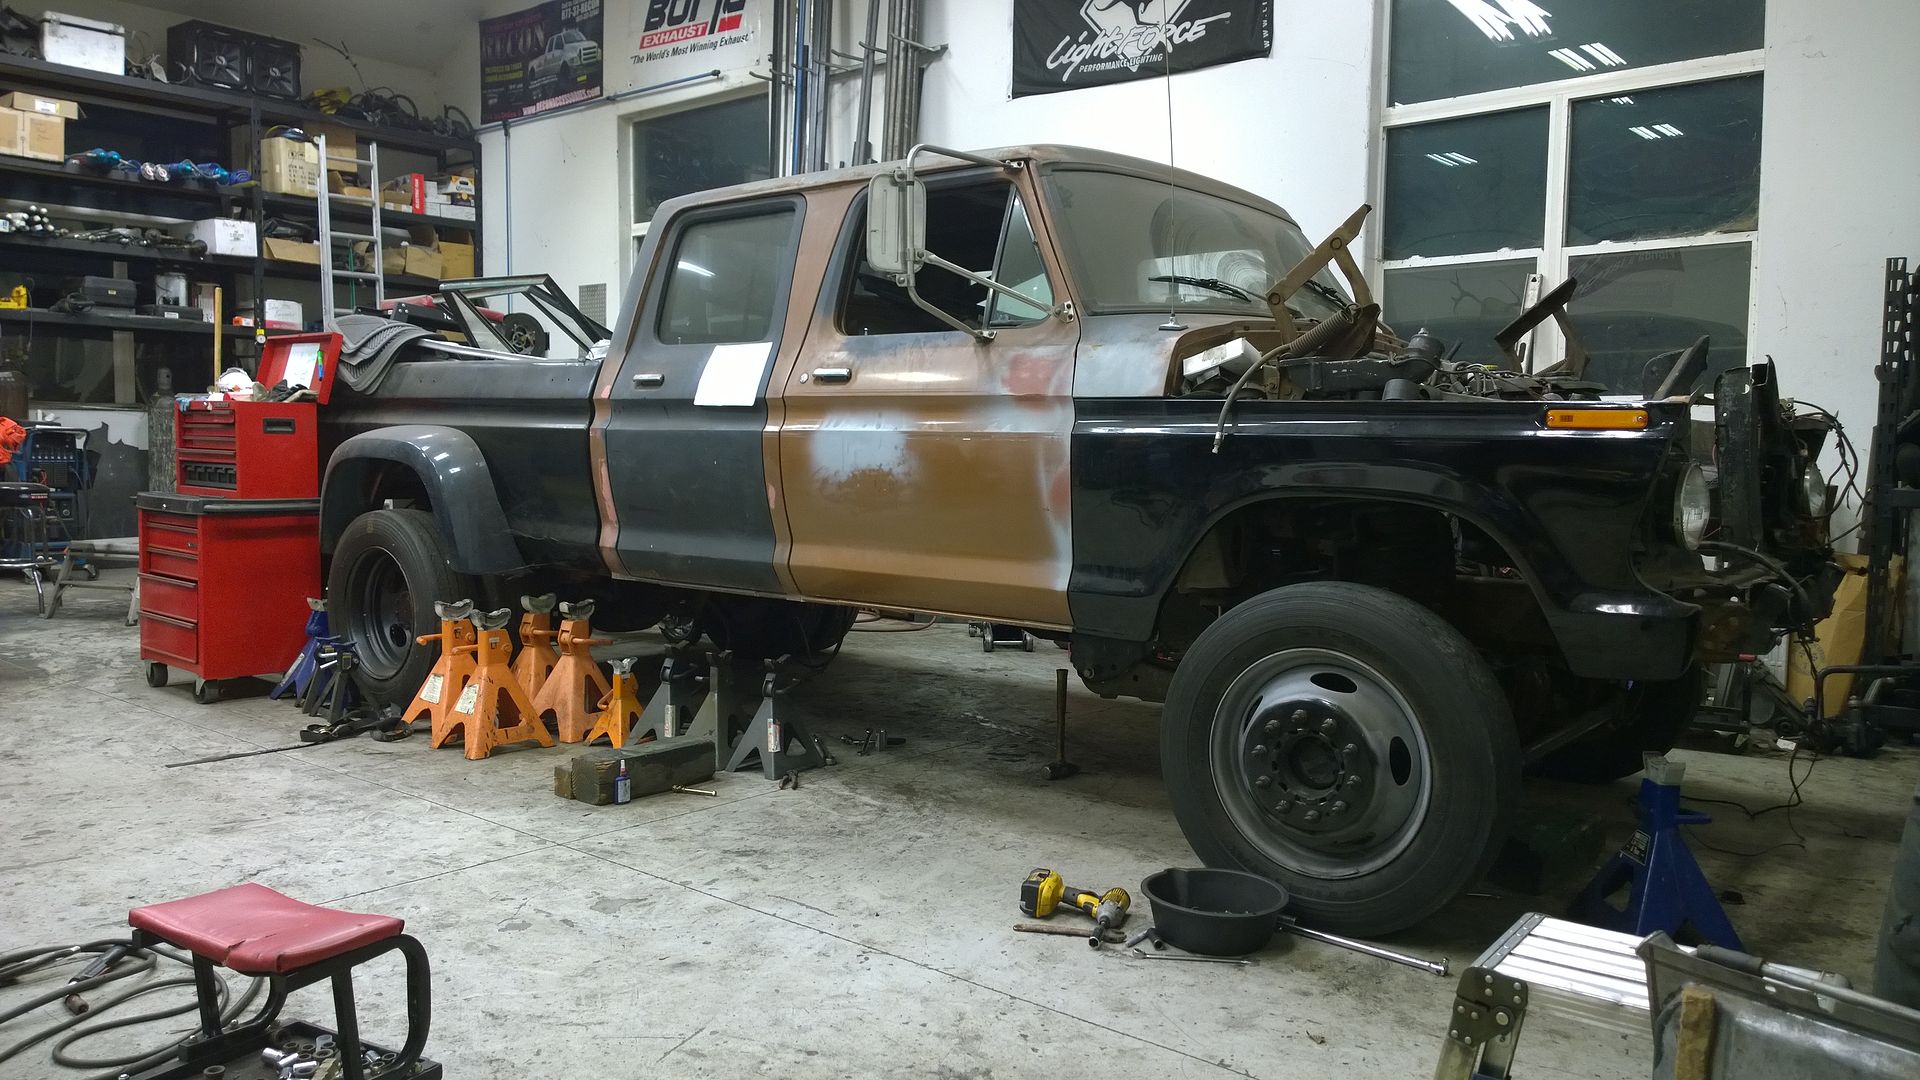
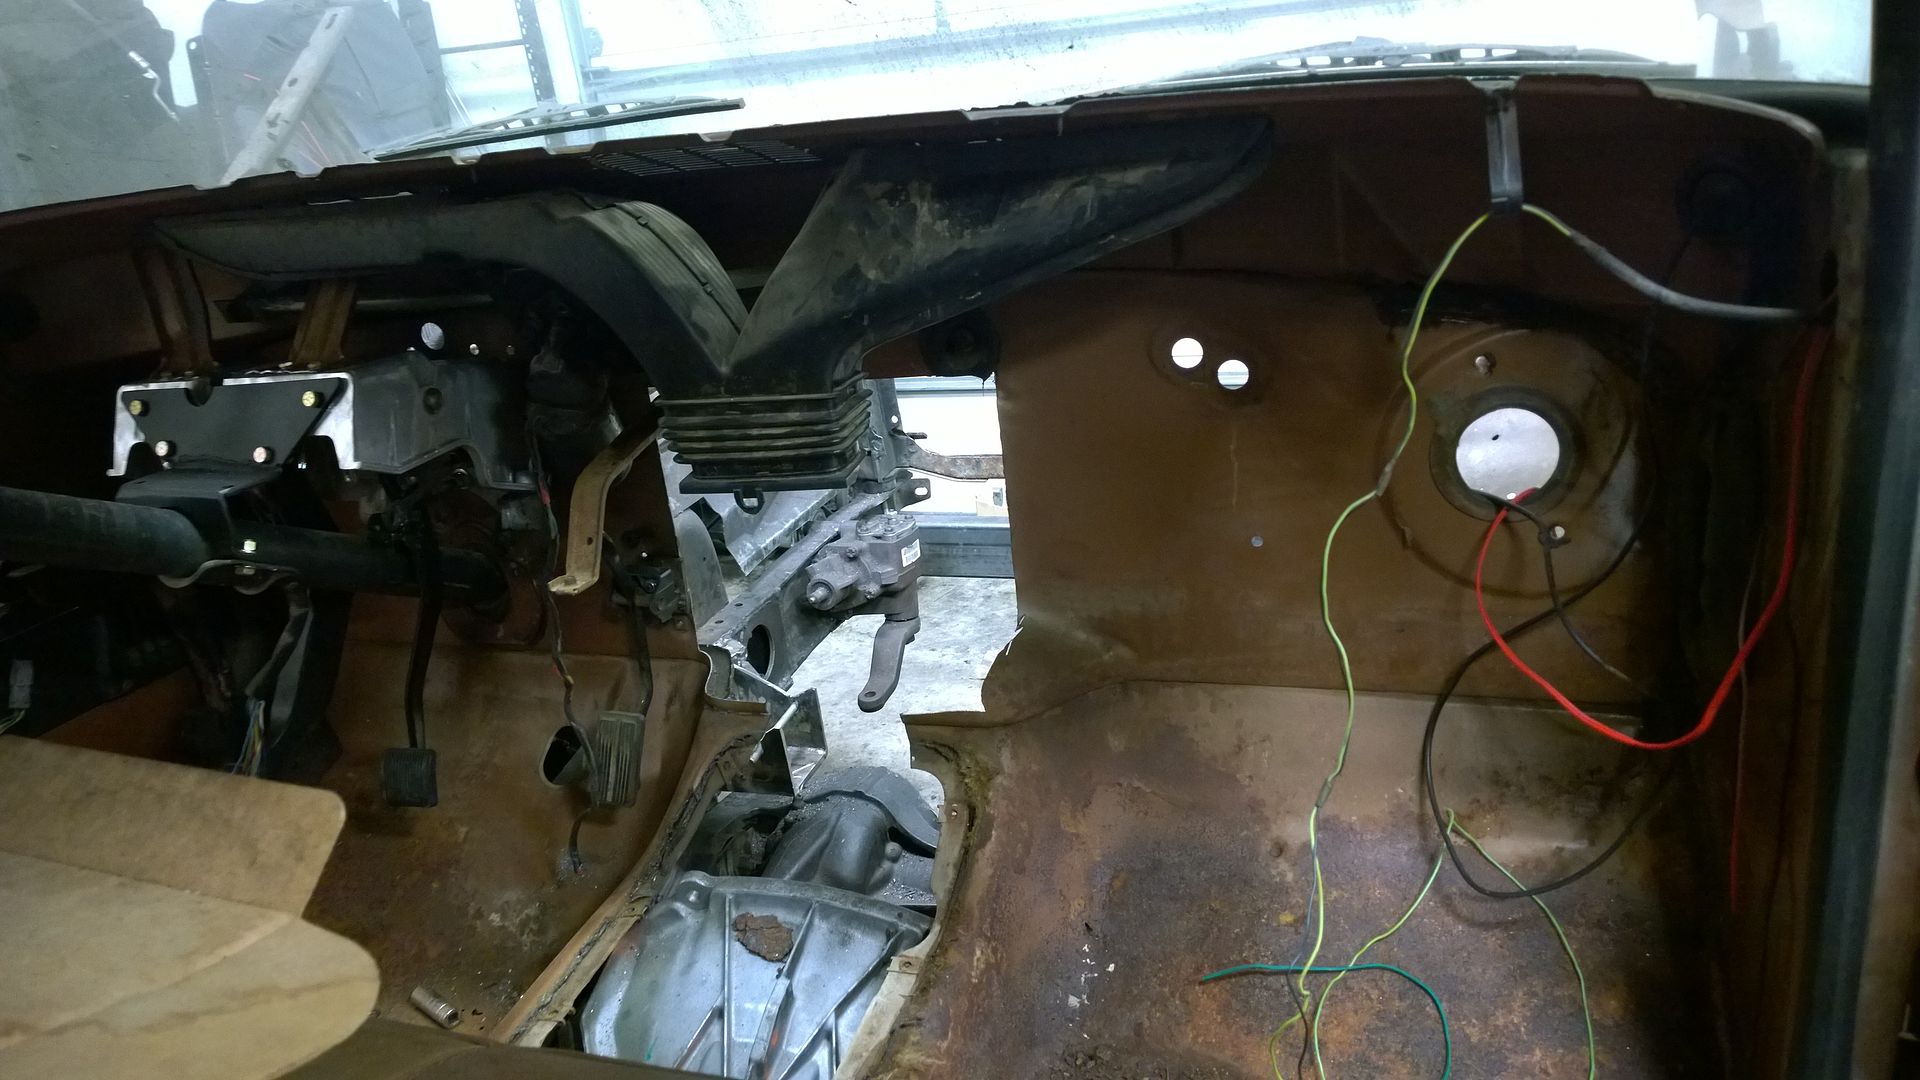
So bolted up the cross member and let the motor and trans down on the mounts to show ride height. From the profile you an see the nasty *** different angles.
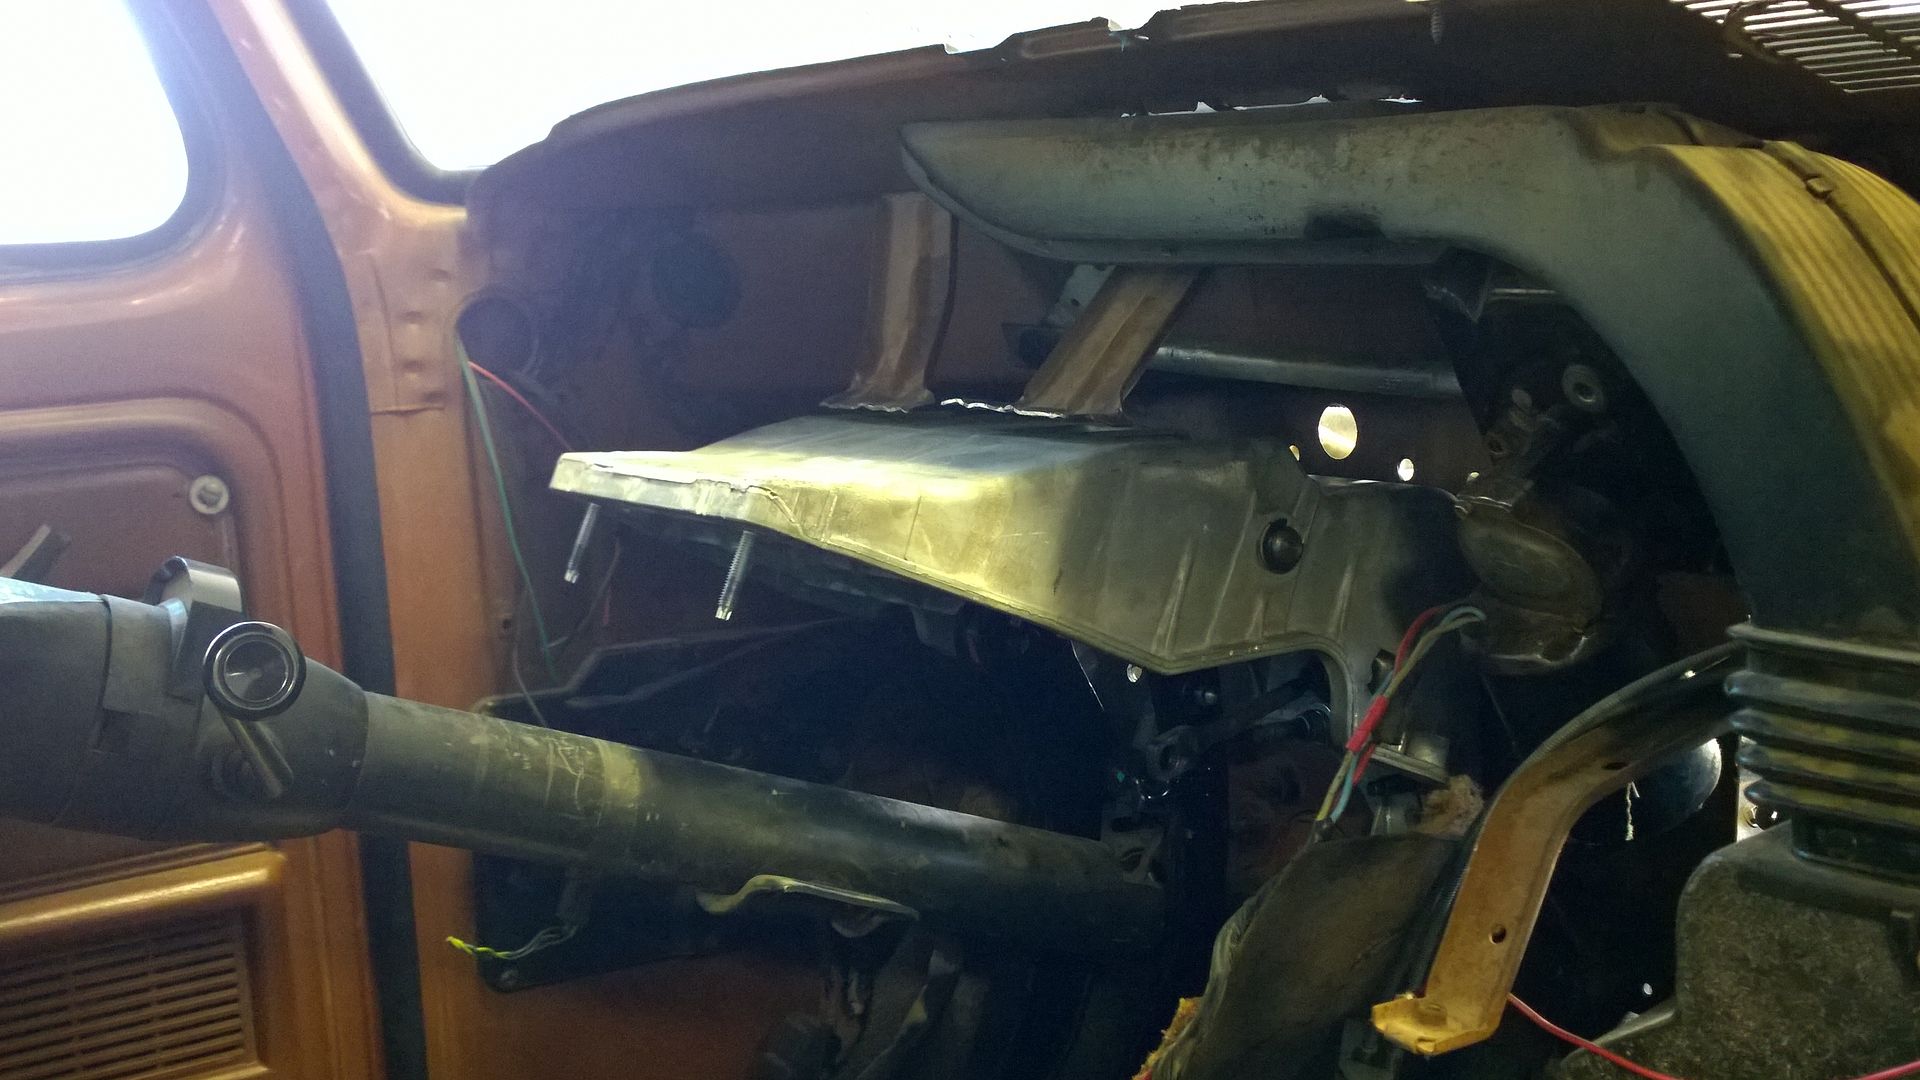
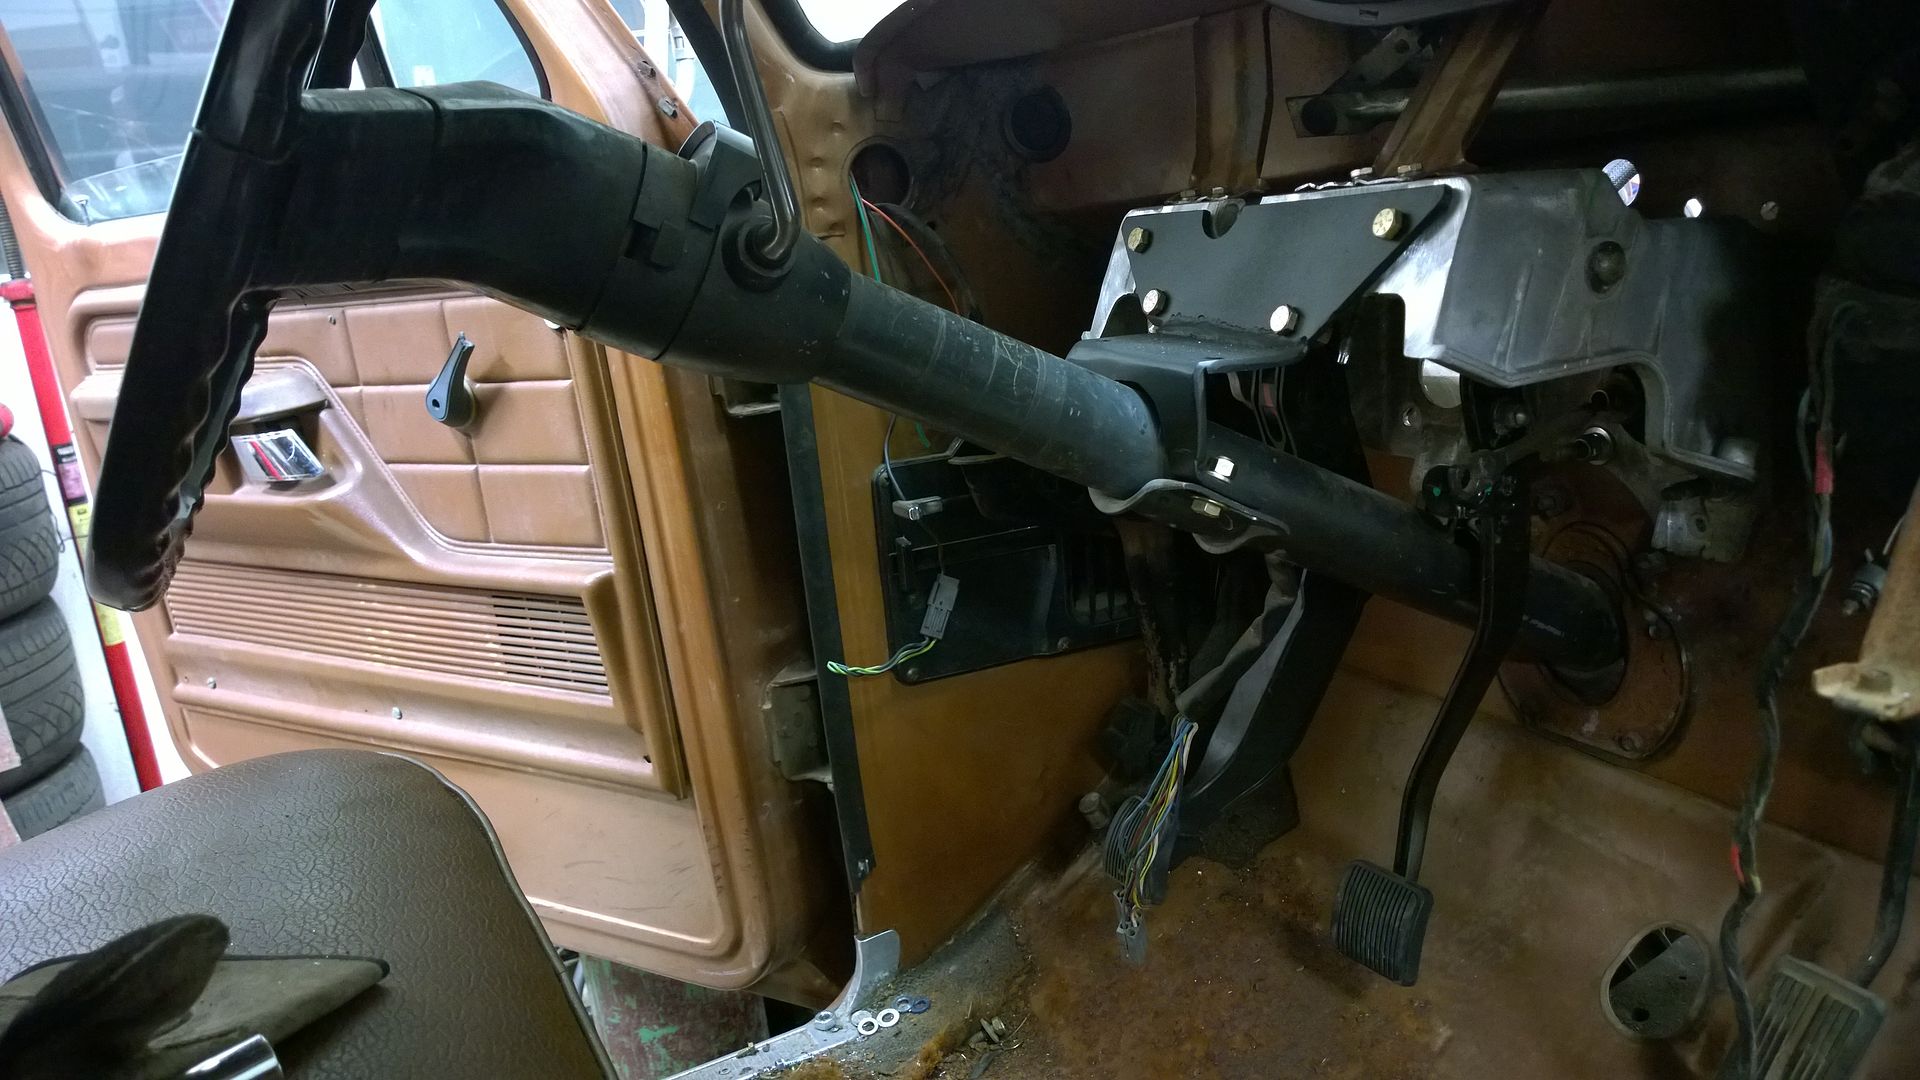
Also forgot to post pics of the '07-12 Ram Clutch and Brake assembly bolted in. Going to integrate the '74 column neck and have my buddy tool me up a aluminum column clamp that bolts to the Ram pedal assembly. Man the engine bay is cluttered. Going to be soooo clean when all of the electrical and emissions garbage is gone. Still have to cut the backing plate for the firewall. Not sure what thickness I'm going to use yet.
Track bar mount is going to be jacked. Half of the plate is going to be integrated and bolted to the bucket and the other half bolted to plates on the frame and tied together when boxed. Kind of funky but I don't have an engine cross member to build a factory Ford style 3 leg track bar bracket. Just not enough room for a cross member pan with the low *** ride height. Pics to come by the end of the week. Using parts from a Ready Lift track bar ball joint eliminator kit. It gets rid of the death wobble the Superduties are prone to when the ball joint wears out.
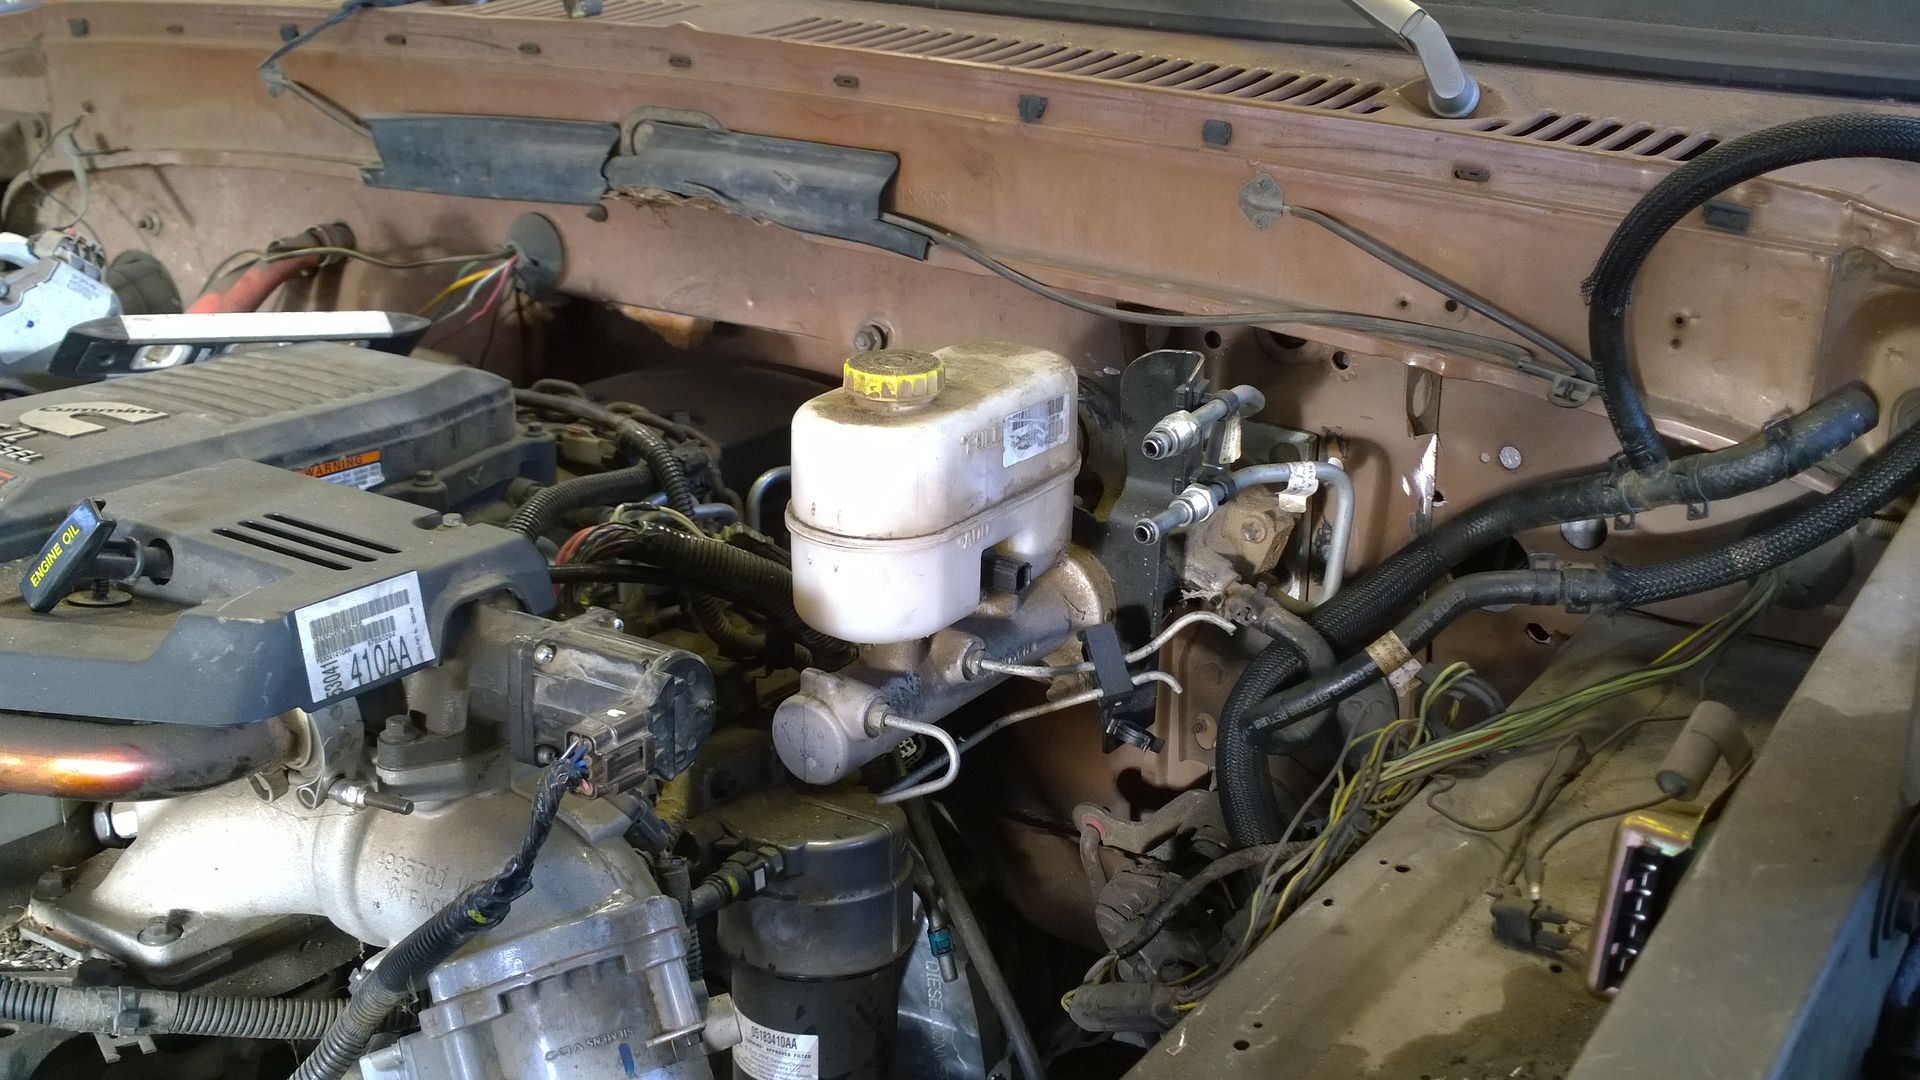
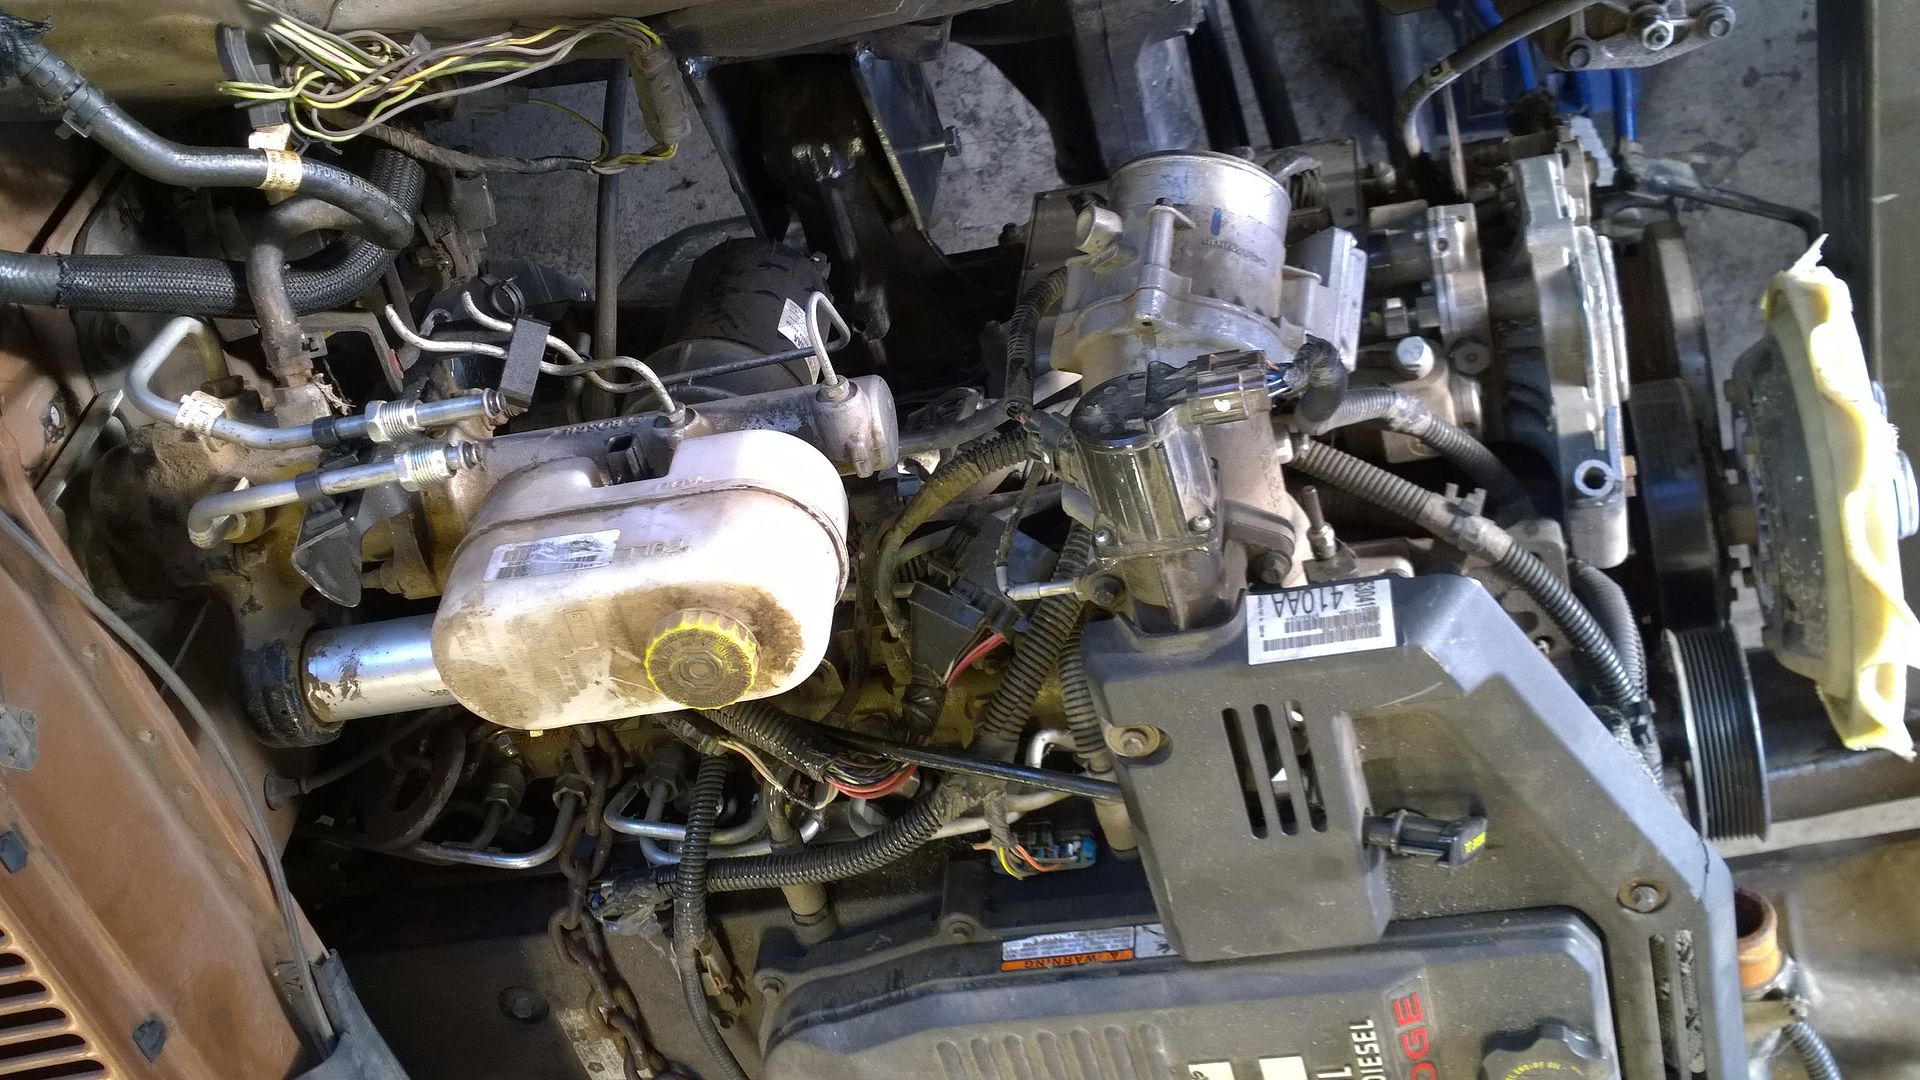


#53
12-12-2014, 01:20 AM
UPDATE 12/11/14
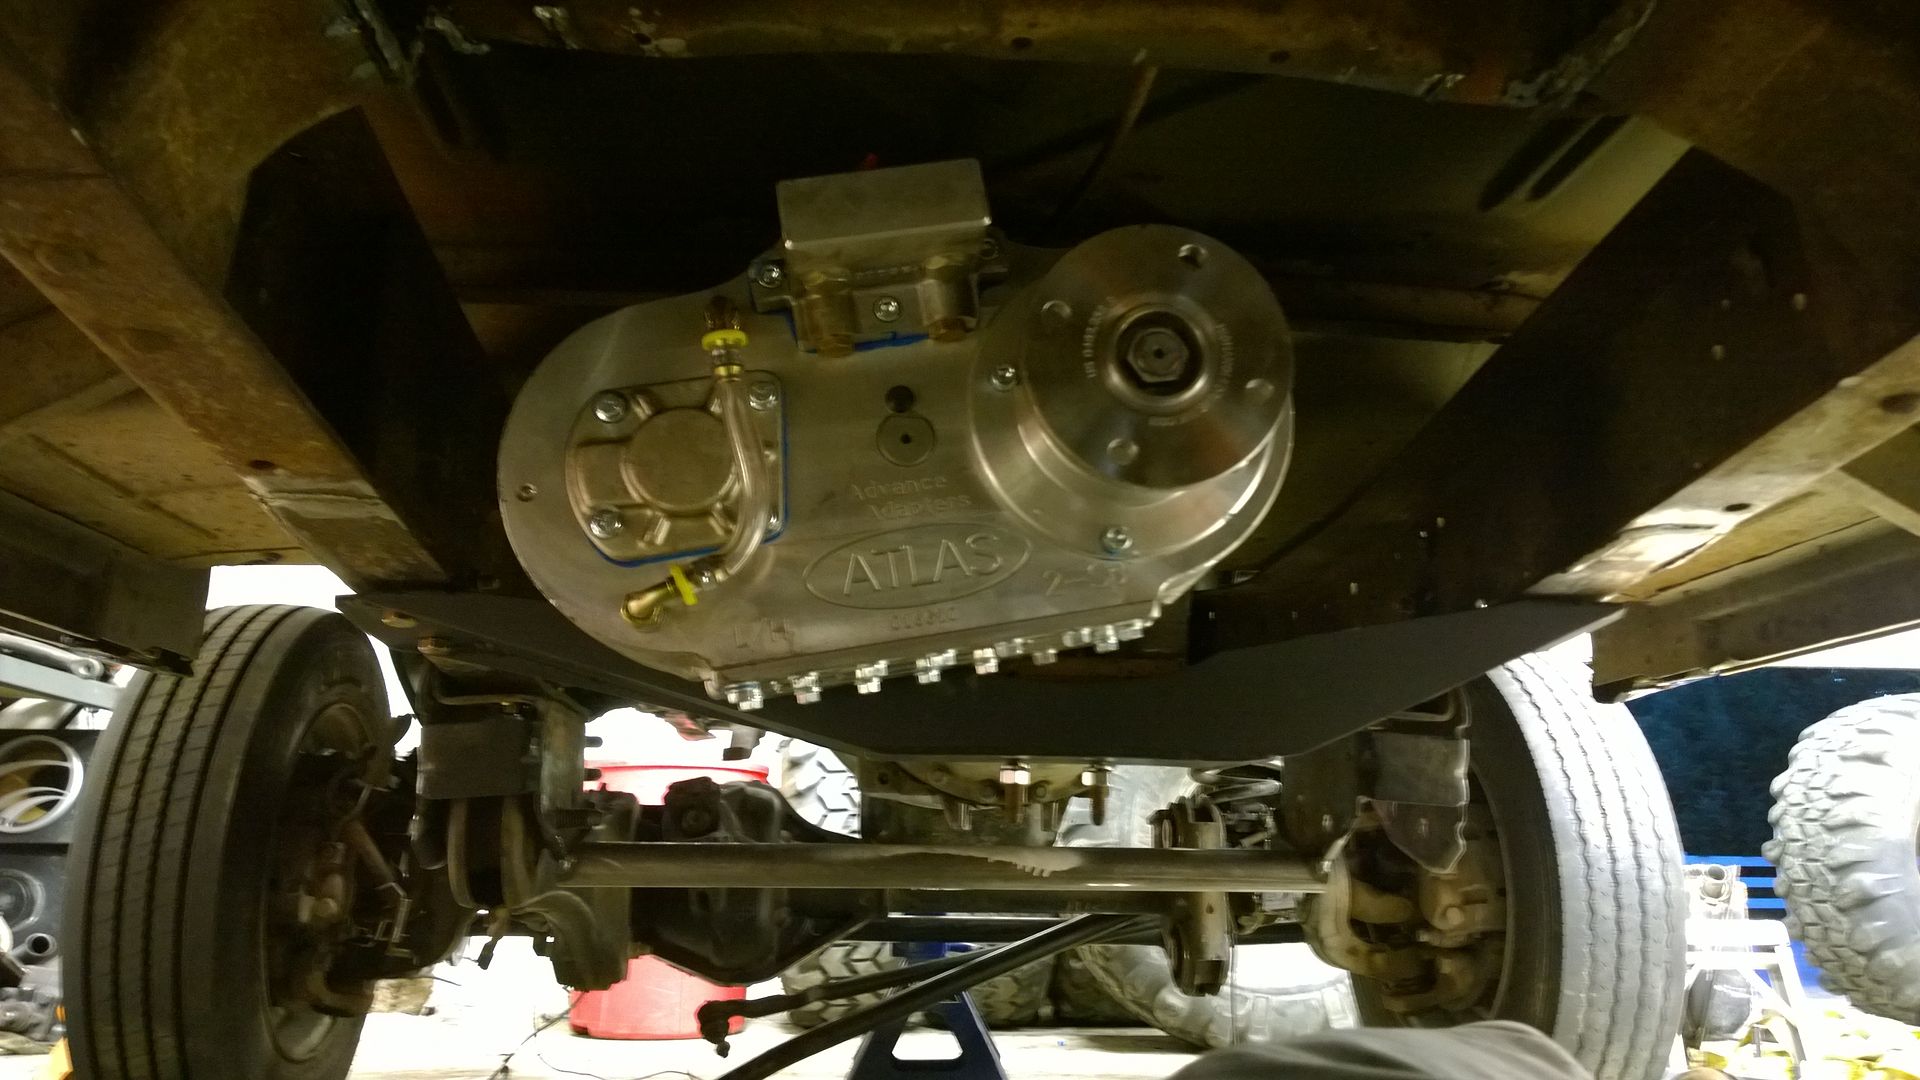
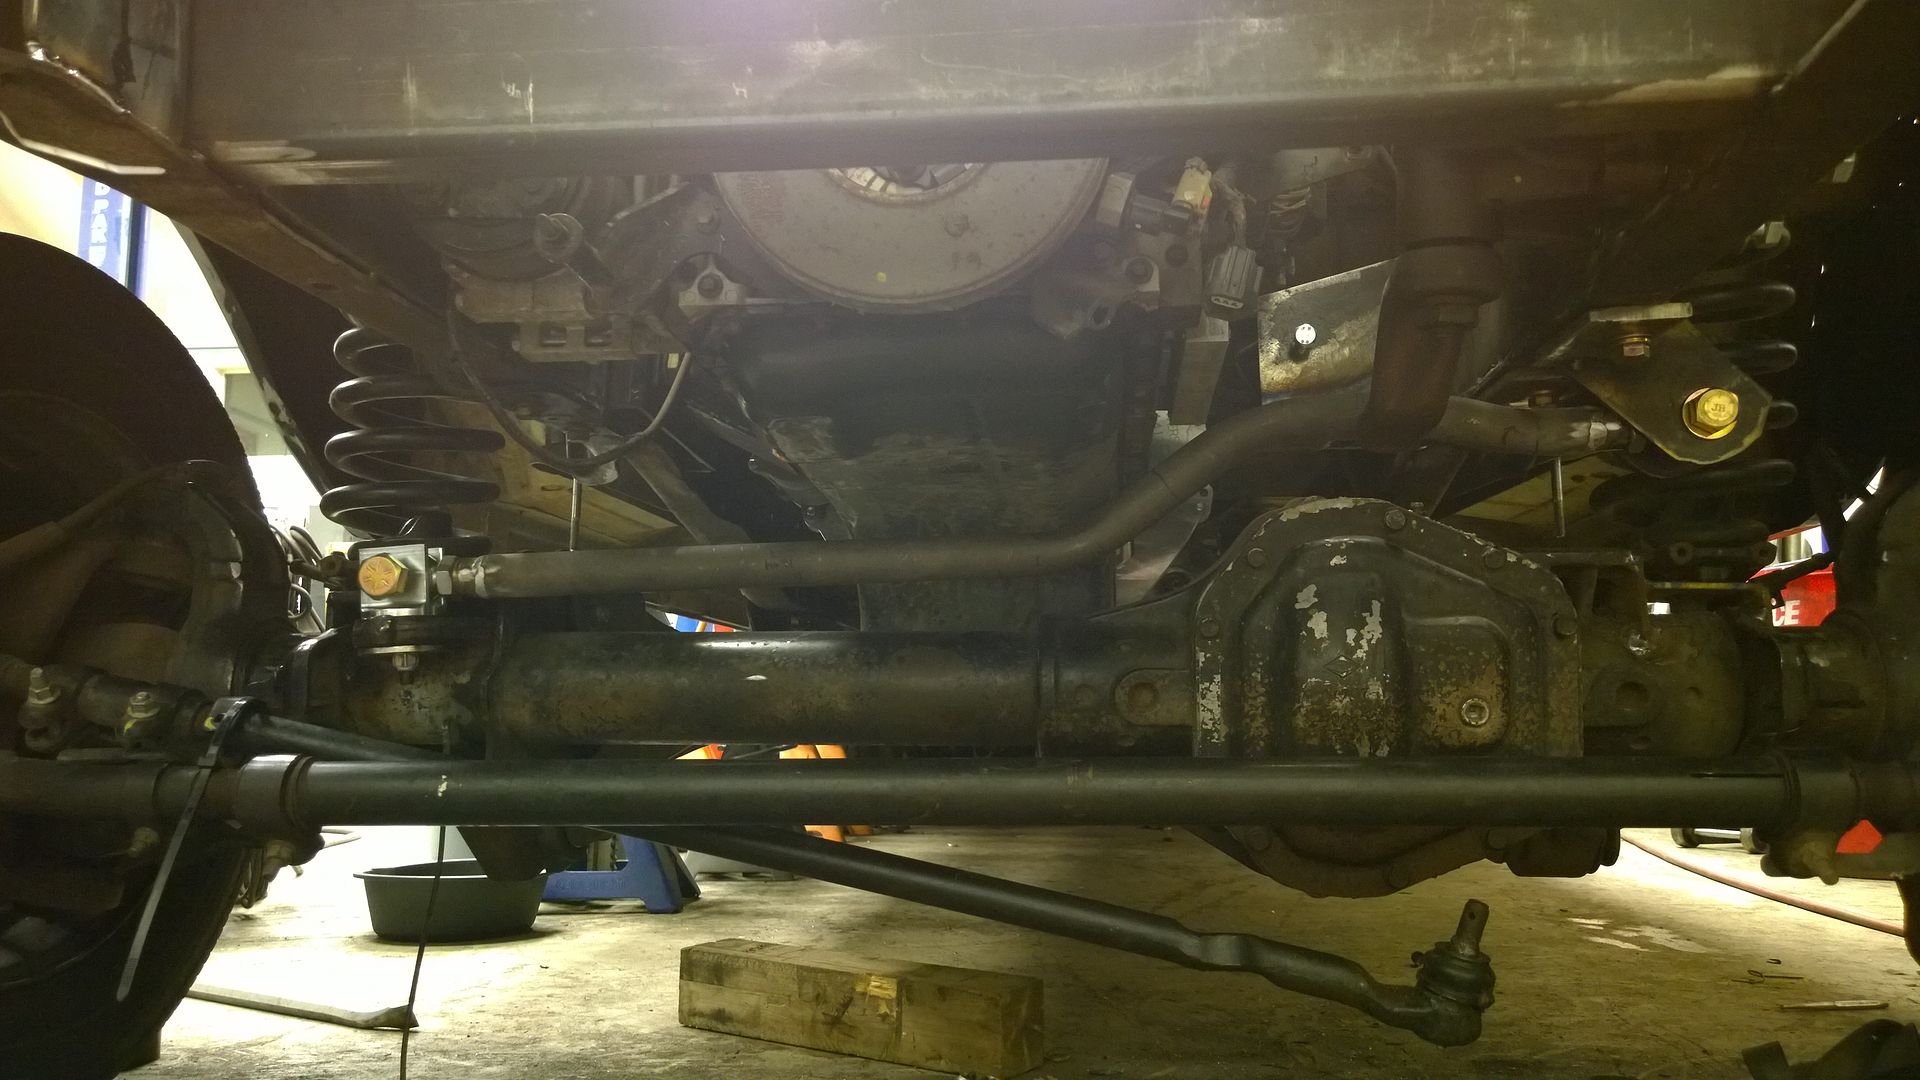
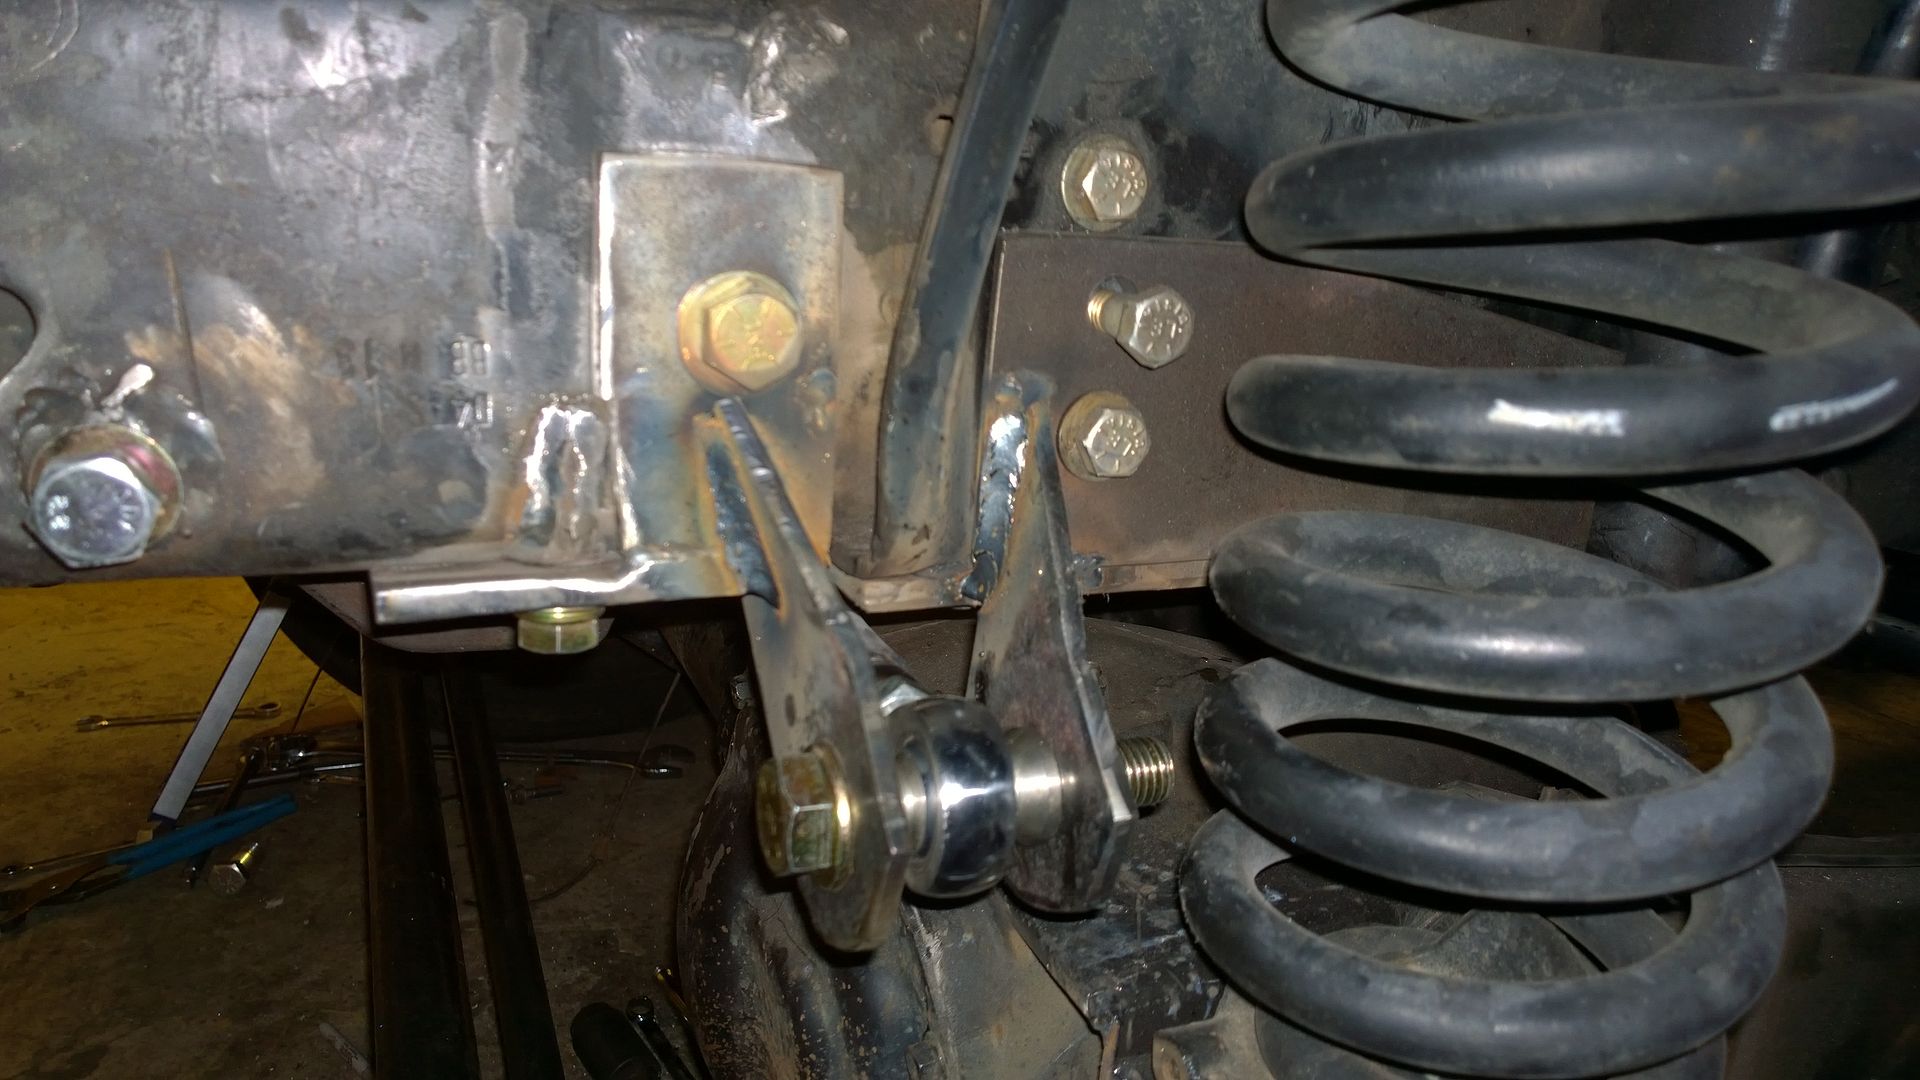
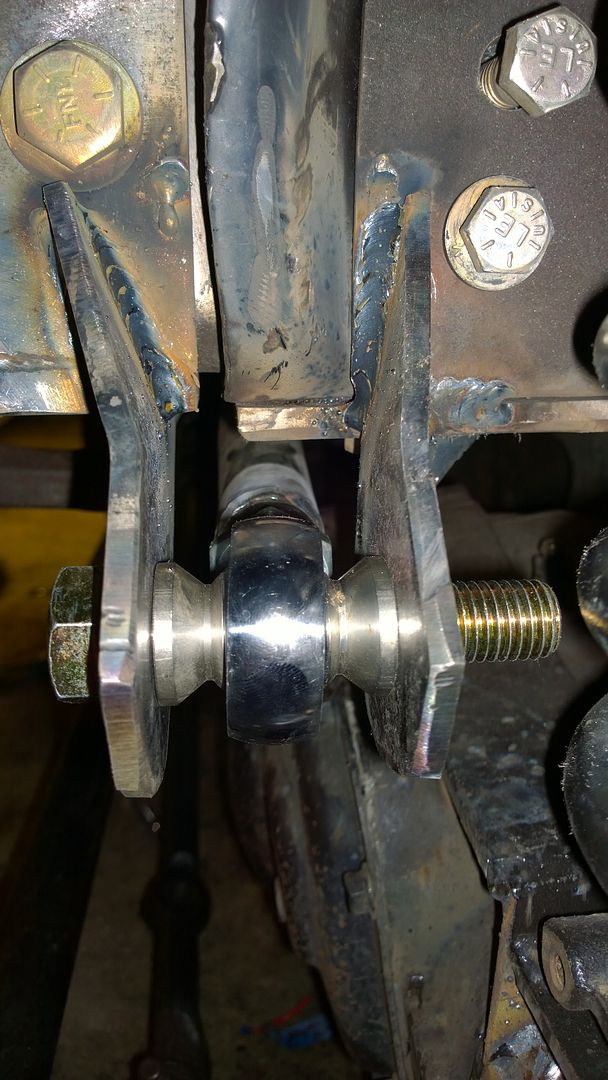
Track bar all done. So the Ready Lift bent bar was too short since the frame is 4" more narrow. Replaced that bar with 1 3/8" Chromoly stick from Poly Performance. To limit bumper steer best offset the trac bar the same on the driver side as the passenger side at 2.5". Flipped the Ready Lift Anti Wobble clevis to the top side to match the 10* angle of the drag link. The bracket had to be a 2 piece design since the rear portion had be over the coil buckets. So that the bucket could still be removable and the track bar bracket I used the coil bucket hardware. 5 bolts to the face and 2 underneath. Only had room on the front portion for a bolt on the face and bolt underneath. So we holesawed 2" up from the bottom of the frame just a hair on the outer edge and ran a threaded bung vertical. With the 1/4 gap left up the side of the frame I was able to weld the side of the bung all the way up the 2" on the side of the frame as well as the bottom. For the side I just cut a hole and welded in a 5/8 nut. With 9 bolts holding it on it's safe to say it's going nowhere, but still removable is ever need be. Took the arms in today to get powder coated and seen a Early Bronco frame freshly done. I asked him how long of a chassis he could do and he said like 30'. He gave me a price of $900 for the F250 frame. SCORE! That seemed pretty damn cheap for a job that size. So tomorrow is pull the motor so I can take it to Jefferson for the P-pump Conversion this weekend. Here's the pics.
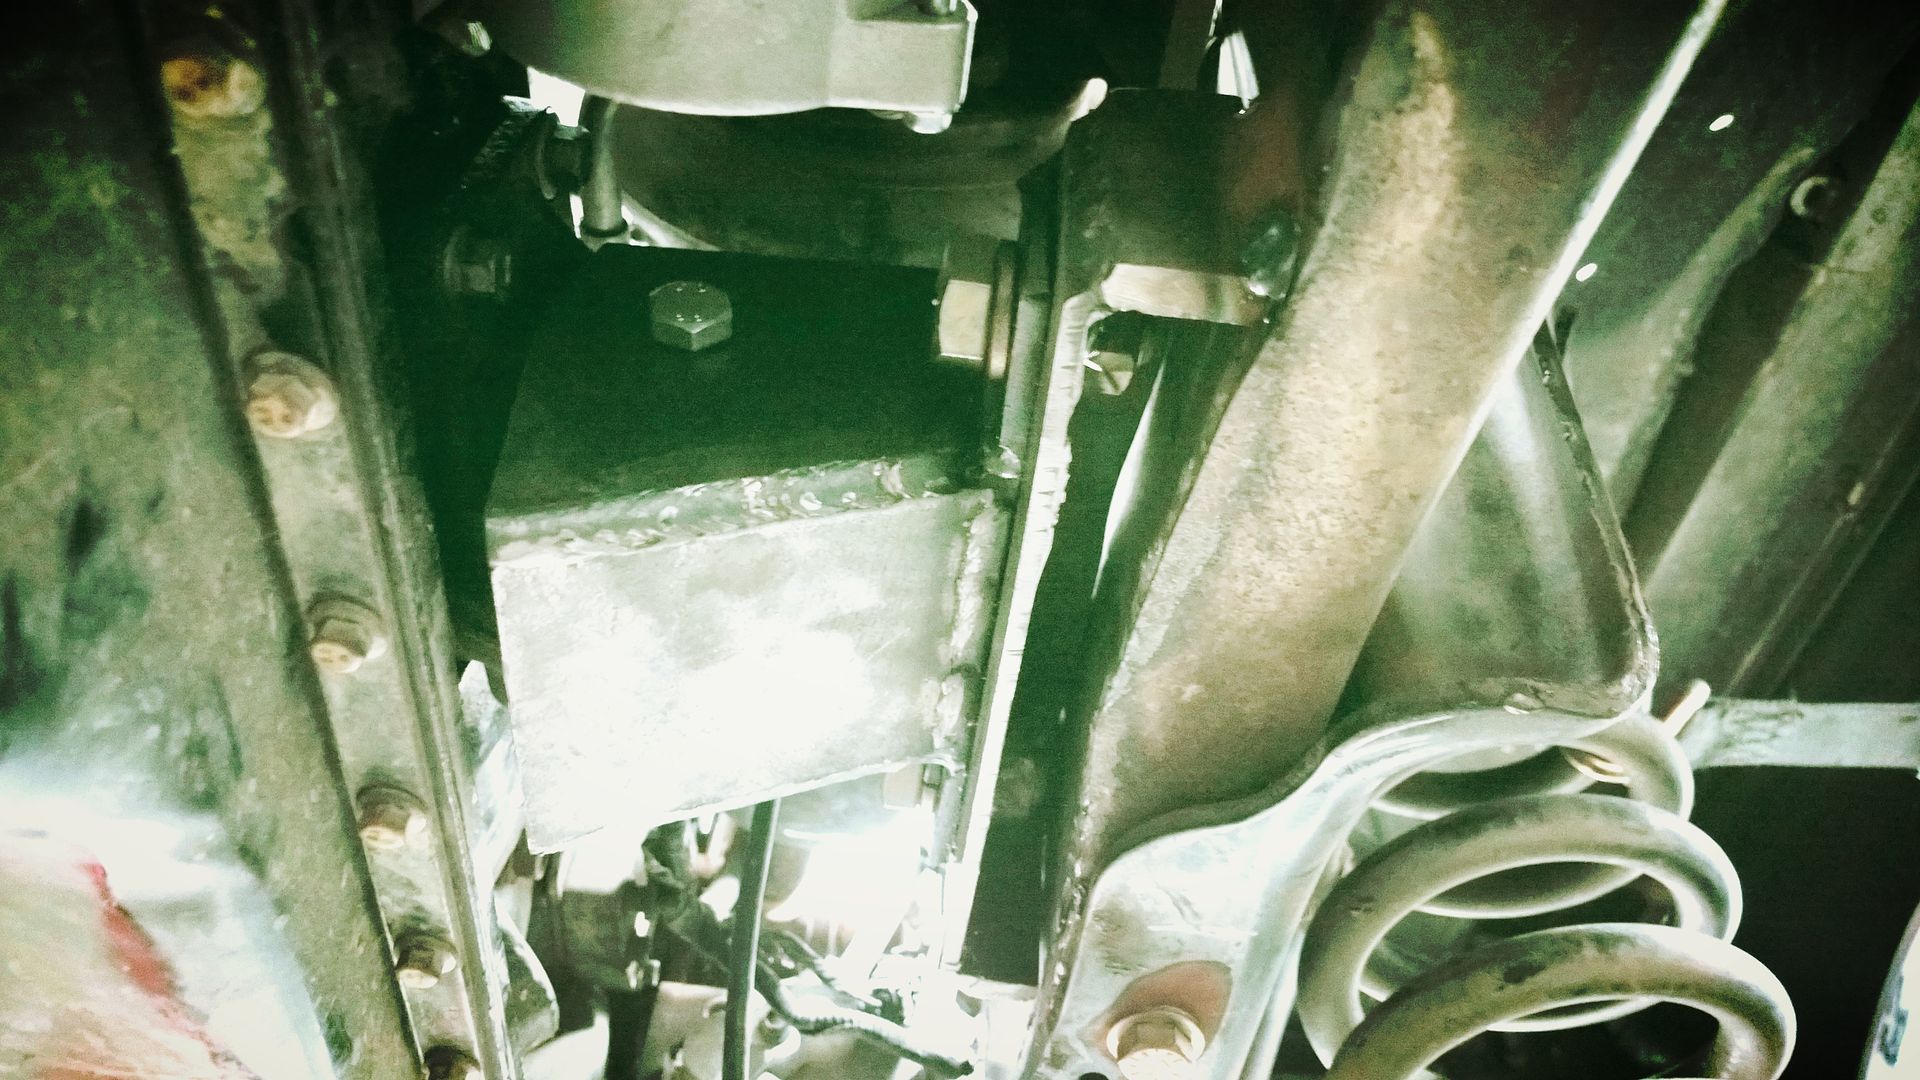
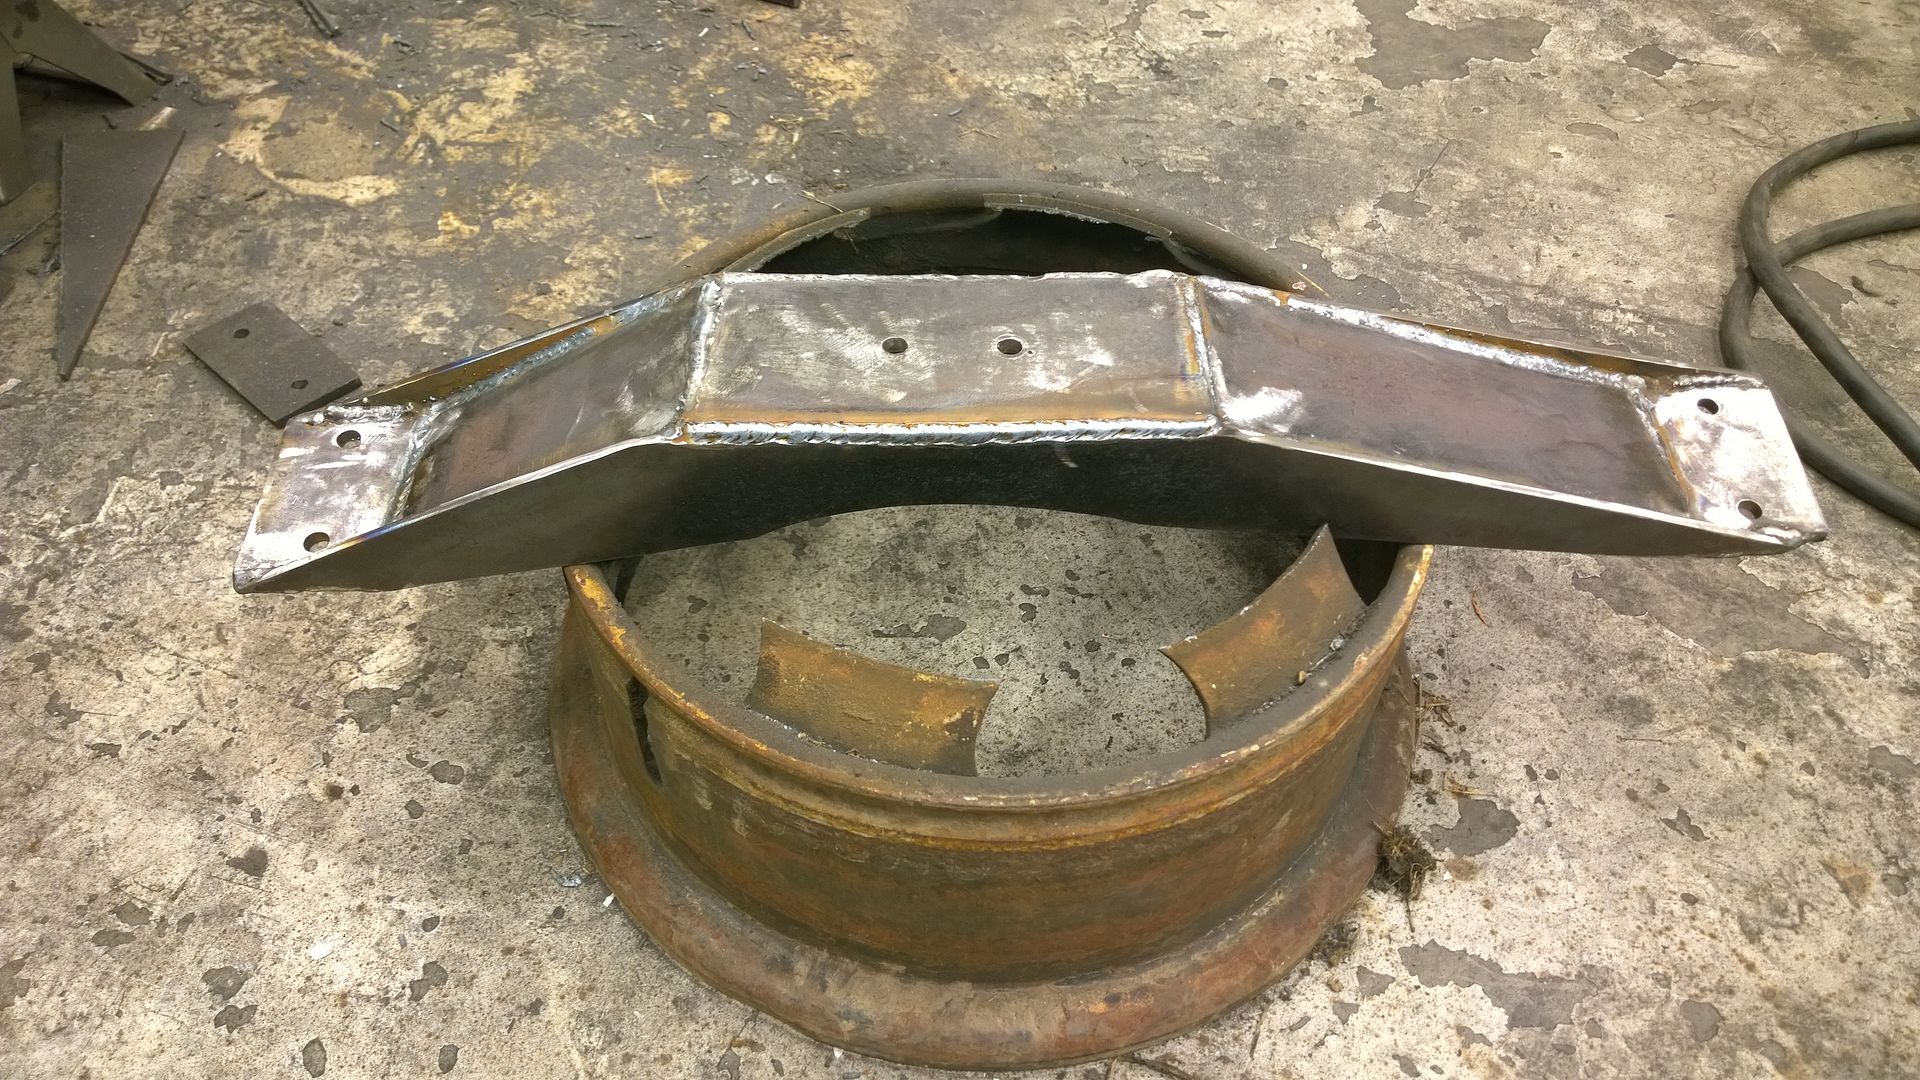
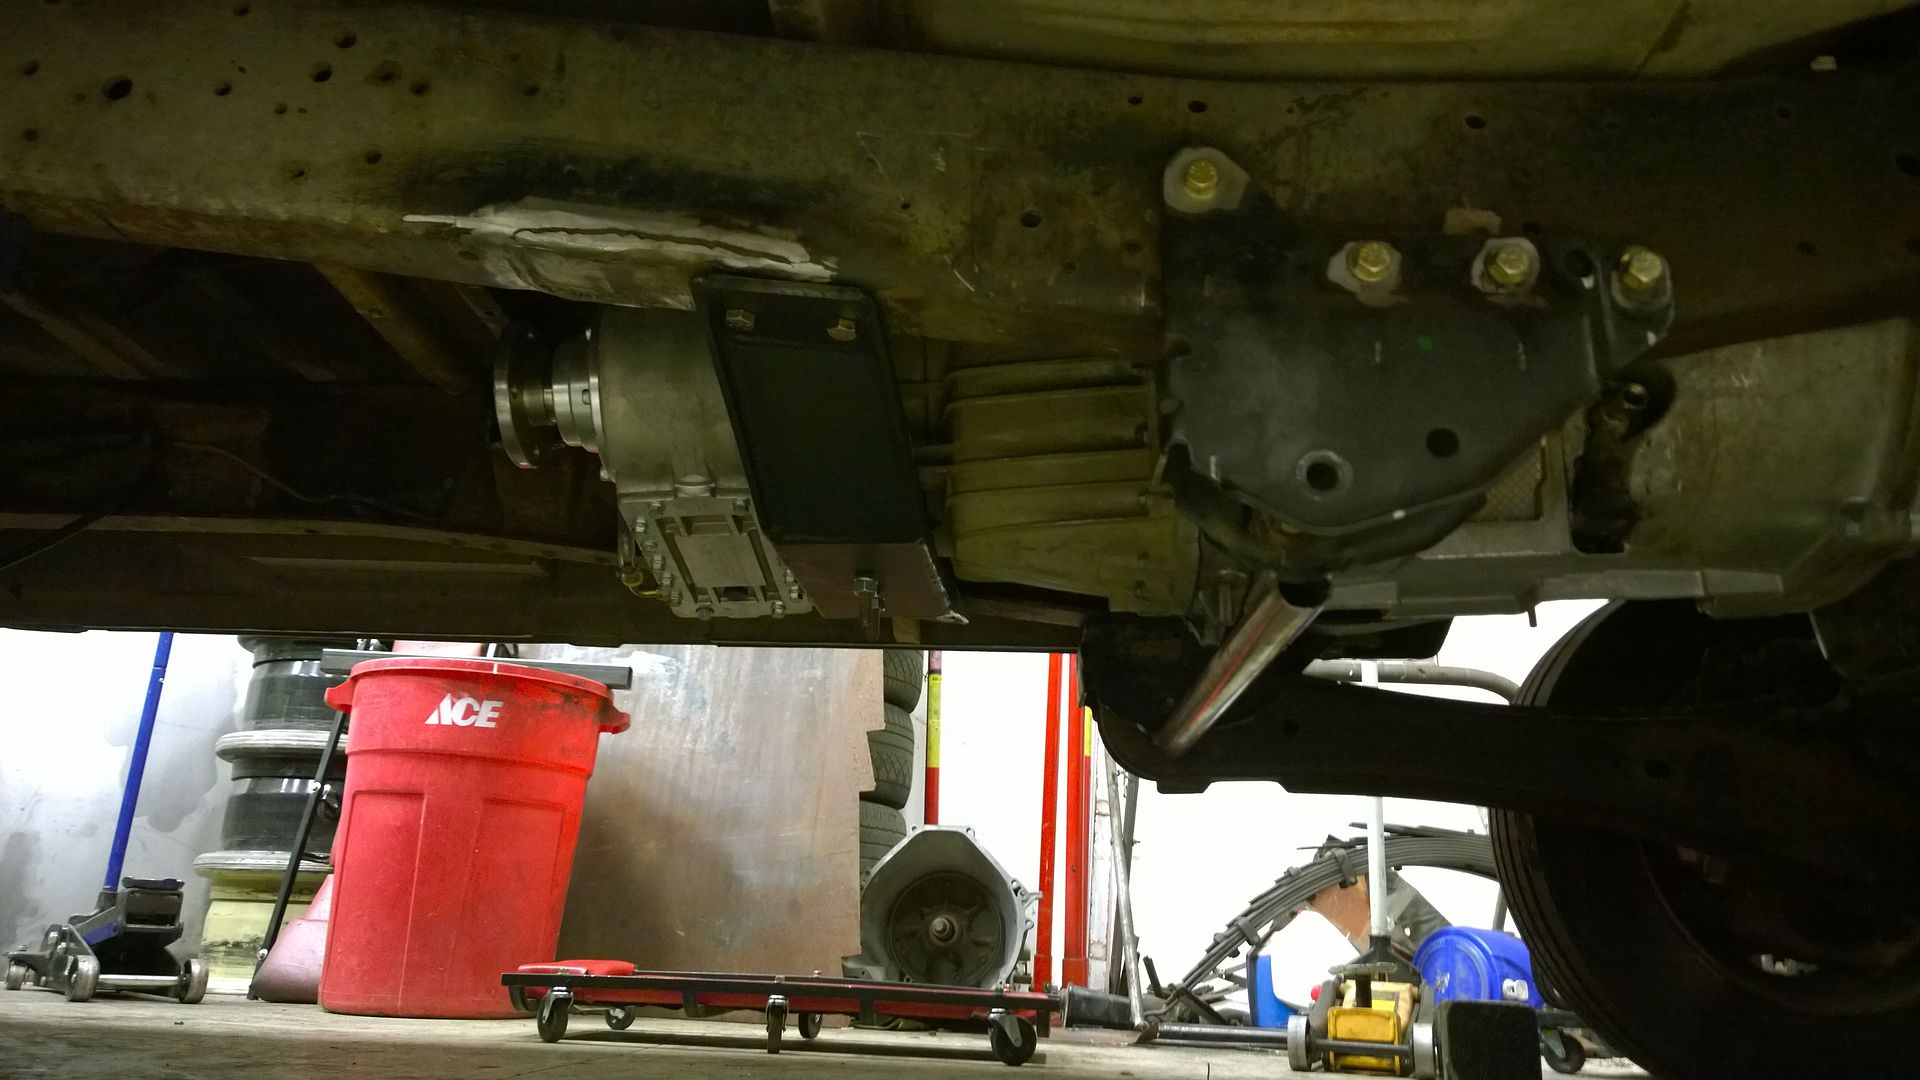
Pan Clearance
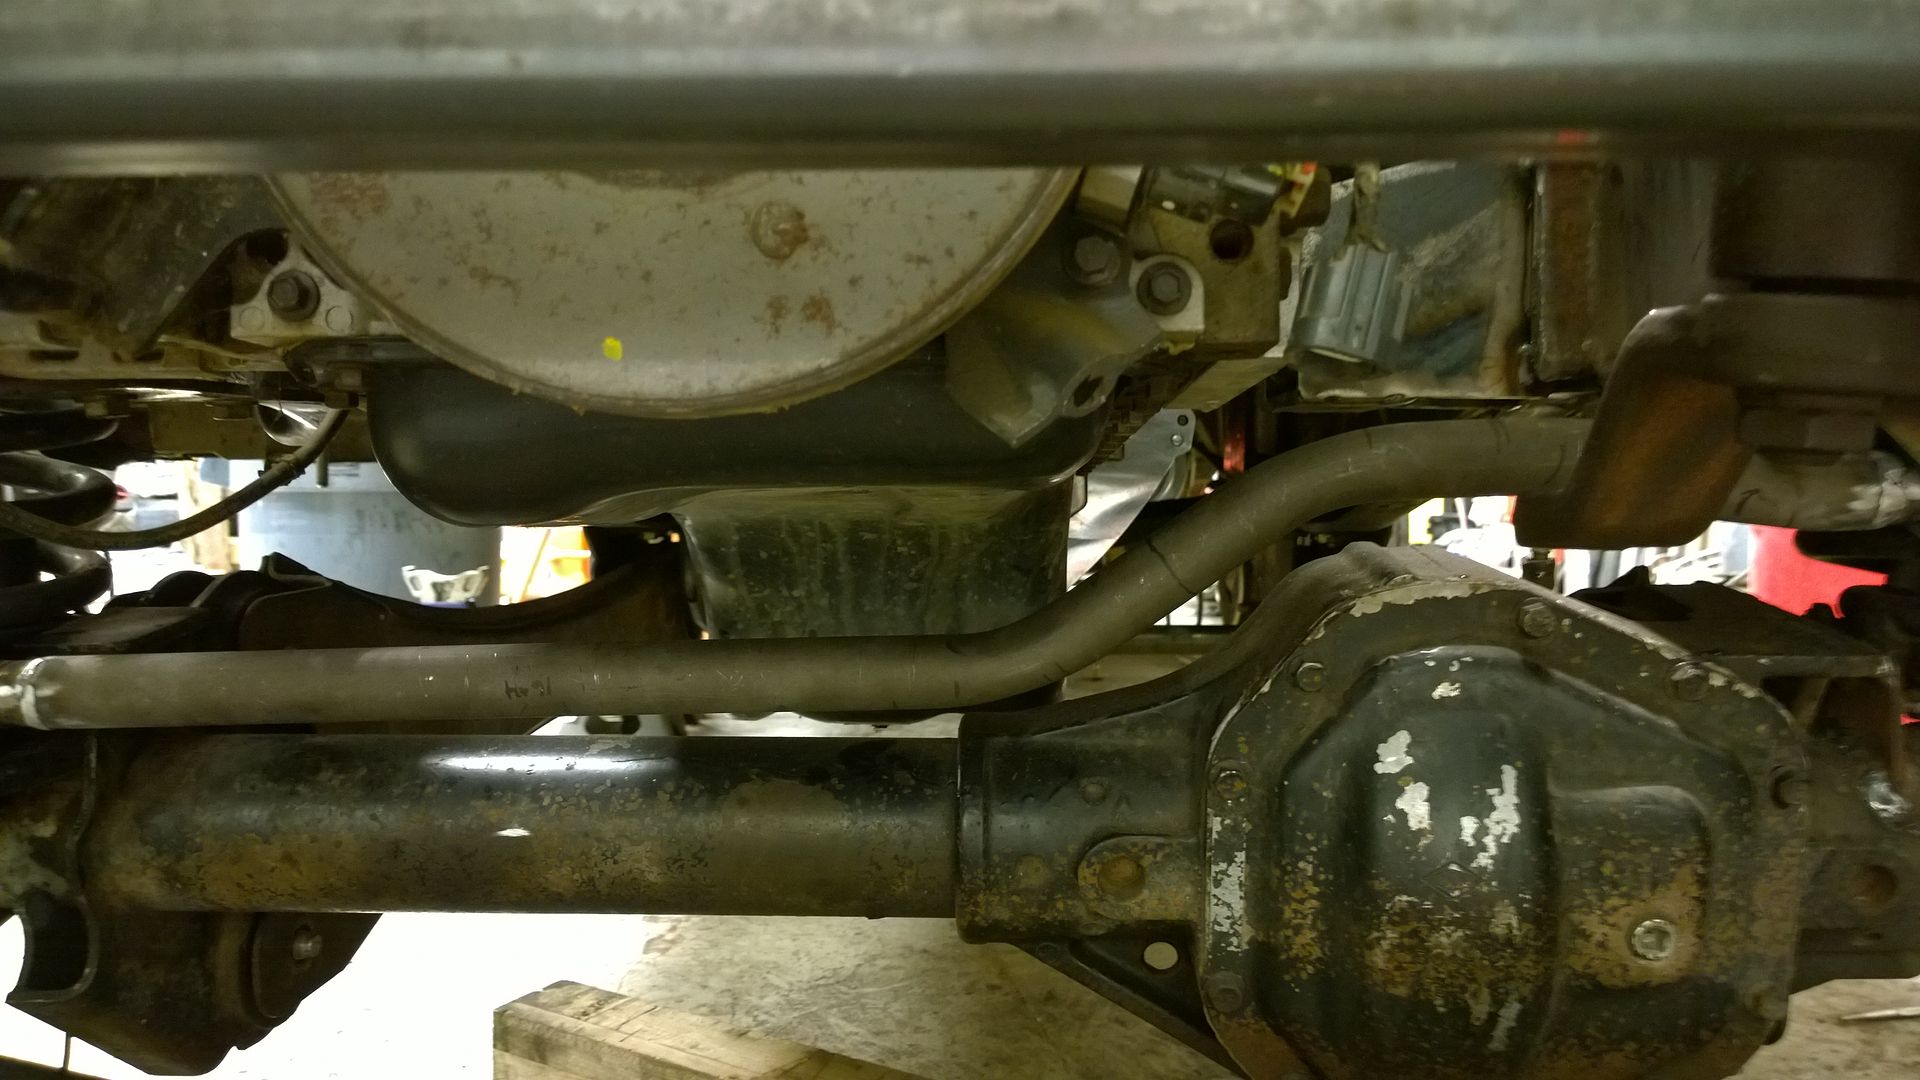
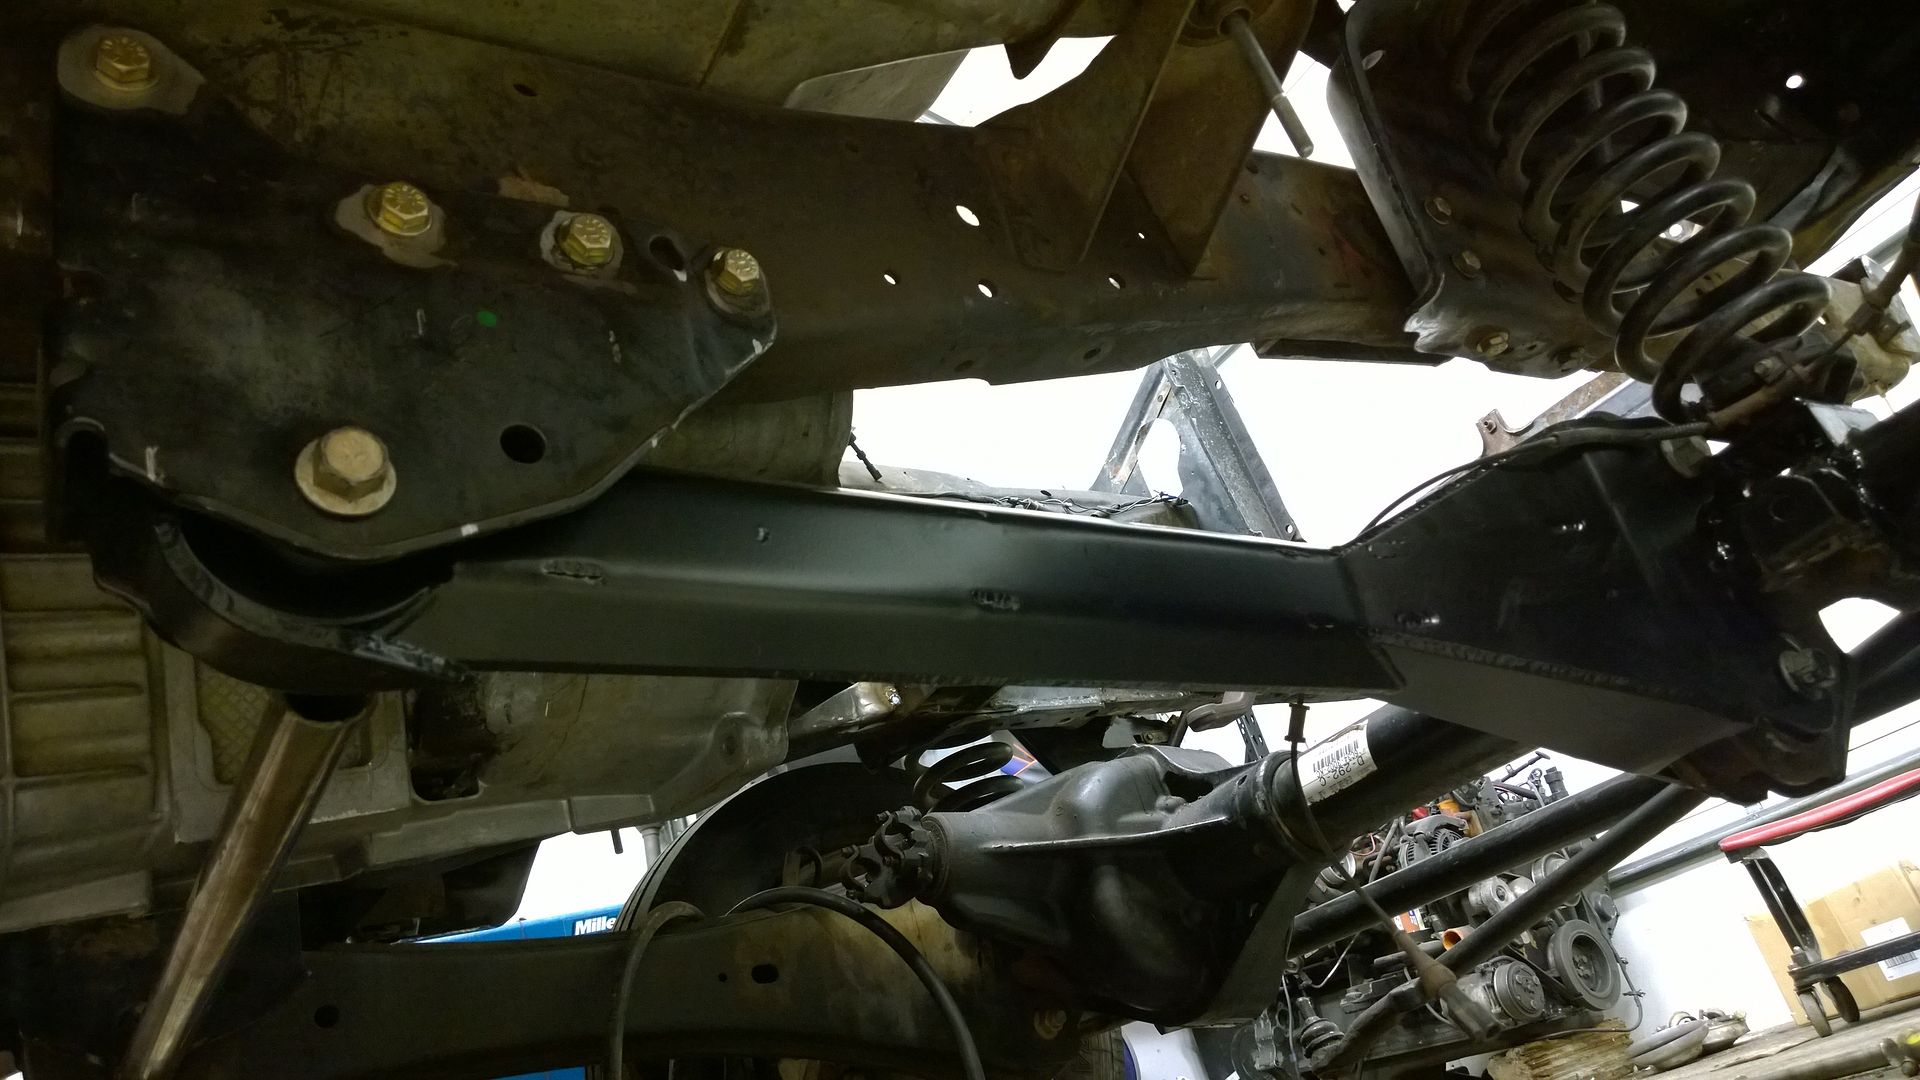
Here you can see the frame clearance is super tight and why I had to put the extra 2 bends in to snake under and add some breathing room. You can also see that the front and rear are on different plains due to the rear being mounted over the coil bucket.
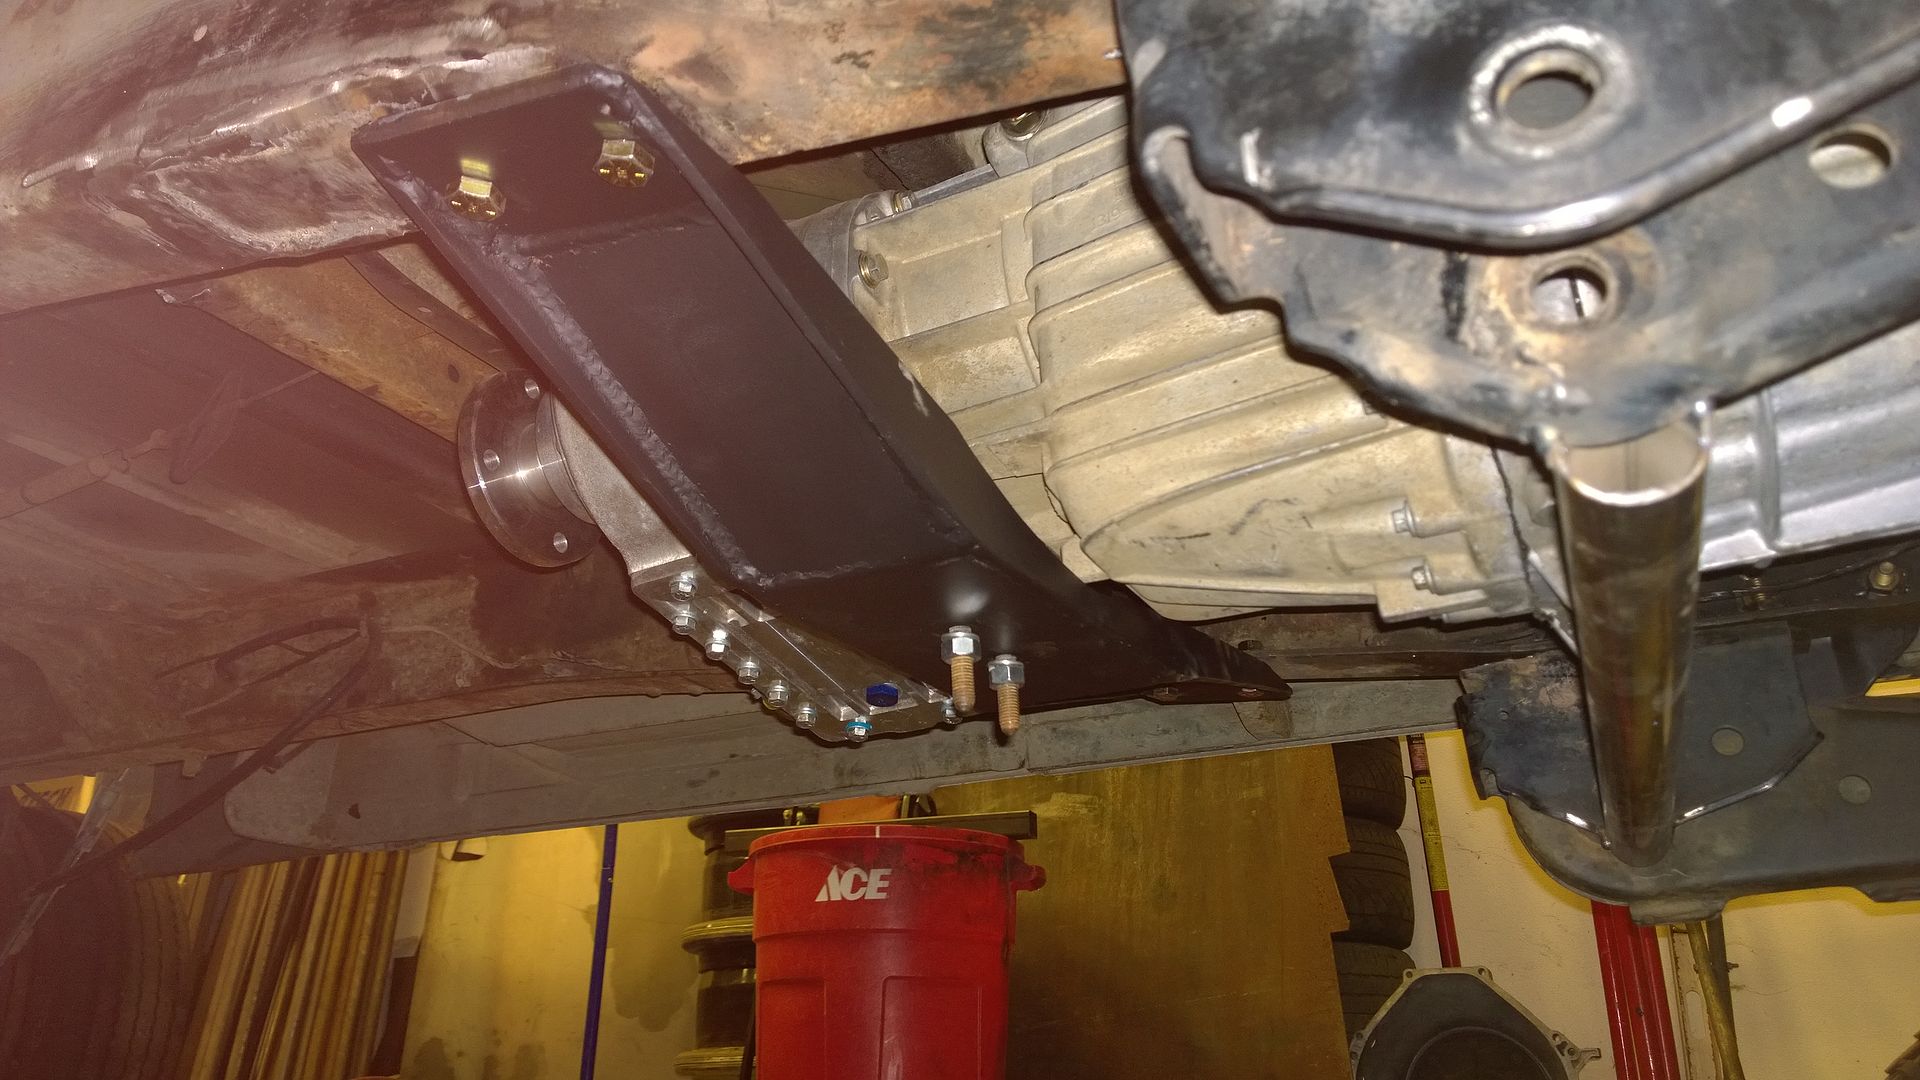
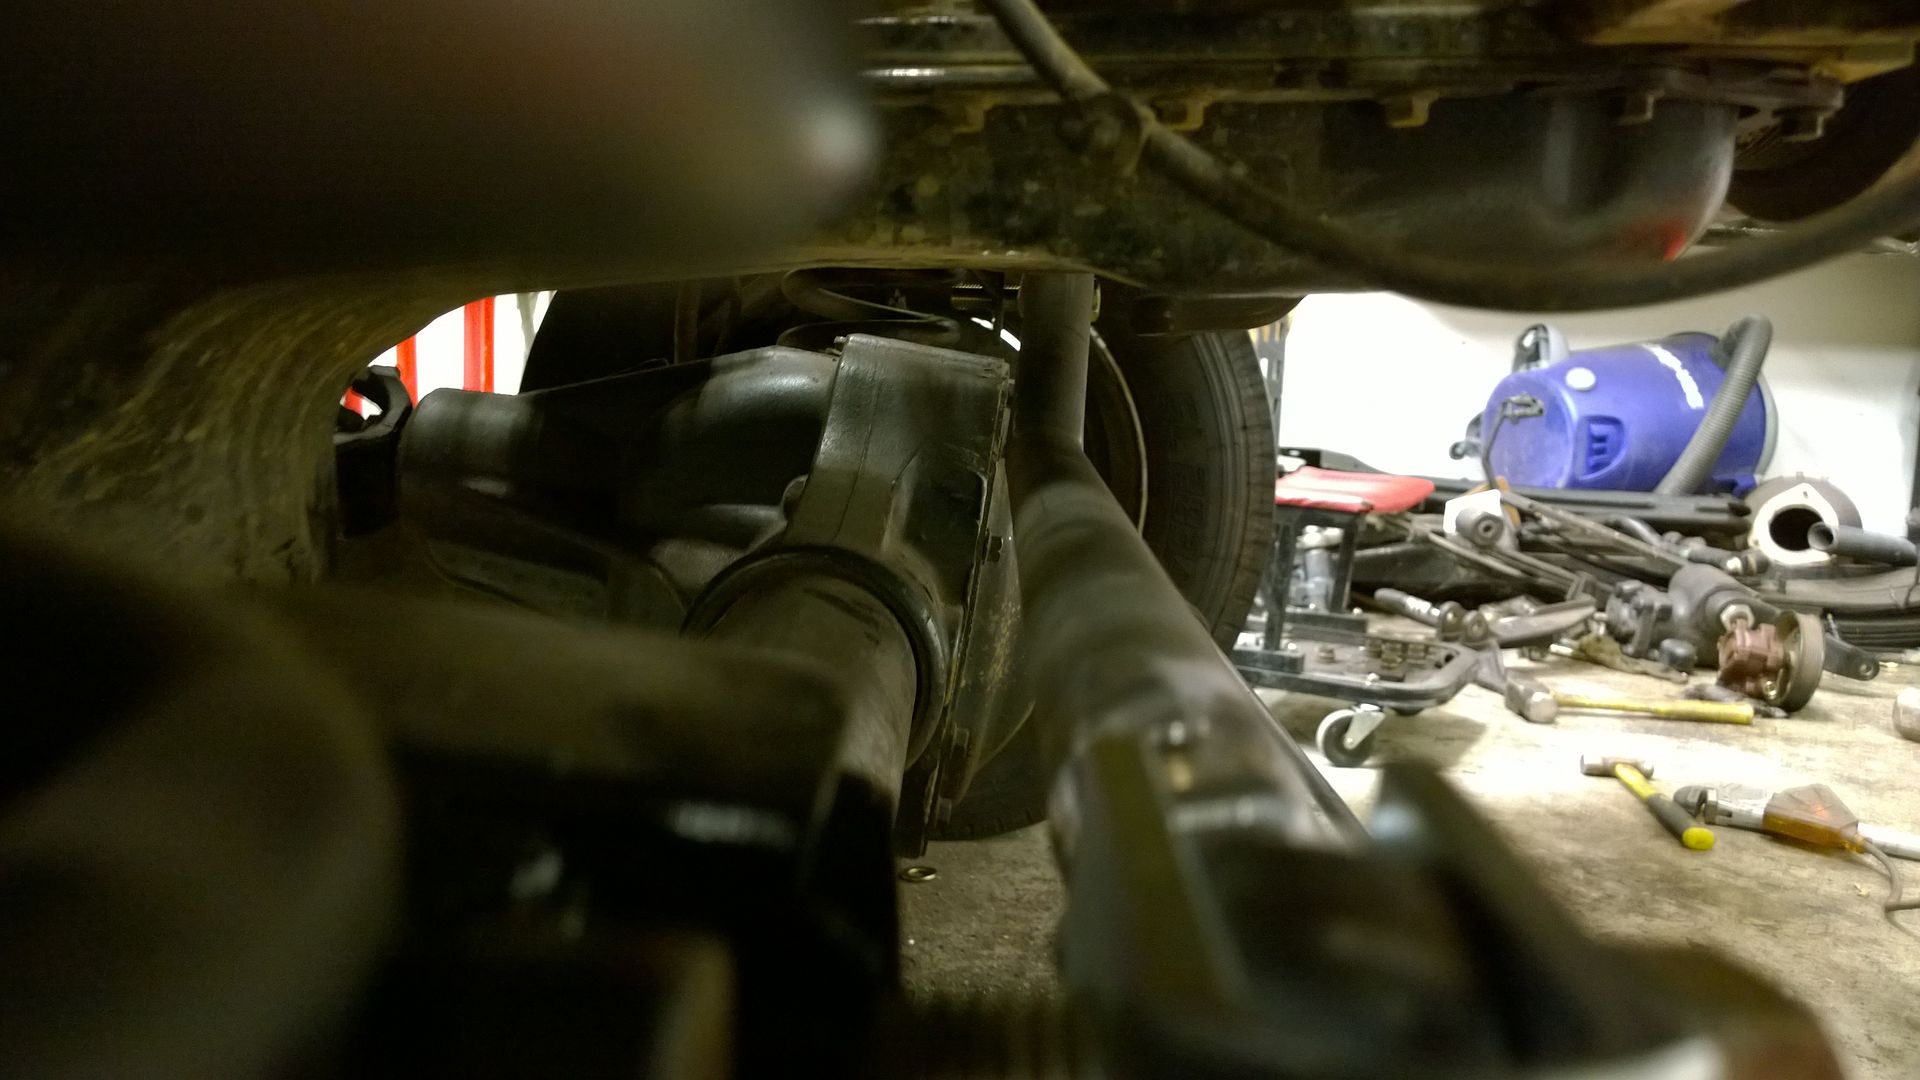
Bar just clears the diff.
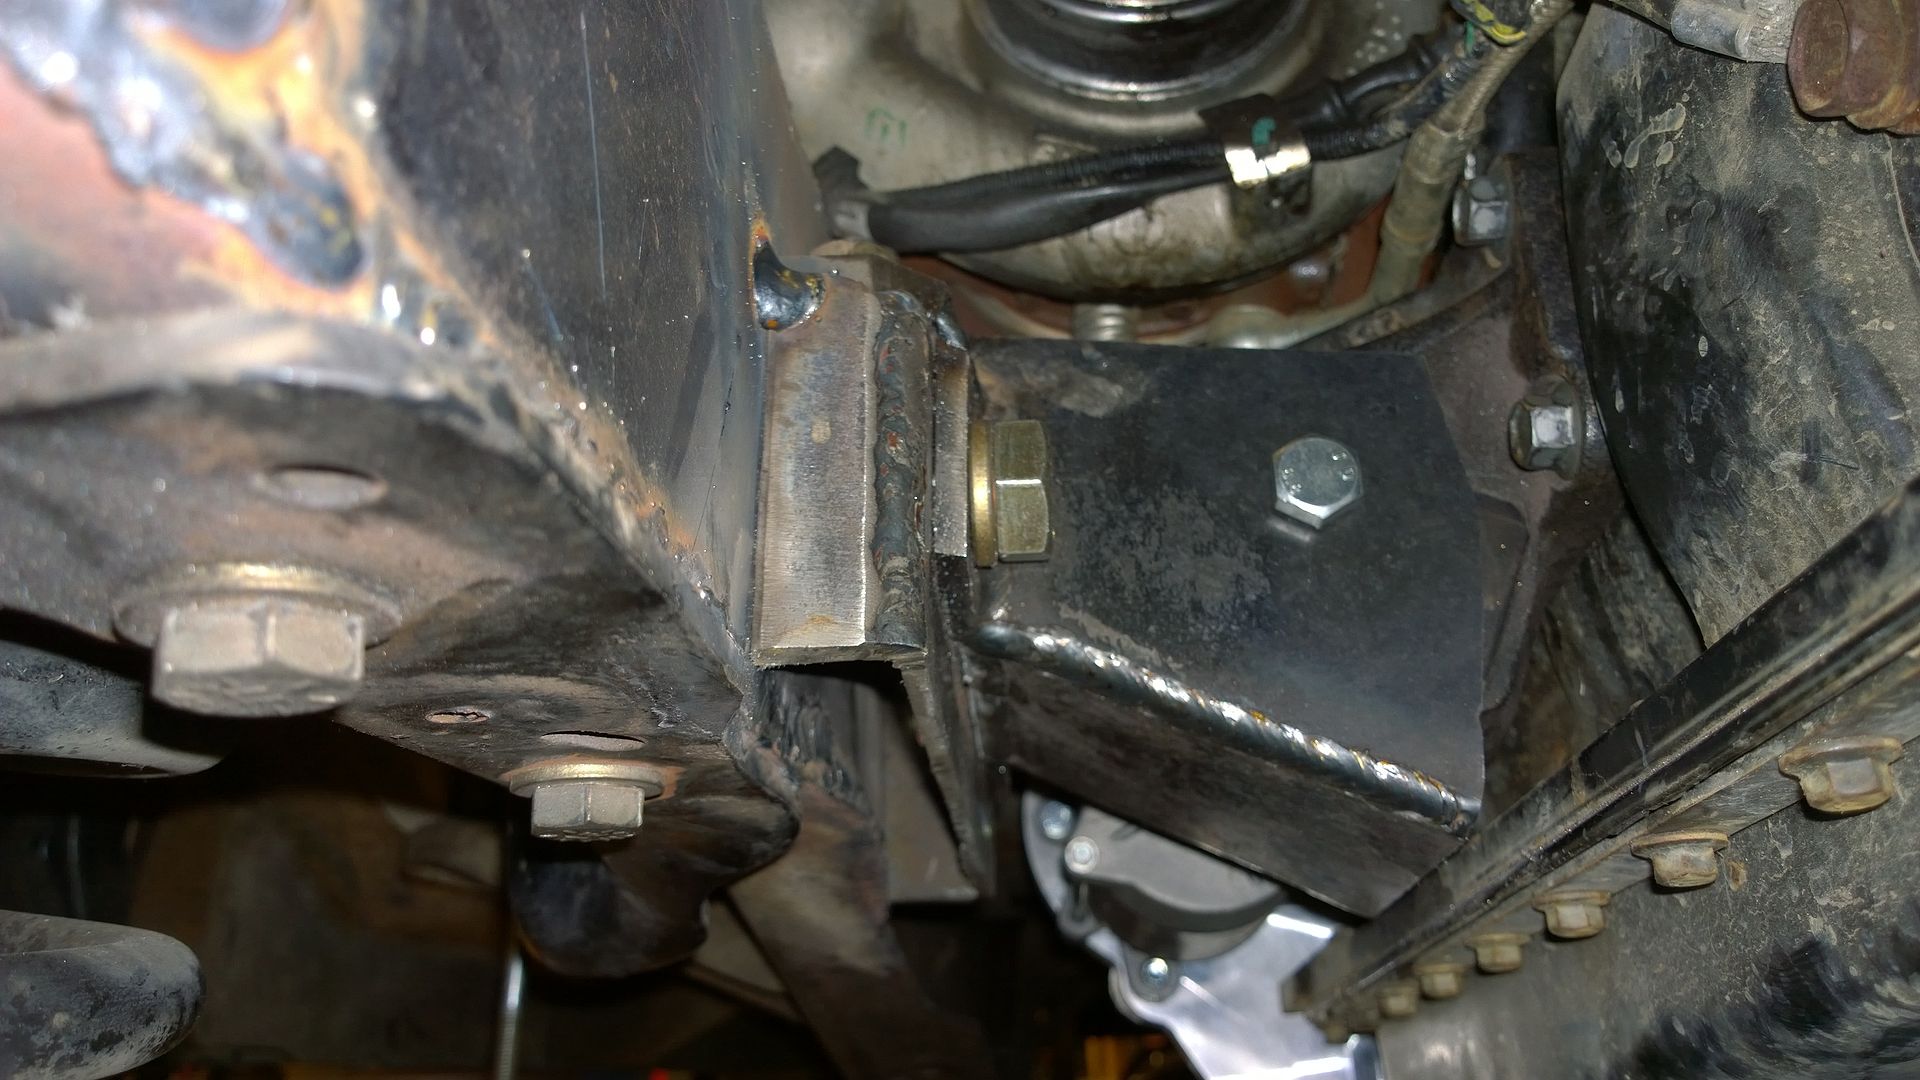
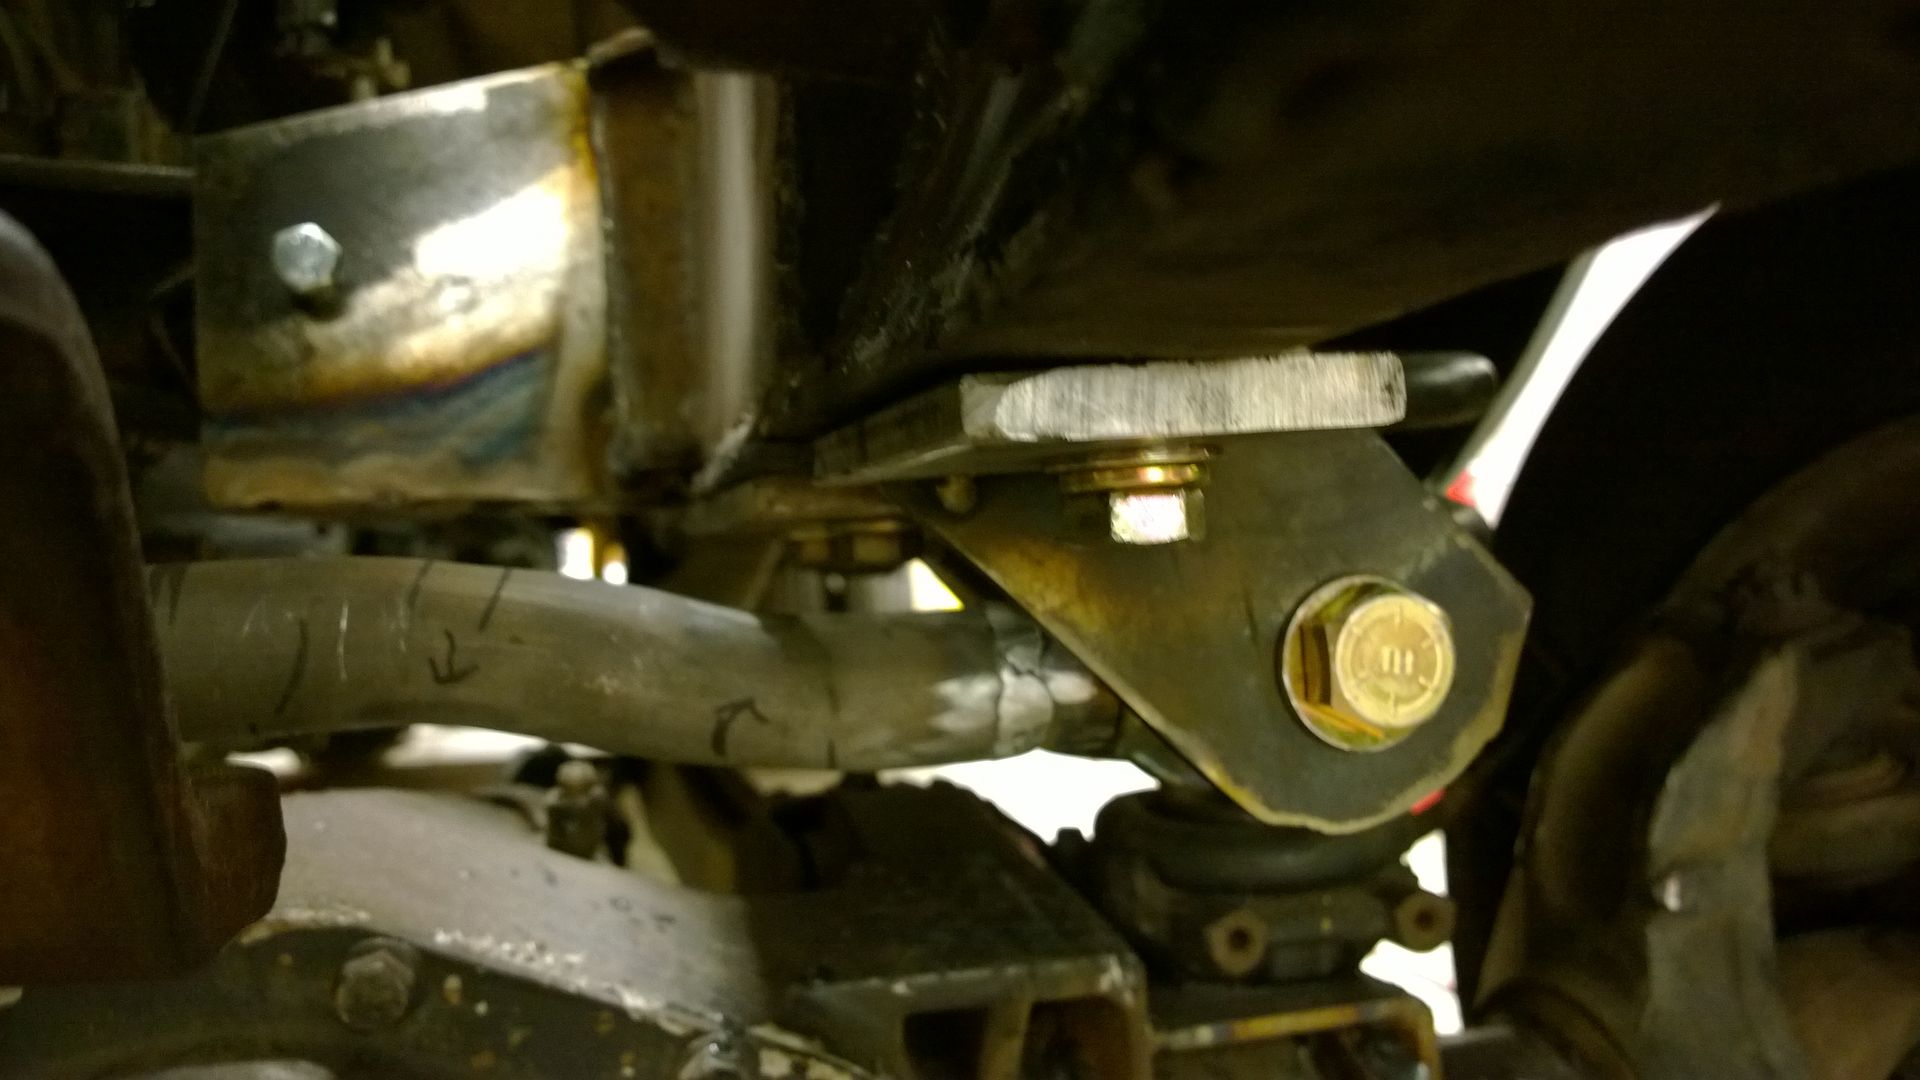
Side view of the 2 separate plates, rear one over the bucket using the bucket hardware.
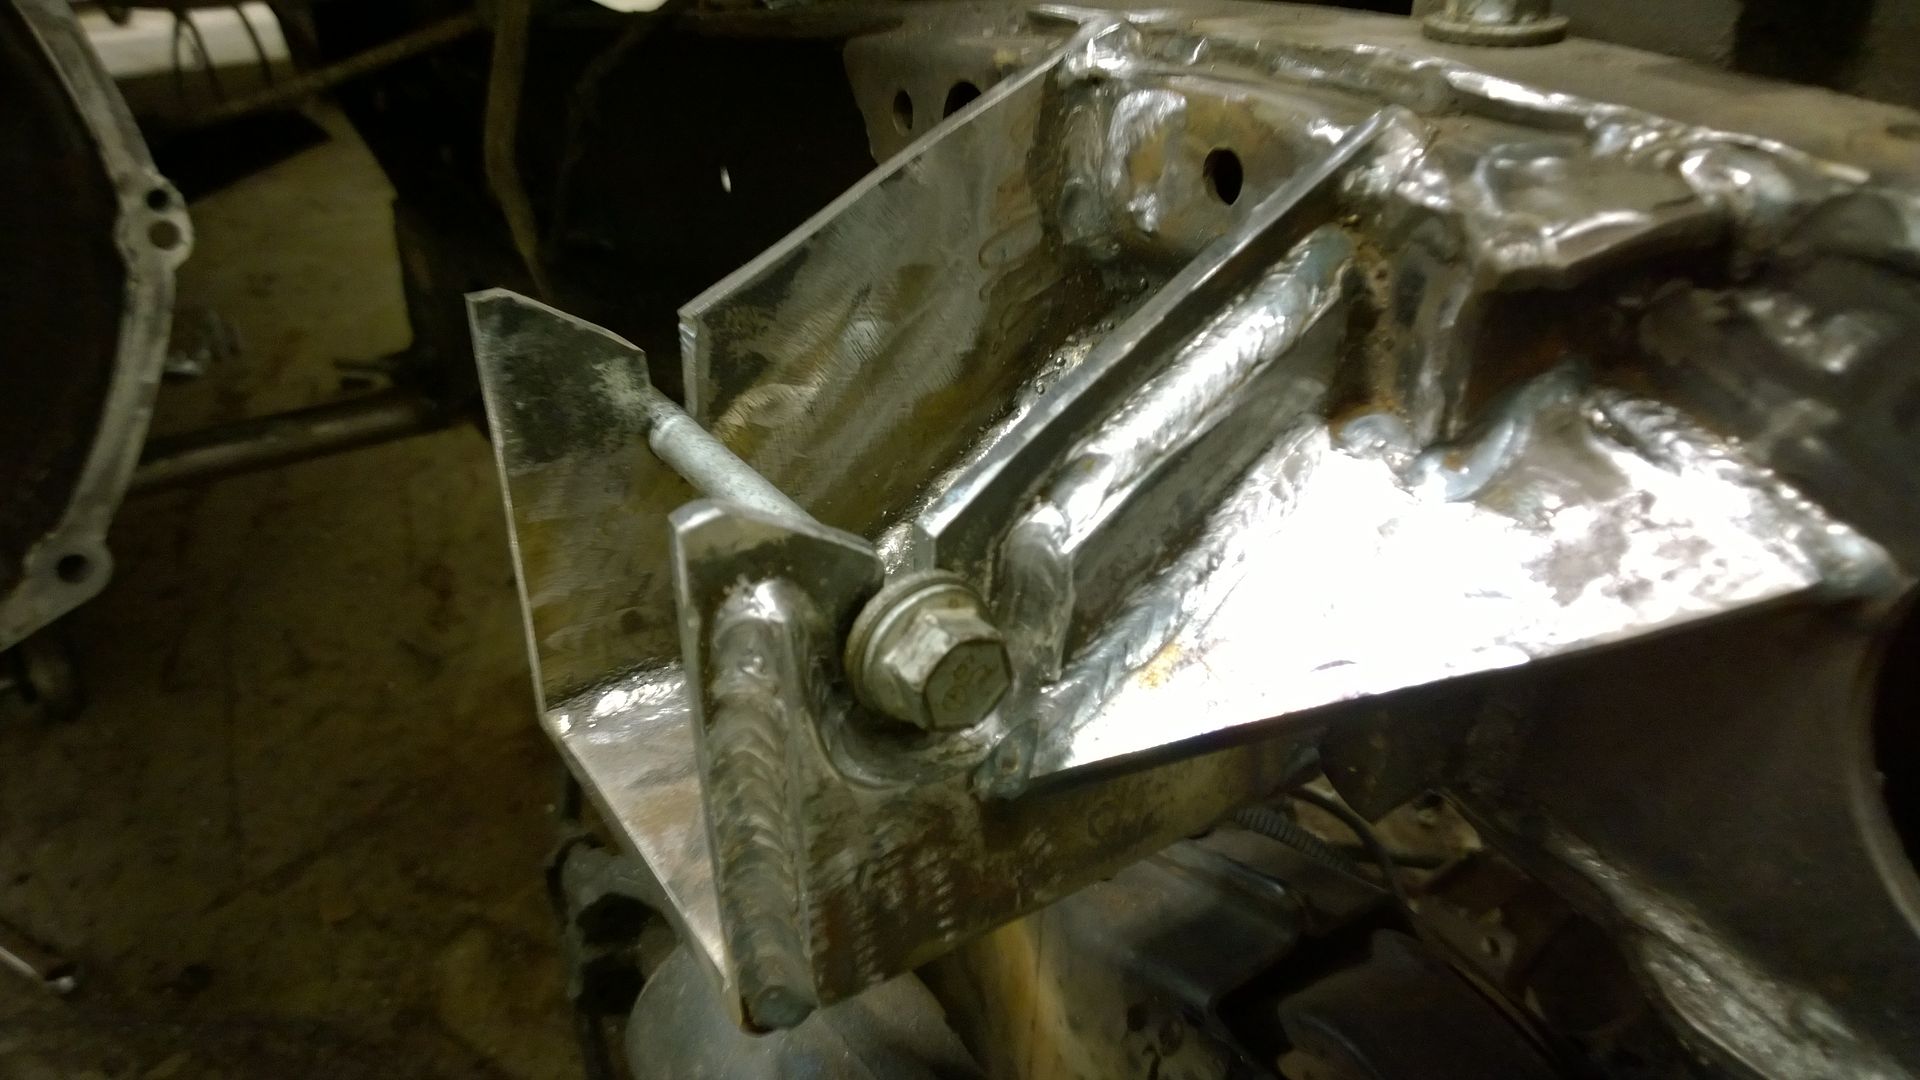
The back side here will get plated tying the two plates together to make one bracket. V-ing the plates allows me to get a deeper weld on the rear that was tight even making the plate and a far wider back plate tying them together. Should b beefy as hell.

Pan Clearance

Here you can see the frame clearance is super tight and why I had to put the extra 2 bends in to snake under and add some breathing room. You can also see that the front and rear are on different plains due to the rear being mounted over the coil bucket.

Bar just clears the diff.

Side view of the 2 separate plates, rear one over the bucket using the bucket hardware.

The back side here will get plated tying the two plates together to make one bracket. V-ing the plates allows me to get a deeper weld on the rear that was tight even making the plate and a far wider back plate tying them together. Should b beefy as hell.

#55
12-22-2014, 07:47 PM
UPDATE 12/19/14
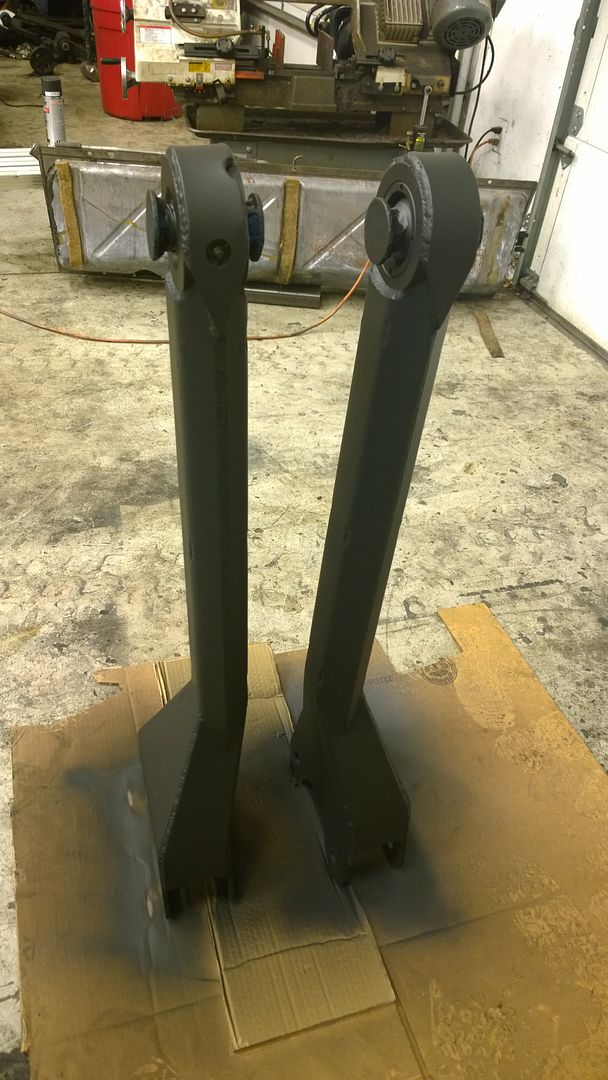
We got the steering column all bolted in. Used the whole Ram pedal assembly hacked off all the front and made a plate to marry the assembly, dash, and column. Arms came out super sweet. Also gusseted the driver side motor bracket. Safe to say it's not going anywhere. I still have to drill out the arm brackets for the 1" hardware. Now I've gotta figure out an A/C heating unit that I can tie into the OE ducts. This weeks main goal will be trying to close up the firewall and tunnel.


#56
01-24-2015, 08:30 PM
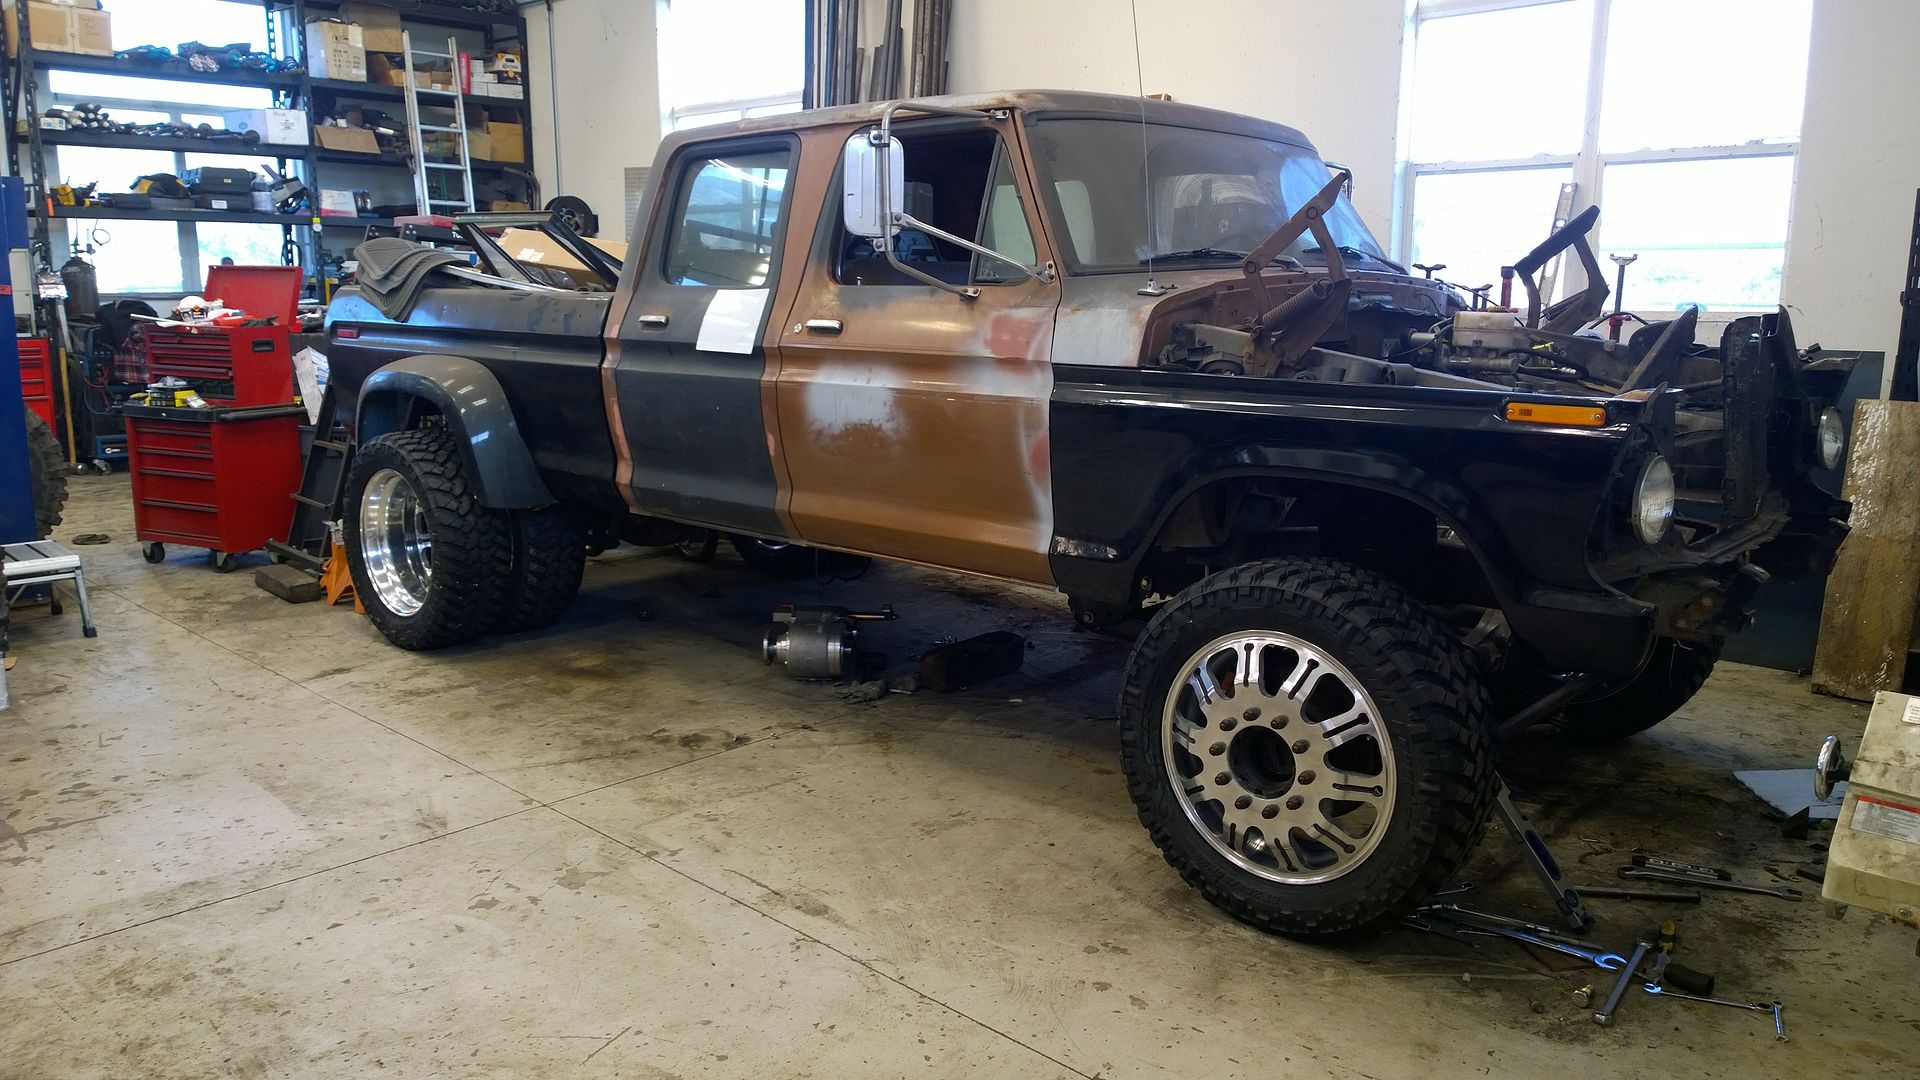
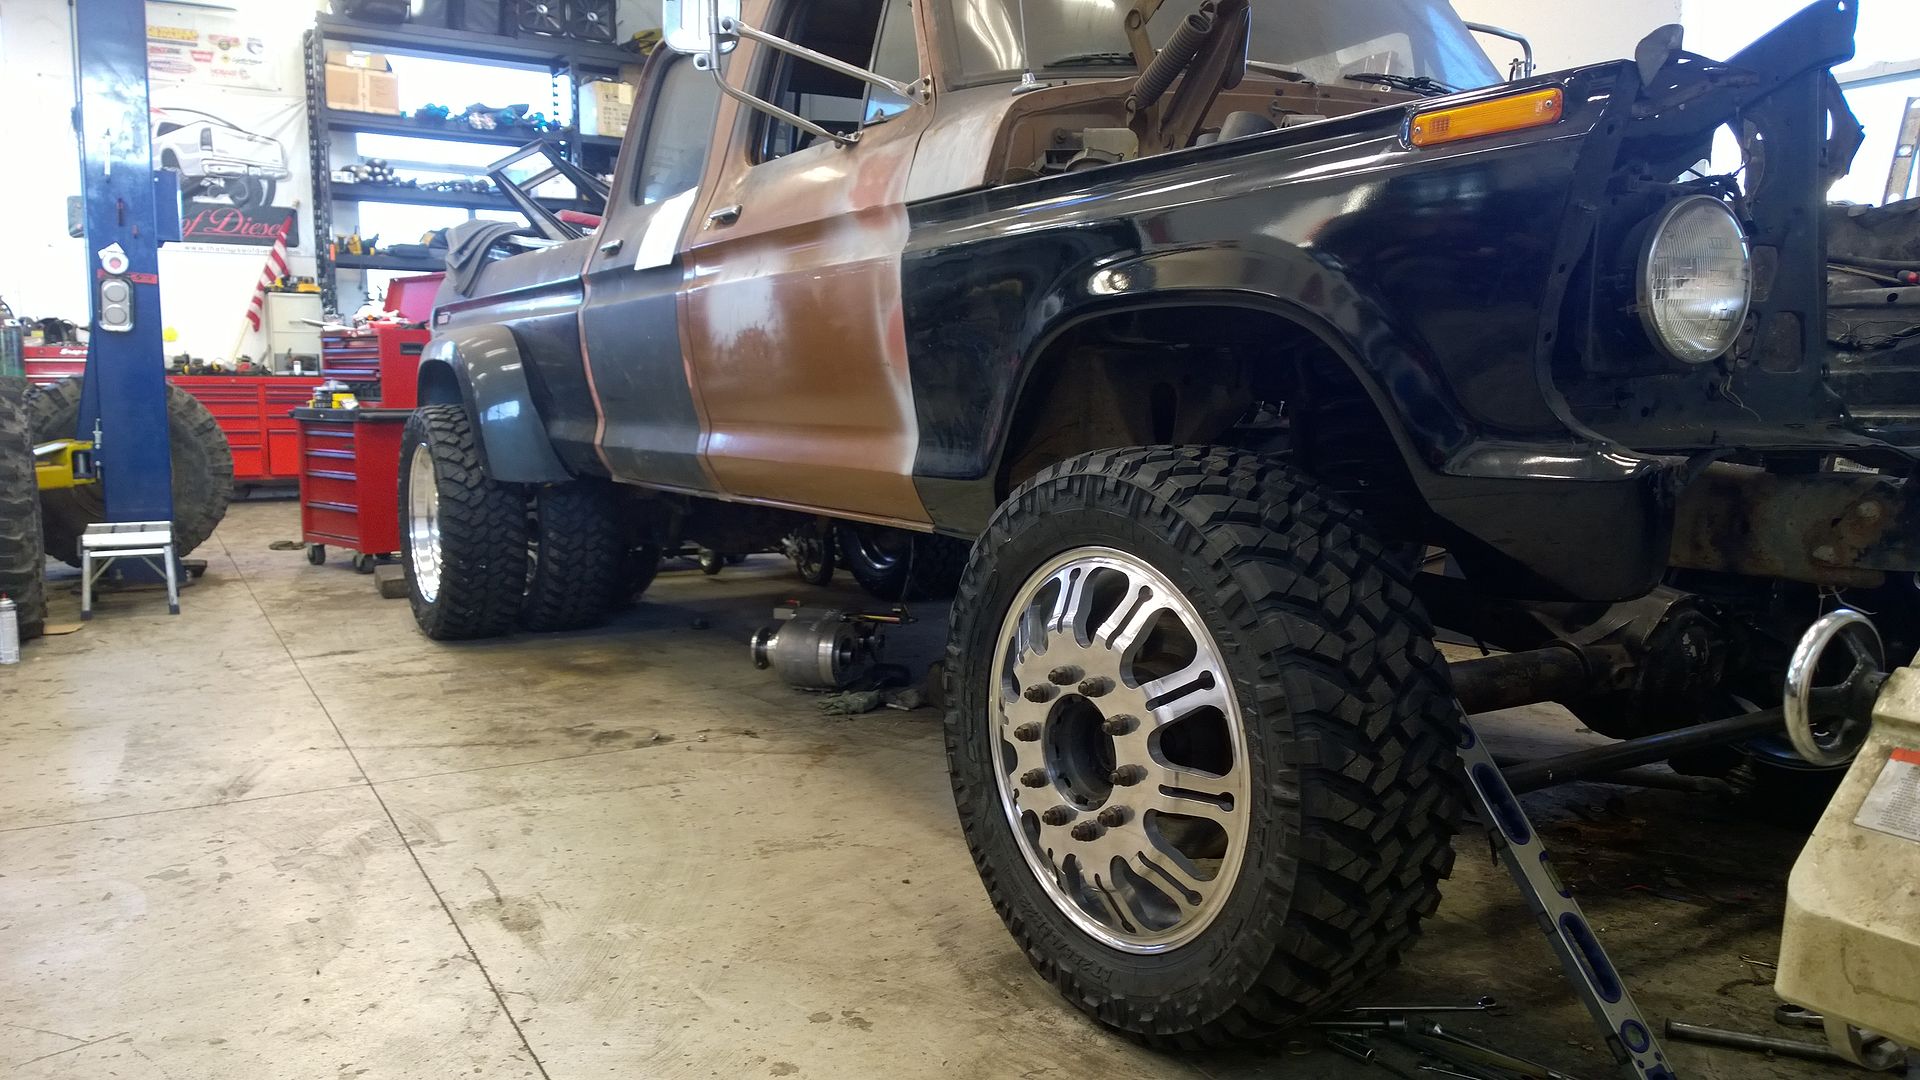
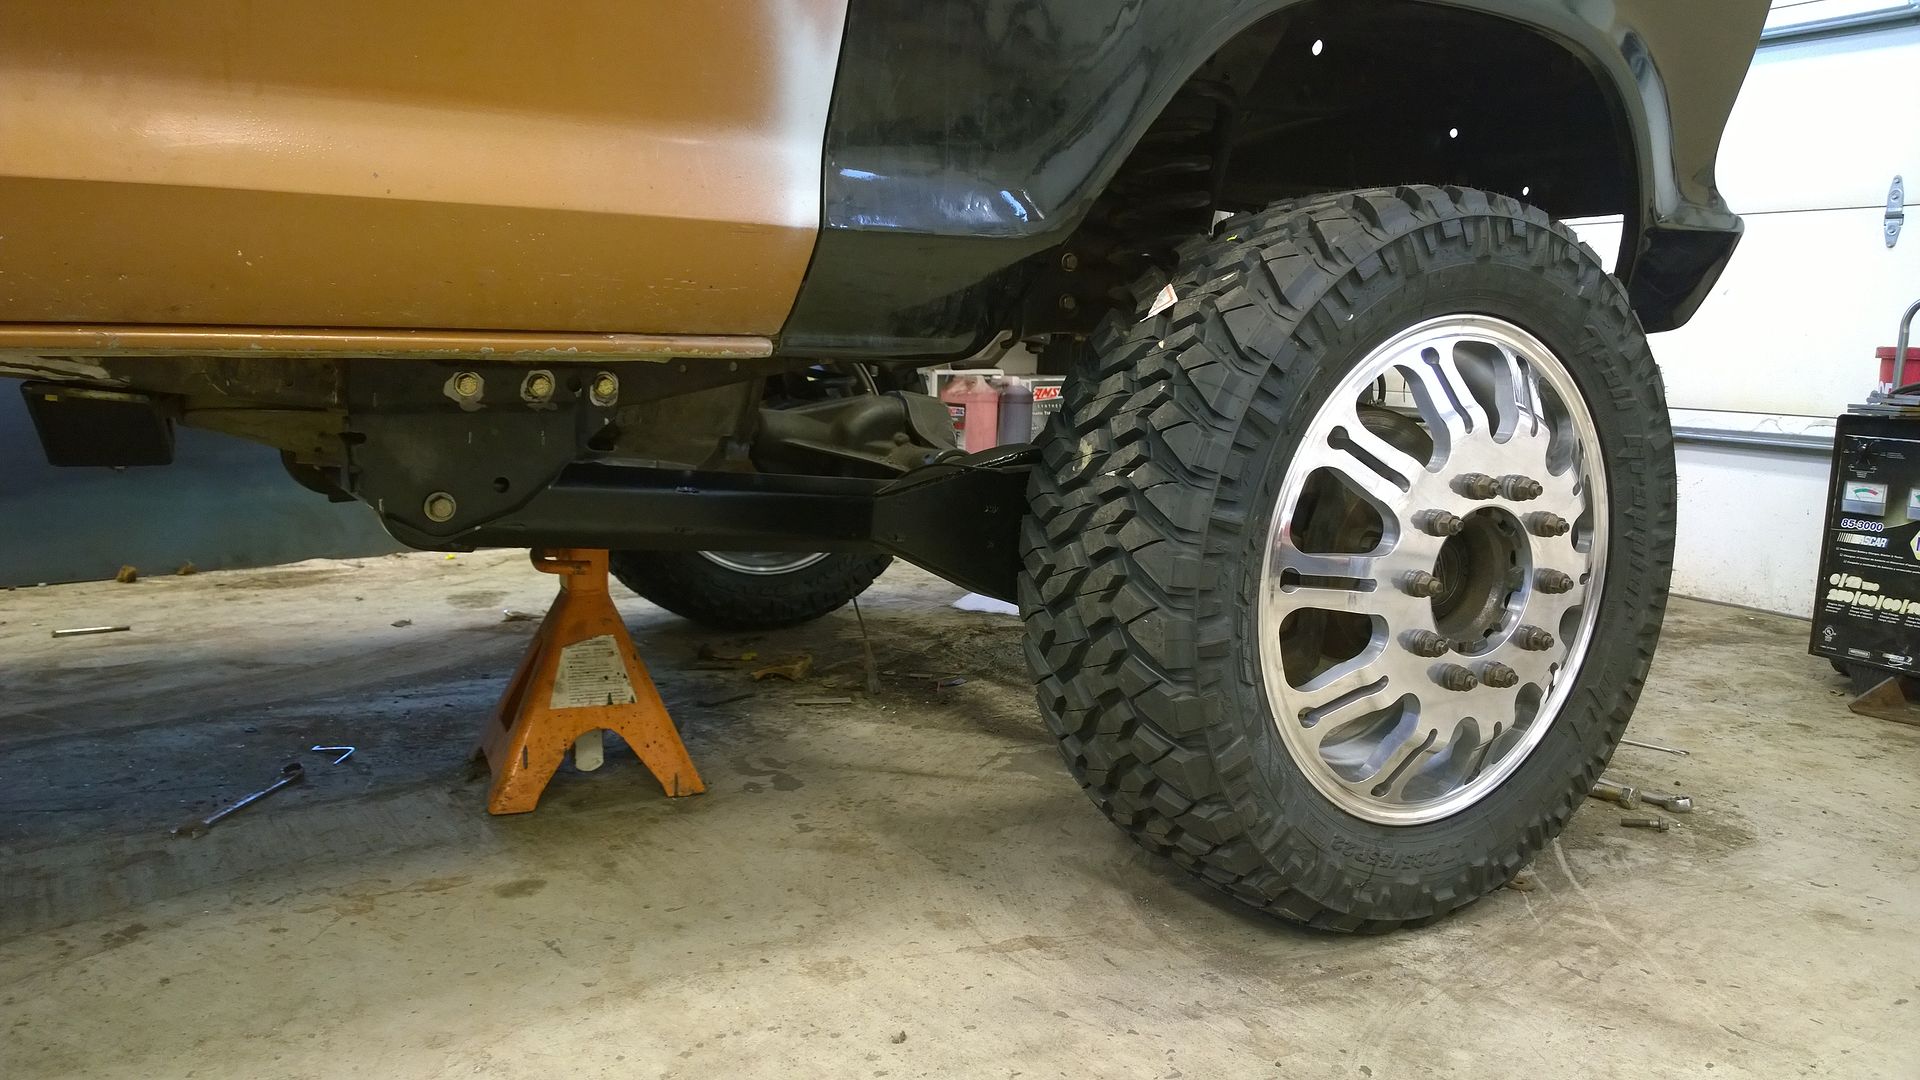
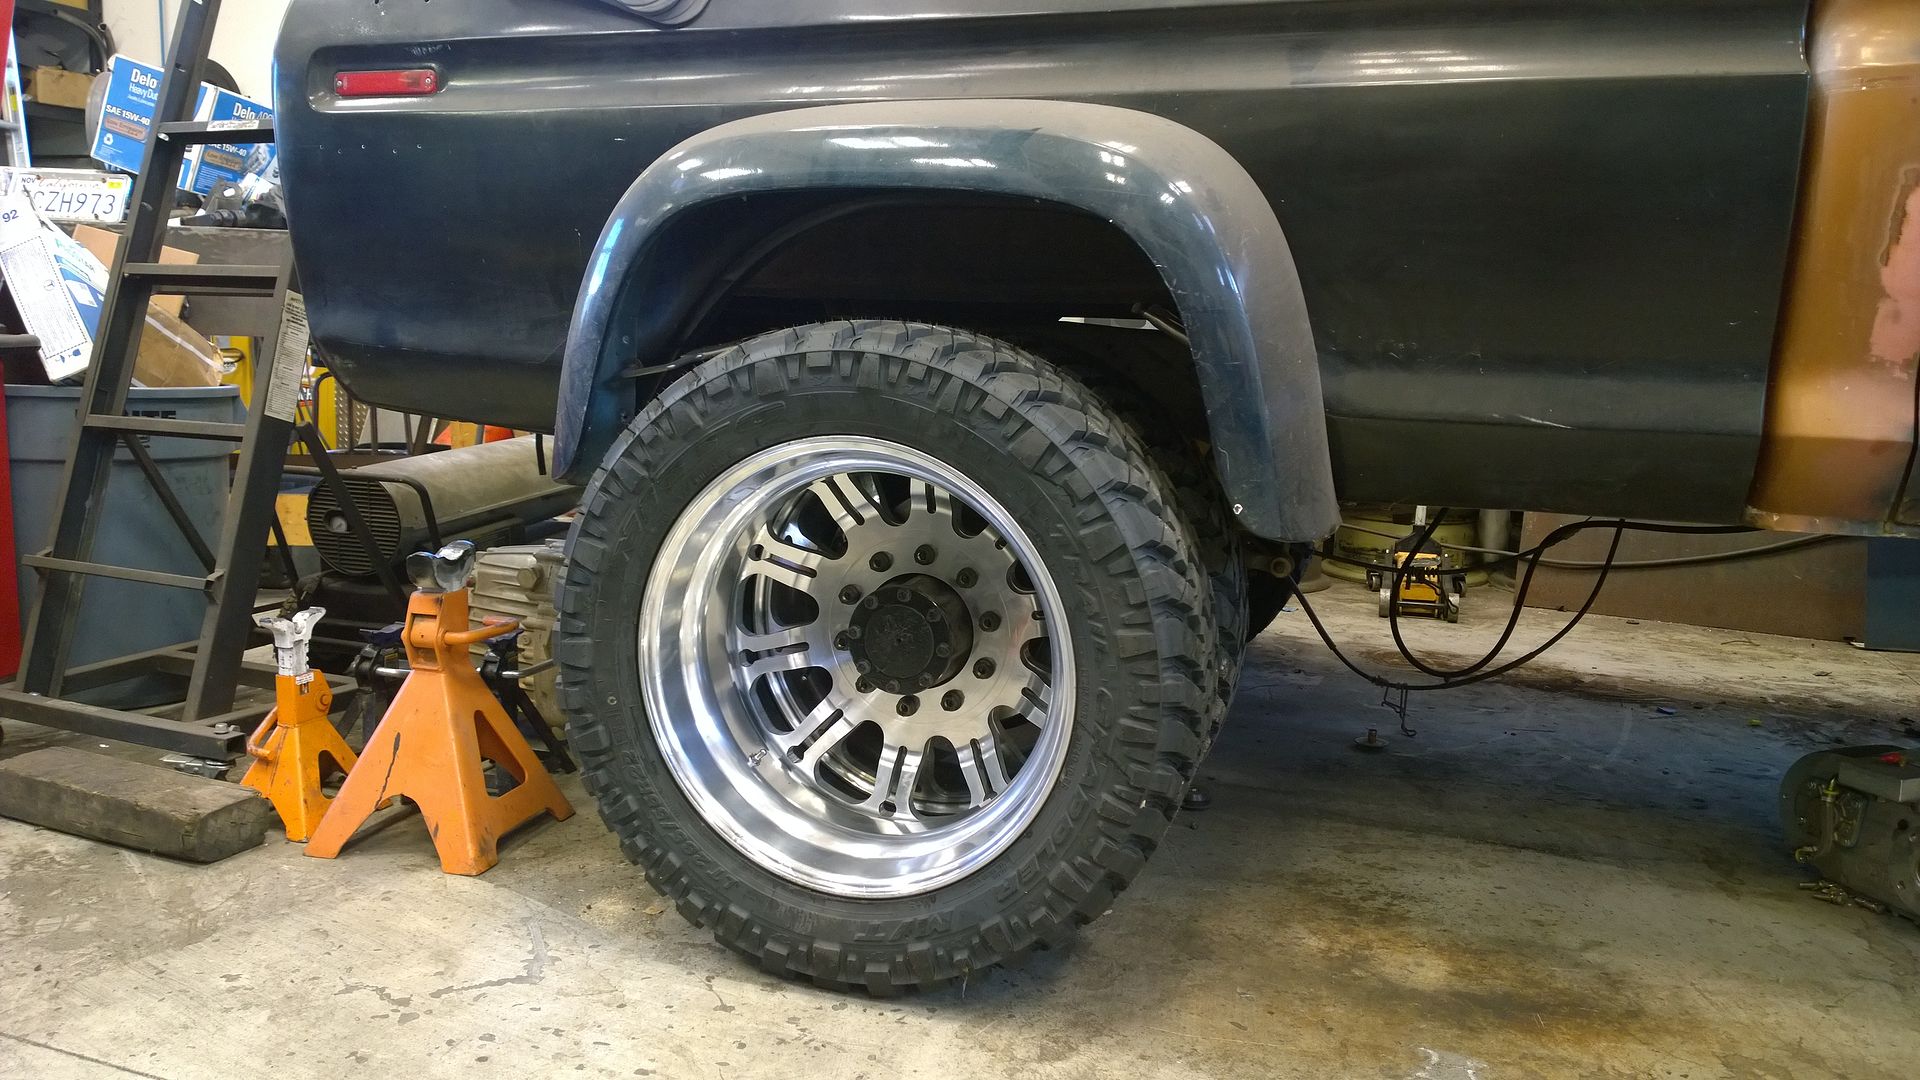
UPDATE 1/24/15
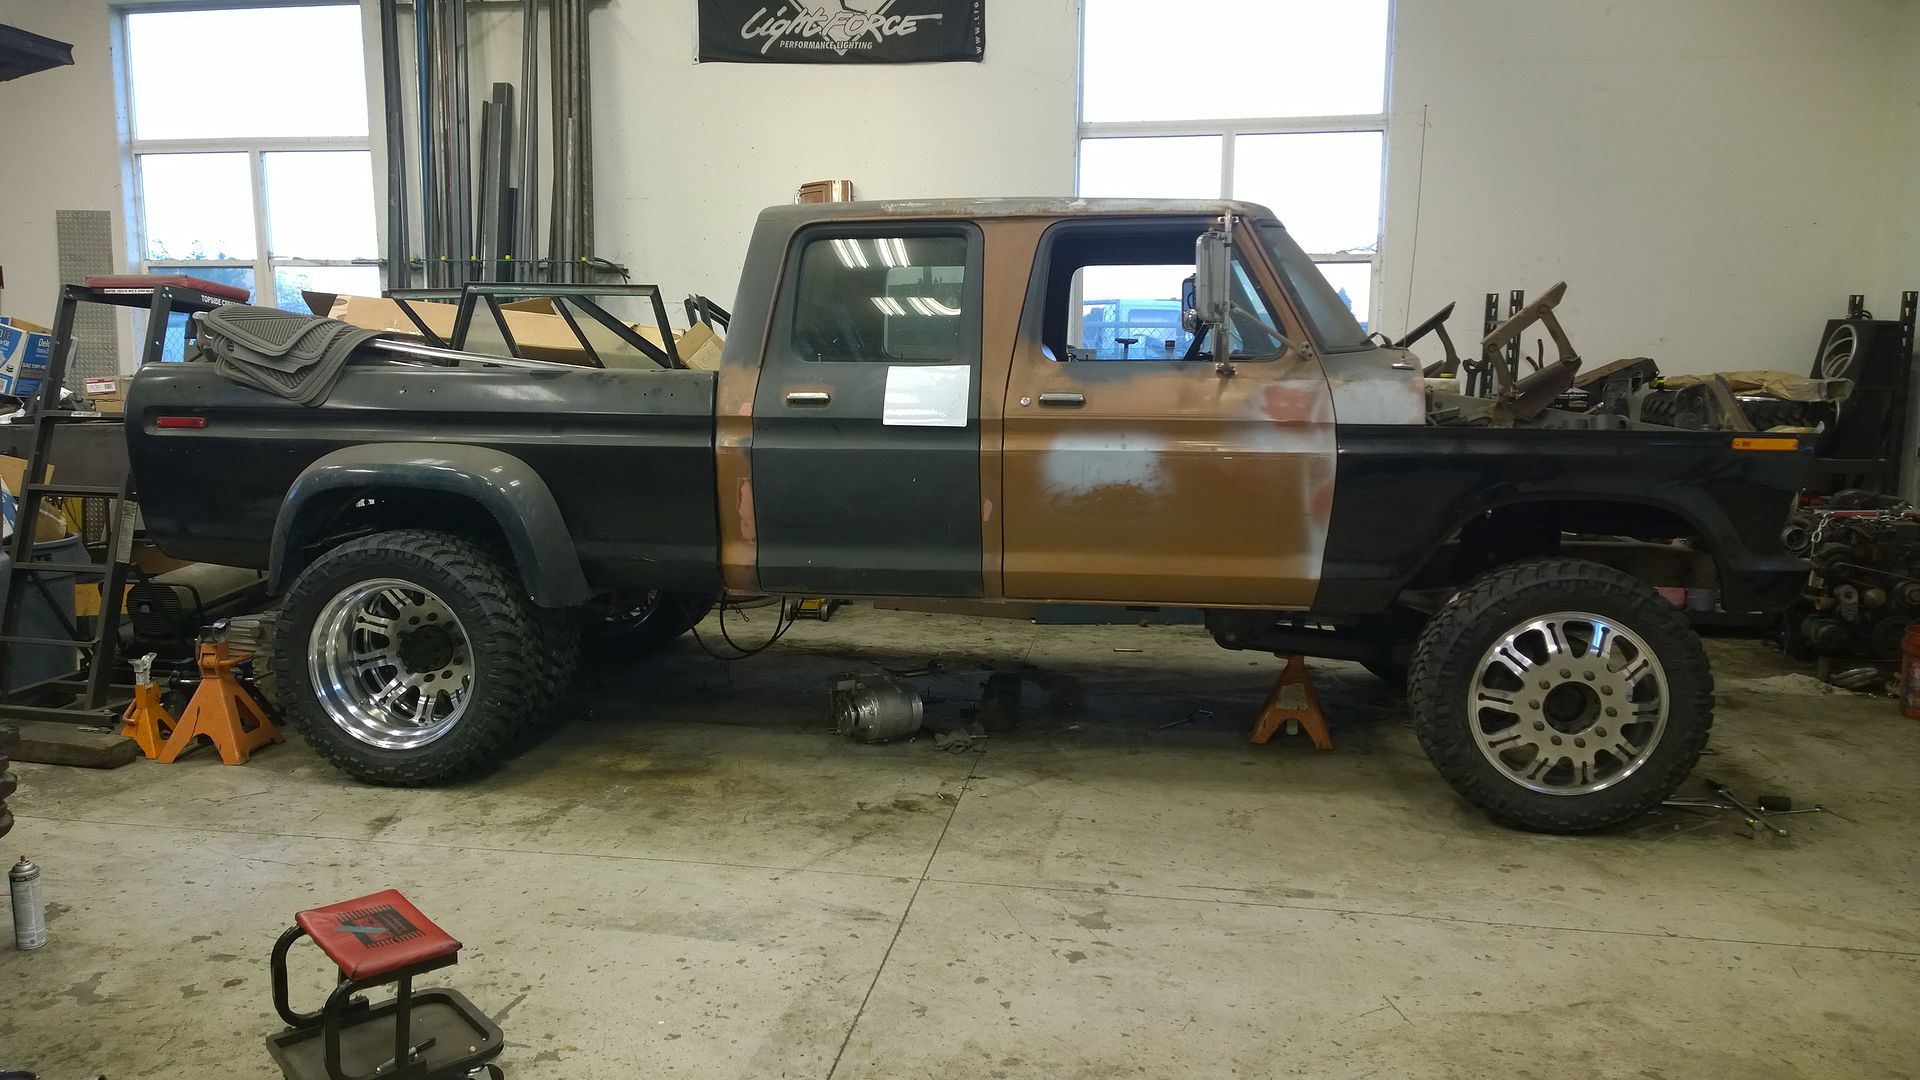
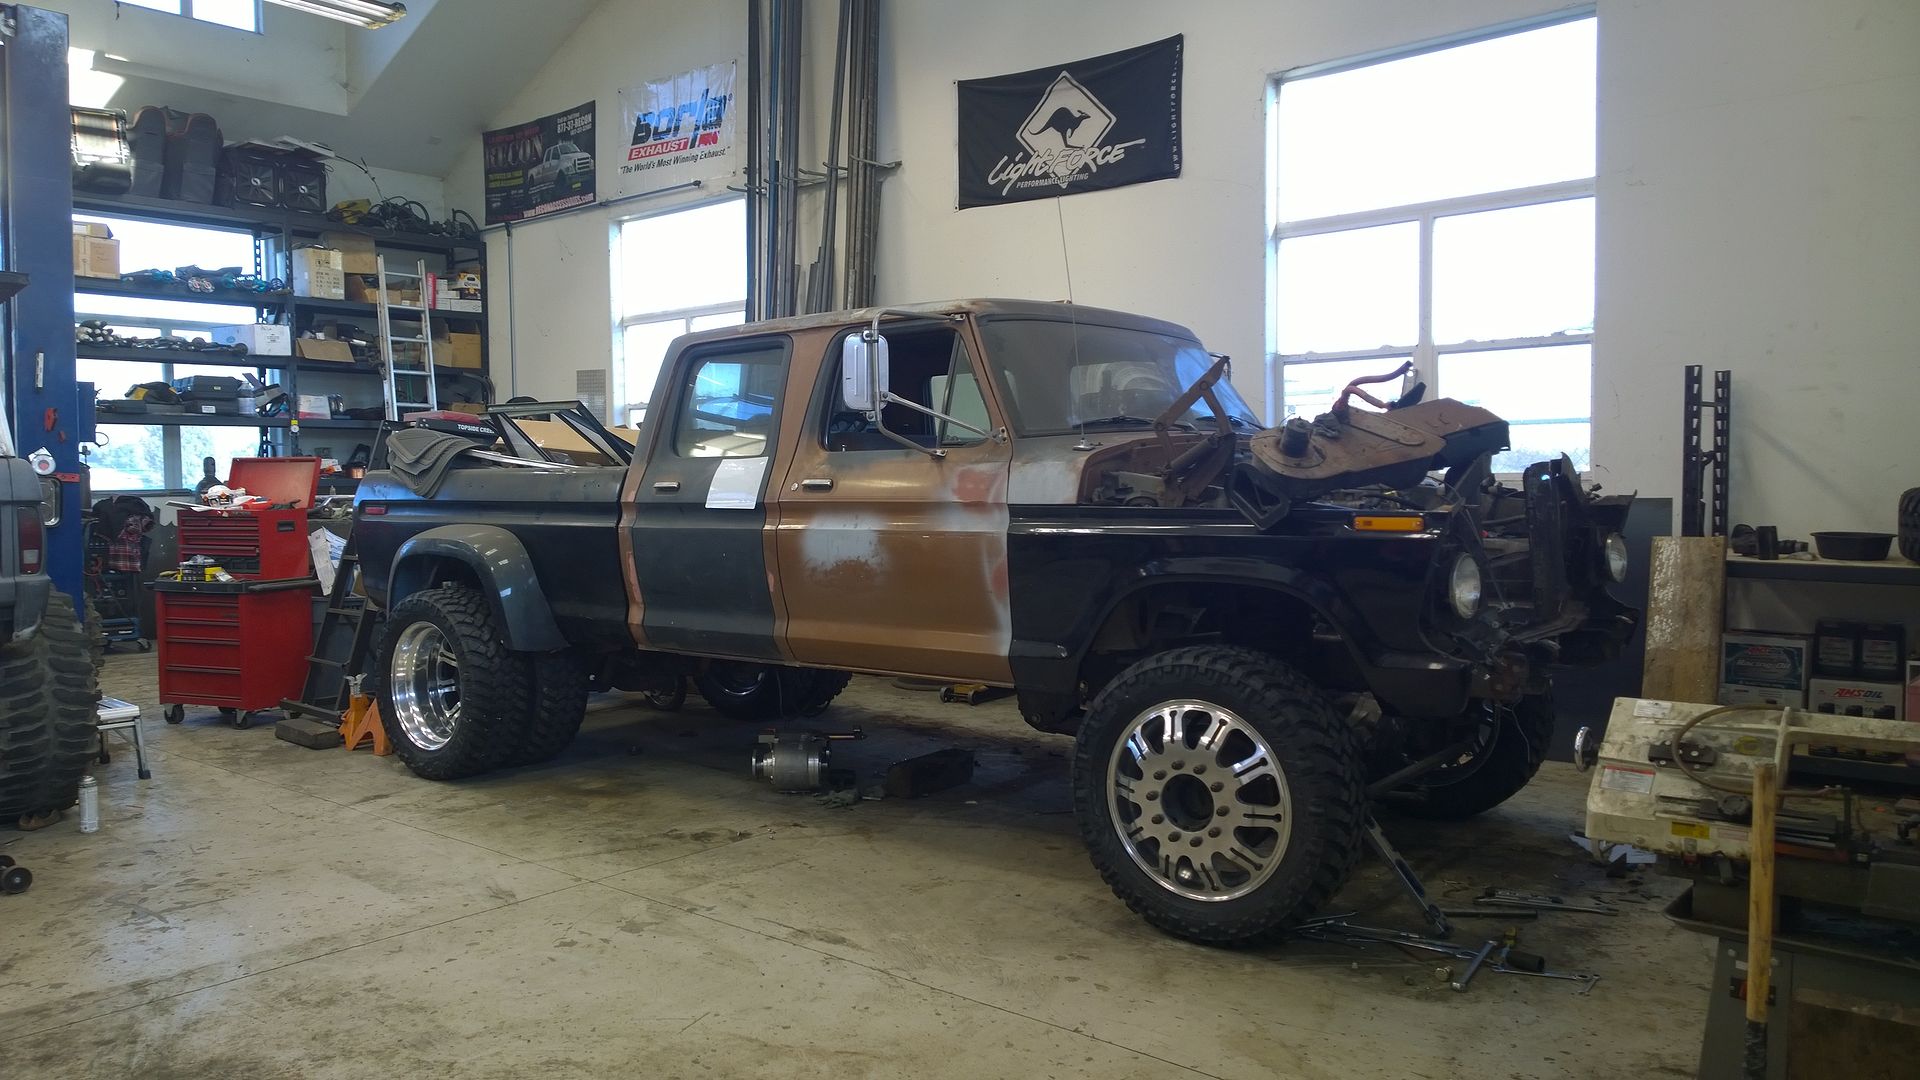
I can't wait to post these, even though I haven't put the core support hood and grill back on yet. Got my Aztec 22" Direct Bolt-on wheels loaded on 285/55R22 Nitto Trail Grapples bolted up. I've gotta source longer rear studs but other than that clearances are huge. Closest thing was the valve stems to calipers. Had to run 90* stems on all inward mounted wheels. Ran stubs on the rear outers cause I think it looks cleaner. Other than that here's the poon:


#58
01-25-2015, 01:14 AM
#60
01-25-2015, 09:18 AM