Assembling my 400
#1
 02-24-2012, 10:46 AM

Assembling my 400
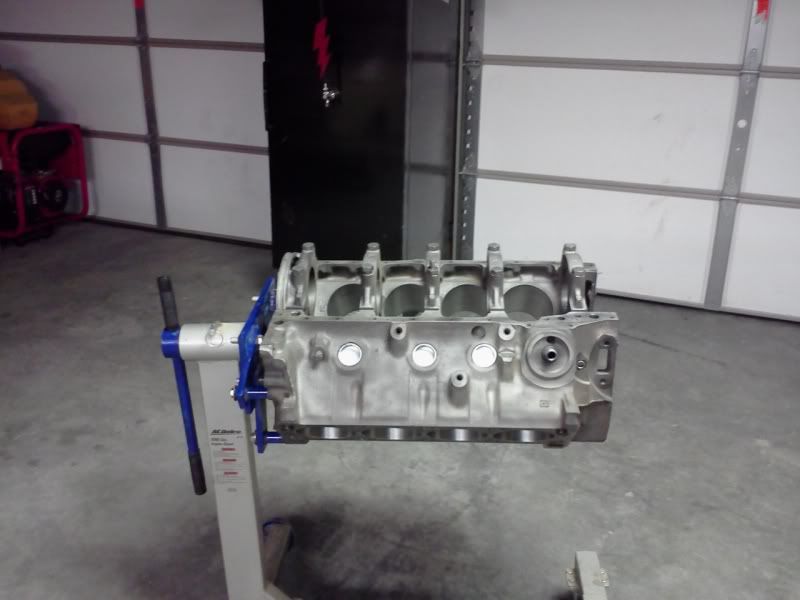
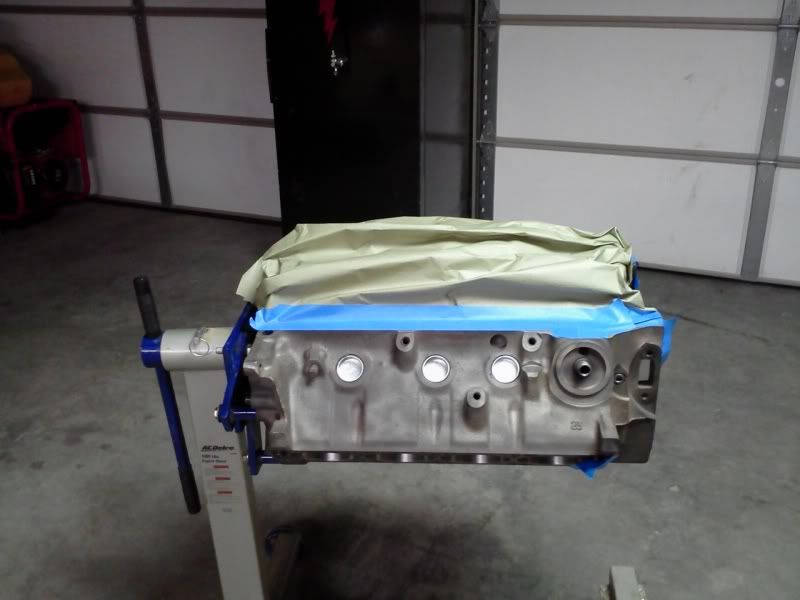
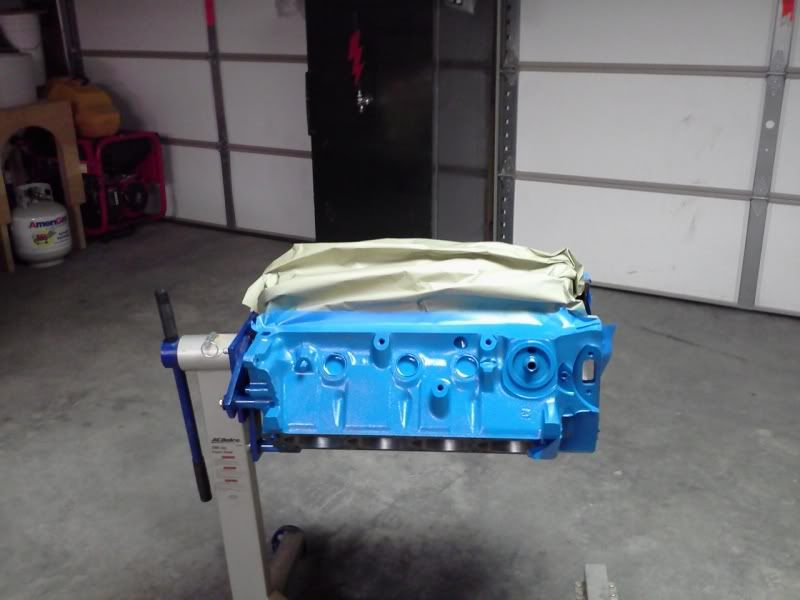
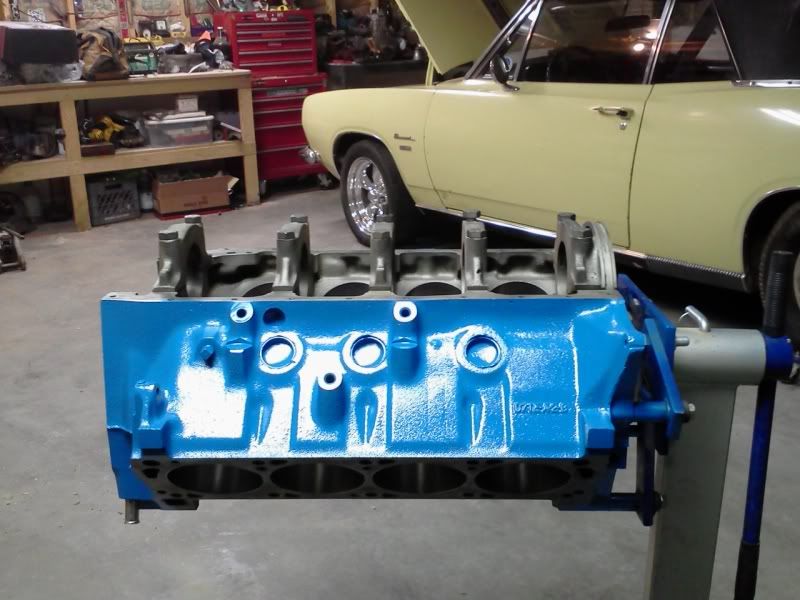
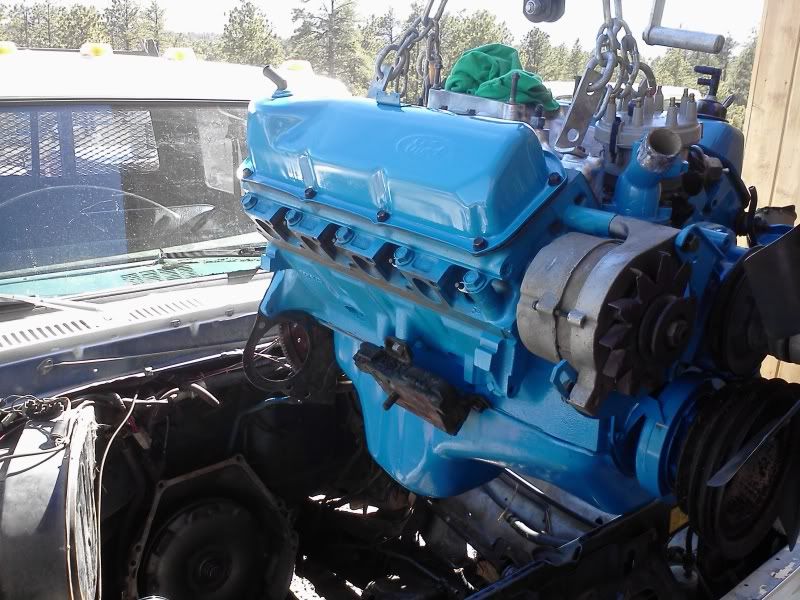
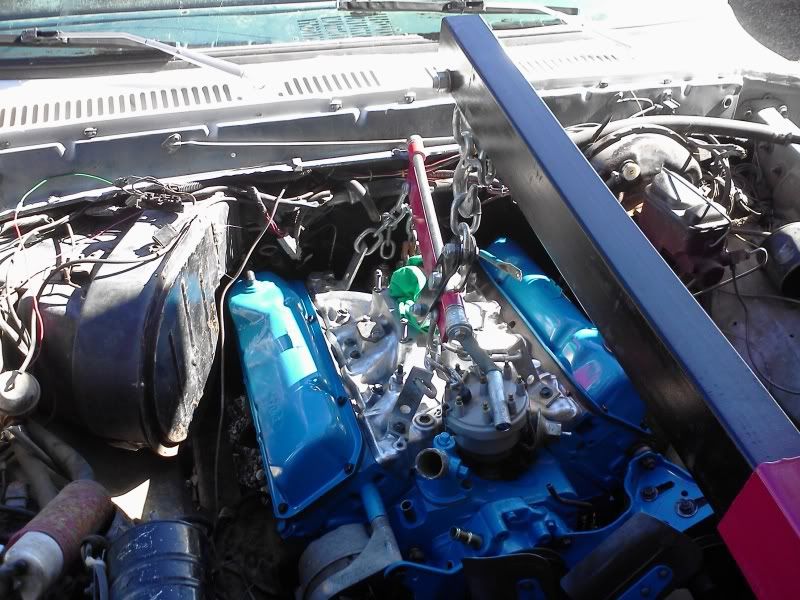
Got the pieces and parts home last night. Cracked a beer and painted the block so I can start assembling it today.
This is a budget build 400 using Tim Meyer's pistons, grooved cam bearings, and advice through multiple phone calls to him. This motor is going in a 1978 F250 Supercab. The goal is to have a good truck motor with lots of low end torque, and keep things budget friendly (less than $2000 in the motor).
400 Ford block, bored 0.030 over
Tmeyer Pistons
Stock rods, reconditioned with ARP bolts
Stock crank, polished
Factory 2V heads
Factory Valves
Crane Valve Springs (pt# 96801-16)
Lunati Cam pt# 06114 (Tmeyer special grind)
Melling oil pump
TMeyer oiling mods (restrict passage, grooved cam bearings)
Edlebrock 4bbl intake

Here's a few pictures:

This is a budget build 400 using Tim Meyer's pistons, grooved cam bearings, and advice through multiple phone calls to him. This motor is going in a 1978 F250 Supercab. The goal is to have a good truck motor with lots of low end torque, and keep things budget friendly (less than $2000 in the motor).
400 Ford block, bored 0.030 over
Tmeyer Pistons
Stock rods, reconditioned with ARP bolts
Stock crank, polished
Factory 2V heads
Factory Valves
Crane Valve Springs (pt# 96801-16)
Lunati Cam pt# 06114 (Tmeyer special grind)
Melling oil pump
TMeyer oiling mods (restrict passage, grooved cam bearings)
Edlebrock 4bbl intake
Here's a few pictures:
#2
02-24-2012, 05:33 PM
#3
02-24-2012, 06:37 PM

It wasn't decked because it didn't need it.

What do you mean by "Mocked up". This is garage built motor that involves assembling and disassembling to check clearances all the way through. Do you pay extra to have someone do that for you?
#4
02-25-2012, 10:47 PM
Posting Guru
 workin north dakota and in and out on weekends in sheridan.
#5
02-26-2012, 12:04 PM
Elder User
Join Date: Aug 2010
Location: Vancouver, WA
Posts: 567
Likes: 0
Received 0 Likes
on
0 Posts
#6
02-26-2012, 12:09 PM
Originally Posted by wyoming4x4
see things are happening for the ford world. workin north dakota and in and out on weekends in sheridan.
#7
02-26-2012, 02:51 PM
Posting Guru
is the engine gonna set for awhile.
if not gonna set for awhile use your engine oil or buy some engine assembly lube. sometimes the assembly lube if setting for long time like lubriplate white grease will dry out. but he stp stuff is good. talk to dan at top end and he probably has something handy.
Trending Topics
#8
03-05-2012, 11:49 PM
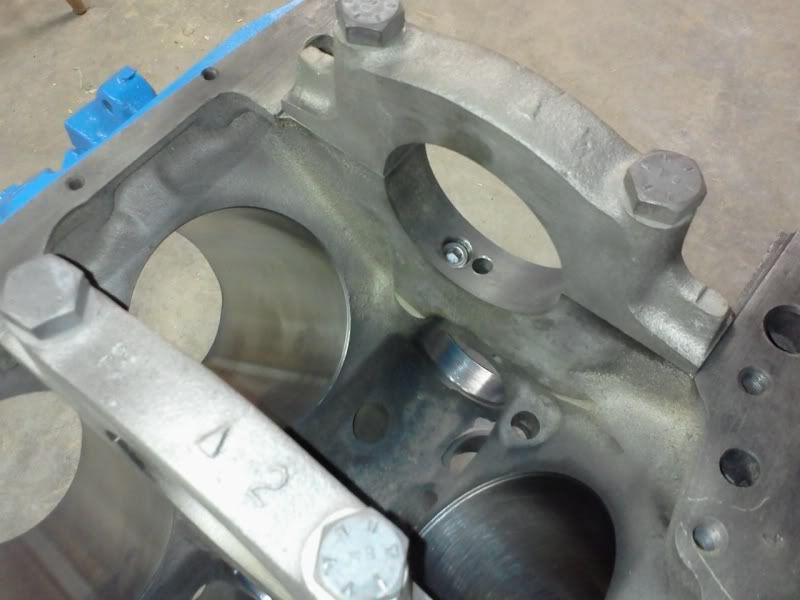
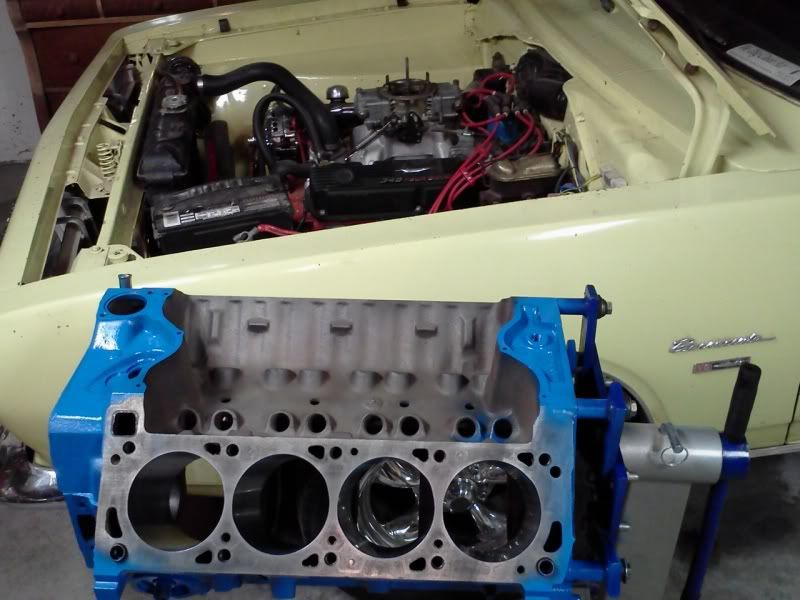
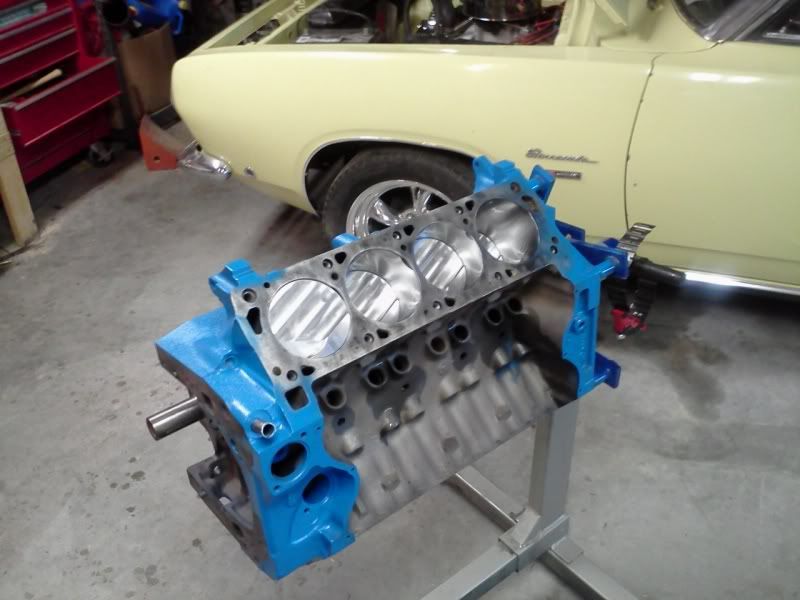
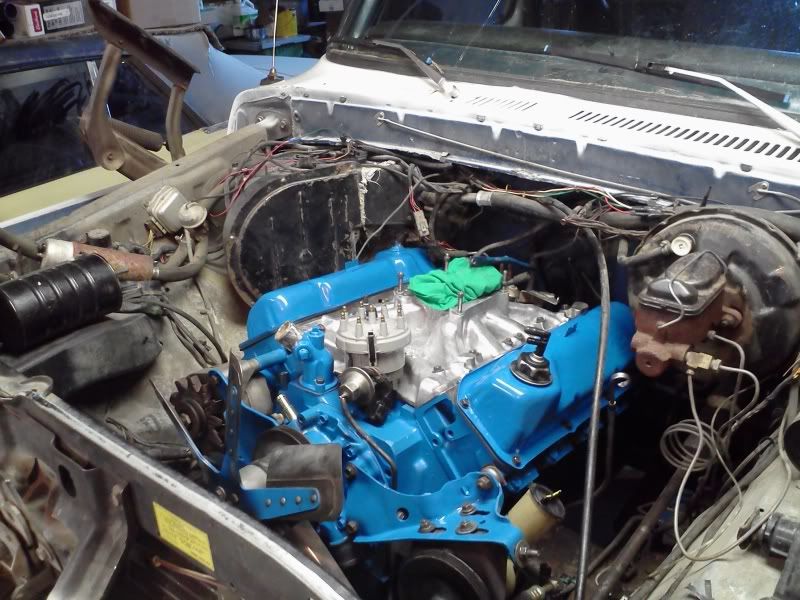
Made some more progress. The short block is assembled. Had some issues with thrust (or lack there of) so had to sand the front surface of the thrust bearings to achieve the 0.004" clearance specified in my book. Pain in the butt!
<a href="http://s4.photobucket.com/albums/y128/snowymountainman/?action=view&current=0224121702.jpg" target="_blank"><img src="http://i4.photobucket.com/albums/y128/snowymountainman/0224121702.jpg" border="0" alt="Photobucket"></a>
<a href="http://s4.photobucket.com/albums/y128/snowymountainman/?action=view&current=0224121704.jpg" target="_blank"><img src="http://i4.photobucket.com/albums/y128/snowymountainman/0224121704.jpg" border="0" alt="Photobucket"></a>
<a href="http://s4.photobucket.com/albums/y128/snowymountainman/?action=view&current=0224121710.jpg" target="_blank"><img src="http://i4.photobucket.com/albums/y128/snowymountainman/0224121710.jpg" border="0" alt="Photobucket"></a>
<a href="http://s4.photobucket.com/albums/y128/snowymountainman/?action=view&current=0224121711.jpg" target="_blank"><img src="http://i4.photobucket.com/albums/y128/snowymountainman/0224121711.jpg" border="0" alt="Photobucket"></a>
<a href="http://s4.photobucket.com/albums/y128/snowymountainman/?action=view&current=0304121807.jpg" target="_blank"><img src="http://i4.photobucket.com/albums/y128/snowymountainman/0304121807.jpg" border="0" alt="Photobucket"></a>
And then for the question of the day. Where do I set my timing set? This particular timing set has three different settings. Stock, Retarded, Advanced. I set it on Advanced (4�) but am unsure due to my cam's specs. What do you guys think? Cam card and timing set specs below:
<a href="http://s4.photobucket.com/albums/y128/snowymountainman/?action=view&current=0304121808.jpg" target="_blank"><img src="http://i4.photobucket.com/albums/y128/snowymountainman/0304121808.jpg" border="0" alt="Photobucket"></a>
<a href="http://s4.photobucket.com/albums/y128/snowymountainman/?action=view&current=0304121809.jpg" target="_blank"><img src="http://i4.photobucket.com/albums/y128/snowymountainman/0304121809.jpg" border="0" alt="Photobucket"></a>
<a href="http://s4.photobucket.com/albums/y128/snowymountainman/?action=view&current=0304121809a.jpg" target="_blank"><img src="http://i4.photobucket.com/albums/y128/snowymountainman/0304121809a.jpg" border="0" alt="Photobucket"></a>
#9
03-06-2012, 05:45 PM

Elder User
Join Date: Jan 2011
Location: Tanilba bay NSW Australia
Posts: 831
Likes: 0
Received 0 Likes
on
0 Posts
Work IT protocol wont allow me to check the photos, but if you have the cam centerline, and follow comp cams instructions on that you should be able to set it up the way you want. Degree wheel a necessity, but doesnt take that long to check. Takes longer to find one on the net and download/print/laminate than doing the cam check OR go and pay for one from a speed shop.
#10
04-22-2012, 08:40 PM

#12
04-29-2012, 01:42 PM
Anymore progress? How's she run?
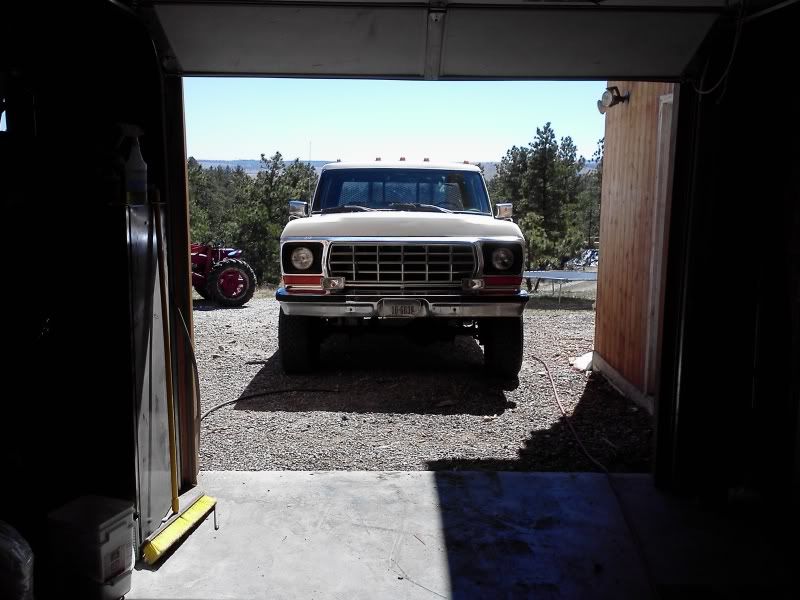
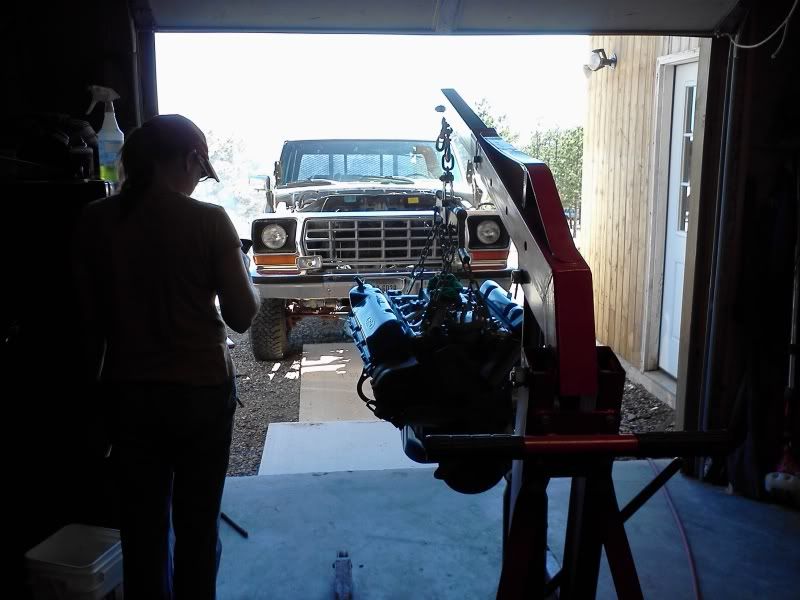
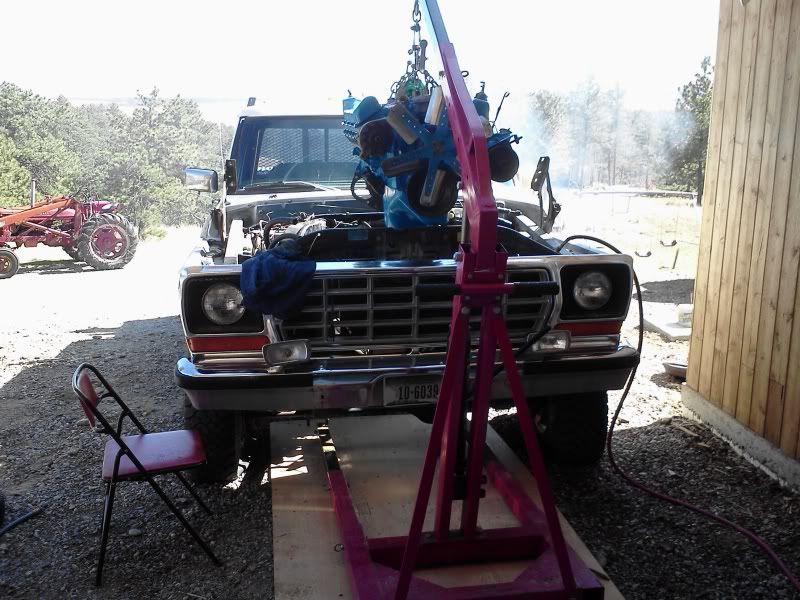
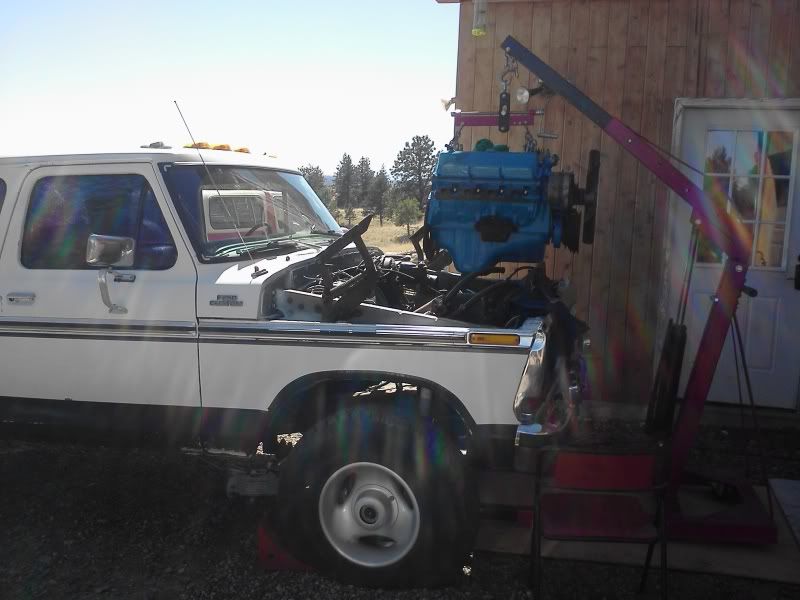
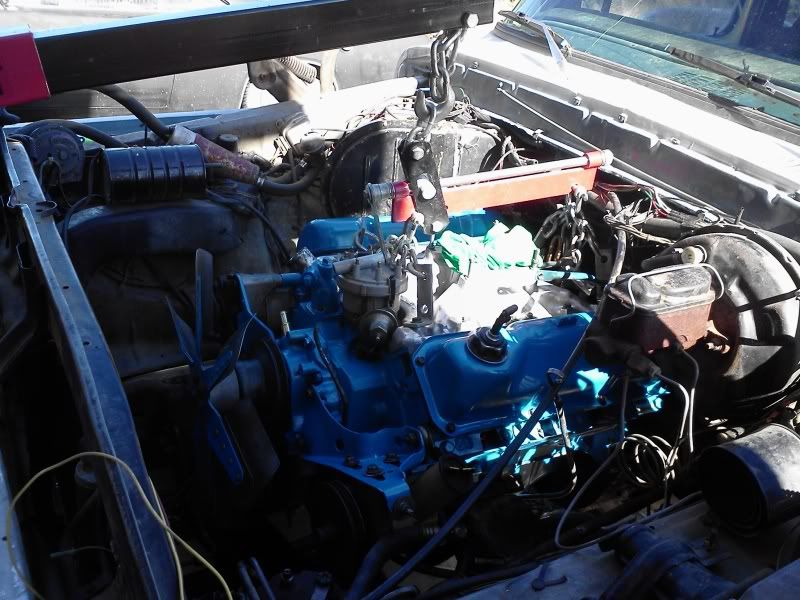
Once I had the engine in and partially bolted up, I pushed it into the garage so I could finish the hookups on the concrete. Laying in the gravel in the big-sky-garage sucks around here this time of year.
Getting the engine and tranny mated up was a bear. Nothing was working. When I tightened the bell housing bolts, it took a lot of torque. Enough to make me stop. When I tried to turn the engine over with my cheater bar, it was a no go. Loosen the bell housing bolts and it would turn again. I couldn't get the converter to come forward to engage the flex plate. Something was wrong. As badly as it pissed me off, the engine had to come out. Pulled the engine and found a pilot bushing in the crank shaft. This truck has a C6 auto and the pilot bushing was preventing the hub from centering in the crank shaft.
Removing the pilot bushing was easy. Fill the cavity behind it with grease. Take a short 3/8 drive extension and chrome 12mm socket. Two wraps of electrical tape on the socket allow it to fit perfectly in the pilot bushing. Fill the end of the socket with grease and slide it into the bushing, smack it with hammer and the hydraulic force created will pop the bushing out.
Once the bushing was out the engine fell into place. All the fighting that I did before was not necessary. Just goes to show you that if you're really fighting it, there may be a reason.
Got all of the hookups done, filled it with water, checked for leaks. All good. Dropped the battery in and went to crank it. Nothing. No juice. Good battery voltage but nothing to the fuse box. Spent the better part of an hour tracing wires and finally came to a relay mounted on the firewall above the brake booster. Part number D3AB-14677-AA. Wiggled it and it arced & sparked and the headlights flashed. Pulled the plug, jumpered past it, and then we had power to the dash. It would only crank if we had the headlight switch on. I don't quite understand that part....
Now it would crank, but no spark. The Previous Owner (who was an electrician...very sad) had done a serious hack job extending the wiring to the coil and dizzy. Tore out the PO's hacked up wiring job, fixed the coil ground, shrink wrapped the connections, and we now had spark. Cranked it for 20 seconds to pre-oil it, connected the coil wire, and it lit right off. Set the idle up so it was running around 2000rpm (just a guess) and let it warm up a break in the cam. Through the headers, this thing sounds pretty good.
Once we were done with the break in, we messed with it a bit. VERY responsive. Revs very fast and sounds very strong. The kids thought I was running the Barracuda which has a nasty 340 in it.
A couple items to fix before it's road worthy. Brakes need bled, need to hook up some sort of throttle linkage, kickdown linkage, and I need to get the alternator working. Everything else appears to be functional now.
I'm also going to ditch all of the aftermarket gauges the PO installed so poorly. Stupid scotch-locks and mini zip ties everywhere, along with extra wires and in line fuse holders (with wire jumpers instead of fuses).
So, long story short, it runs well, but the rest of the rig needs work before I can drive it. I also need to find another one of those relays and determine why the ignition is dependent on the headlight switch.


#14
04-29-2012, 05:47 PM
Elder User
Join Date: Jan 2011
Location: Tanilba bay NSW Australia
Posts: 831
Likes: 0
Received 0 Likes
on
0 Posts
Well done on the rebuild. Always good to get them running again. I prefer that they go first go without hassles but there is a sense of acheivement if you have to fight with it a little. Have a look at this website. Did it on mine and runs great, and if you havent had it on the road yet now is the time to decide on how you do it. Basically a controlled agressive method with the logic behind it. Your call but it wouldn't be the first time you would've heard of breaking them in hard from the start. Good luckj.
Break In Secrets--How To Break In New Motorcycle and Car Engines For More Power
Break In Secrets--How To Break In New Motorcycle and Car Engines For More Power
#15
04-29-2012, 05:54 PM
Well done on the rebuild. Always good to get them running again. I prefer that they go first go without hassles but there is a sense of acheivement if you have to fight with it a little. Have a look at this website. Did it on mine and runs great, and if you havent had it on the road yet now is the time to decide on how you do it. Basically a controlled agressive method with the logic behind it. Your call but it wouldn't be the first time you would've heard of breaking them in hard from the start. Good luckj.
Break In Secrets--How To Break In New Motorcycle and Car Engines For More Power
Break In Secrets--How To Break In New Motorcycle and Car Engines For More Power
Thank you for the kind words!
I am very much in the same camp as far as break-in's go. I've read and bookmarked that site before so it's great to see others here feel the same way. I think you have to be a little conservative with the flat tappet cams, so the initial run needs to be over 2000rpm with no load, but after that, drive it hard to get the rings to set nice and tight. If I would have put in a roller cam, the entire process would have been pretty aggressive.
Also, torque plate honing is a must on these 400's. Wyoming 4x4 had the same machine shop do some measuring before and after and the results were surprising. The 400 cylinders move a lot.