
Gauges mount is pretty cool
#31
 01-04-2012, 12:07 PM

Post Fiend
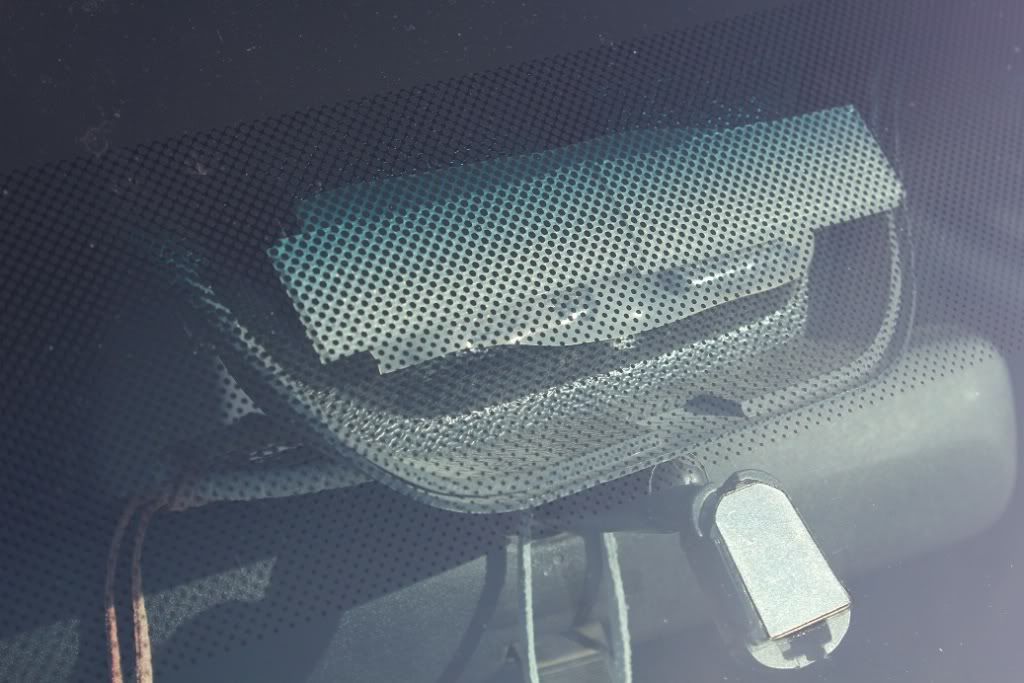
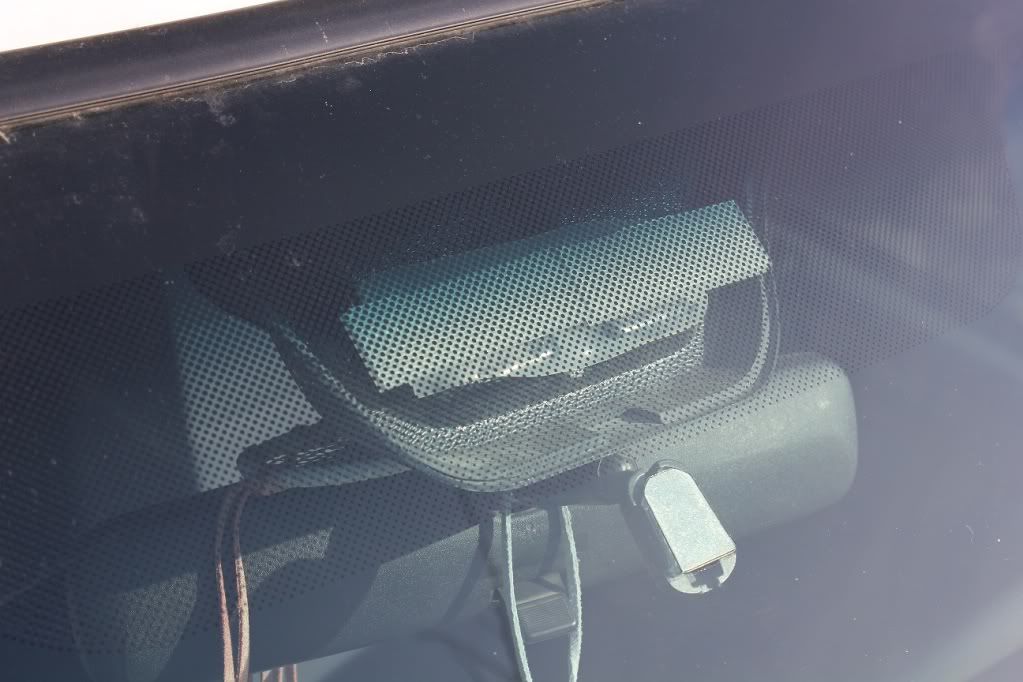
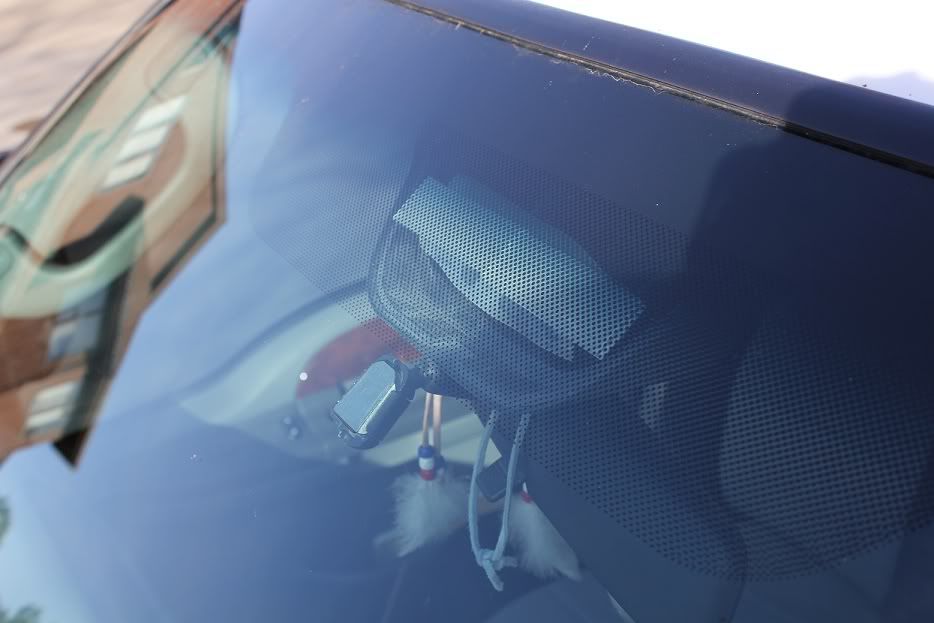
here are some pics - lights a little bright.....don't mind the dirt - she needs a washing 
you can see the velcro style "loop" tape that came with the kit - straight and clean white looking tape. The not so pretty stuff behind that is similar tape that peacce2peep mentioned. It looks like the top 1/3 to 1/2 is solid. The place on the inside of the console where the tape is attached. But there is a slot down the middle for those that have the rearview mirrors with the autodim.
you can see the velcro style "loop" tape that came with the kit - straight and clean white looking tape. The not so pretty stuff behind that is similar tape that peacce2peep mentioned. It looks like the top 1/3 to 1/2 is solid. The place on the inside of the console where the tape is attached. But there is a slot down the middle for those that have the rearview mirrors with the autodim.
#32
01-04-2012, 12:53 PM
Cargo Master
#33
01-04-2012, 10:08 PM
Post Fiend
 .....................any more modifacation thoughts?
#34
01-04-2012, 10:41 PM
Cargo Master
I also received some pics from RiffRaff. My idea is to see if I can tap the aluminum bracket so you could put a small machine screw through the bracket into the tapped aluminum bracket.
If the gap and angles are right, you could put the bracket on the gauge pod with the screw(s), put the gauges in, pull the roof liner down and slip the bracket up above the liner and fasten it to the center console bracket somewhere.
If we can get it right, RiffRaff might be able to anodize, spray, powder coat, etc. to dress it up a bit from the outside.
My initial thought was to just spray it black then get some of that thin foam (maybe 1/8" or 1/16") and glue it to the bracket so from the outside it not only appears black, but gives some cushion between the bracket and the windshield in case the screws stick out a bit.
I think I'll shoot RiffRaff an email and get a double or triple to test with...if I can think of what gauges to put up there.
I already have a trans temp/oil temp...so maybe volts, oil press/water temp?
If the bracket bends can be done right, that same bracket might be able to be tweaked to hold the ScanGauge as well.
#35
01-05-2012, 01:23 AM
Cargo Master
A couple of additional pics courtesy of RiffRaff.
This is the part that 'touches' the glass (its upside-down). The channel is where the wires for the auto dim/compass would sit:

From "above"...the opening would be the roof liner and where the wires would run down into it. Again, you can see the channel for the mirror wires.

The idea I have would be one or two brackets that would ride down and 'end' at that bend that is about halfway down the 'front' of the pod. You would put two machine screws through two holes you drill in that section that would then mate up to two threaded holes in the aluminum bracket.
The bracket would then bend somewhere 'above' the roof liner and would run parallel so you could then screw it into the console bracket.
I don't have my NMO mount in yet, so I have no need to remove the console mount just yet. Once that mount comes in, I'll remove the console to run the mount. At that time I'll find a spot on that mount to screw to. Once I find that, it's just a matter of figuring the length of the bracket(s), where to put the bend and now much angle to put into the bend.
I'll be scrounging around until then looking for any kind of diagrams or photos of the console mount.
This is the part that 'touches' the glass (its upside-down). The channel is where the wires for the auto dim/compass would sit:
From "above"...the opening would be the roof liner and where the wires would run down into it. Again, you can see the channel for the mirror wires.
The idea I have would be one or two brackets that would ride down and 'end' at that bend that is about halfway down the 'front' of the pod. You would put two machine screws through two holes you drill in that section that would then mate up to two threaded holes in the aluminum bracket.
The bracket would then bend somewhere 'above' the roof liner and would run parallel so you could then screw it into the console bracket.
I don't have my NMO mount in yet, so I have no need to remove the console mount just yet. Once that mount comes in, I'll remove the console to run the mount. At that time I'll find a spot on that mount to screw to. Once I find that, it's just a matter of figuring the length of the bracket(s), where to put the bend and now much angle to put into the bend.
I'll be scrounging around until then looking for any kind of diagrams or photos of the console mount.
#36
01-05-2012, 01:40 AM
Cargo Master
Found some...here is an example of an aftermarket...for an Explorer I think:

This is an eBay shot of a 00 Excursion bracket...not sure if the "front" of the bracket is at the top or bottom of this photo, but in any event, it looks plastic and that is a good thing (easy to drill through). Looking promising!

Found the diagram...

This is an eBay shot of a 00 Excursion bracket...not sure if the "front" of the bracket is at the top or bottom of this photo, but in any event, it looks plastic and that is a good thing (easy to drill through). Looking promising!
Found the diagram...
#37
01-05-2012, 03:23 AM

 looks hard lol
#39
02-05-2012, 09:46 PM
Found some...here is an example of an aftermarket...for an Explorer I think:
This is an eBay shot of a 00 Excursion bracket...not sure if the "front" of the bracket is at the top or bottom of this photo, but in any event, it looks plastic and that is a good thing (easy to drill through). Looking promising!
Found the diagram...
This is an eBay shot of a 00 Excursion bracket...not sure if the "front" of the bracket is at the top or bottom of this photo, but in any event, it looks plastic and that is a good thing (easy to drill through). Looking promising!
Found the diagram...
#40
02-05-2012, 09:51 PM
Cargo Master
It would be, if I could ever get RiffRaff to reply with the cost of a gauge pod so I can order one and use it to figure out the angles...probably sent them 2 or 3 PMs and another 2 or 3 emails...
#41
02-05-2012, 09:52 PM
Cargo Master
#42
02-05-2012, 09:55 PM
#43
02-05-2012, 09:57 PM
Cargo Master
#45
02-05-2012, 10:36 PM
Riffraff Diesel: AutoMeter Overhead Console
Price for the tow, three, or four gauge pod.
Stewart