My '53 F100 Build Thread...
#1
 10-10-2011, 10:46 AM

Join Date: Sep 2011
Posts: 61
Likes: 0
Received 0 Likes
on
0 Posts
My '53 F100 Build Thread...
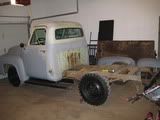
Well it's official, I finally got my new truck home safely. Just a quick call to AAA to let them know that I had no brakes and I needed a tow...I forgot to mention that the truck had been sitting for 20+ years and didn't go or stop...looks good sitting still though. 
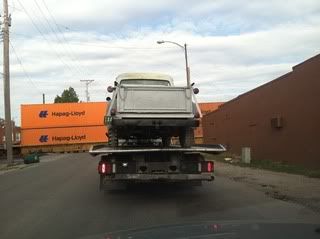
So I thought I would start my very first F100 build thread. I tried making the photos smaller this time around so not to overload everyone's computers.
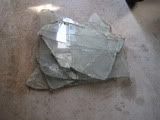
So after getting it home I was eager to start the process of tearing it apart to determine what I can use and what I needed to replace. I figured the bed was a good starting point. I first had to remove a huge piece of 1/4" steel from the bed.
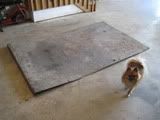
I found that small dog trapped under there....Next was a layer of plywood, followed by a layer of green antique roofing shingles??? Then finally the original wood bed.
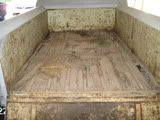
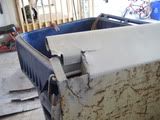
I soon found out that the only thing holding the bed on was the few bolts that were still attached to the very few boards that were not totally rotted. The bottom part of the front panel of the bed is completely rusted out and it is hard to see where it even attached to the frame back in the day.
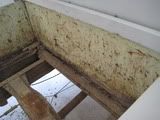
There were also various cracks and holes in the bed that will need to be repaired later as well...

So I thought I would start my very first F100 build thread. I tried making the photos smaller this time around so not to overload everyone's computers.
So after getting it home I was eager to start the process of tearing it apart to determine what I can use and what I needed to replace. I figured the bed was a good starting point. I first had to remove a huge piece of 1/4" steel from the bed.
I found that small dog trapped under there....Next was a layer of plywood, followed by a layer of green antique roofing shingles??? Then finally the original wood bed.
I soon found out that the only thing holding the bed on was the few bolts that were still attached to the very few boards that were not totally rotted. The bottom part of the front panel of the bed is completely rusted out and it is hard to see where it even attached to the frame back in the day.
There were also various cracks and holes in the bed that will need to be repaired later as well...
#2
10-10-2011, 11:04 AM
Join Date: Sep 2011
Posts: 61
Likes: 0
Received 0 Likes
on
0 Posts
For the most part the cracks and holes can be easily patched up later...I mean after my wife buys me that new Hobart Handler welder...
On Sunday I decided to complete the bed removal. I first had to run to the parts store for some more cutting disks, since I went through five removing the bed floor attaching bolts. I also found out after closer review that the previous owner had welded the bottom 4" of each fender to the bed and running boards. It seems that the attachment strip on the back of the drivers fender had seperated from the bottom part of the fender the previous owner decided welding them to the bed would be a better option. So after 2 hours of cutting and grinding I finally got the rear fenders off and with the help from my wife and daughter the bed was removed completely. I will however need another rear fender as mine is shot.
After that was done I decided I would choose a more relaxing job....such as tearing my doors apart and determining the reason why my passenger side window wouldn't roll down. After removing an entire bucket full of mud-dobber nests I found the answer to my question...
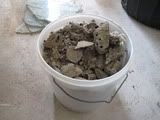
Mystery solved...I think I am going to need a couple door windows as well...I then decided to go back to the parts store to grab some Marvel Mystery Oil to fill my engine up with for the time being...A later made another trip to the parts store for two more jugs as it seems it takes a lot of MMO to fill up a 239 Flathead. As I was filling the motor I heard a strange leaking sound coming from below the truck...I sooned discovered that most of my MMO was slowly leaking out my rusty hole ridden tail pipe. But for now I will just sit and wait and try to give the pry bar on the front pully bolt a tug every once in a while.
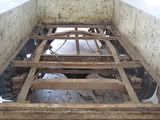
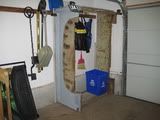
As I started to wind down I gave the underneath of the truck a good review...I did notice that I have a very large stack of leaf springs in the back...someone obviously used this truck for its intended purpose back in the day.
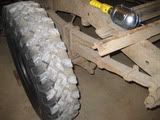
I will be removing those soon in order to get this rig in the weeds. But for now it's time to go back to my day job and let her lay until next weekend comes. Thanks for all of your guys help in choosing my first truck and I look forward to a lot of fun ahead. 
On Sunday I decided to complete the bed removal. I first had to run to the parts store for some more cutting disks, since I went through five removing the bed floor attaching bolts. I also found out after closer review that the previous owner had welded the bottom 4" of each fender to the bed and running boards. It seems that the attachment strip on the back of the drivers fender had seperated from the bottom part of the fender the previous owner decided welding them to the bed would be a better option. So after 2 hours of cutting and grinding I finally got the rear fenders off and with the help from my wife and daughter the bed was removed completely. I will however need another rear fender as mine is shot.
After that was done I decided I would choose a more relaxing job....such as tearing my doors apart and determining the reason why my passenger side window wouldn't roll down. After removing an entire bucket full of mud-dobber nests I found the answer to my question...
Mystery solved...I think I am going to need a couple door windows as well...I then decided to go back to the parts store to grab some Marvel Mystery Oil to fill my engine up with for the time being...A later made another trip to the parts store for two more jugs as it seems it takes a lot of MMO to fill up a 239 Flathead. As I was filling the motor I heard a strange leaking sound coming from below the truck...I sooned discovered that most of my MMO was slowly leaking out my rusty hole ridden tail pipe. But for now I will just sit and wait and try to give the pry bar on the front pully bolt a tug every once in a while.
As I started to wind down I gave the underneath of the truck a good review...I did notice that I have a very large stack of leaf springs in the back...someone obviously used this truck for its intended purpose back in the day.
I will be removing those soon in order to get this rig in the weeds.
But for now it's time to go back to my day job and let her lay until next weekend comes. Thanks for all of your guys help in choosing my first truck and I look forward to a lot of fun ahead.

#4
10-10-2011, 12:45 PM
Join Date: Sep 2011
Posts: 61
Likes: 0
Received 0 Likes
on
0 Posts
 And the good news is LMC is about 20 miles from me and they will let me order and pickup rather than having to pay shipping.
#5
10-10-2011, 12:52 PM

Posting Guru
#6
10-10-2011, 02:18 PM
Join Date: Sep 2011
Posts: 61
Likes: 0
Received 0 Likes
on
0 Posts
At this point I would like to just be able to hear the old flat head run...The truck rolls with the transmission in park, which I am sure is not a good thing...so I plan on pulling the trans this weekend before ever trying to turn the motor over once it is free. I really want to keep the flathead and update the drivetrain with a newer C4 or T5 manual. I may change the rearend out for a 9", but I don't think I will be putting up large HP ratings so I could get away with the stock 3.92 straight rearend for now. I want to keep it somewhat of a period correct hotrod since it is in such good original condition with shockingly only 76,000 original miles and a total rust free cab and front end. The bed will be where I will spend most of my time when I get to the body work.
#7
10-19-2011, 10:59 AM
Join Date: Sep 2011
Posts: 61
Likes: 0
Received 0 Likes
on
0 Posts
This past weekend I decided to start on the backend of the truck and clean it up a bit. I ran down to Harbor Freight and got some wire brush discs for my drill in hopes of removing all of the dirt, rust, and grime from my frame. I had a long road ahead of me.
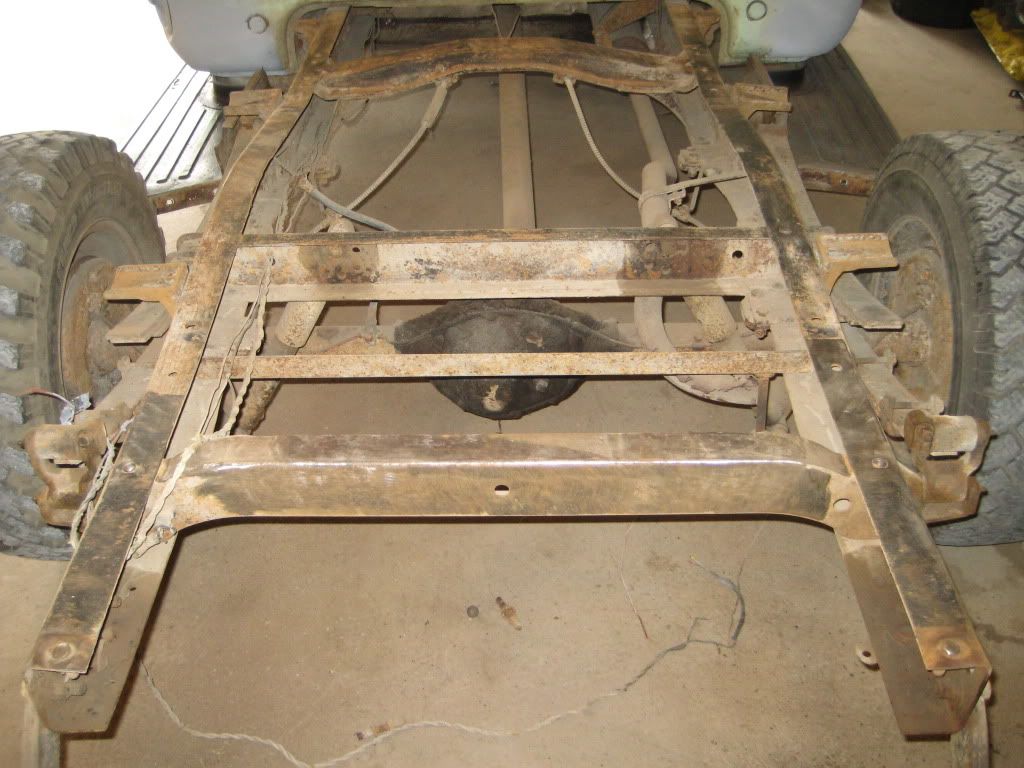
As I got started I noticed that a lot of the frame was just covered in dirt and grime and once I got through that layer I found the original black frame paint still holding on. In the midst of all of this I decided I would go ahead and remove the rearend since I am going to have to clean it up and rebuild it as well. Since I am keeping the flathead I don't plan on installing a Ford 9" since I shouldn't be putting out any high HP numbers that the stock rearend can't handle. I thought this would be fairly easily, but it took half of the day just to get the spring pins out. But with a whole lot of PB Blaster and a 3lb. sledge I defeated them.
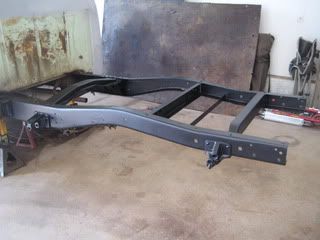
After removing the rear end and springs and with most of the frame wire brushed inside and out I coated it with 3-4 coats of Rustoleum Heavy Rust primer. The final coat will be a few coats of Primatex undercoating which goes on heavy and is supposed to reduce a lot of chassis noise later on.
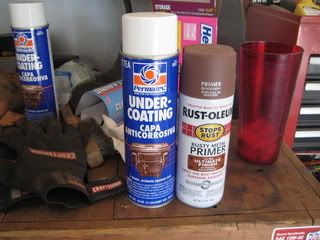

Once the primer dried I applied the Permatex, which by the way goes on with the consistency of tar and sprays on about 10 times faster than normal paint so WATCH OUT. It is also a good idea to lay something under the frame and wear gloves as this stuff doesn't come off of anything.
Now that I have the rear part of the frame painted I am still deciding on wheter or not to move the front spring brackets up the 1 1/2" to provide the wanted rear height. I don't want to have to C-notch the frame, so I think if I move the bracket up, remove 4 of the leaf springs, and purchase the extended rear spring shackles it should lower the rearend by 3" which I would be happy with.
Next weekend I hope to start removing the front clip in order to pull the flathead sometime soon...Once again thanks for everyone's help and guidance along the way.
As I got started I noticed that a lot of the frame was just covered in dirt and grime and once I got through that layer I found the original black frame paint still holding on. In the midst of all of this I decided I would go ahead and remove the rearend since I am going to have to clean it up and rebuild it as well. Since I am keeping the flathead I don't plan on installing a Ford 9" since I shouldn't be putting out any high HP numbers that the stock rearend can't handle. I thought this would be fairly easily, but it took half of the day just to get the spring pins out. But with a whole lot of PB Blaster and a 3lb. sledge I defeated them.
After removing the rear end and springs and with most of the frame wire brushed inside and out I coated it with 3-4 coats of Rustoleum Heavy Rust primer. The final coat will be a few coats of Primatex undercoating which goes on heavy and is supposed to reduce a lot of chassis noise later on.
Once the primer dried I applied the Permatex, which by the way goes on with the consistency of tar and sprays on about 10 times faster than normal paint so WATCH OUT. It is also a good idea to lay something under the frame and wear gloves as this stuff doesn't come off of anything.
Now that I have the rear part of the frame painted I am still deciding on wheter or not to move the front spring brackets up the 1 1/2" to provide the wanted rear height. I don't want to have to C-notch the frame, so I think if I move the bracket up, remove 4 of the leaf springs, and purchase the extended rear spring shackles it should lower the rearend by 3" which I would be happy with.
Next weekend I hope to start removing the front clip in order to pull the flathead sometime soon...Once again thanks for everyone's help and guidance along the way.
Trending Topics
#9
10-19-2011, 12:02 PM

Hey 56,
I like the bucket of mud dobber's nests - that's a new one.
My back bed was bad as well & I took a big welded in bed floor out of there. I restored my bed but I think in hind sight it would have been much cheaper just to replace it. Beds are priced fairly reasonably - say under $1500 including the wood but not the fenders.
Think how much easier your job would be to just plunk a new bed down on there - just saying. While you have the back off of there you might want to look at relocating your gas tank. It's looking good - your frame cleaned up nicely.
Ben in Austin
#12
10-21-2011, 04:03 PM
Join Date: Sep 2011
Posts: 61
Likes: 0
Received 0 Likes
on
0 Posts
#13
03-12-2012, 08:38 AM
Join Date: Sep 2011
Posts: 61
Likes: 0
Received 0 Likes
on
0 Posts
Thought I would post a quick update on my build...it went on the back burner during the holidays, but I have dove back into it starting his month. Finally got my rear springs rebuilt and just have to put the clamps on today I will be ready to go.
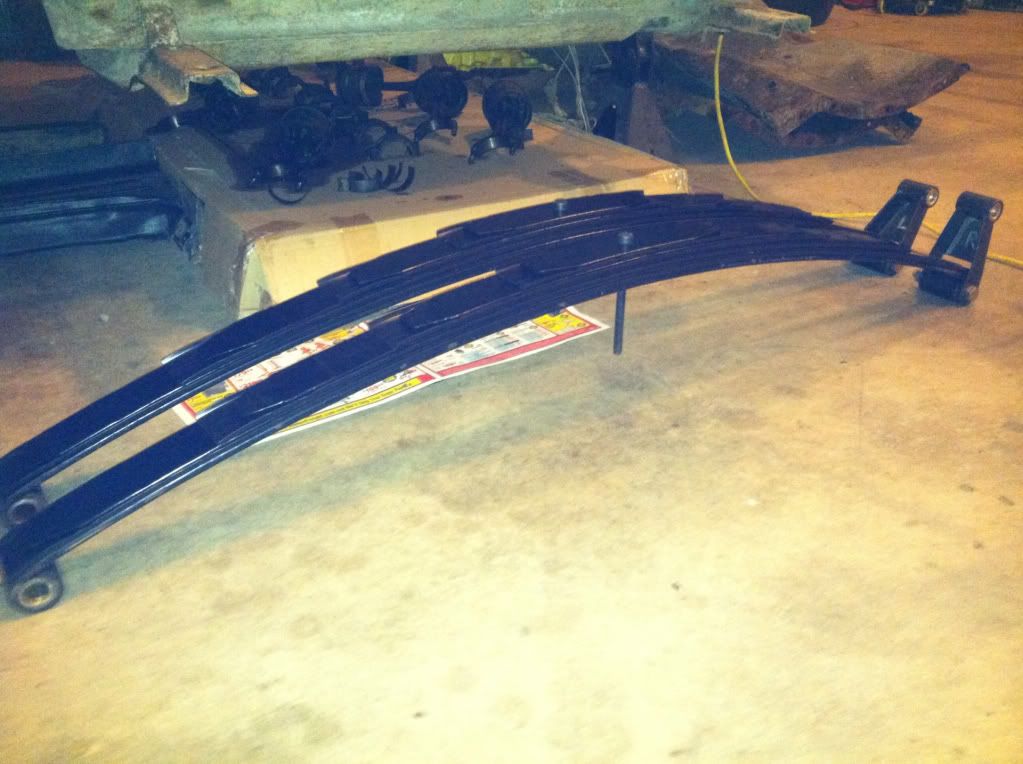
I cleaned them up, removed some leaves, installed new bushing, poly liner, center bolt, lowering shackles, and clamps to be put on today.
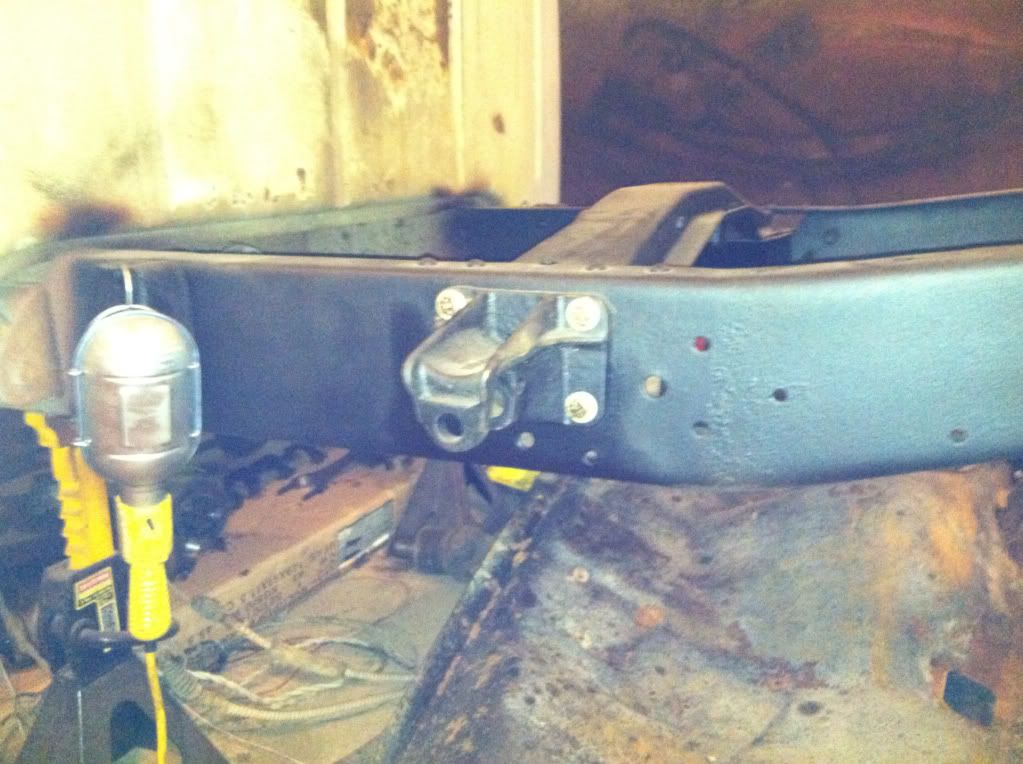
I also relocated my front spring perches for the additional lowering.
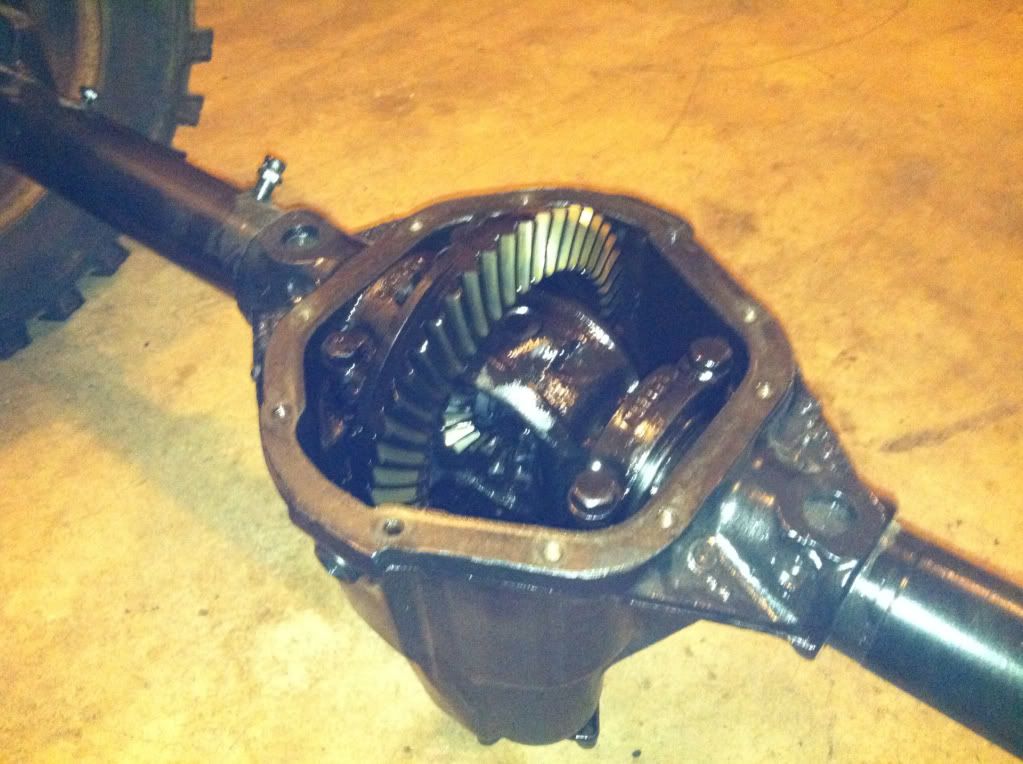
While I had he rear end out I pull the inspection plate, flushed out all of the old fluid and bought new fluid and I am waiting on the rear plate seal which should be here tomorrow. Gears looked to be in good condition so I didn't feel the need to pull anything else apart.
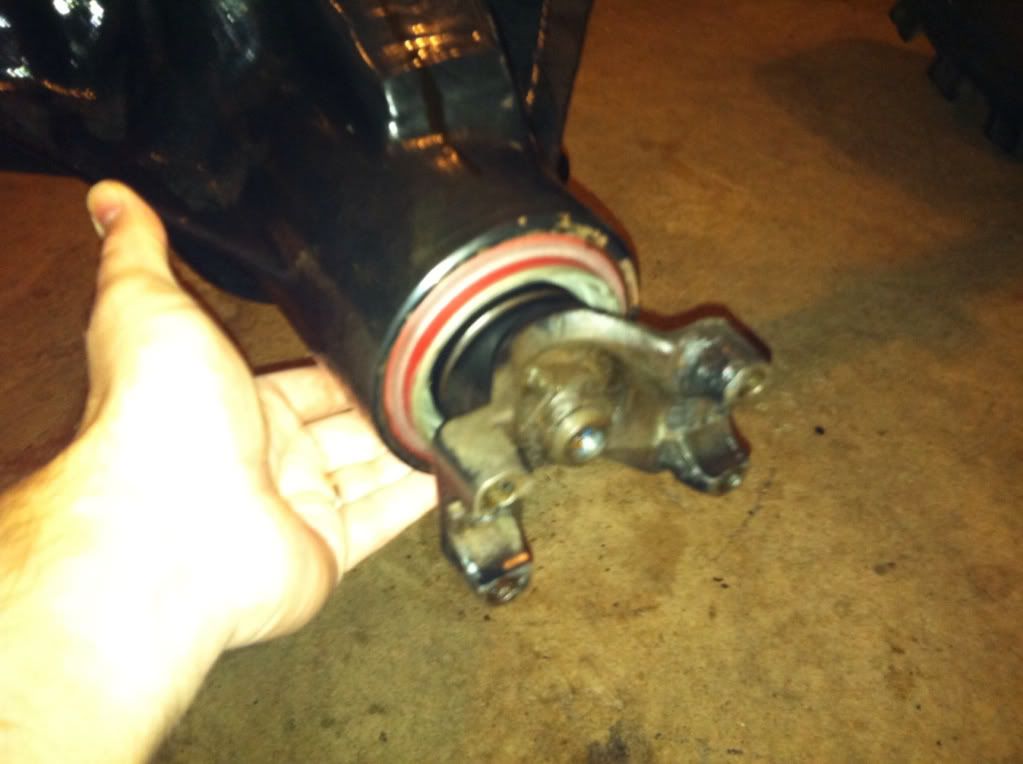
I also installed a new pinion seal while it was easily accessible.
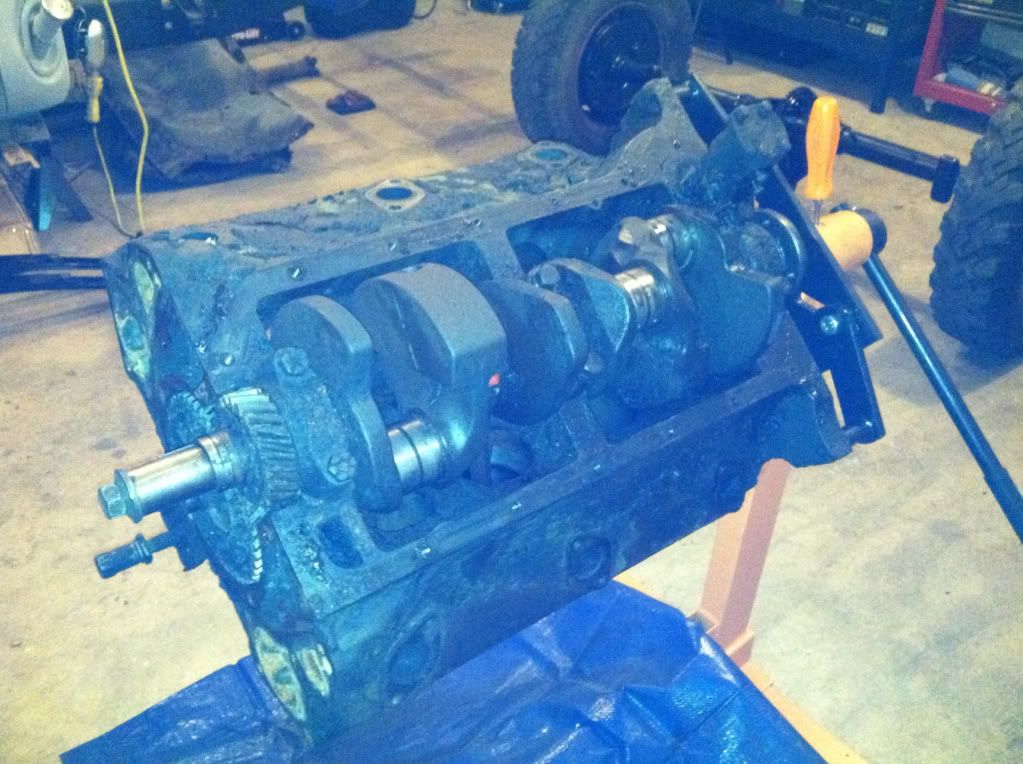
Other than that just letting my one stuck piston soak in some acetone/ATF mixture to hopefully free it up without damaging my cylinder wall too bad. I really want to keep the flat tie if I can. Hope to be able to put he rear of he truck back together this week so I can move on to the front. Thanks for everyone's help along the way so far.
I cleaned them up, removed some leaves, installed new bushing, poly liner, center bolt, lowering shackles, and clamps to be put on today.
I also relocated my front spring perches for the additional lowering.
While I had he rear end out I pull the inspection plate, flushed out all of the old fluid and bought new fluid and I am waiting on the rear plate seal which should be here tomorrow. Gears looked to be in good condition so I didn't feel the need to pull anything else apart.
I also installed a new pinion seal while it was easily accessible.
Other than that just letting my one stuck piston soak in some acetone/ATF mixture to hopefully free it up without damaging my cylinder wall too bad. I really want to keep the flat tie if I can.
Hope to be able to put he rear of he truck back together this week so I can move on to the front. Thanks for everyone's help along the way so far.
#14
03-12-2012, 08:58 AM

Posting Guru
Join Date: Feb 2011
Location: Central, IL
Posts: 1,212
Likes: 0
Received 0 Likes
on
0 Posts

#15
03-12-2012, 09:17 AM