
My F-250 Build-Up

#17
 08-21-2011, 12:29 PM

I'll do a full write-up once the passenger side is done.
The basics are though:
best of all, I've got about $10 into this mod
The basics are though:
Oven set at 250F
Screwdriver
Thin Knife (think Exacto blade, razor blade)
Put the whole assembly in the oven (tray at lowest level)
Do about 5 minutes at a time
It takes a bit, but once you get the seal broken, it starts getting easier.
Be very patient. And if the rubber stops being easy to move, pop the headlight back into the oven for another 5 mintues.
Roughly, it's 5 minutes heat, 3-4 mintues of prying/cutting, rinse and repeat.
Put it back together using outdoor grade silicone that stays pliant. I had a new tube of Windshield sealant (3M black tar stuff ) left from a project on my Mustang. It's a huge tube of caulking I got for $5 (at Safelite) and I personally think better than any RTV or silicone for this application.
Wrap, strap, or tape the casing together. In the pictures above I used those tie-down straps to keep it compressed until the sealant could cure. This is important because the case could spring apart and then subsequently leak.
WARNING: THIS CAN AND WILL RUIN YOUR HEADLIGHT. DO NOT OVER-HEAT THE LENS. I'VE DONE THIS BEFORE AND UNDERSTAND THE RISKS. MAKE SURE YOU UNDERSTAND THEM YOURSELF!!!!!
If you do this and break your lights, I will commiserate with you, but please don't gripe to me about doing it. Do this fully understanding the risk, or don't do it at all and instead buy the China Crap knock-offs from ebay
Screwdriver
Thin Knife (think Exacto blade, razor blade)
Put the whole assembly in the oven (tray at lowest level)
Do about 5 minutes at a time
The key here is to get the sealant holding the lens to the casing warm and pliant.
You can easily ruin your headlights. I set a 5 minute timer.
Pull the lens out and use the screwdriver to pry the black casing back from the lensYou can easily ruin your headlights. I set a 5 minute timer.
It takes a bit, but once you get the seal broken, it starts getting easier.
Be very patient. And if the rubber stops being easy to move, pop the headlight back into the oven for another 5 mintues.
Roughly, it's 5 minutes heat, 3-4 mintues of prying/cutting, rinse and repeat.
There are 3-4 bolts on the back of the casing. 1 of them must be removed prior to separating the case. I'll have pictures showing which one in my write-up
PaintPut it back together using outdoor grade silicone that stays pliant. I had a new tube of Windshield sealant (3M black tar stuff
) left from a project on my Mustang. It's a huge tube of caulking I got for $5 (at Safelite) and I personally think better than any RTV or silicone for this application.Wrap, strap, or tape the casing together. In the pictures above I used those tie-down straps to keep it compressed until the sealant could cure. This is important because the case could spring apart and then subsequently leak.
If you do this and break your lights, I will commiserate with you, but please don't gripe to me about doing it. Do this fully understanding the risk, or don't do it at all and instead buy the China Crap knock-offs from ebay
best of all, I've got about $10 into this mod
#18
08-22-2011, 08:50 PM
Cargo Master

#19
08-22-2011, 10:52 PM
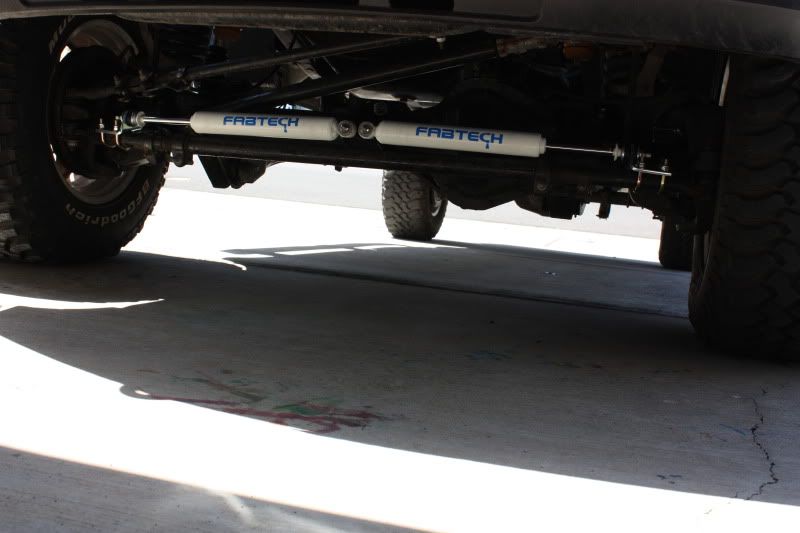
huh? my stock one is almost to the oil pan. see that bolt next to the draglink/panhard? that is the stocker
#20
08-22-2011, 11:22 PM
Cargo Master

#21
08-25-2011, 01:00 PM
alright, still haven't done the passenger side headlight. maybe tonight once the kids are in bed. I've been occupied getting another mod done.
I installed a 2009 F-150 rearview mirror, and a 2011 F-150 emblem camera. It unfortunately wasn't a plug n' play install. I had to wire the whole thing custom. I'll get pictures once it's nice outside and a video. Also will post up the wiring diagrams.
I installed a 2009 F-150 rearview mirror, and a 2011 F-150 emblem camera. It unfortunately wasn't a plug n' play install. I had to wire the whole thing custom. I'll get pictures once it's nice outside and a video. Also will post up the wiring diagrams.
#22
08-26-2011, 06:54 PM
#24
08-27-2011, 11:15 AM
#25
09-10-2011, 04:57 AM
ordered a few things and have to wait for them to arrive
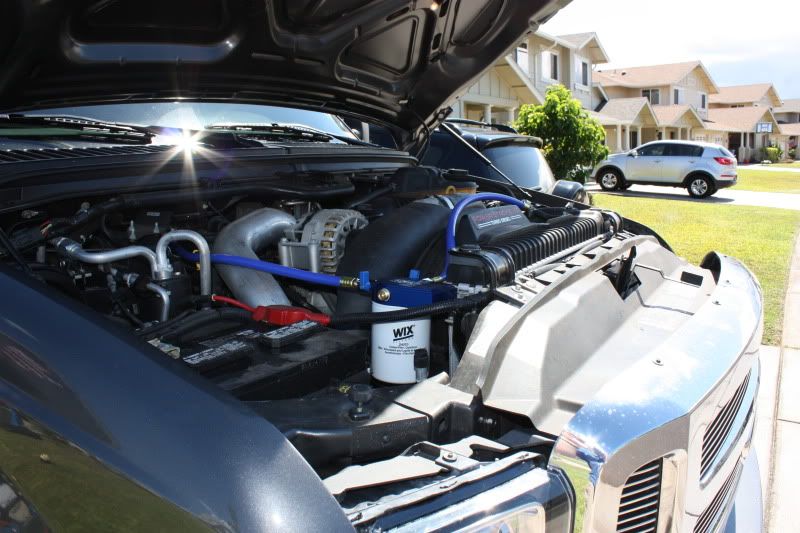
Sinister Coolant Filter Setup with ball valves
Recon Smoked Clearance Lights
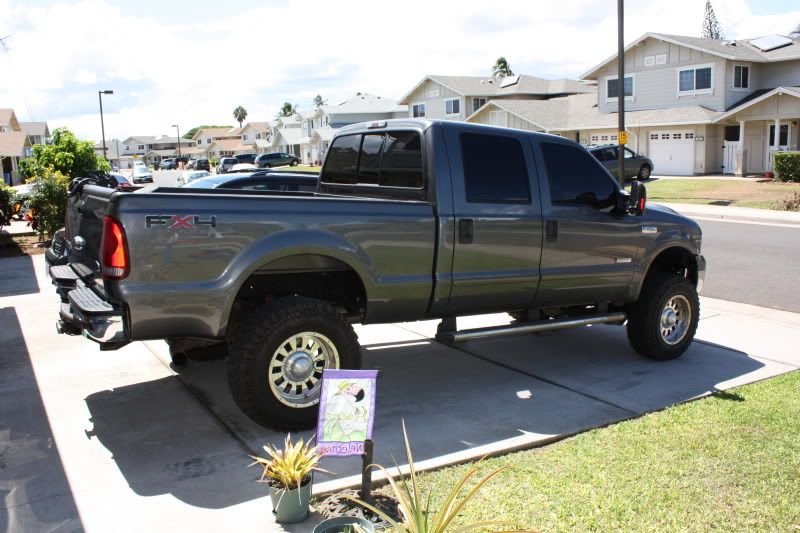
2010 FX4 Stickers
TSC Toolbox
2 cans of Nevr Dull (I have to clean the metalworks)
Spare FL-2016 oil filter (damn things are hard to find at a good price)
also have my eye on a SCT #3015 for sale locally. gonna try and do some horsetrading with the guy
Sinister Coolant Filter Setup with ball valves
Recon Smoked Clearance Lights
2010 FX4 Stickers
TSC Toolbox
2 cans of Nevr Dull (I have to clean the metalworks)
Spare FL-2016 oil filter (damn things are hard to find at a good price)
also have my eye on a SCT #3015 for sale locally. gonna try and do some horsetrading with the guy
#26
09-13-2011, 08:23 PM


#28
09-14-2011, 09:33 AM
If you care about opinions, I would get rid of the original Ford oval on the tailgate. Since you added the center oval with BU camera, having both looks a bit gabby. Like one of those cars with a hundred bumper stickers all over the back.
I like the FX4 stickers!
I like the FX4 stickers!
#30
09-16-2011, 09:15 AM
Postmaster
Join Date: Nov 2006
Location: The Woodlands, TX
Posts: 2,807
Likes: 0
Received 0 Likes
on
0 Posts