Rear blocks provide a tried-and-true way to add extra height to the rear of most trucks cheaply and easily. Read this article to learn how to install these helpful modifications.
By Justin Banner - September 3, 2014
Contributors: eej711
This article applies to the Ford F-150 (2004-2014) and the F-250, F-350 Super Duty (2005-2014).
There's an easy way to get some space under the bed of pretty much any modern F-150 or Super Duty truck. Slipping a lift block in between your leaf spring pack and your rear axle tube is a tried and tested way to get some height in the rear of your truck cheaply and easily. There are a few things you’ll need besides the block kit and we’ll show it all to you in this article.
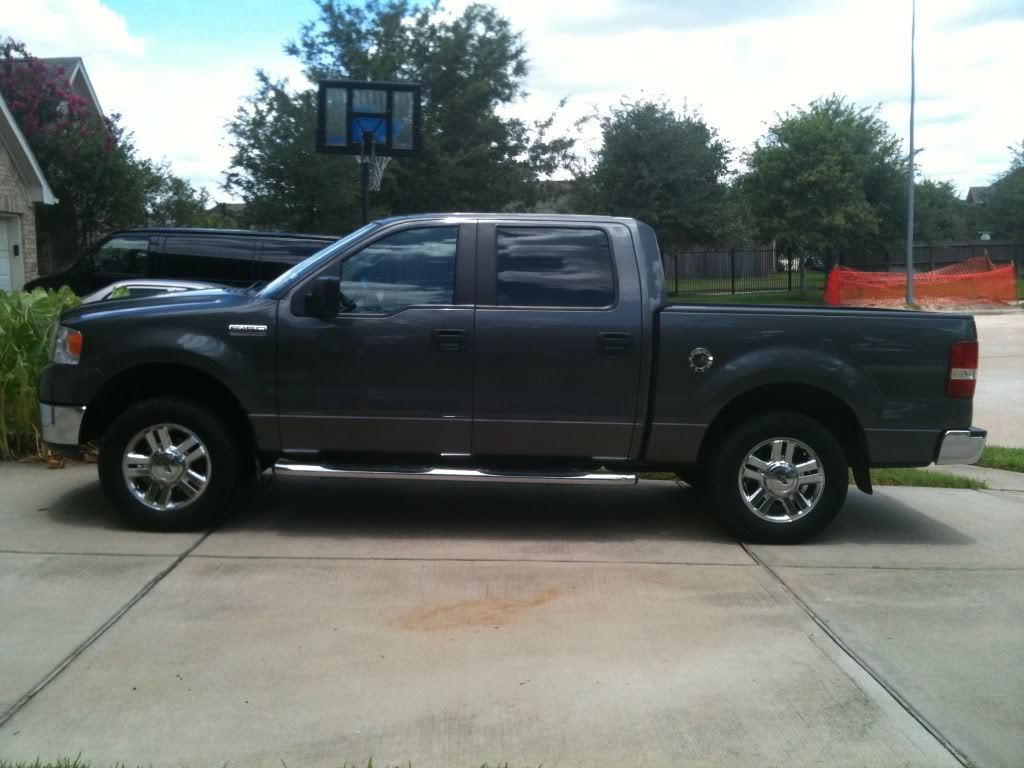
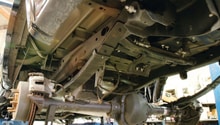
F-150 Before Rear Blocks
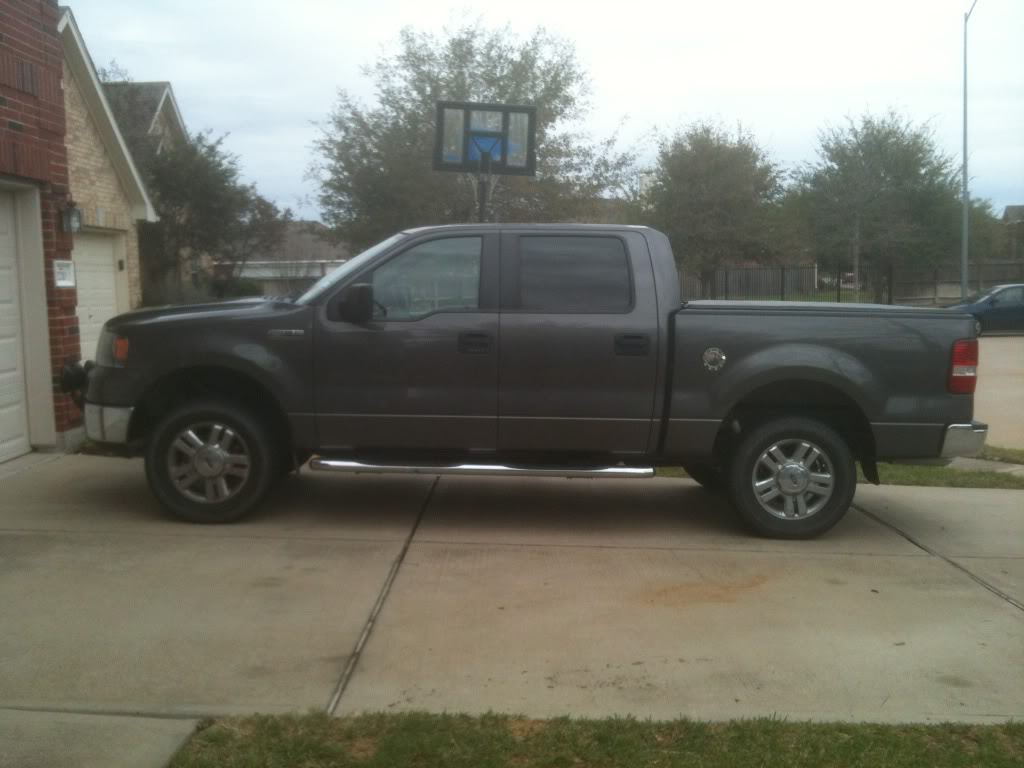
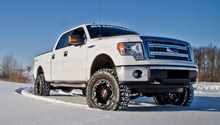
F-150 After Rear Blocks
Materials Needed
Blockers for one or both front tires
Torque wrench (need 100 Ft/lbs)
Socket set for larger bolts
Socket wrenches (air tools make job easier, will need air compressor and air ratchet wrench)
4 jack stands
Hydraulic jack
Red loctite
Breaker bar
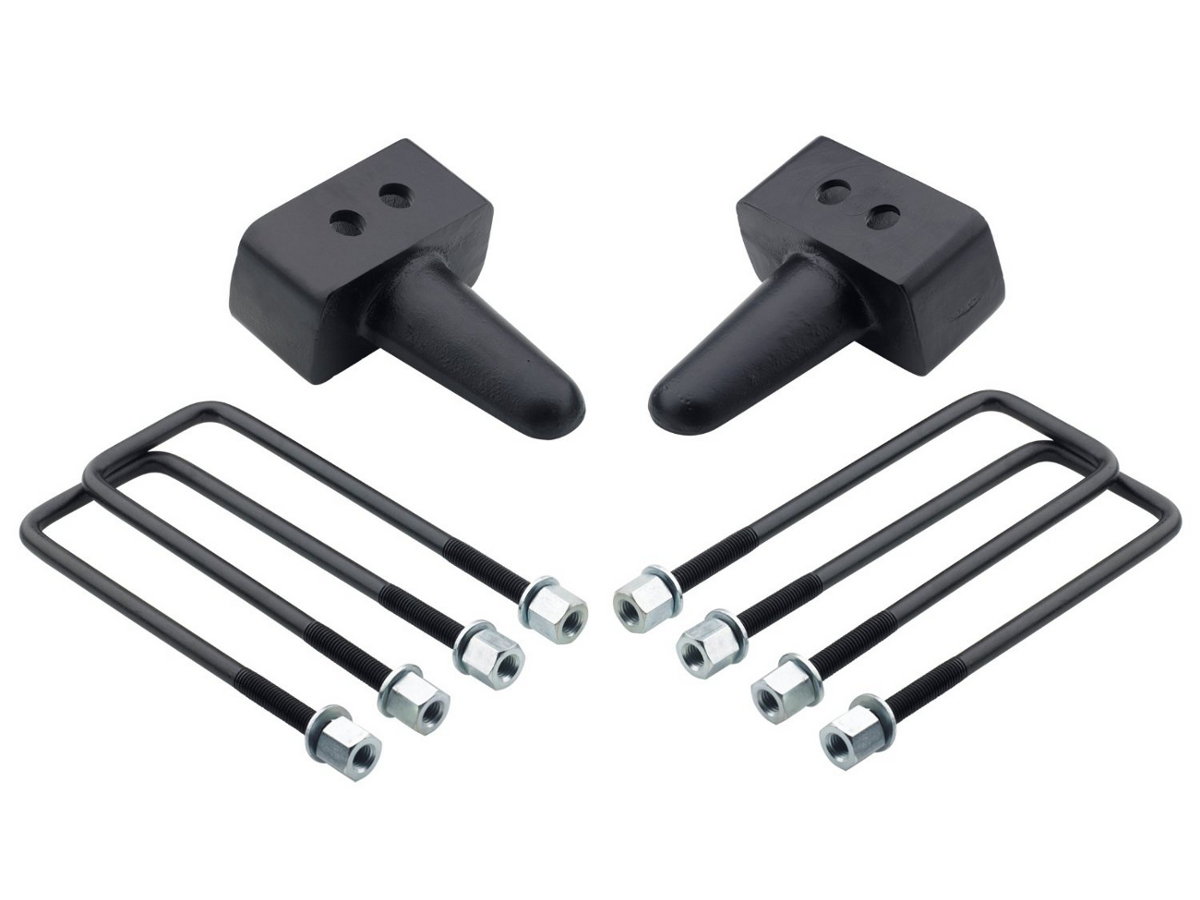
Step 1 - Inspect your kit
The first thing to do is inspect your lift kit. It should come with the blocks, new U-bolts, and nuts. If it does not come with new U-bolts and nuts you will need to buy a set. Do not buy some threaded metal to bend yourself: this is a bad idea. U-bolts are responsible for the stress holding the leaf spring pack and keeping that pack centered on the axle. Your leaf springs not only move up and down, but also see side loading as you corner so that is why you should buy U-Bolts designed for leaf springs and the amount of lift you are putting on. You’ll also want to make sure that your lift block kit is designed to adjust the pinion angle to keep the driveline angle the same as stock.
Figure 1. F-150 rear suspension blocks with U-bolts.
Pro Tip
When it comes to blocks, only use a single block. Do not stack blocks as this could create an unsafe situation as the stacked blocks could move pop out.
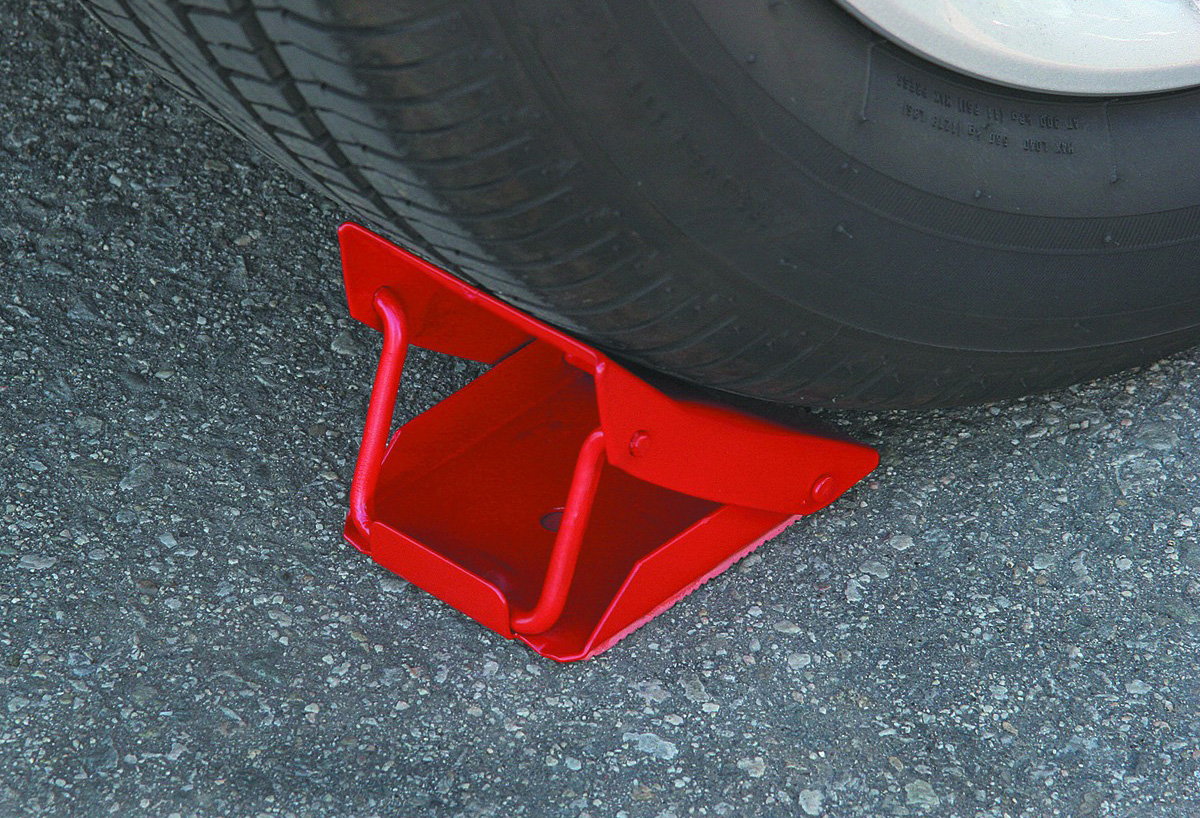
Step 2 - Chock the front wheels
First thing is to chock the front wheels since the rear wheels will not stop the truck from moving when you lift the rear and remove the leaf spring u-bolts.
Figure 2. Chocking your front wheels.
Jam these little ramps under your front tire to keep the vehicle from moving when you lift the rear. If an actual chock isn't handy, just use a similar solid object like a piece of wood or a cinderblock.
Step 3 - Lift truck and remove wheels
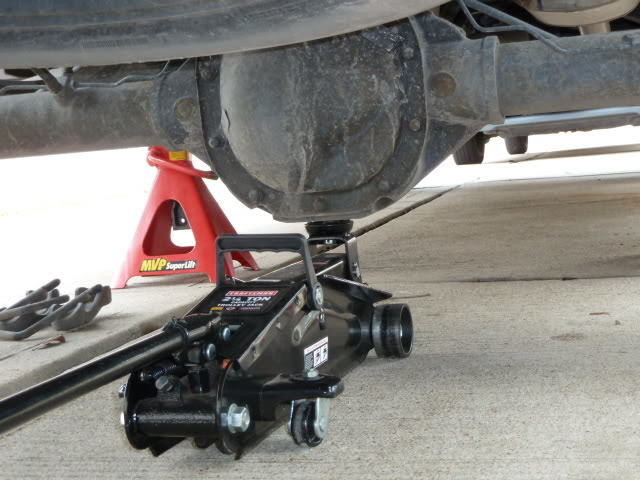
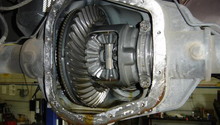
Next, lift the rear of the truck up and you can do this from the carrier housing, also known as a pumpkin, of the rear end. However, take caution and be sure your jack’s saddle (the part that you rest your vehicle on) does not make contact with, or bend the differential cover. If your saddle is very small or narrow, you may want to slip a block of wood between it and the differential; just be sure that it is centered with the jack and carrier housing.
Figure 3. F-150 Lifted by Rear Differential.
Before completely lifting the tires off of the ground, break the lug nuts loose as removing the wheel will make accessing the plates easier. You'll want to lift the truck at least 1 inch higher than where you'll truck will sit after you've installed the block. If you don't lift the truck enough, you'll run into trouble when you go to mount your tires again.
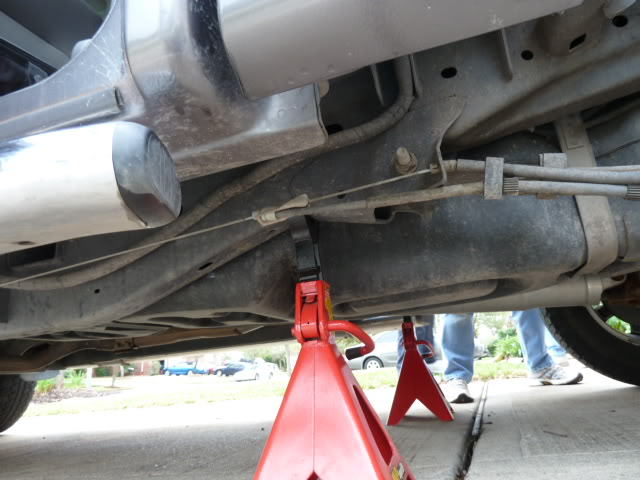
Once the rear of the truck is high enough up in the air, you’ll need to put the jack stands on the frame just in front of the leaf spring front bracket. Be sure it’s on the flat part of the frame or your truck will not be stable.
Figure 4. Support truck with a jack stand on the frame here.
Step 4 - Unbolt rear axle
Now, you’re going to lower the jack until there is no tension on the leaf springs. Once you see a gap between the saddle of the jack and housing, stop and pump the jack enough to make contact, but not enough to lift the housing again.
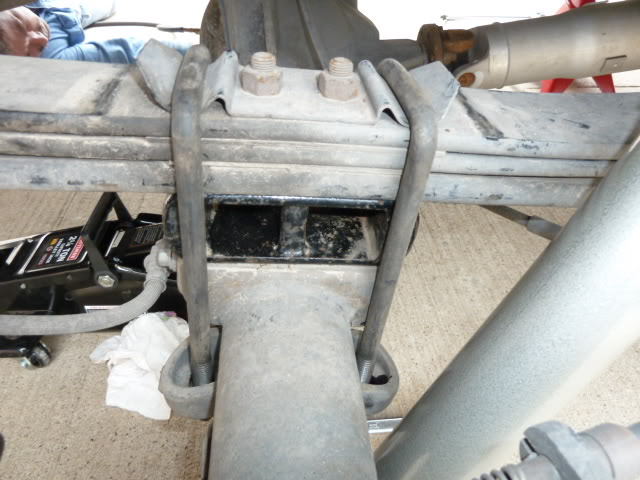
You’ll remove the nuts that are holding the U-bolts on and there will be four on each side, eight nuts in total. The U-bolts slide through the top but there are brackets that will be coming off under the axle as you remove the nuts, so hold on to them as you remove them.
Now that the U-bolts and nuts are off, put them to the side and keep them in case you ever decided to go back to a stock rear height. However, you will be retaining the lower brackets that came off with the U-bolts. Those are how the U-bolts secure to the axle.
Figure 5. Remove the long, U-shaped bolts that wrap around the leaf springs.
Step 5 - Lower rear axle
Take the jack and lower the rear end down until you have room between the leaf spring pack and axle. If the shocks are preventing you from getting enough space, take them off at the housing. This will also be time to consider replacing the shocks for ones designed for the lift if this is the case. Your lift block instructions will warn you ahead of time if you need longer shocks or not.
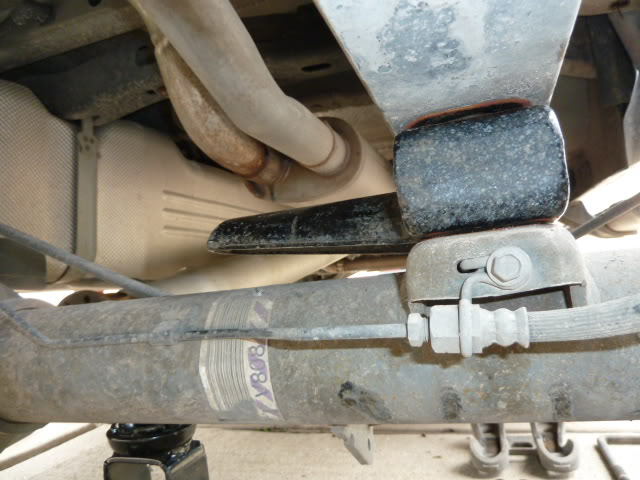
Figure 6. Rear axle with U-bolts and suspension block removed. Your blocks will go in the space between the axle and leaf springs.
Pro Tip
Use a jack or a jackstand to keep the axle from moving while you're working on it. F150forum user eej711 used his spare-tire jack to hold his steady.Another thing to do is grab another set of jack stands and put them on each side of the axle. This will give the axle some additional support and to prevent it from losing balance which could damage the rear brake lines, sensor, rotors, or backing plates.
Step 6 - Install suspension blocks
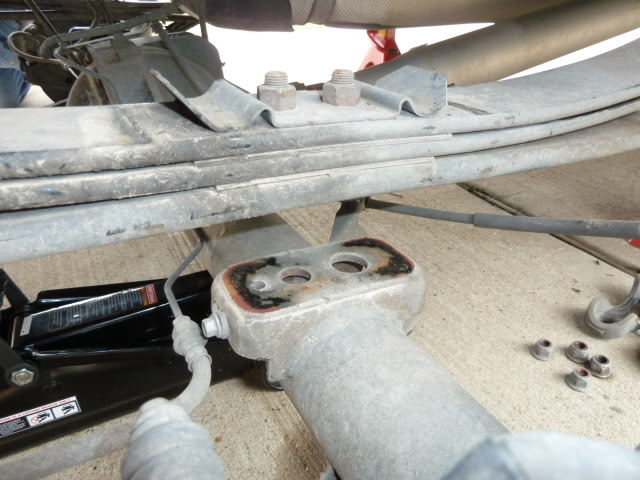
If you look at the plate that is welded to the top of the axle tube, you’ll see it has two holes. This will center your lift block as it should also have two pins coming out and a pair of recesses for the leaf spring.
Your blocks should also come with ears on the side. Those "ears" will be for the bump stop that faces the inside of the chassis (towards the center of the truck). If not, buy longer bump stops or buy a new lift block. The bump stops prevent the shocks from bottoming out and damaging the piston inside the shock. Yes, that means bump stops have an important job and that you should not worry about them.
Figure 7. Make sure the tongue on the block faces inward.
Step 7 - Finishing up
Once the blocks are on and centered, lift the axle back up and keep an eye on the blocks as you do lift up. You’re just watching to make sure they stay centered and adjust them if they move. They shouldn’t, but you should still make sure they don’t. Once they make contact with the bottom of the leaf spring packs make sure the bolts of the leaf spring packs go through the recesses of the lift blocks. If not, lower and adjust. Then put the new U-bolts over the leaf spring packs and put the lower brackets on the axle, applying liquid thread locker to the threads before snugging the nuts tight. Grab your torque wrench and tighten to the manufacturer’s specifications. Now, you can install your wheels and tires and head off.
Pro Tips
Before we leave this subject, here are some things to consider. Generally when working with suspension you want to get an alignment after making changes. Blocks are probably the lone exception, however it won’t hurt to still do so and double check the driveline angle while you’re there.
Ford F250: How to Install a Lift Kit
If you're looking to sit a bit taller in the saddle, you've come to the right place. Learn what to expect as you install a lift kit to your Ford.
This article applies to the ...
Leaf
How to Add a Leaf to Leaf Springs
99offroadrngr
This easy modification will both lift your truck and give you extra payload capacity.
Adding a leaf to your truck's leaf springs is a popular, easy, and ...
How To Install a Lift Kit
You want your truck to stand tall, but you don't want your wallet to feel flat? Learn how to install a lift kit yourself to save some green.
This article applies to the Ford F-150 ...
Lift and Level Modifications
Whether you're looking to improve the off road performance or look of your truck, a leveling or lift kit is a great way to start!
This article applies to the Ford F-250, F-350 and Super ...
How to Replace Rear Differential
Get into your rear differential with our guide here!
This article applies to the Ford F-150 (2004-2014) and F-250, F-350 Super Duty (2005-2014).
The rear differential is located ...
Lift Kit Reviews
There are a dizzying number of options when choosing a lift kit. This article helps to make sense of them.
This article applies to the Ford F-150 (2005-2014).
There are multiple reasons to lift ...