When you click on links to various merchants on this site and make a purchase, this can result in this site earning a commission. Affiliate programs and affiliations include, but are not limited to, the eBay Partner Network.
Hi guys been on the forum for awhile haven't posted before but admired plenty of handy work and rebuilds of others and enjoyed the read. I bought a 56 about 3 years ago now and this truck has always been a child hood dream so it was time to make it a reality well the reality is now 12 months in and thought seeing I'm fairly progressed on my path to where I want to go it was only fair to start sharing my creation seeing as I've enjoyed the build threads of so many others
First the tear down, I bought a truck that had been restored previous and thought these were good bones to start with being my first foray in to a total rebuild resto mod.
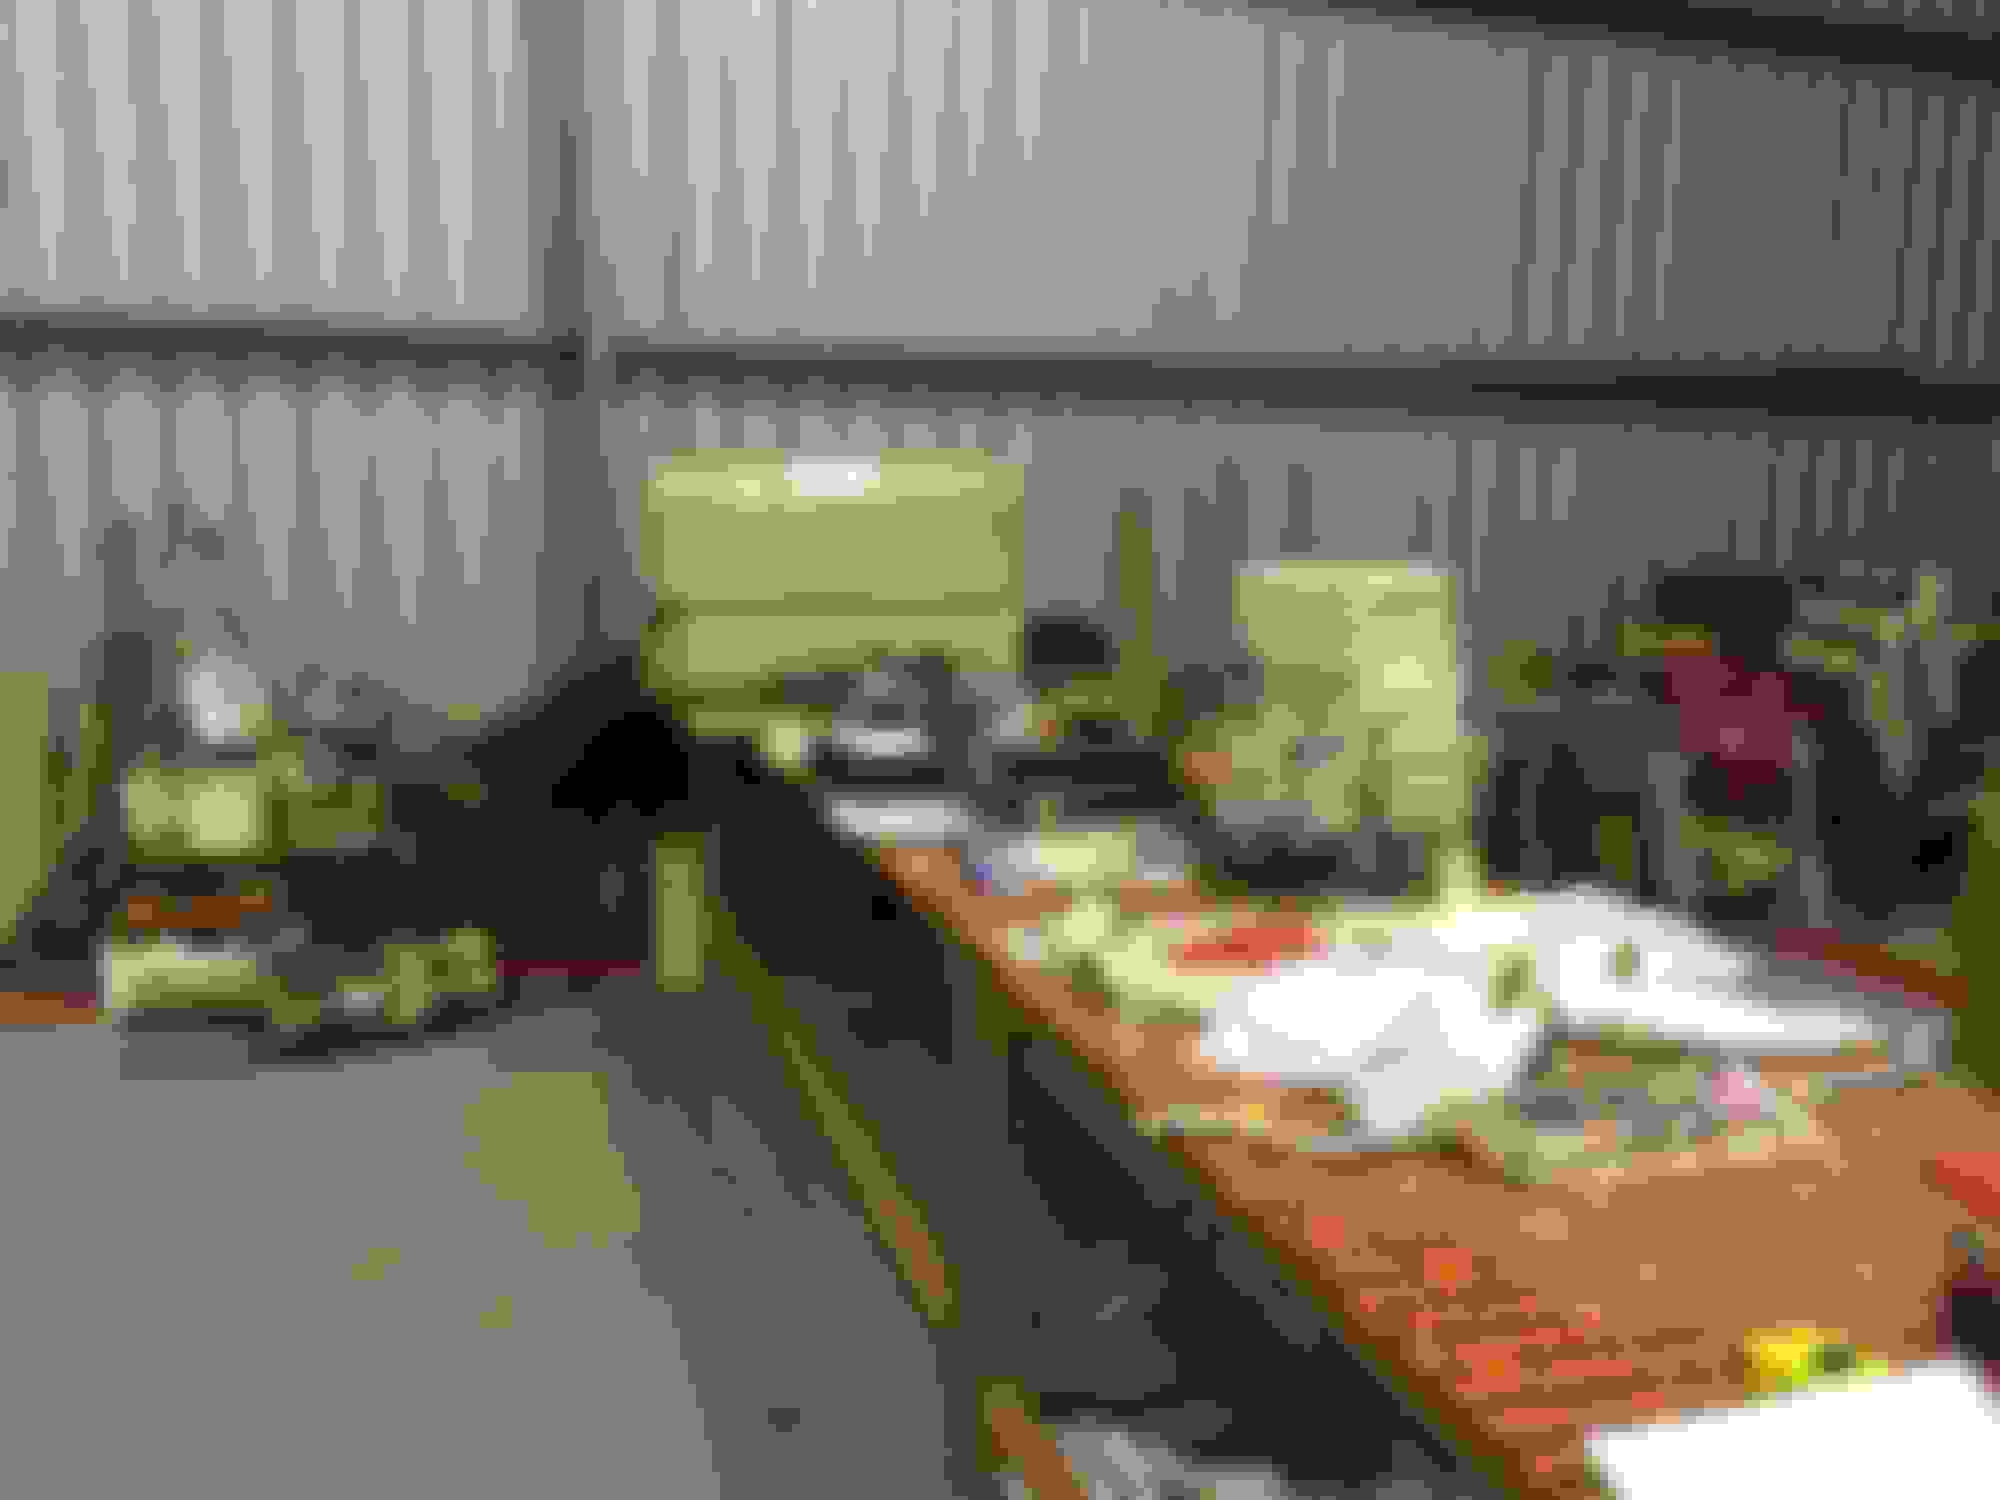
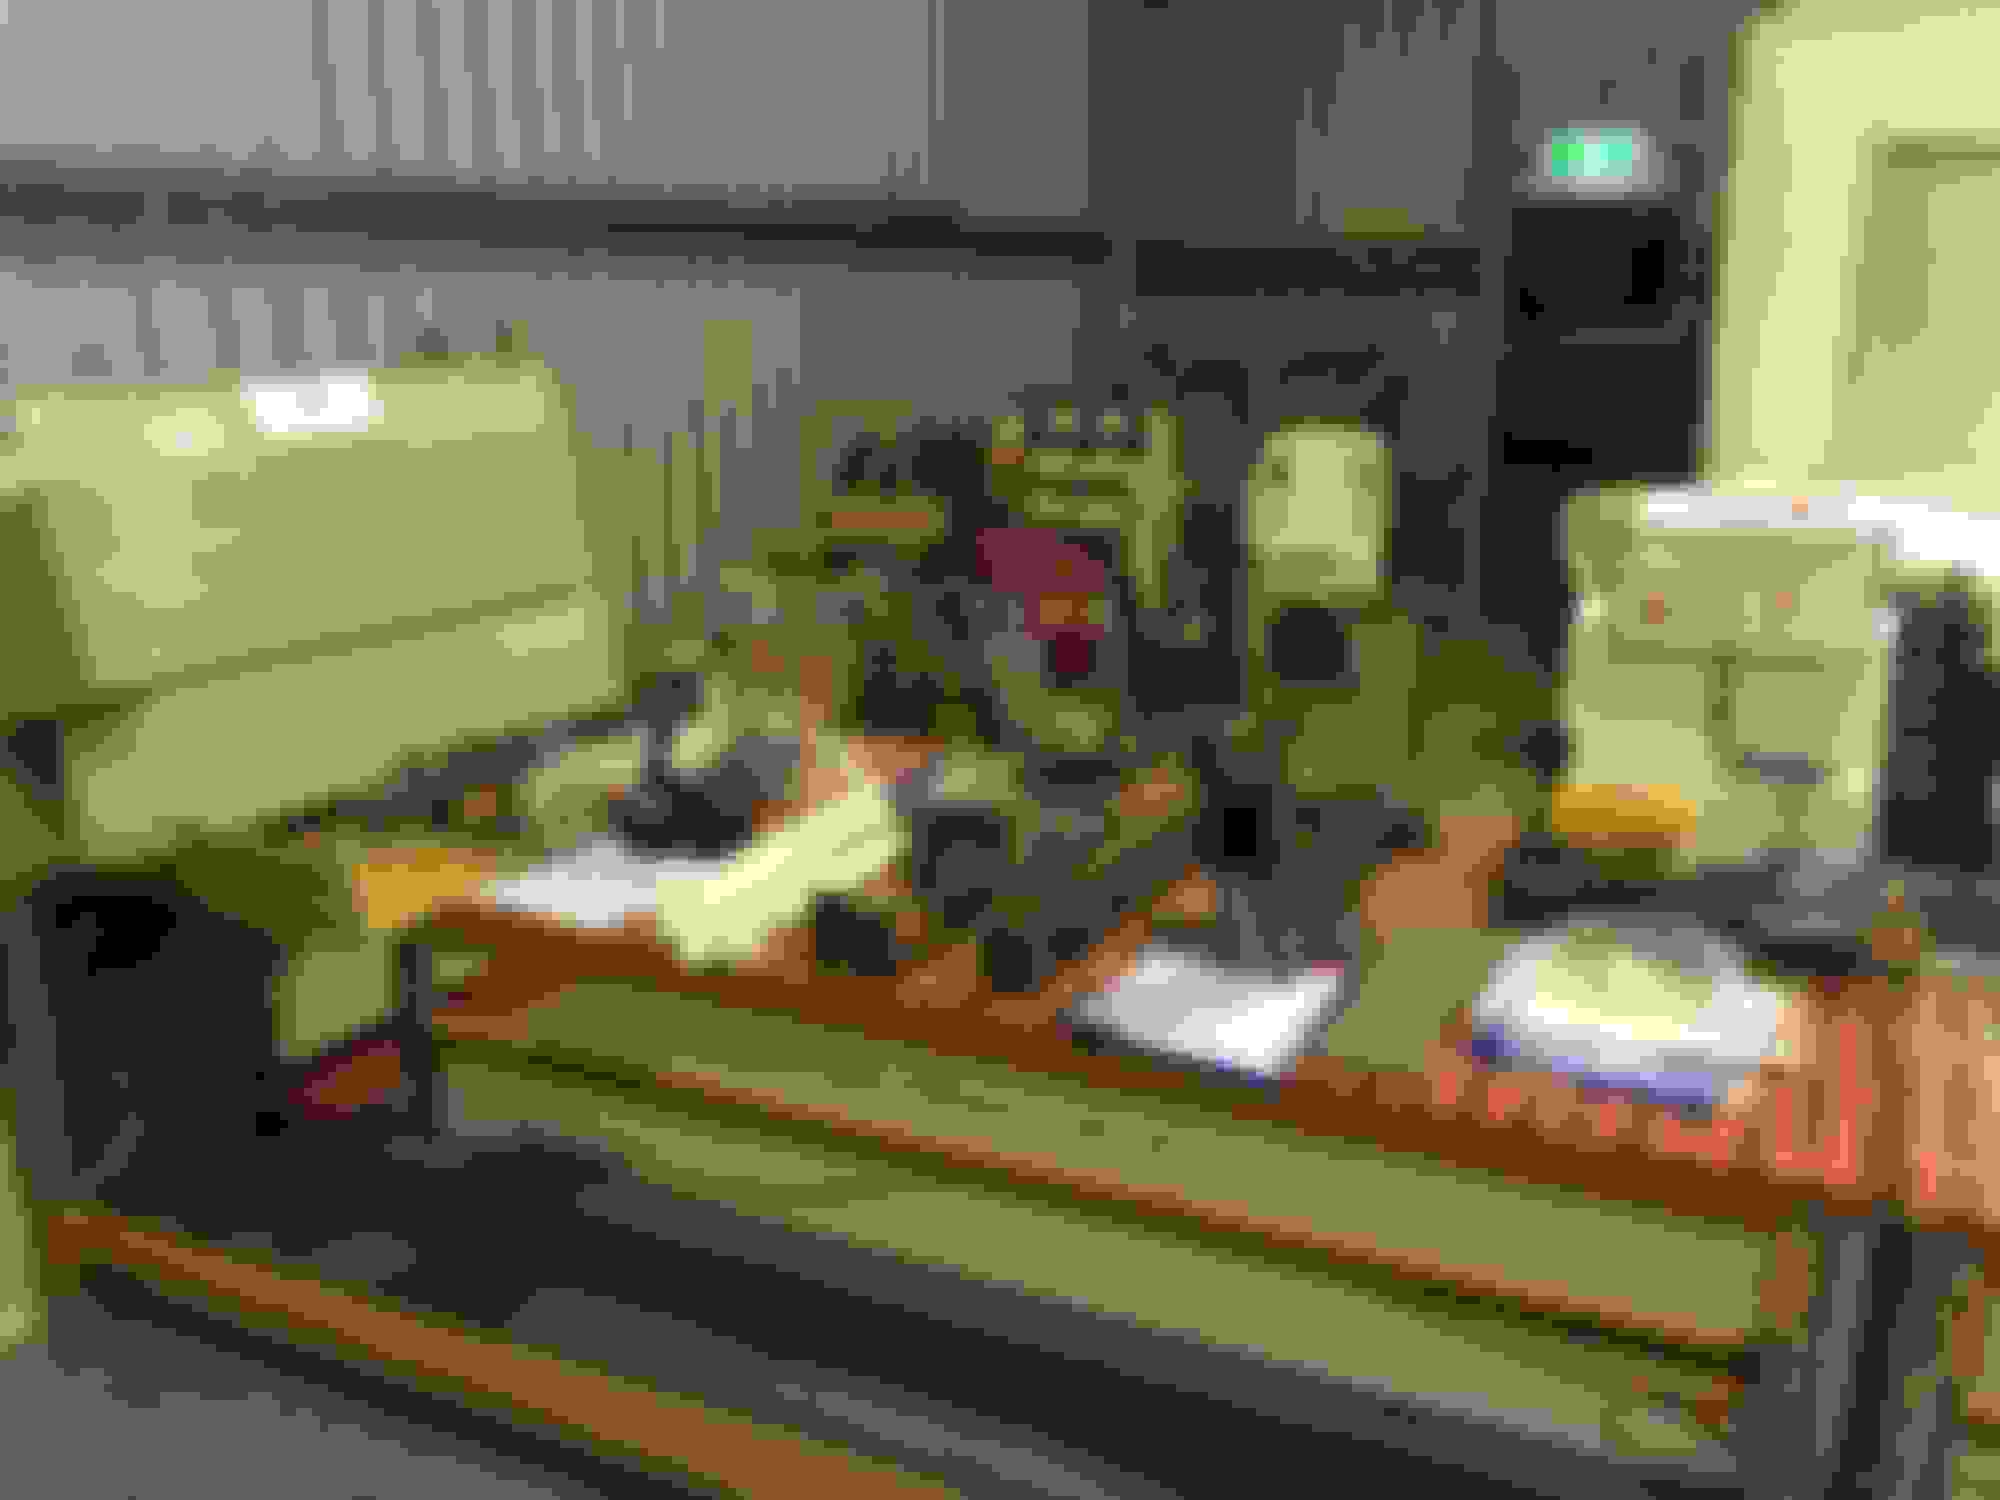
So now the truck is in a million pieces I decided I needed to get organised with some pallet rack to store all the old parts.
Then all the boxes of new stuff started to turn up, full front end from Heidts and four link plus all the Willwood front brakes so layed it all that out on the bench to get some sort of sequence to how it all should go together.
Sent the frame away for sand blasting.
Just back from sand blasting. Made a nice high work stand so I could do all my fabrication work at standing height. I fractured 3 vertebrae years ago in my back so working and bending over all day just makes me a cripple and limits how much I can do.
And now time to start repairing all the old cut outs in the frame from the super huge ugly steering box it had.
Did a bunch of other patch up work and repairs to the frame too, but worked through and forgot to take progress pics. For a truck that had been previously repaired I couldn't believe how out of square the frame was and how twisted the rails were. Spent hours and hours getting it all straight and square.
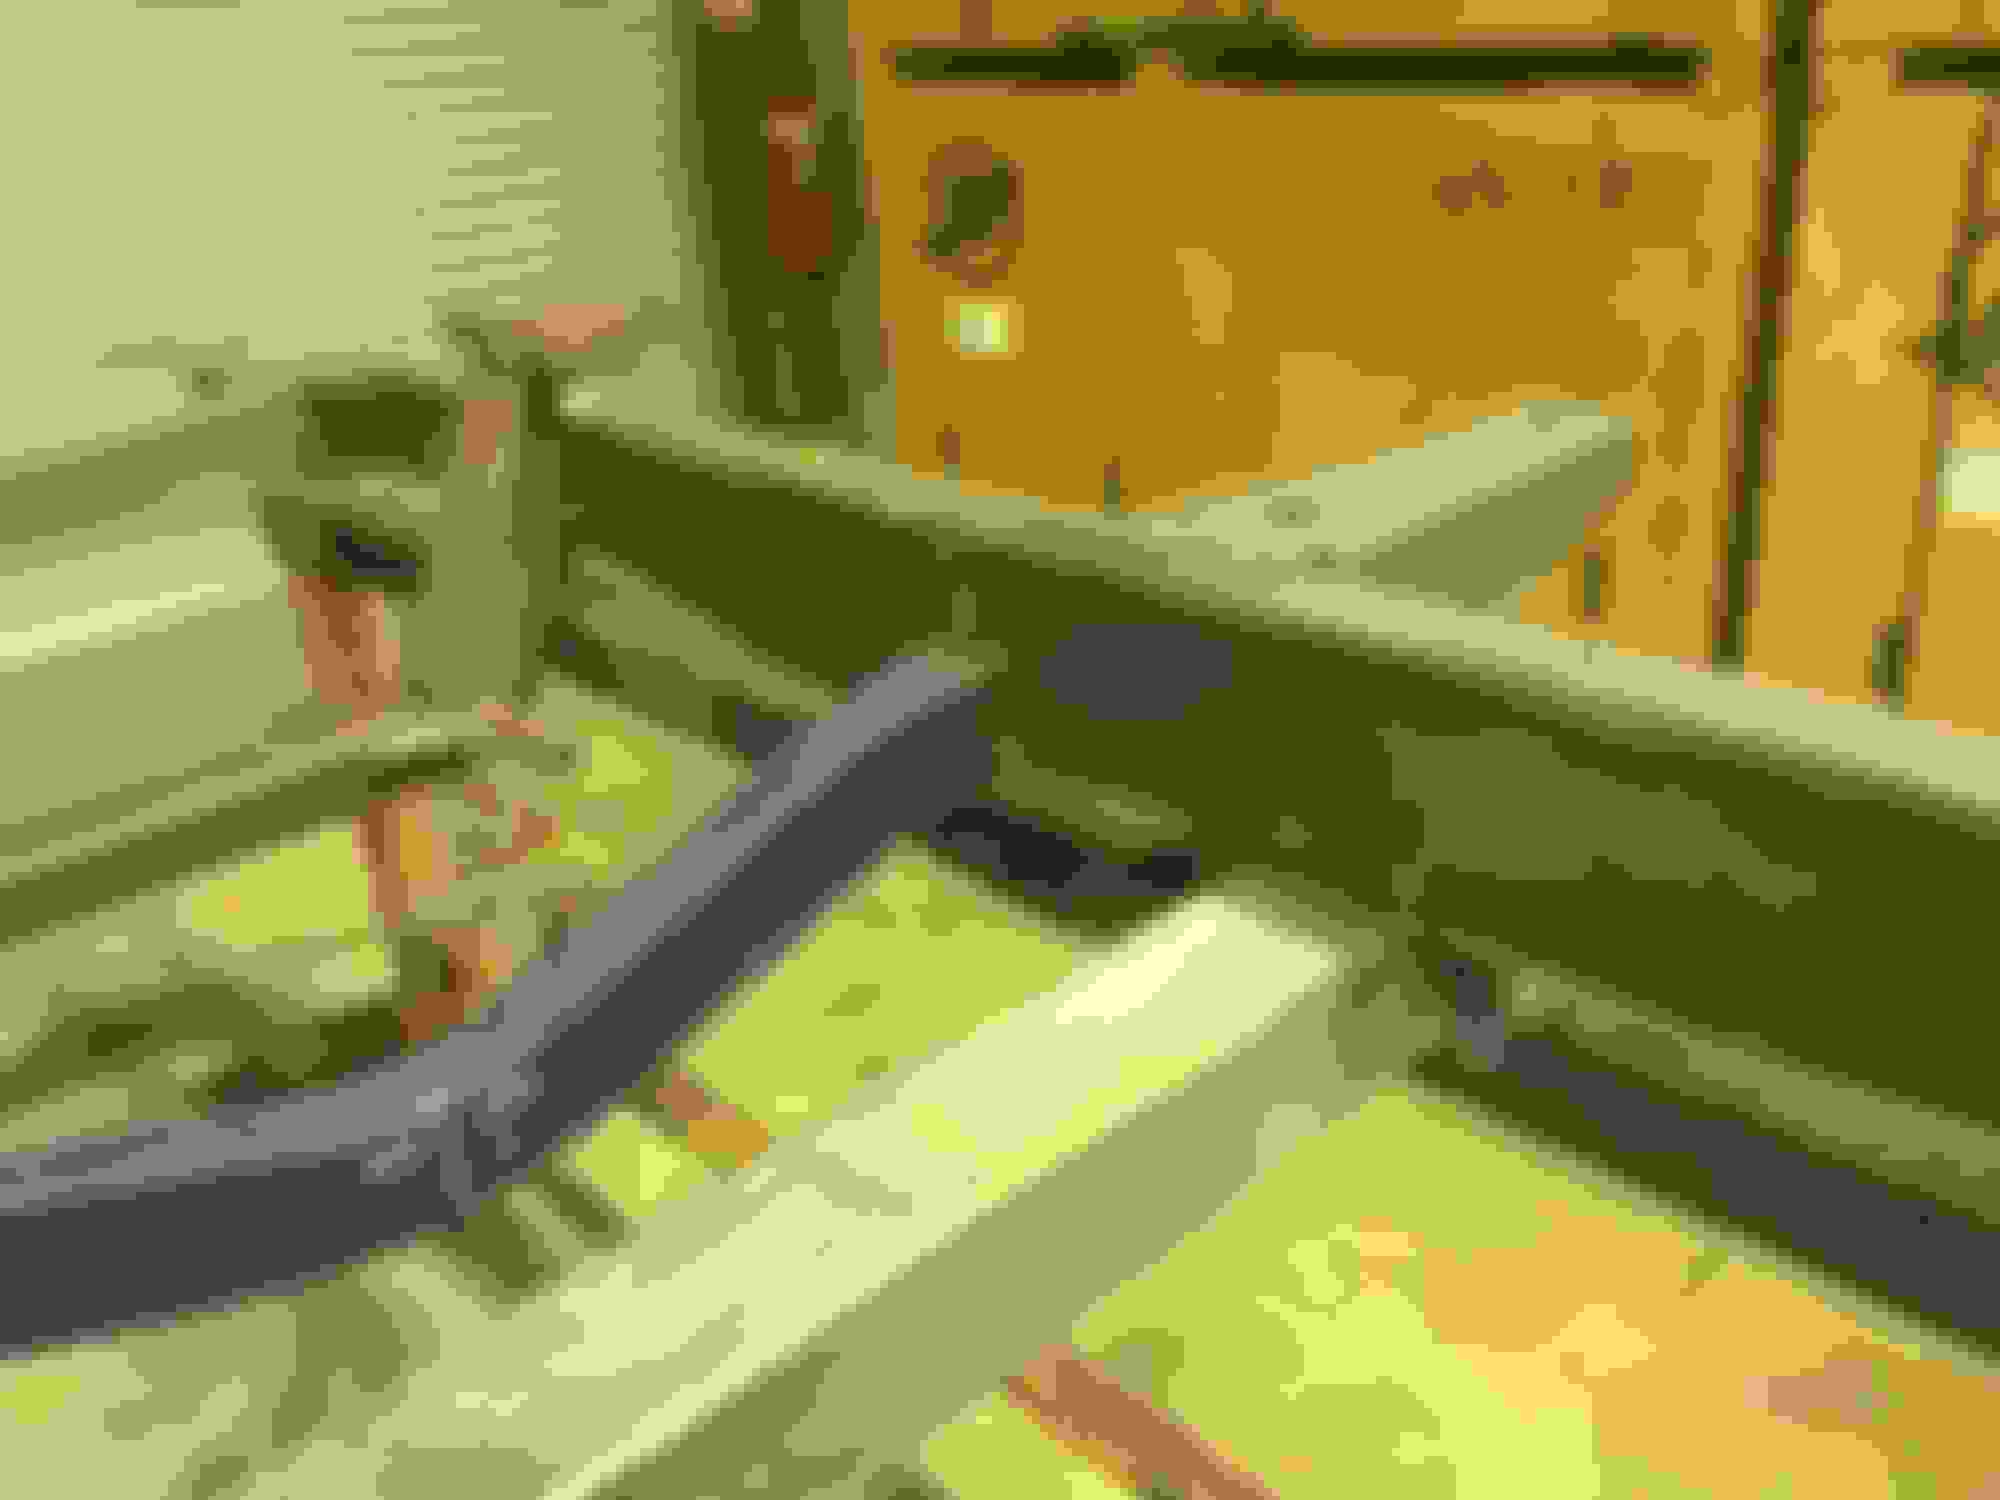
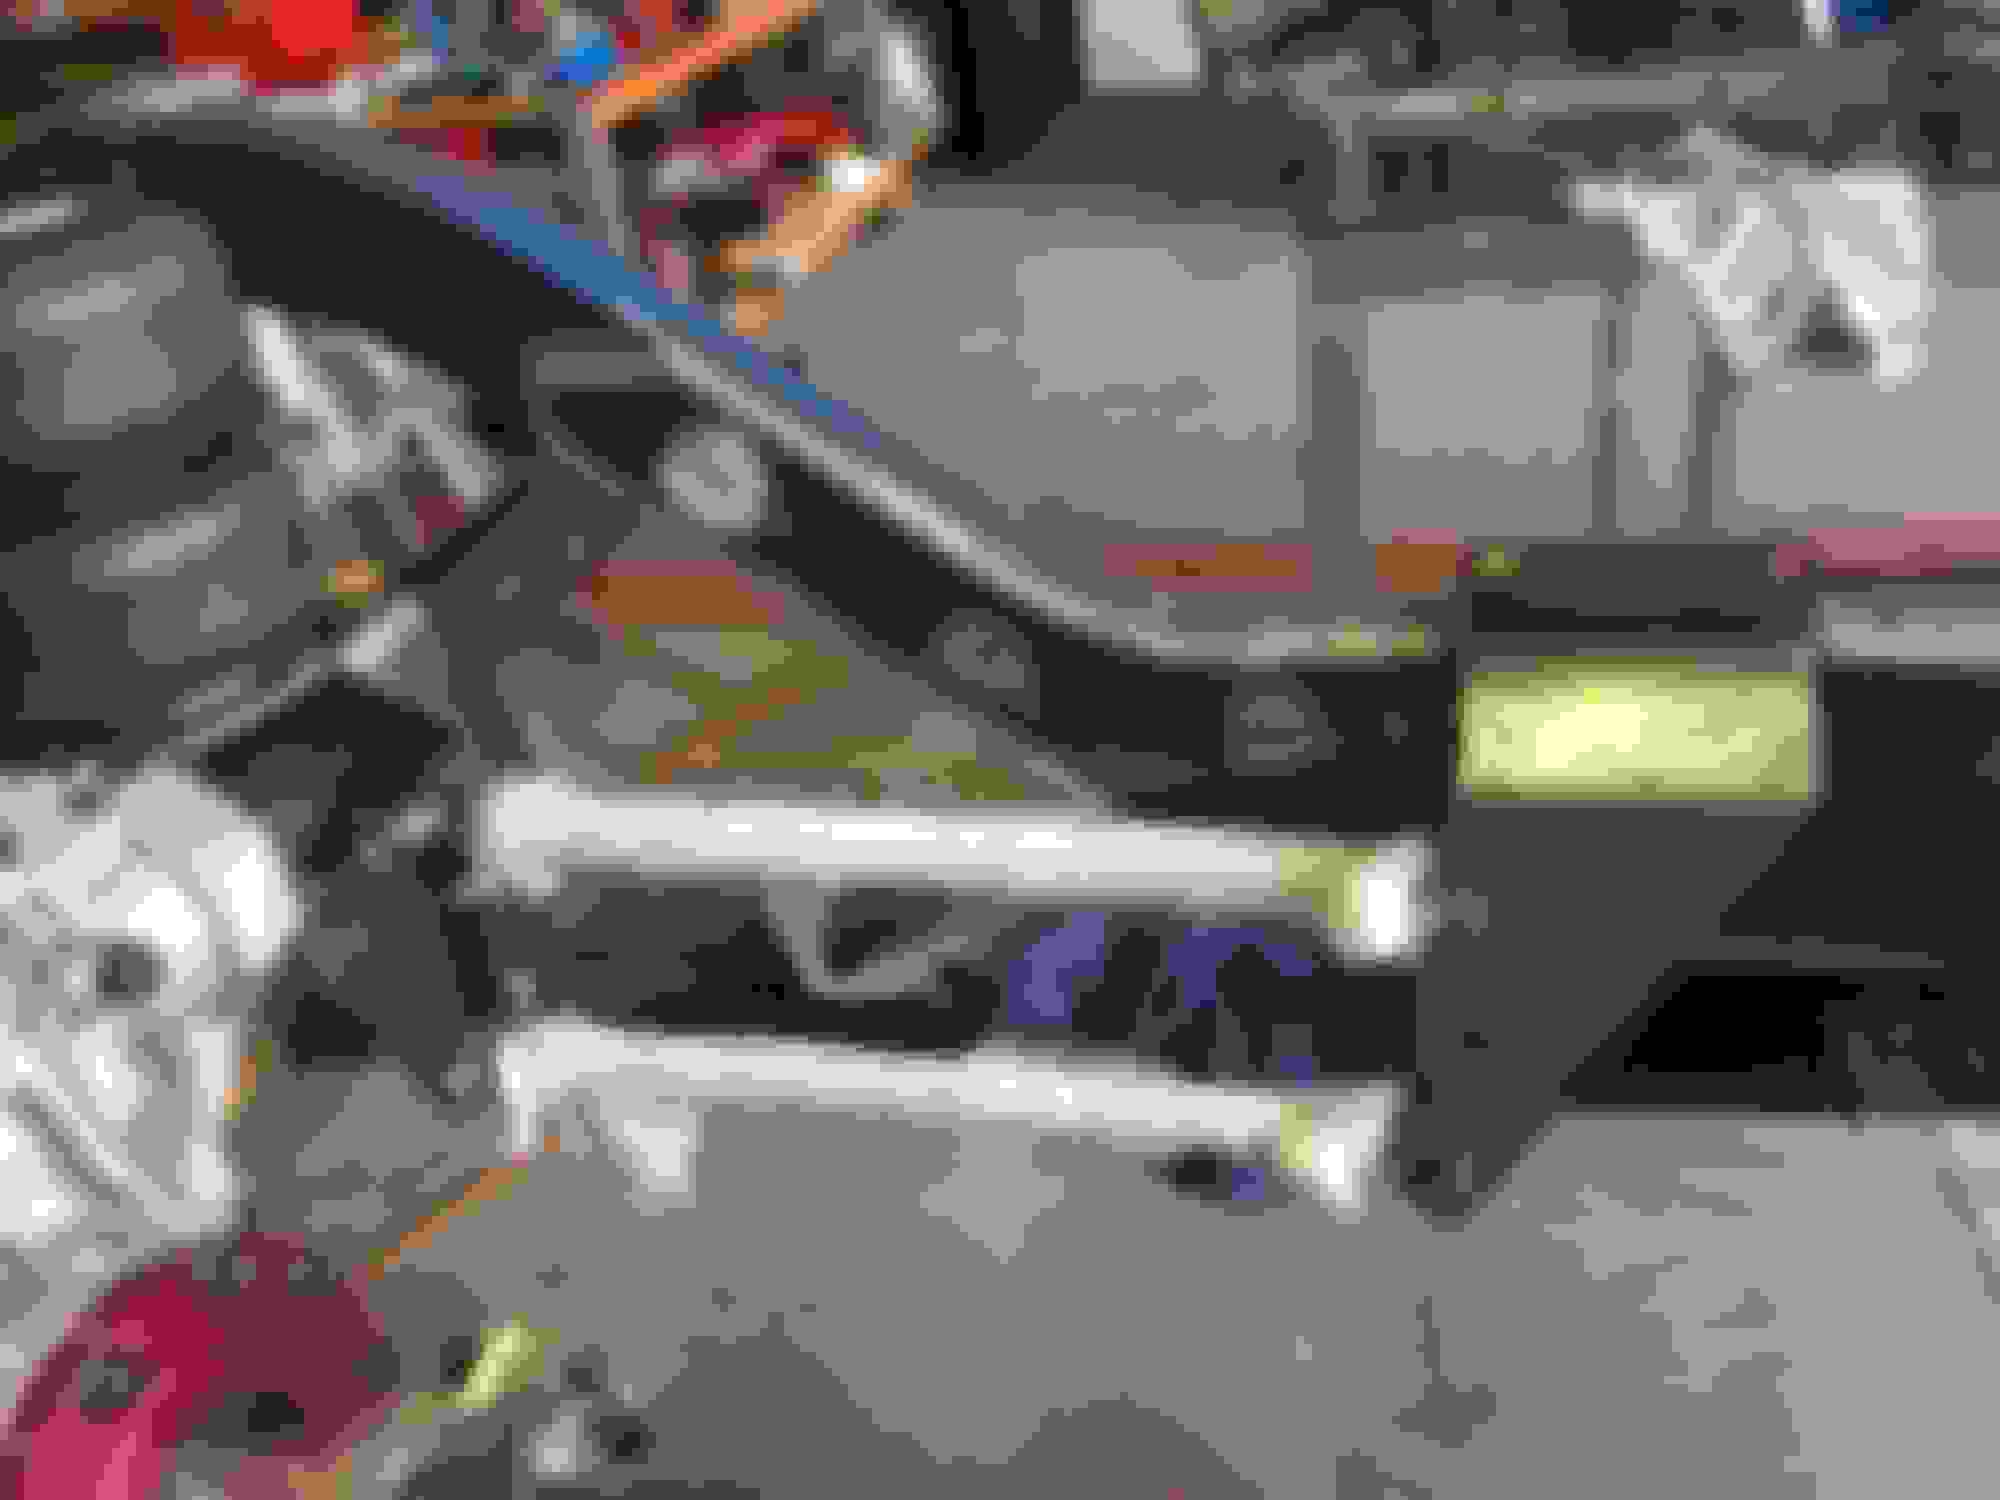
Time to start boxing the frame after I got it all square and welded down to my work frame so it couldn't move.
Like all the patch up work got carried away and forgot to take photos off all the boxing but I boxed the whole frame front to rear. This is all the boxing tacked in and some of the cross members tacked in just to get an idea of how it was going to go together.
This is heidts front crossmember tacked in along with cross members that I had in mind at the time.
Looking good . Looks like you had a very nice starting point .
Yes it was probably too good to pull apart but I wanted a project that my son and I could work on together and he wouldnt get too overloaded with fixing rust and loosing interest.
Wow quite a project. I love your shop!!! Thanks for showing us keep it up!
Thanks for that, as I get time to post photos you will see the shop transform into a bit more of man land, I'm about 6 months in front of what I have put up already and the shed is a work in progress in between waiting on parts to arrive so I can work on the truck.
So right from the start I decided this truck was going to be air bagged and slammed, I had my ideas on how I want to do things but didn't necessarily have everything mapped out so a lot of my build has changed along the way.
After I had boxed the front of the frame in I decided I probably should start working out what I was going to do with the rear end so with that out came the calculator and tape measure and time to document some of the build plans so I had reference notes to come back to if I needed. These photos are just some snaps of me working all this out.
After a few hours and plenty of double checking I decided that I was in the right direction so started cutting frame rails and adding in chassis rails that were mandrel bent and fit for what I wanted.
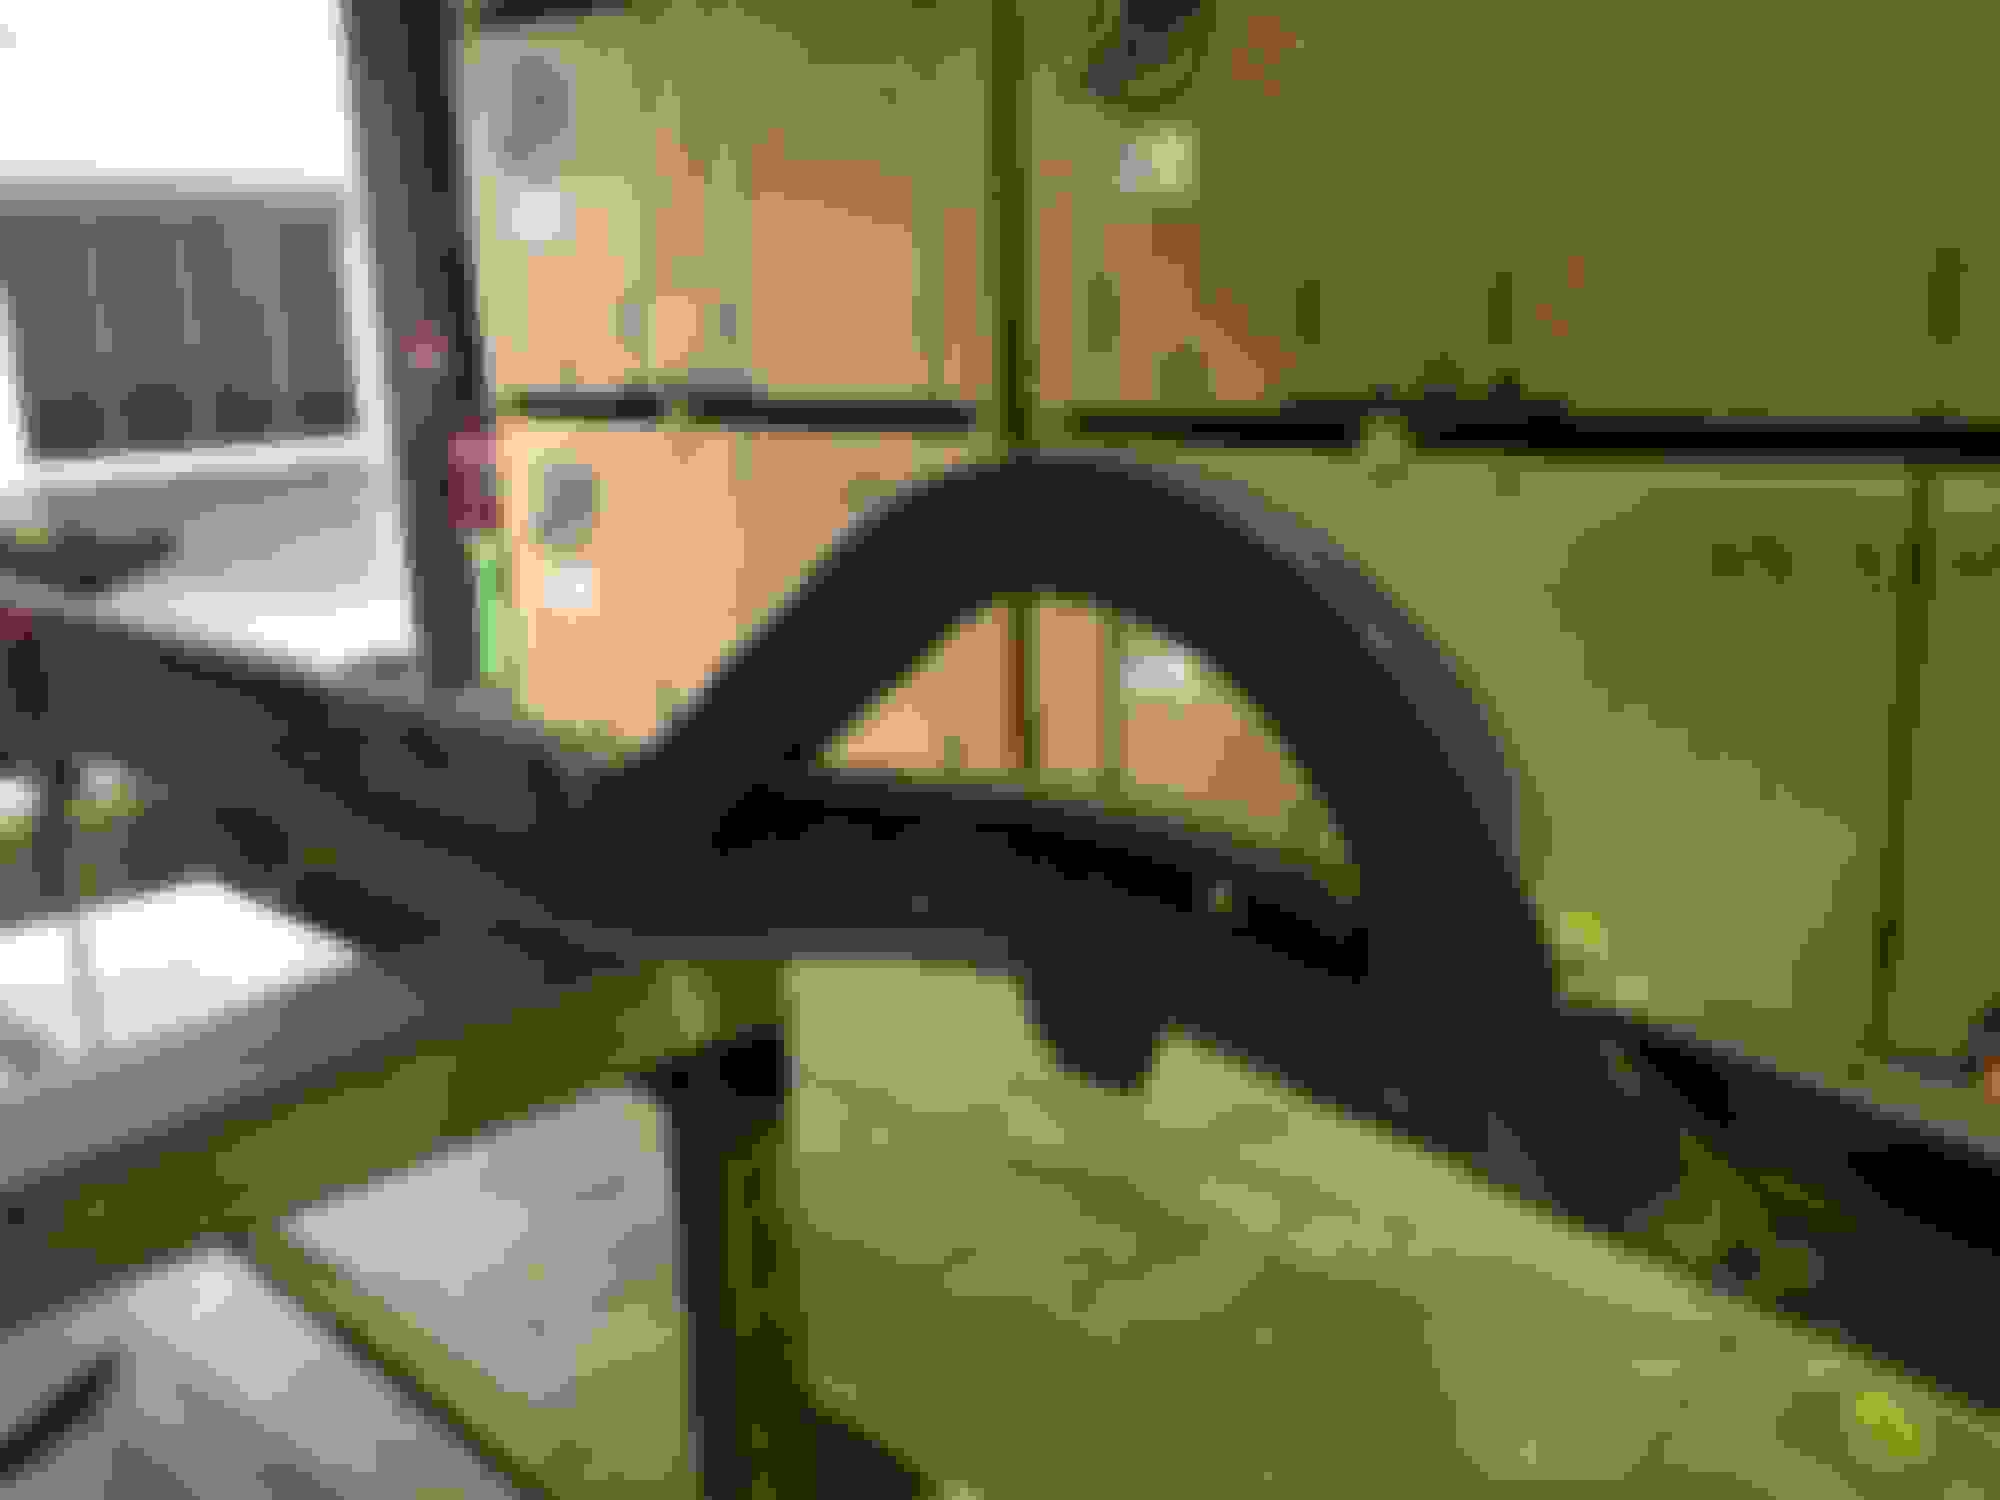
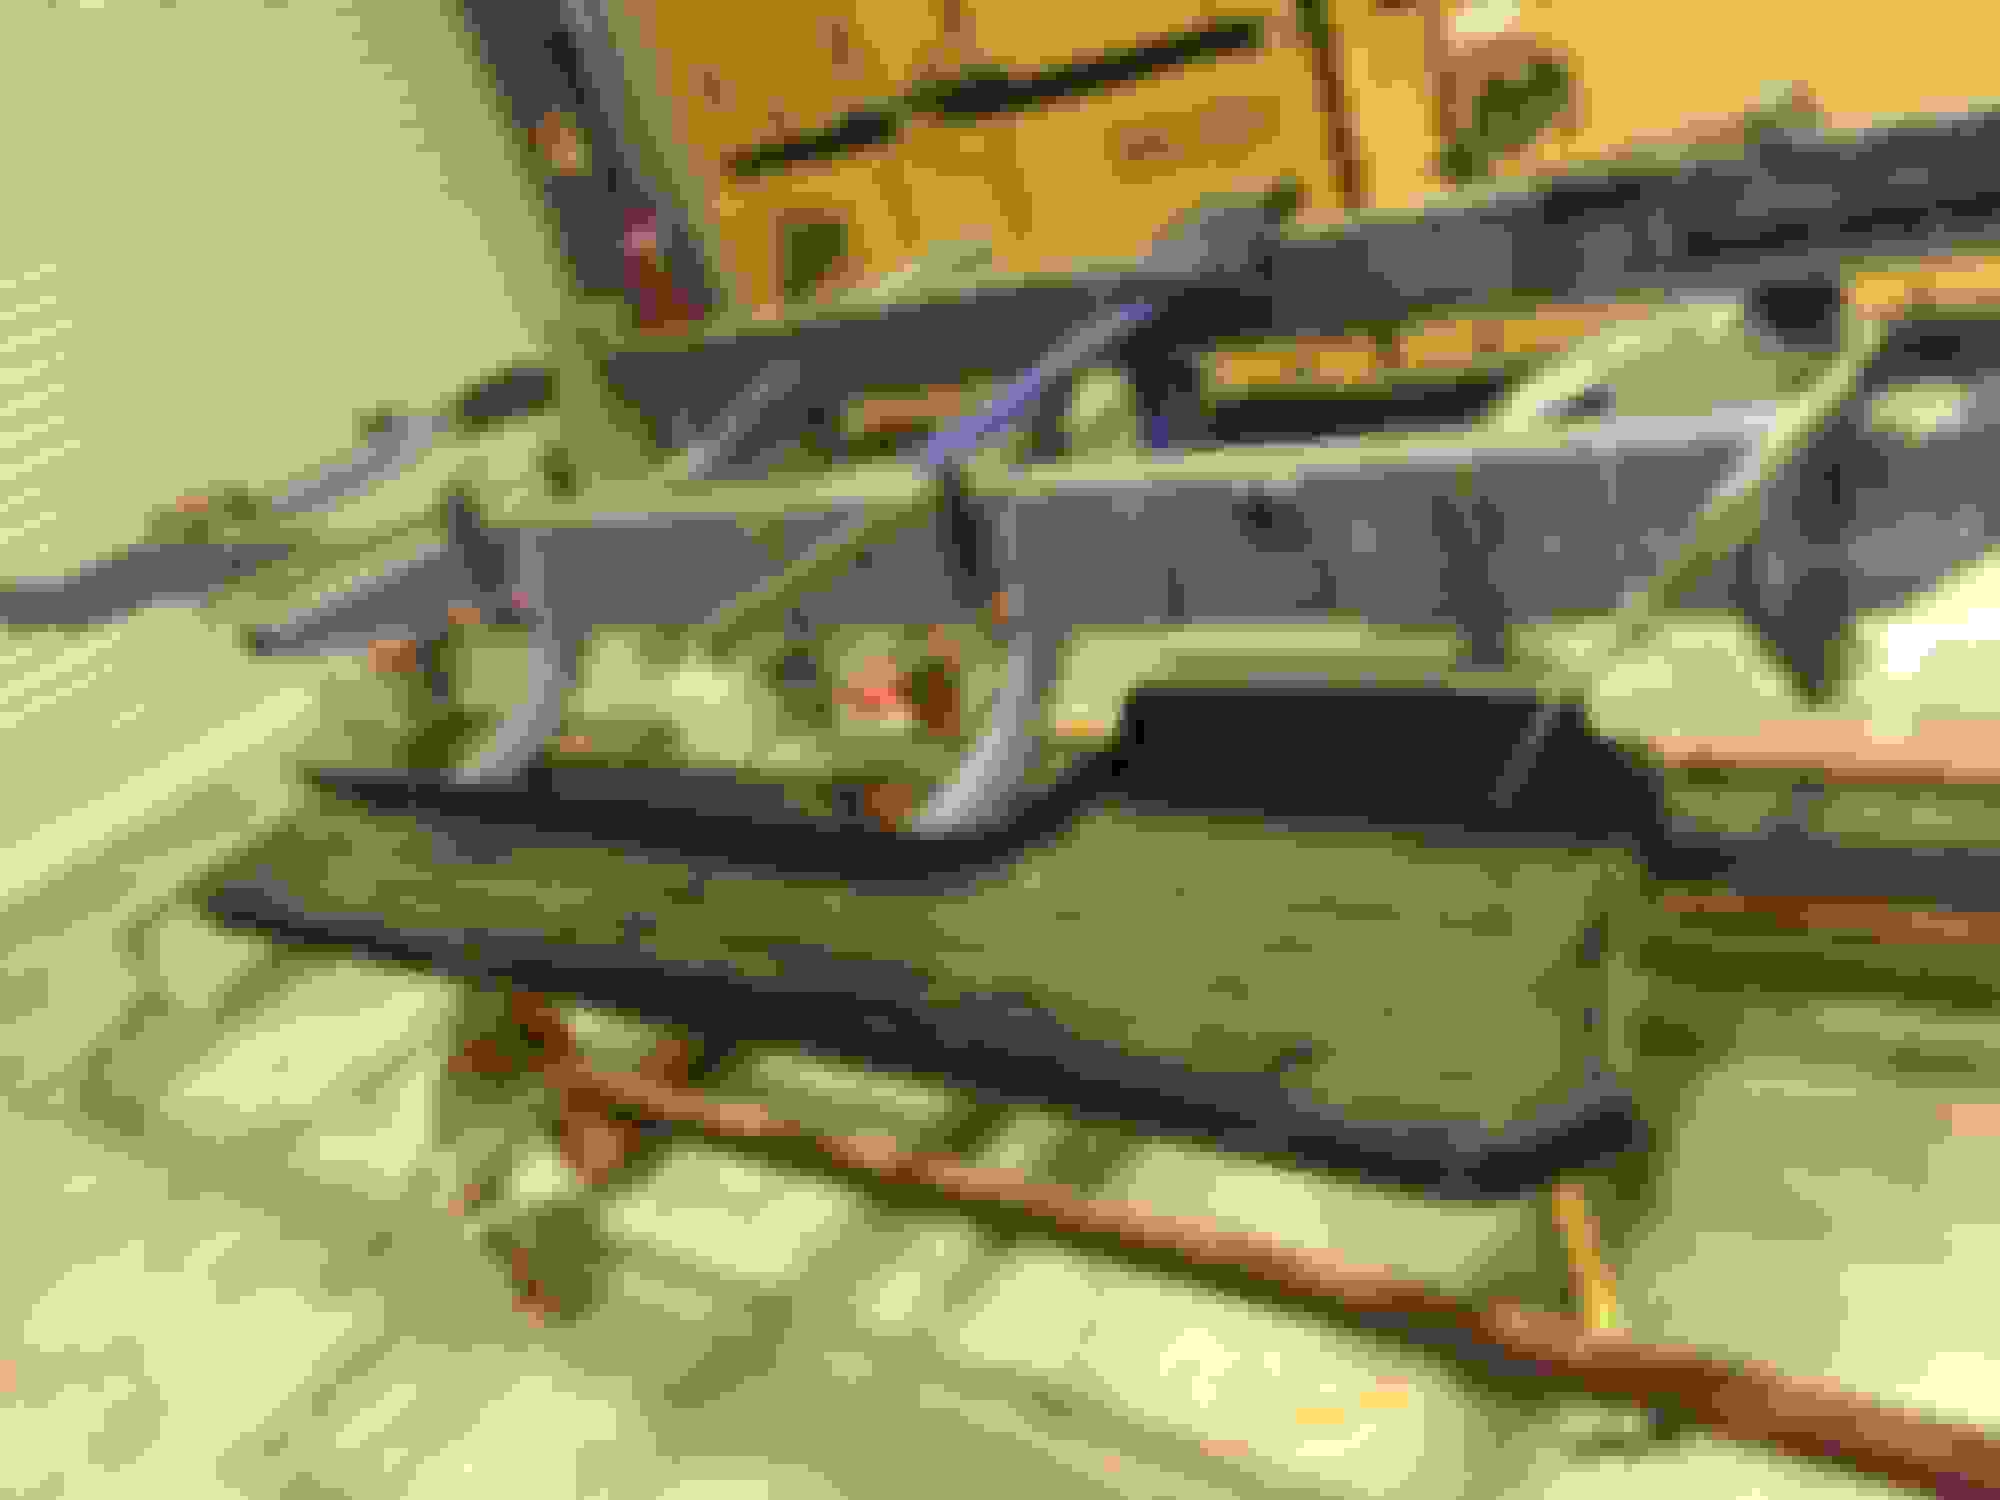
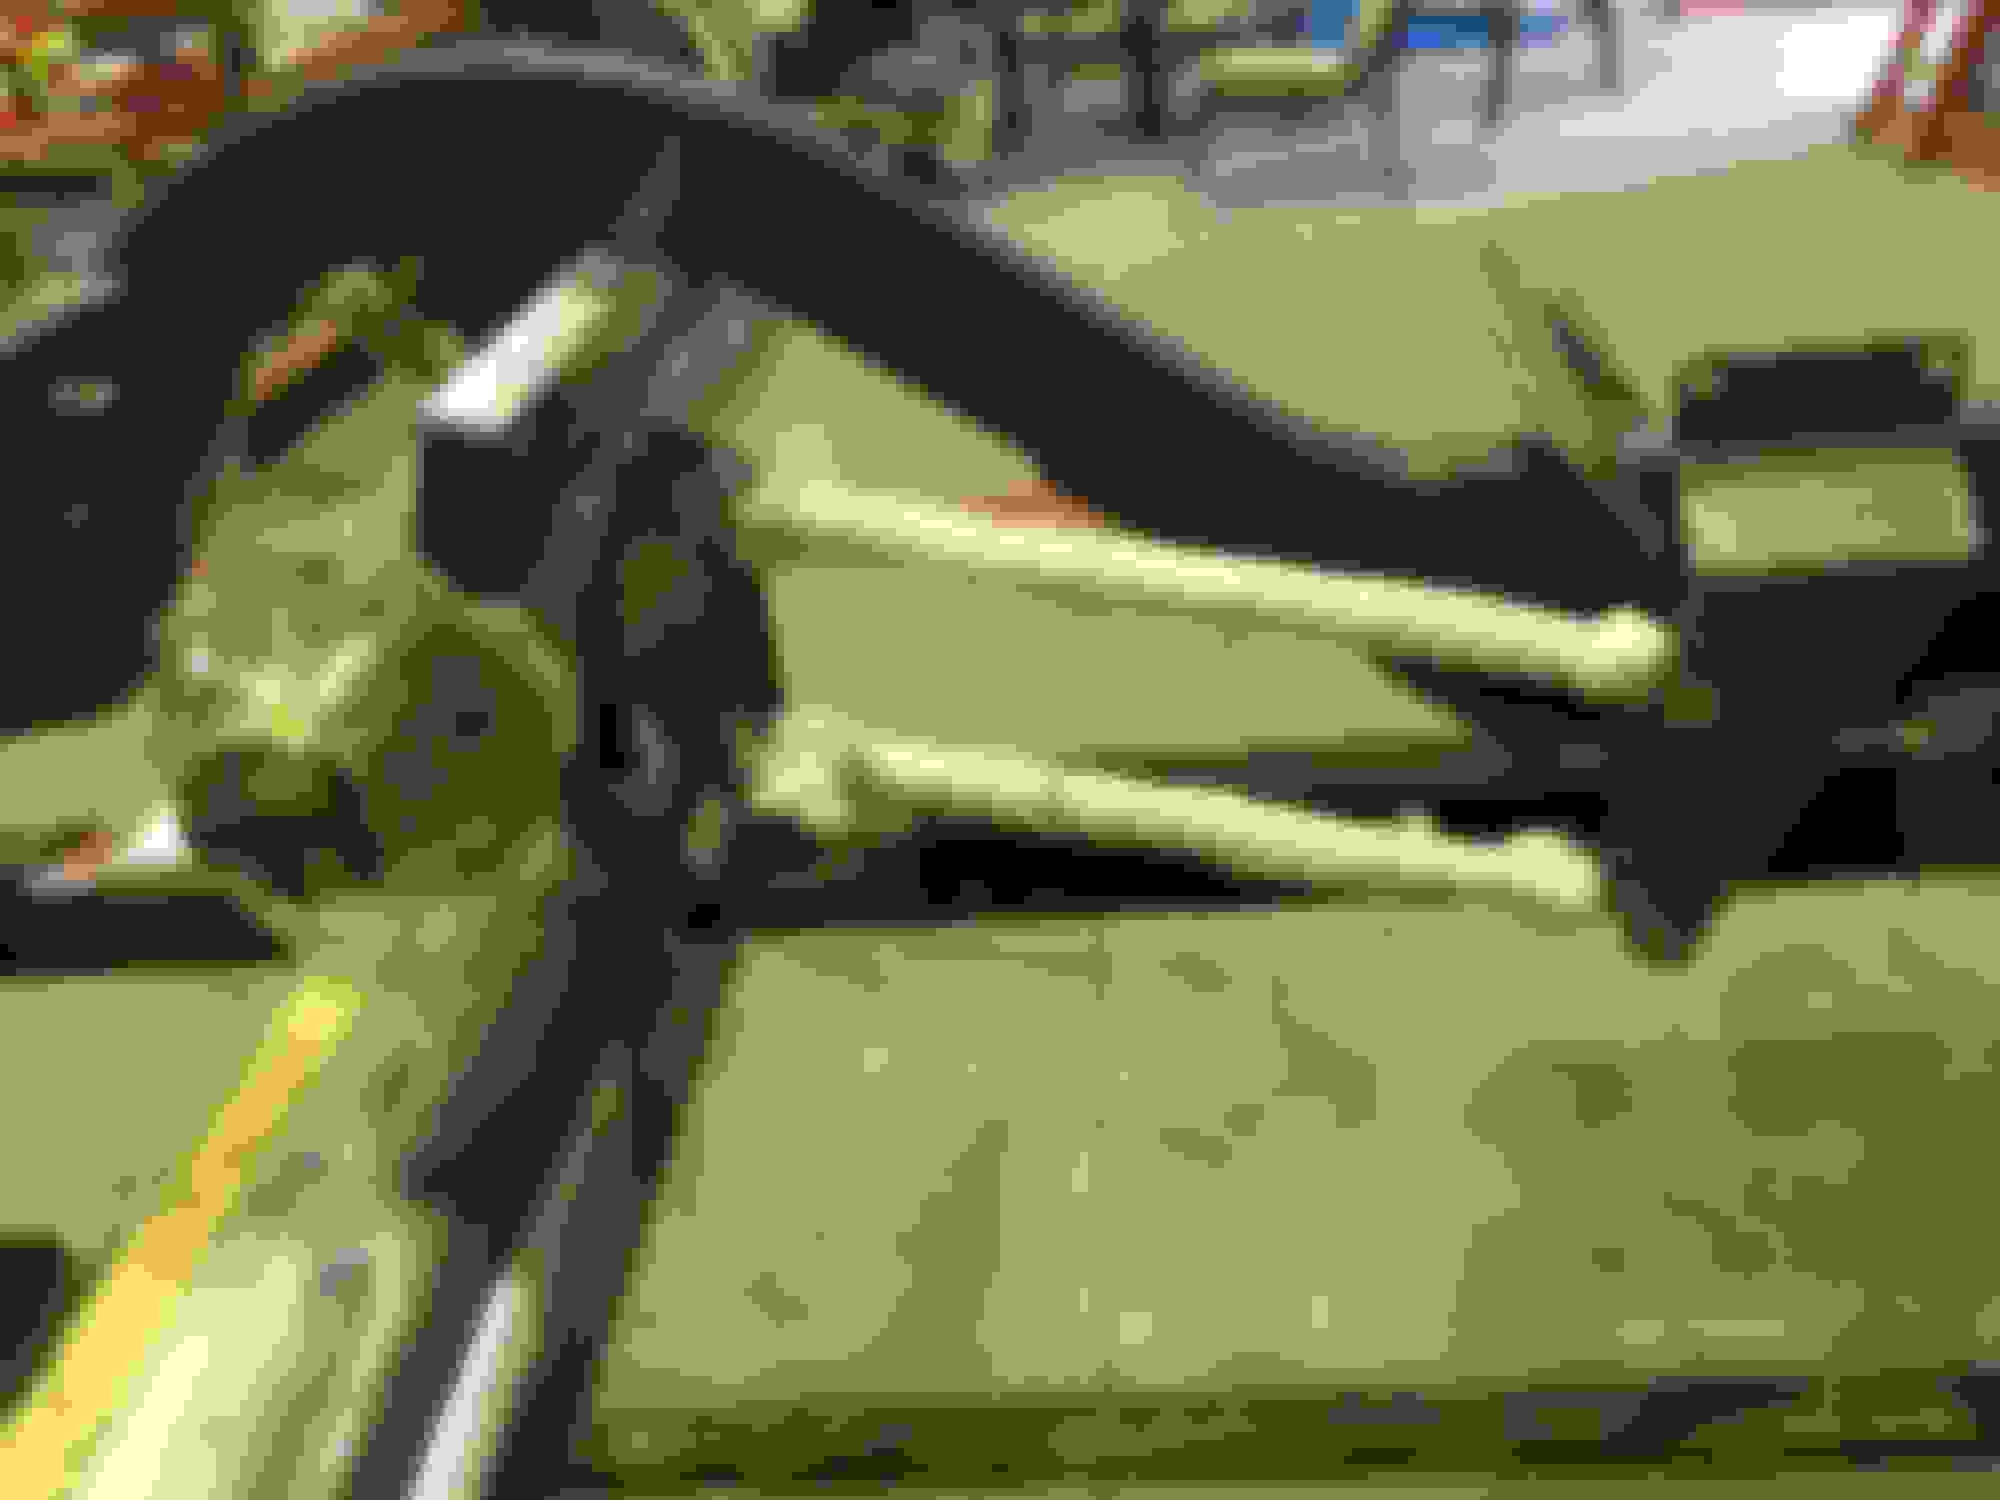
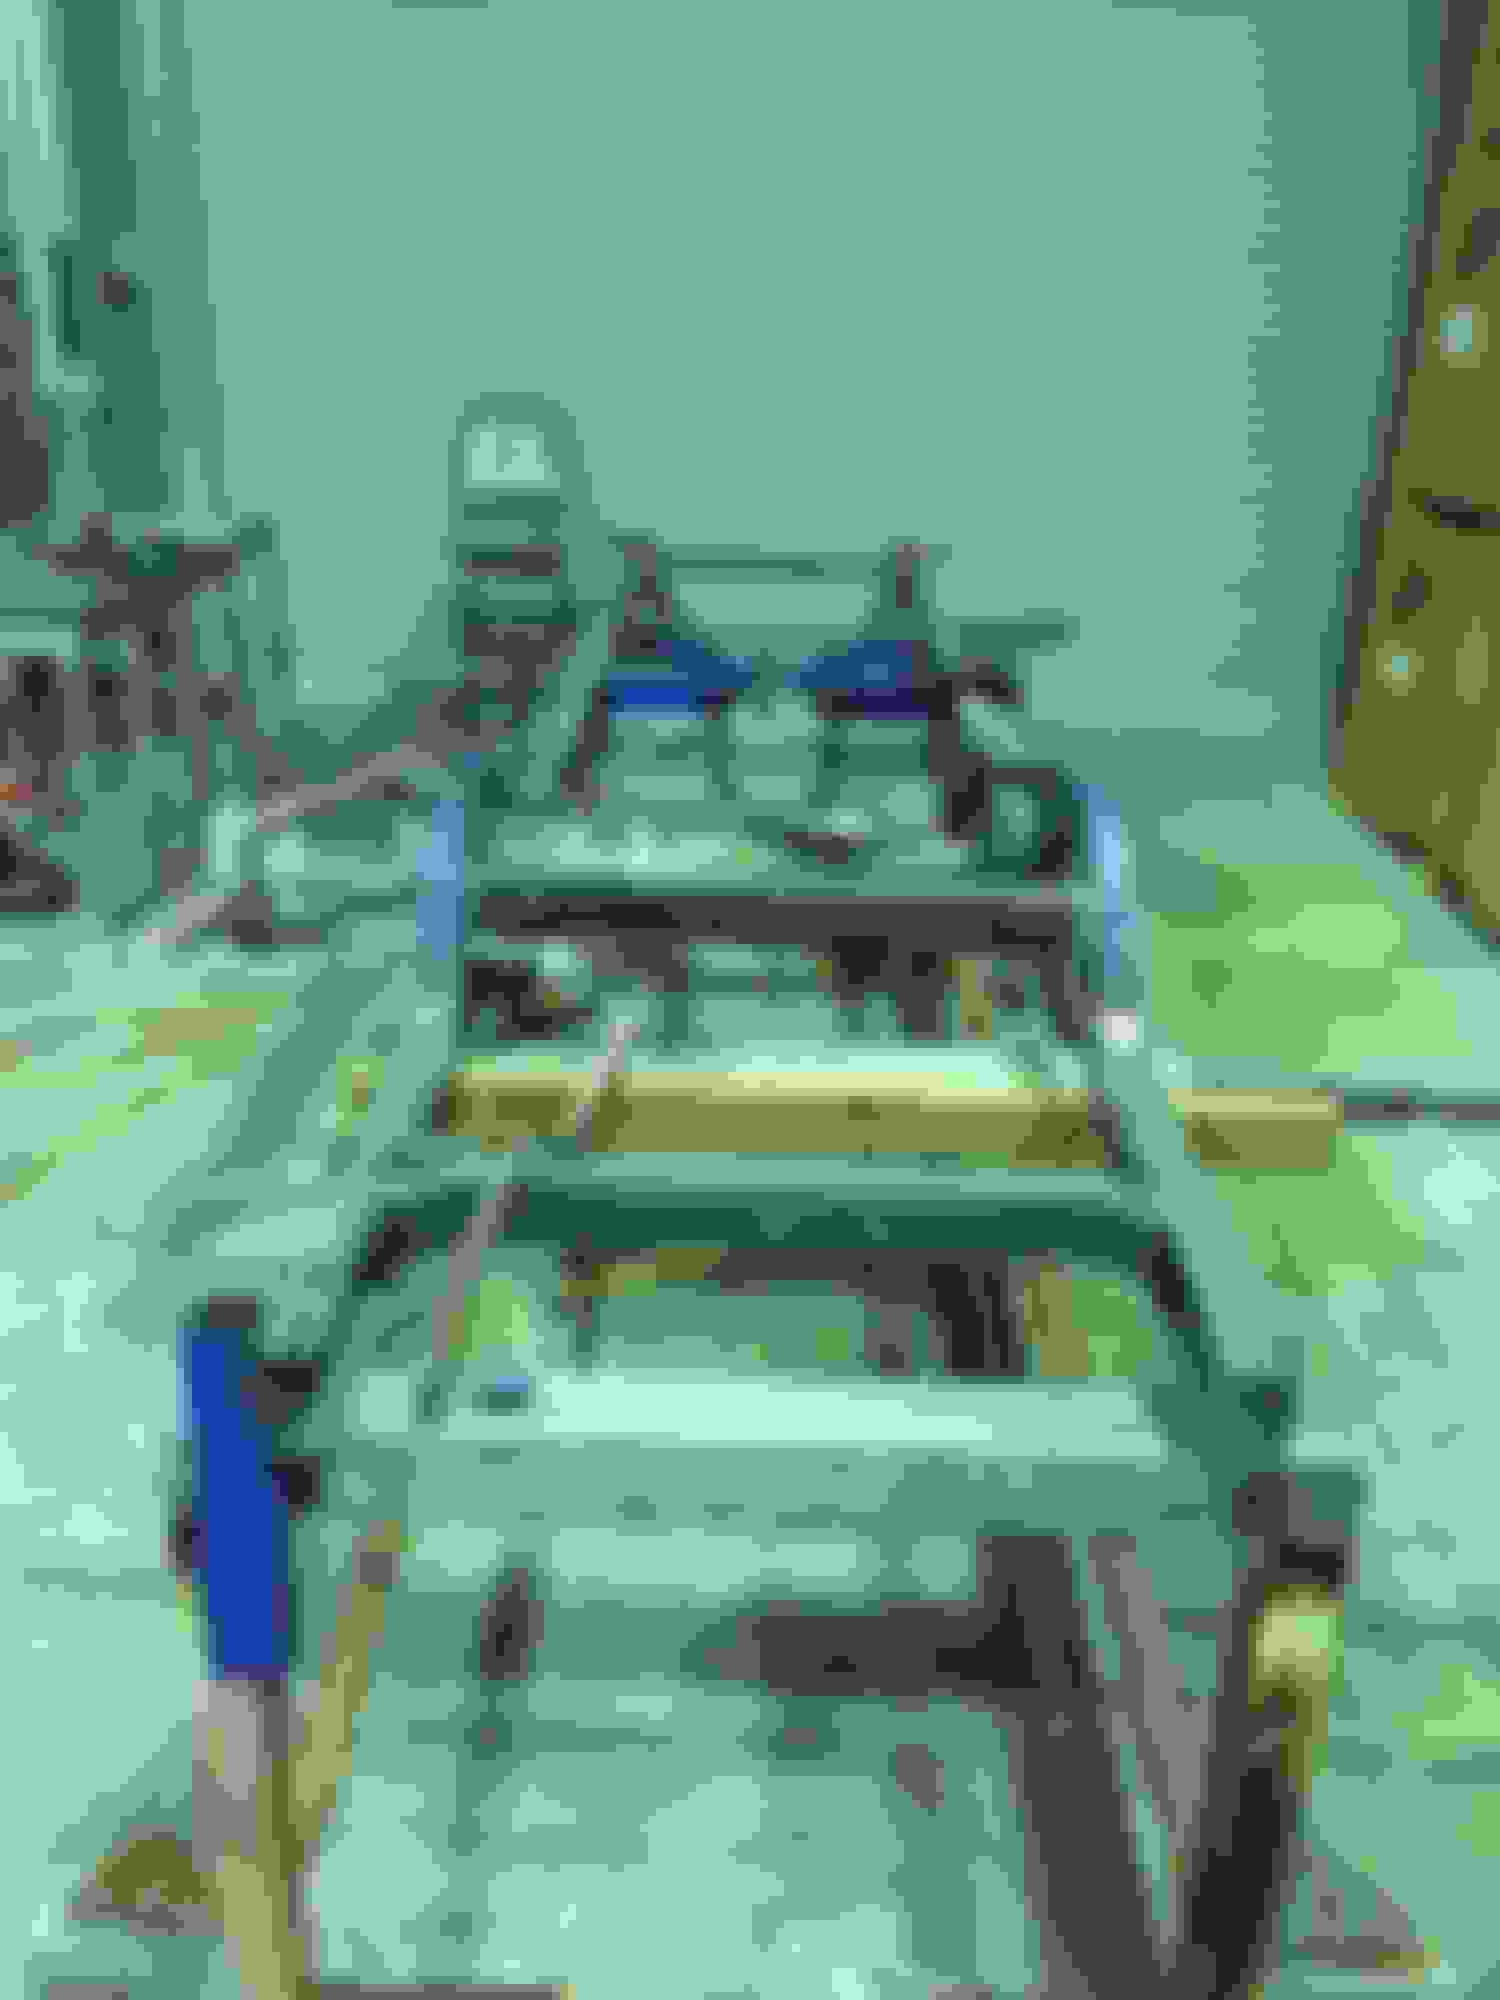
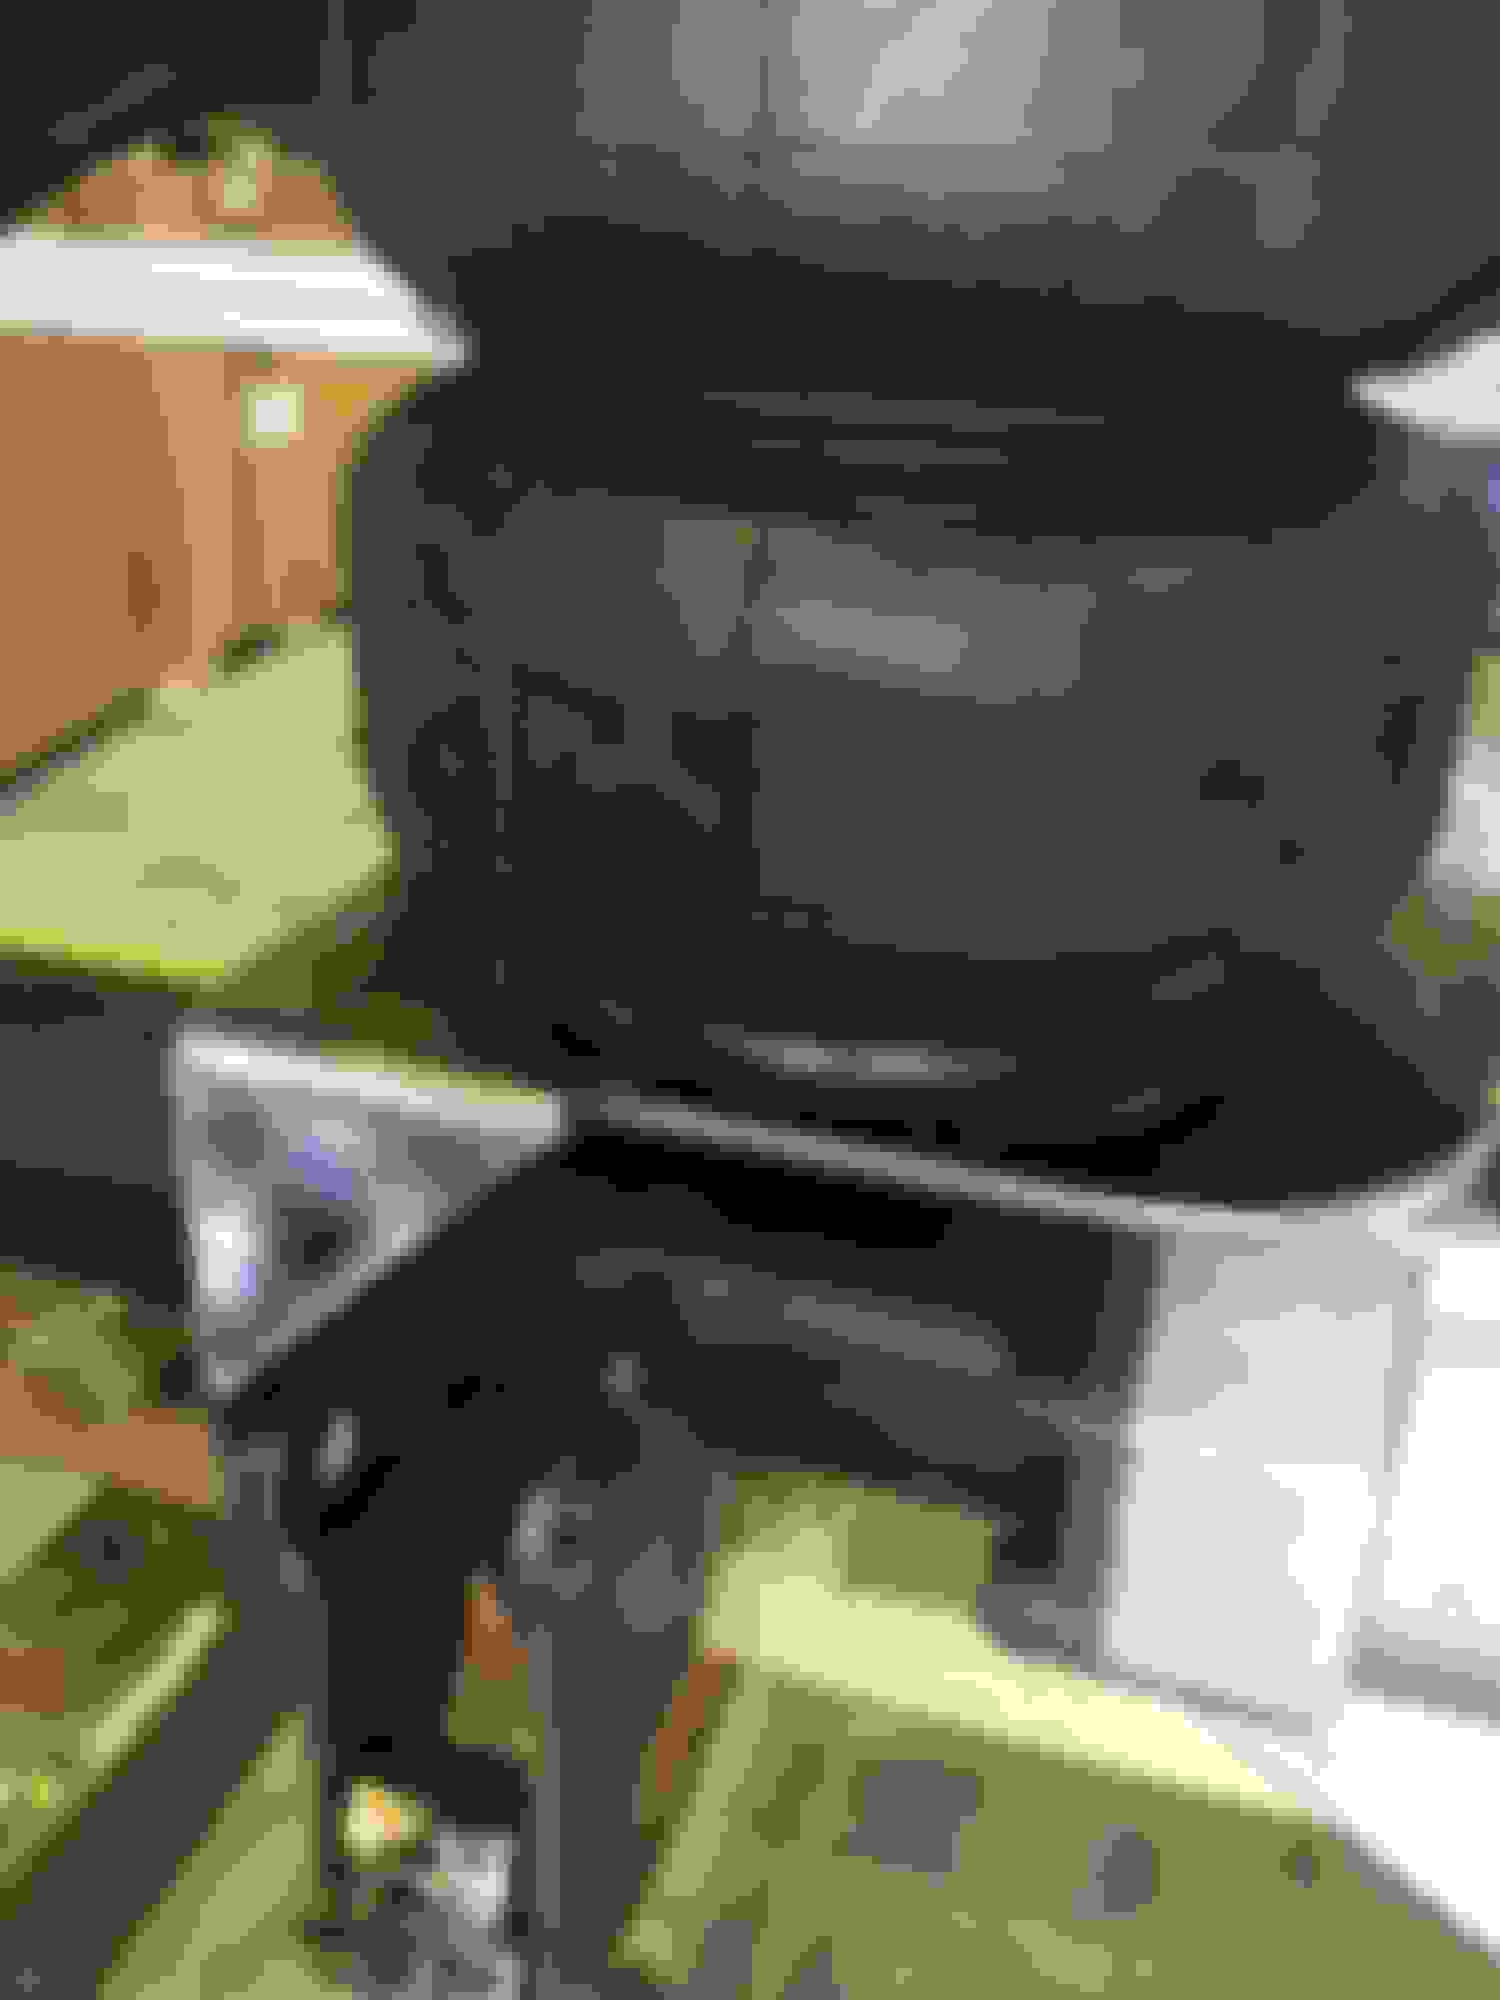
Once the rear frame rails were all in place I could then go about working wheel placement so I could determine where the diff would sit and start putting the four link in.
You can see in these picture that the whole chassis is still welded down to the work frame, I did this so that I knew with all my bracing being welded in the frame would stay exactly where I want it.
Great looking build! LOVE the shop!!! What's it's main purpose? And what other toys do we spy in the background!
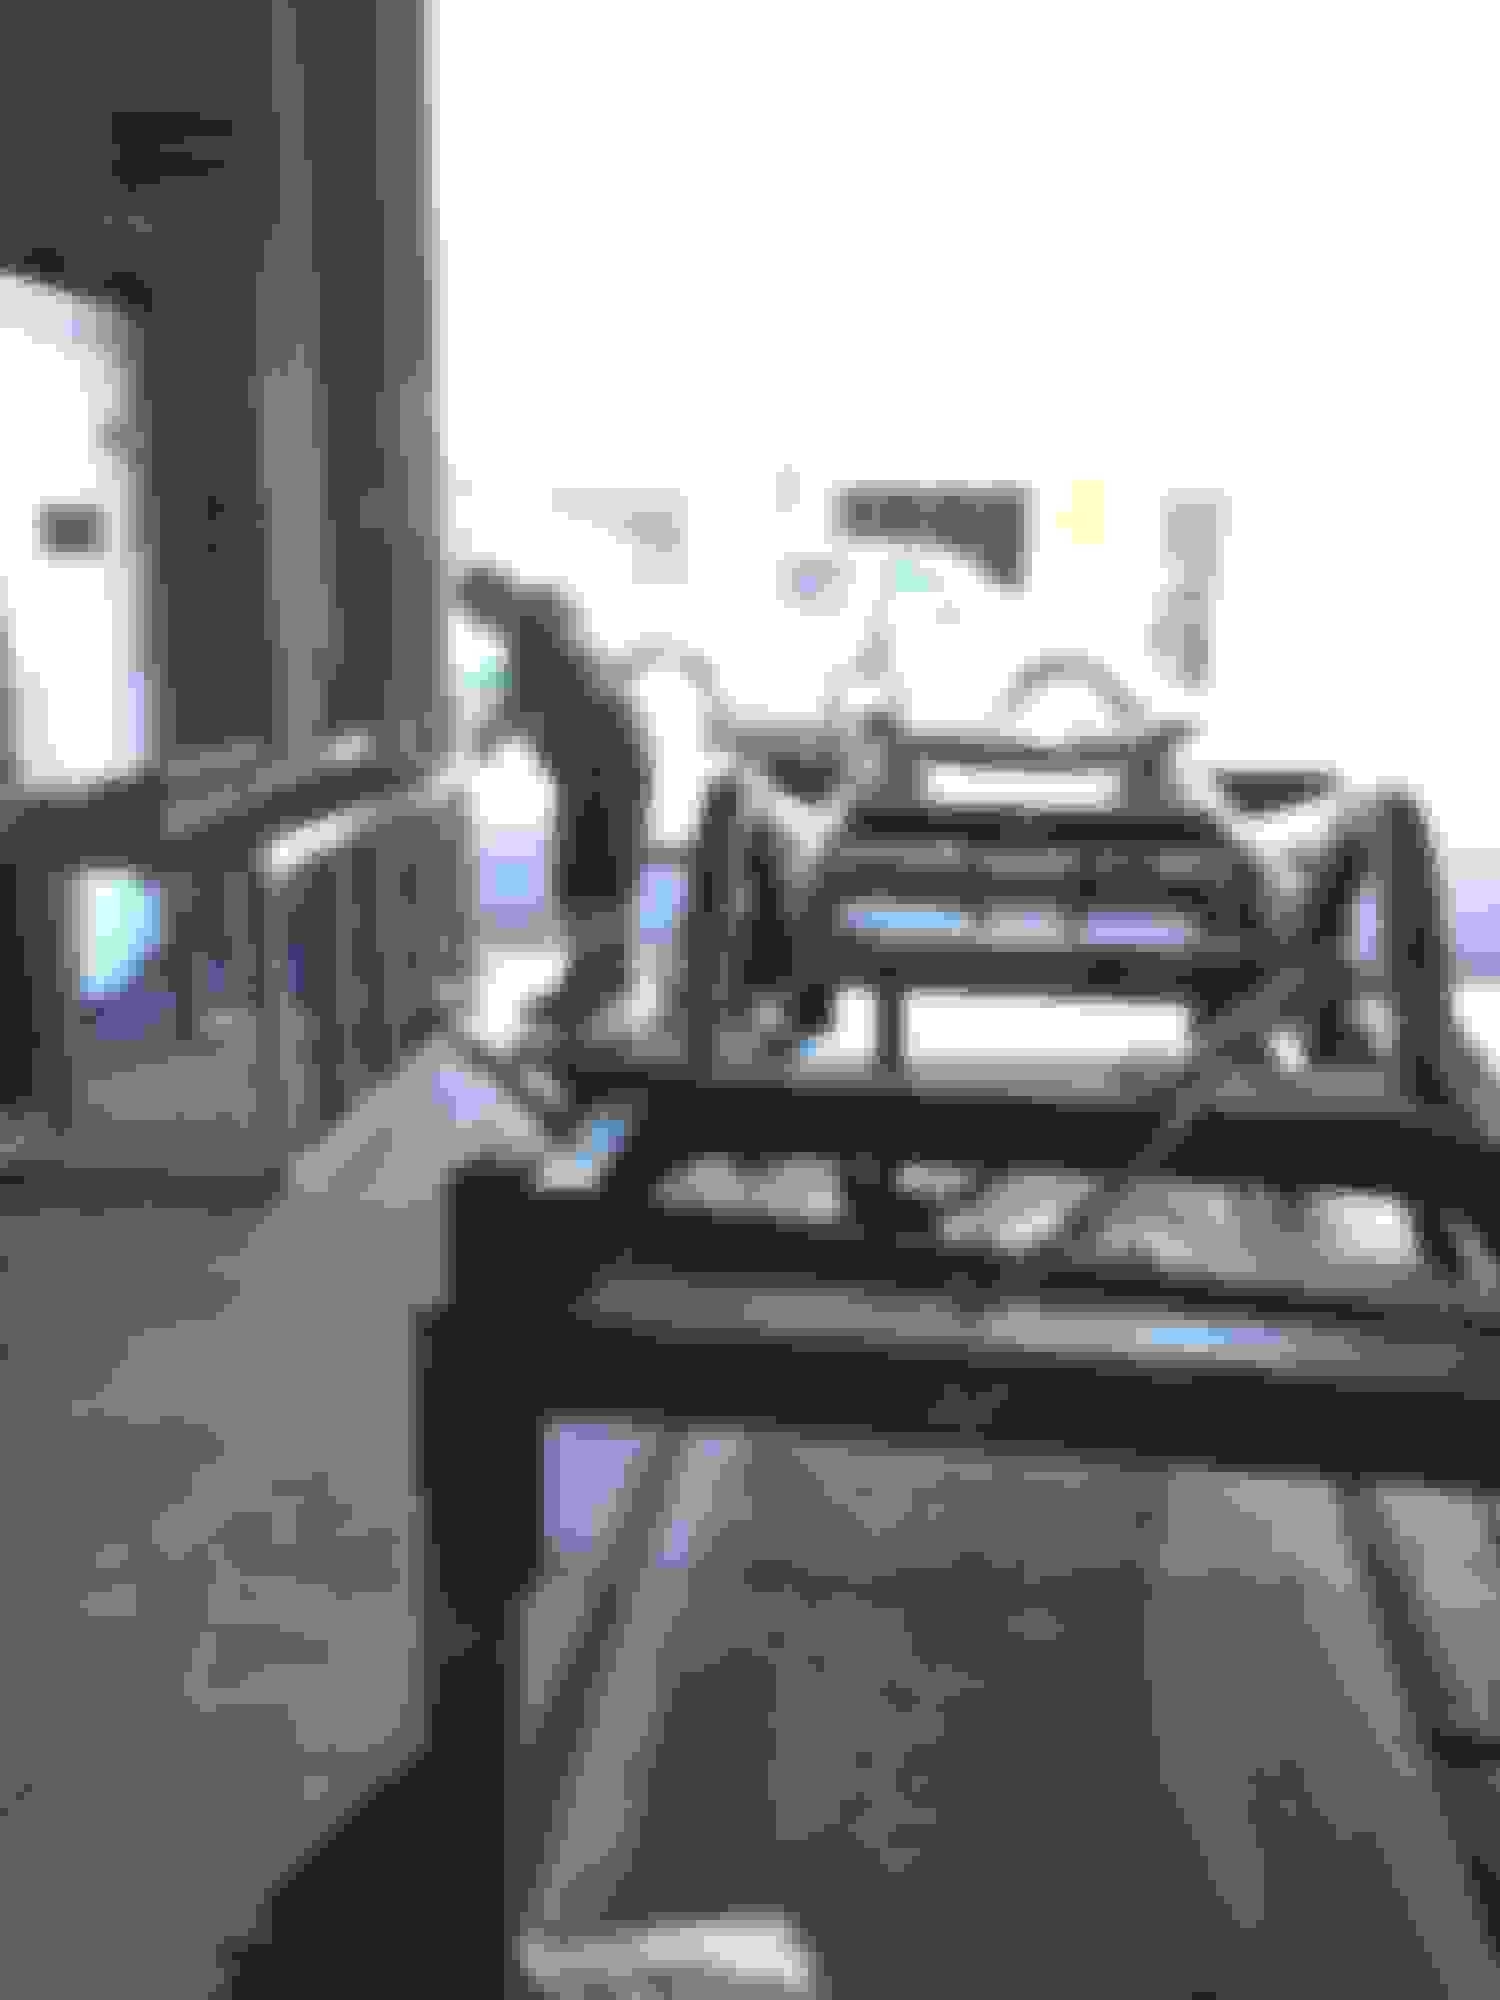
The shop is just my storage shed that is slowly being changed into just a play shed, some of the other toys in the back ground are race boats and an AC Cobra under the cover.
My buddy's 68 Eleanor is on my hoist in one pic too.
Back again, I've been away for a couple of weeks and couldnt post photos so heres my next installments.
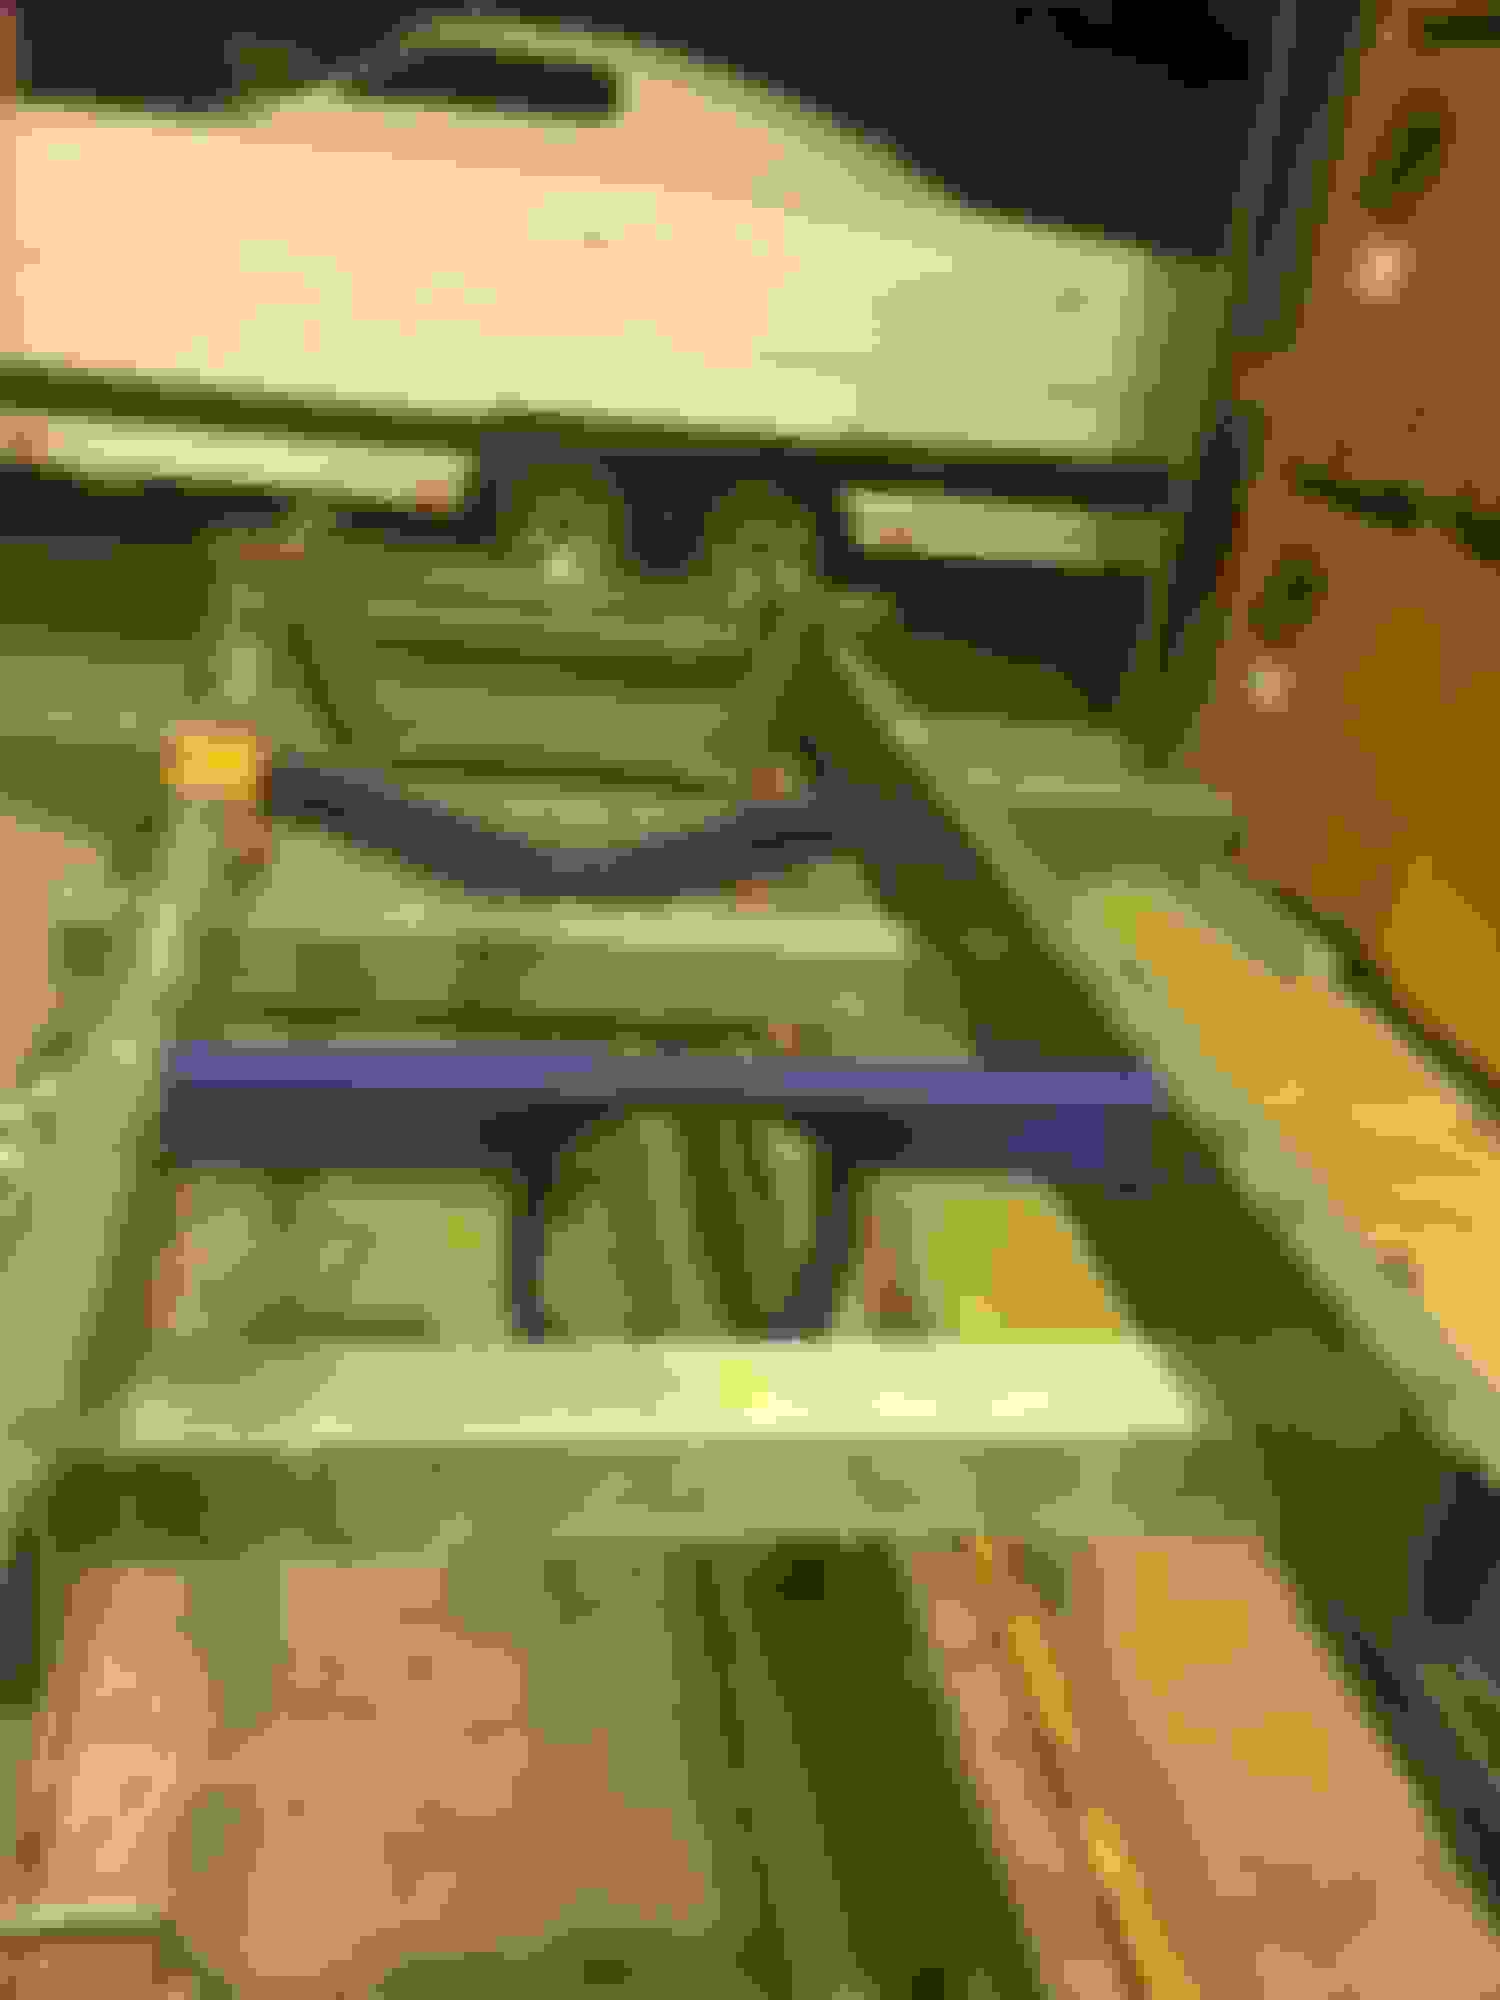
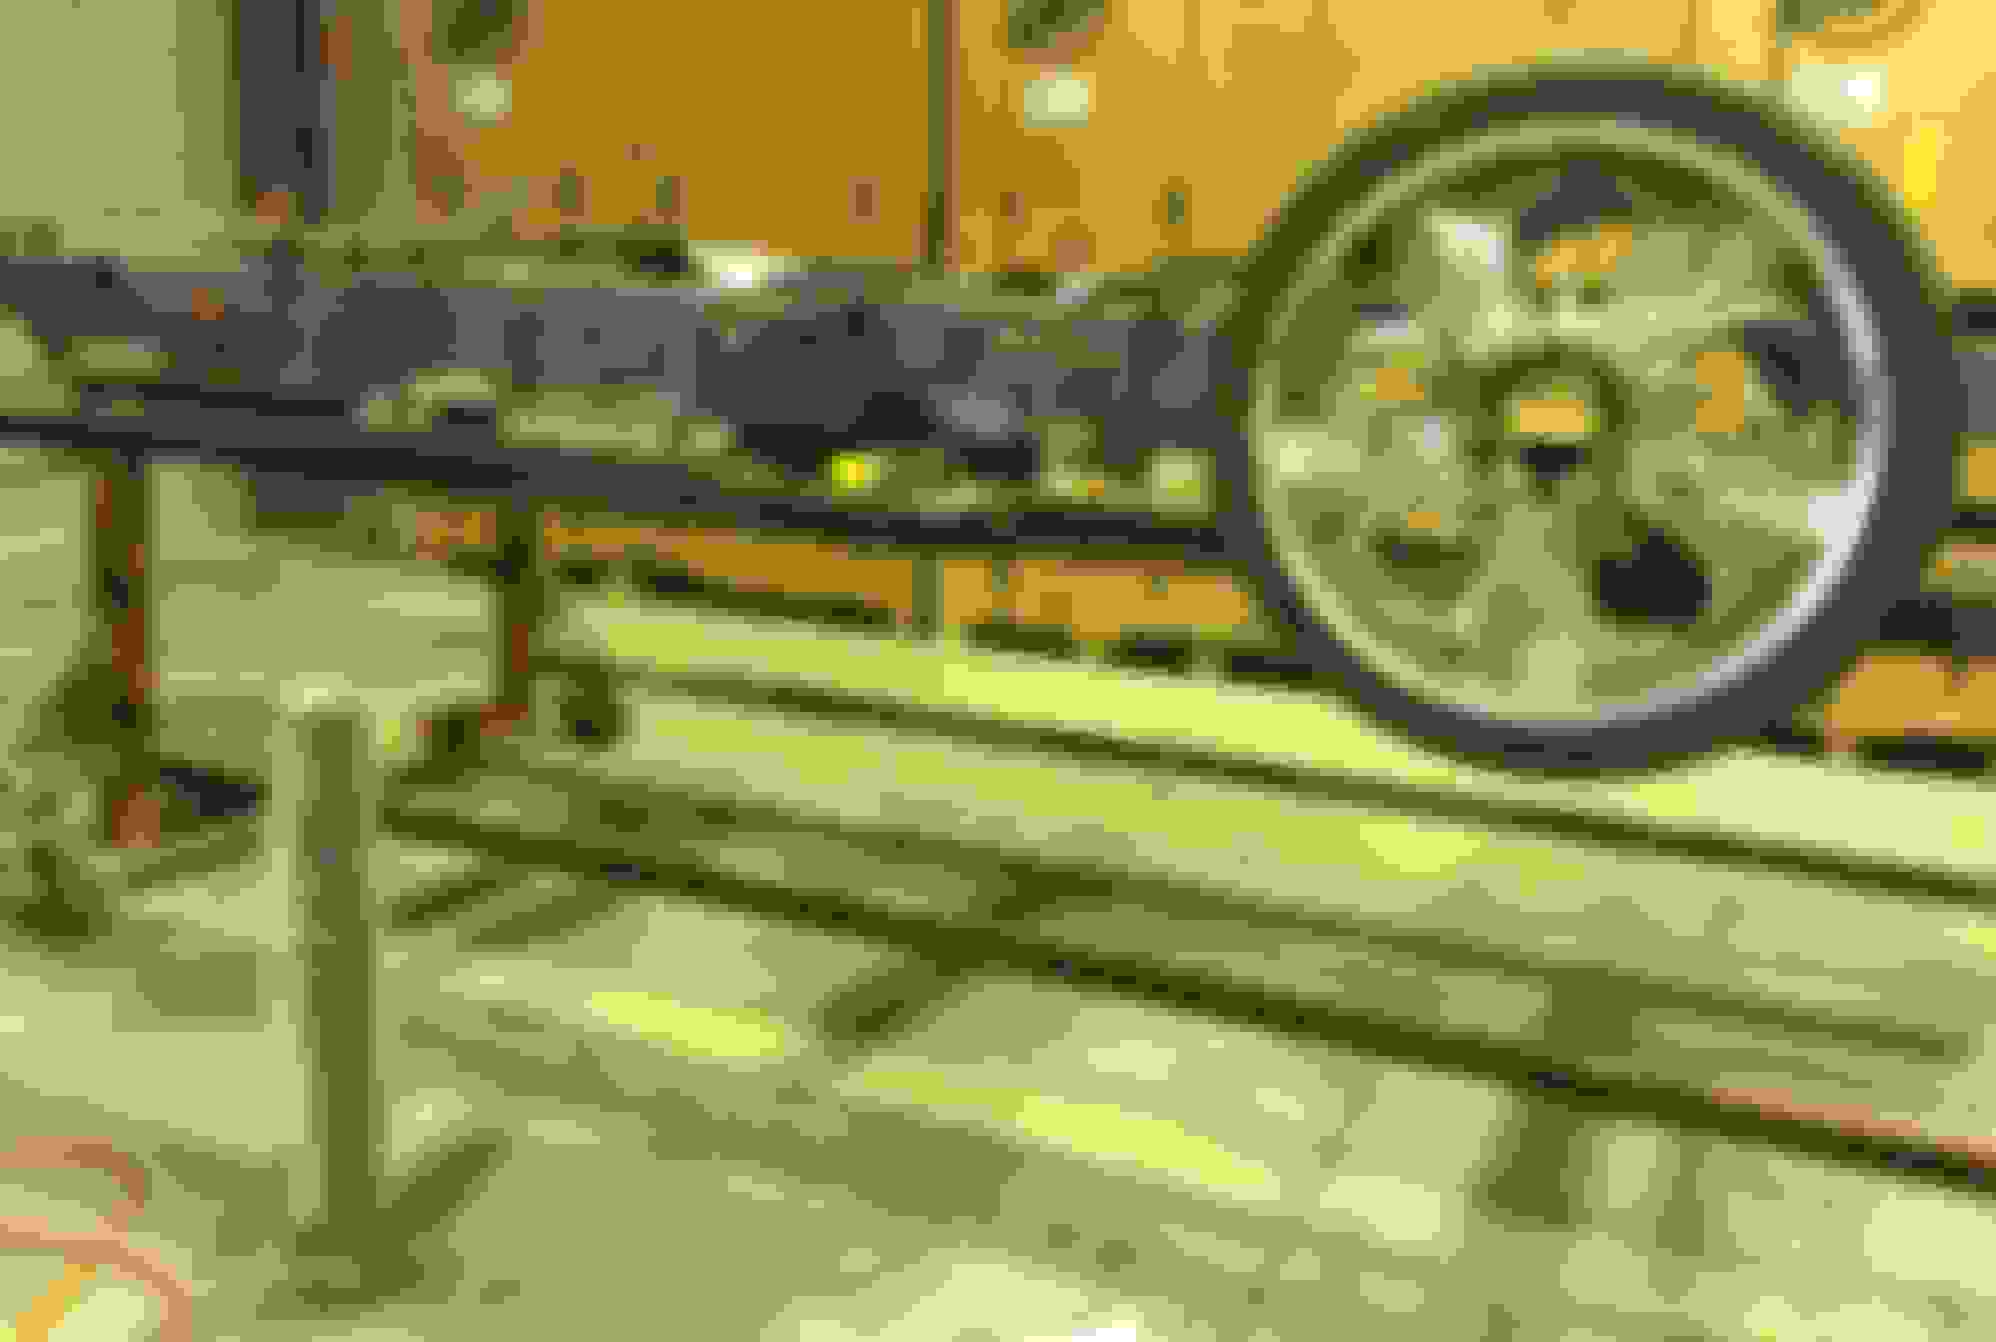
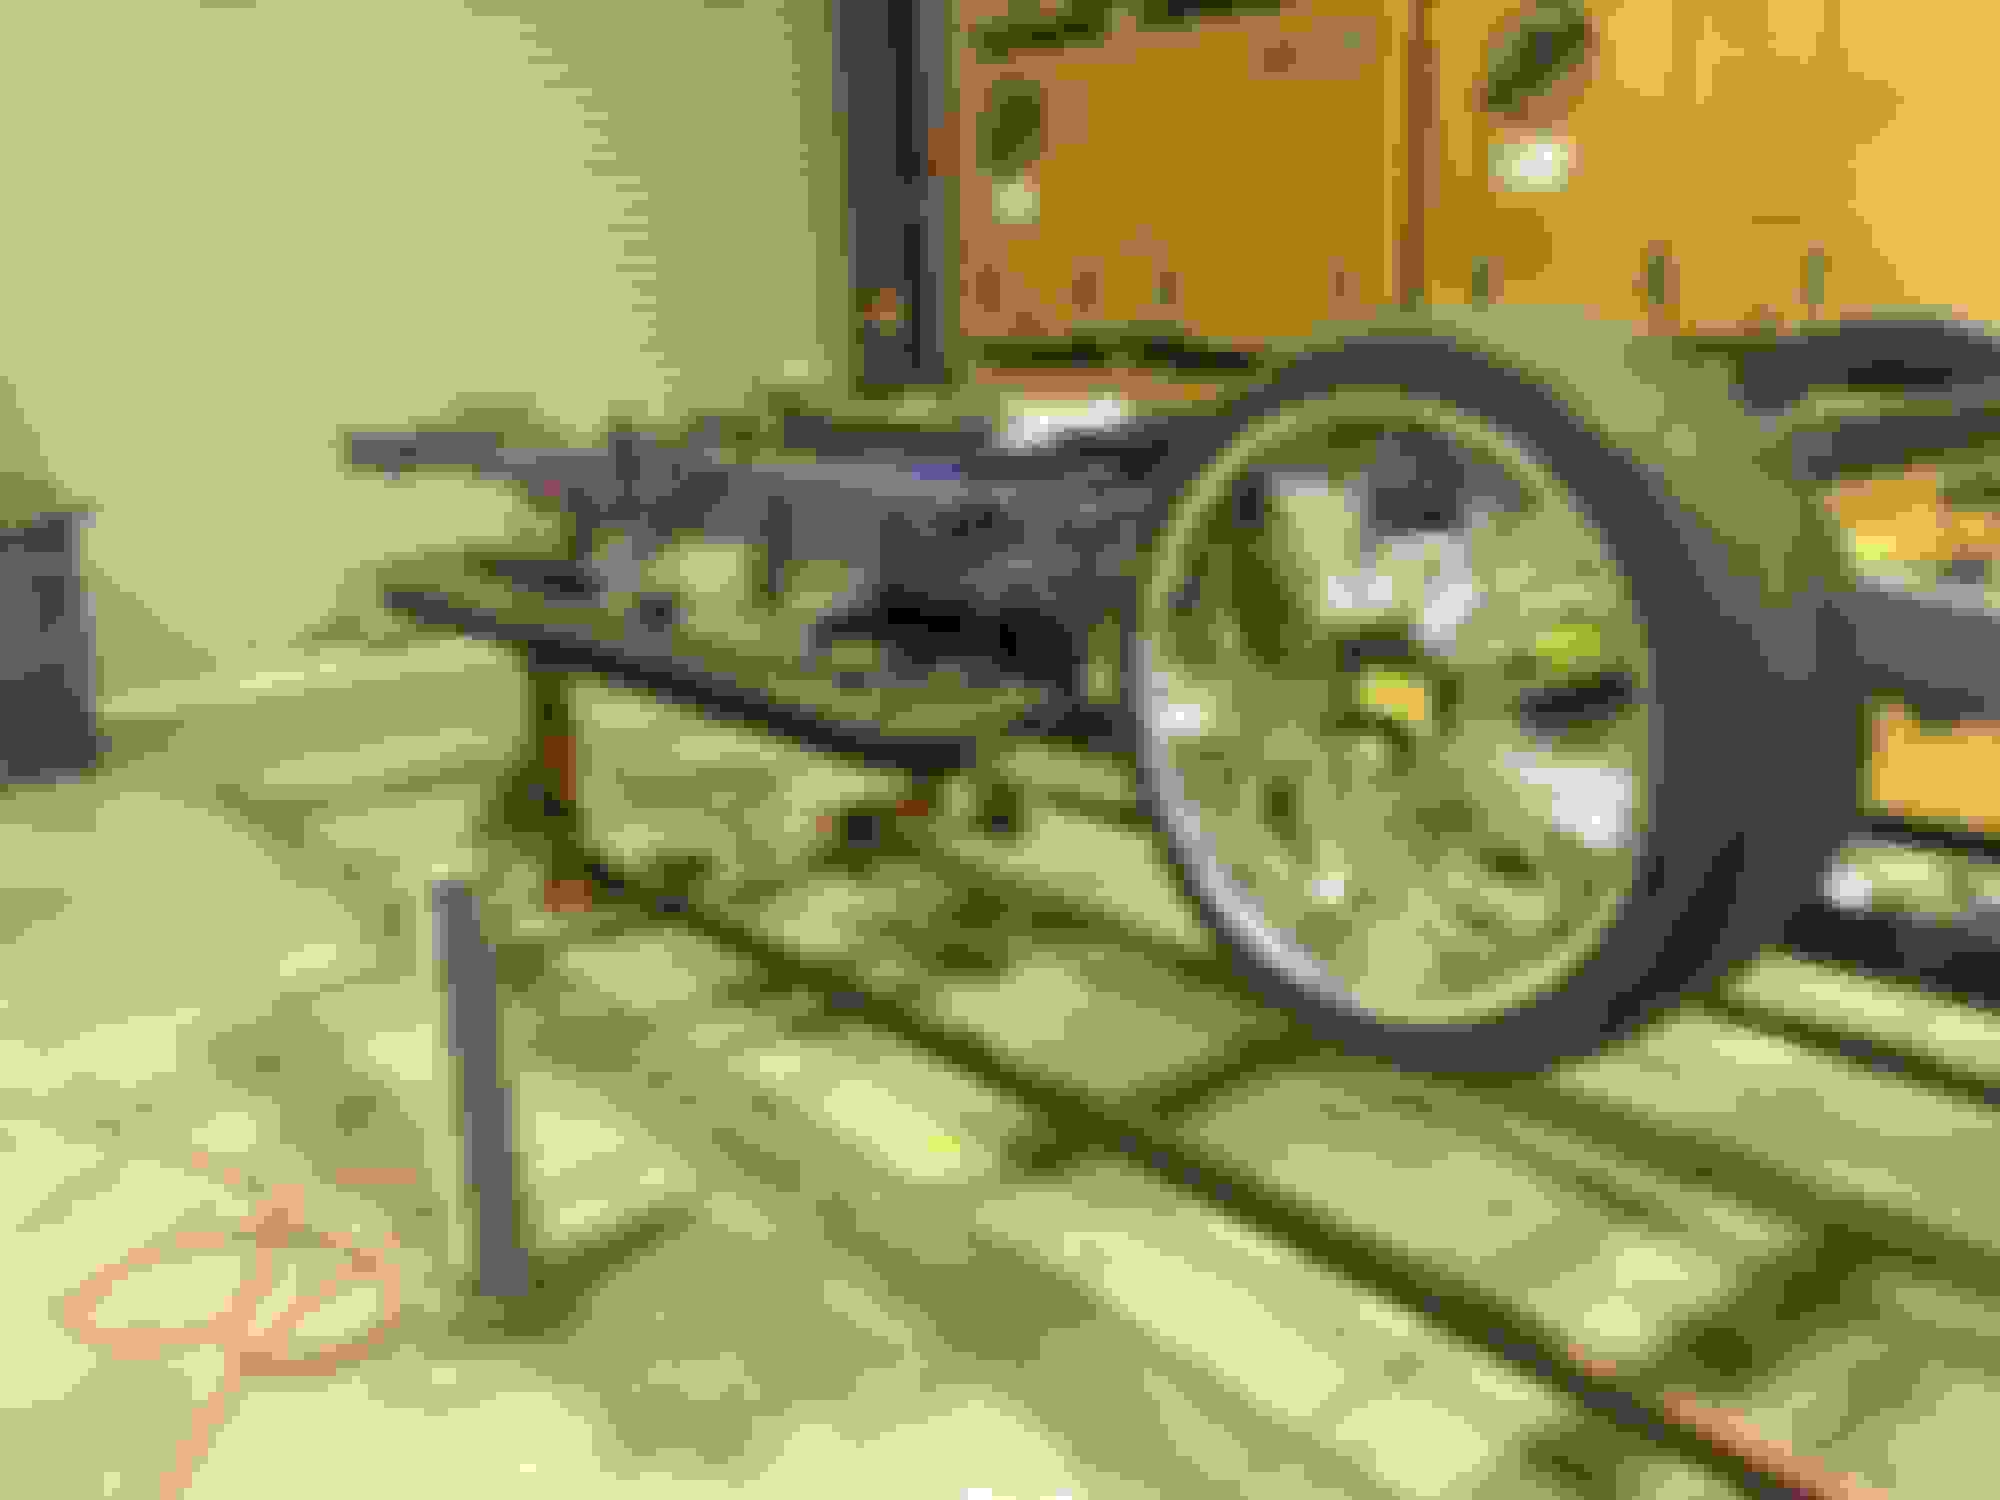
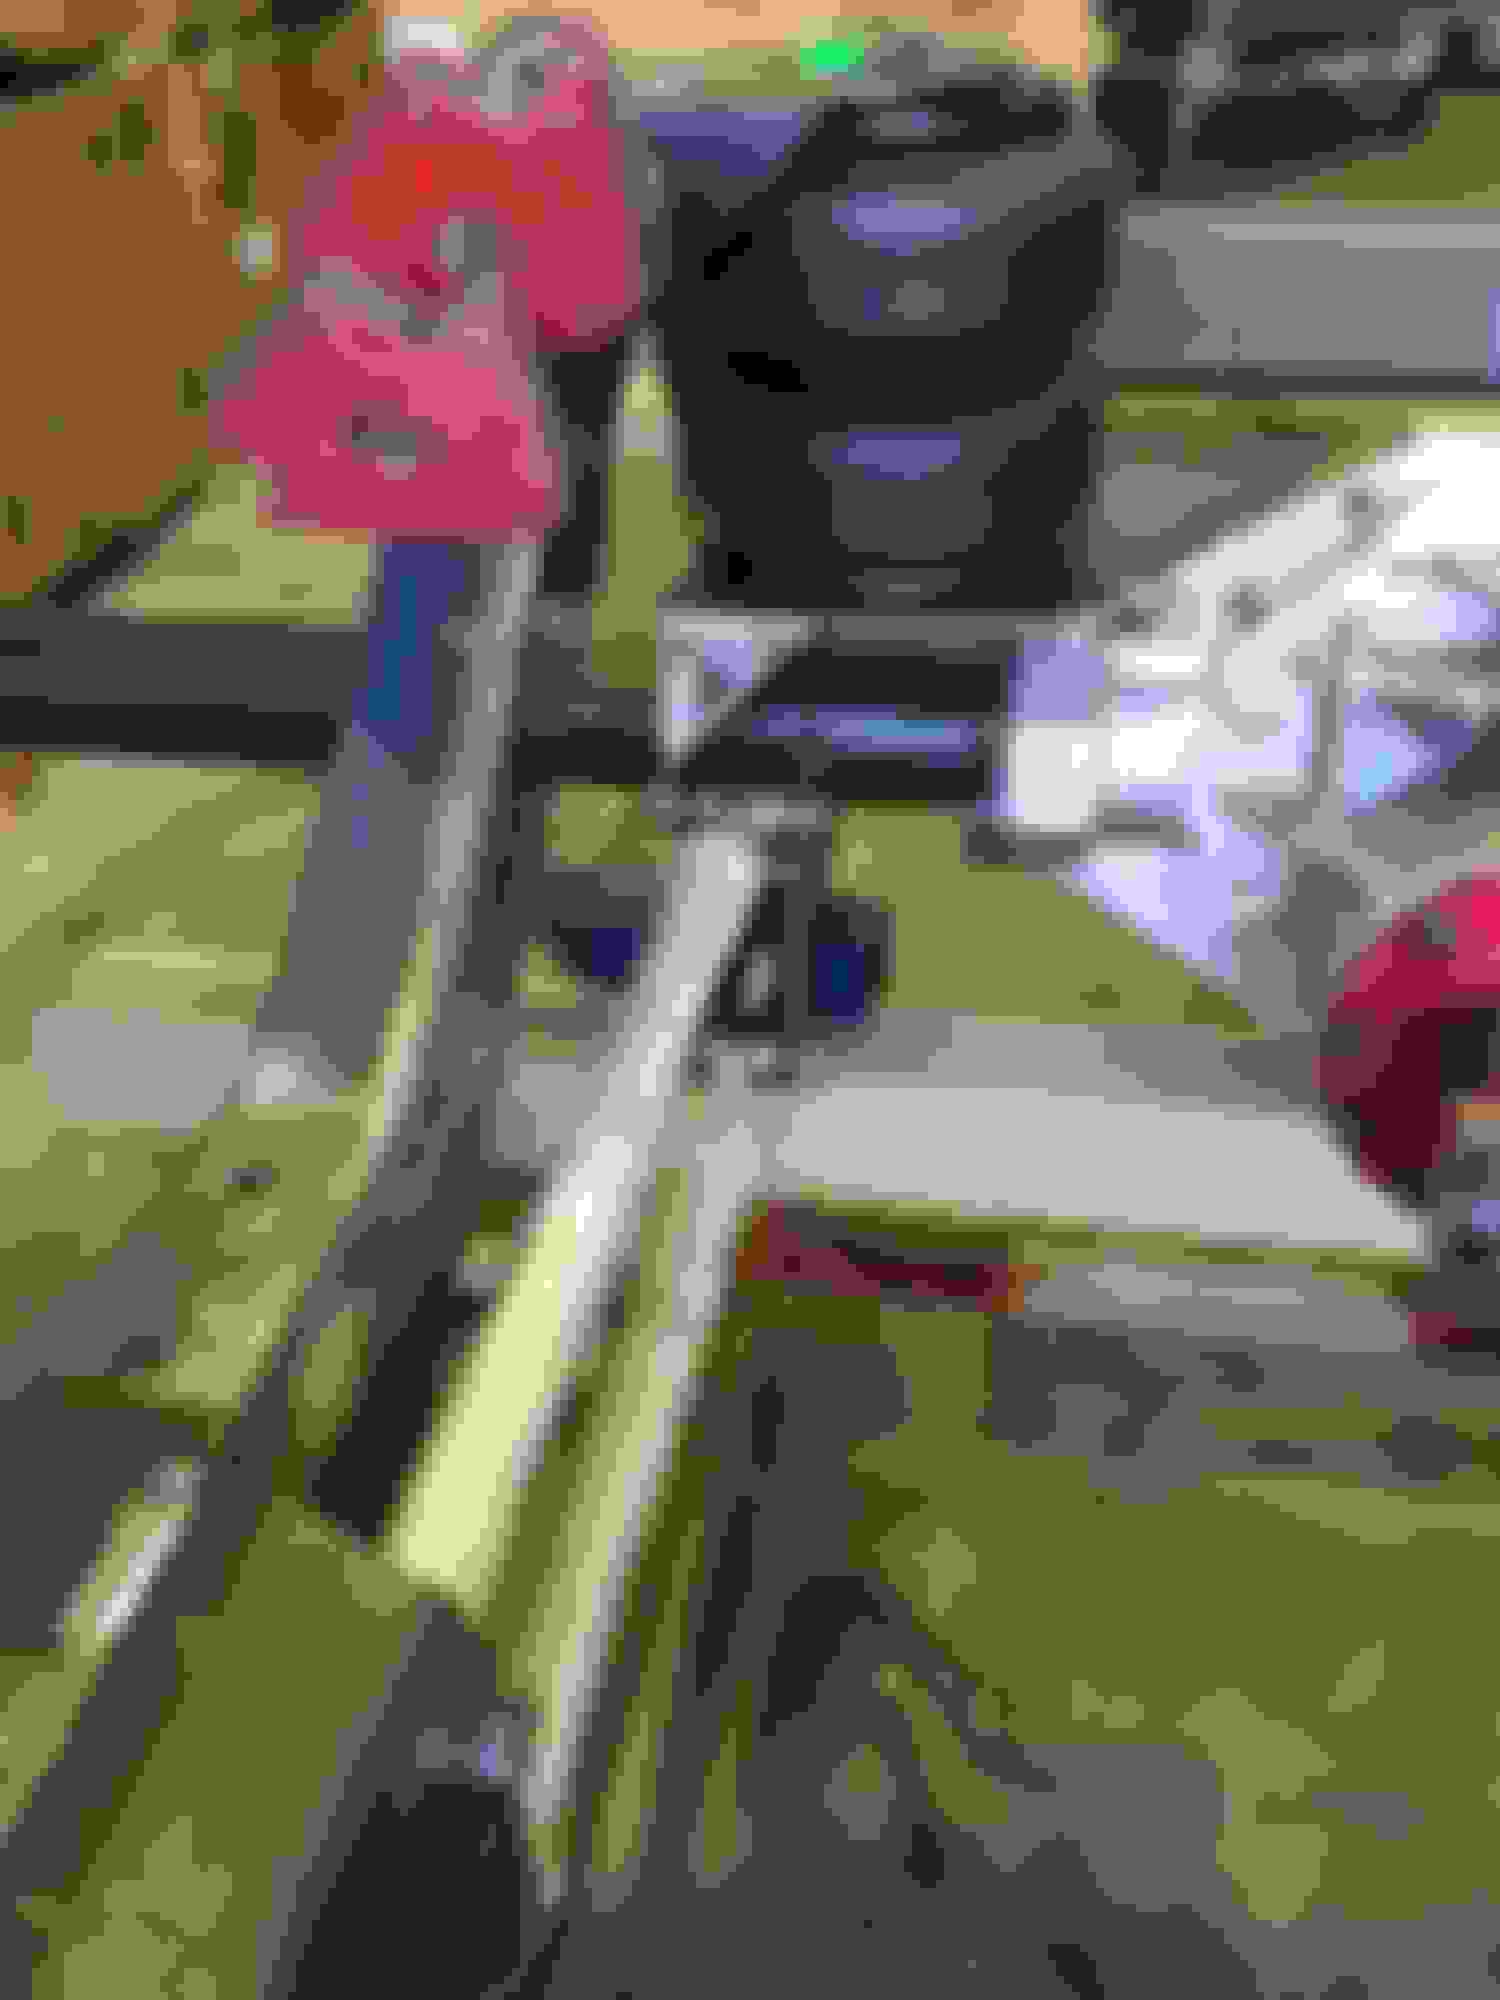
So far I had tacked all my boxing plates and cross members in as well as my four link. the photos above show an ugly as wheel, dont worry they're not the wheels Im using that is just for dimensions.
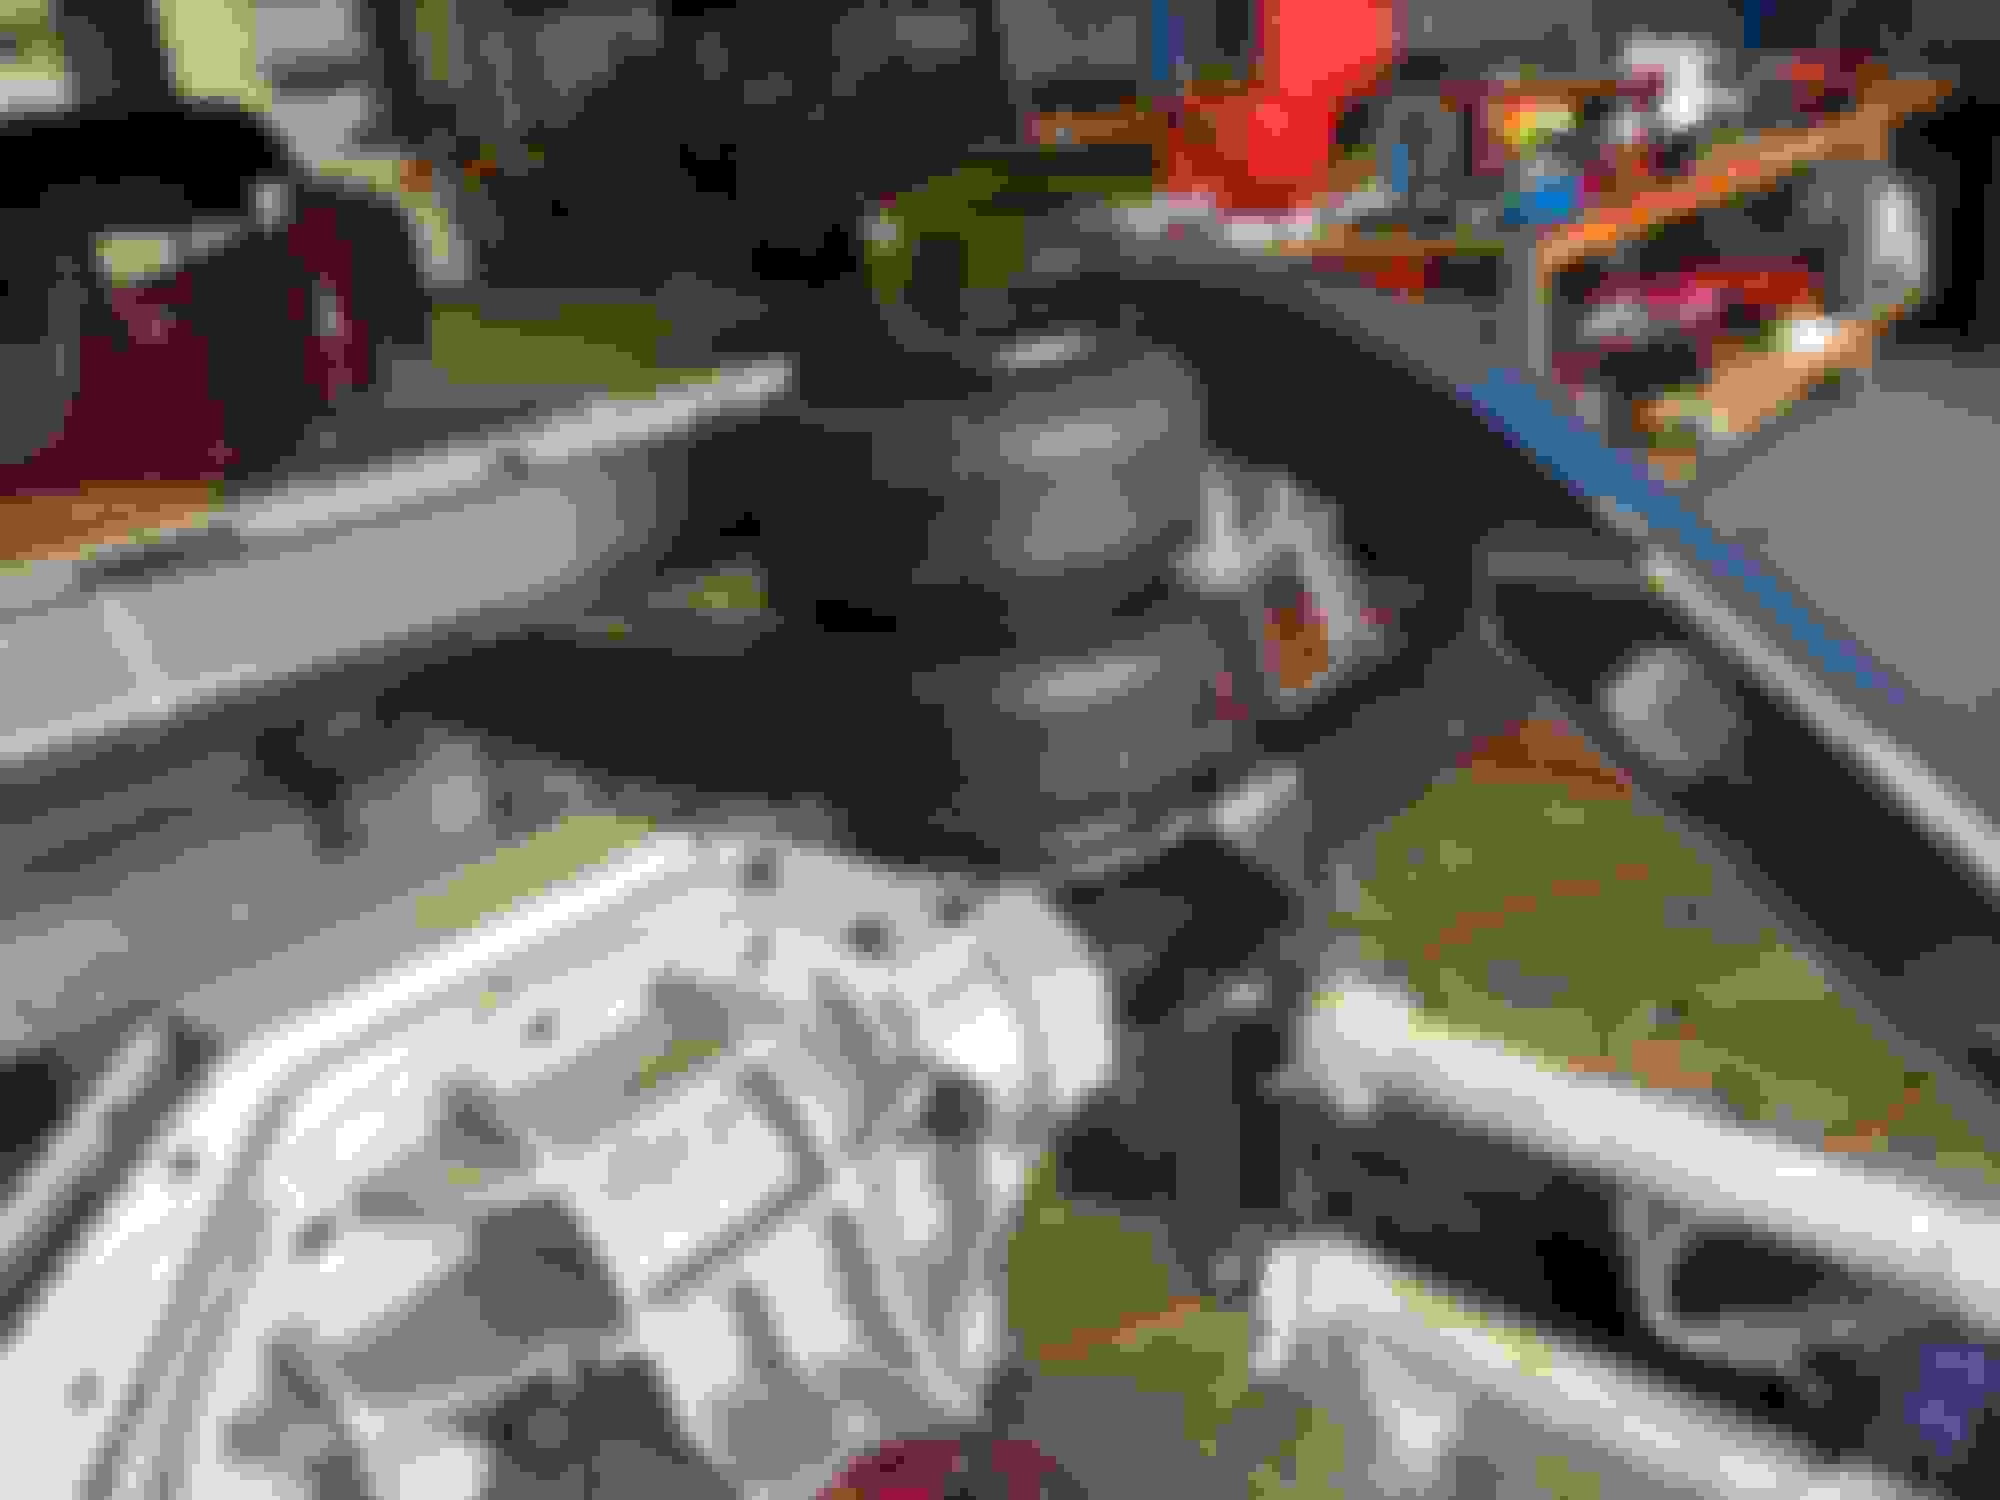
So for this part of the exercise first off I was just going to use a generic air bag and mount it on top of the diff.
I made up some brackets that the bags could bolt too, I was fortunate that the diff housing I am using has bolt on brackets on top of the housing.
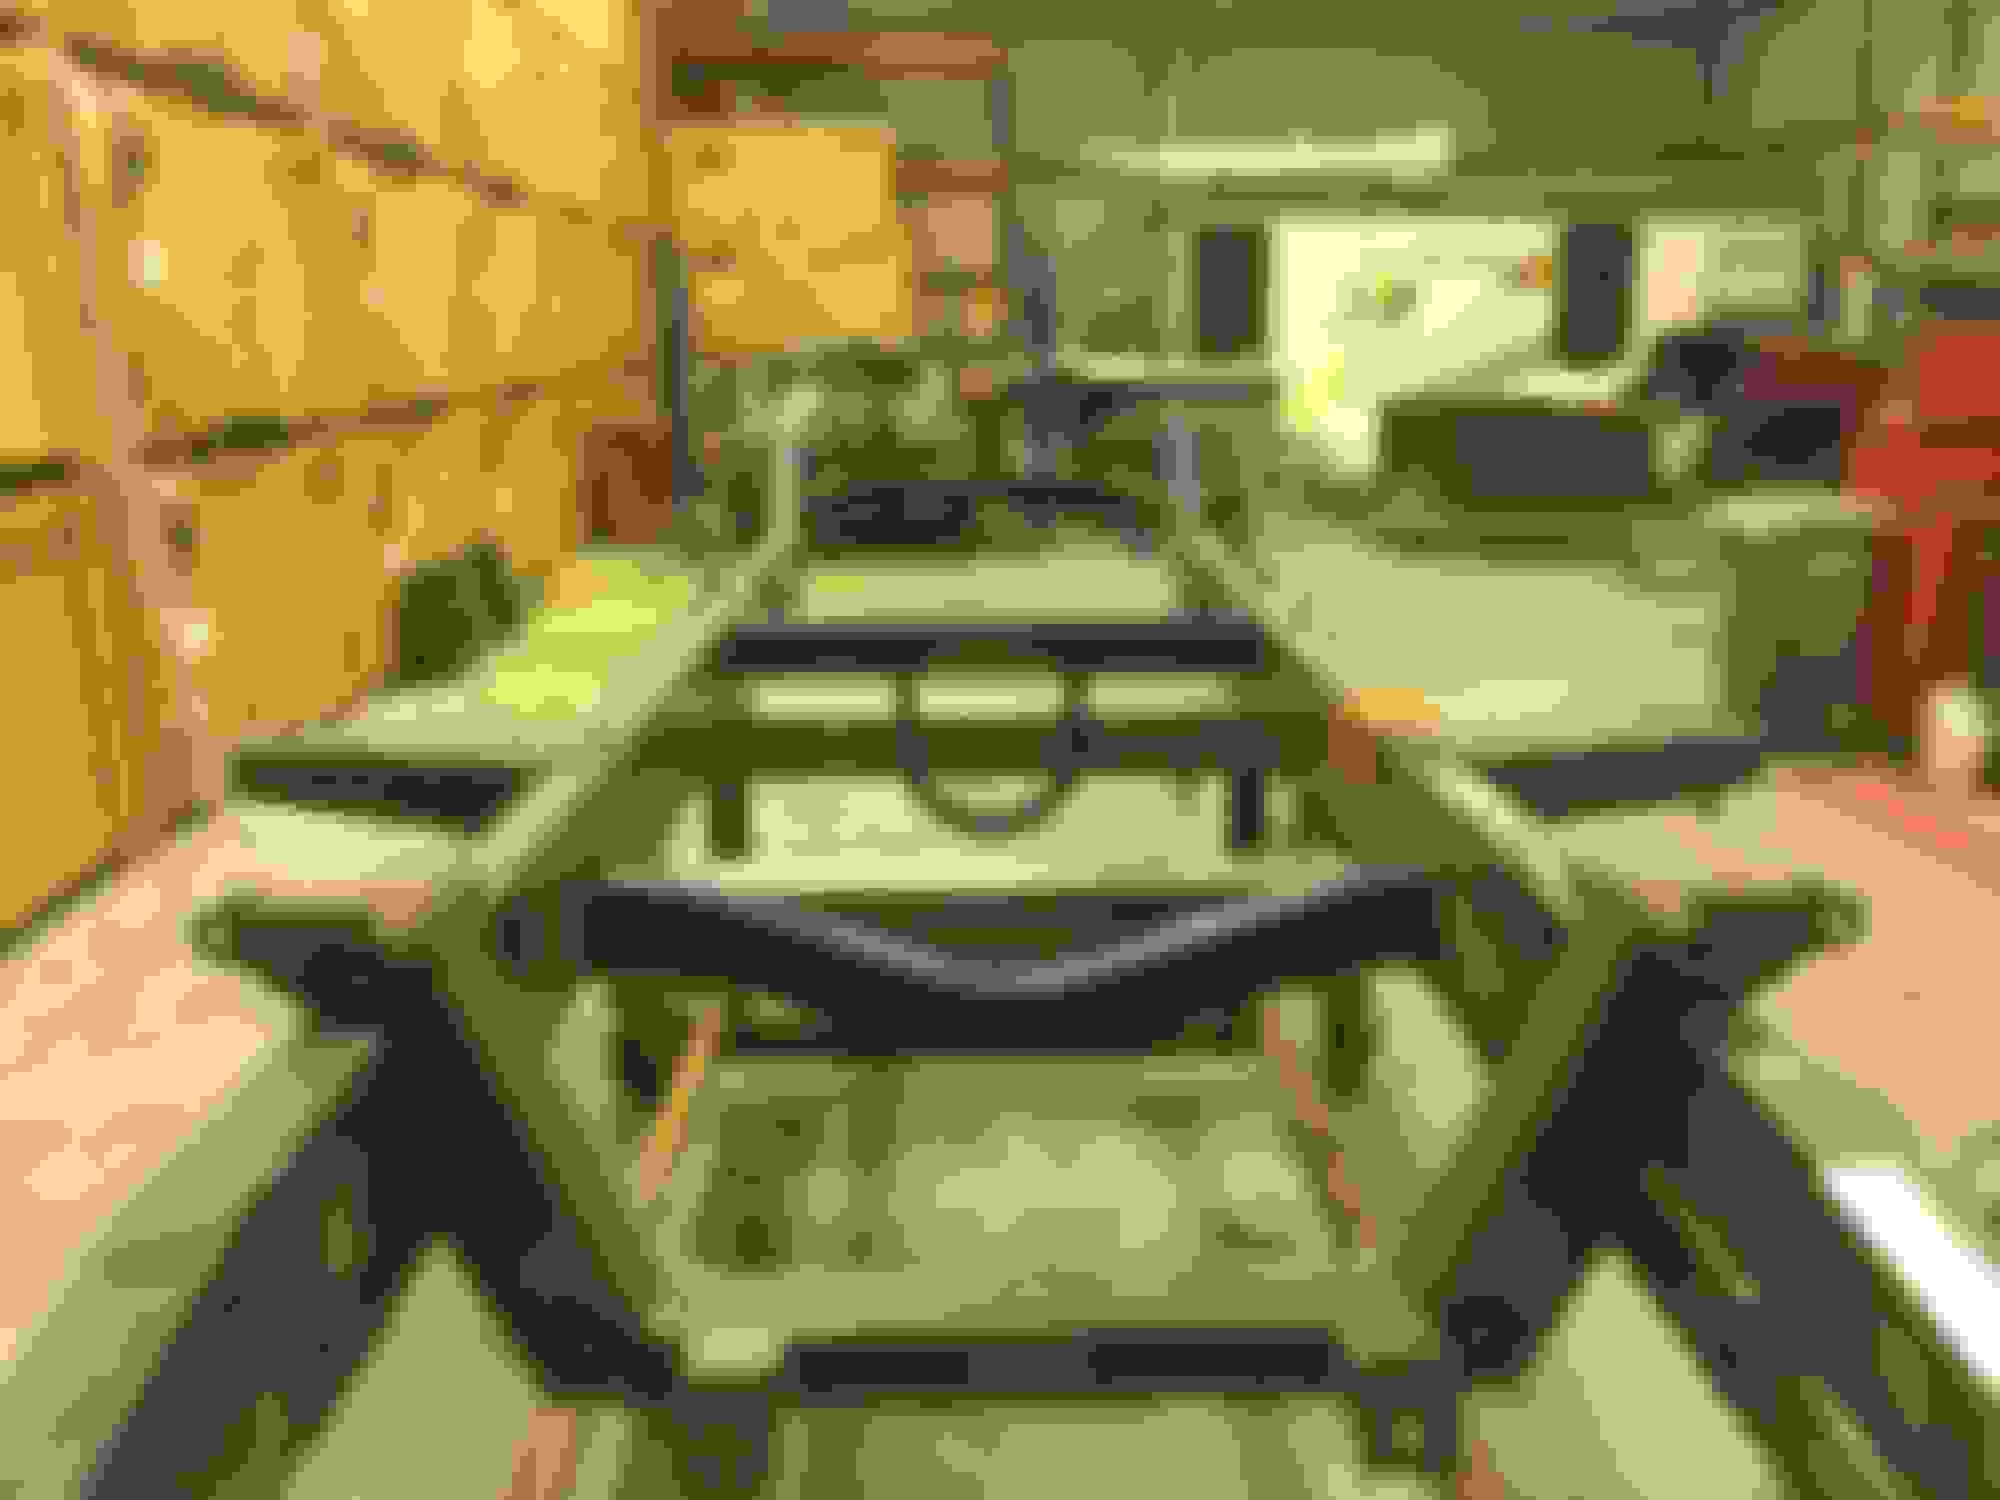
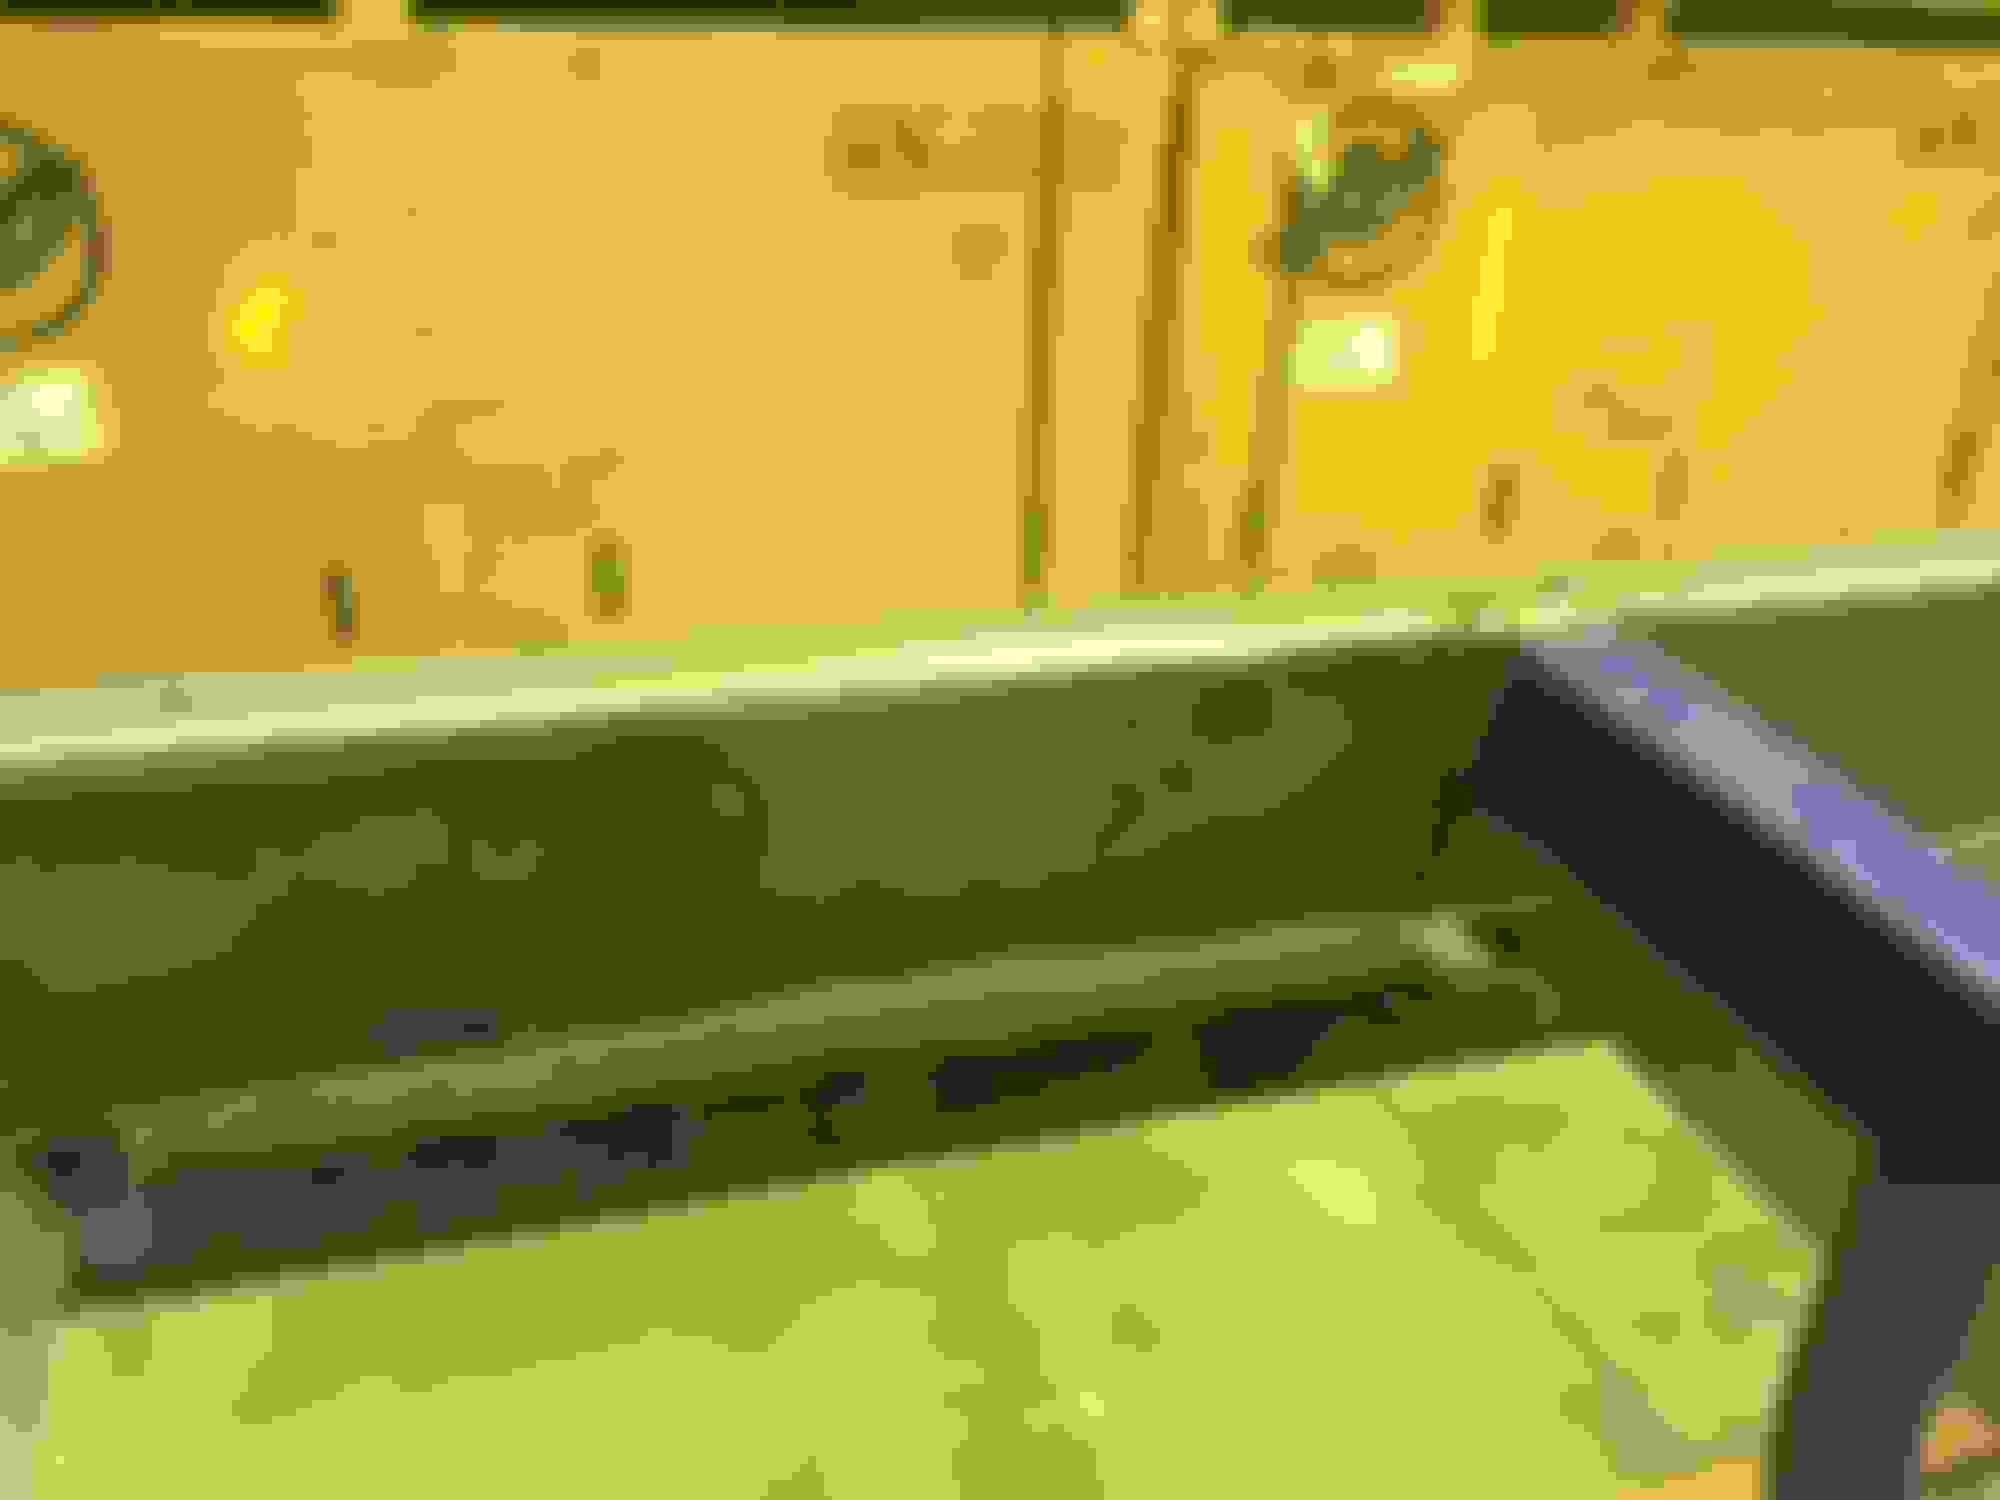
This both sides all mounted up with the bottom brackets.
For the top brackets I just used a generic off the shelf mount that I would have to add some other bracing too it.
 09-06-2017, 06:56 AM